Upgrade to Pro — share decks privately, control downloads, hide ads and more …

Ajax: You Can Do It, Too!

Ajax: You Can Do It, Too!

A beginner's introduction to Ajax, first given at Northeast PHP 2013, in Boston.

Larry Ullman

August 17, 2013
Tweet

More Decks by Larry Ullman

Other Decks in Technology

Transcript

  1. AJAX: You Can Do It, Too! 1 Larry Ullman, @LarryUllman

    Northeast PHP Conference 2013 Ajax is one of the more important developments in the history of both JavaScript and Web development. Simply put, Ajax is the process of having JavaScript in the browser make a behind-the-scenes request of the server, in order to retrieve additional information or cause a server-side reaction. For example, the request may retrieve a set of data to be displayed, see if a username is available, or update a record in the database. While this is happening, the user could be unaware of the transaction, still using the page that was originally loaded. Grasping the concept, and benefits, of Ajax can sometimes be hard, and Ajax creates additional debugging challenges, but Ajax is an expected component of today’s sites and is well worth your time to learn.
  2. Outline Fundamental Concepts The Server Side The Client Side Moving

    Forward 2 To show you how you can implement Ajax, I’ve got four parts to this presentation, spending a few minutes on each. [[WALK THROUGH]] In the final segment, I’ll discuss other issues such as working with complex data or using jQuery. To really show you what’s involved, I’m going to do some live demonstrations. If you have any questions along the way, just get my attention.
  3. Modern JavaScript: Develop and Design 3 As a forewarning, much

    of what I’ll say today is also explained in the Ajax chapter of my JavaScript book, “Modern JavaScript: Develop and Design”. If you like what you see today and want to learn more, including more about JavaScript in general, I’d love it if you picked up my book.
  4. Fundamental Concepts 4 To begin, let’s look at the fundamental

    concepts of Ajax. Ajax is sometimes hard to grasp because it’s so different from the standard client-server approach, so let’s look in detail at what Ajax means, how it differs from the norm, what Ajax is good for and not, and how you go about implementing Ajax.
  5. Asynchronous JavaScript And XML 5 The term Ajax was first

    coined in 2005, and originally stood for Asynchronous JavaScript and XML. This was just a label given to functionality that had been around for a while. Today, XML is not commonly used, and the guy that coined the term says it’s no longer an acronym, but I don’t know how you un-acronym an acronym. In any case, the most important thing to know is the Ajax is just one thing you can do with JavaScript, using functionality that’s been built into every browser for more than a decade now.
  6. A. Page Request CLIENT SERVER Validation B. Response (Page with

    Form) C. Form Submission Register Y. OK D. Not OK (errors) Next HTML Page Z. OK E. 6 To understand Ajax, let’s look at a traditional approach. This convoluted image shows a registration form. The registration page is requested by the browser and is returned by the server. The browser downloads that HTML and displays the form. Upon submission, the data goes to the server for validation (step C). If there are any problems, the user is shown the form again, with errors (which is D). This repeats until all the data passes validation and the user is taken to the next page.
  7. A. Page Request CLIENT SERVER Validation B. Response (Page with

    Form) Register X. OK V. Not OK (errors) JavaScript Validation C. Form Submission U. OK Y. OK JavaScript Handle Server Response Errors D. Not OK (errors) E. Generate Next HTML Page Z. OK W. Not OK (errors) 7 For something like form validation, Ajax can be thought of as hijacking the default process. Instead of having the browser overtly go to the server for validation, the validation can be done in JavaScript. This includes not only client-side validation but also having JavaScript make requests of the server for validation purposes. For example, the JavaScript might use Ajax to confirm that a username is available or an email address has not already been registered. Those are validation routines that can only be done on the server. Besides just the validation, the registration itself can be accomplished via Ajax. In short, the user can stay on the one page until the process in entirely complete. This can be a better experience, and one that performs much better as well.
  8. Possible Uses Validation Form handling Showing search results live Retrieving

    data Recording progress 8 So what can you do with Ajax? As just demonstrated, validation and form handling is logical. For example, logging in, contact forms, updating records, and so forth. Showing live search results a la Google Suggest is done with Ajax. Retrieving other data, such as images or prefetching site content. And you can even do things like silently recording a user’s progress or changes. Netflix does this when you reorder your list of movies.
  9. What You Shouldn’t Do Upload files Require Ajax Present content

    only using Ajax Attempt cross-domain requests 9 So what shouldn’t you do with Ajax? Well, uploading files with Ajax is somewhere between challenging and impossible, depending upon your abilities and the browsers you need to support. You absolutely should avoid requiring Ajax, if at all possible. This is generally true of JavaScript overall. You should also know that search engines cannot see dynamic content created by JavaScript. If the content being fetched by Ajax needs to be indexed to appear in search results, the content must also be available in a non-dynamic way, such as on a linked secondary page, as already explained. Finally, there’s a restriction with Ajax called the same-origin policy. This means that the JavaScript can only make a request of a resource that’s on the same domain. There’s a solution to this coming called CORS (Cross-Origin Resource Sharing), but that’s still coming.
  10. 10 Development Process Implement basic functionality Create server-side resource for

    Ajax Create client-side process Test Debug, debug, debug Test in other browsers How are you going to implement Ajax then? [[WALK THROUGH]] Many of these steps are the same for Ajax as they are for JavaScript in general. Keep in mind that although almost everyone does have JavaScript enabled, some don’t. Progressive enhancement is the way to ensure a good experience for every user. As an added bonus, it’s easier to develop using this approach.
  11. The Server Side 11 So let’s make this happen. As

    I just said, I think it’s best to begin with the basic functionality, without any JavaScript. I’m going to play with two examples today. One will be for displaying stock quotes, another will handle a login form.
  12. The HTML Page 12 <!-- HTML --> <p>Microsoft: $<span id="quote">31.71</span></p>

    <!-- HTML --> Here’s a snippet of HTML that will be used to display a stock quote. Without Ajax, the stock value will have to be entered dynamically by PHP when the page is loaded. This means that for this page to be updated, the user will need to refresh her browser.
  13. The PHP Script 13 <!-- HTML --> <p>Microsoft: $<span id="quote"><?php

    $msft = /* Fetch actual quote. */; echo $msft; ?></span></p> <!-- HTML --> Here’s what that PHP script will need to do. Presumably it’ll fetch the Microsoft stock price from somewhere else online. Let’s look at that. [[SUBLIME TEXT/BROWSER]]
  14. The Login Form 14 <form action="login.php" method="post" id="loginForm"> <fieldset> <legend>Login</legend>

    <div><label for="email">Email Address</label><input type="email" name="email" id="email" required></div> <div><label for="password">Password</label><input type="password" name="password" id="password" required></div> <div><label for="submit"></label><input type="submit" value="Login &rarr;" id="submit"></div> </fieldset> </form> As another example, here’s a simple login form. It has two inputs: an email address and a password. And the form gets submitted to login.php.
  15. Handling the Login Form 15 <!-- HTML --> <?php #

    login.php if ( isset($_POST['email'], $_POST['password']) && ($_POST['email'] == '[email protected]') && ($_POST['password'] == 'securepass') ) { ! ! /* Valid, login them in! */; } else { ! /* Invalid, show errors! */; } ?> <!-- HTML --> Here’s the handling PHP script. It will evaluate the submitted values, compare those against the database or whatever, and then handle that response. Let’s look at that. [[SUBLIME TEXT/BROWSER]]
  16. Returning Plain Text 16 <?php # ajax/qet_quote.php $msft = /*

    Fetch actual quote. */; echo $msft; <?php # ajax/check_login.php if (/* credentials are correct */) { echo 'VALID'; } else { echo 'INVALID'; } So there’s our basic functionality, which will work whether JavaScript is enabled or not. To turn those scripts into Ajax resources, you do a couple of things. In both of these examples, the PHP script can return a simple text string. They don’t output any HTML, just plain text. Returning plain text from a PHP script is just a matter of having PHP print whatever text should be sent back to the JavaScript. If I create these resources, I can run them directly in my browser to confirm that they work. [[SUBLIME TEXT/BROWSER]] This is one of the most important debugging steps to take: running the server-side resource in your browser directly.
  17. Preventing Caching 17 <?php header('Cache-Control: no-cache'); There’s one last little

    thing you ought to be aware of and that’s caching. To improve performance, browsers will try to cache the results of requests, such as images, CSS, even JavaScript that’s downloaded. This is a good thing. Browsers will also attempt to cache the results of Ajax requests. That may or may not be appropriate, but when you’re developing a site, it’s a cause of many headaches. For that reason, when you’re just starting, you ought to have the server-side resource indicate that the request should not be cached. In PHP, this is done by sending a Cache-Control header: <?php header('Cache-Control: no-cache'); In terms of development, there are situations where you would want to prevent anyone from caching a server-side resource. For example, say the resource is returning a stock quote. During the hours that the stock market is open, such a request should not be cached, as the returned response would differ from one request to the next, although the request itself would always look to be the same. For most situations, though, caching is a valuable tool that enhances the performance of both the Web site in the client and the Web server itself. Caching should not be overridden without due consideration.
  18. The Client Side 18 At this point in time, we’ve

    got the basic functionality in place, plus the server-side resources for the Ajax calls. Now let’s turn to the client side, which is to say the JavaScript, to Ajax-ify what we’ve got.
  19. The Process 19 Creating an Ajax Object Configure the Object

    Making a Request Handling the Server Response In terms of actual JavaScript code, performing an Ajax request begins with these three steps: Creating an Ajax object Configure the object Making the request Handling the server response This process may seem a bit code intensive and confusing at first, but once you start doing it it becomes old hat.
  20. Creating an Ajax Object 20 function getXMLHttpRequestObject() {! var ajax

    = null; ! if (window.XMLHttpRequest) { ! ajax = new XMLHttpRequest(); ! } else if (window.ActiveXObject) { // Older IE. ! ajax = new ActiveXObject('MSXML2.XMLHTTP.3.0'); ! } return ajax; } The Ajax process begins with an object through which the communications can occur. I’ll refer to this as an “Ajax” object, although you’ll also see it called an “XHR” object, short for XML HTTP Request, or just some variation on those key words. Every browser has defined an XMLHttpRequest object with the required functionality, but as you’ve probably come to expect by now, the particulars of creating an instance of that object varies just slightly from browser to browser. The XMLHttpRequest object exists in all non-IE browsers, and in Internet Explorer since version 7. Older versions of IE must create a new ActiveXObject, providing MSXML2.XMLHTTP.3.0 as the argument. This code will work on IE as old as version 5 (you’ll see slight variations on this value in various bits of code and other resources).
  21. Creating an Ajax Object 21 <script src="js/ajax.js"></script> <script> var ajax

    = getXMLHttpRequestObject(); if (ajax) {... </script> Because ajax will have a null value if an XMLHttpRequest object could not be assigned to it, if you want to be extra careful, your code could then verify that the Ajax object has a non-FALSE value before attempting to use it. The good news is that once you’ve created the Ajax object, regardless of how, you can use it in exactly the same way.
  22. Identifying the Result Handler 22 ajax.onreadystatechange = handleStateChange; ajax.onreadystatechange =

    function() { // Do whatever. }; Once you have an Ajax object, the next step you should take is to identify the result handler for that object. This is the function that will be called during the Ajax transaction. To associate the function with the Ajax call, assign the function to the object’s onreadystatechange property: ajax.onreadystatechange = handleStateChange; You can also use an anonymous function here, and you’ll see examples of that, too.
  23. Making a Request 23 ajax.open('GET', 'http://www.example.com/page.php', true); ajax.send(null); With the

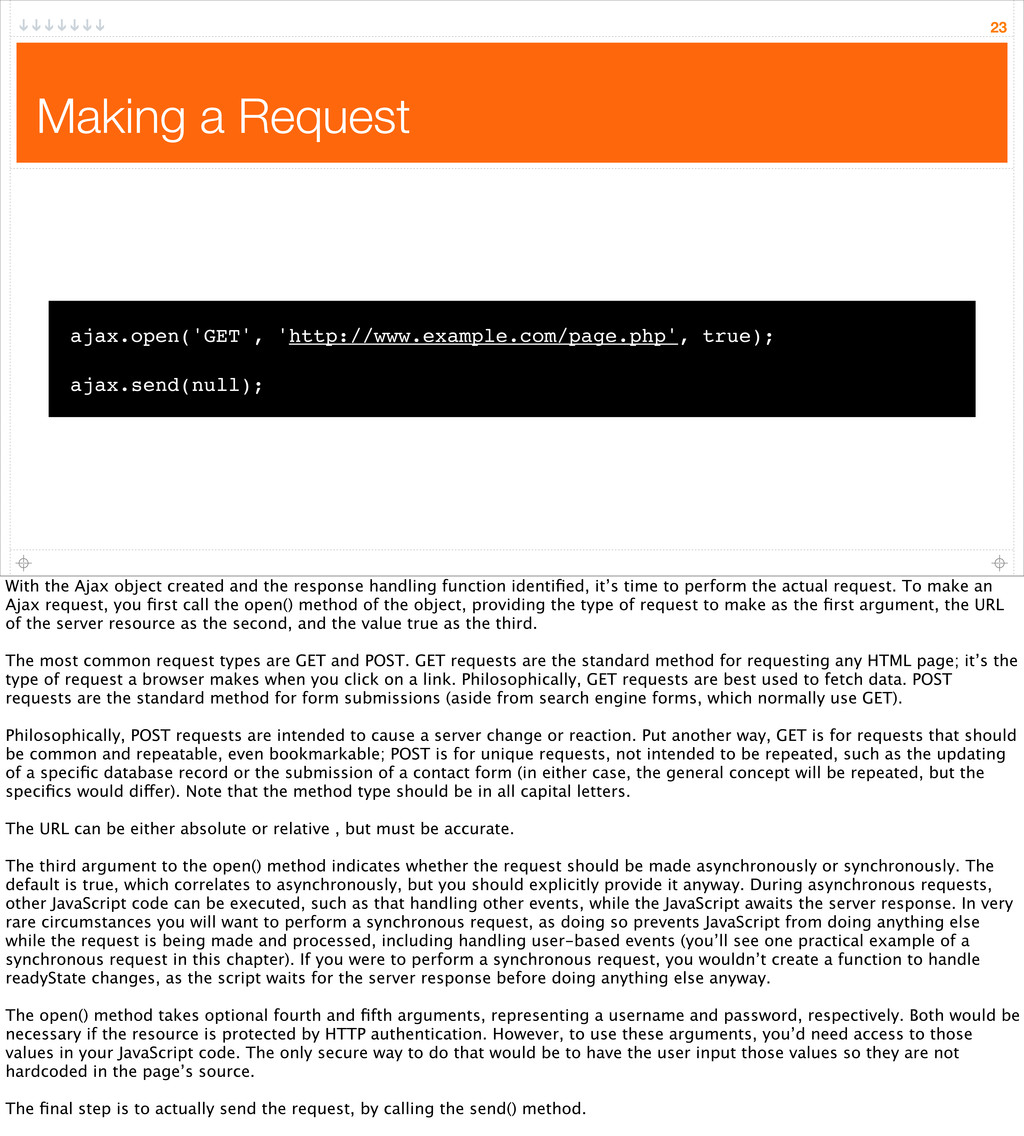
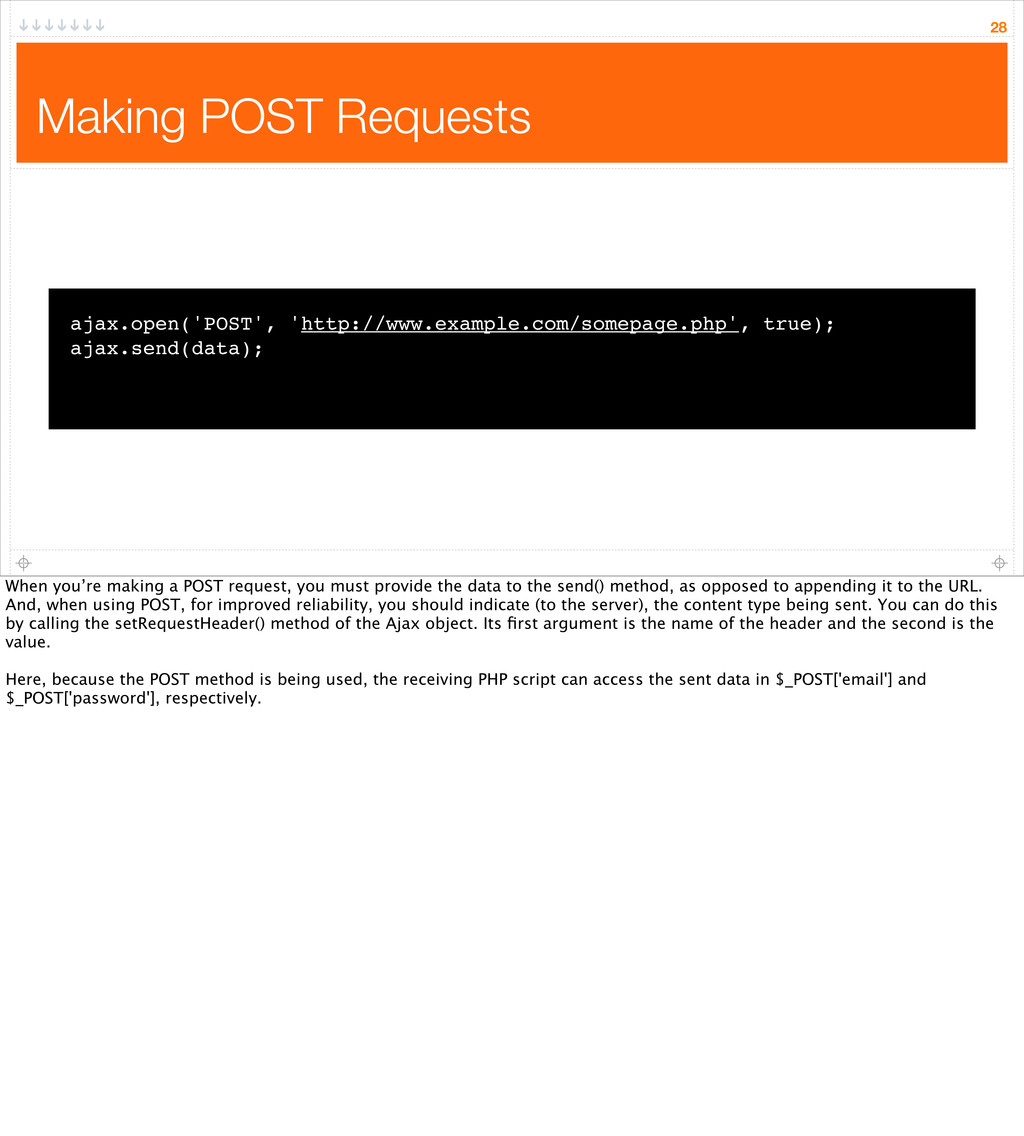
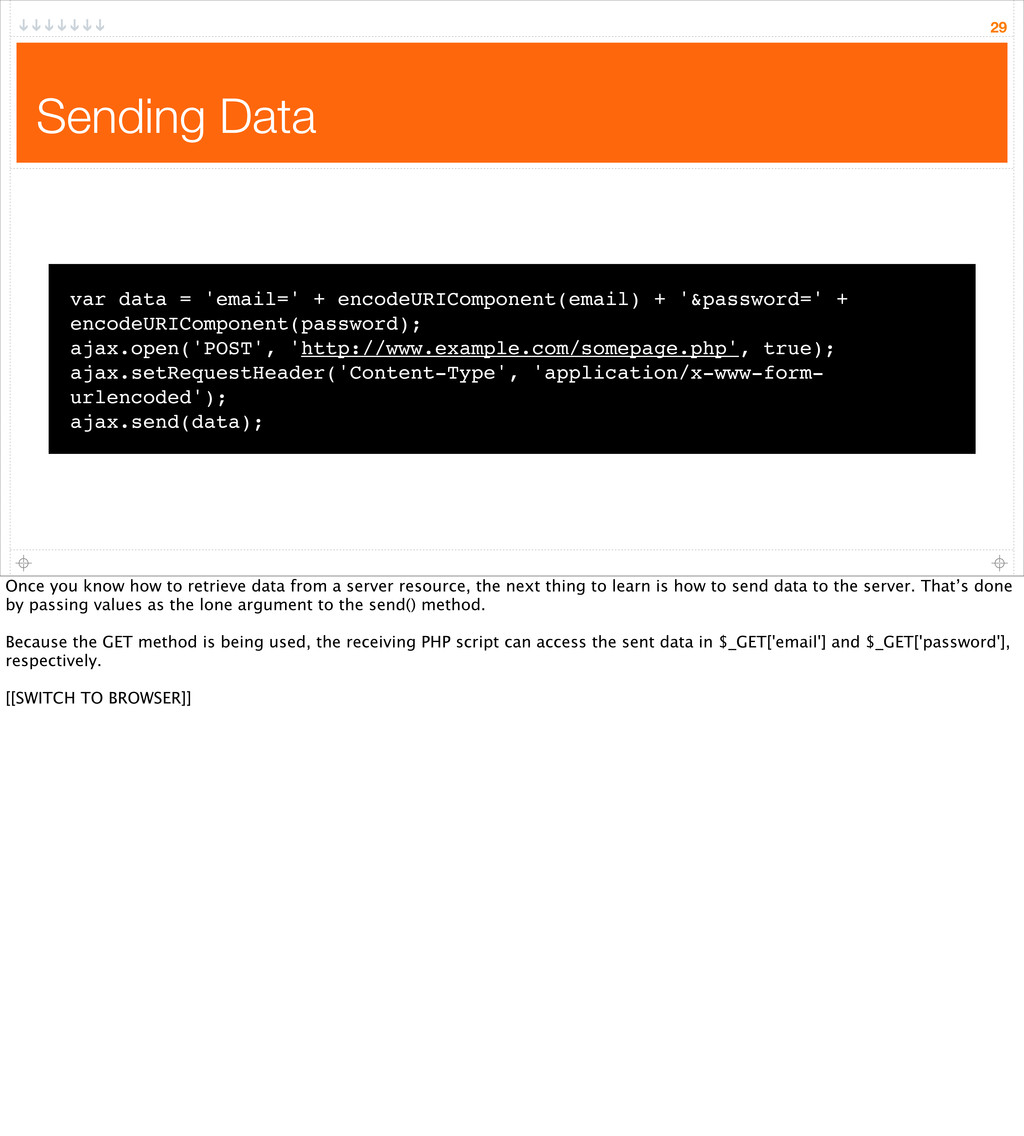
    Ajax object created and the response handling function identified, it’s time to perform the actual request. To make an Ajax request, you first call the open() method of the object, providing the type of request to make as the first argument, the URL of the server resource as the second, and the value true as the third. The most common request types are GET and POST. GET requests are the standard method for requesting any HTML page; it’s the type of request a browser makes when you click on a link. Philosophically, GET requests are best used to fetch data. POST requests are the standard method for form submissions (aside from search engine forms, which normally use GET). Philosophically, POST requests are intended to cause a server change or reaction. Put another way, GET is for requests that should be common and repeatable, even bookmarkable; POST is for unique requests, not intended to be repeated, such as the updating of a specific database record or the submission of a contact form (in either case, the general concept will be repeated, but the specifics would differ). Note that the method type should be in all capital letters. The URL can be either absolute or relative , but must be accurate. The third argument to the open() method indicates whether the request should be made asynchronously or synchronously. The default is true, which correlates to asynchronously, but you should explicitly provide it anyway. During asynchronous requests, other JavaScript code can be executed, such as that handling other events, while the JavaScript awaits the server response. In very rare circumstances you will want to perform a synchronous request, as doing so prevents JavaScript from doing anything else while the request is being made and processed, including handling user-based events (you’ll see one practical example of a synchronous request in this chapter). If you were to perform a synchronous request, you wouldn’t create a function to handle readyState changes, as the script waits for the server response before doing anything else anyway. The open() method takes optional fourth and fifth arguments, representing a username and password, respectively. Both would be necessary if the resource is protected by HTTP authentication. However, to use these arguments, you’d need access to those values in your JavaScript code. The only secure way to do that would be to have the user input those values so they are not hardcoded in the page’s source. The final step is to actually send the request, by calling the send() method.
  24. Handling the Server Response 24 if (ajax.readyState == 4) {

    ! ! ! // Check the status code: ! if ( (ajax.status >= 200 && ajax.status < 300) ! ! || (ajax.status == 304) ) { Once an asynchronous Ajax request has been made, the function assigned to the onreadystatechange property of the Ajax object will be called whenever the object’s readyState property changes. There are five possible values for this property, from 0 to 4. 4 is the important value, as that indicates that the process is done. But the function will be called for each state change, so you want to check this value before continuing. Next, you want to confirm that the response was good. This is done by checking the server’s HTTP status code. You should hopefully be familiar with them: anything in the 200s is good, 304 is not modified, 400s is bad, etc.
  25. Accessing the Server Response 25 // Check the status code:

    if ( (ajax.status >= 200 && ajax.status < 300) ! || (ajax.status == 304) ) { ! ! // use ajax.responseText. Next, the server’s response, in terms of the data returned, will be in either the responseXML or responseText properties. The former is used when the returned data is in XML format. The responseText property will be populated when XML data was not returned, and therefore will be used most of the time. This property just stores a string, and can be used like any other string. For example, you can just alert the returned response to see what you received. Let’s look at how all of this is put together. I’ll look at the quote example first, as the login example is a bit more complicated. [[SUBLIME TEXT/BROWSER]]
  26. Debugging Tools Test the server-side first! Make sure the server

    script is being loaded through a URL. Use a network monitor. Watch the JavaScript error console. Watch for caching! Confirm that the server is receiving the right data. 26 The hardest aspect to Ajax, in my opinion, is that debugging can be a bit more difficult. But with the right tools and approach, this, too, is manageable. [[WALK THROUGH]] The first thing you should always do first is to test the server-side resource to confirm the data being sent back to the JavaScript. If you’re using progressive enhancement, you should be doing this anyway. Make sure the HTML page is running on a URL or you’re using an absolute reference to the Ajax server-side resource. [[SWITCH TO BROWSER]]
  27. Moving Forward 27 Once you understand the basic concepts and

    can implement the Ajax process, you’re ready to move forward. If you’re already lost you can just sleep through this part.
  28. Making POST Requests 28 ajax.open('POST', 'http://www.example.com/somepage.php', true); ajax.send(data); When you’re

    making a POST request, you must provide the data to the send() method, as opposed to appending it to the URL. And, when using POST, for improved reliability, you should indicate (to the server), the content type being sent. You can do this by calling the setRequestHeader() method of the Ajax object. Its first argument is the name of the header and the second is the value. Here, because the POST method is being used, the receiving PHP script can access the sent data in $_POST['email'] and $_POST['password'], respectively.
  29. Sending Data 29 var data = 'email=' + encodeURIComponent(email) +

    '&password=' + encodeURIComponent(password); ajax.open('POST', 'http://www.example.com/somepage.php', true); ajax.setRequestHeader('Content-Type', 'application/x-www-form- urlencoded'); ajax.send(data); Once you know how to retrieve data from a server resource, the next thing to learn is how to send data to the server. That’s done by passing values as the lone argument to the send() method. Because the GET method is being used, the receiving PHP script can access the sent data in $_GET['email'] and $_GET['password'], respectively. [[SWITCH TO BROWSER]]
  30. Sending JSON from the Server 30 <?php header('Content-Type: application/json'); echo

    json_encode($data); To return JSON data from a PHP script, you start by sending the appropriate Content-Type header: After that, the PHP script needs to print the JSON data. Because the JSON syntax can be difficult to accurately create, the easiest solution is to build up an array of data, and then convert that data into JSON:
  31. Receiving JSON 31 var data = JSON.parse(ajax.responseText); For simple requests,

    having a server respond with plain text is fine, but more complicated data needs other formats. Originally, XML was used, but these days JSON is the standard. Have to parse the text into JavaScript objects. The JSON object and its parse() method have been supported in most browsers for sometime, but in IE since 8. Older browsers need to have a JSON library loaded first.
  32. Ajax with jQuery 32 var options = { url: 'http://www.example.com/somepage.php',

    type: 'get', data: /* actual data */, dataType: 'text', success: function(response) { // Use response. } }; $.ajax(options); There are several ways to perform Ajax requests in jQuery, but I’ll explain how to use the $.ajax() method. The ajax() method takes one argument, an object of options used to configure the request. All of the Ajax request particulars—the resource to be requested, the type of request to make, the data to be sent as part of the request, and how to handle the response—get defined within the options object. The final thing the object has to do is identify the function to be called when the Ajax request successfully completes. This function is assigned to the success property. Note that success means both a readyState value of 4 and a good status code; the function does not need to check for those. The function should take at least one argument, the data that is the server response: success: function(response) { // Do something with response. },
  33. AJAX: You Can Do It, Too! 33 Larry Ullman, @LarryUllman

    Northeast PHP Conference 2013 And those are the fundamentals of Ajax. Hopefully now you realize that you can do it, too. If not, just let me know what questions you have.
  34. PHP Percolate, Season 6 34 September 1st http://bostonphp.org/ Buy the

    book. ($26 for print; $16 for Kindle). Read a chapter per week or faster. Post your work on the web site. Interact with others.