Upgrade to Pro — share decks privately, control downloads, hide ads and more …

ActiveMerchant 使用與實做

ActiveMerchant 使用與實做

講解 ActiveMerchant 的使用方式,以及怎樣實做新的金流串流介面。

Avatar for lulalala

lulalala

July 29, 2014
Tweet

More Decks by lulalala

Other Decks in Programming

Transcript

  1. ActiveMerchant有兩種 Gateway Integration (Offsite payment) • 需接觸信用卡卡號 (網站安全就要注意) • 使用金流API通知扣

    款金額 • 官網教學 • RailsCasts • 不需接觸信用卡卡號 • 跳轉到金流網站付款 • 付款完成後跳回來 • 金流網站另行透過你 提供的API通知付款 成功
  2. Offsite Payment (Integration) 原理 1. 準備一個 form 內含金額呀訂單編號呀 使用者按下按鈕跑到金流業者那付款 2.

    使用者在金流網站完成付款 3. 付款完金流網站會把使用者導回你的網站 4. 付款後金流業者會通知你的伺服器
  3. Offsite Payment (Integration) 兩個部份 helper 也就是 form helper 產生付款頁面的表單 (步驟1)

    notification 解析金流那裡傳過來 的付款通知的 class (步驟4)
  4. Form #1 payment_service_for( @order.id, '001253', #你在金流業者那的ID :amount => @order.total, #金額

    :service => :smile_pay, #金流業者 :html => { :authenticity_token => false, :enforce_utf8 => false }) do |service| *這在 view 中
  5. Form #2 在 block 裡面 service.notify_url( payment_notify_order_url(@order) ) service.customer :name

    => @order.name, :phone => @order.phone, :email => @order.email *這在 view 中
  6. Form #3 各金流專有設定 case @order.payment_method when :paypal service.currency 'USD' service.add_field('lc','zh_TW')

    service.cancel_return_url order_url(@order) service.return_url order_url(@order) end 這裡都是個別金流業者的專屬參數 有些會提供 helper method 有些還是使用 add_field() 方法添加比較簡單 *這在 view 中
  7. Notification #1 (通知) def notify @order = Order.find(params[:id]) am_class =

    ActiveMerchant::Paypal notification = am_class.notification(request.raw_post) *這在 controller中
  8. Notification #2 (通知) # 驗證用 if !notification.acknowledge raise ExternalError, 'acknowledge

    failed' end # 是否付款成功 if !notification.complete? raise ExternalError, 'notification not complete' end *這在 controller中
  9. Notification #3 (通知) # 錢對嗎 if @order.total != notification.gross() raise

    ExternalError, '金額不對' end # 已經付過錢了嗎嗎 if @order.paid? raise ExternalError, '已經付過款' end @order.pay! #要清蒸要紅燒自己決定 *這在 controller中
  10. What the *#$#% is Shopify doing?! active_merchant / offsite_payment •

    沒說明 • 沒有範例 ◦ Luke, read the source • 有些地方比較老舊 • 沒有實作規範 ◦ 結果大家只好抄 paypal 實作 ◦ 有時候方法語義錯誤導致兩個實作不相容
  11. Module基本設定 參考 paypal 即可 # in module SmilePay mattr_accessor :production_url,

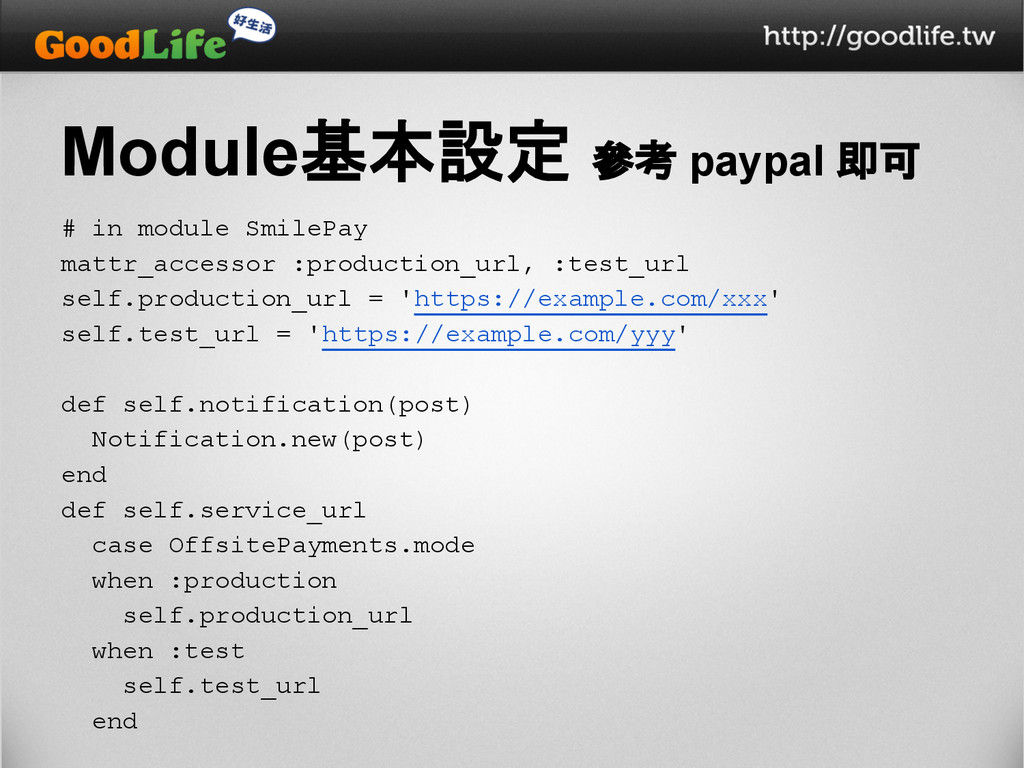
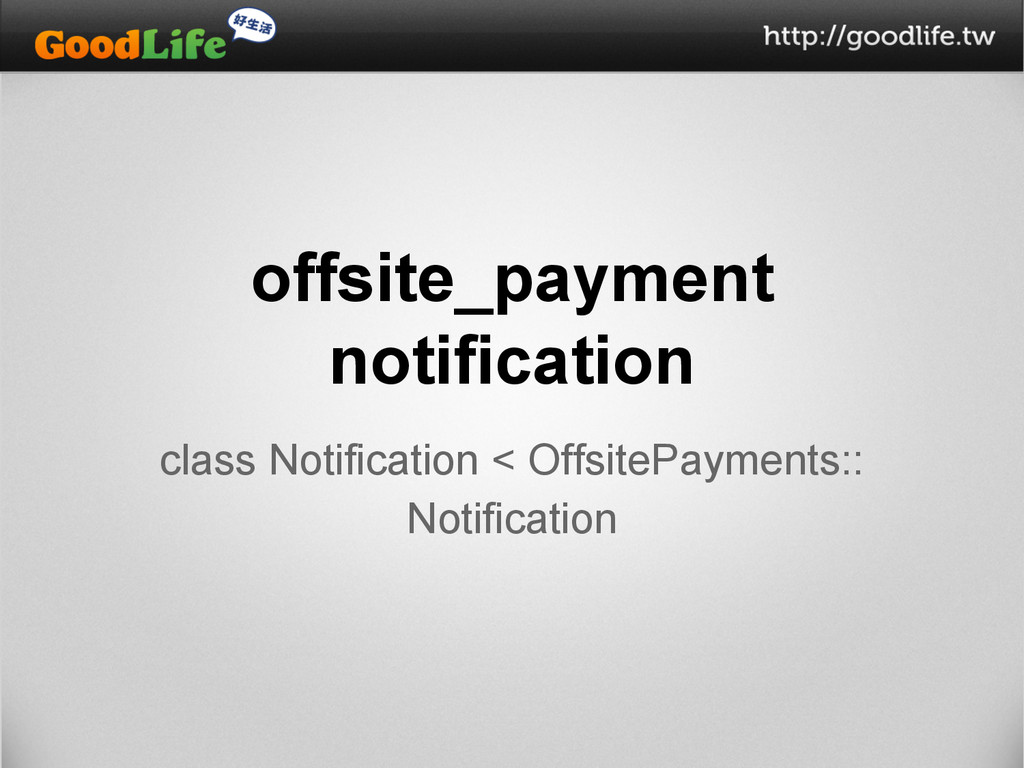
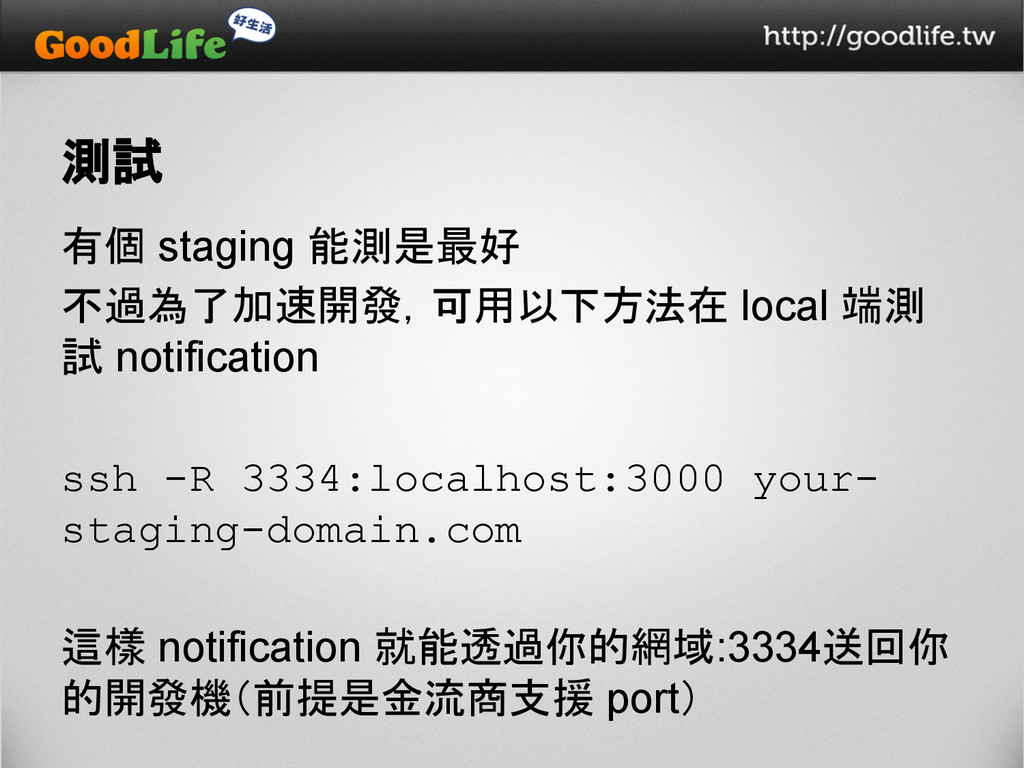
    :test_url self.production_url = 'https://example.com/xxx' self.test_url = 'https://example.com/yyy' def self.notification(post) Notification.new(post) end def self.service_url case OffsitePayments.mode when :production self.production_url when :test self.test_url end
  12. 常見 mapping 方法名 語義 account 你在金流業者那的ID order 你的訂單編號 amount 金額

    notify_url 通知你這端付款成功的 url return_url 付款成功後使用者瀏覽器返回到你這端的 url description 訂單內容 currency 幣值 各個實作的介面統計一覽
  13. 最好標上官方文件上的欄位說明好作對照 # 商家代號 mapping :account, 'Dcvc' # 金額 mapping :amount,

    'Amount' # 訂單號碼 mapping :order, 'Data_id' # 交易完成後要回送的位置 mapping :notify_url, 'Roturl'
  14. Url mappers XXXXX_url 有許多種,請多參考其他實作的語意。 notify_url (25個有實作) 通知你這端付款成功的 API url return_url

    (27個有實作) 付款成功後使用者瀏覽器返回到你這端的 url cancel_return_url (18個有實作) 付款失敗時使用者瀏覽器從金流方返回你這端的url
  15. Helper - 常駐參數 寫在 helper 的 initialize 裡面即可: class Helper

    < OffsitePayments::Helper def initialize(order,account,options={}) super add_field('Rvg2c', 1) end add_field(表單input名) 產生 <input> 用的方法
  16. Helper - beyond mapping 記得,你寫的是RUBY,不怕被框架卡到 # 把 shipping address 轉成單一欄位

    def shipping_address(params = {}) a = [params[:country], params[:city], params[:address].join(‘,’) add_field(“address”, a) end
  17. Helper 設計的其實很不錯 實作開發者有寫 mapping 實作開發者沒有寫 mapping 使用者使用方 法時 會出現在 form

    上 silently ignored 使用了 method_missing 同時使用多種金流時, 也不用怕使用某實作專有的方法, A金流的特有設定在B金流會自動忽略。
  18. Notification 解析從金流端 POST 回來的資料 1. 使用 raw_post 字串來 new 一個

    notification 2. 可以用定義的方法取出裡面資訊 a. e.g. complete?() 知道付款是否完成 3. 可以用定義的方法作驗證 a. e.g. acknowledge() 可以詢問金流方避免有人造假
  19. Notification - 重要介面 方法 語意 acknowledge (注意沒有 ? 唷) 與金流端發

    request 作驗證 status 通知本身狀態(如:failed) gross 總金額(客人付款的金額) item_id 你這端的訂單編號 complete? 是否交易成功 currency 交易幣別 transaction_id 金流端編號 test? 是否為測試
  20. Notification # in class Notification def item_id # 訂單號碼 params['Data_id']

    end def transaction_id # Smile Pay 端訂單號碼 params['Smseid'] end # When was this payment received by the client. def received_at params['Process_date'] + params['Process_time'] end
  21. Notification def currency case params['Moneytype'] when 'TW' 'TWD' when 'CN'

    'CNY' end end # the money amount we received in X.2 decimal. def gross ::Money.new(params['Amount'].to_i * 100, currency) end
  22. Notification # SmilePay 認證碼 def acknowledge if test? # SmilePay

    客服回答測試環境時認證碼只會傳0 true else params['Mid_smilepay'].to_i == calculated_mid_smile_key end end
  23. 測試 有個 staging 能測是最好 不過為了加速開發,可用以下方法在 local 端測 試 notification ssh

    -R 3334:localhost:3000 your- staging-domain.com 這樣 notification 就能透過你的網域:3334送回你 的開發機(前提是金流商支援 port)
  24. 測試 • 注意 big5 編碼,常常會忘了測中文最後上線 才發現錯誤。 • 時間是什麼時區的要小心 • 因為不是

    Rails ,在 notification 裡面,要取得 params 記得用 string 當 key X params[:gross] O params[‘gross’]