Create Your Screencast Design Justification ..................................................................... 4 Subject, Audience, and Purpose ....................................................................................................... 5-6 Writing a Script....................................................................................................................................... 7-16 What Not to Say in Your Script and Voice-Over .............................................................................. 17-18 Avoid Rambling ..................................................................................................................................... 19 Moving the Cursor While Recording the Screencast...................................................................... 20 Continue to Apply Presentation Speaking Style Concepts ........................................................... 21
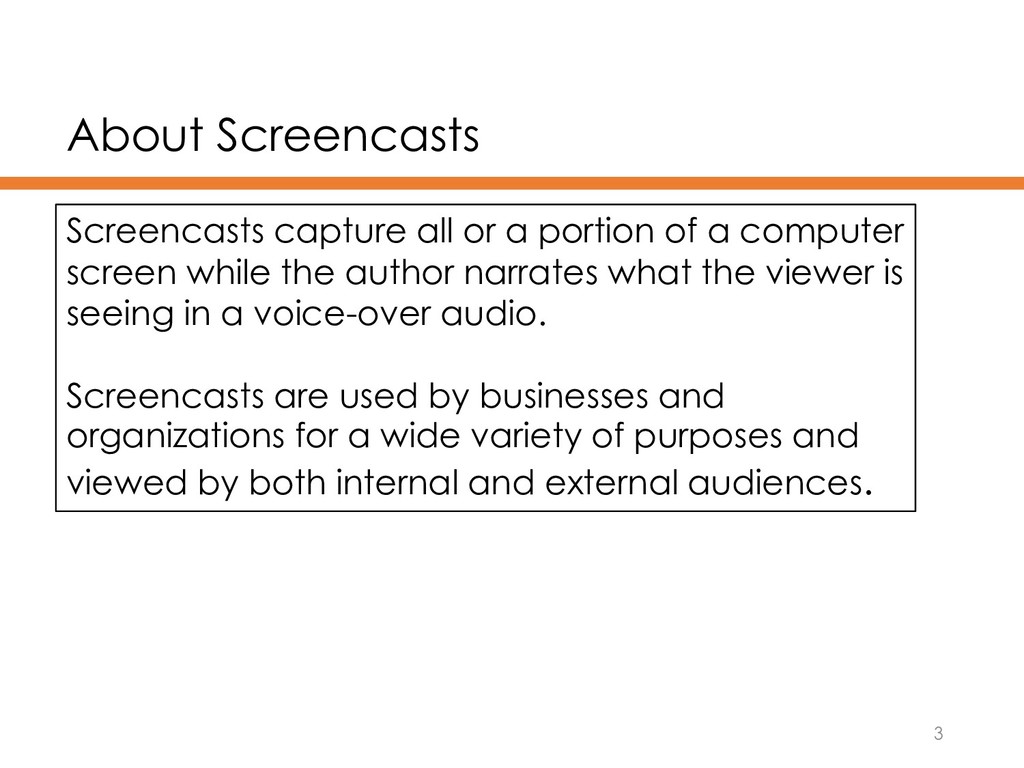
a computer screen while the author narrates what the viewer is seeing in a voice-over audio. Screencasts are used by businesses and organizations for a wide variety of purposes and viewed by both internal and external audiences.
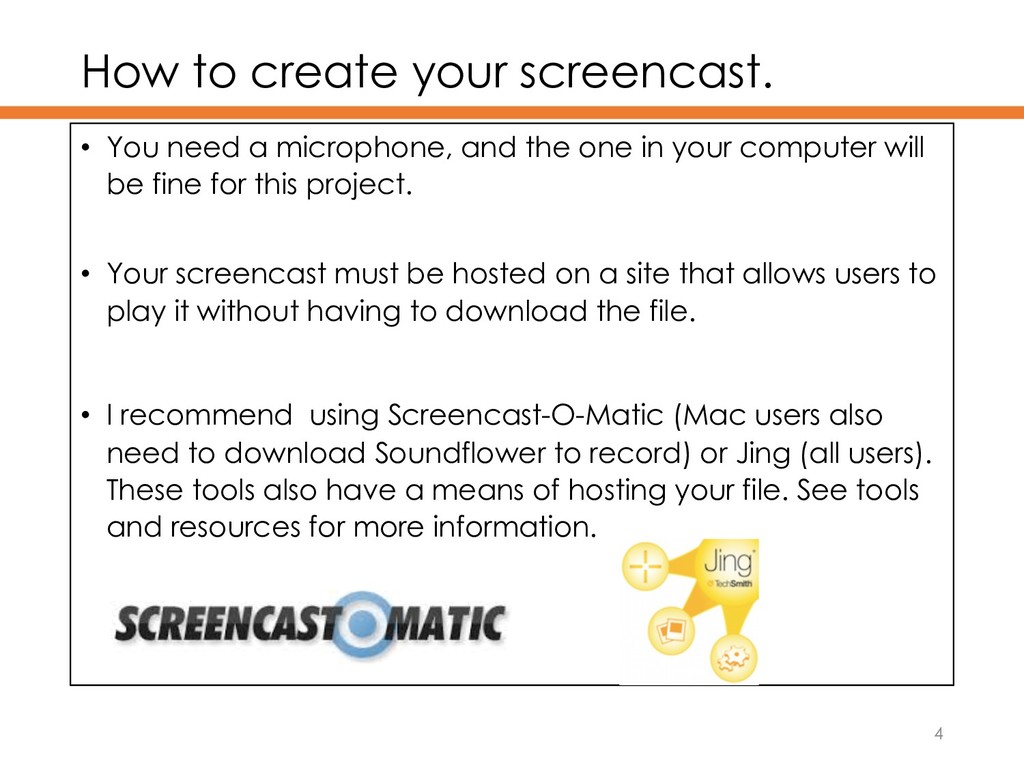
and the one in your computer will be fine for this project. • Your screencast must be hosted on a site that allows users to play it without having to download the file. • I recommend using Screencast-O-Matic (Mac users also need to download Soundflower to record) or Jing (all users). These tools also have a means of hosting your file. See tools and resources for more information. 4
screencast will be justifying the design choices you made when creating the infographic. • The audience will be a hypothetical project team. • Your purpose will be to clearly connect your design choices to principles of graphic design. 5
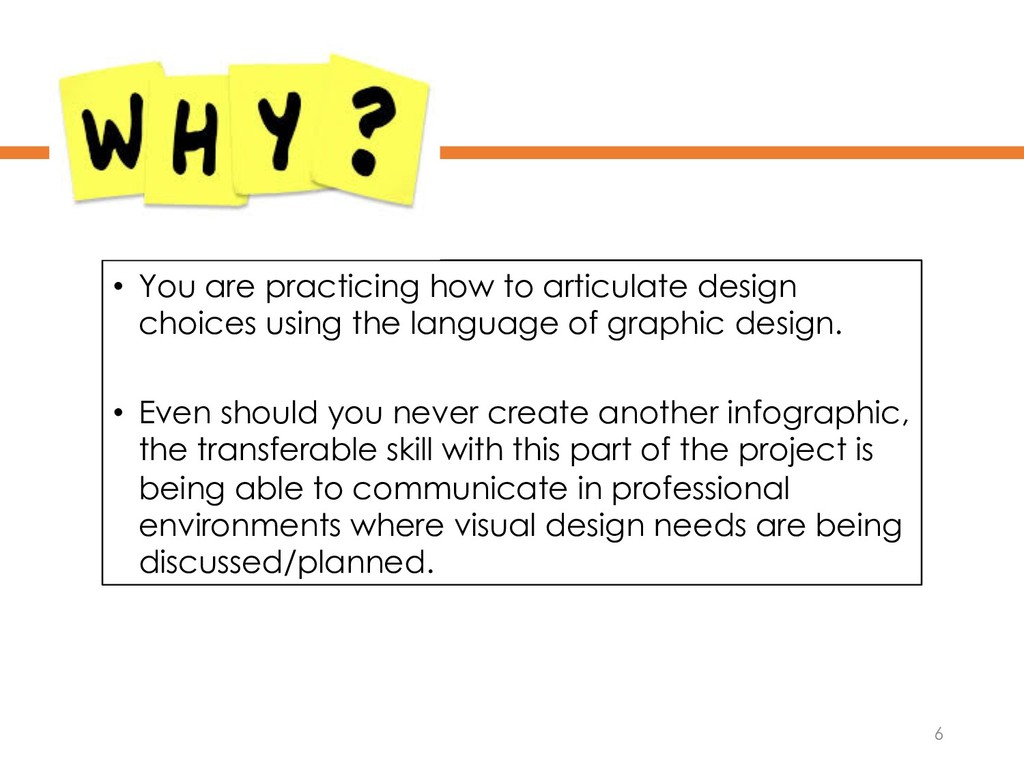
the language of graphic design. • Even should you never create another infographic, the transferable skill with this part of the project is being able to communicate in professional environments where visual design needs are being discussed/planned. 6
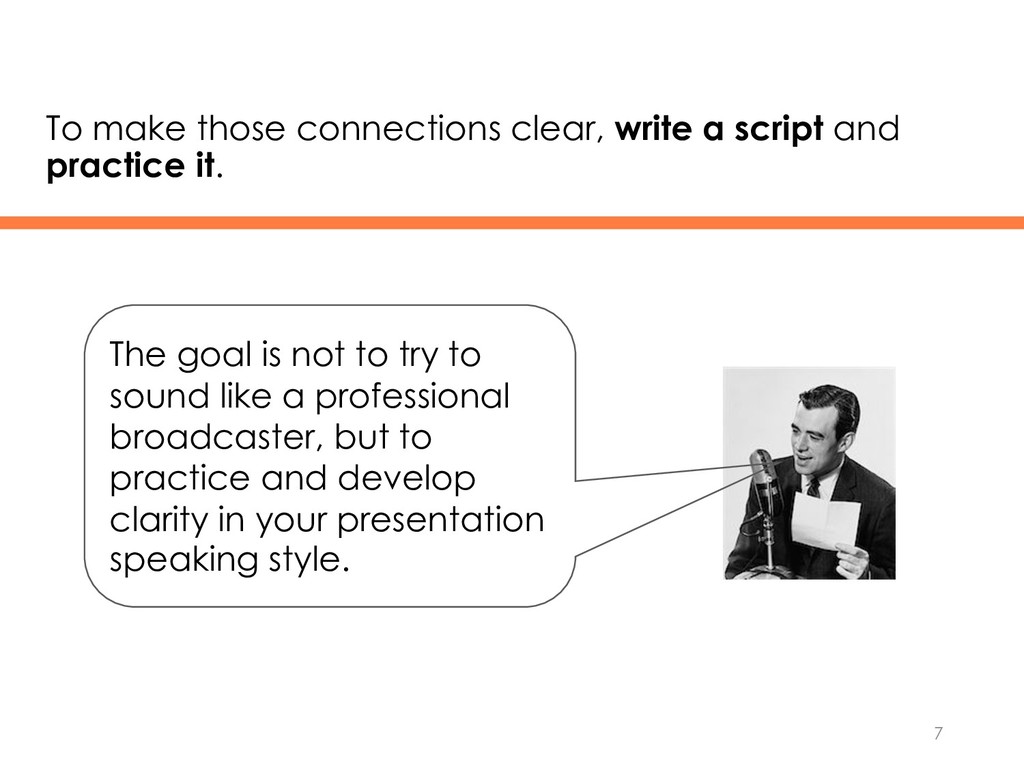
writing the script but adapt these for the ear by keeping sentences short. 8 You should be able to say each sentence in your script in a single breath.
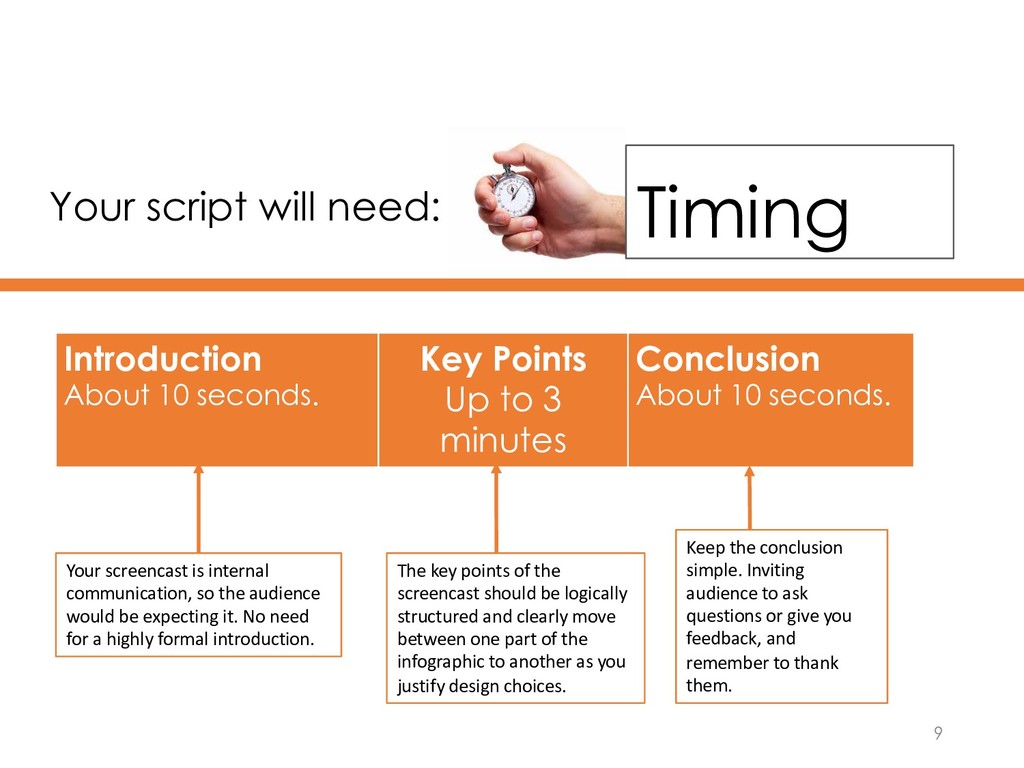
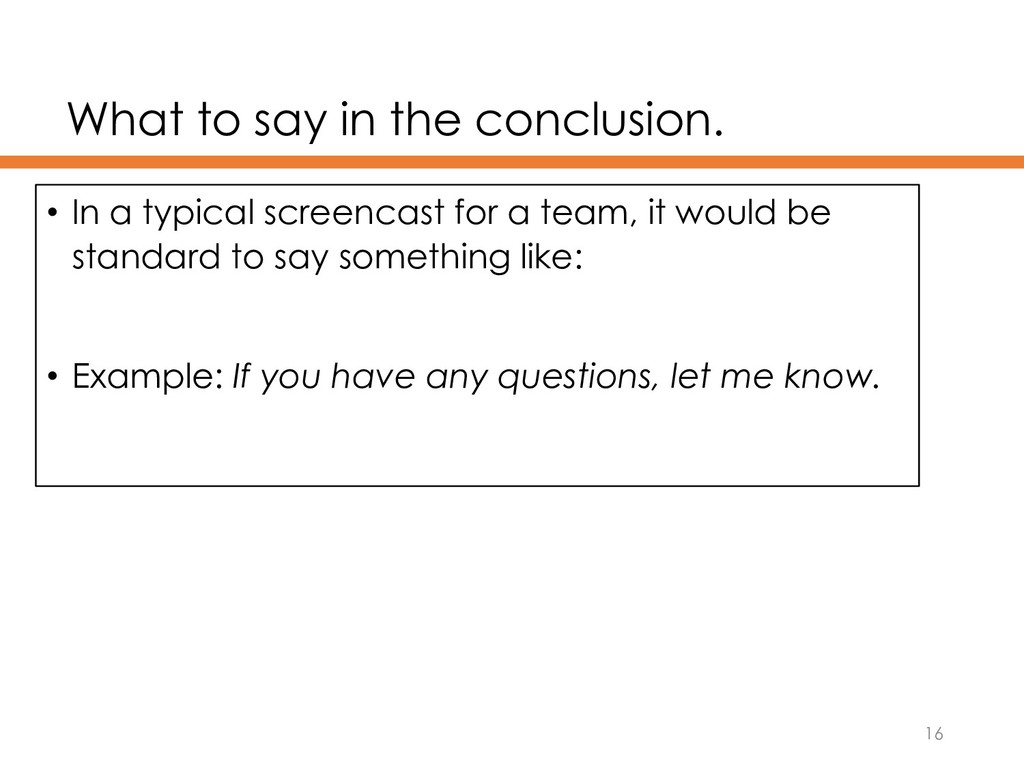
Points Up to 3 minutes Conclusion About 10 seconds. Timing Your screencast is internal communication, so the audience would be expecting it. No need for a highly formal introduction. The key points of the screencast should be logically structured and clearly move between one part of the infographic to another as you justify design choices. Keep the conclusion simple. Inviting audience to ask questions or give you feedback, and remember to thank them.
justifying design choices to a project team. So keep the introduction short and informal: • Hi, team. Here is my justification for the design choices I made when creating the infographic we need. 10
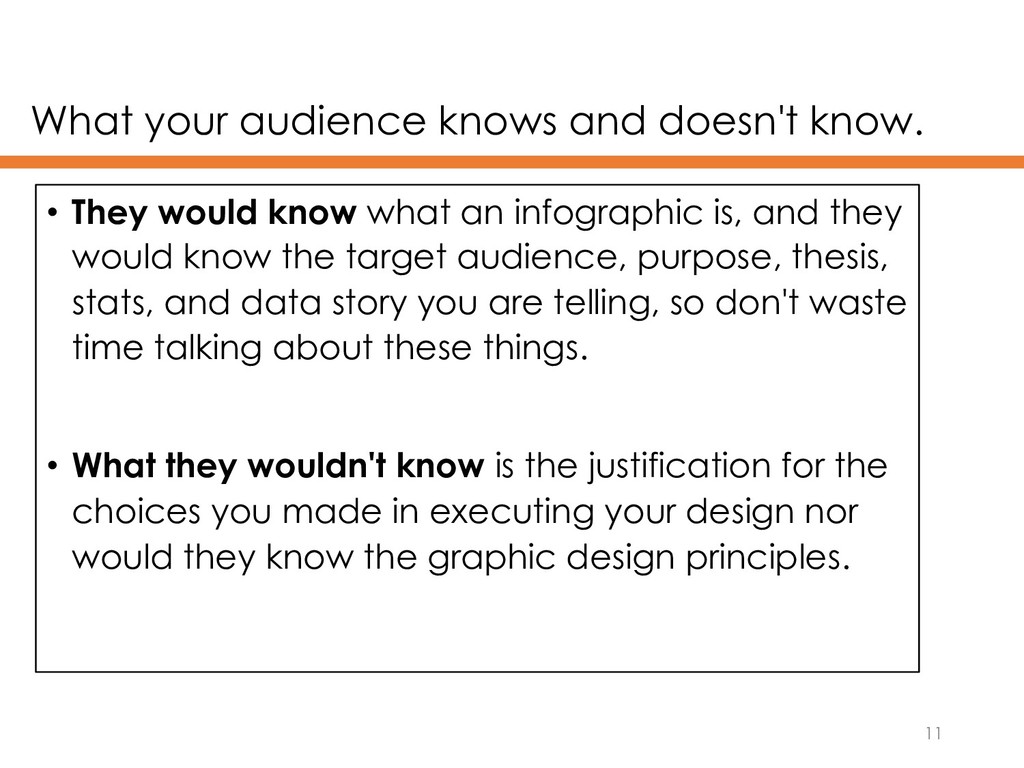
know what an infographic is, and they would know the target audience, purpose, thesis, stats, and data story you are telling, so don't waste time talking about these things. • What they wouldn't know is the justification for the choices you made in executing your design nor would they know the graphic design principles. 11
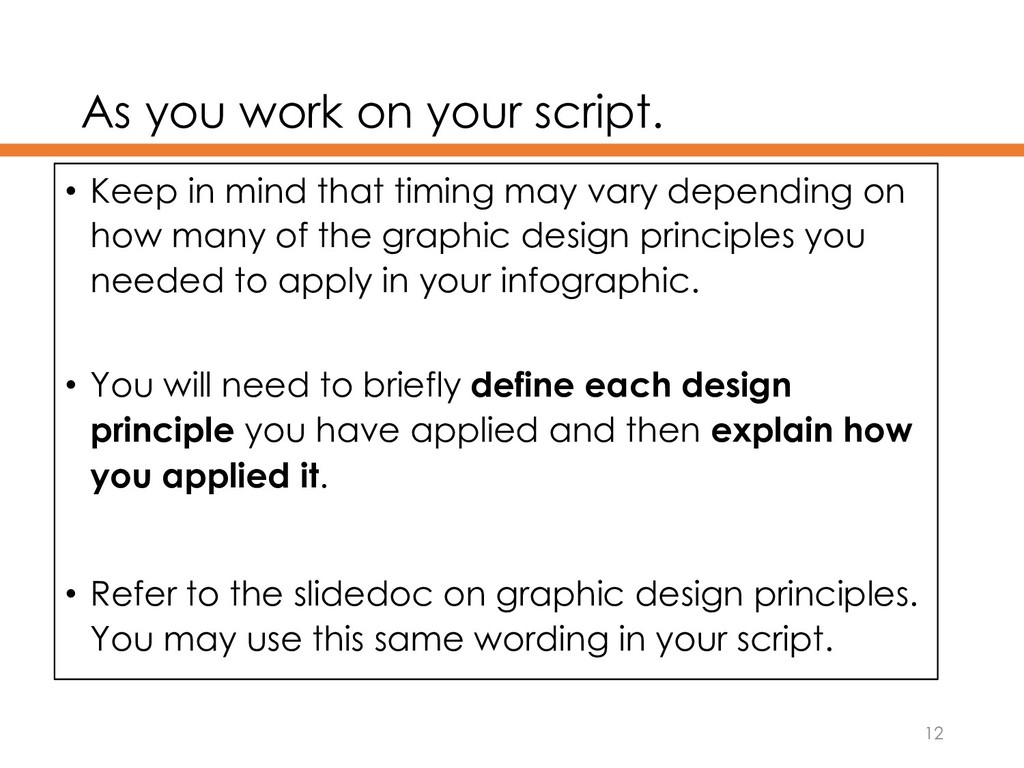
that timing may vary depending on how many of the graphic design principles you needed to apply in your infographic. • You will need to briefly define each design principle you have applied and then explain how you applied it. • Refer to the slidedoc on graphic design principles. You may use this same wording in your script. 12
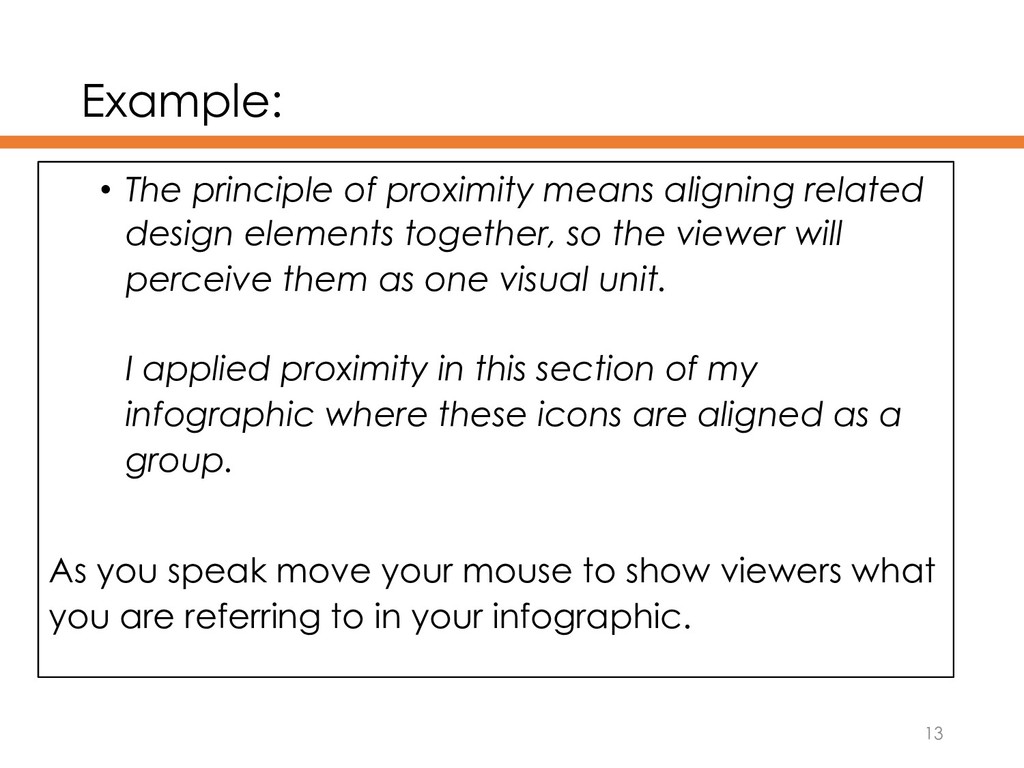
elements together, so the viewer will perceive them as one visual unit. I applied proximity in this section of my infographic where these icons are aligned as a group. As you speak move your mouse to show viewers what you are referring to in your infographic. 13
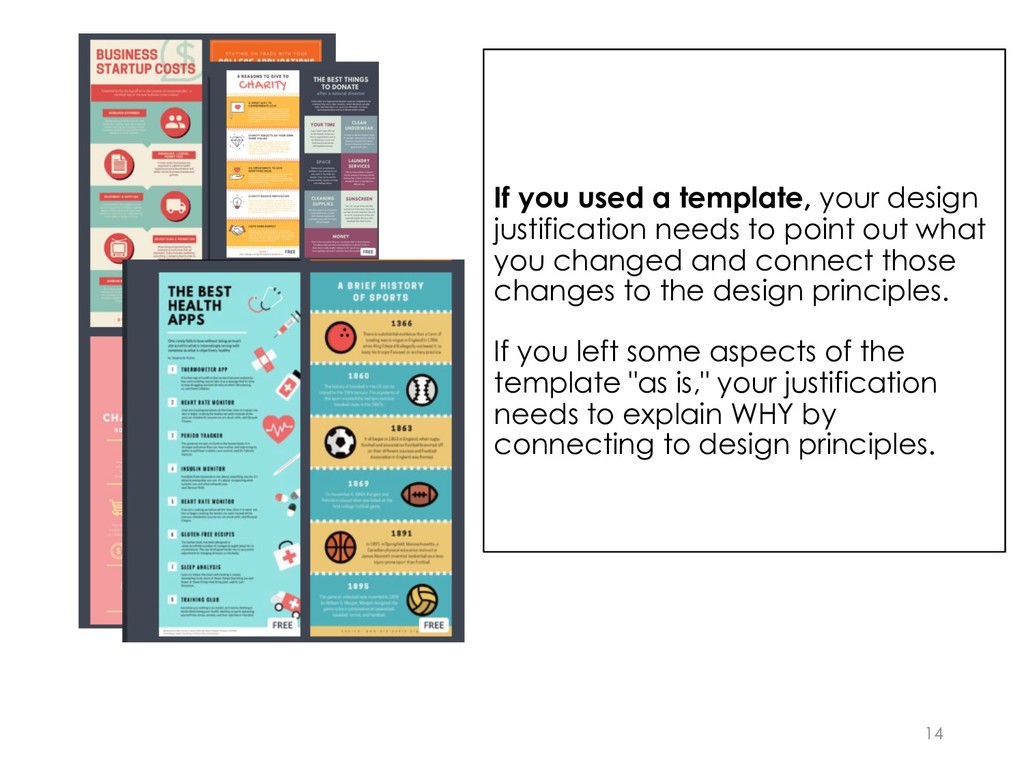
point out what you changed and connect those changes to the design principles. If you left some aspects of the template "as is," your justification needs to explain WHY by connecting to design principles. 14
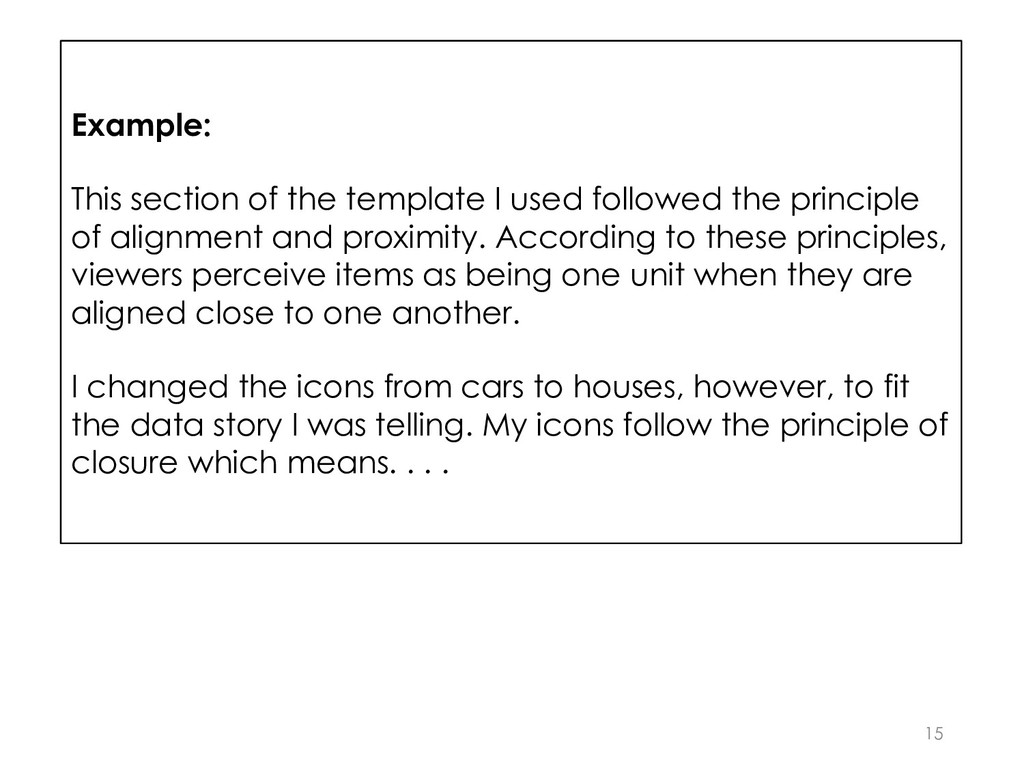
principle of alignment and proximity. According to these principles, viewers perceive items as being one unit when they are aligned close to one another. I changed the icons from cars to houses, however, to fit the data story I was telling. My icons follow the principle of closure which means. . . . 15
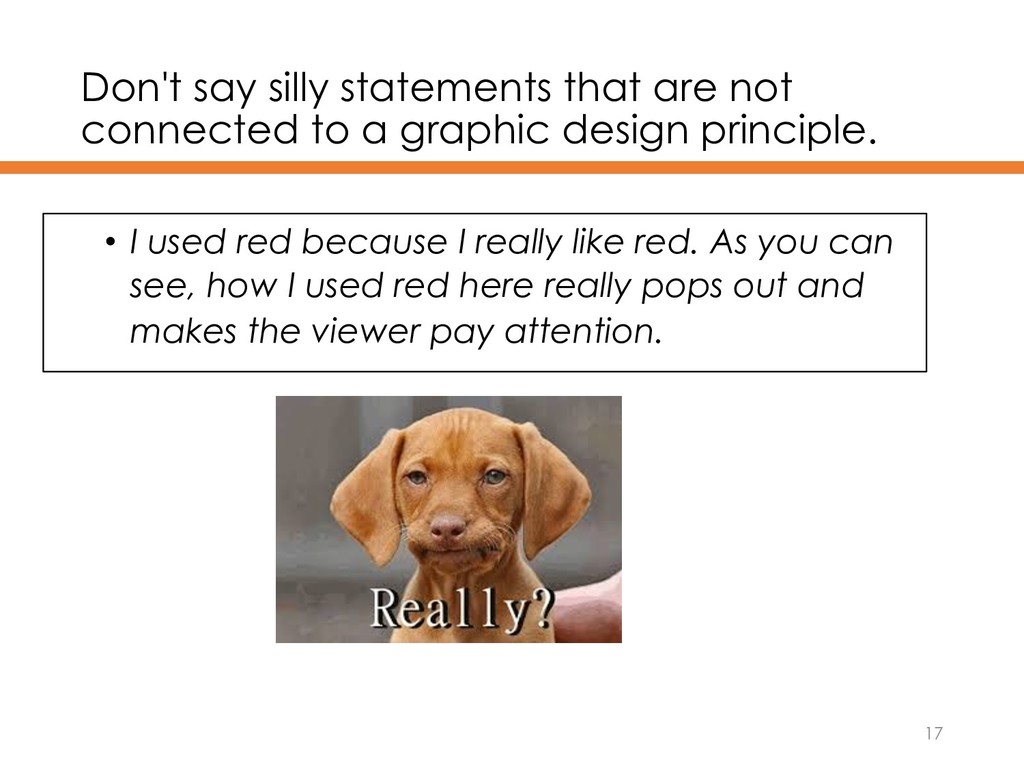
graphic design principle. • I used red because I really like red. As you can see, how I used red here really pops out and makes the viewer pay attention. 17
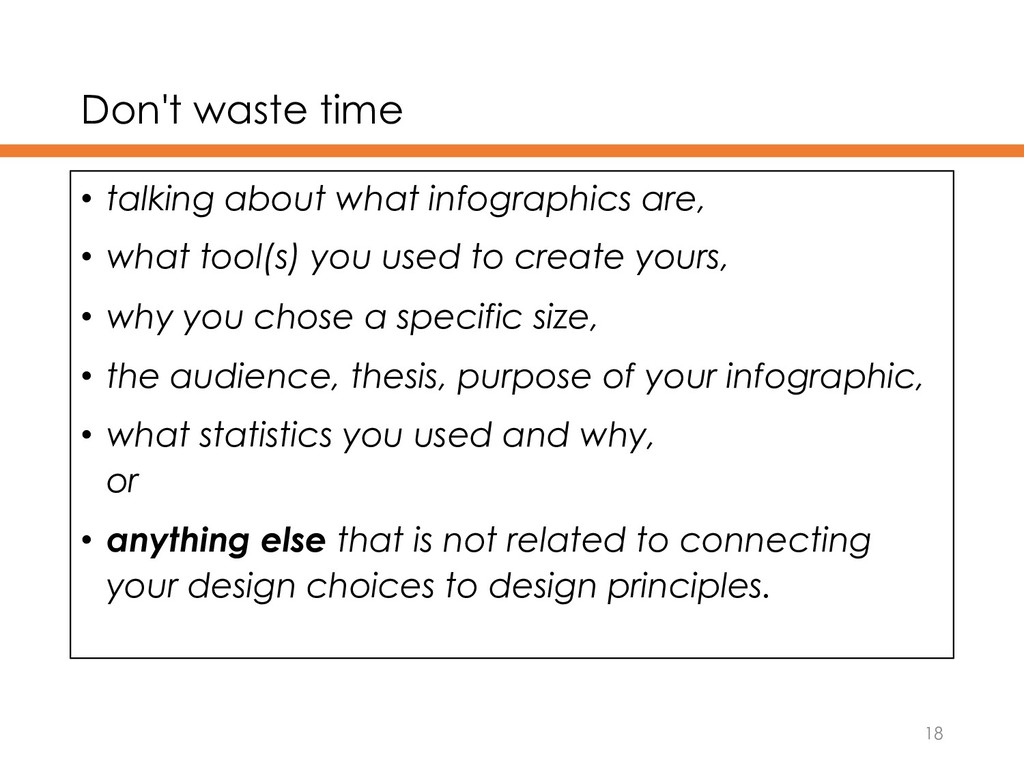
what tool(s) you used to create yours, • why you chose a specific size, • the audience, thesis, purpose of your infographic, • what statistics you used and why, or • anything else that is not related to connecting your design choices to design principles. 18
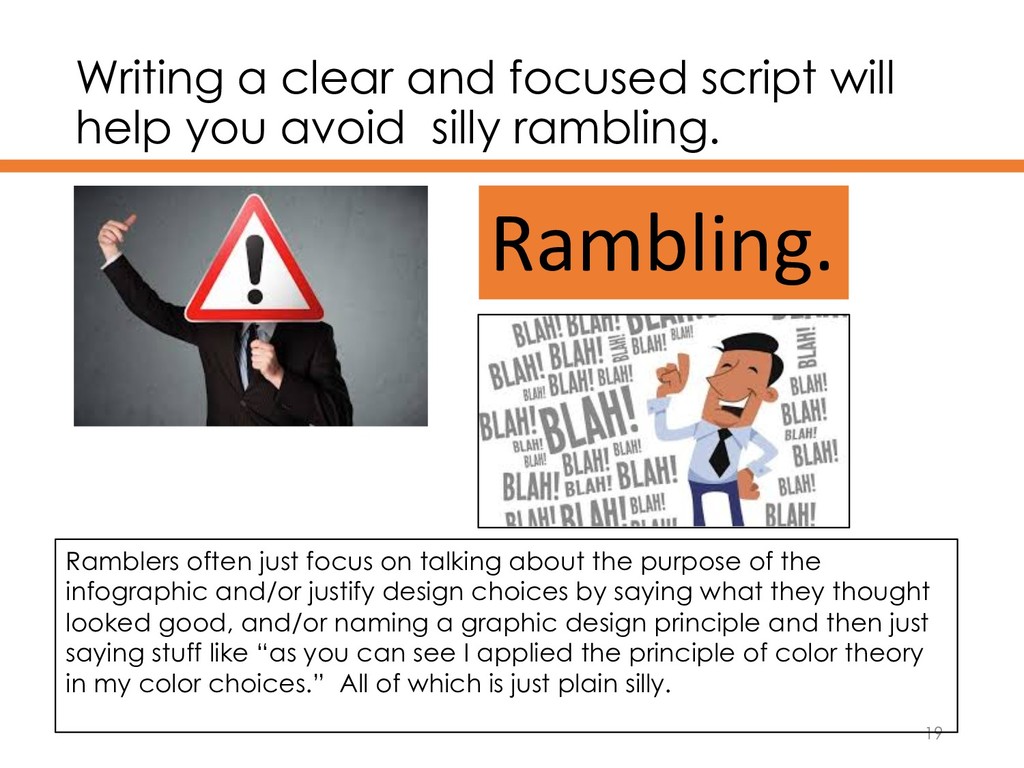
silly rambling. 19 Rambling. Ramblers often just focus on talking about the purpose of the infographic and/or justify design choices by saying what they thought looked good, and/or naming a graphic design principle and then just saying stuff like “as you can see I applied the principle of color theory in my color choices.” All of which is just plain silly.
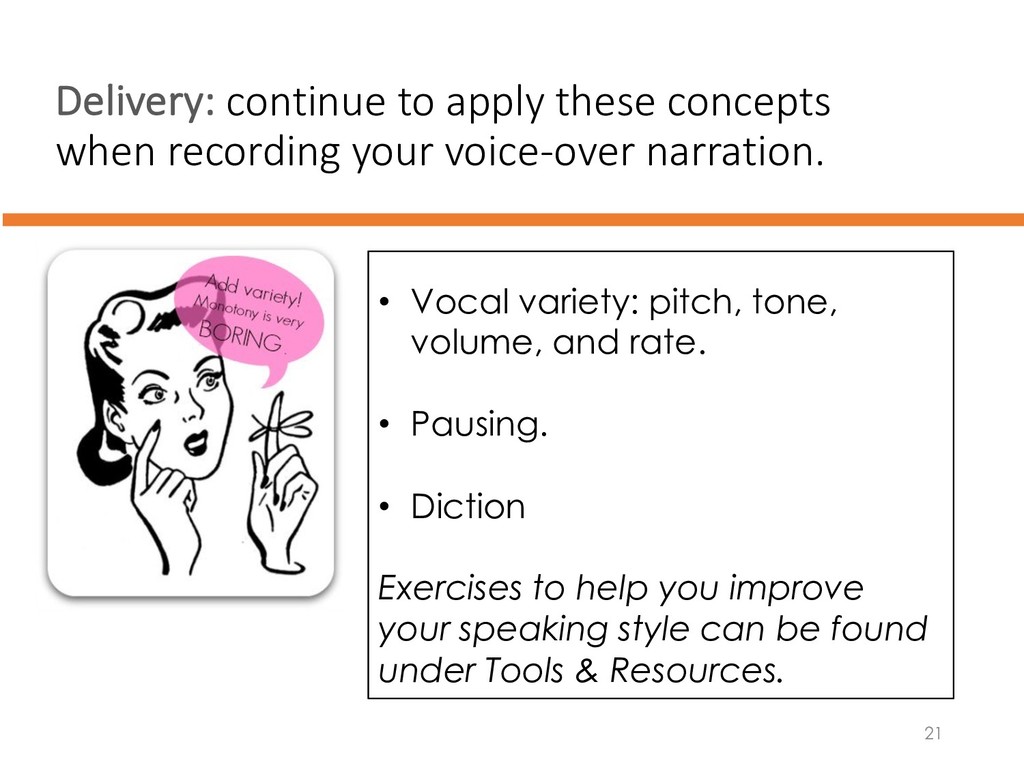
narration. 21 • Vocal variety: pitch, tone, volume, and rate. • Pausing. • Diction Exercises to help you improve your speaking style can be found under Tools & Resources.