In this presentation can someone see how to add useraccount in a Meteor.js app and how to create routes. This presentation based on www.discovermeteor.com.
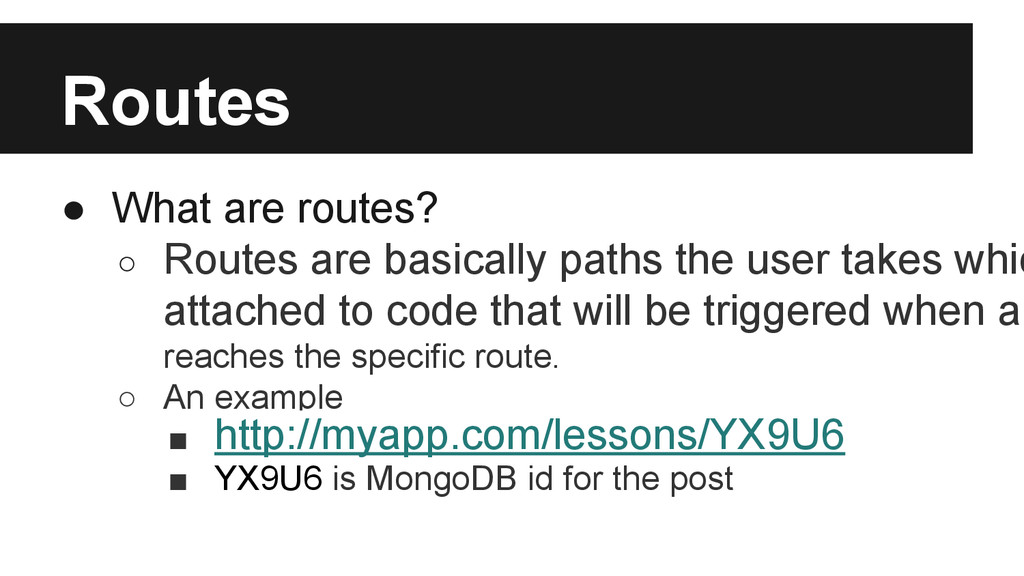
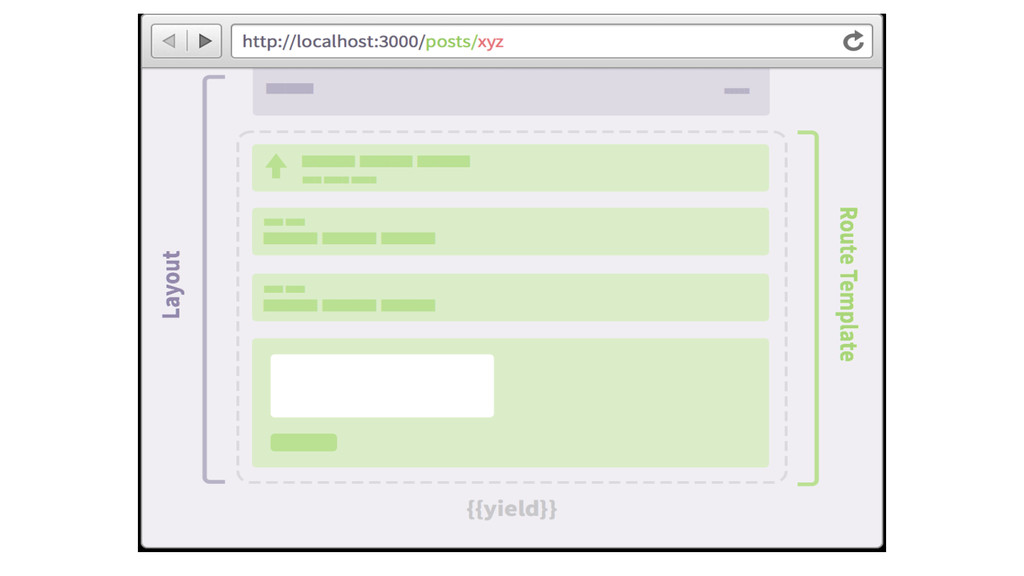
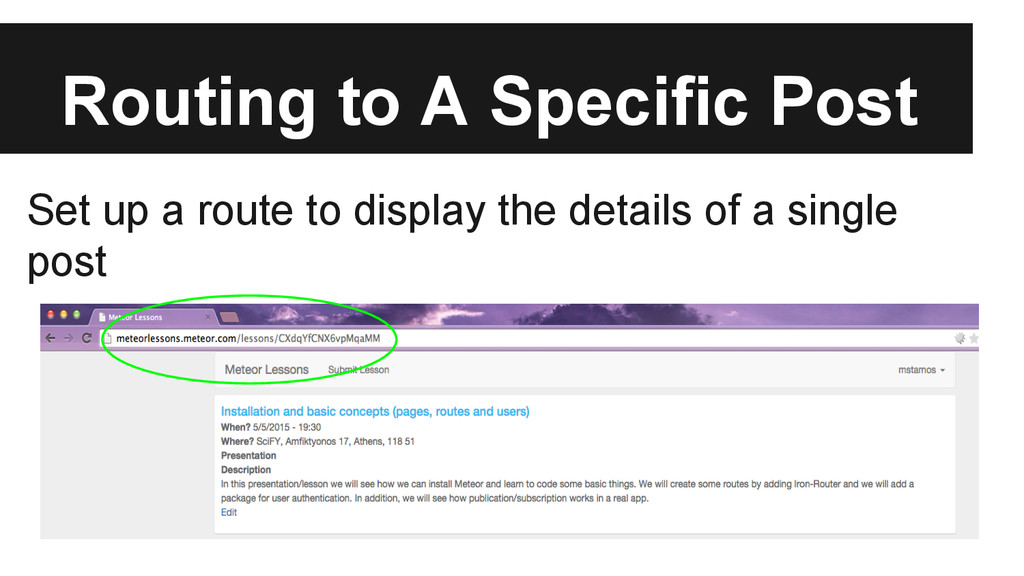
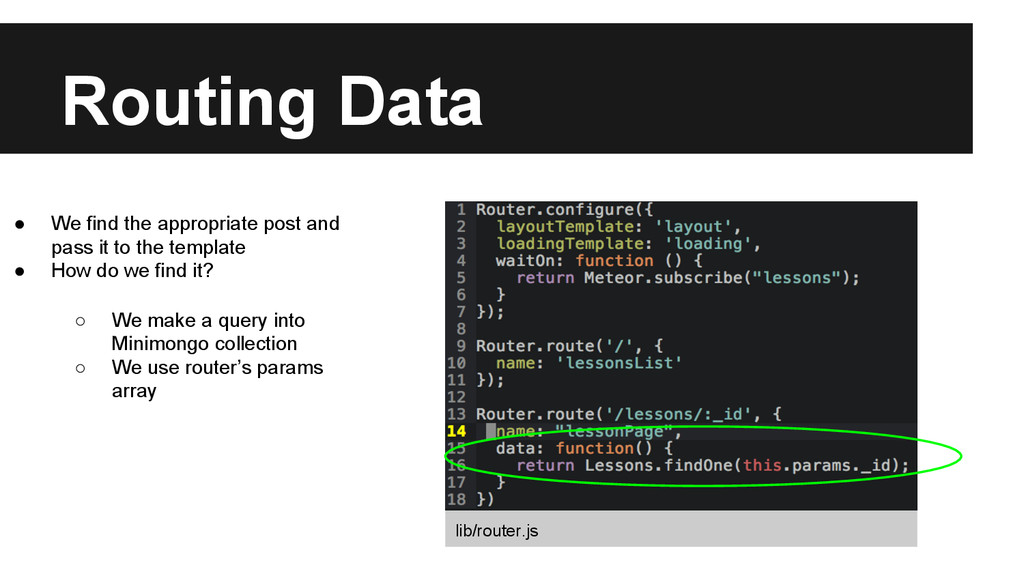
the user takes whic attached to code that will be triggered when a reaches the specific route. ◦ An example ▪ http://myapp.com/lessons/YX9U6 ▪ YX9U6 is MongoDB id for the post
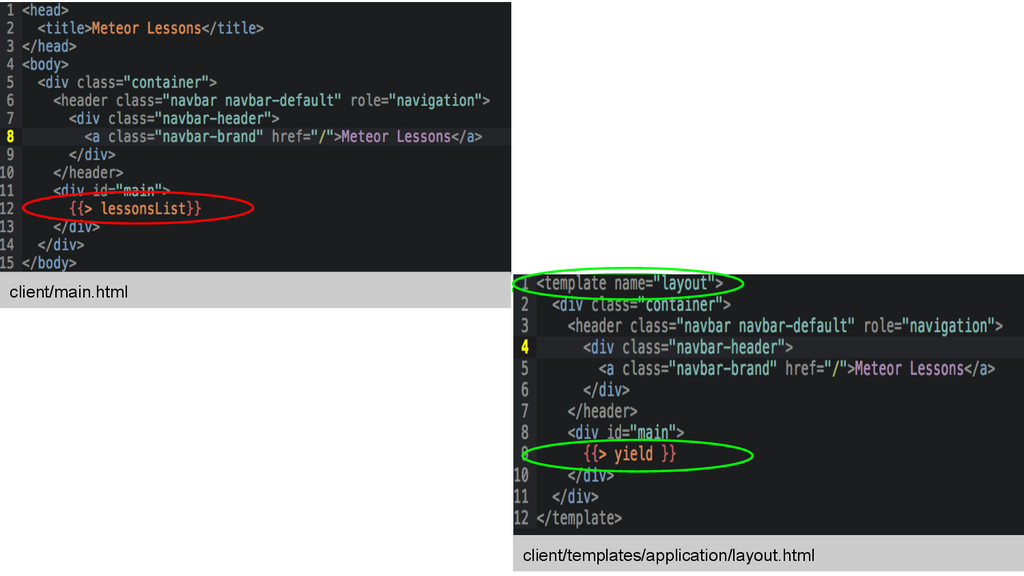
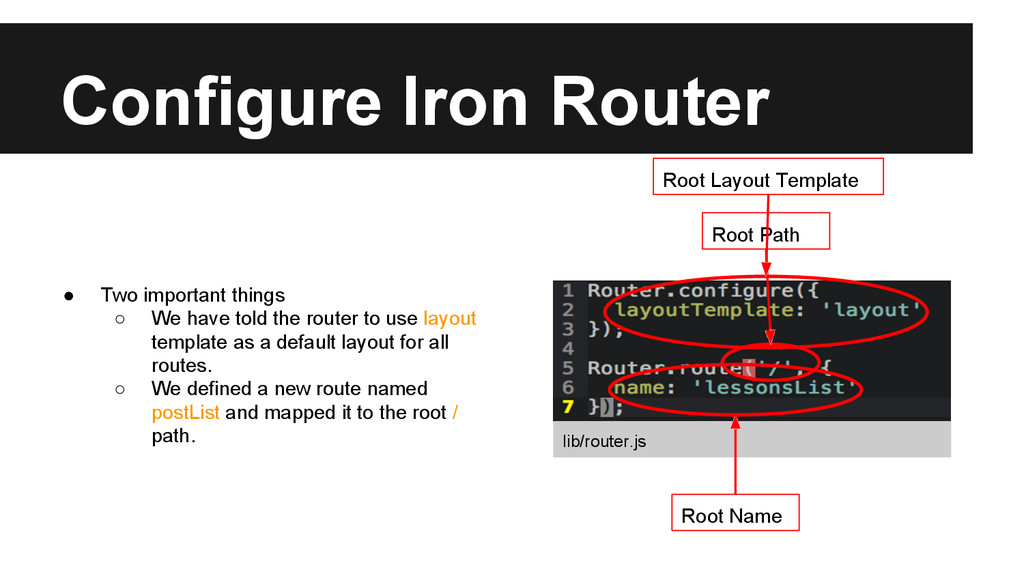
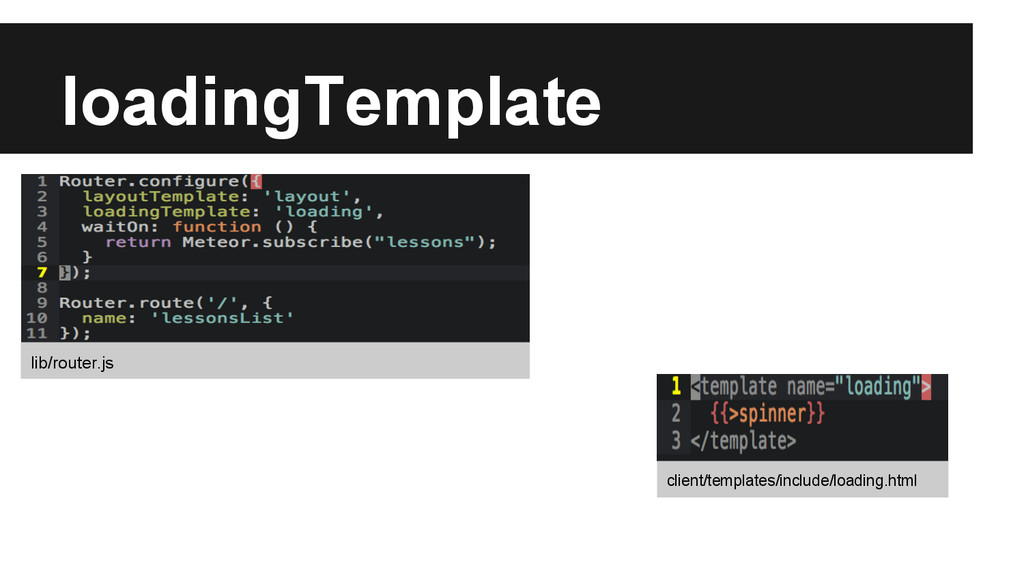
told the router to use layout template as a default layout for all routes. ◦ We defined a new route named postList and mapped it to the root / path. lib/router.js Root Path Root Name Root Layout Template
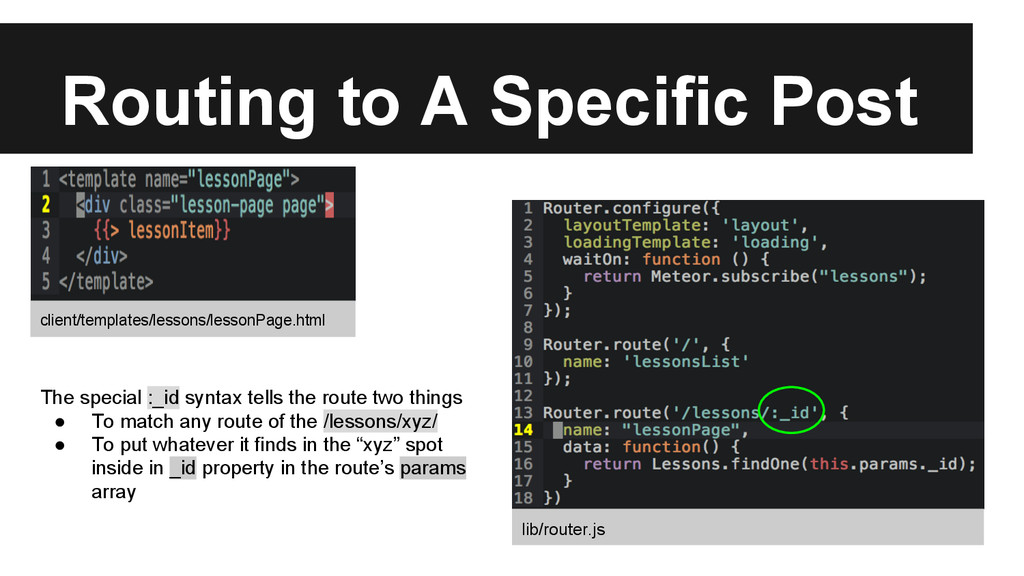
the route two things • To match any route of the /lessons/xyz/ • To put whatever it finds in the “xyz” spot inside in _id property in the route’s params array client/templates/lessons/lessonPage.html lib/router.js
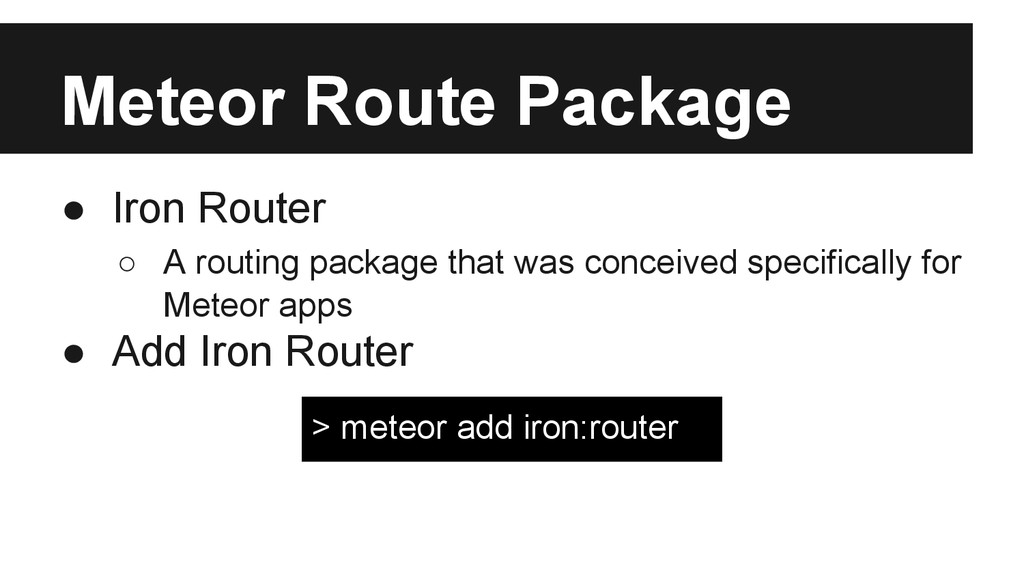
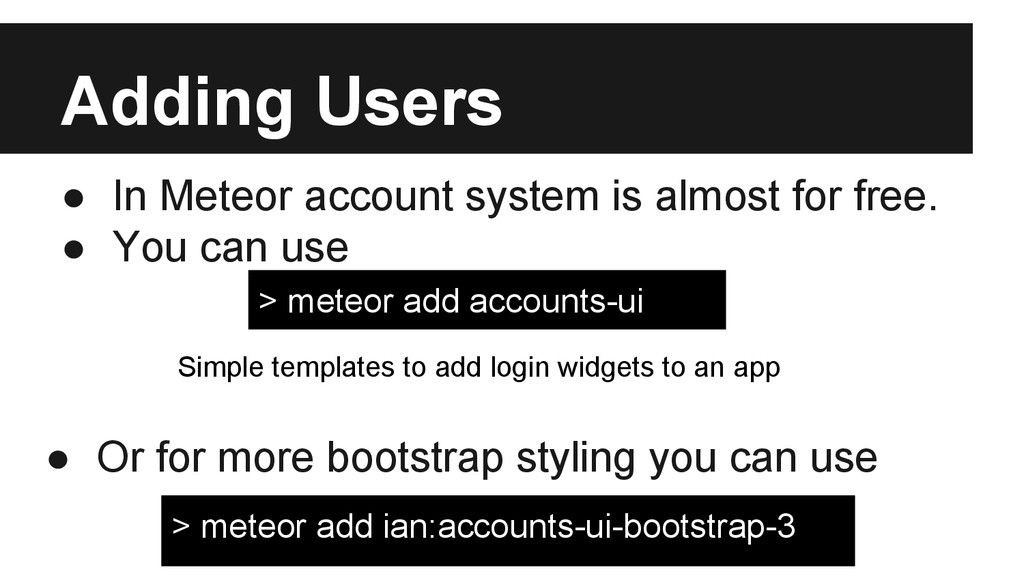
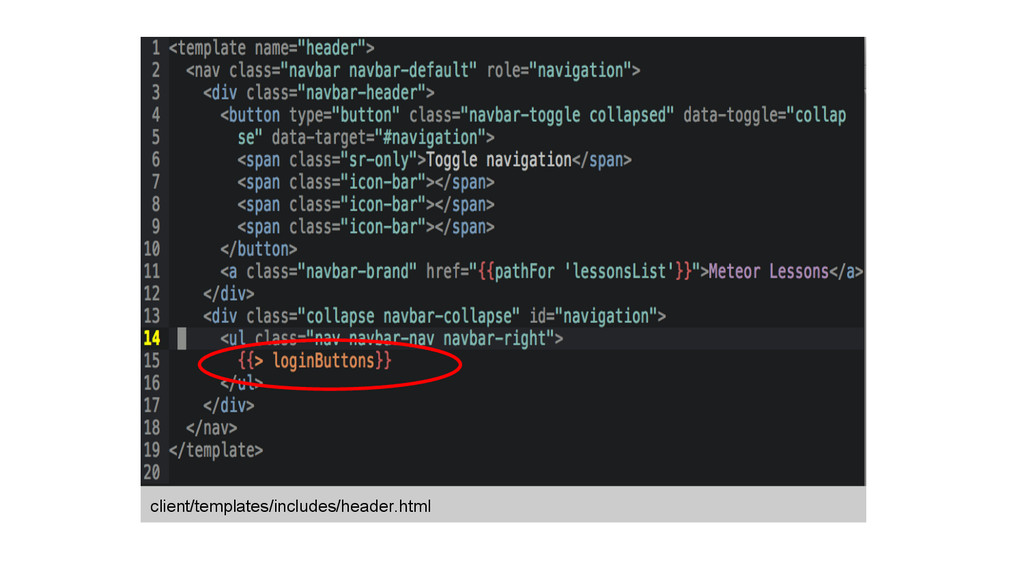
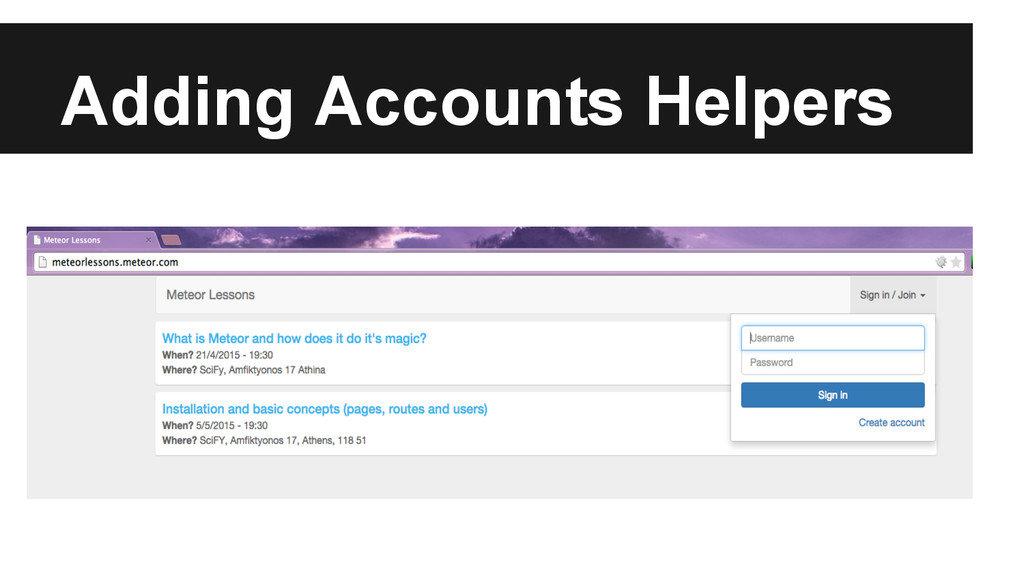
free. • You can use > meteor add accounts-ui • Or for more bootstrap styling you can use > meteor add ian:accounts-ui-bootstrap-3 Simple templates to add login widgets to an app
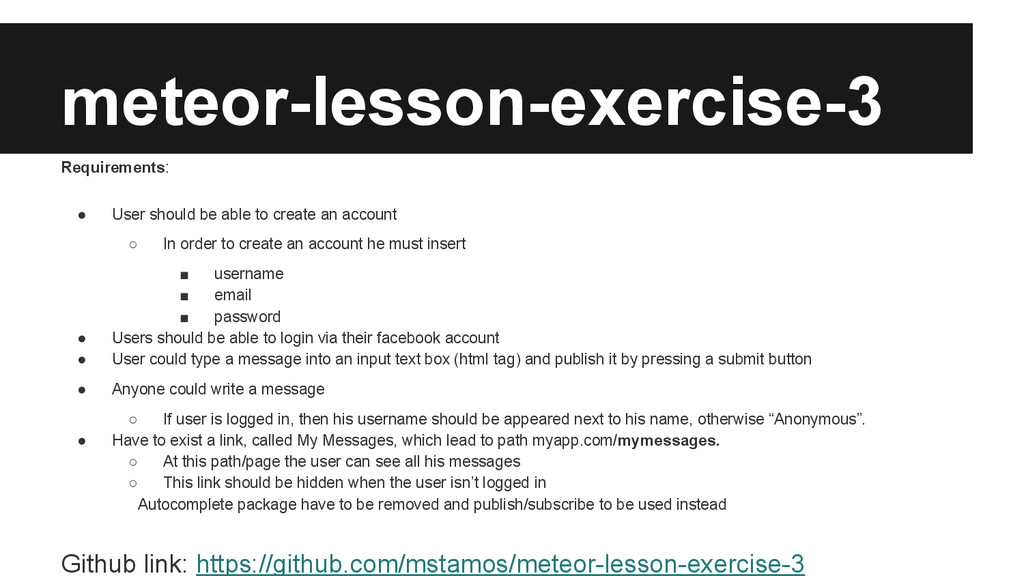
account ◦ In order to create an account he must insert ▪ username ▪ email ▪ password • Users should be able to login via their facebook account • User could type a message into an input text box (html tag) and publish it by pressing a submit button • Anyone could write a message ◦ If user is logged in, then his username should be appeared next to his name, otherwise “Anonymous”. • Have to exist a link, called My Messages, which lead to path myapp.com/mymessages. ◦ At this path/page the user can see all his messages ◦ This link should be hidden when the user isn’t logged in Autocomplete package have to be removed and publish/subscribe to be used instead Github link: https://github.com/mstamos/meteor-lesson-exercise-3