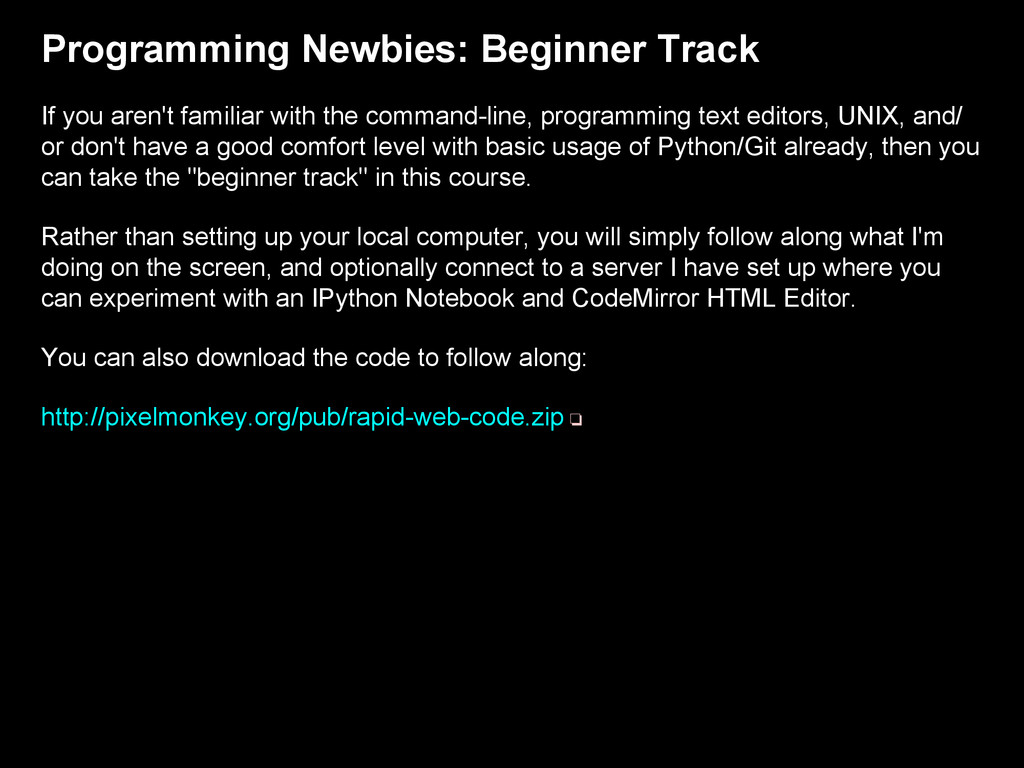
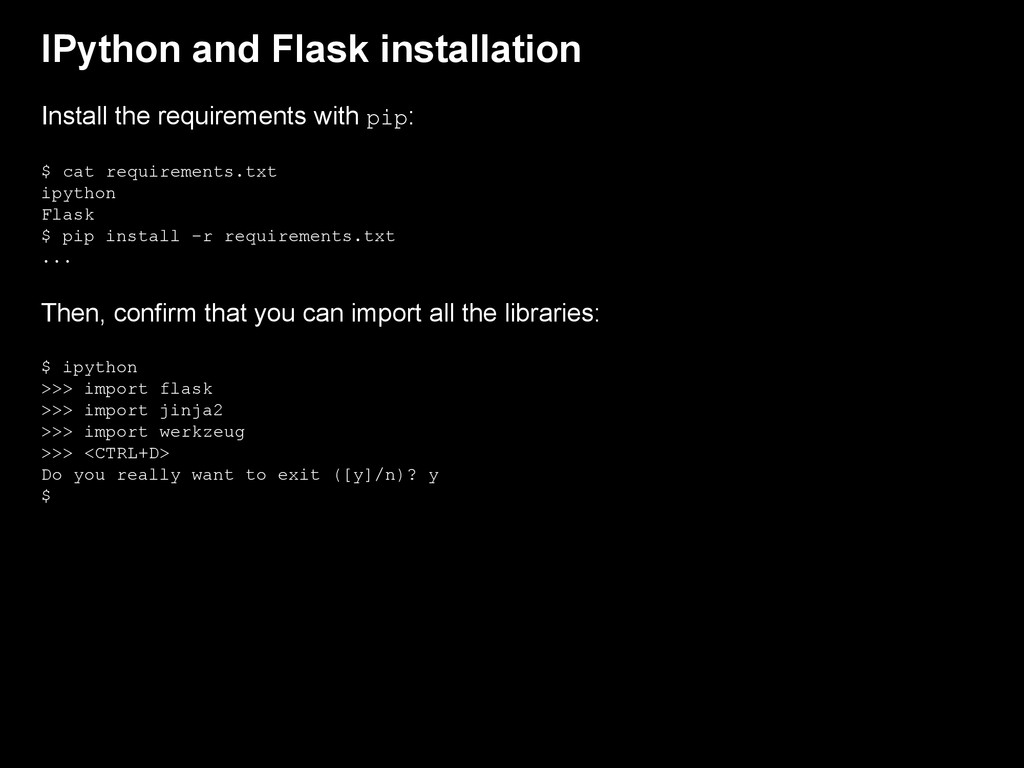
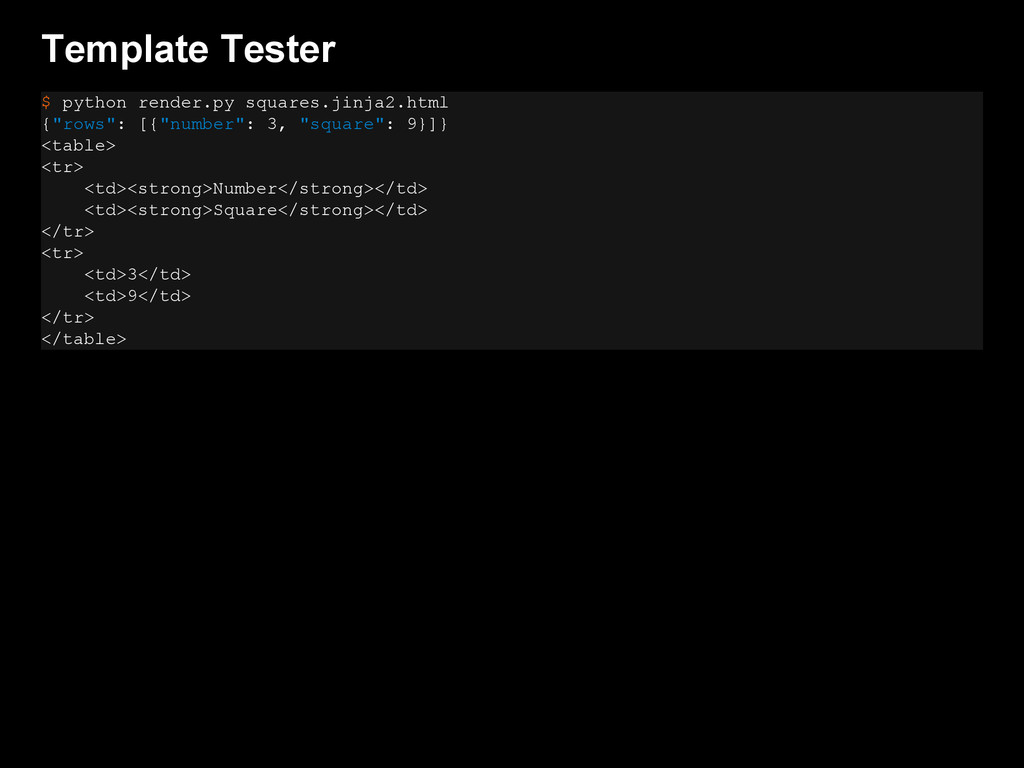
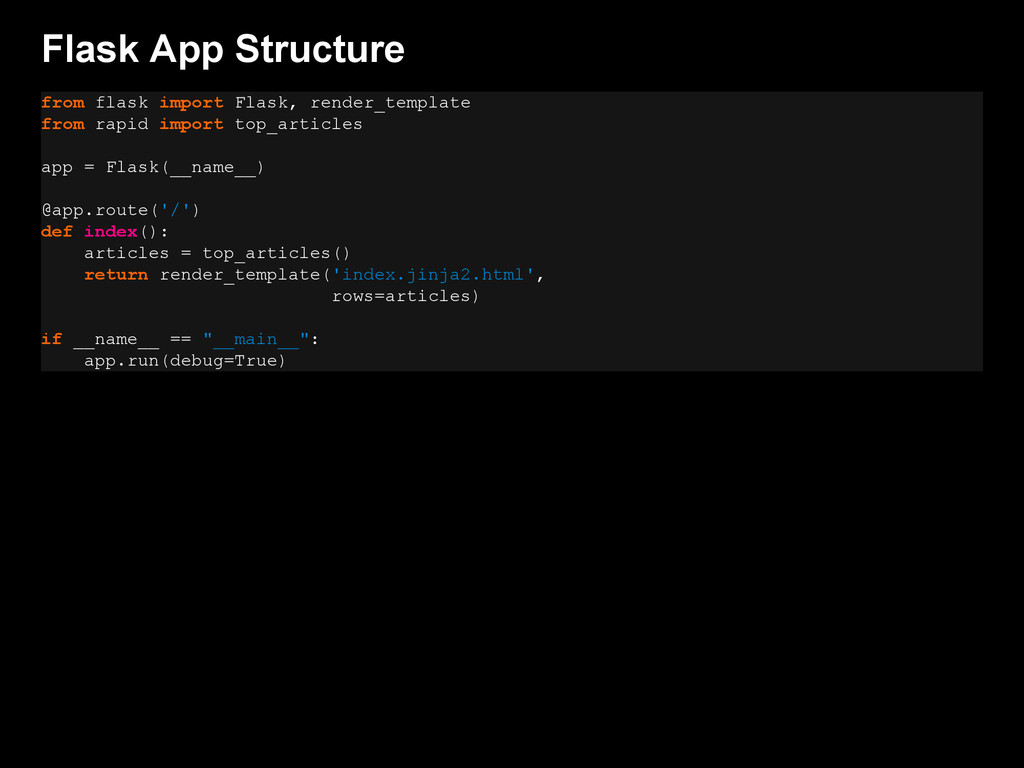
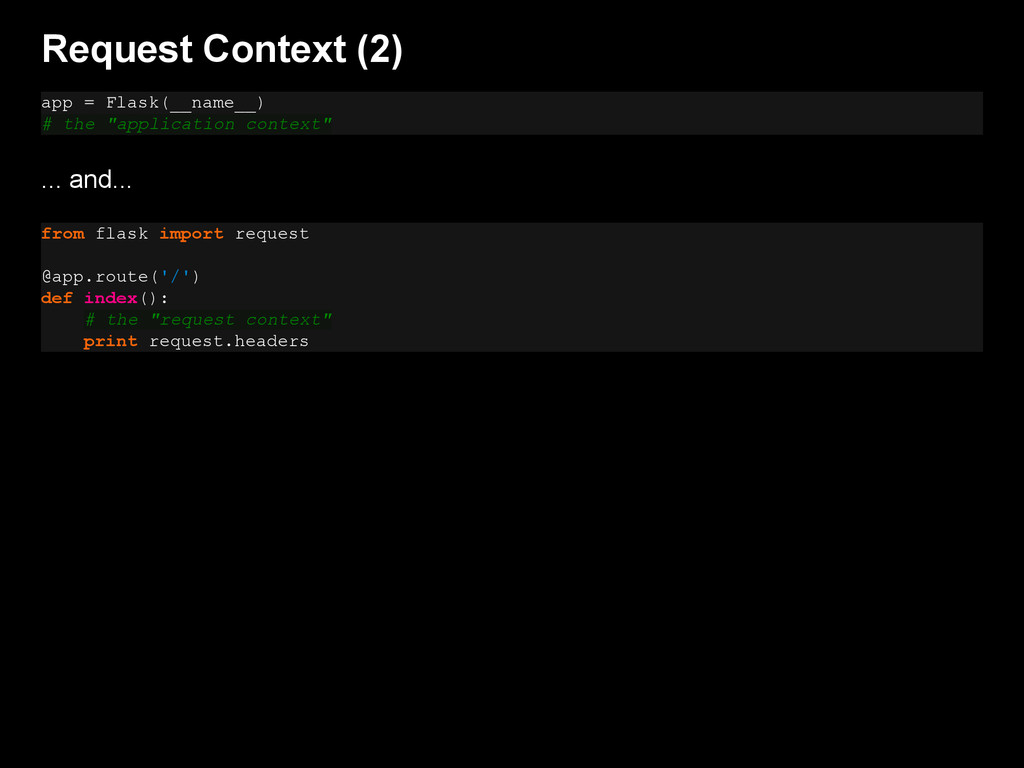
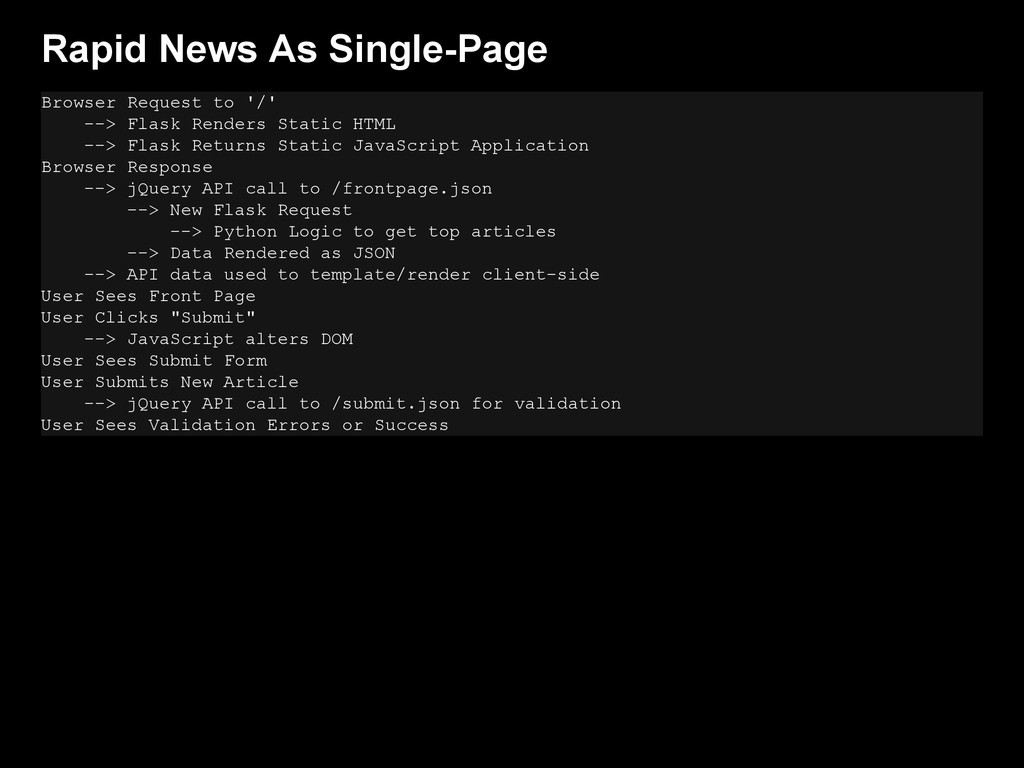
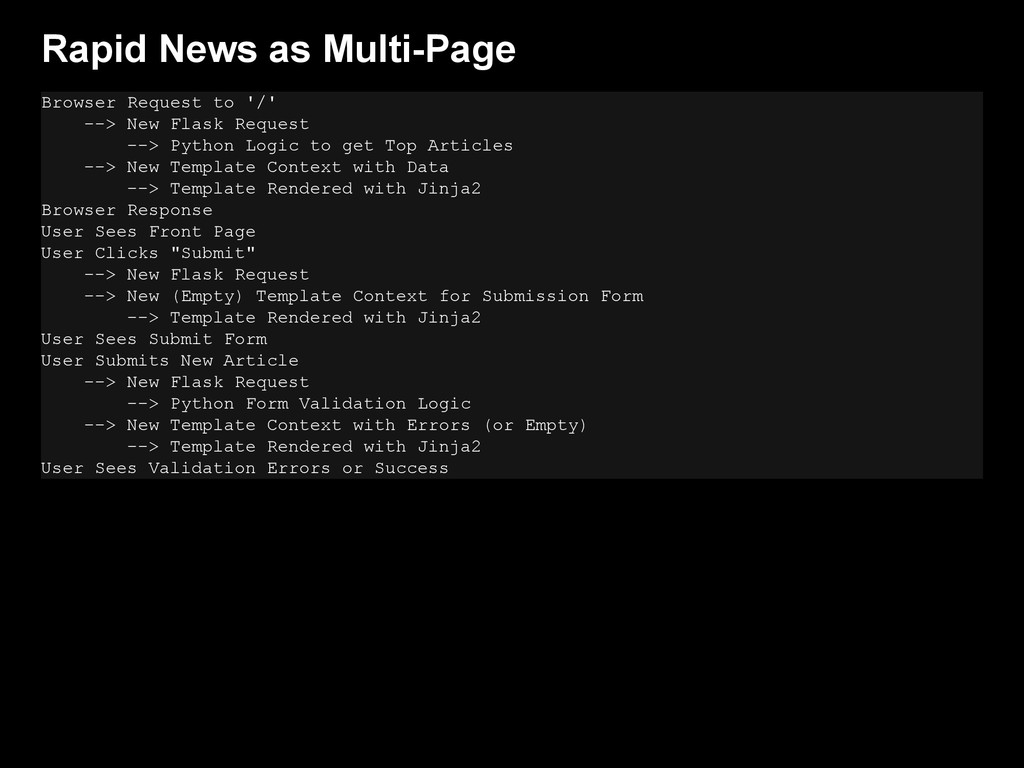
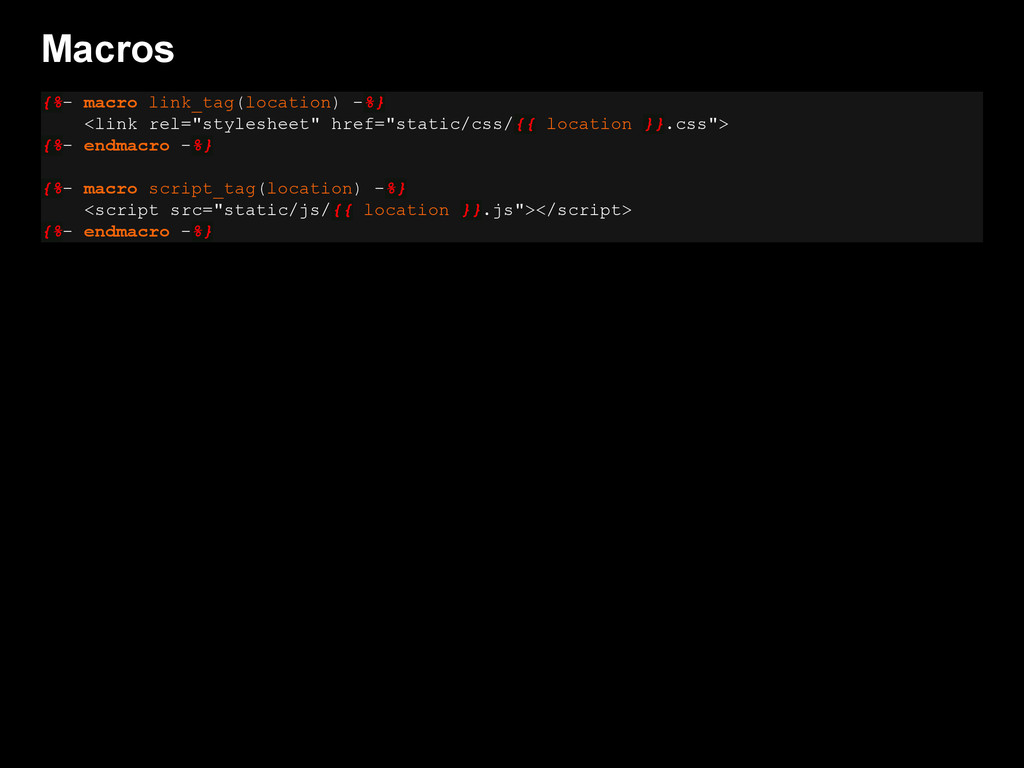
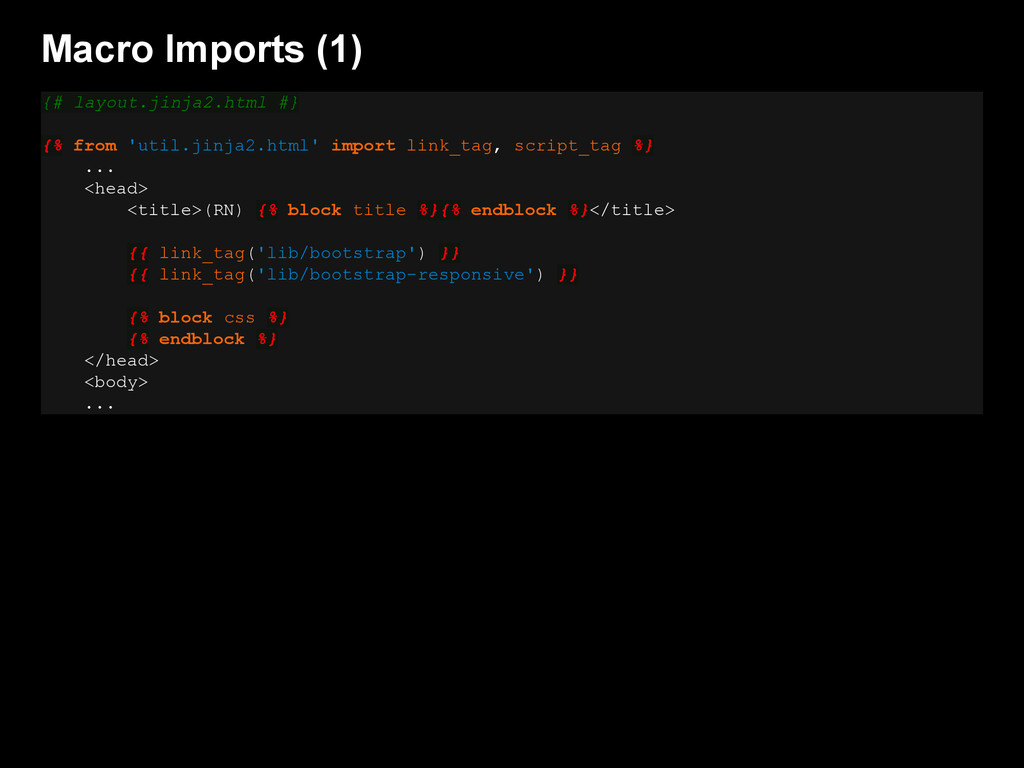
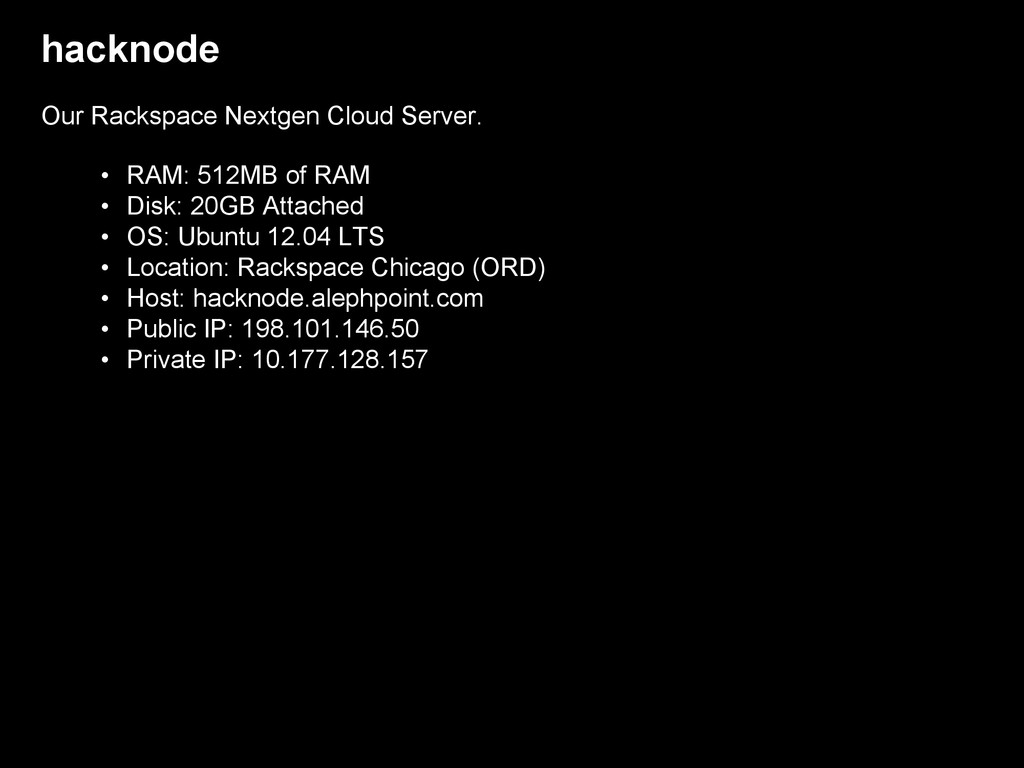
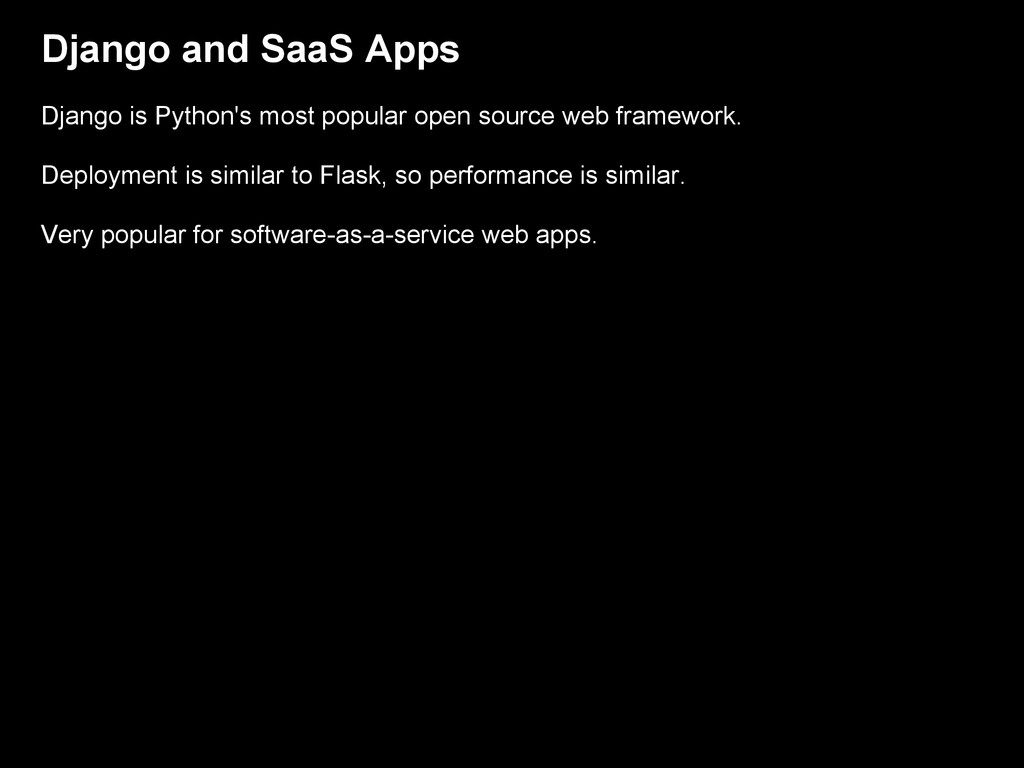
Tutorial participants will build a real-world web application rapidly using lightweight tools, such as Flask, Jinja2, MongoDB, and Twitter Bootstrap. By building the apps from scratch using tools whose size matches the task at hand, participants will be able to churn out working applications by the end of the tutorial that can solidify their Python and modern web dev knowledge.
![Data Access Stub def top_articles(): return [] def search_articles(query): return](https://files.speakerdeck.com/presentations/6ba0c7d07c4201301fea12313d2a52f7/slide_93.jpg)
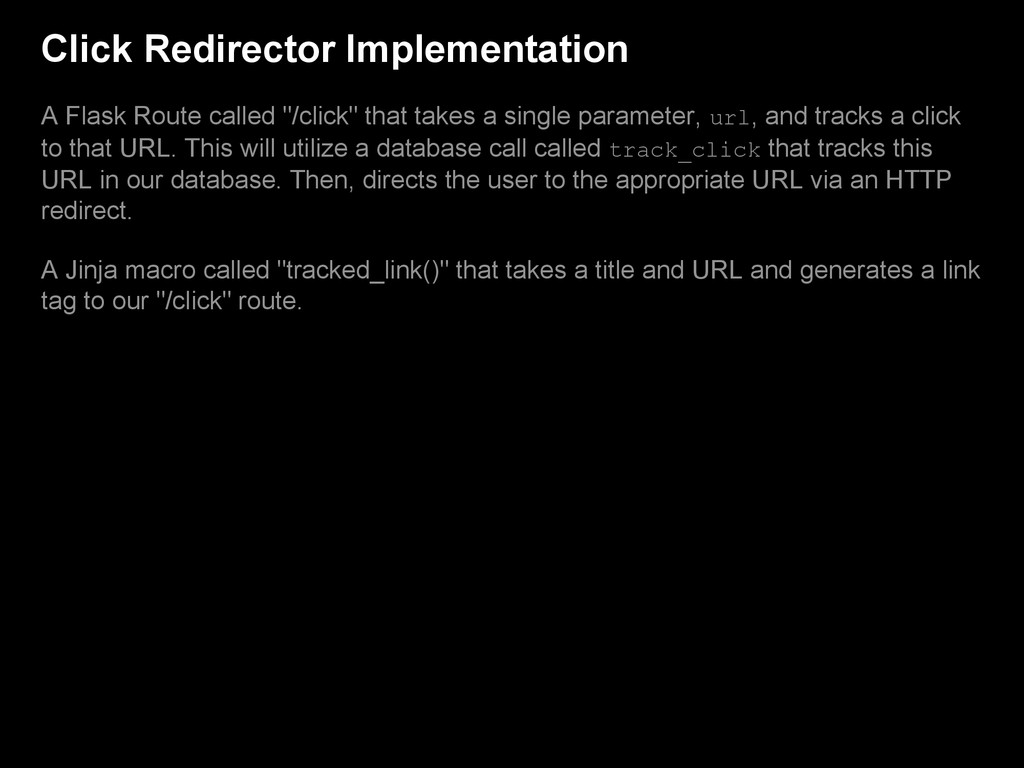
![Click Endpoint @app.route('/click/') def click(): url = request.args["url"] track_click(url) return](https://files.speakerdeck.com/presentations/6ba0c7d07c4201301fea12313d2a52f7/slide_150.jpg)
![Running fab (2) $ fab list_home [shared@hacknode] Executing task 'list_home'](https://files.speakerdeck.com/presentations/6ba0c7d07c4201301fea12313d2a52f7/slide_167.jpg)
![supervisor config Lives in /etc/supervisor/conf.d/hacknode1.conf: [program:hacknode1] command=\ uwsgi \ --plugins=http,python](https://files.speakerdeck.com/presentations/6ba0c7d07c4201301fea12313d2a52f7/slide_176.jpg)
![Run prod $ fab restart [shared@hacknode] Executing task 'restart' [shared@hacknode]](https://files.speakerdeck.com/presentations/6ba0c7d07c4201301fea12313d2a52f7/slide_185.jpg)