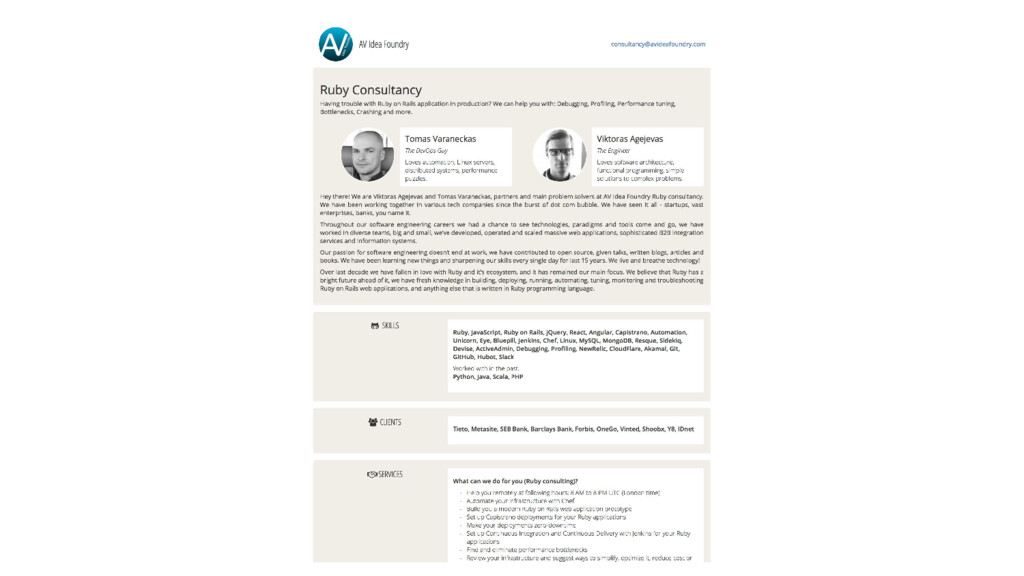
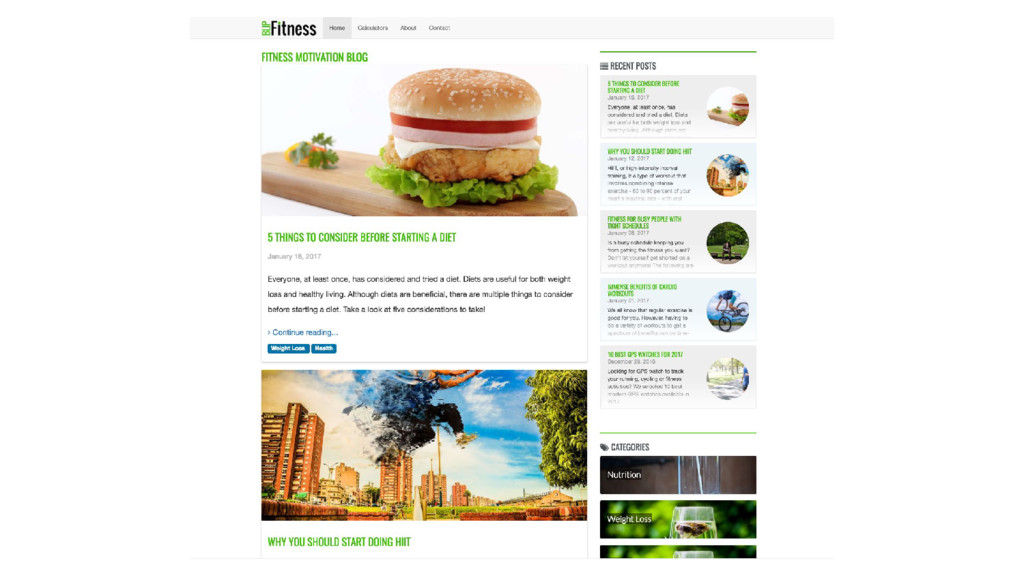
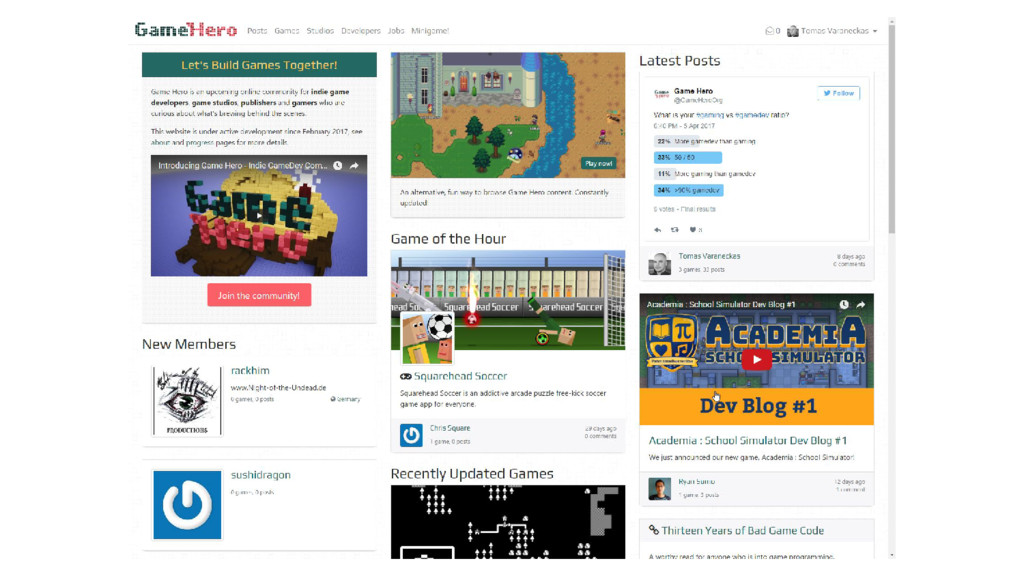
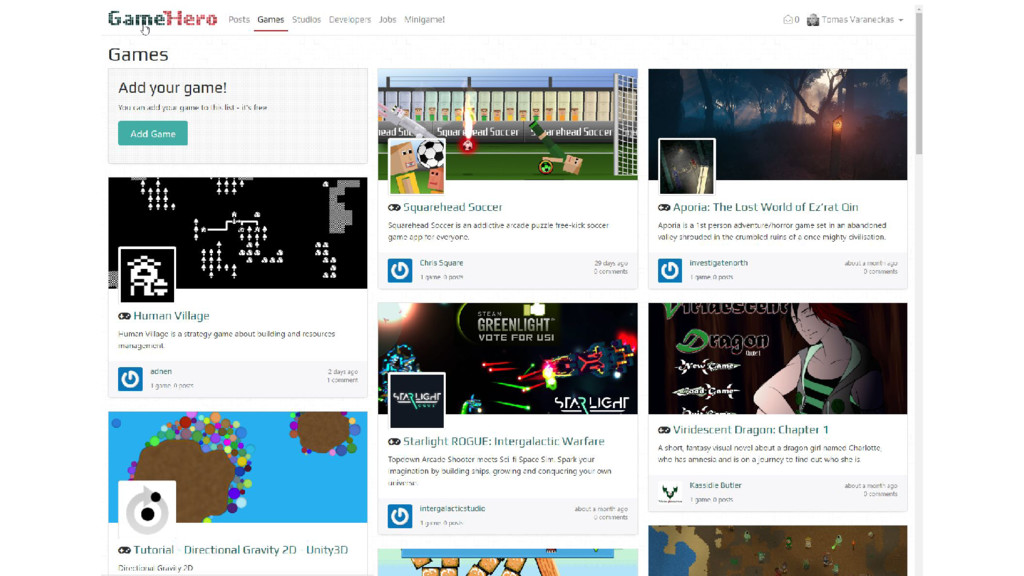
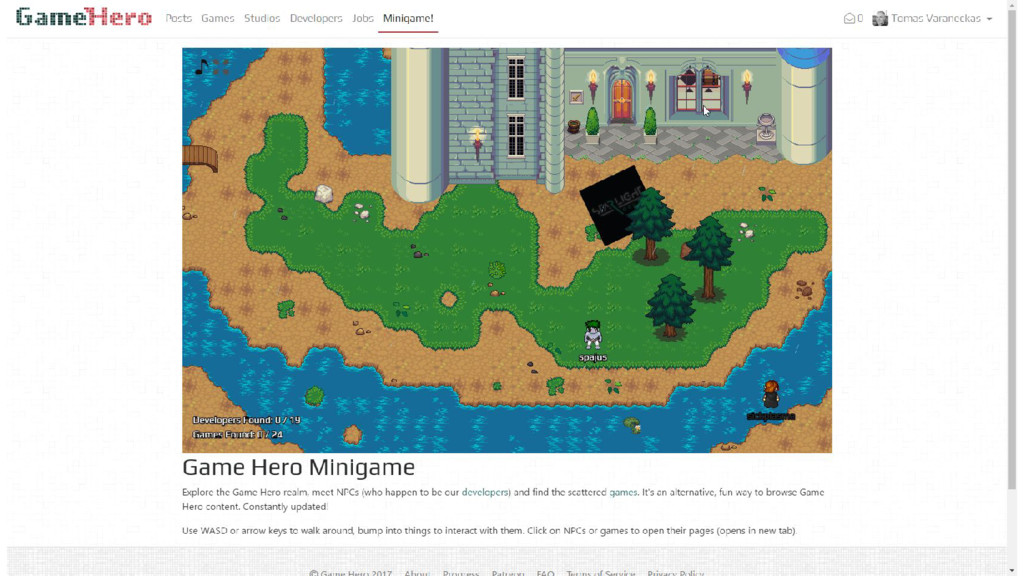
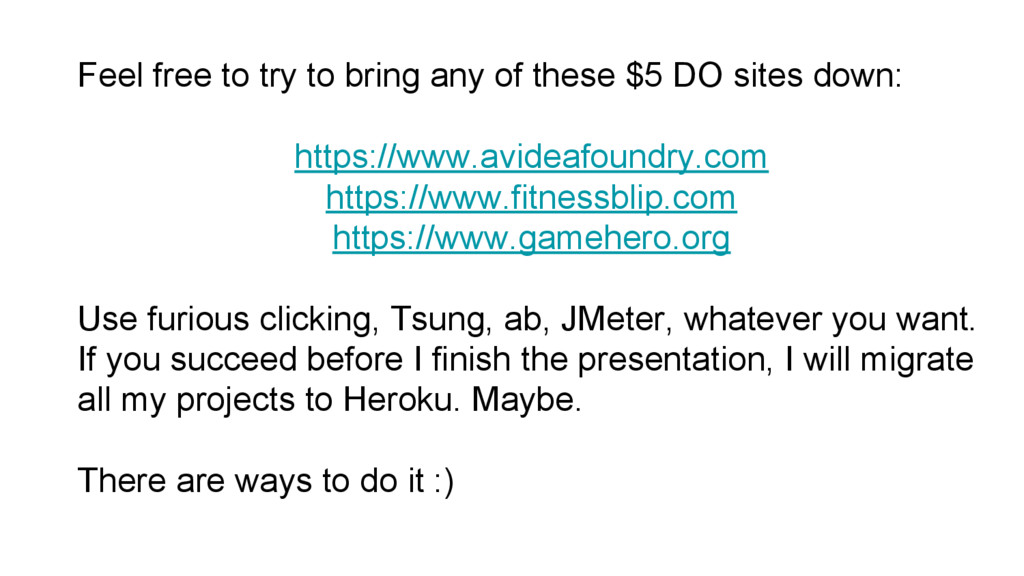
DO sites down: https://www.avideafoundry.com https://www.fitnessblip.com https://www.gamehero.org Use furious clicking, Tsung, ab, JMeter, whatever you want. If you succeed before I finish the presentation, I will migrate all my projects to Heroku. Maybe. There are ways to do it :)
a cheap roach motel of the internet - Cheap droplets are being used for unspeakable things.... - And you will inherit their IPV4 address after they’re done - If you won’t be handling your own email, you don’t really care - But if you do... - Verify public IPV4 address against multiple spam databases - You may need to create a dozen or two droplets to find one with clean IP - TIP: Creating multiple droplets at once may yield cleaner IPs - Warning: You’ll pay for 1h of each created instance while you look for clean one
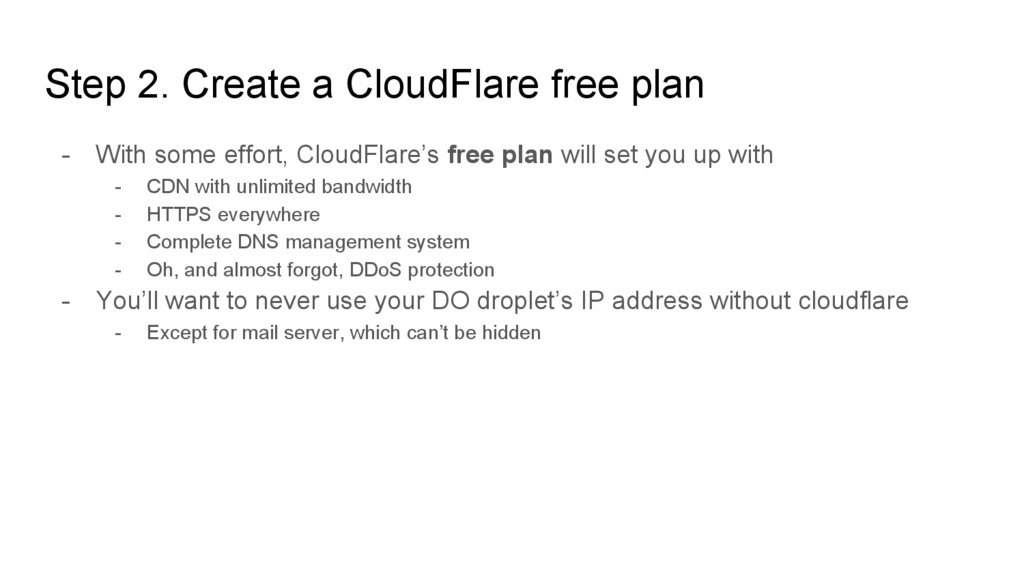
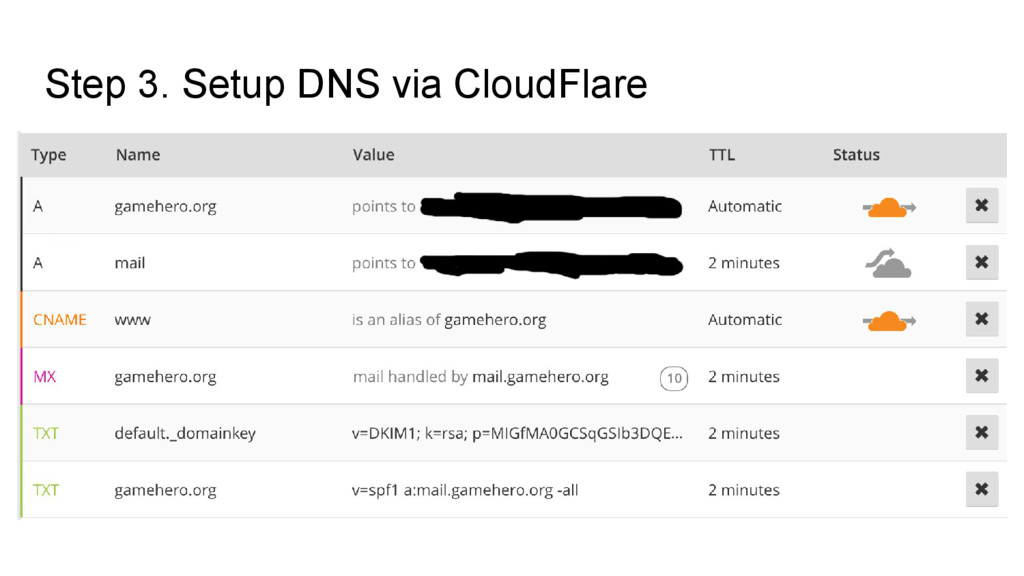
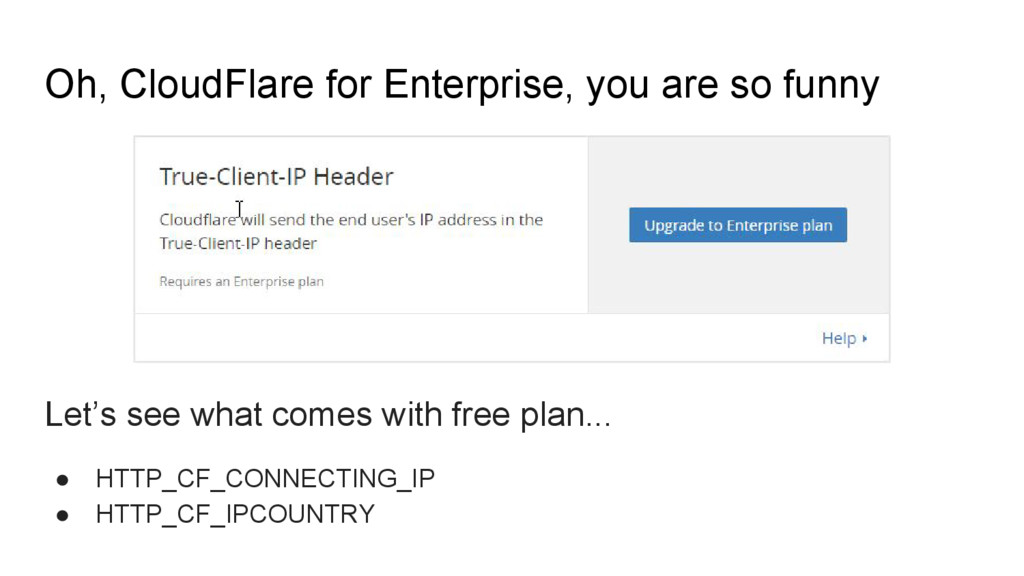
effort, CloudFlare’s free plan will set you up with - CDN with unlimited bandwidth - HTTPS everywhere - Complete DNS management system - Oh, and almost forgot, DDoS protection - You’ll want to never use your DO droplet’s IP address without cloudflare - Except for mail server, which can’t be hidden
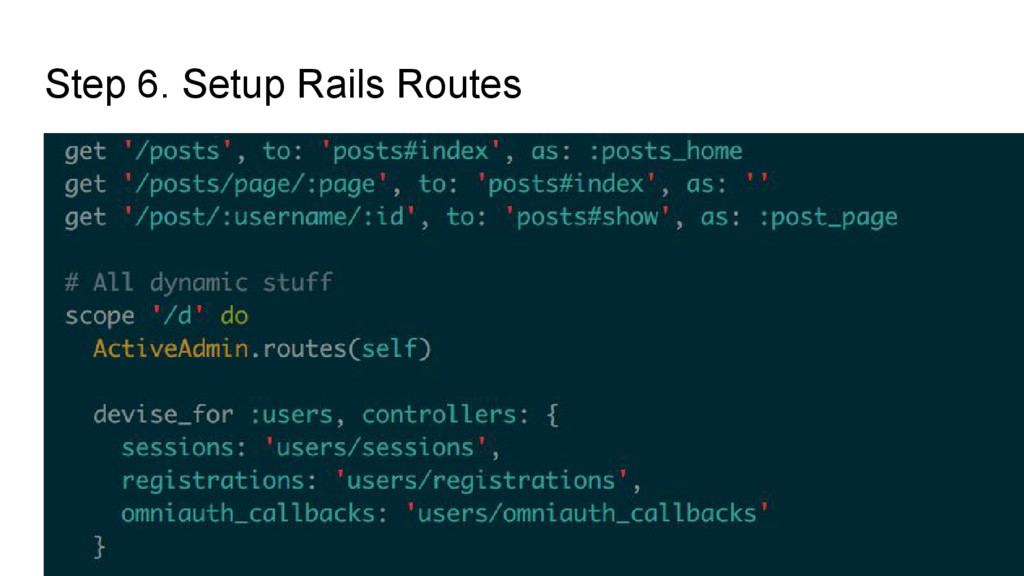
account to 3 page rules - If you start building your project with this limit in mind, you will only need 2 - *.domain.com/d/* for all fully dynamic content (auth, forms, admin, ajax partials) - *.domain.com/* for everything that can be cached at least a little (all except the above)
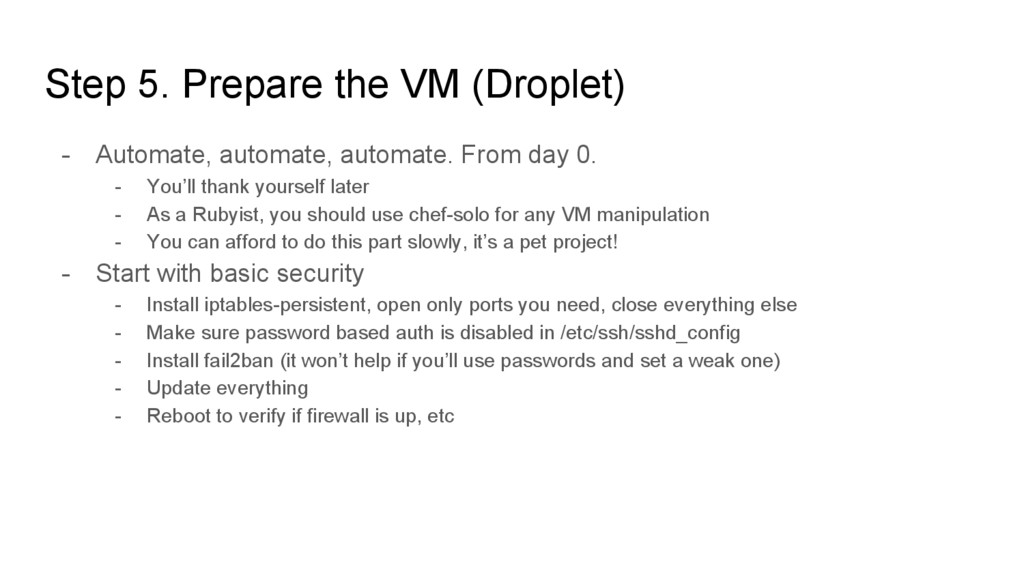
From day 0. - You’ll thank yourself later - As a Rubyist, you should use chef-solo for any VM manipulation - You can afford to do this part slowly, it’s a pet project! - Start with basic security - Install iptables-persistent, open only ports you need, close everything else - Make sure password based auth is disabled in /etc/ssh/sshd_config - Install fail2ban (it won’t help if you’ll use passwords and set a weak one) - Update everything - Reboot to verify if firewall is up, etc
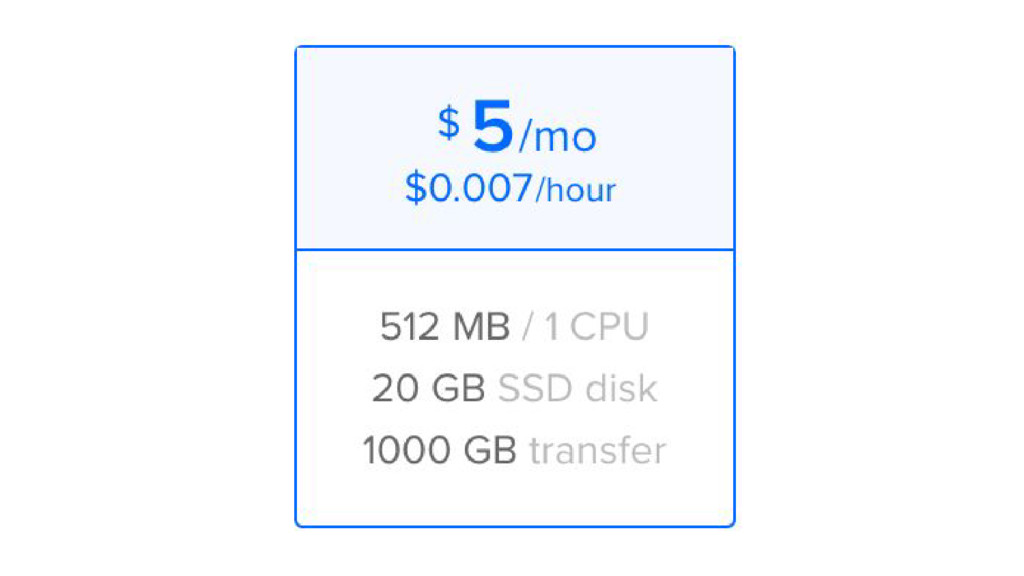
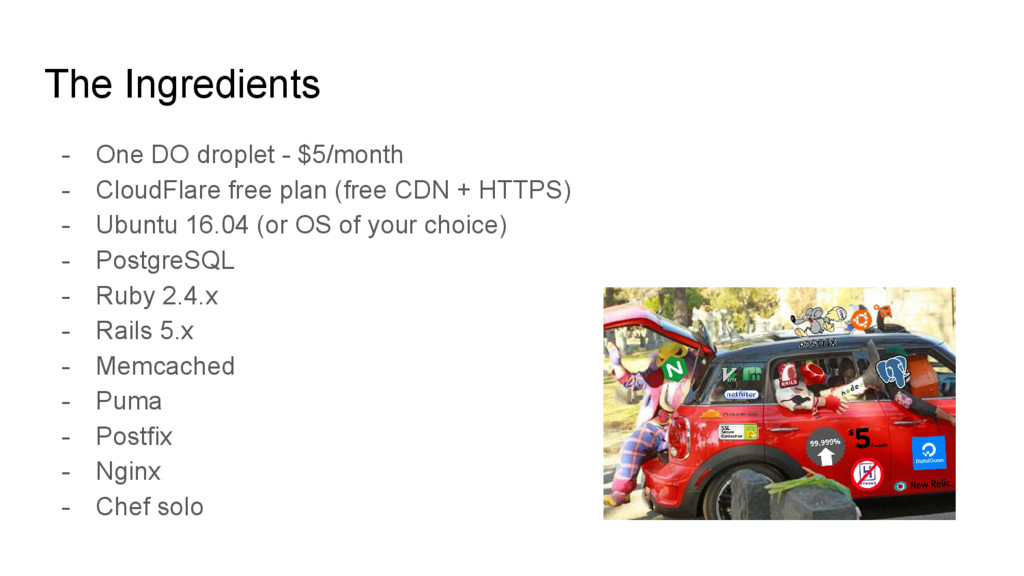
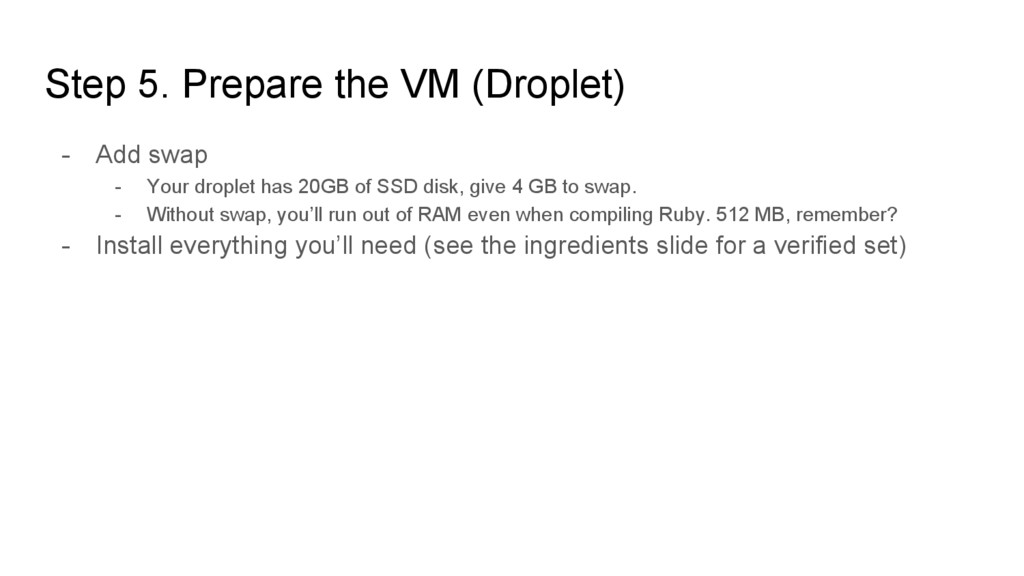
Your droplet has 20GB of SSD disk, give 4 GB to swap. - Without swap, you’ll run out of RAM even when compiling Ruby. 512 MB, remember? - Install everything you’ll need (see the ingredients slide for a verified set)
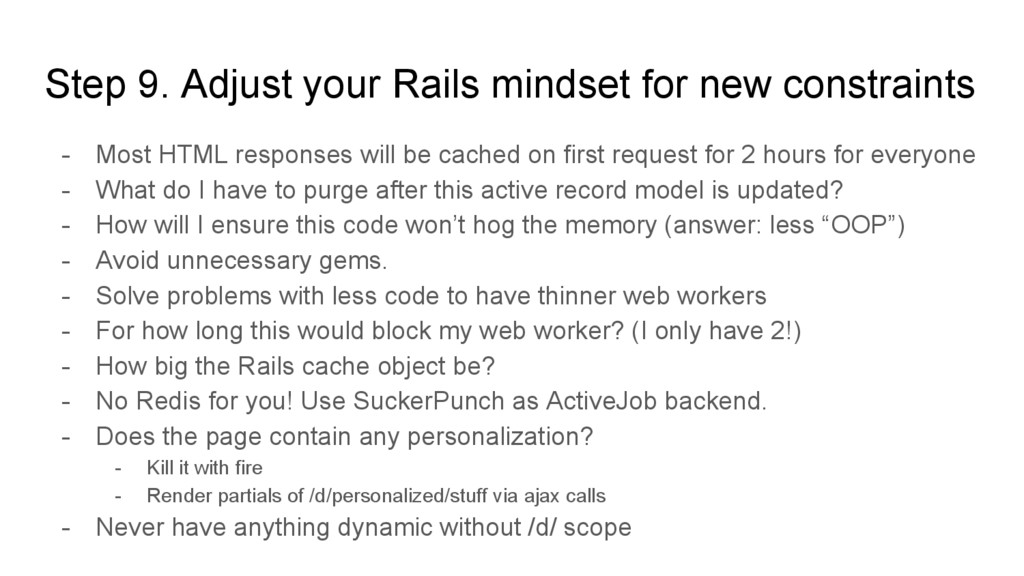
Most HTML responses will be cached on first request for 2 hours for everyone - What do I have to purge after this active record model is updated? - How will I ensure this code won’t hog the memory (answer: less “OOP”) - Avoid unnecessary gems. - Solve problems with less code to have thinner web workers - For how long this would block my web worker? (I only have 2!) - How big the Rails cache object be? - No Redis for you! Use SuckerPunch as ActiveJob backend. - Does the page contain any personalization? - Kill it with fire - Render partials of /d/personalized/stuff via ajax calls - Never have anything dynamic without /d/ scope
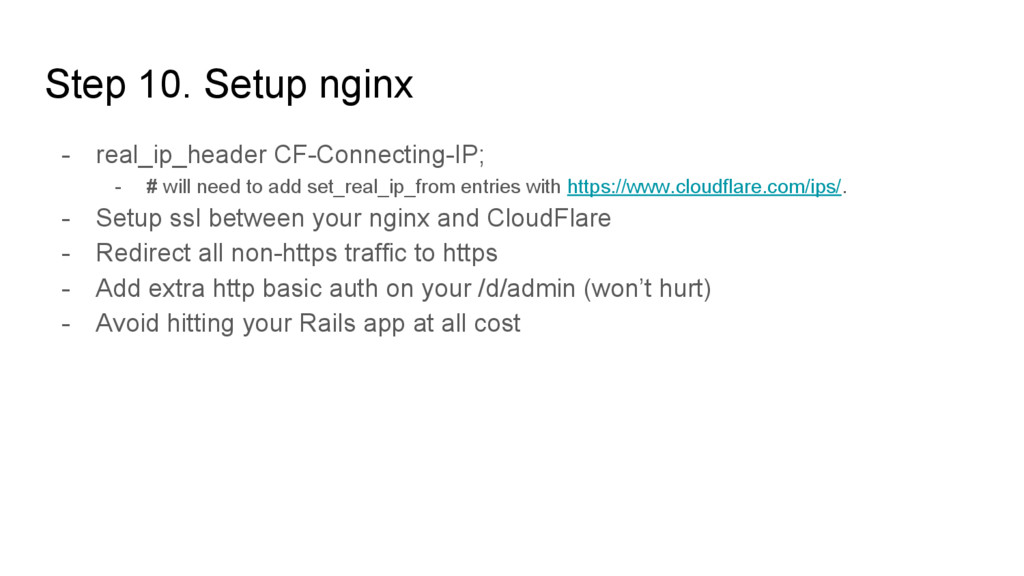
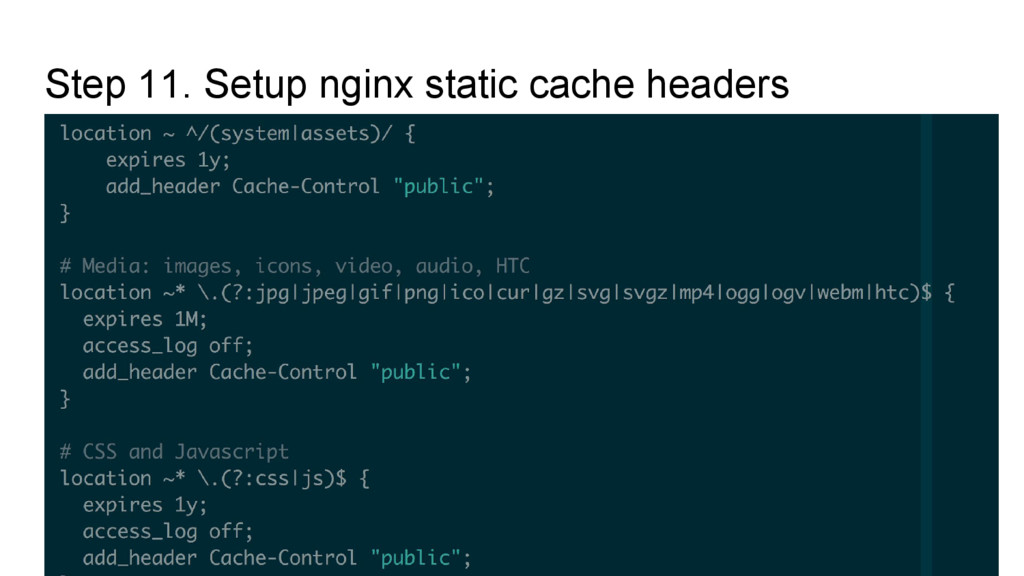
need to add set_real_ip_from entries with https://www.cloudflare.com/ips/. - Setup ssl between your nginx and CloudFlare - Redirect all non-https traffic to https - Add extra http basic auth on your /d/admin (won’t hurt) - Avoid hitting your Rails app at all cost
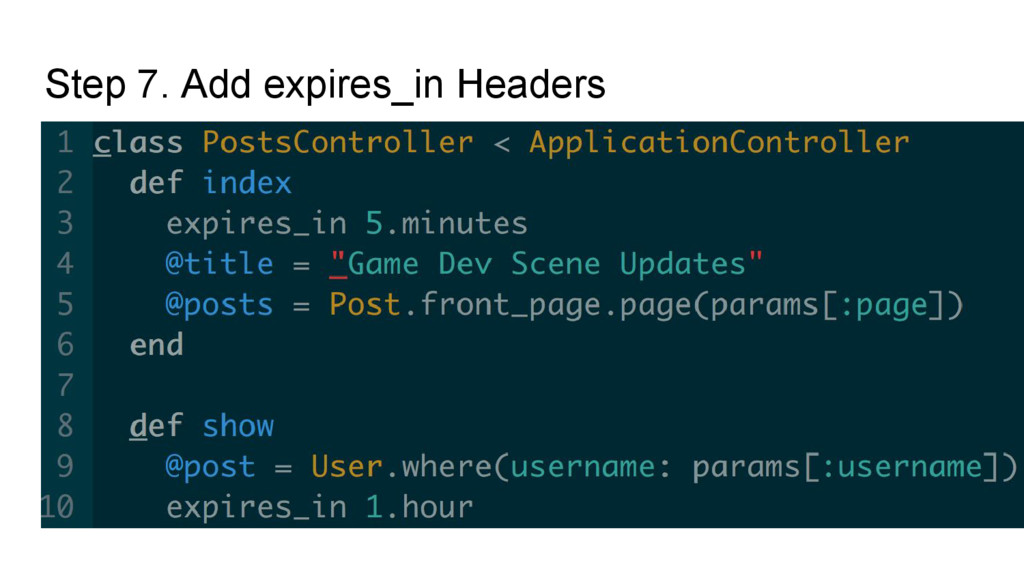
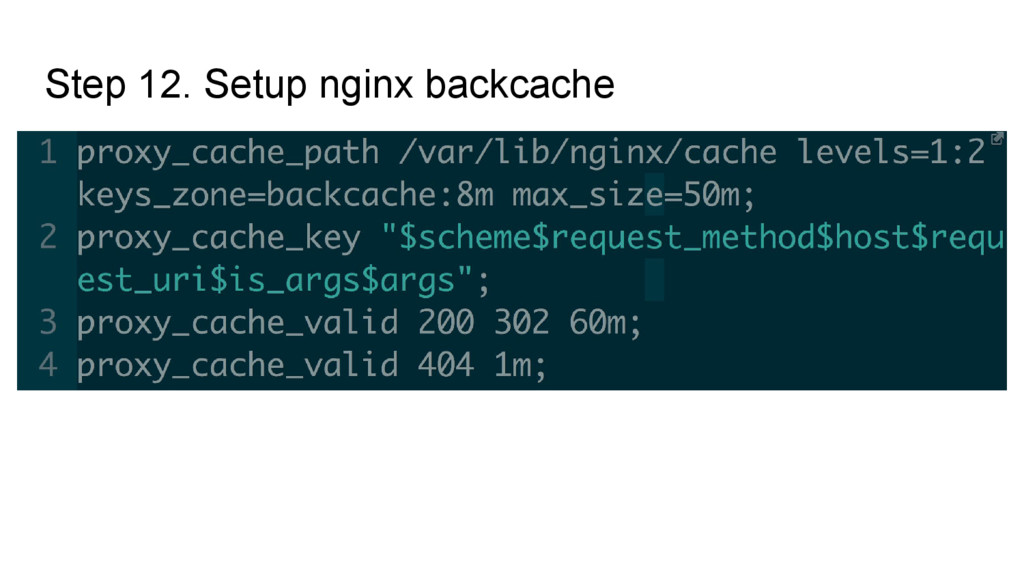
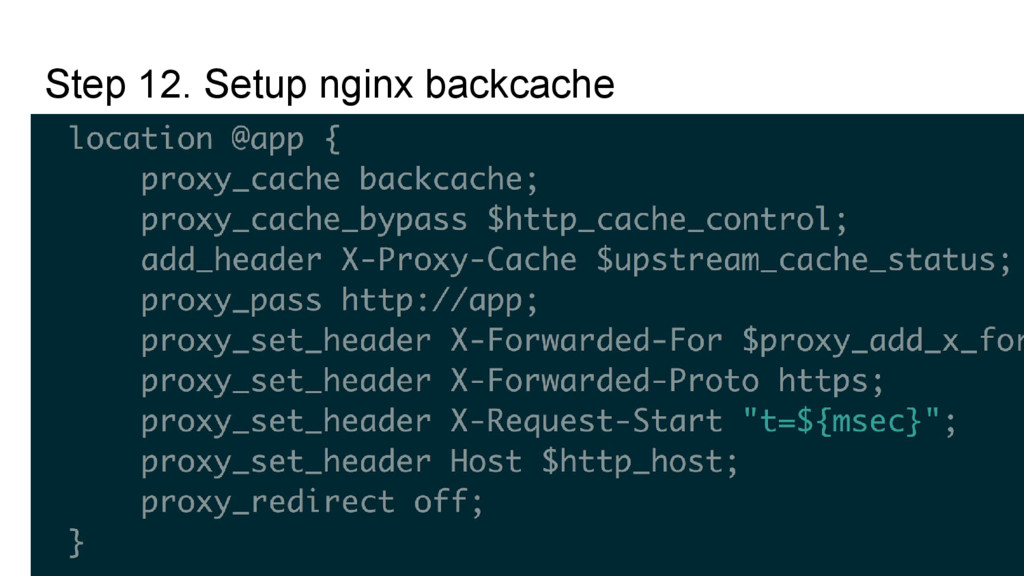
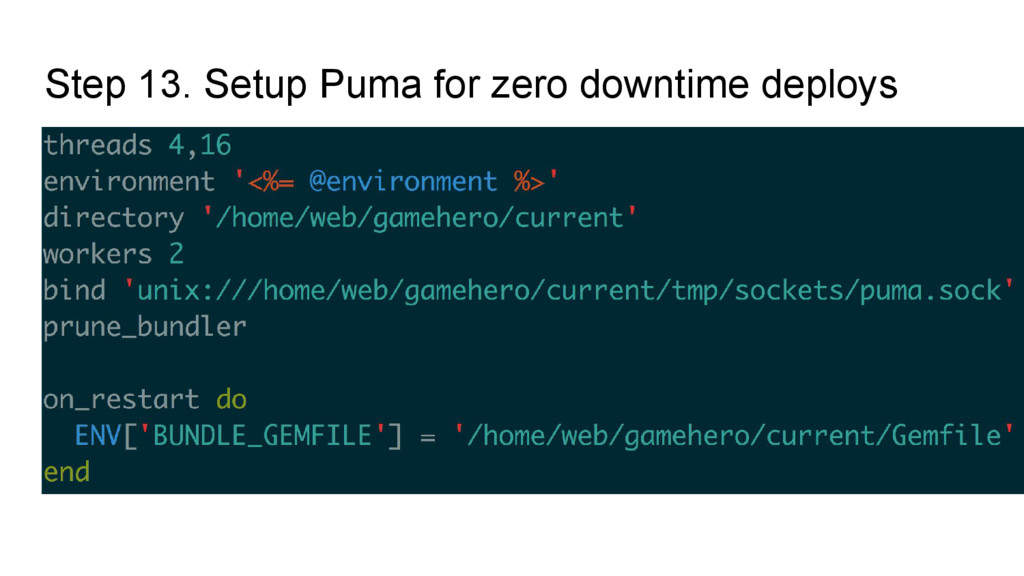
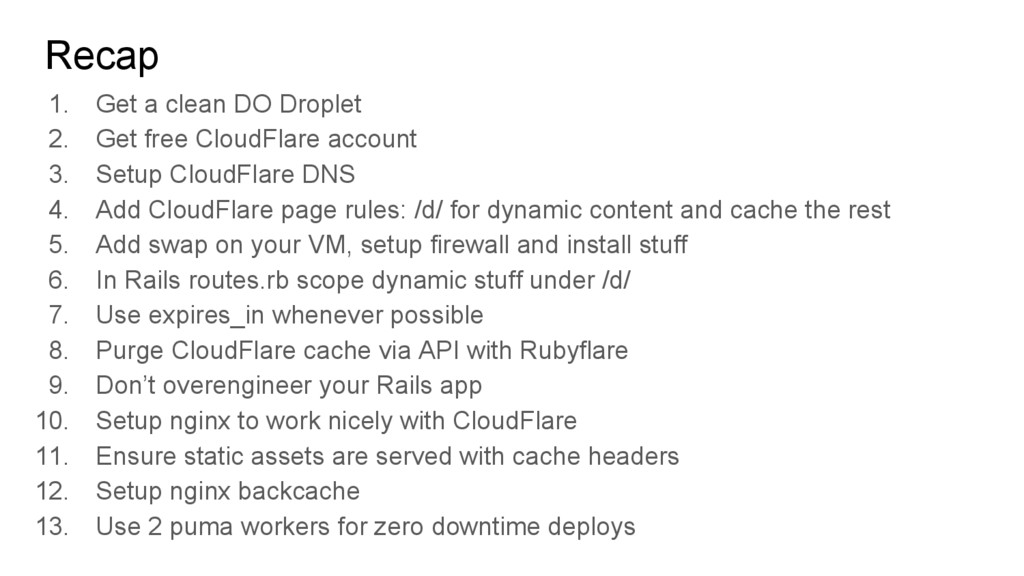
CloudFlare account 3. Setup CloudFlare DNS 4. Add CloudFlare page rules: /d/ for dynamic content and cache the rest 5. Add swap on your VM, setup firewall and install stuff 6. In Rails routes.rb scope dynamic stuff under /d/ 7. Use expires_in whenever possible 8. Purge CloudFlare cache via API with Rubyflare 9. Don’t overengineer your Rails app 10. Setup nginx to work nicely with CloudFlare 11. Ensure static assets are served with cache headers 12. Setup nginx backcache 13. Use 2 puma workers for zero downtime deploys
two months for free! - You will get $10 credit if you sign up via my referral link - I will get some credit too - don’t do it if you don’t like me https://m.do.co/c/b775b70e3d3e