that Click Applications that Click Instructions: http://bit.ly/pytn-click Instructions: http://bit.ly/pytn-click While we're waiting you can go ahead and follow the installation instructions
http://bit.ly/pytn-click Dave Forgac Dave Forgac [email protected][email protected] @tylerdave @tylerdave My name is... I currently work as API development lead at American Greetings in Cleveland, OH Previously worked as sysadmin and support engineer In all these jobs I've had things to automate which meant creating CLI tool I really want your feedback on this tutorial So please let me know if you got what you were expecting and what works for you and what didn't. I'll put this info up again at the end.
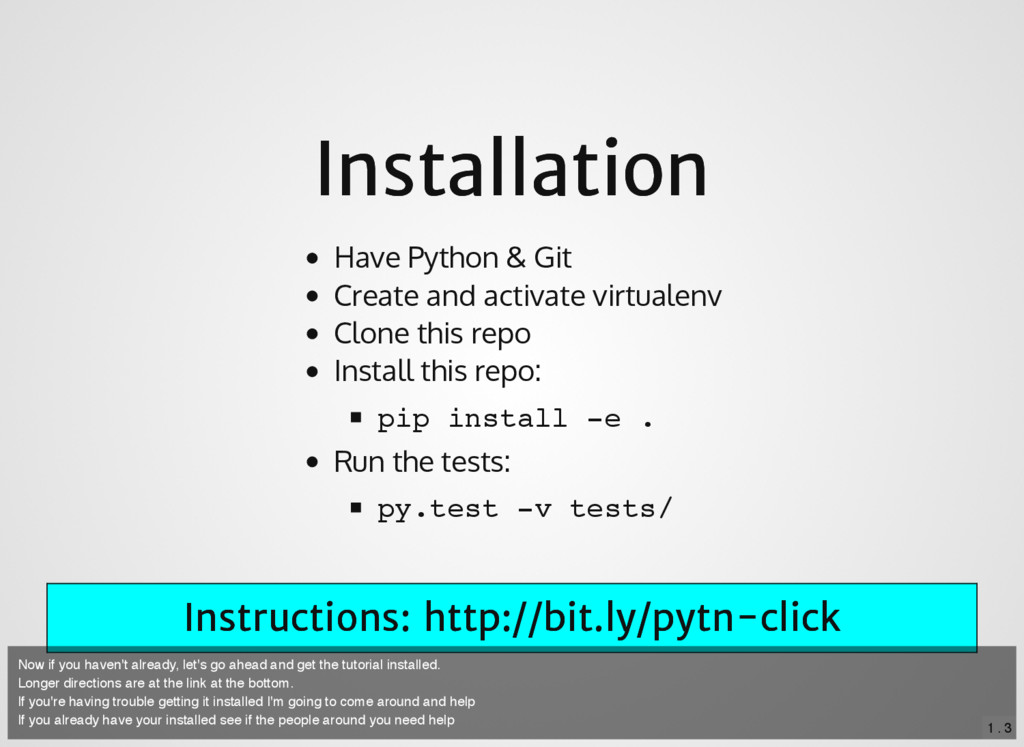
Python & Git Create and activate virtualenv Clone this repo Install this repo: Run the tests: pip install -e . py.test -v tests/ Now if you haven't already, let's go ahead and get the tutorial installed. Longer directions are at the link at the bottom. If you're having trouble getting it installed I'm going to come around and help If you already have your installed see if the people around you need help
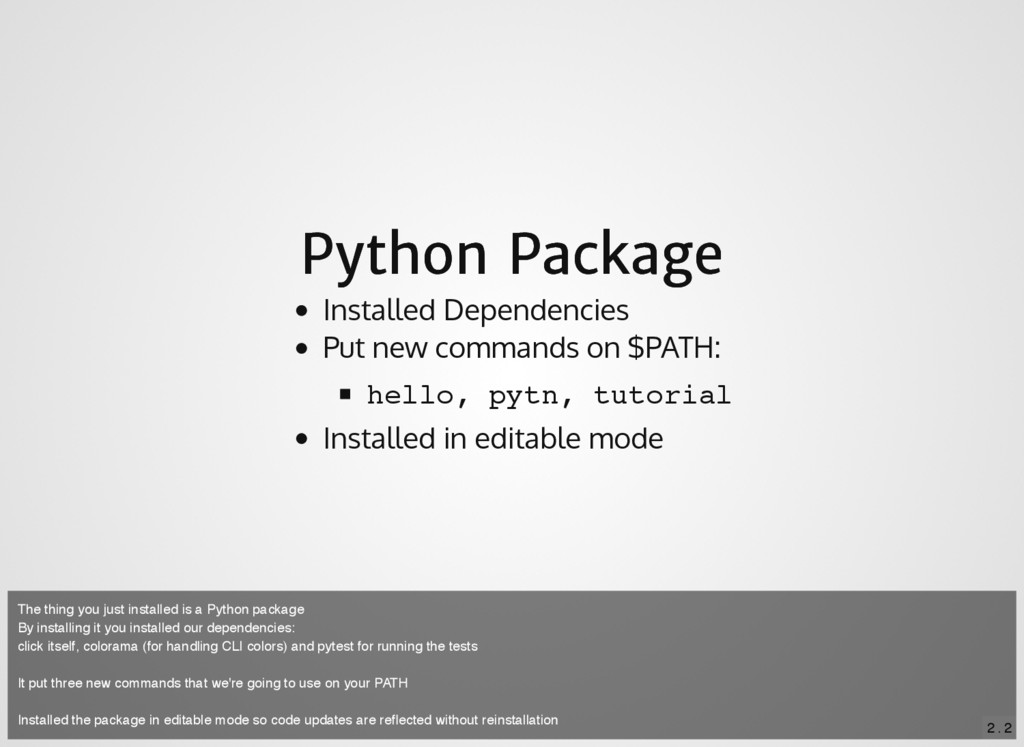
new commands on $PATH: Installed in editable mode hello, pytn, tutorial The thing you just installed is a Python package By installing it you installed our dependencies: click itself, colorama (for handling CLI colors) and pytest for running the tests It put three new commands that we're going to use on your PATH Installed the package in editable mode so code updates are reflected without reinstallation
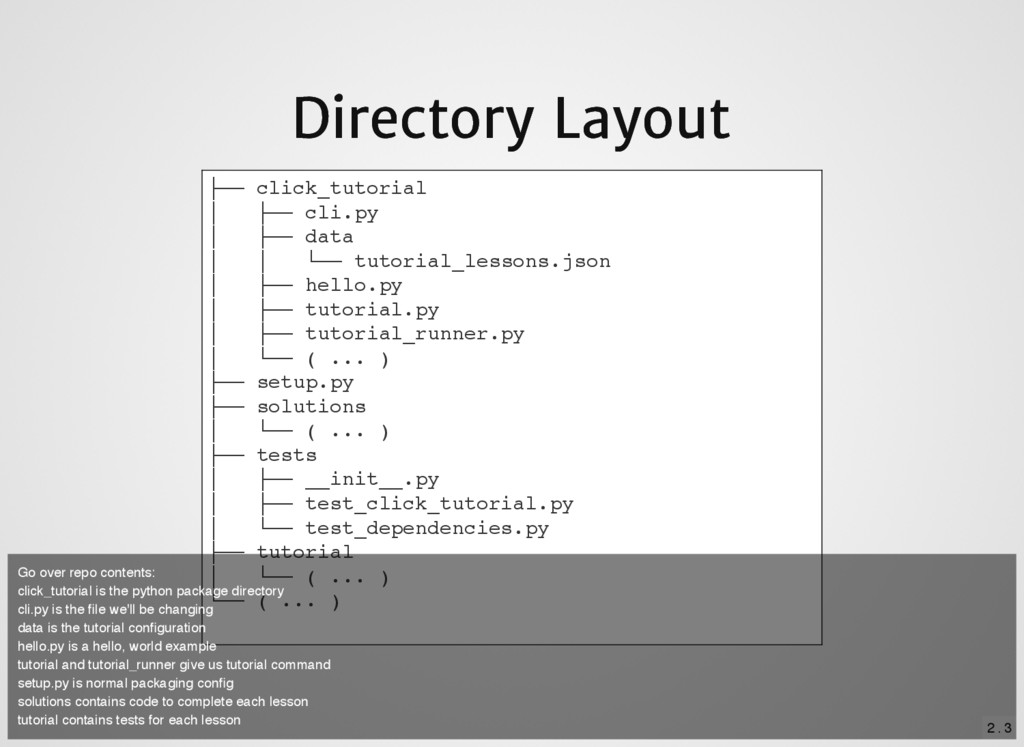
├── cli.py │ ├── data │ │ └── tutorial_lessons.json │ ├── hello.py │ ├── tutorial.py │ ├── tutorial_runner.py │ └── ( ... ) ├── setup.py ├── solutions │ └── ( ... ) ├── tests │ ├── __init__.py │ ├── test_click_tutorial.py │ └── test_dependencies.py ├── tutorial │ └── ( ... ) └── ( ... ) Go over repo contents: click_tutorial is the python package directory cli.py is the file we'll be changing data is the tutorial configuration hello.py is a hello, world example tutorial and tutorial_runner give us tutorial command setup.py is normal packaging config solutions contains code to complete each lesson tutorial contains tests for each lesson
entry_points={ 'console_scripts':[ 'pytn=click_tutorial.cli:cli', 'hello=click_tutorial.hello:cli', 'tutorial=click_tutorial.tutorial_runner:cli', ], }, # ... ) The package uses setuptool's entry points to provide the new commands This is configured int he setup.py for the package Entry points define interfaces for your python pacakge In this case we're using the special type called console_scripts This causes setuptools to make a small wrapper command and maps it to package.module:function This works in a platform-independent way
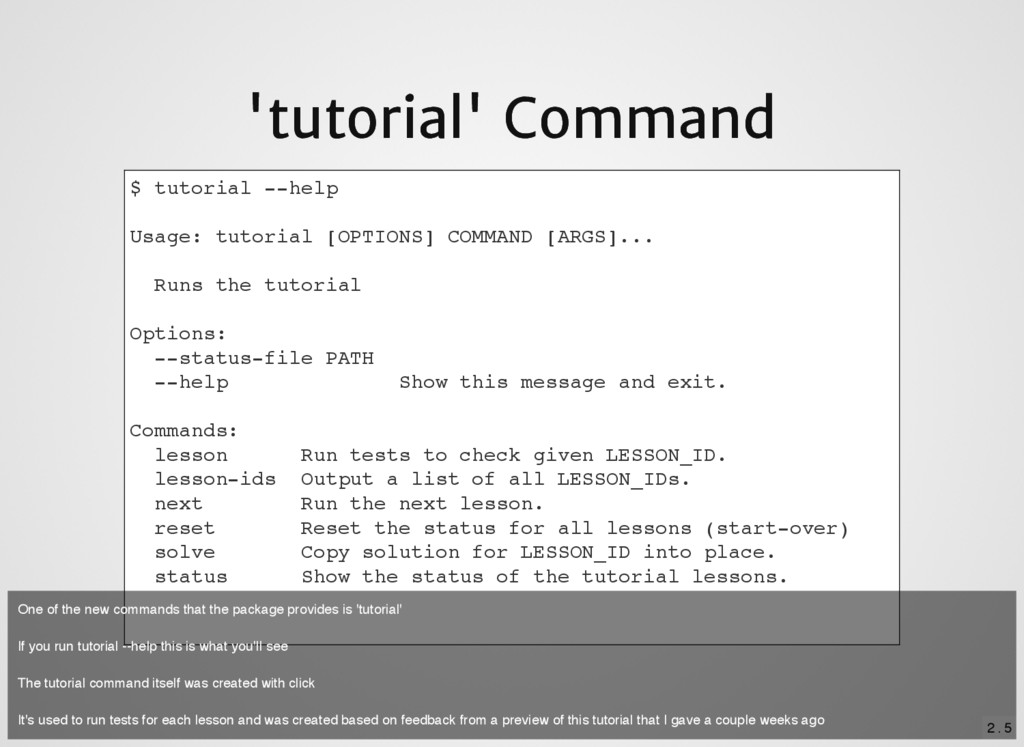
Usage: tutorial [OPTIONS] COMMAND [ARGS]... Runs the tutorial Options: --status-file PATH --help Show this message and exit. Commands: lesson Run tests to check given LESSON_ID. lesson-ids Output a list of all LESSON_IDs. next Run the next lesson. reset Reset the status for all lessons (start-over) solve Copy solution for LESSON_ID into place. status Show the status of the tutorial lessons. One of the new commands that the package provides is 'tutorial' If you run tutorial --help this is what you'll see The tutorial command itself was created with click It's used to run tests for each lesson and was created based on feedback from a preview of this tutorial that I gave a couple weeks ago
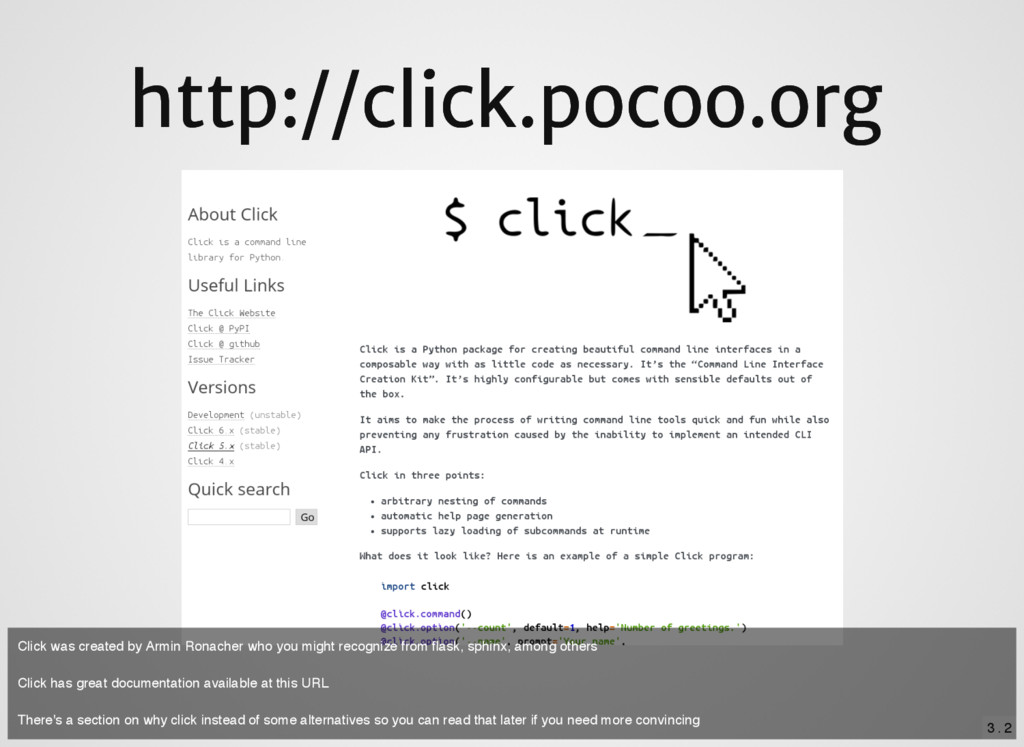
Ronacher who you might recognize from flask, sphinx, among others Click has great documentation available at this URL There's a section on why click instead of some alternatives so you can read that later if you need more convincing
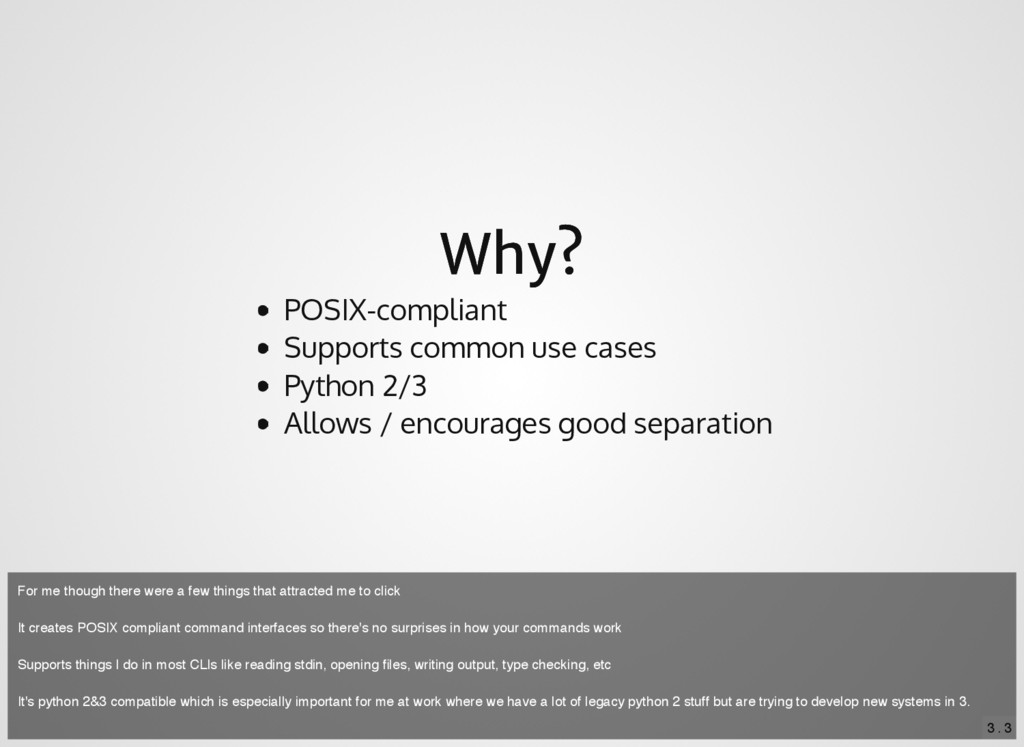
Python 2/3 Allows / encourages good separation For me though there were a few things that attracted me to click It creates POSIX compliant command interfaces so there's no surprises in how your commands work Supports things I do in most CLIs like reading stdin, opening files, writing output, type checking, etc It's python 2&3 compatible which is especially important for me at work where we have a lot of legacy python 2 stuff but are trying to develop new systems in 3.
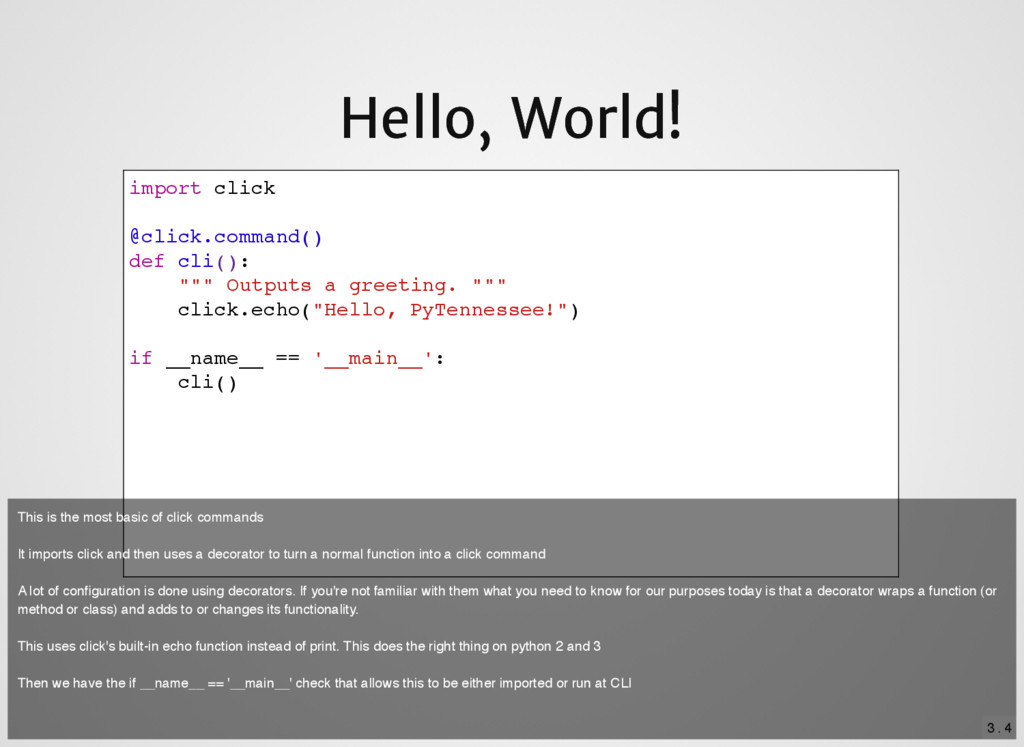
def cli(): """ Outputs a greeting. """ click.echo("Hello, PyTennessee!") if __name__ == '__main__': cli() This is the most basic of click commands It imports click and then uses a decorator to turn a normal function into a click command A lot of configuration is done using decorators. If you're not familiar with them what you need to know for our purposes today is that a decorator wraps a function (or method or class) and adds to or changes its functionality. This uses click's built-in echo function instead of print. This does the right thing on python 2 and 3 Then we have the if __name__ == '__main__' check that allows this to be either imported or run at CLI
@click.argument('name') @click.option('--excited', '-e', is_flag=True) def cli(name, excited): """ Given a NAME, outputs a greeting. """ punctuation = '!' if excited else '.' click.echo("Hello, {0}{1}".format(name, punctuation)) if __name__ == '__main__': cli() There are two types of command line parameters: arguments and options. Arguments are generally required and positional. Options are optional. This command adds a required argument for name and an option for whether the output should be excited or not These values are passed into the cli function based on their name and then the variables are available within the function
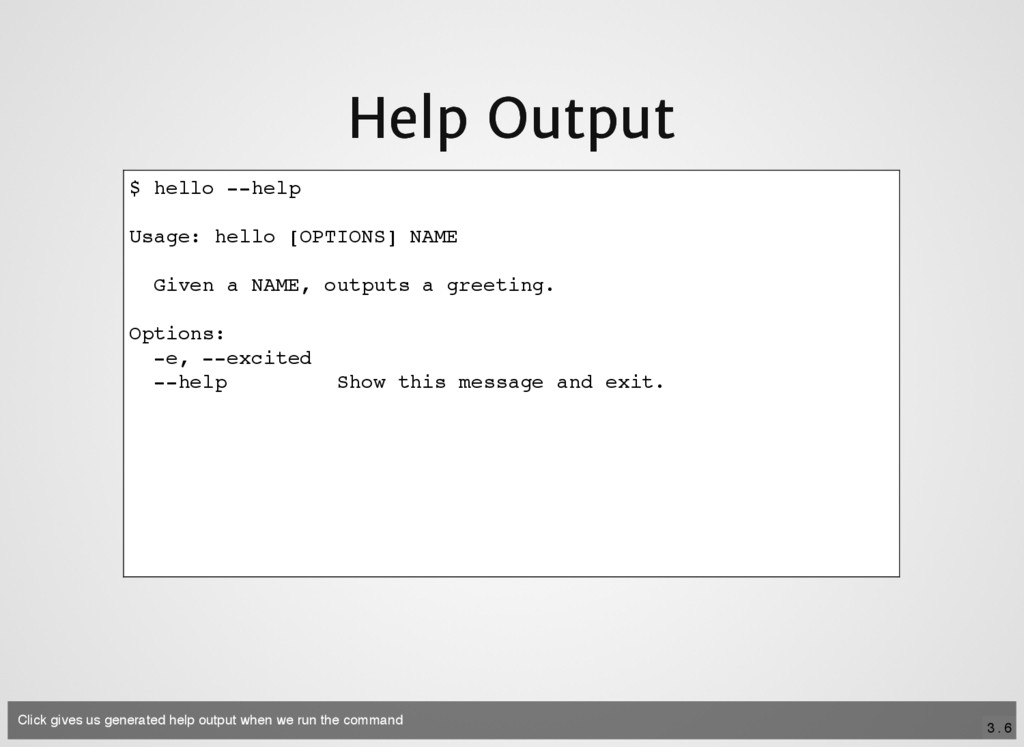
Usage: hello [OPTIONS] NAME Given a NAME, outputs a greeting. Options: -e, --excited --help Show this message and exit. Click gives us generated help output when we run the command
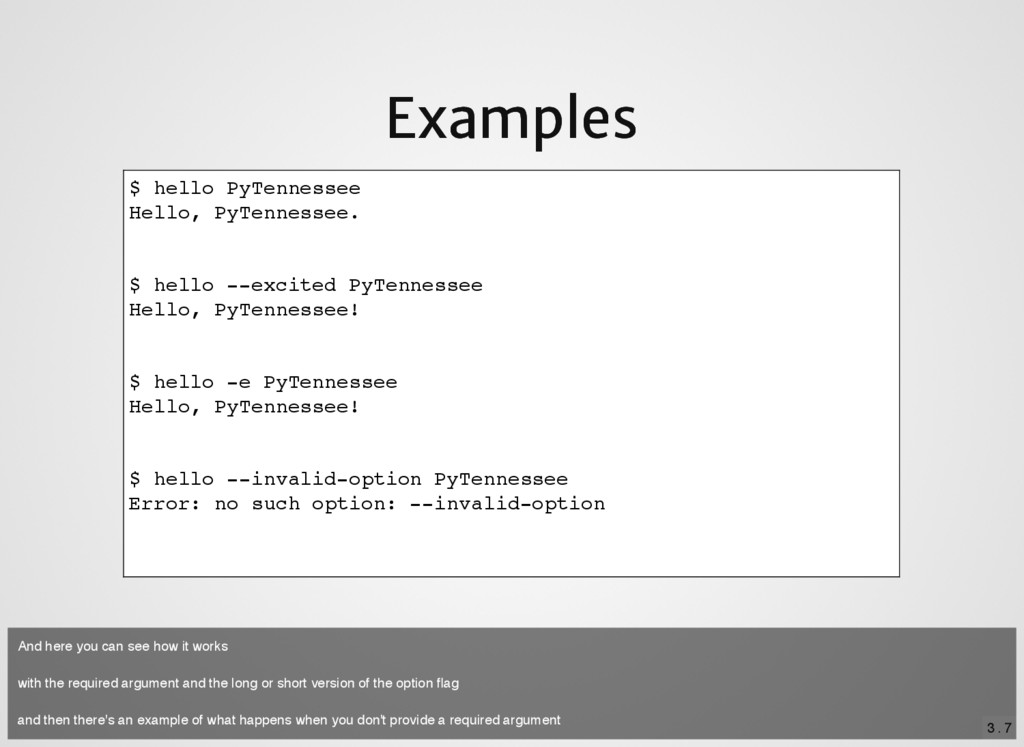
$ hello --excited PyTennessee Hello, PyTennessee! $ hello -e PyTennessee Hello, PyTennessee! $ hello --invalid-option PyTennessee Error: no such option: --invalid-option And here you can see how it works with the required argument and the long or short version of the option flag and then there's an example of what happens when you don't provide a required argument
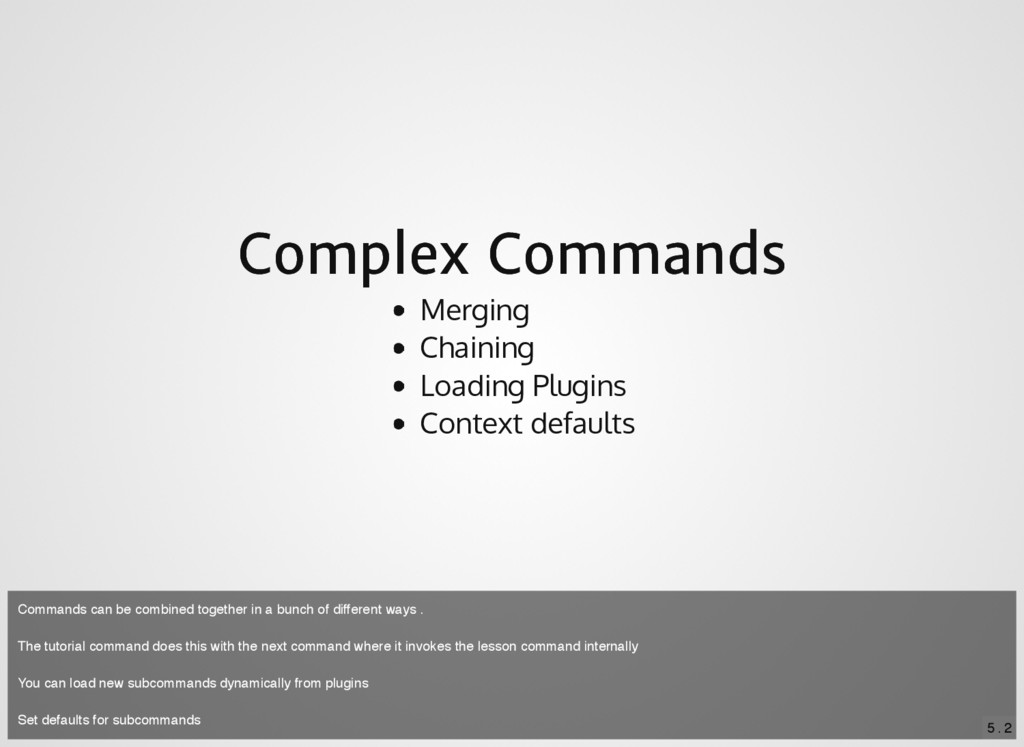
Plugins Context defaults Commands can be combined together in a bunch of different ways . The tutorial command does this with the next command where it invokes the lesson command internally You can load new subcommands dynamically from plugins Set defaults for subcommands
Auto load from env var prefix Change option prefix You can read values for options from environment variables either in an explicit one-off fashion or automatically based on an environment variable prefix for your command You can change the option prefix from - (like if you want / windows style options)
You can do a lot more with validation You can define custom types by subclassing click's types or by defining a simple type that raises a value error You can also provide callbacks to do validation or manipulation of input Eager options can be used to short circuit option handling
![6 Thank You! Thank You! Feedback please: Feedback please: [email protected]](https://files.speakerdeck.com/presentations/727c3399e1614c2a9de19654b9edb2e6/slide_22.jpg)