Upgrade to Pro — share decks privately, control downloads, hide ads and more …

Creating IoT Applications using Python

Creating IoT Applications using Python

Workshop for CNTU students

Volodymyr Rudyi

January 30, 2020
Tweet

More Decks by Volodymyr Rudyi

Other Decks in Programming

Transcript

  1. Why Python? • Easy to learn • Easy to use

    • Lots of useful libraries • Go-to option for the ML/BigData • Loved by engineers and scientists (proven by Stackoverflow and TIOBE index)
  2. What is IoT? • A network of interconnected devices(things) •

    Each thing has its own compute module running a software and can be connected with multiple sensors or other devices • Things can be controlled or monitored remotely, not necessarily from the same physical network or location • Approach when the data is being preprocessed by a thing and then sent to the cloud/hub/control software is called edge computing.
  3. Typical IoT Setup Temperature Sensor Humidity Sensor Pump Controller Thing

    with three sensors, compute module and LTE/Wi-Fi module IoT Hub/Broker Client
  4. MQTT Protocol • Pub/sub based • Designed to be energy-efficient

    • Authentication and authorisation are required by the standard, but are implementation-specific • Transport level security is recommended by the standard. TLS is suggested
  5. TLS • Communication security protocol • Assumes there is a

    third-party authority which can be trusted to issue certificates (CA, certificate authority) • Can be used as a secure transport protocol for the MQTT
  6. IoT Broker • Server software used to connect MQTT clients

    • Provides authentication, authorization and secure encryption • Provides QoS and other features
  7. ESP32 at a glance • Ultra Low-Power • Wi-Fi and

    Bluetooth Chip • Many supported interfaces and integrations • A ton of developer kits and tutorials!
  8. We’ll need • Mosquitto MQTT broker • Python 3.7 •

    paho-mqtt client • ESP32-based devkit, we are using M5Stack
  9. Checking everything up and running In one terminal window, execute

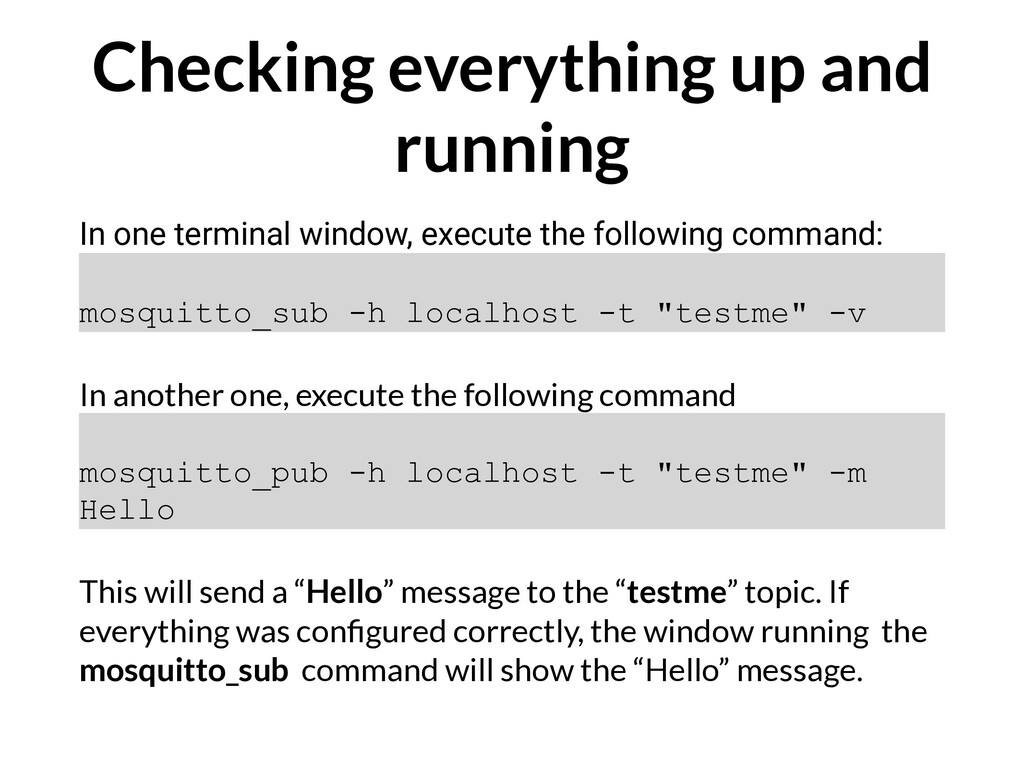
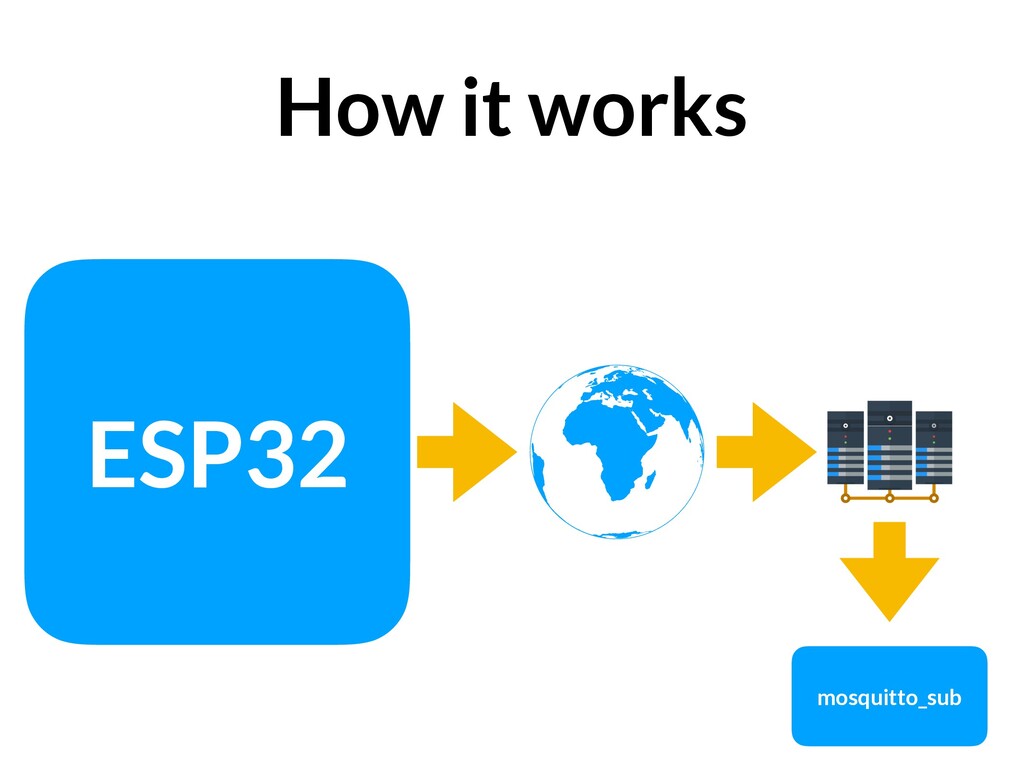
    the following command: mosquitto_sub -h localhost -t "testme" -v In another one, execute the following command mosquitto_pub -h localhost -t "testme" -m Hello This will send a “Hello” message to the “testme” topic. If everything was configured correctly, the window running the mosquitto_sub command will show the “Hello” message.
  10. Setting up M5Stack • Download Arduino IDE • Download and

    install UART driver • Check the connection
  11. Establishing Wi-Fi and MQTT connection void setup() { M5.begin(); WiFi.begin(ssid,

    pass); waitForWifi(); if (!mqttClient.connect( broker, port)) { // Infinite loop on failure while (1); } mqttClient.subscribe(topic); }
  12. Receiving messages if (messageSize) { M5.…setTextColor(0x51D); M5.…print( “Received a message

    with topic ‘"); M5.…print( mqttClient.messageTopic()); M5.…print("', length "); M5.…print(messageSize); M5.…print(" bytes:\n”); while( mqttClient.available()) { M5.…print( (char)mqttClient.read()); } }
  13. We’ve just seen some really awesome stuff! •Easy Wi-Fi configuration

    •MQTT connection using several lines of code •Device is not running any OS, by the way!
  14. Reading sensor data and sending it via MQTT float temperature

    = TH02.ReadTemperature(); mqttClient.beginMessage( tempTopic ); mqttClient.print( "Temperature is: “ ); mqttClient.print(temperature); mqttClient.endMessage();
  15. Subscribing to a topic import paho.mqtt.client as mqtt from matplotlib

    import pyplot from matplotlib.animation import FuncAnimation client.on_message = on_message client.connect("test.mosquitto.org") client.subscribe("agilevision.io/ demo/temp0") def update(frame): global temperature client.loop() client.publish("agilevision.io/ demo", “GET"); x.append(datetime.now()) y.append(temperature) line.set_data(x, y) figure.gca().relim() figure.gca().autoscale_view() return line,
  16. Summary • IoT device and application are very broad terms.

    It can be whatever • MQTT is a really simple protocol • Arduino IDE can be a great tool for extremely fast prototyping, even for non-Arduino devices • Pick a right tool, not the “only true” tool for the task. No need to reinvent the wheel, especially for prototyping