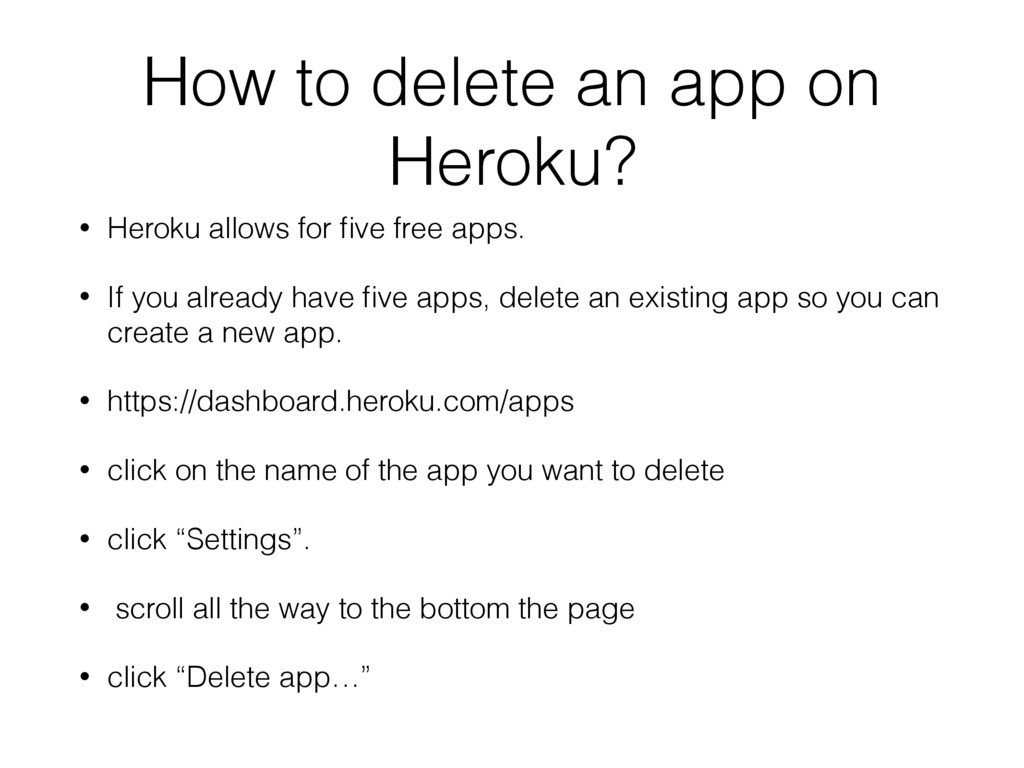
for five free apps. • If you already have five apps, delete an existing app so you can create a new app. • https://dashboard.heroku.com/apps • click on the name of the app you want to delete • click “Settings”. • scroll all the way to the bottom the page • click “Delete app…”
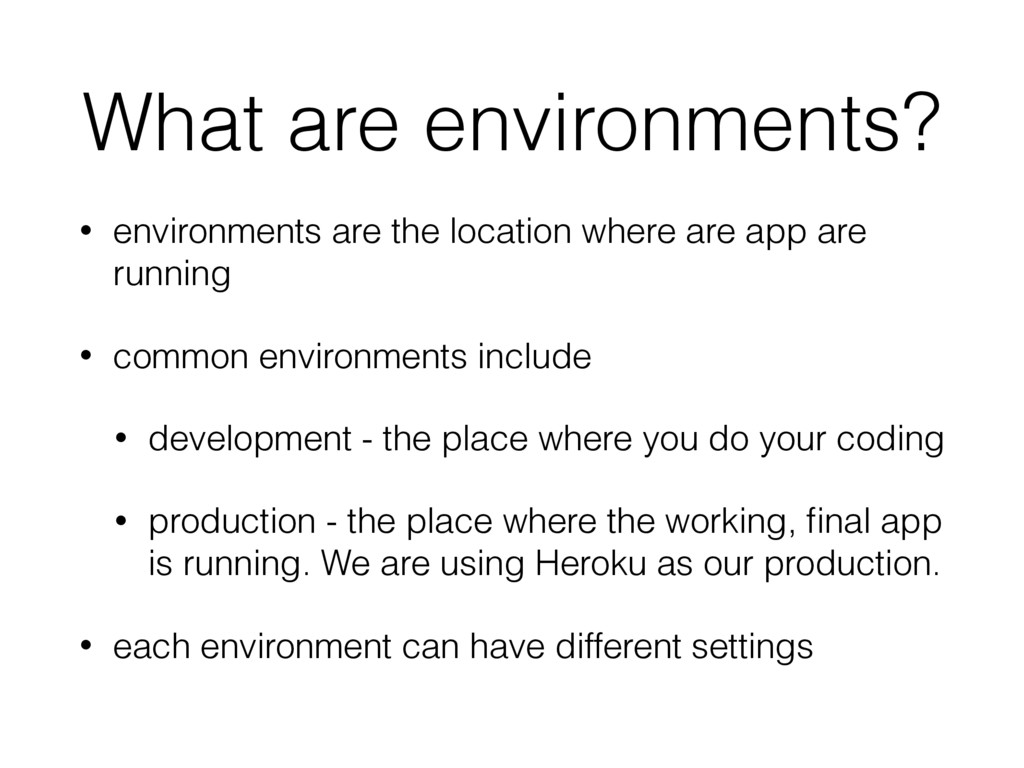
app are running • common environments include • development - the place where you do your coding • production - the place where the working, final app is running. We are using Heroku as our production. • each environment can have different settings
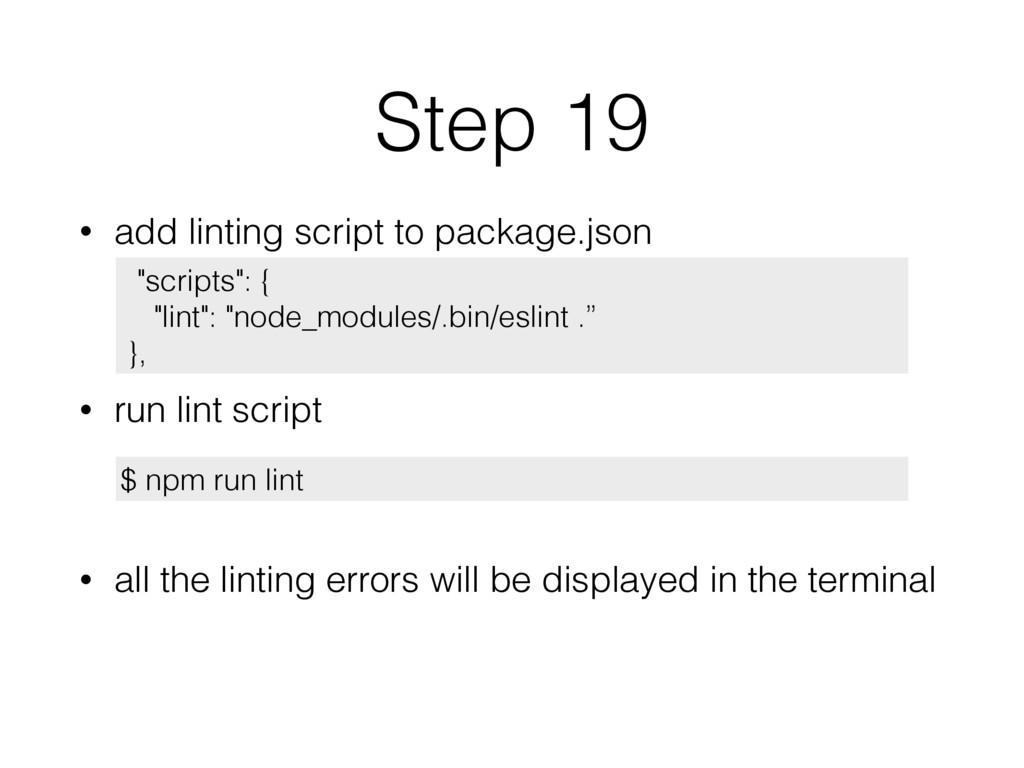
package.json • you can use scripts to lint files, run tests, start servers, build files, deploy files, etc • you run the script using • https://docs.npmjs.com/misc/scripts $ npm run <script name>
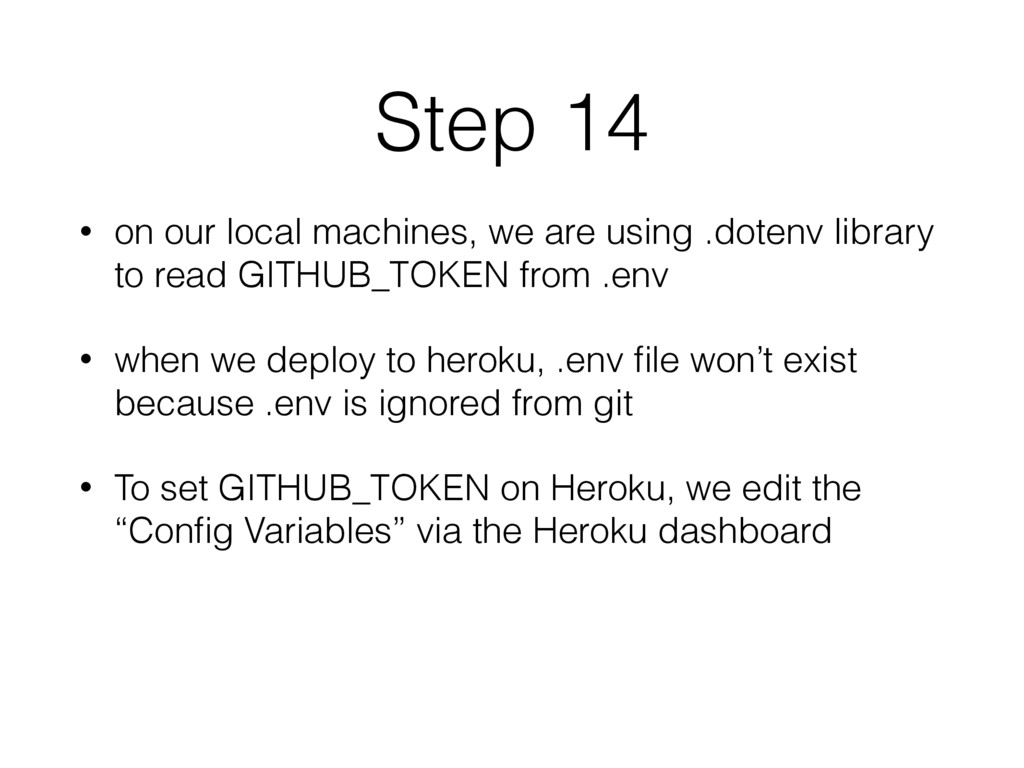
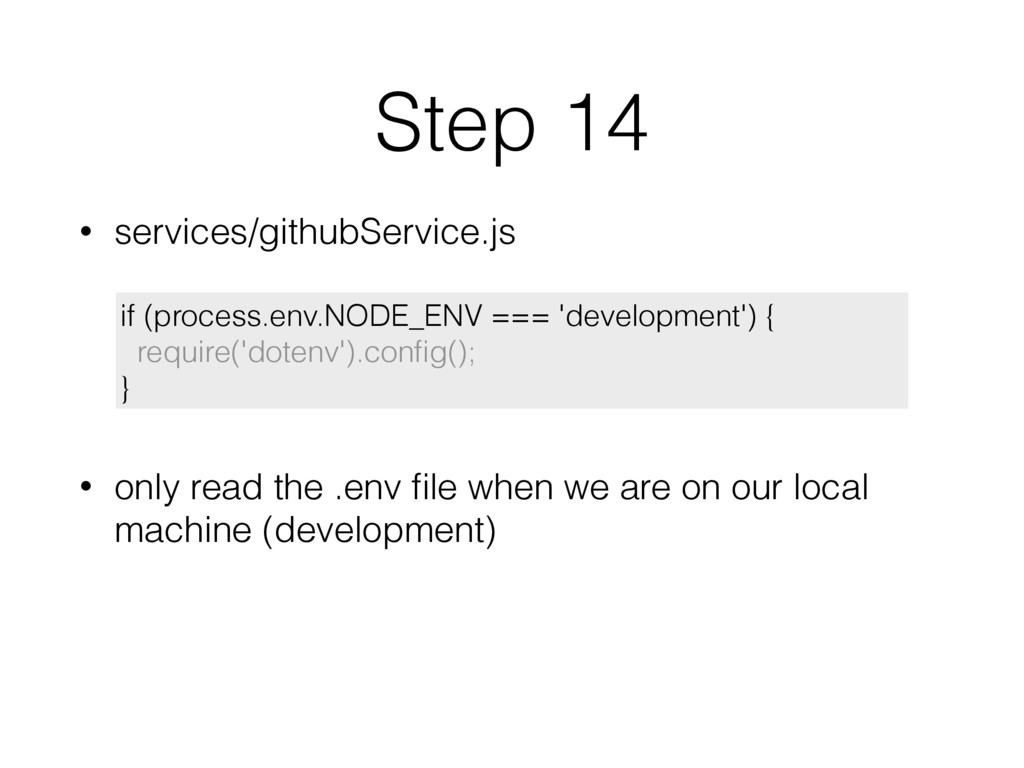
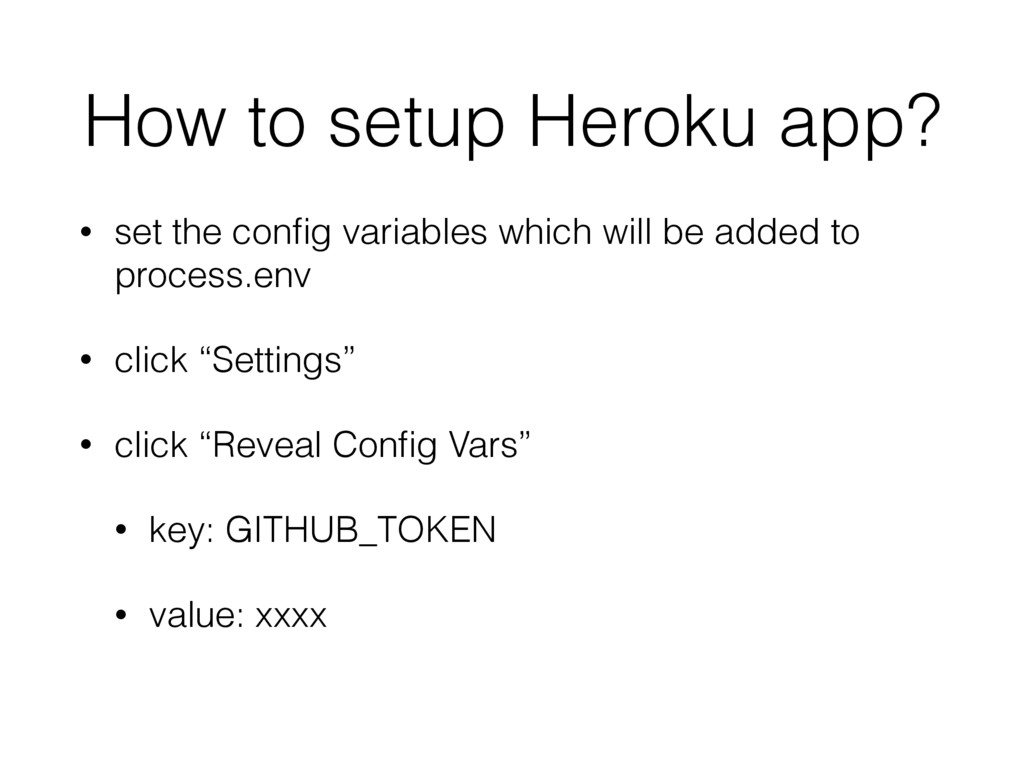
.dotenv library to read GITHUB_TOKEN from .env • when we deploy to heroku, .env file won’t exist because .env is ignored from git • To set GITHUB_TOKEN on Heroku, we edit the “Config Variables” via the Heroku dashboard
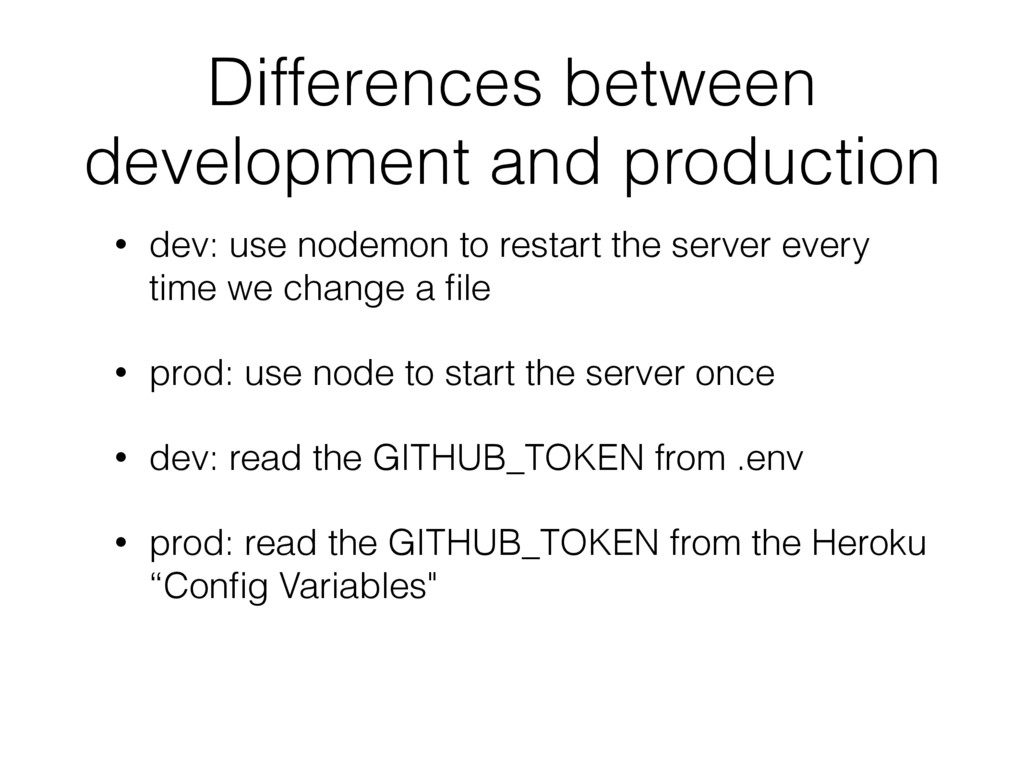
restart the server every time we change a file • prod: use node to start the server once • dev: read the GITHUB_TOKEN from .env • prod: read the GITHUB_TOKEN from the Heroku “Config Variables"
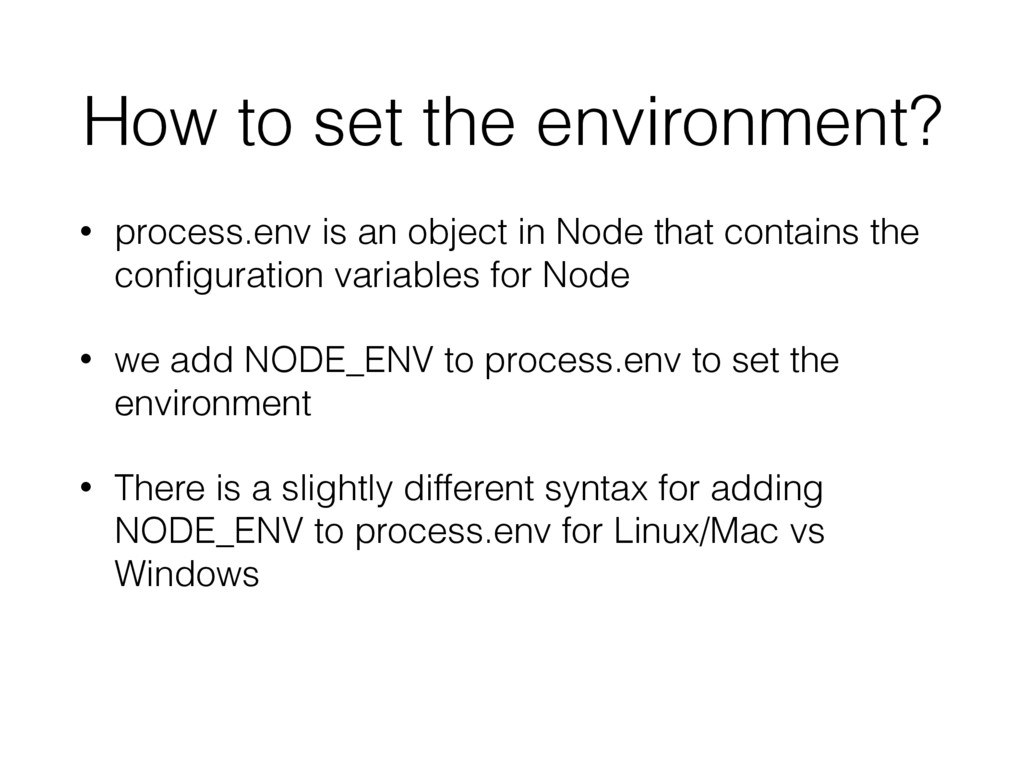
in Node that contains the configuration variables for Node • we add NODE_ENV to process.env to set the environment • There is a slightly different syntax for adding NODE_ENV to process.env for Linux/Mac vs Windows
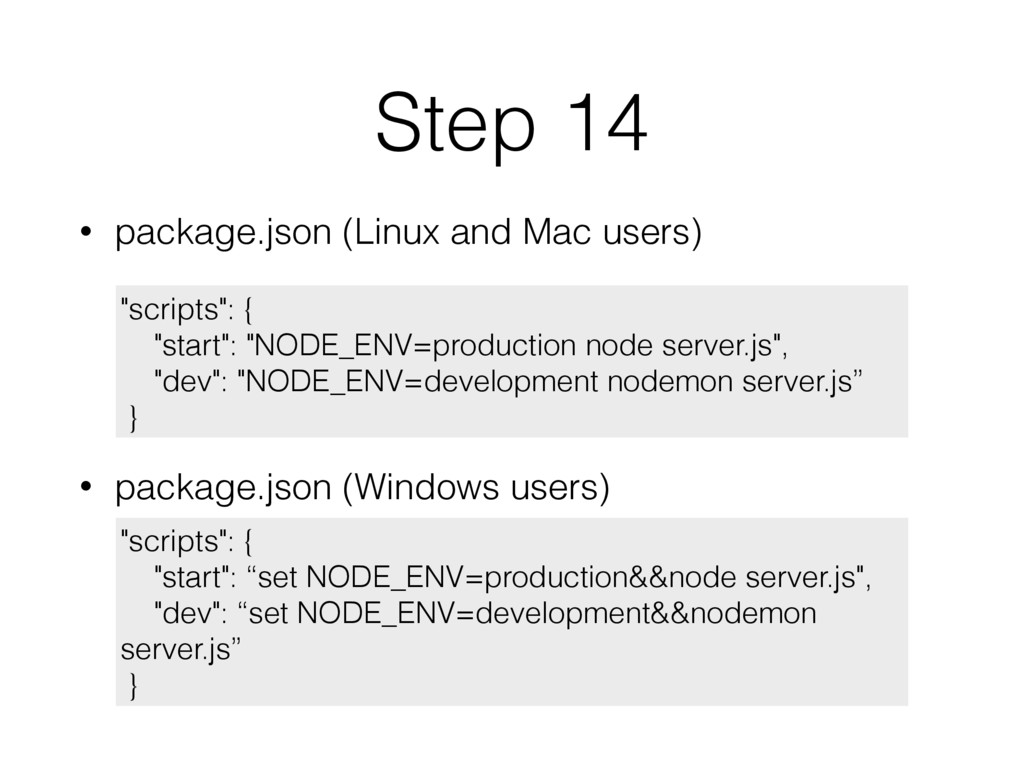
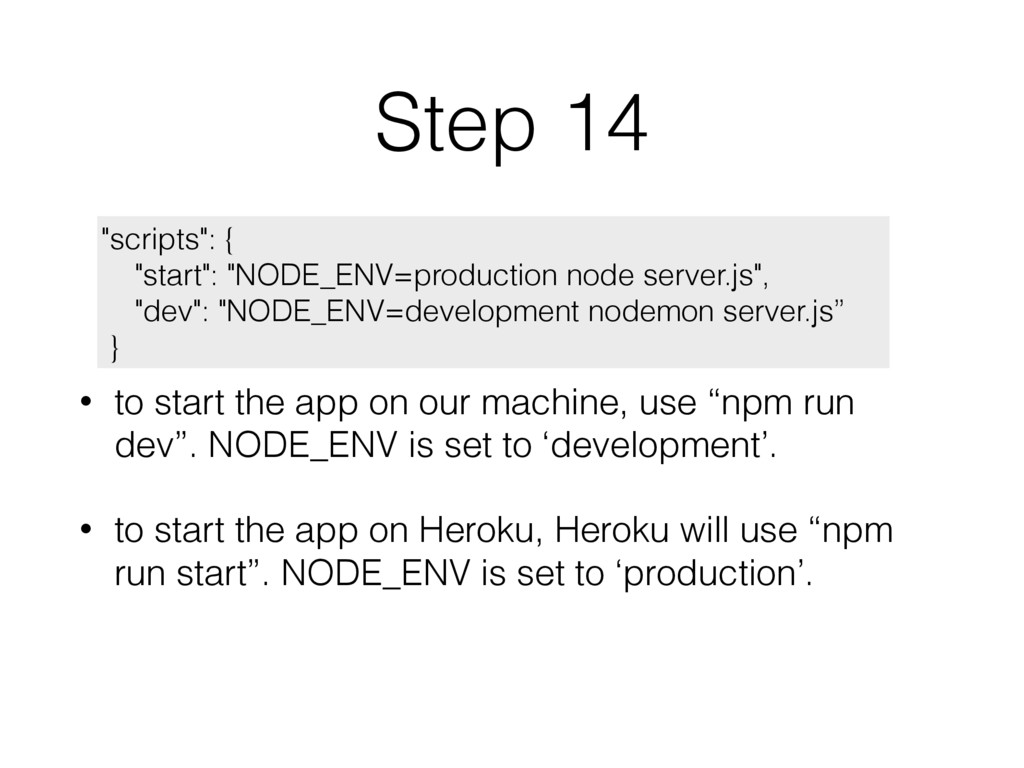
use “npm run dev”. NODE_ENV is set to ‘development’. • to start the app on Heroku, Heroku will use “npm run start”. NODE_ENV is set to ‘production’. "scripts": { "start": "NODE_ENV=production node server.js", "dev": "NODE_ENV=development nodemon server.js” }
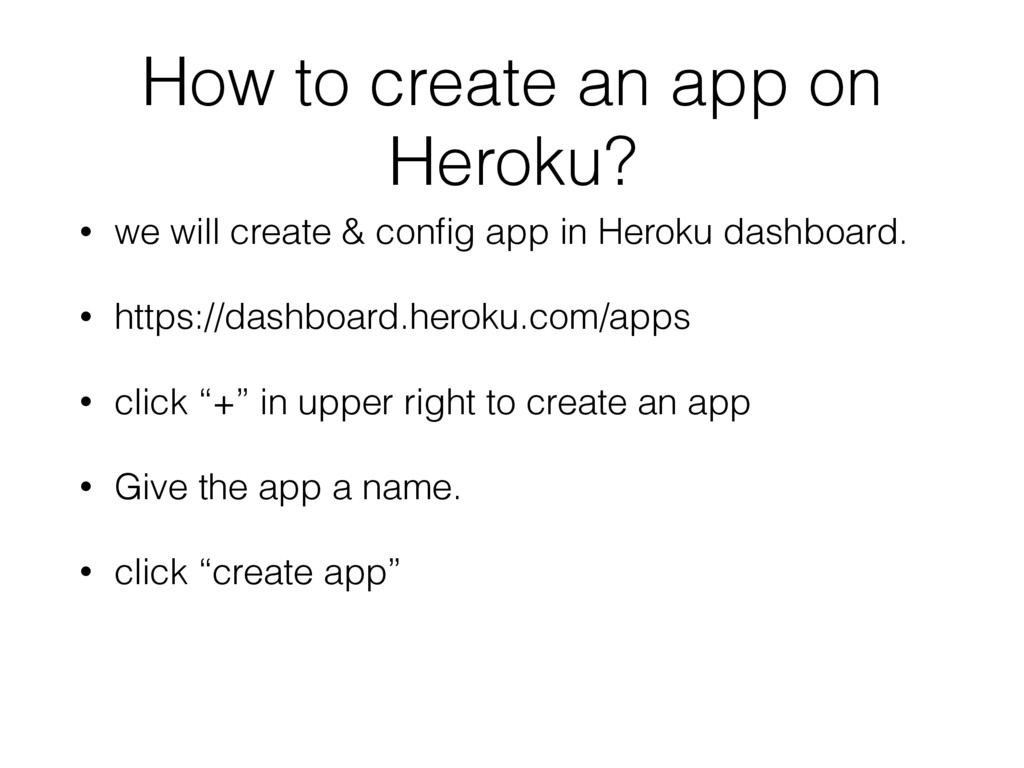
create & config app in Heroku dashboard. • https://dashboard.heroku.com/apps • click “+” in upper right to create an app • Give the app a name. • click “create app”
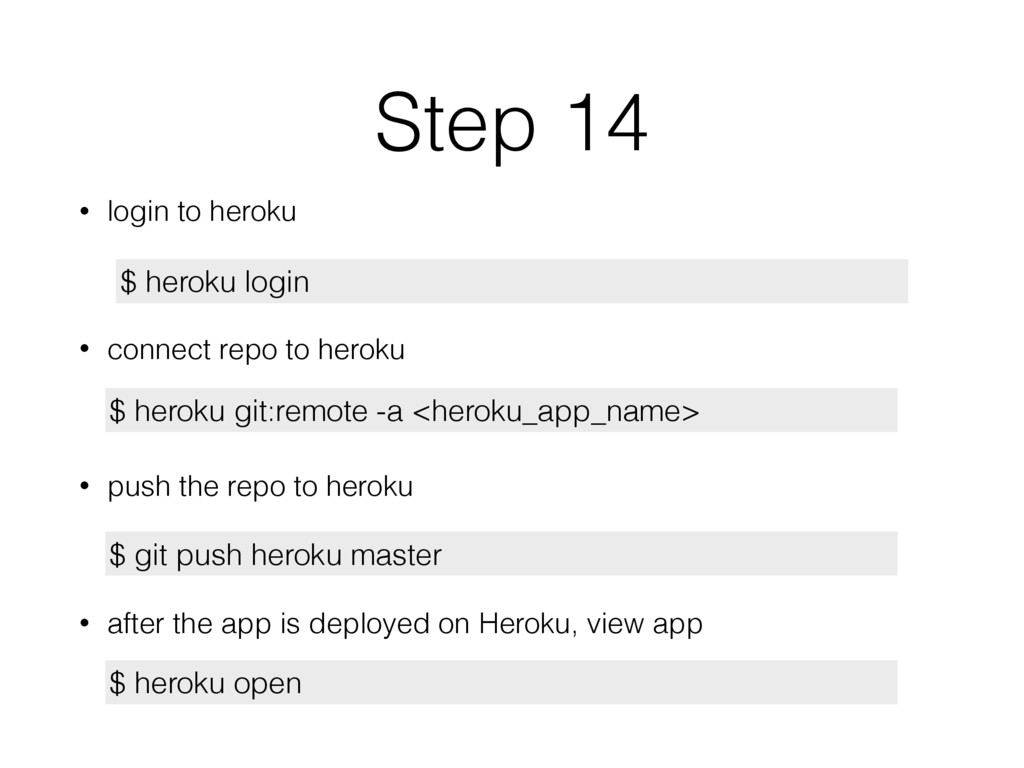
heroku • push the repo to heroku • after the app is deployed on Heroku, view app $ heroku git:remote -a <heroku_app_name> $ git push heroku master $ heroku login $ heroku open
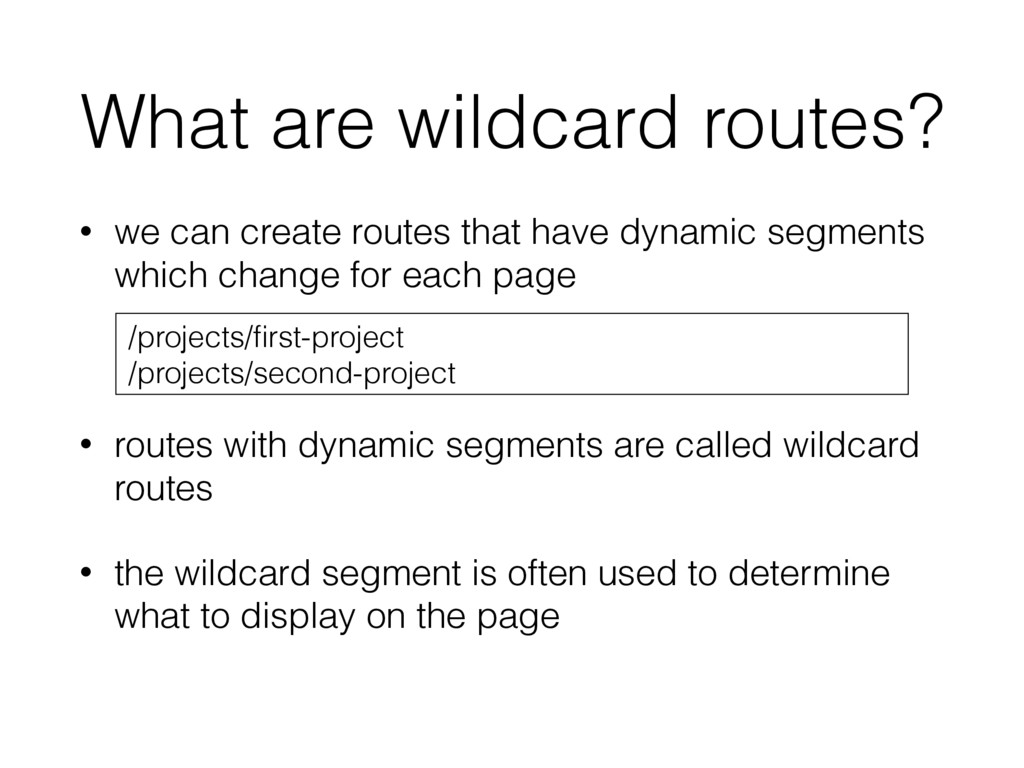
have dynamic segments which change for each page • routes with dynamic segments are called wildcard routes • the wildcard segment is often used to determine what to display on the page /projects/first-project /projects/second-project
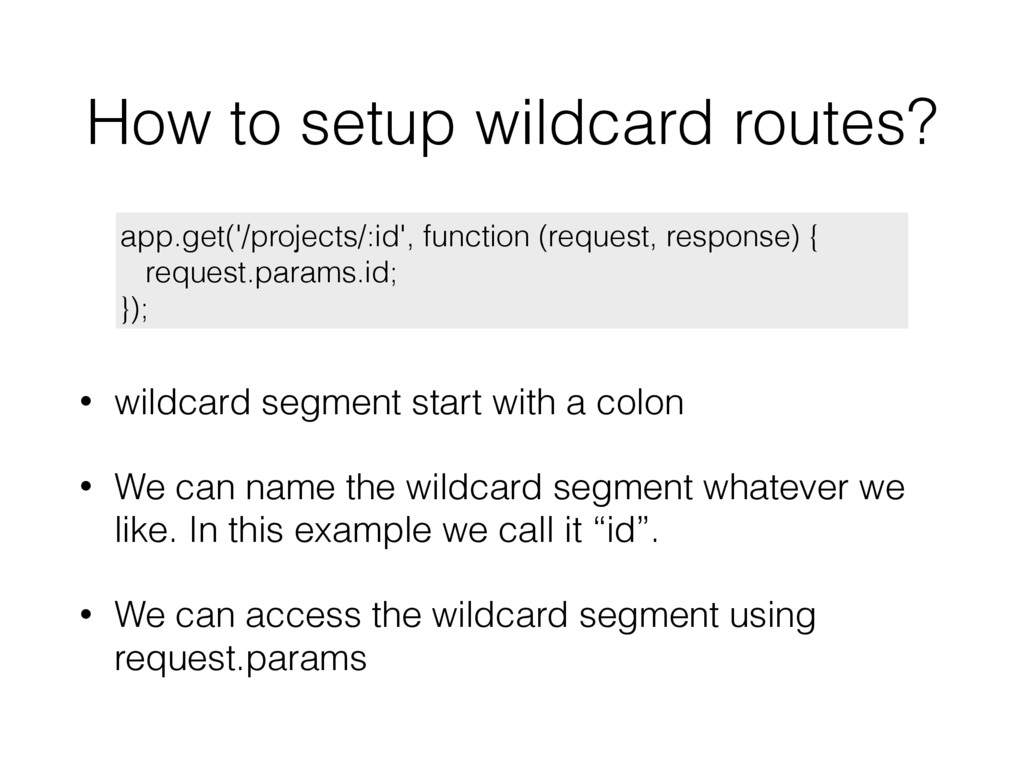
a colon • We can name the wildcard segment whatever we like. In this example we call it “id”. • We can access the wildcard segment using request.params app.get('/projects/:id', function (request, response) { request.params.id; });
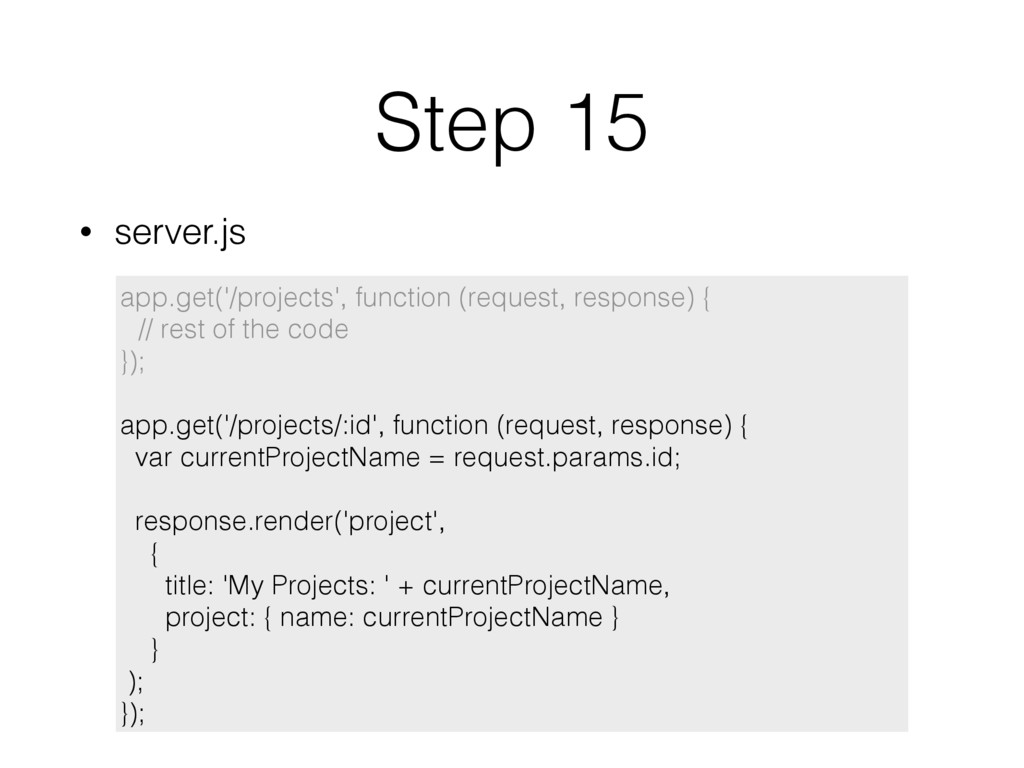
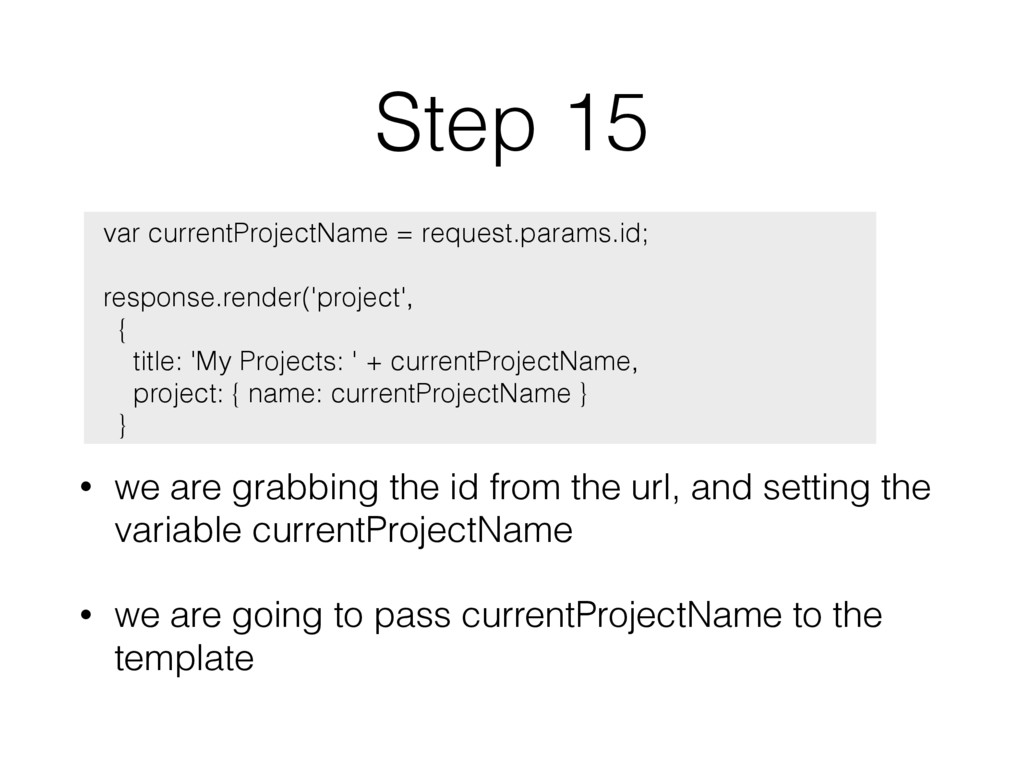
url, and setting the variable currentProjectName • we are going to pass currentProjectName to the template var currentProjectName = request.params.id; response.render('project', { title: 'My Projects: ' + currentProjectName, project: { name: currentProjectName } }
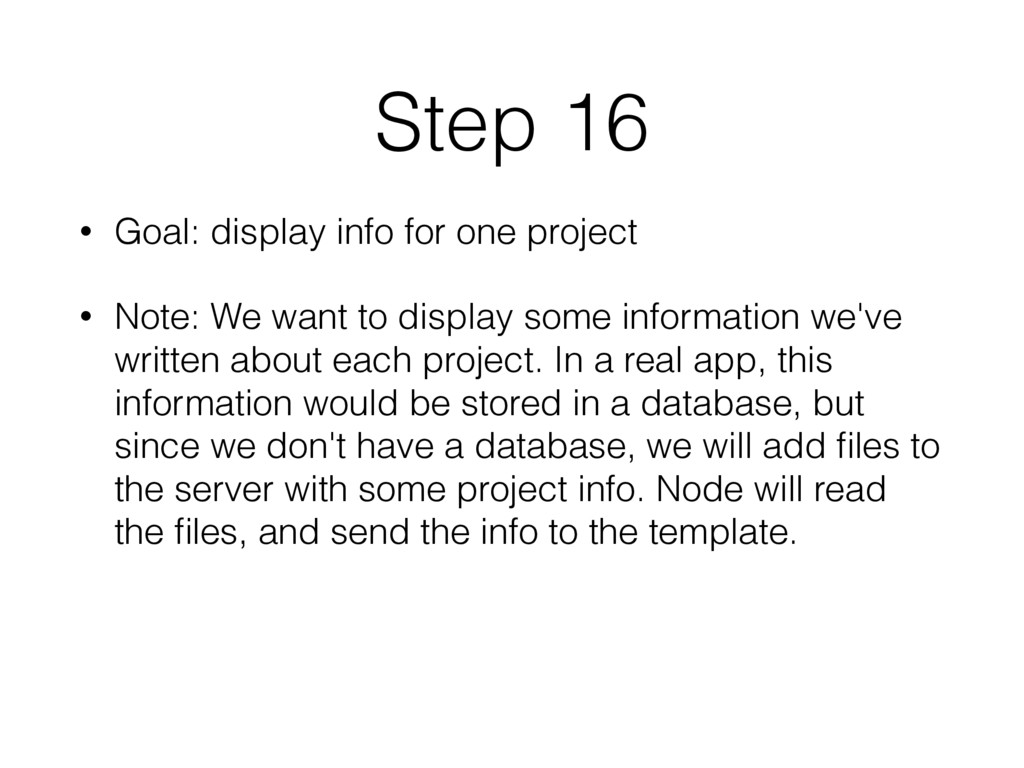
Note: We want to display some information we've written about each project. In a real app, this information would be stored in a database, but since we don't have a database, we will add files to the server with some project info. Node will read the files, and send the info to the template.
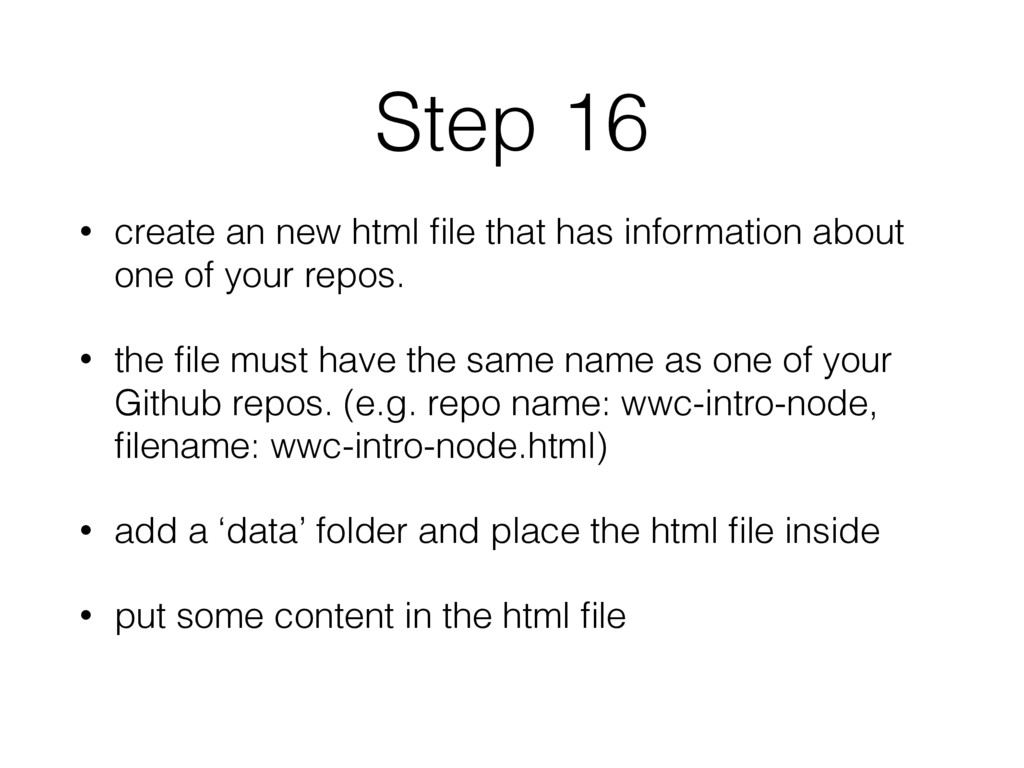
information about one of your repos. • the file must have the same name as one of your Github repos. (e.g. repo name: wwc-intro-node, filename: wwc-intro-node.html) • add a ‘data’ folder and place the html file inside • put some content in the html file
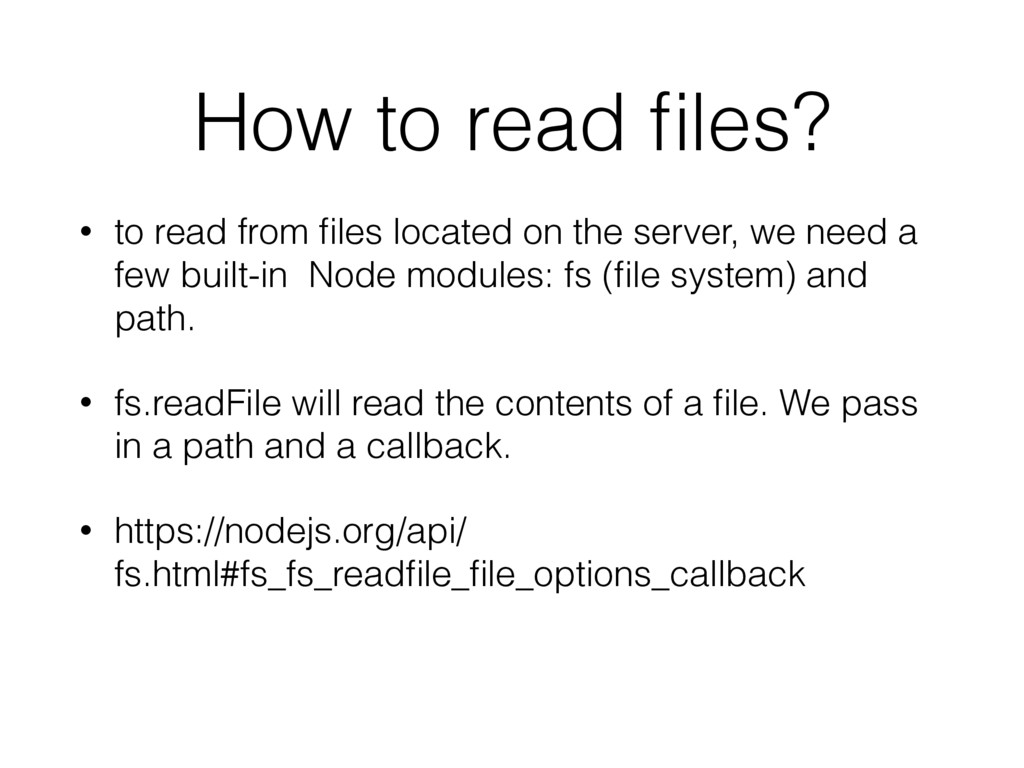
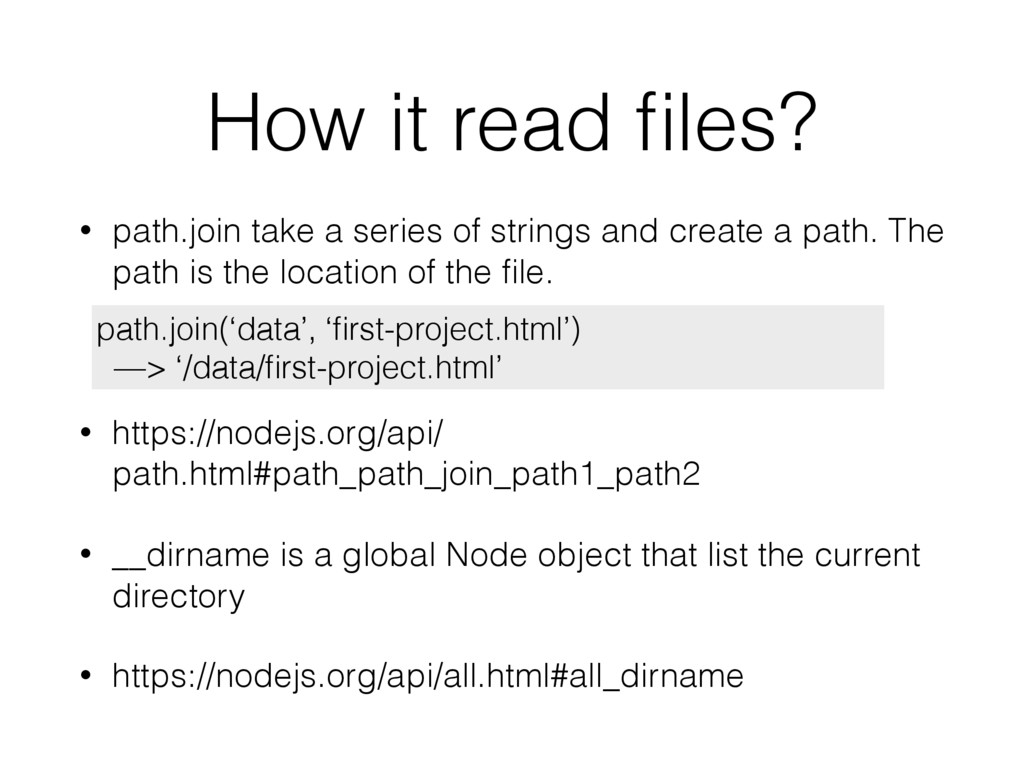
on the server, we need a few built-in Node modules: fs (file system) and path. • fs.readFile will read the contents of a file. We pass in a path and a callback. • https://nodejs.org/api/ fs.html#fs_fs_readfile_file_options_callback
strings and create a path. The path is the location of the file. • https://nodejs.org/api/ path.html#path_path_join_path1_path2 • __dirname is a global Node object that list the current directory • https://nodejs.org/api/all.html#all_dirname path.join(‘data’, ‘first-project.html’) —> ‘/data/first-project.html’
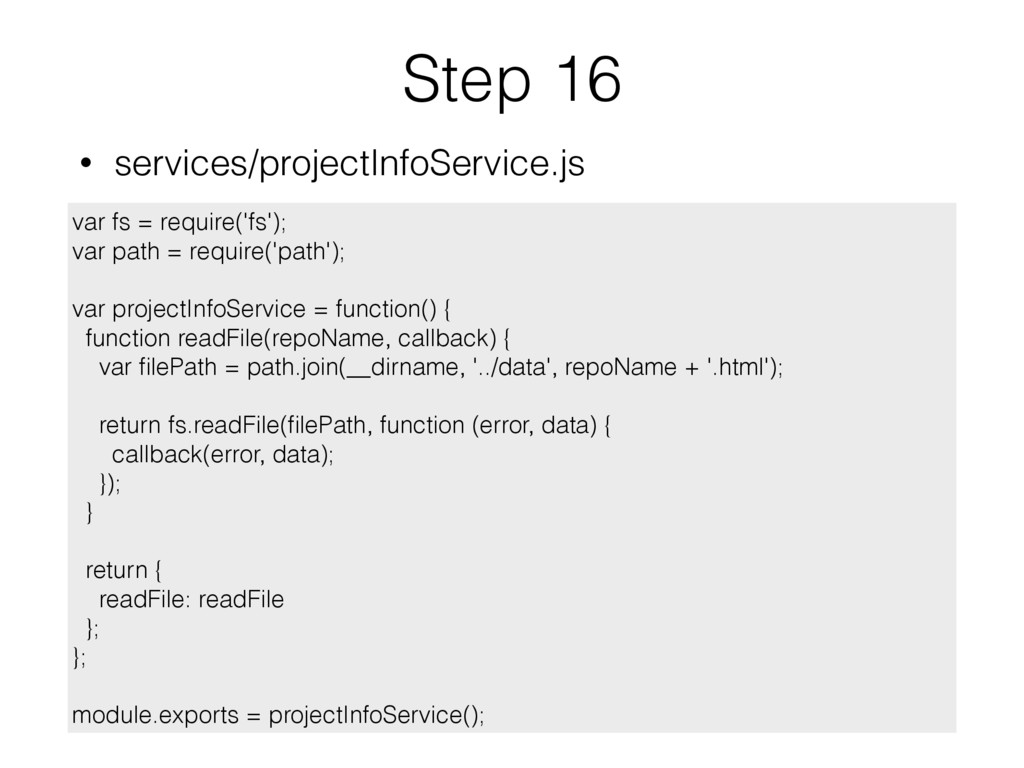
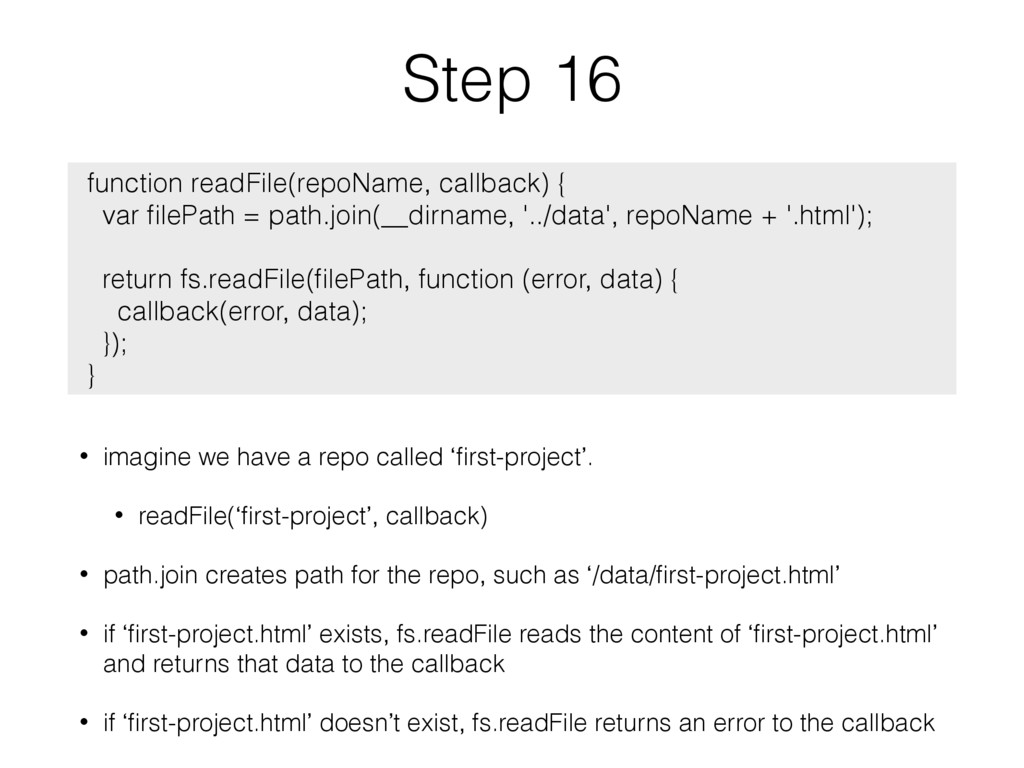
• readFile(‘first-project’, callback) • path.join creates path for the repo, such as ‘/data/first-project.html’ • if ‘first-project.html’ exists, fs.readFile reads the content of ‘first-project.html’ and returns that data to the callback • if ‘first-project.html’ doesn’t exist, fs.readFile returns an error to the callback function readFile(repoName, callback) { var filePath = path.join(__dirname, '../data', repoName + '.html'); return fs.readFile(filePath, function (error, data) { callback(error, data); }); }
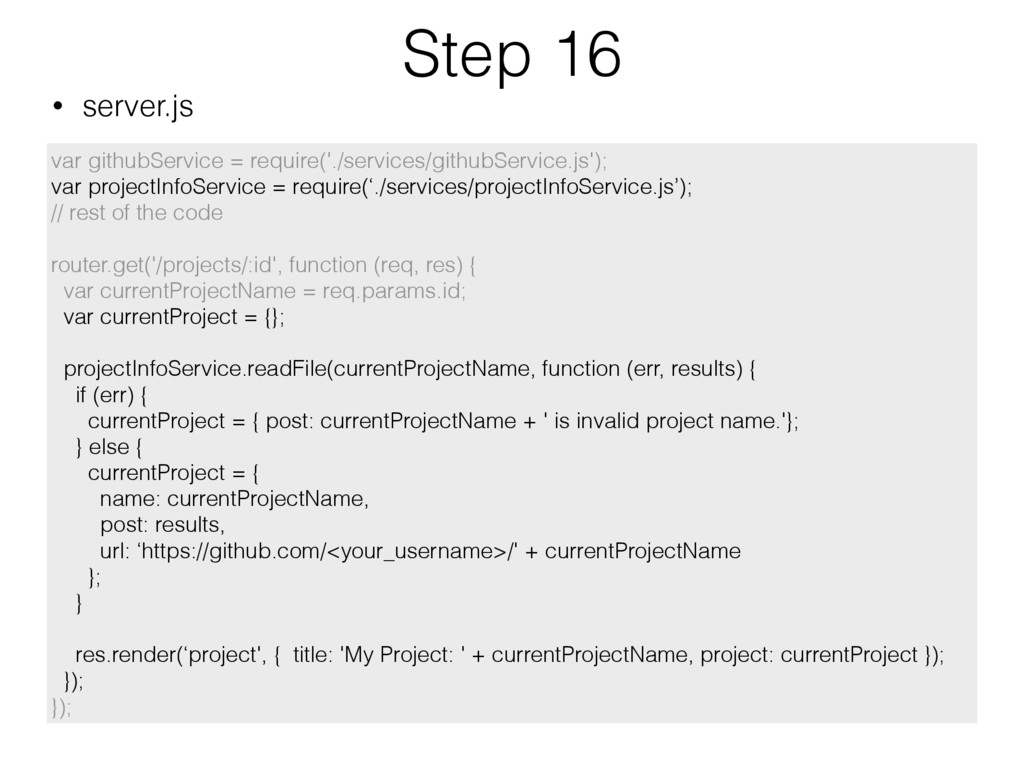
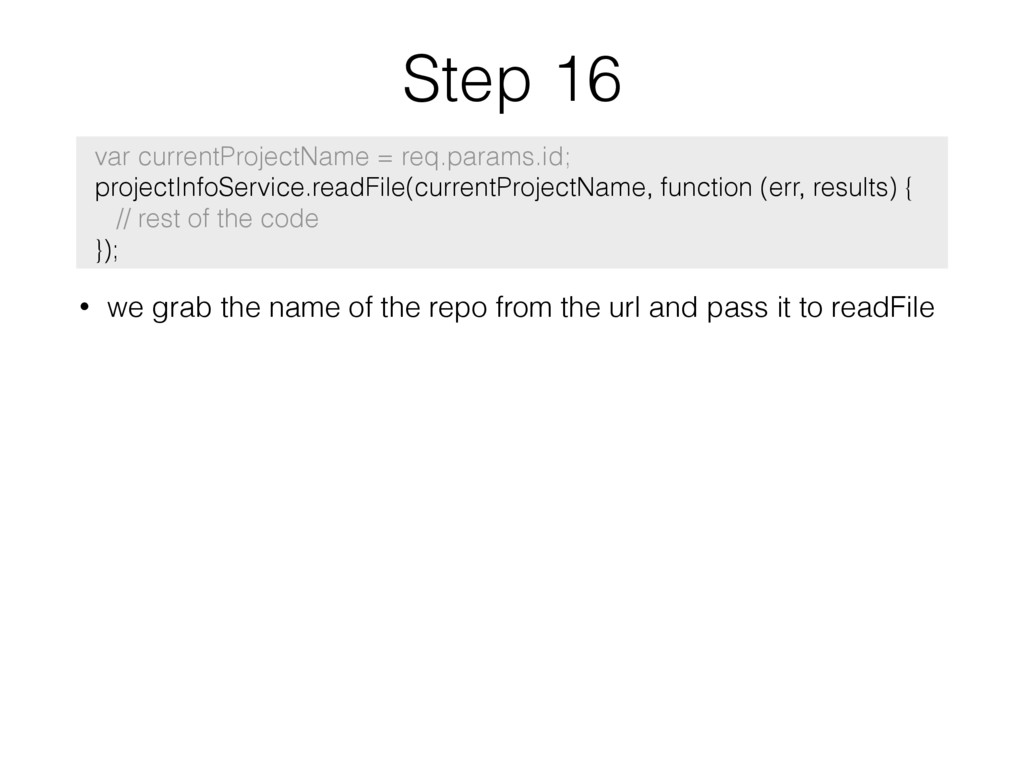
from the url and pass it to readFile var currentProjectName = req.params.id; projectInfoService.readFile(currentProjectName, function (err, results) { // rest of the code });
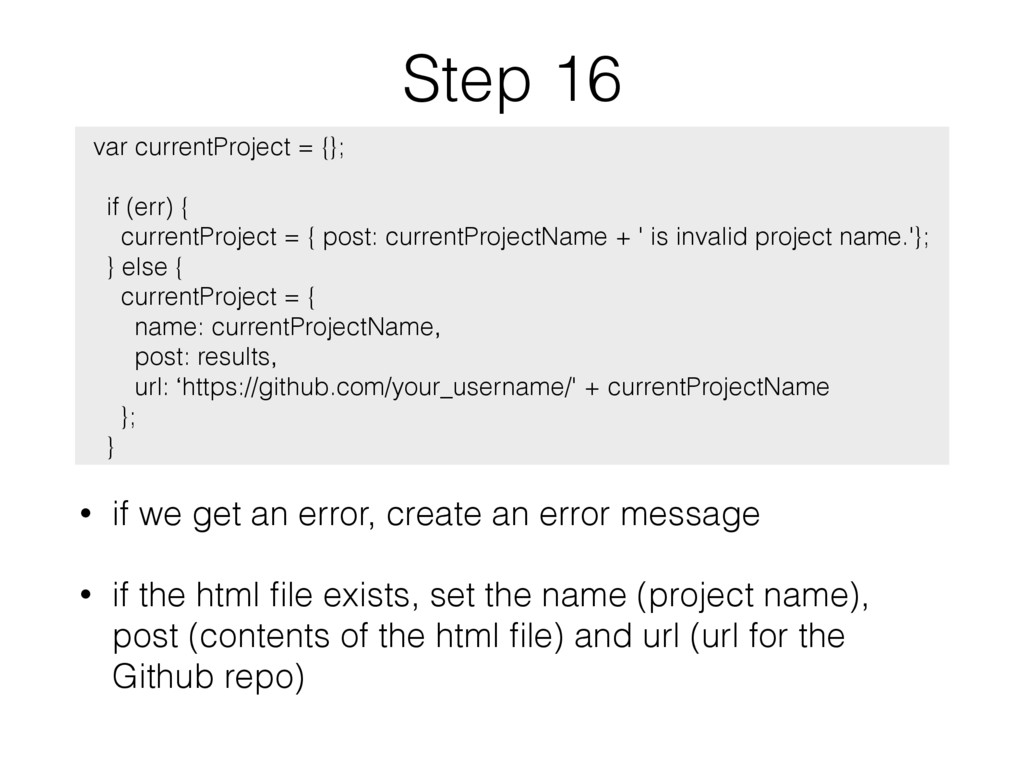
error message • if the html file exists, set the name (project name), post (contents of the html file) and url (url for the Github repo) var currentProject = {}; if (err) { currentProject = { post: currentProjectName + ' is invalid project name.'}; } else { currentProject = { name: currentProjectName, post: results, url: ‘https://github.com/your_username/' + currentProjectName }; }
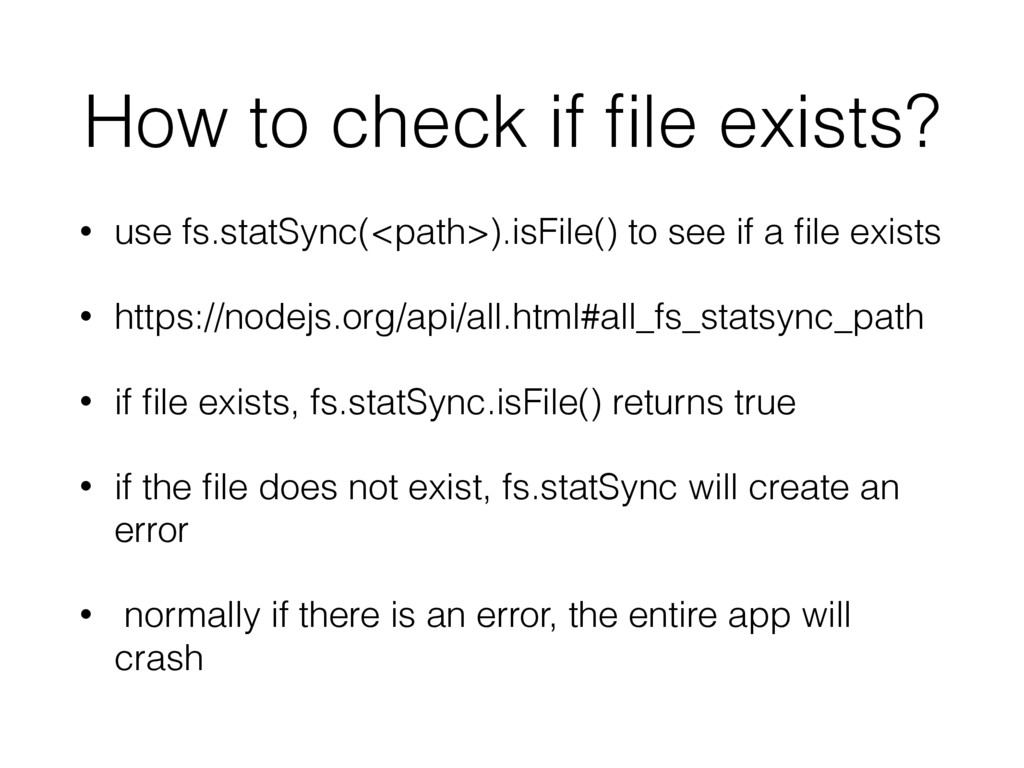
see if a file exists • https://nodejs.org/api/all.html#all_fs_statsync_path • if file exists, fs.statSync.isFile() returns true • if the file does not exist, fs.statSync will create an error • normally if there is an error, the entire app will crash
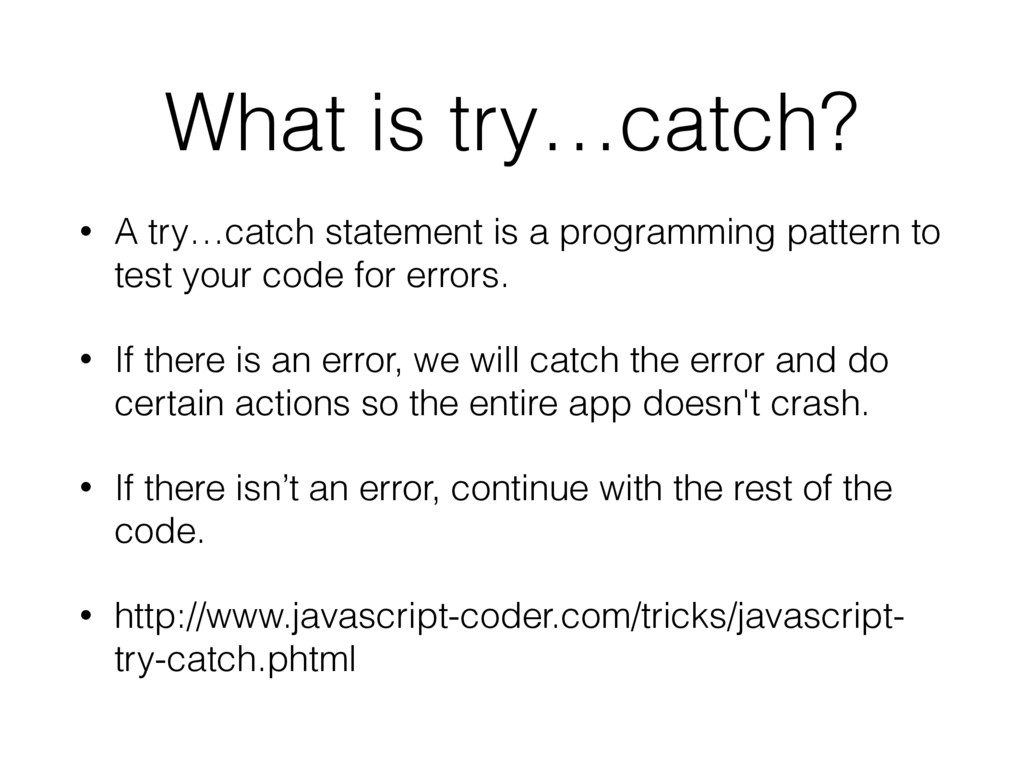
pattern to test your code for errors. • If there is an error, we will catch the error and do certain actions so the entire app doesn't crash. • If there isn’t an error, continue with the rest of the code. • http://www.javascript-coder.com/tricks/javascript- try-catch.phtml
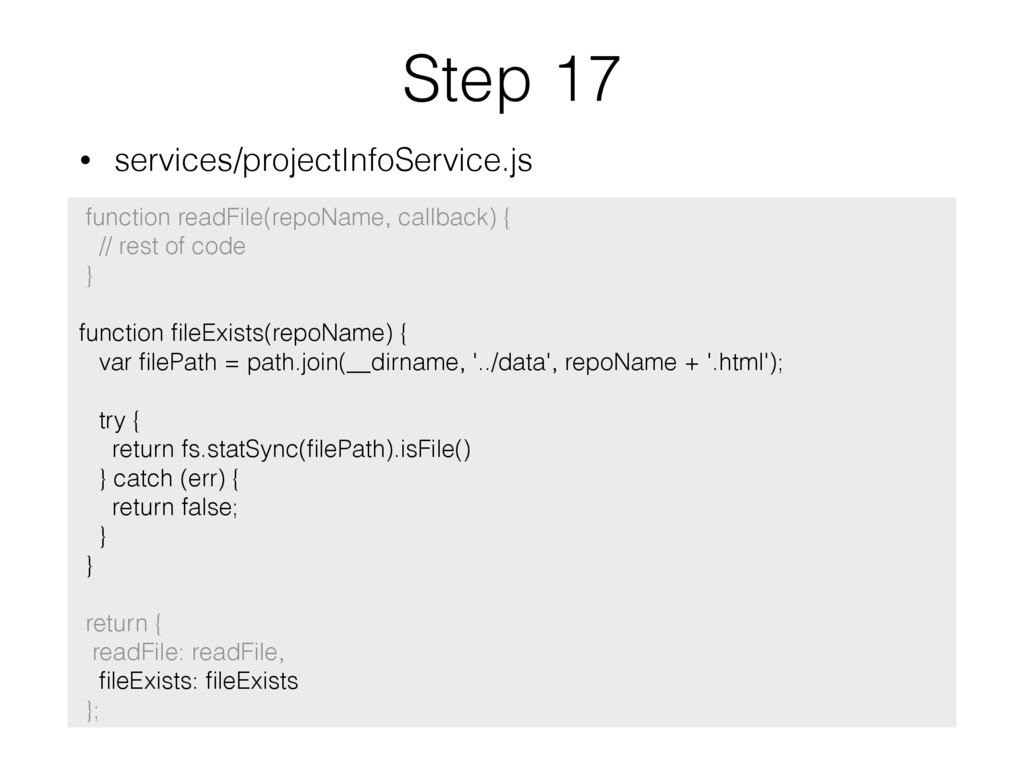
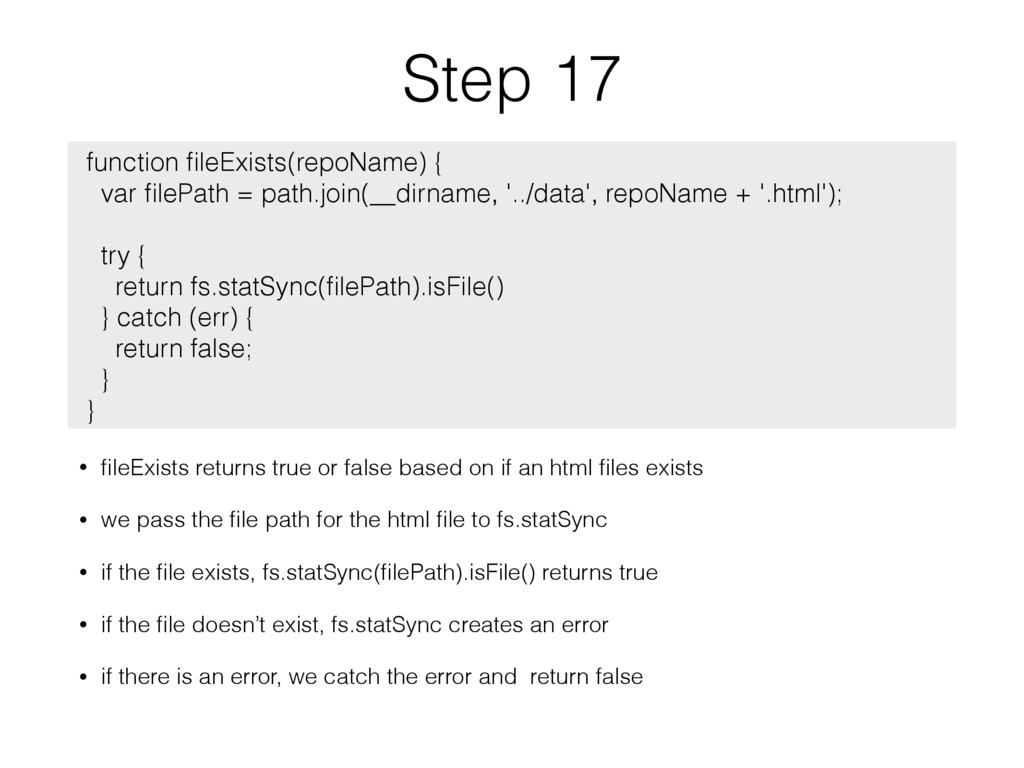
if an html files exists • we pass the file path for the html file to fs.statSync • if the file exists, fs.statSync(filePath).isFile() returns true • if the file doesn’t exist, fs.statSync creates an error • if there is an error, we catch the error and return false function fileExists(repoName) { var filePath = path.join(__dirname, '../data', repoName + '.html'); try { return fs.statSync(filePath).isFile() } catch (err) { return false; } }
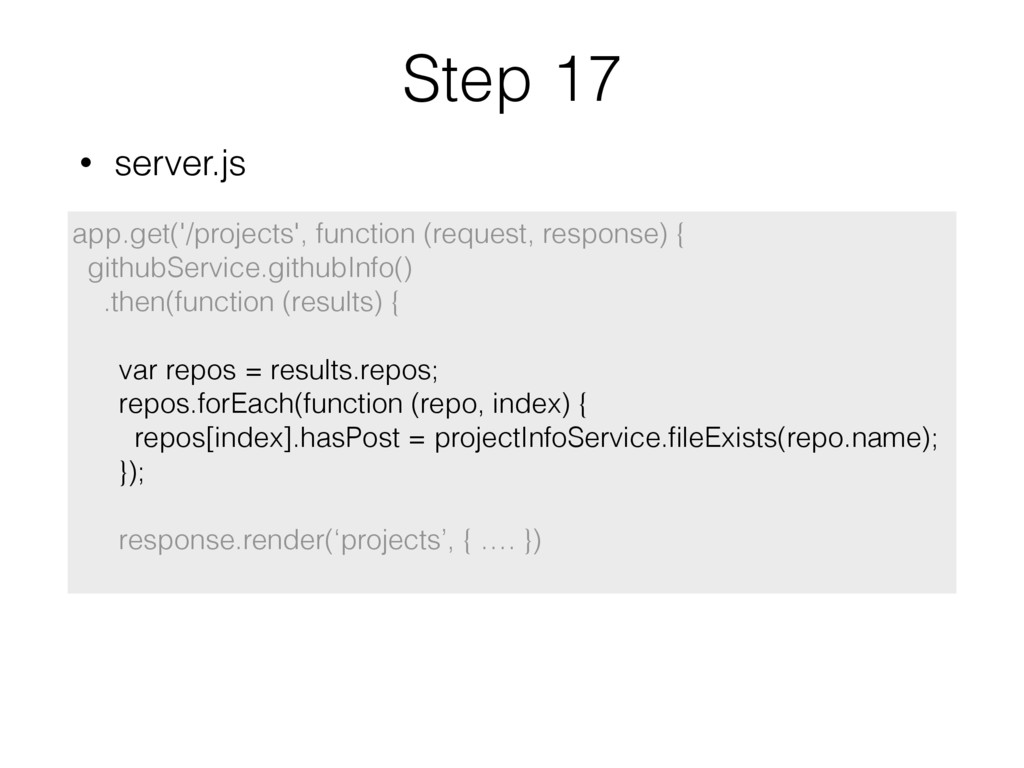
and adding a property ‘hasPost’ to each repo object • ‘hasPost’ will either be true or false, based on the results from fileExist() var repos = results.repos; repos.forEach(function (repo, index) { repos[index].hasPost = projectInfoService.fileExists(repo.name); });
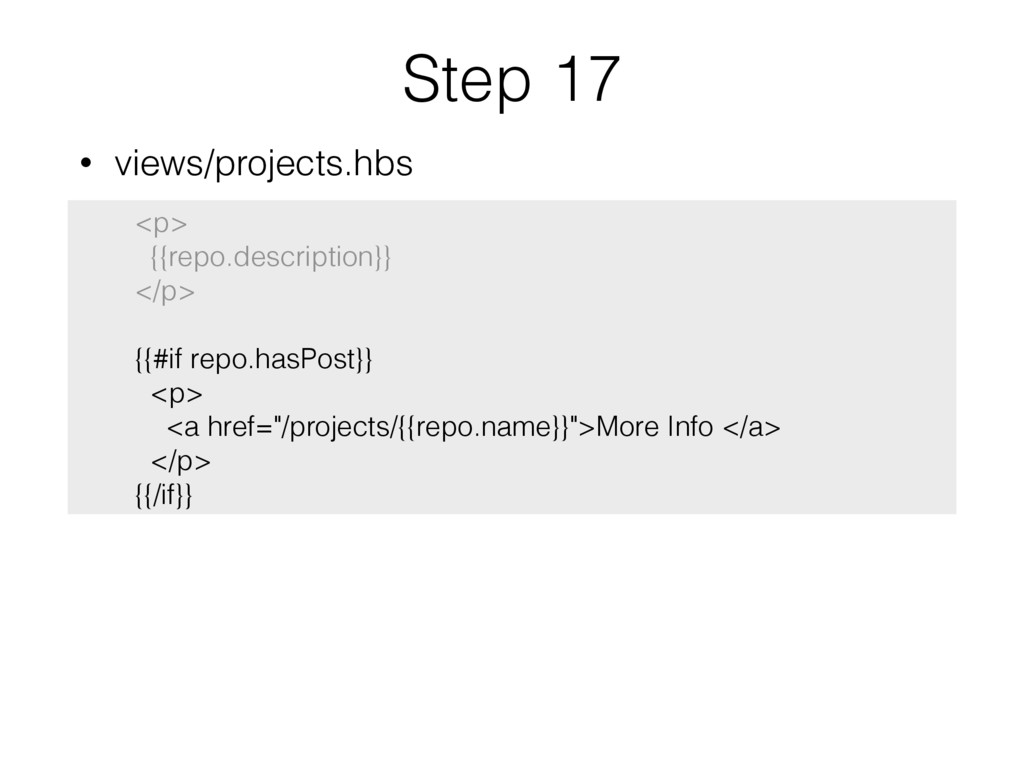
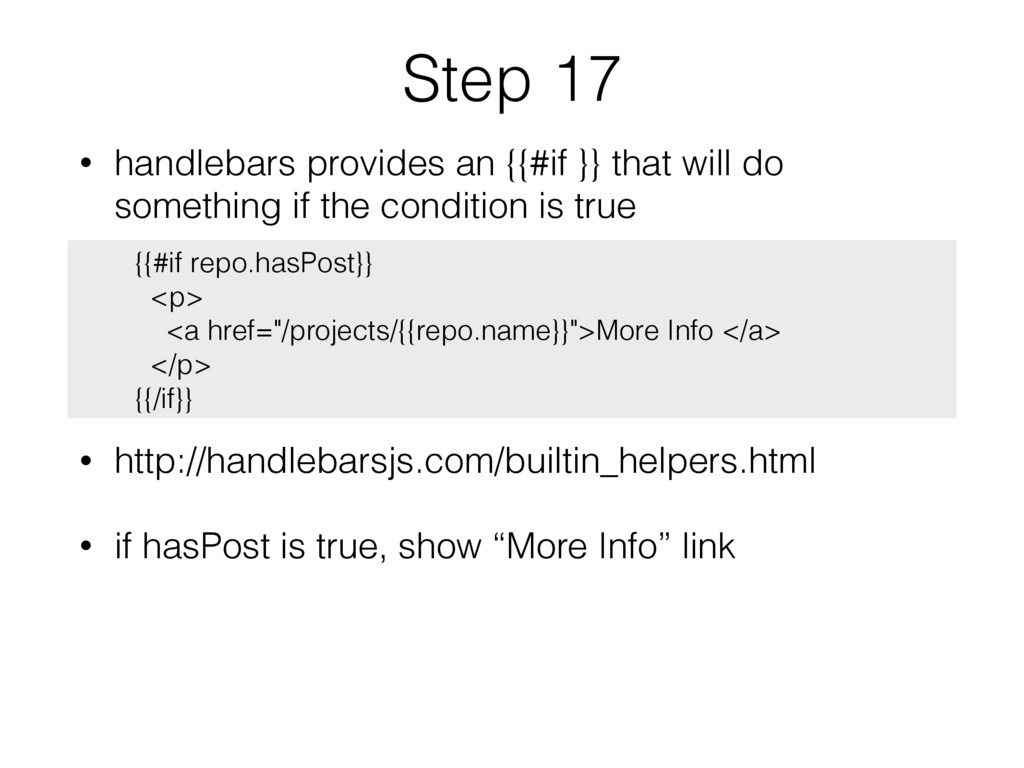
do something if the condition is true • http://handlebarsjs.com/builtin_helpers.html • if hasPost is true, show “More Info” link {{#if repo.hasPost}} <p> <a href="/projects/{{repo.name}}">More Info </a> </p> {{/if}}
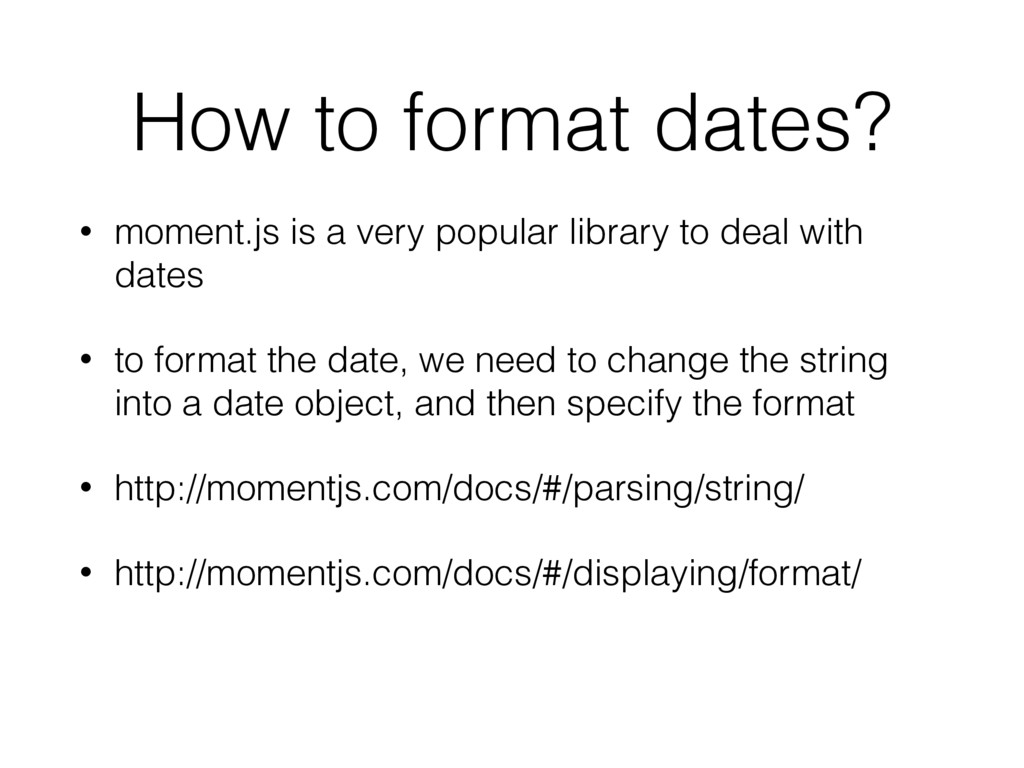
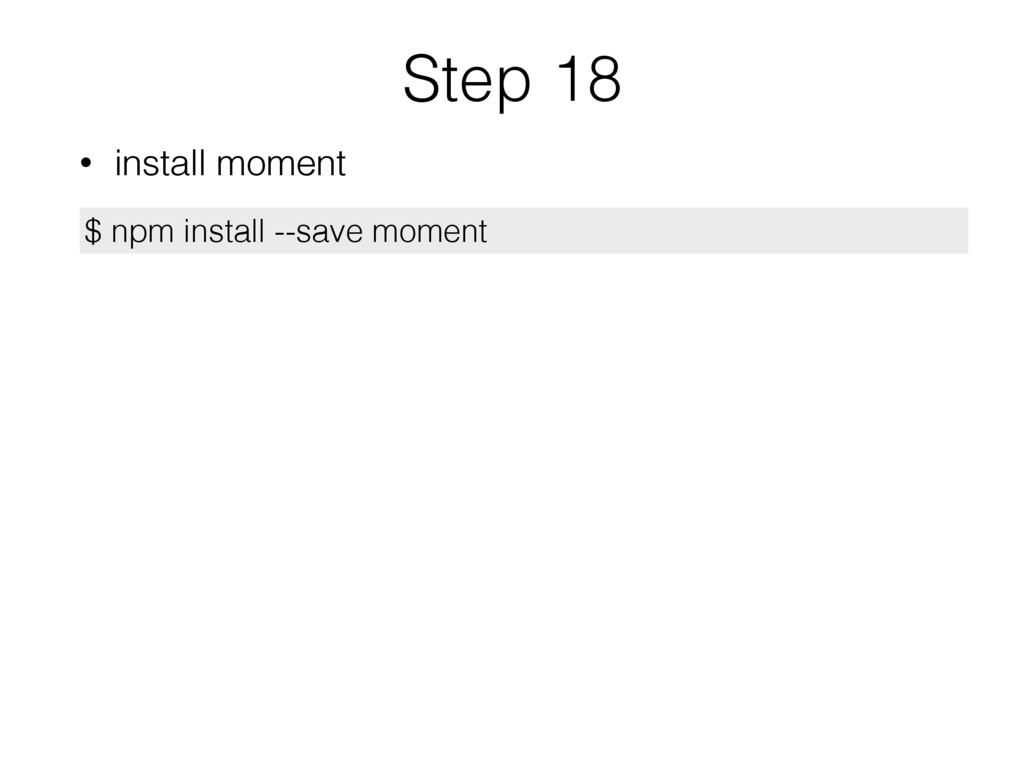
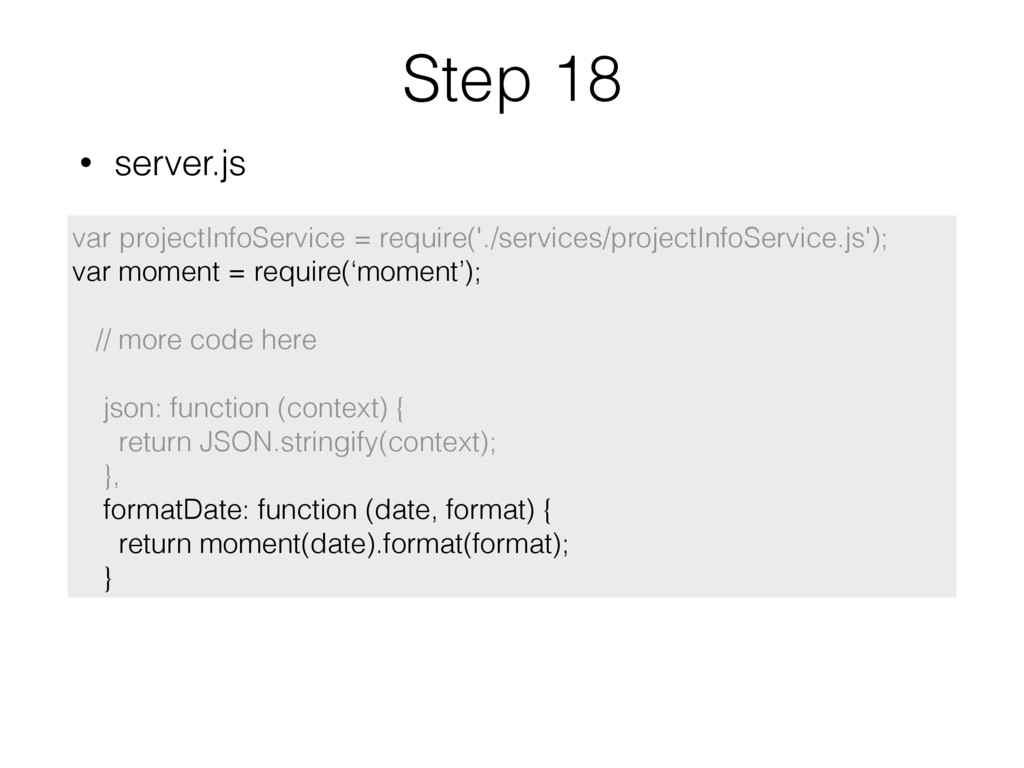
library to deal with dates • to format the date, we need to change the string into a date object, and then specify the format • http://momentjs.com/docs/#/parsing/string/ • http://momentjs.com/docs/#/displaying/format/
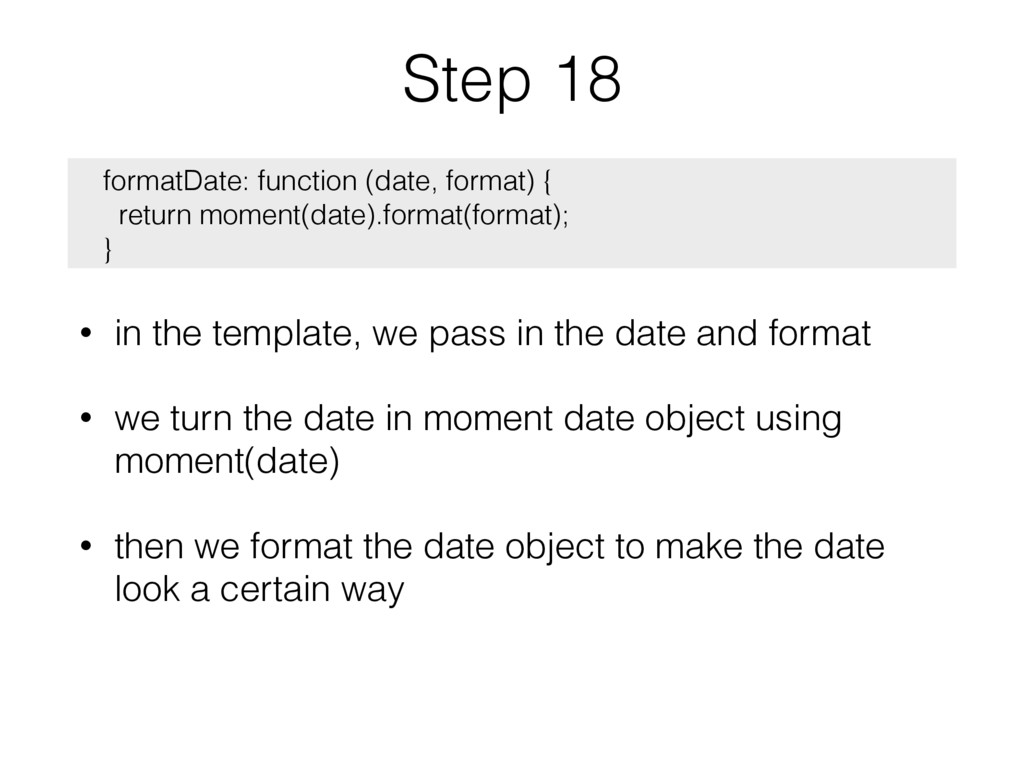
date and format • we turn the date in moment date object using moment(date) • then we format the date object to make the date look a certain way formatDate: function (date, format) { return moment(date).format(format); }
for your code. • you set up the rules, and if your code violates the rules, you will see an error or warning • their are serval javascript linters: jshint, jslint, eslint
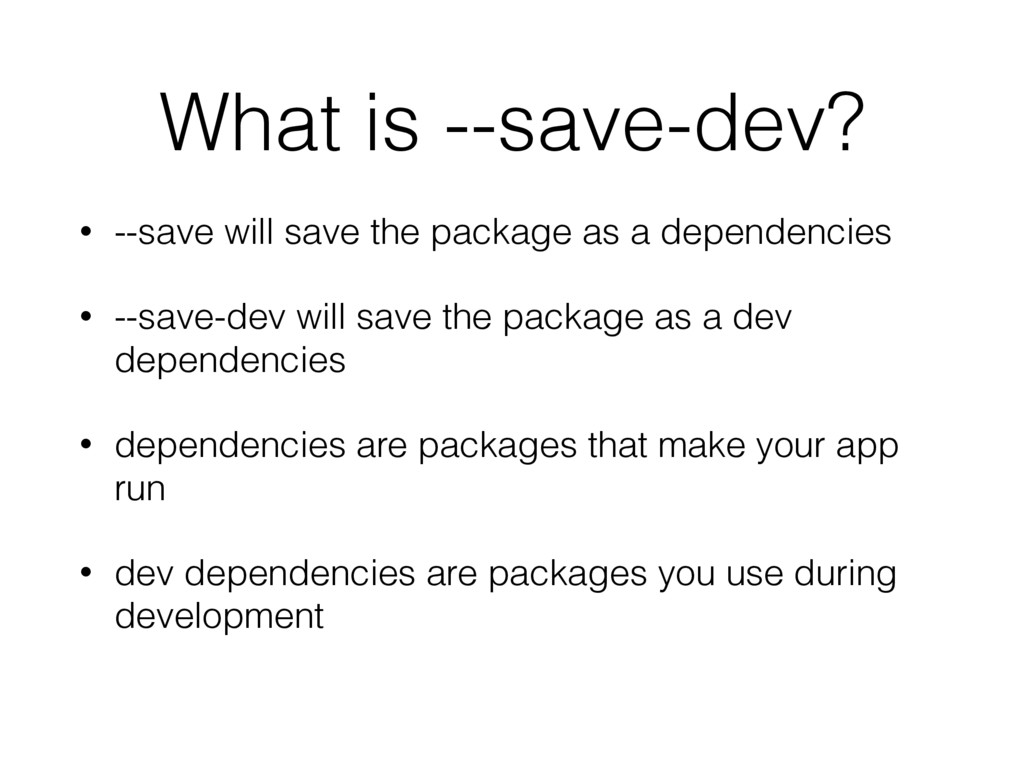
a dependencies • --save-dev will save the package as a dev dependencies • dependencies are packages that make your app run • dev dependencies are packages you use during development
their javascript code • airbnb open sourced those rules so that developers can look at the rules airbnb uses • https://github.com/airbnb/javascript • instead of creating our own rules, we will use airbnb’s rules
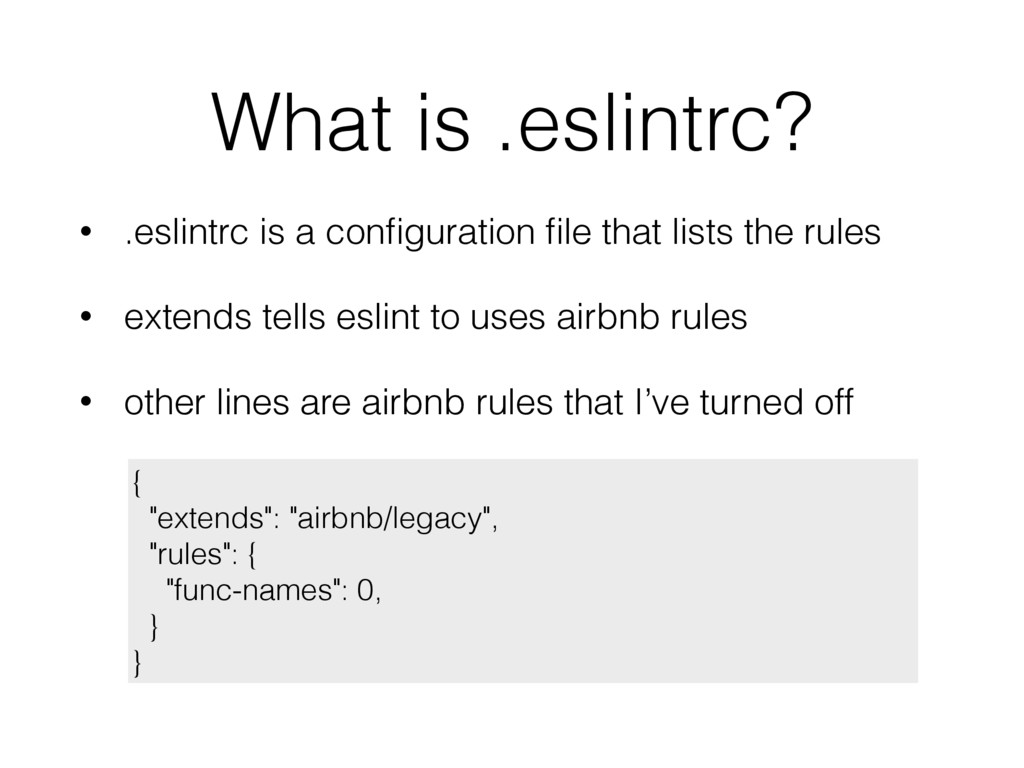
lists the rules • extends tells eslint to uses airbnb rules • other lines are airbnb rules that I’ve turned off { "extends": "airbnb/legacy", "rules": { "func-names": 0, } }
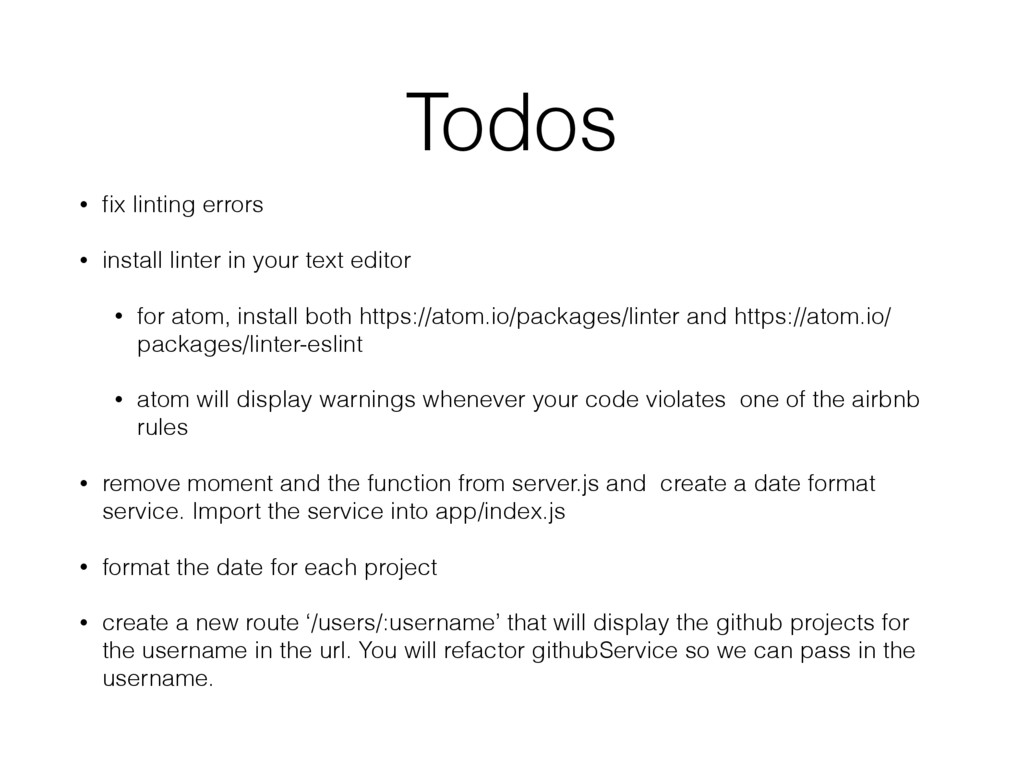
text editor • for atom, install both https://atom.io/packages/linter and https://atom.io/ packages/linter-eslint • atom will display warnings whenever your code violates one of the airbnb rules • remove moment and the function from server.js and create a date format service. Import the service into app/index.js • format the date for each project • create a new route ‘/users/:username’ that will display the github projects for the username in the url. You will refactor githubService so we can pass in the username.
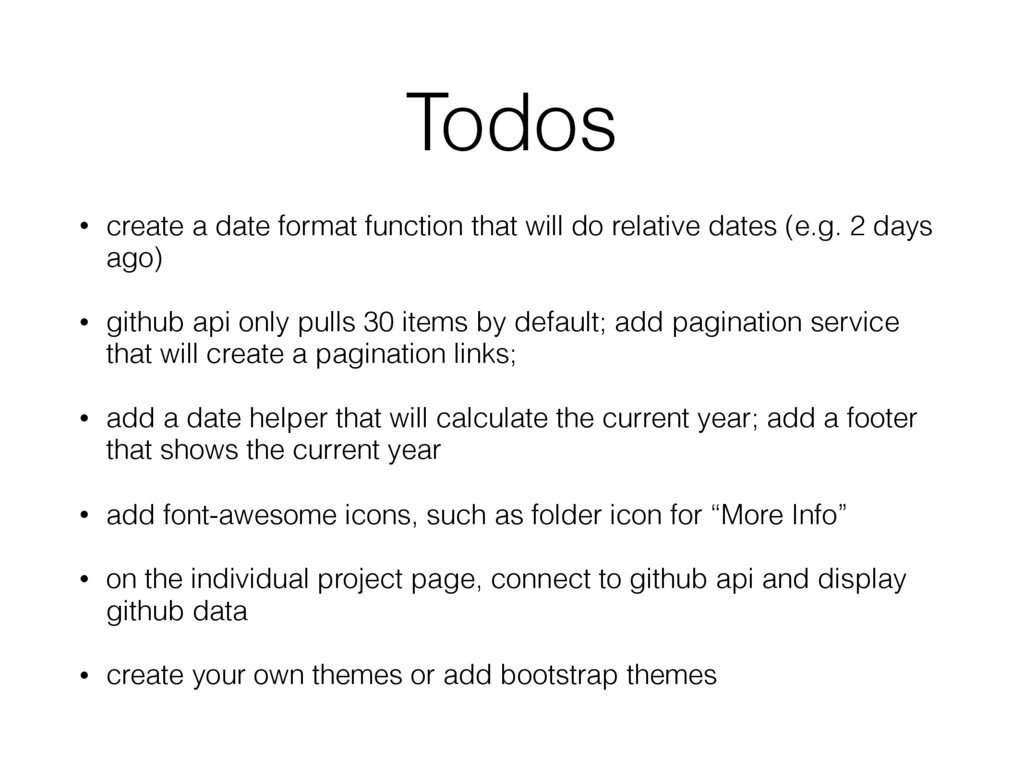
relative dates (e.g. 2 days ago) • github api only pulls 30 items by default; add pagination service that will create a pagination links; • add a date helper that will calculate the current year; add a footer that shows the current year • add font-awesome icons, such as folder icon for “More Info” • on the individual project page, connect to github api and display github data • create your own themes or add bootstrap themes