Share
Embed
Transcript
49 slides
-
Боричев Сергей iOS Developer Инженер телекоммуникаций Немного преподаватель :) Студент
https://t.me/ios_kharkiv https://t.me/peerlab_ios_kharkiv https://t.me/mobile_job_ua Полезные ссылки: -
Анимация — это организация досуга в отелях, на корпоративных мероприятиях,
детских лагерях, детских праздниках; направление, предполагающее личное участие отдыхающих в культурно-массовых мероприятиях. -
— это визуальное отображение изменений свойств одного объекта (например, такого
как слой) или набора объектов (например, нескольких слоёв). Анимация -
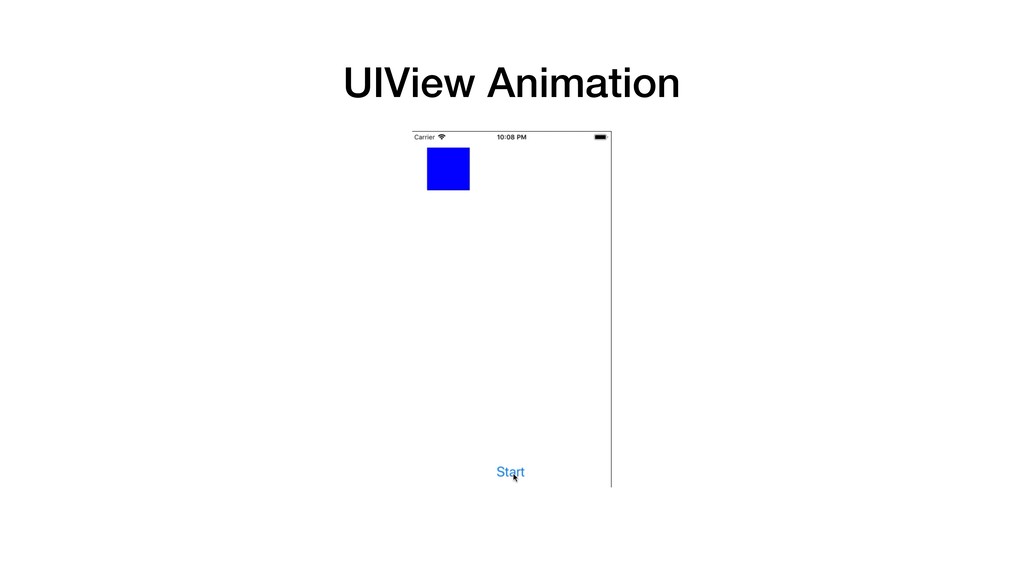
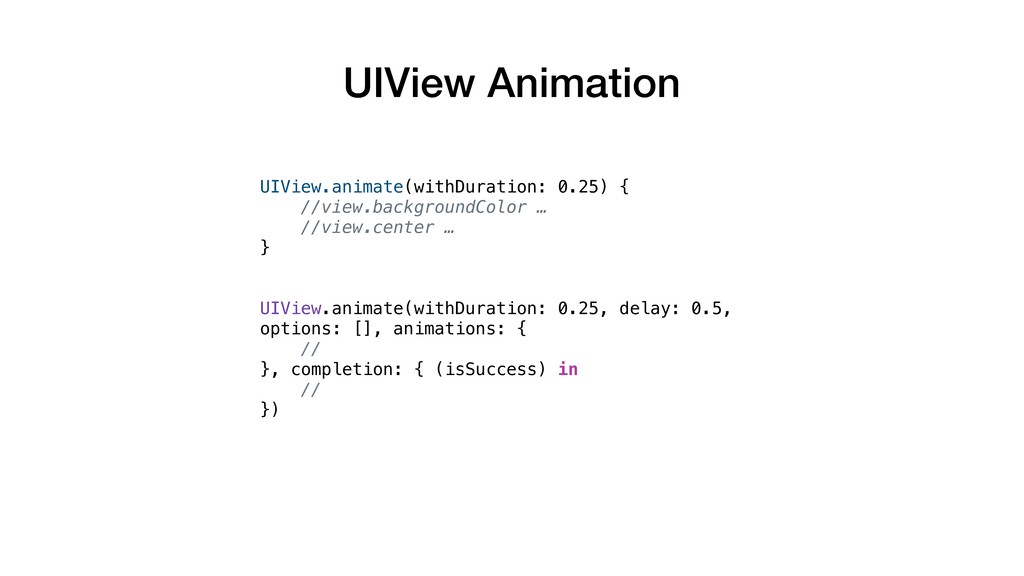
UIView.animate(withDuration: 0.25) { //view.backgroundColor … //view.center … } UIView.animate(withDuration: 0.25,
delay: 0.5, options: [], animations: { // }, completion: { (isSuccess) in // }) UIView Animation -
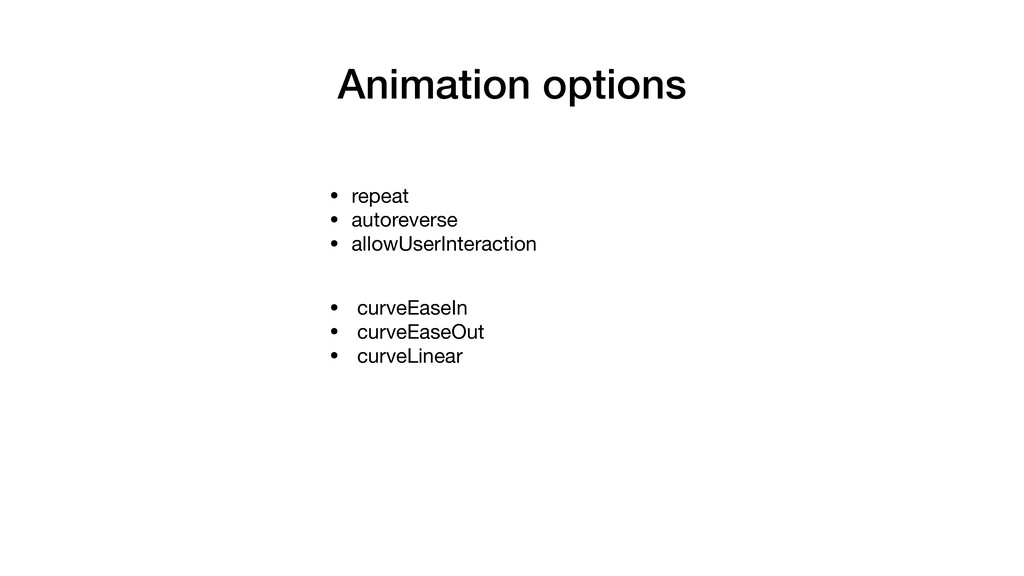
Animation options • repeat • autoreverse • allowUserInteraction • curveEaseIn
• curveEaseOut • curveLinear -
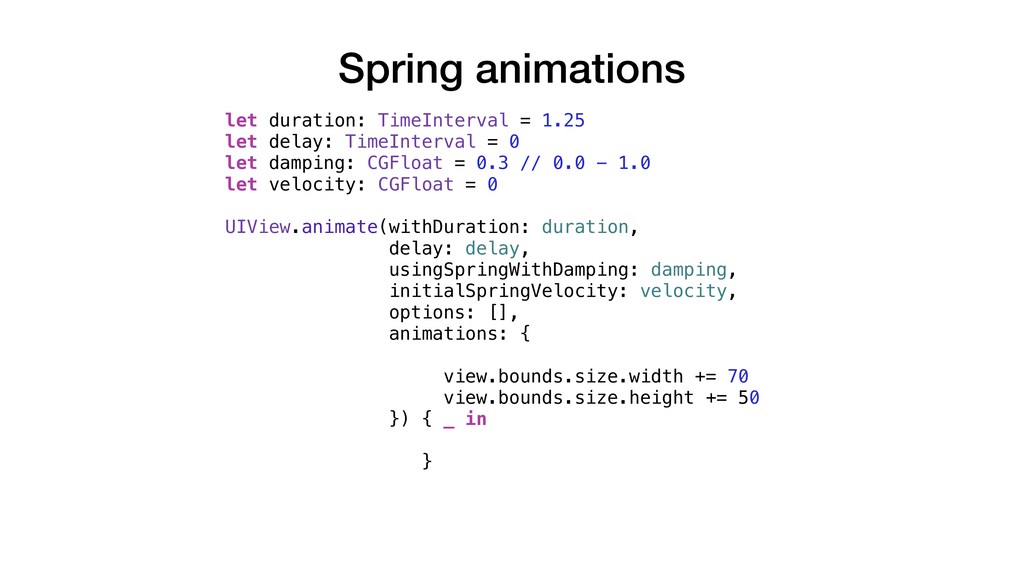
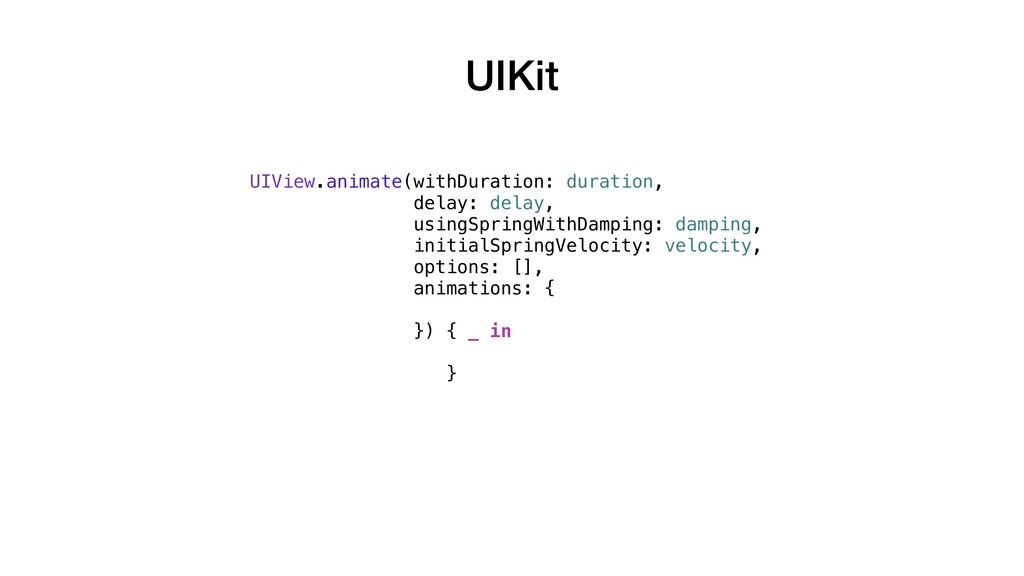
Spring animations let duration: TimeInterval = 1.25 let delay: TimeInterval
= 0 let damping: CGFloat = 0.3 // 0.0 - 1.0 let velocity: CGFloat = 0 UIView.animate(withDuration: duration, delay: delay, usingSpringWithDamping: damping, initialSpringVelocity: velocity, options: [], animations: { view.bounds.size.width += 70 view.bounds.size.height += 50 }) { _ in } -
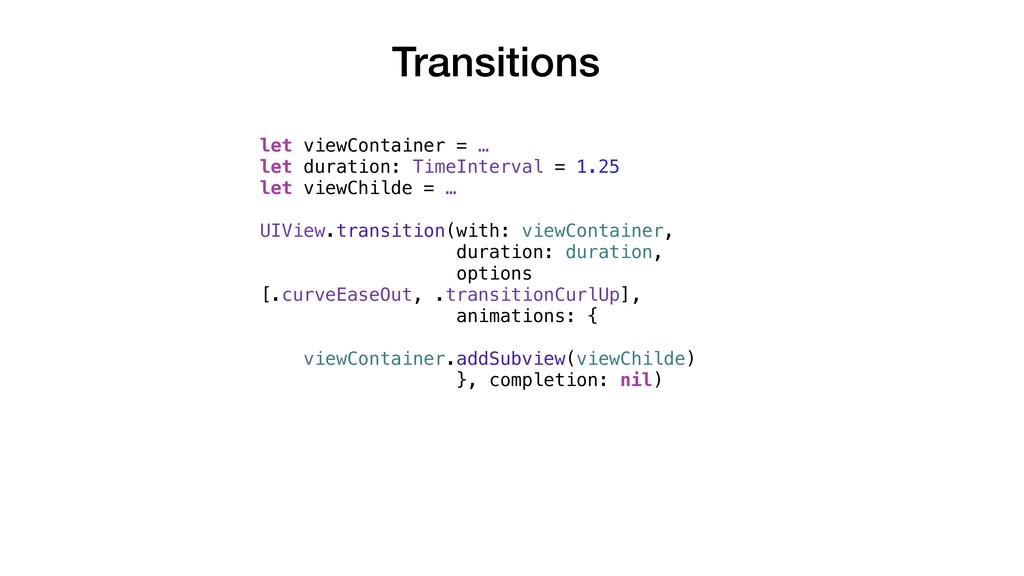
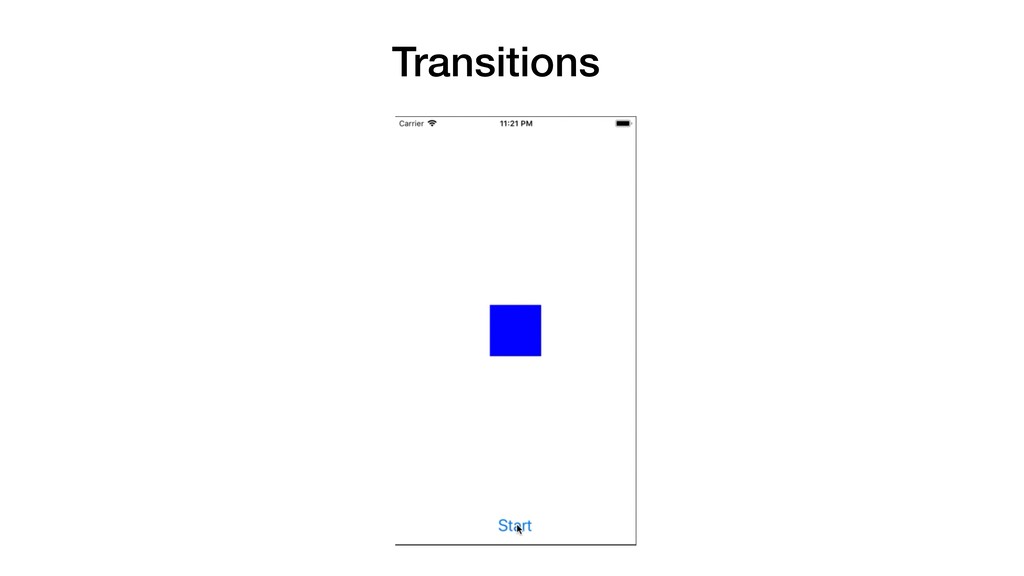
Transitions let viewContainer = … let duration: TimeInterval = 1.25
let viewChilde = … UIView.transition(with: viewContainer, duration: duration, options [.curveEaseOut, .transitionCurlUp], animations: { viewContainer.addSubview(viewChilde) }, completion: nil) -
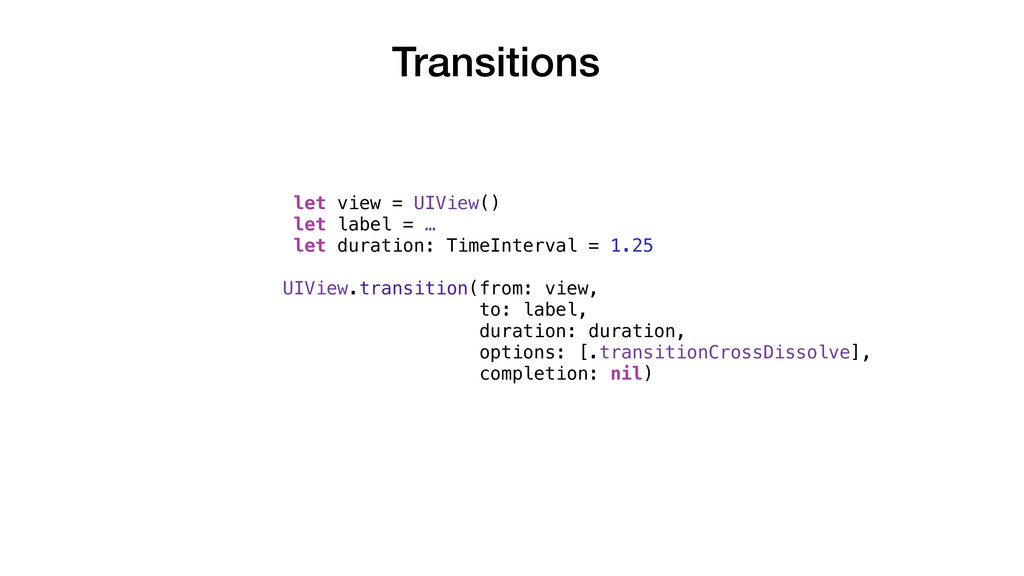
let view = UIView() let label = … let duration:
TimeInterval = 1.25 UIView.transition(from: view, to: label, duration: duration, options: [.transitionCrossDissolve], completion: nil) Transitions -
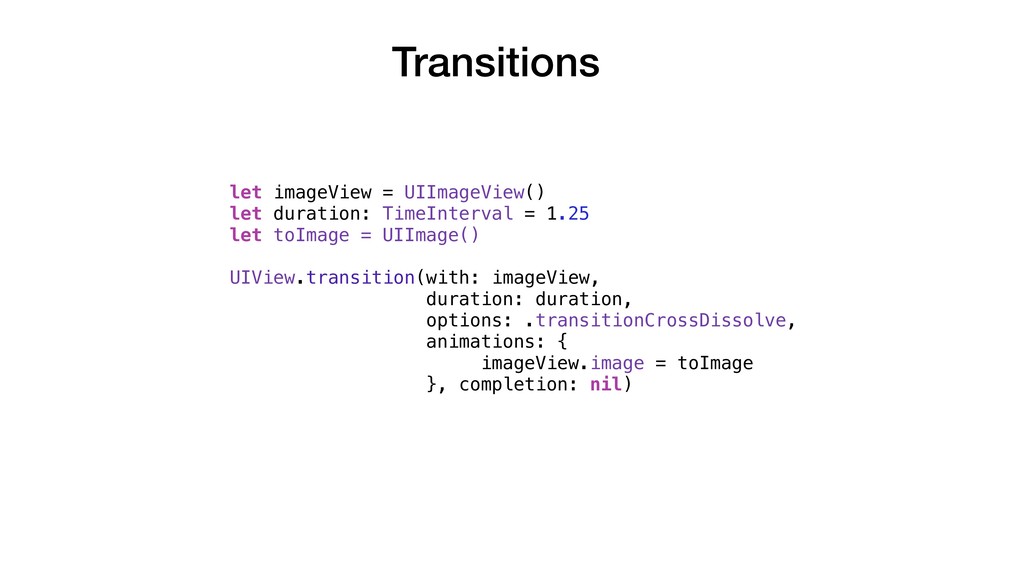
Transitions let imageView = UIImageView() let duration: TimeInterval = 1.25
let toImage = UIImage() UIView.transition(with: imageView, duration: duration, options: .transitionCrossDissolve, animations: { imageView.image = toImage }, completion: nil) -
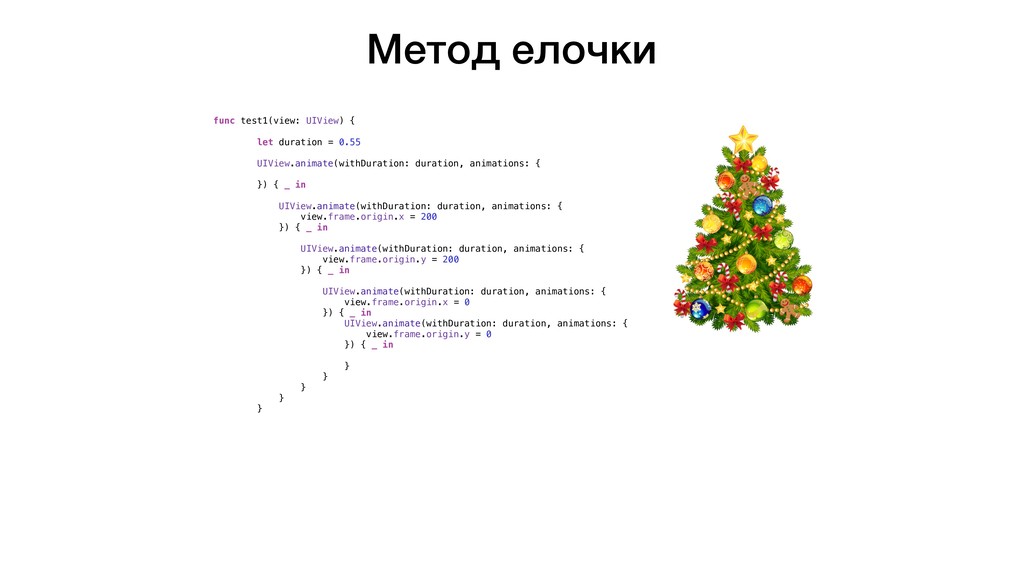
Метод елочки func test1(view: UIView) { let duration = 0.55
UIView.animate(withDuration: duration, animations: { }) { _ in UIView.animate(withDuration: duration, animations: { view.frame.origin.x = 200 }) { _ in UIView.animate(withDuration: duration, animations: { view.frame.origin.y = 200 }) { _ in UIView.animate(withDuration: duration, animations: { view.frame.origin.x = 0 }) { _ in UIView.animate(withDuration: duration, animations: { view.frame.origin.y = 0 }) { _ in } } } } } -
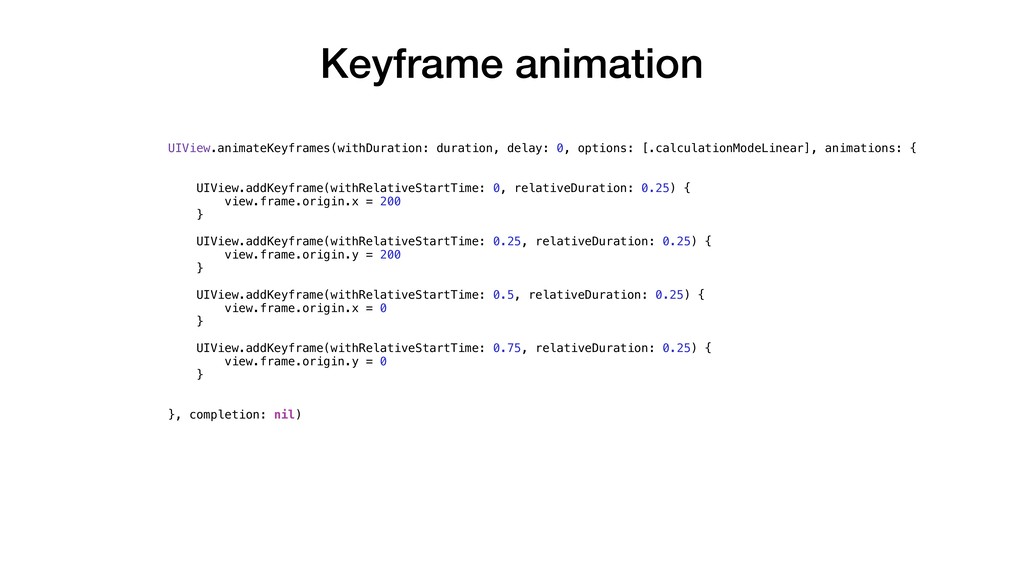
Keyframe animation UIView.animateKeyframes(withDuration: duration, delay: 0, options: [.calculationModeLinear], animations: {
UIView.addKeyframe(withRelativeStartTime: 0, relativeDuration: 0.25) { view.frame.origin.x = 200 } UIView.addKeyframe(withRelativeStartTime: 0.25, relativeDuration: 0.25) { view.frame.origin.y = 200 } UIView.addKeyframe(withRelativeStartTime: 0.5, relativeDuration: 0.25) { view.frame.origin.x = 0 } UIView.addKeyframe(withRelativeStartTime: 0.75, relativeDuration: 0.25) { view.frame.origin.y = 0 } }, completion: nil) -
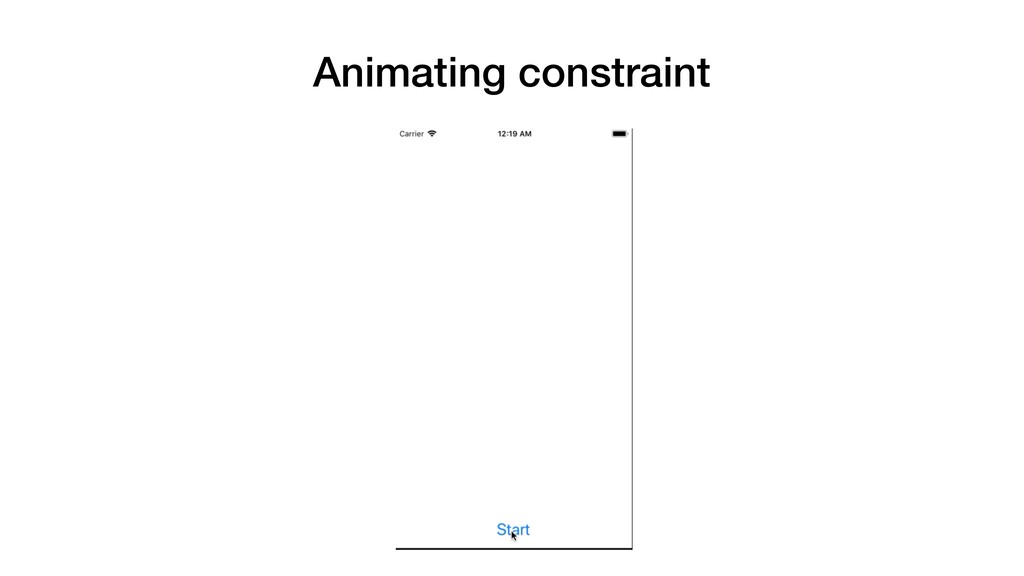
Animating constraint var widthConstr = NSLayoutConstraint() let duration: TimeInterval =
0.3 UIView.animate(withDuration: duration) { widthConstr.constant = … } -
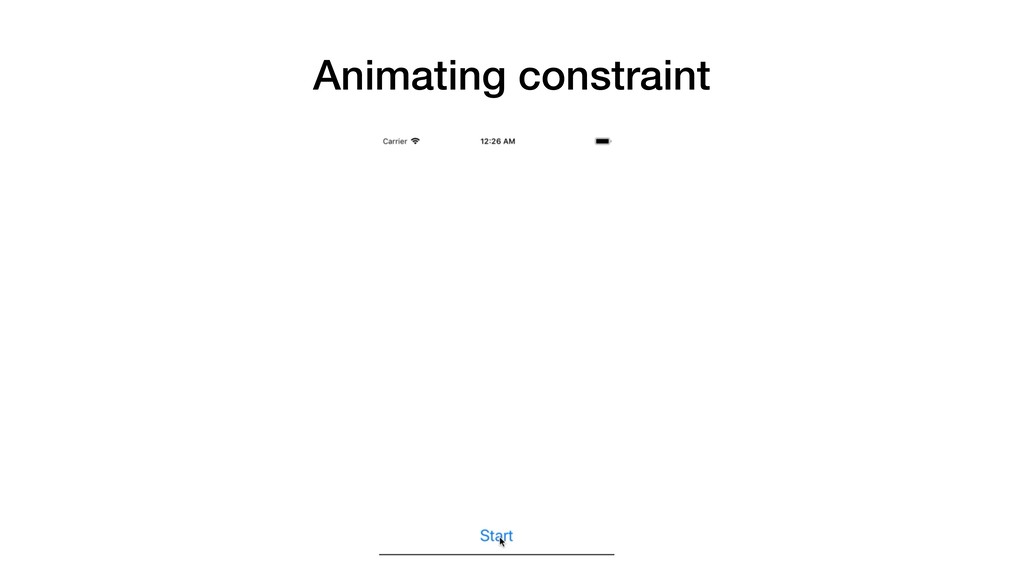
Animating constraint var widthConstr = NSLayoutConstraint() let duration: TimeInterval =
0.3 widthConstr.constant = 30 let view = UIView() UIView.animate(withDuration: duration) { view.layoutIfNeeded() } -
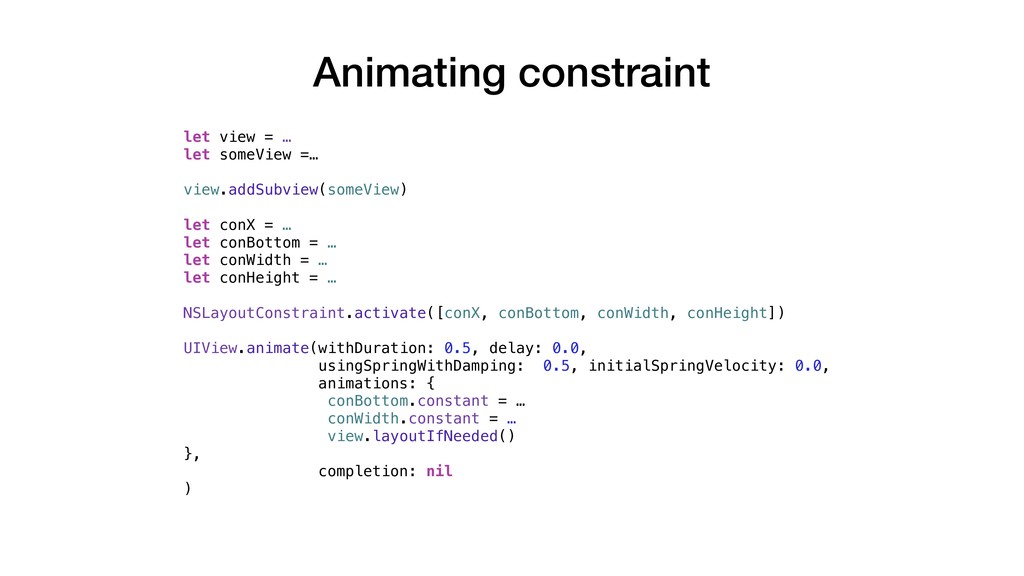
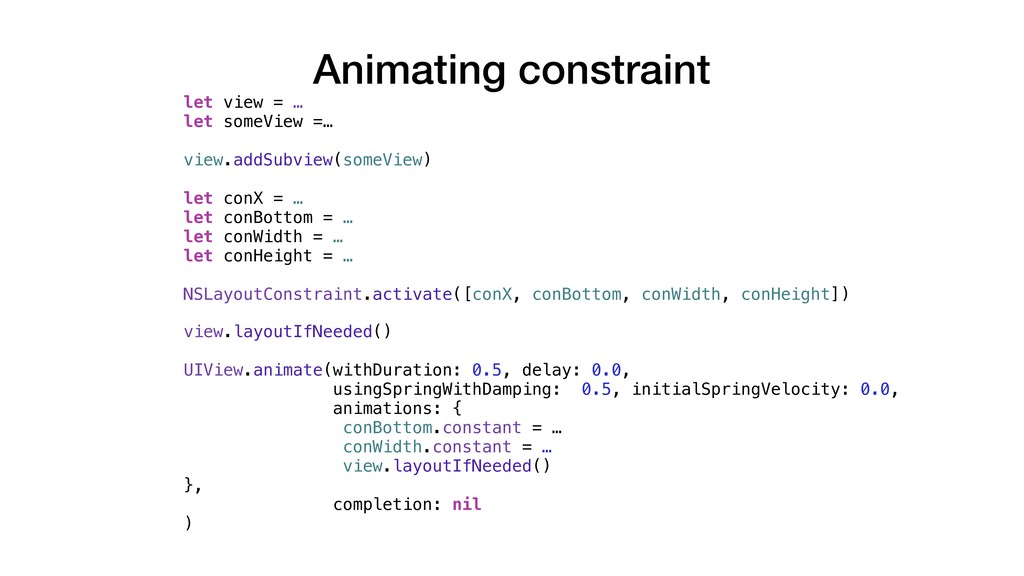
Animating constraint let view = … let someView =… view.addSubview(someView)
let conX = … let conBottom = … let conWidth = … let conHeight = … NSLayoutConstraint.activate([conX, conBottom, conWidth, conHeight]) UIView.animate(withDuration: 0.5, delay: 0.0, usingSpringWithDamping: 0.5, initialSpringVelocity: 0.0, animations: { conBottom.constant = … conWidth.constant = … view.layoutIfNeeded() }, completion: nil ) -
Animating constraint let view = … let someView =… view.addSubview(someView)
let conX = … let conBottom = … let conWidth = … let conHeight = … NSLayoutConstraint.activate([conX, conBottom, conWidth, conHeight]) view.layoutIfNeeded() UIView.animate(withDuration: 0.5, delay: 0.0, usingSpringWithDamping: 0.5, initialSpringVelocity: 0.0, animations: { conBottom.constant = … conWidth.constant = … view.layoutIfNeeded() }, completion: nil ) -
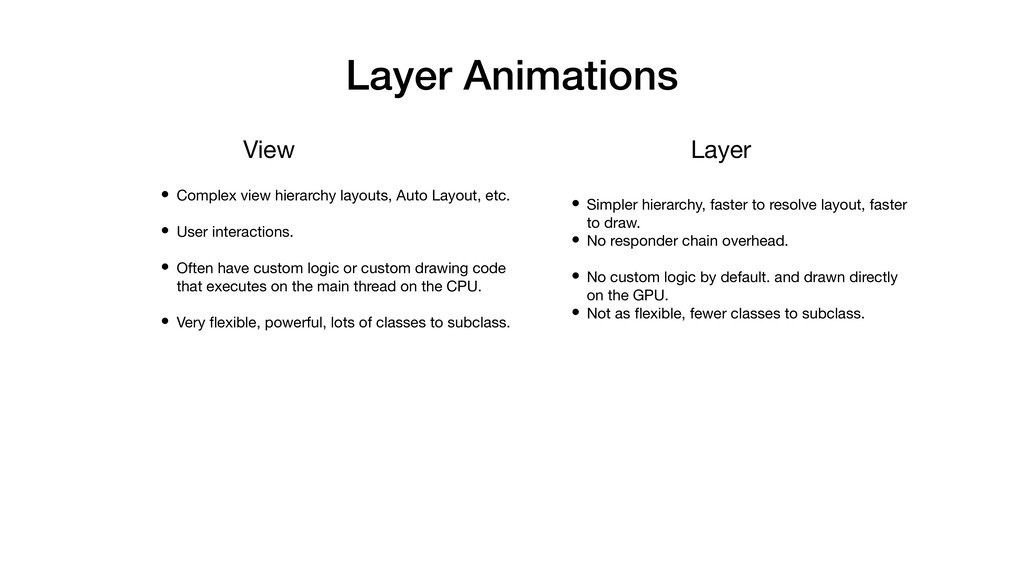
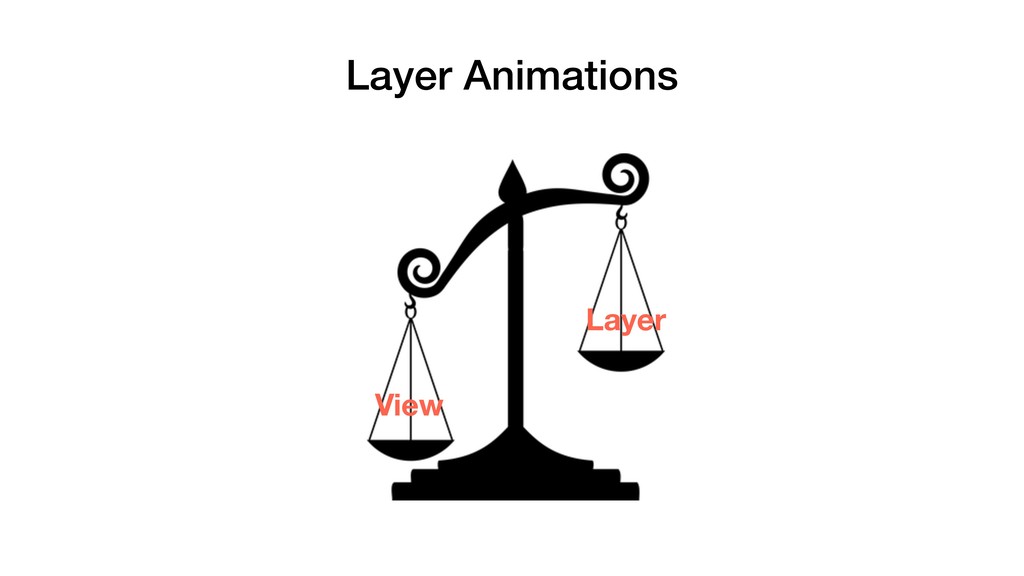
Layer Animations View Layer • Complex view hierarchy layouts, Auto
Layout, etc. • User interactions. • Often have custom logic or custom drawing code that executes on the main thread on the CPU. • Very flexible, powerful, lots of classes to subclass. • Simpler hierarchy, faster to resolve layout, faster to draw. • No responder chain overhead. • No custom logic by default. and drawn directly on the GPU. • Not as flexible, fewer classes to subclass. -
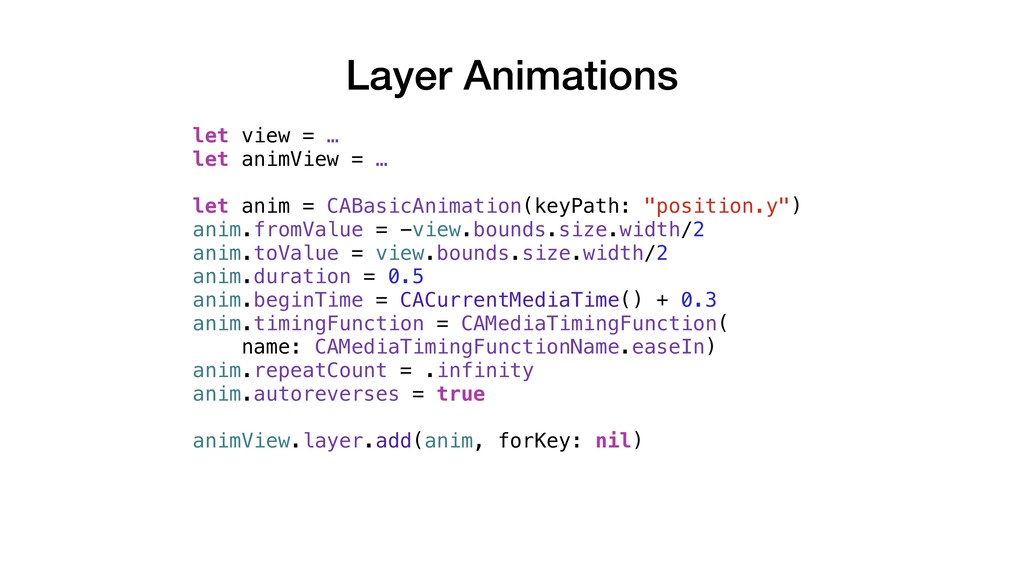
Layer Animations let view = … let animView = …
let anim = CABasicAnimation(keyPath: "position.y") anim.fromValue = -view.bounds.size.width/2 anim.toValue = view.bounds.size.width/2 anim.duration = 0.5 anim.beginTime = CACurrentMediaTime() + 0.3 anim.timingFunction = CAMediaTimingFunction( name: CAMediaTimingFunctionName.easeIn) anim.repeatCount = .infinity anim.autoreverses = true animView.layer.add(anim, forKey: nil) -
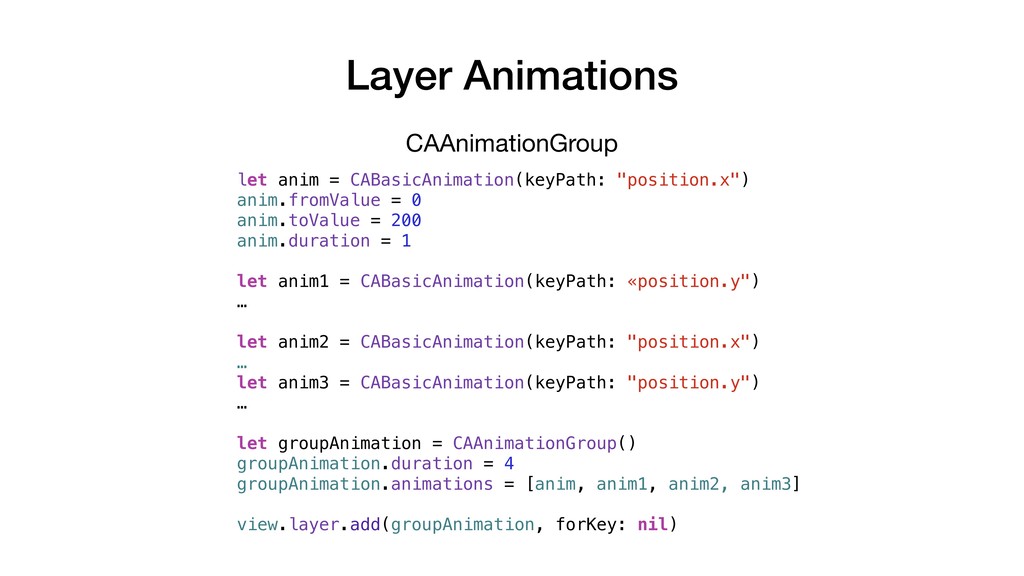
Layer Animations CAAnimationGroup let anim = CABasicAnimation(keyPath: "position.x") anim.fromValue =
0 anim.toValue = 200 anim.duration = 1 let anim1 = CABasicAnimation(keyPath: «position.y") … let anim2 = CABasicAnimation(keyPath: "position.x") … let anim3 = CABasicAnimation(keyPath: "position.y") … let groupAnimation = CAAnimationGroup() groupAnimation.duration = 4 groupAnimation.animations = [anim, anim1, anim2, anim3] view.layer.add(groupAnimation, forKey: nil) -
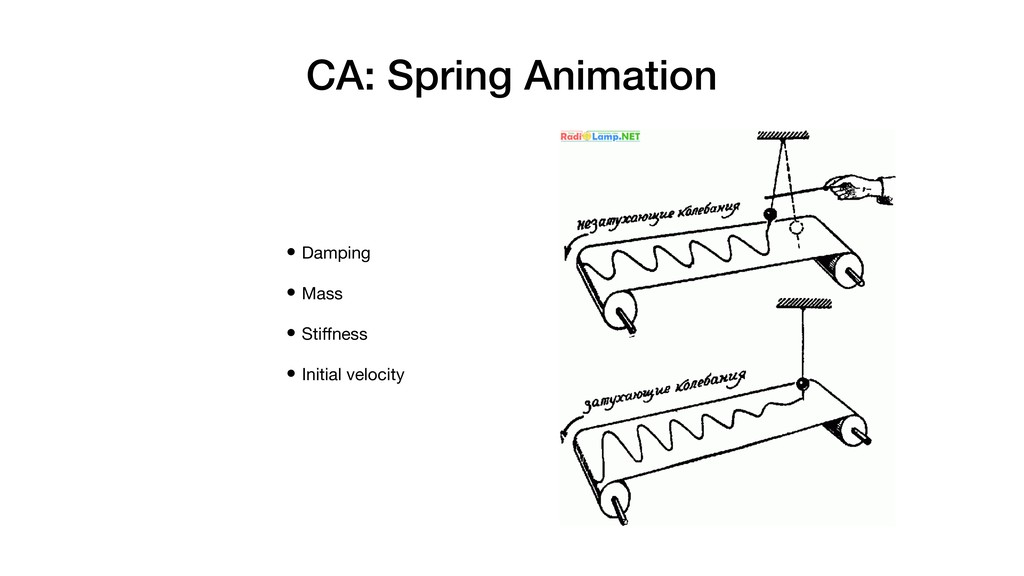
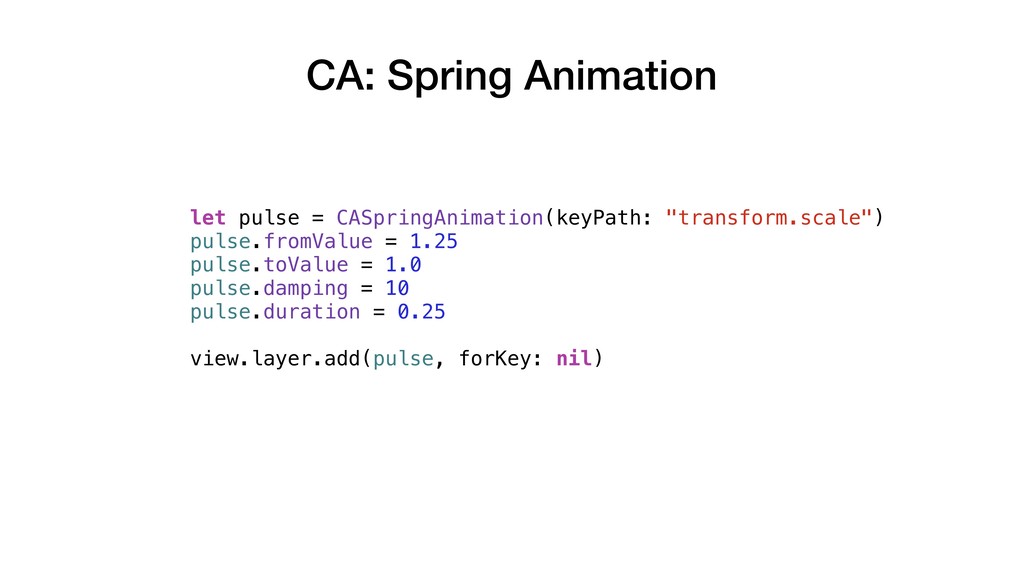
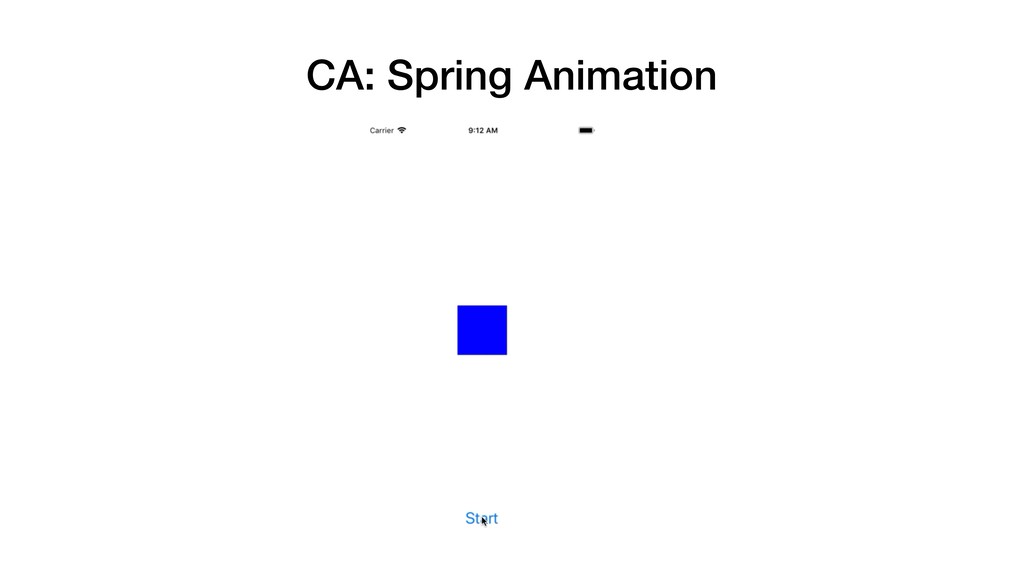
CA: Spring Animation let pulse = CASpringAnimation(keyPath: "transform.scale") pulse.fromValue =
1.25 pulse.toValue = 1.0 pulse.damping = 10 pulse.duration = 0.25 view.layer.add(pulse, forKey: nil) -
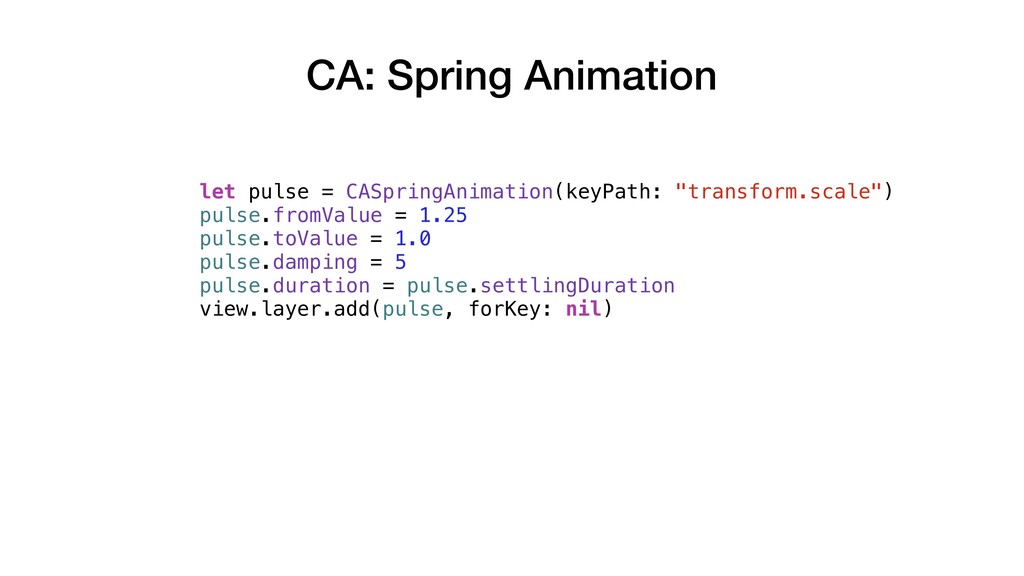
let pulse = CASpringAnimation(keyPath: "transform.scale") pulse.fromValue = 1.25 pulse.toValue =
1.0 pulse.damping = 5 pulse.duration = pulse.settlingDuration view.layer.add(pulse, forKey: nil) CA: Spring Animation -
Layer Keyframe Animations let anim = CAKeyframeAnimation(keyPath: "backgroundColor") anim.duration =
4.25 anim.repeatCount = 1 anim.values = [UIColor.green.cgColor, UIColor.yellow.cgColor, UIColor.white.cgColor, UIColor.blue.cgColor] anim.keyTimes = [0.0, 0.15, 0.5, 0.75, 1.0] view.layer.add(anim, forKey: nil) -
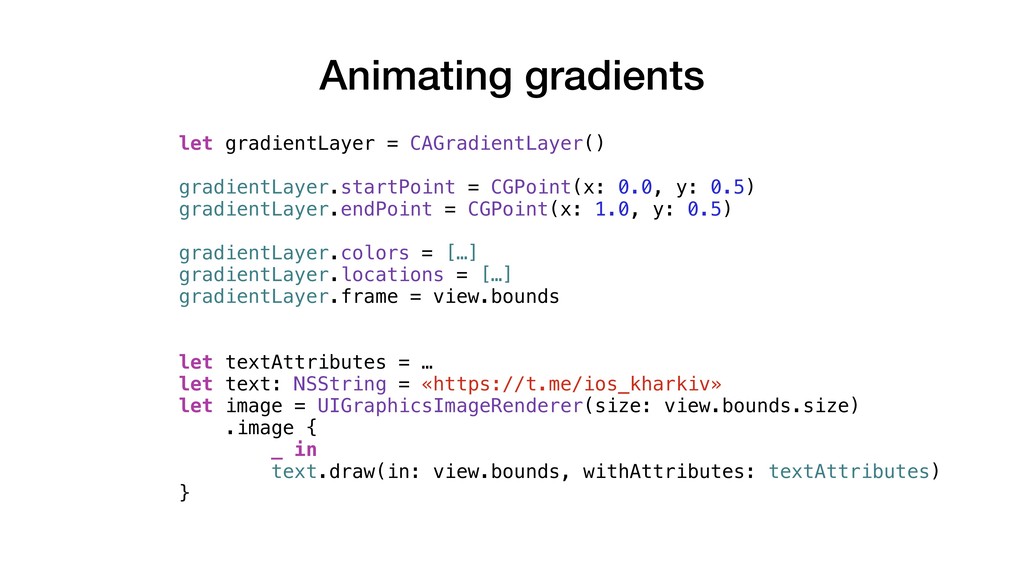
Animating gradients let gradientLayer = CAGradientLayer() gradientLayer.startPoint = CGPoint(x: 0.0,
y: 0.5) gradientLayer.endPoint = CGPoint(x: 1.0, y: 0.5) gradientLayer.colors = […] gradientLayer.locations = […] gradientLayer.frame = view.bounds let textAttributes = … let text: NSString = «https://t.me/ios_kharkiv» let image = UIGraphicsImageRenderer(size: view.bounds.size) .image { _ in text.draw(in: view.bounds, withAttributes: textAttributes) } -
let maskLayer = CALayer() maskLayer.backgroundColor = UIColor.clear.cgColor maskLayer.frame = …
maskLayer.contents = image.cgImage gradientLayer.mask = maskLayer view.layer.addSublayer(gradientLayer) let gradientAnimation = CABasicAnimation(keyPath: "locations") gradientAnimation.fromValue = … gradientAnimation.toValue = … gradientAnimation.duration = 3.0 gradientAnimation.autoreverses = true gradientAnimation.repeatCount = Float.infinity gradientLayer.add(gradientAnimation, forKey: nil) Animating gradients -
Что такое текучие интерфейсы? В презентации WWDC говорится о текучих
интерфейсах как о «продолжающих ваш разум» и «продолжении естественного мира». Интерфейс можно назвать текучим, если он ведёт себя в соответствии с тем, как думают люди, а не машины. Они легко реагируют, в них можно прервать начатое действие и их можно перенацелить. Что делает их текучими -
• Текучие интерфейсы улучшают опыт пользователя, делая каждое взаимодействие быстрым,
лёгким и значимым. • Они дают пользователю чувство контроля, которое укрепляет доверие к вашему приложению и бренду. • Их сложно разработать. Текучий интерфейс трудно скопировать. Это может стать вашим конкурентным преимуществом. Зачем нужны текучие интерфейсы -
UIViewPropertyAnimator • Позволяет настраивать текущие анимации • Ставить на паузу
и продолжать исполнение • Завершить анимацию на определенной позиции • Останавливать без завершения • Предоставляет подробную информацию о текущем состоянии анимации -
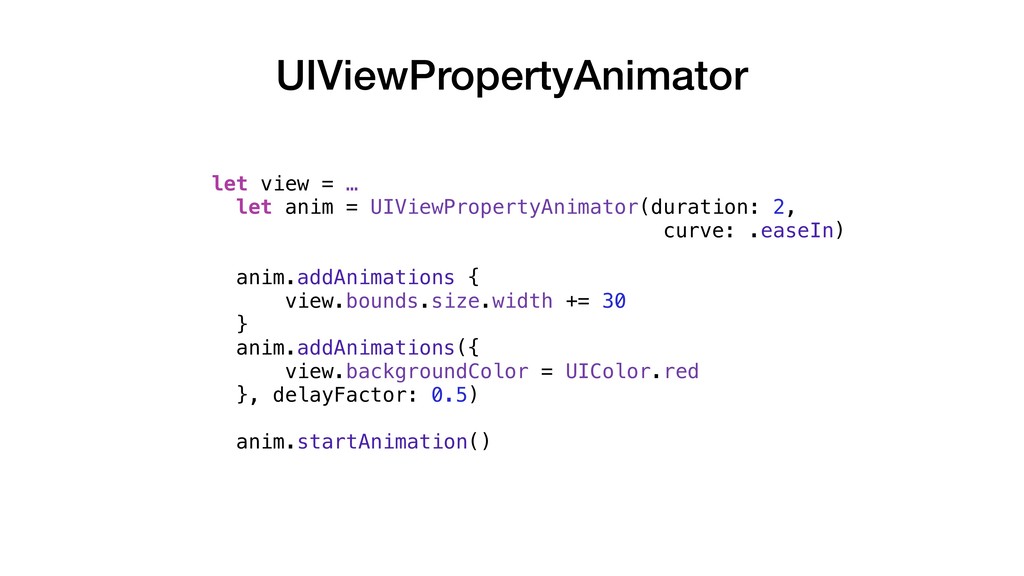
UIViewPropertyAnimator let view = … let anim = UIViewPropertyAnimator(duration: 2,
curve: .easeIn) anim.addAnimations { view.bounds.size.width += 30 } anim.addAnimations({ view.backgroundColor = UIColor.red }, delayFactor: 0.5) anim.startAnimation() -
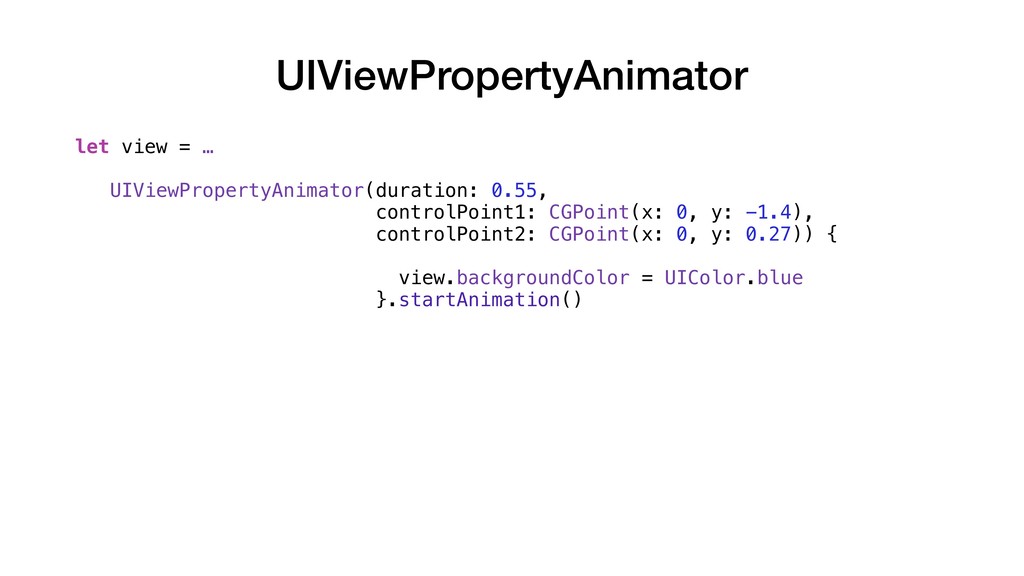
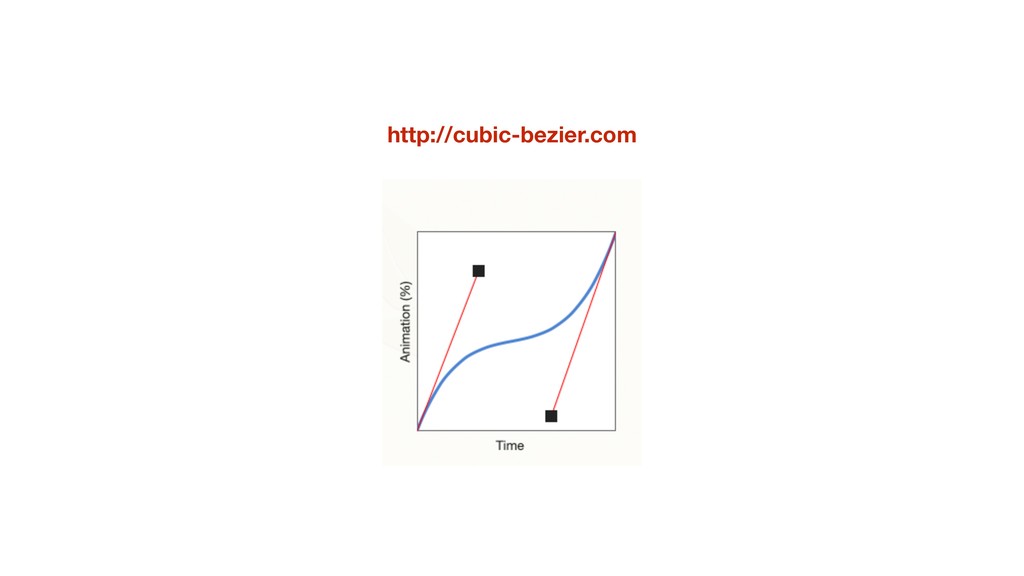
let view = … UIViewPropertyAnimator(duration: 0.55, controlPoint1: CGPoint(x: 0, y:
-1.4), controlPoint2: CGPoint(x: 0, y: 0.27)) { view.backgroundColor = UIColor.blue }.startAnimation() UIViewPropertyAnimator -
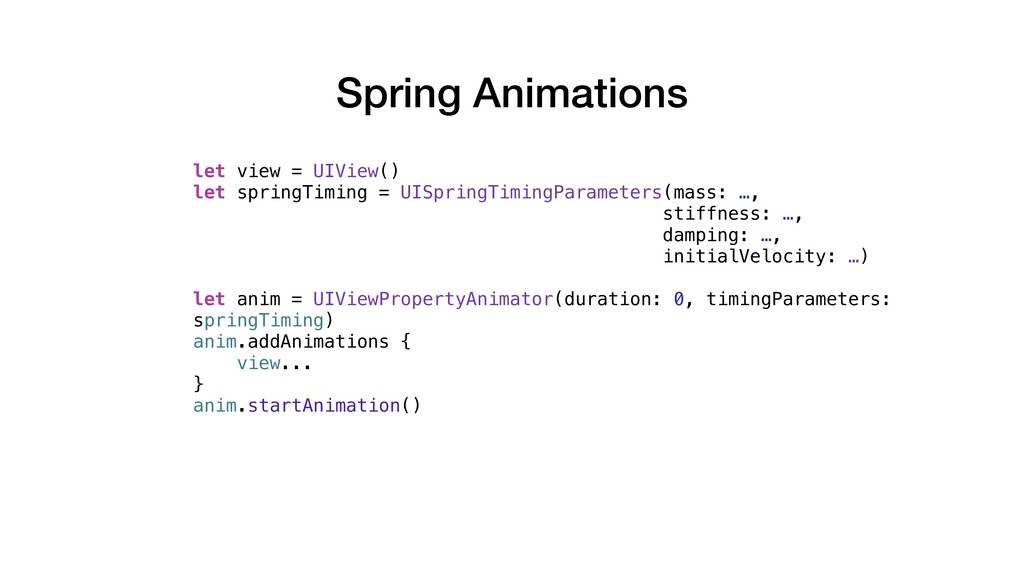
Spring Animations let view = UIView() let springTiming = UISpringTimingParameters(mass:
…, stiffness: …, damping: …, initialVelocity: …) let anim = UIViewPropertyAnimator(duration: 0, timingParameters: springTiming) anim.addAnimations { view... } anim.startAnimation()