user creates an account and logs into the website Will create the following features on our website with ASP.NET: 1. General support for user accounts 2. Interfaces for signing in and out of the site 3. Creating new user accounts
make a user account Ask to enter credentials, which is information that uniquely identifies you & only you know For example, credentials for many websites are username and password Also need to enter other user-specific information, such as billing information, shipping address, banking account numbers, SSN, etc. ASP.NET has a membership feature to store user account information in a database
from scratch, and call it “Assignment21” 2. Click the ASP.NET Configuration icon at the top of the Solution Explorer (red hammer & planet Earth) 3. Web Site Administration Tool web page will open 4. To add user account support, click the Security link 5. The Users box should display: “The current authentication type is Windows. User management from within this tool is therefore disabled.” 6. In the Users box (on bottom left), click the link: Select authentication type 7. Click the radio button: From the internet 8. Click the Done button (bottom right corner)
Site Administration Tool web page 10. On the Security tab, the Users box should now say: “Existing users: 0”, and have the links: Create user & Manage users 11. Close the Web Site Administration Tool web page 12. This should have created a database in your App_Data folder called ASPNETDB.MDF (you might need to click the refresh button to display the folder)
Check out the Solution Explorer window 3. Click the Refresh icon 4. In the App_Data folder, you should see the ASPNETDB.MDF database 5. Click on Database Explorer 6. Expand the ASPNETDB.MDF database 7. Expand the Tables 8. You should see 11 tables that provide user account functions
user This is basically the UserName aspnet_Membership table Has columns to capture common user account fields Columns such as Email, Password, LastLoginDate, CreateDate, PasswordQuestion, PasswordAnswer, etc. In order to link the two tables together, the UserId is the foreign key in the aspnet_Membership table
at the top of the Solution Explorer window (red hammer & planet Earth) 2. Click the Security tab 3. In the Users box (in bottom left), click the link: Create user 4. Fill in the fields, and click the Create User button
2. In the Users box, click on the link: Manage users 3. You should see a list of all of the users 4. You can either Edit user, Delete user, or Edit roles
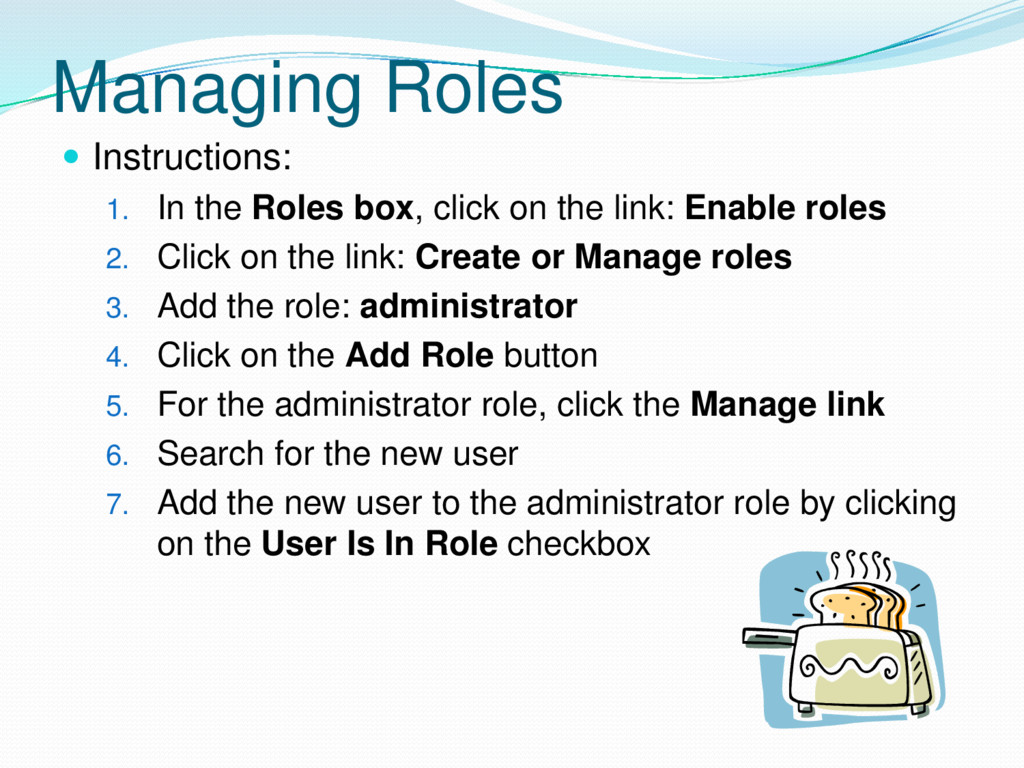
on the link: Enable roles 2. Click on the link: Create or Manage roles 3. Add the role: administrator 4. Click on the Add Role button 5. For the administrator role, click the Manage link 6. Search for the new user 7. Add the new user to the administrator role by clicking on the User Is In Role checkbox
right-click on the name of the website 2. Click New Folder & change the name to Admin 3. Make another folder called Users 4. Click the ASP.NET Configuration icon at the top of the Solution Explorer (red hammer & planet Earth) 5. Click on the Security tab
the link: Create access rules 7. On the left, click on the Admin folder 8. Under Rule applies to, click Role, select administrator 9. Under Permission, click Allow radio button 10. Click OK button 11. In the Access Rules box, click on the link: Create access rules 12. On the left, click on the Admin folder again 13. Under Rule applies to, click All Users 14. Under Permission, click Deny 15. Click the OK button
the link: Create access rules 16. On the left, click on the Users folder 17. Under Rule applies to, click Anonymous users (these are users who have not logged in yet) 18. Under Permission, click Deny 19. Click the OK button
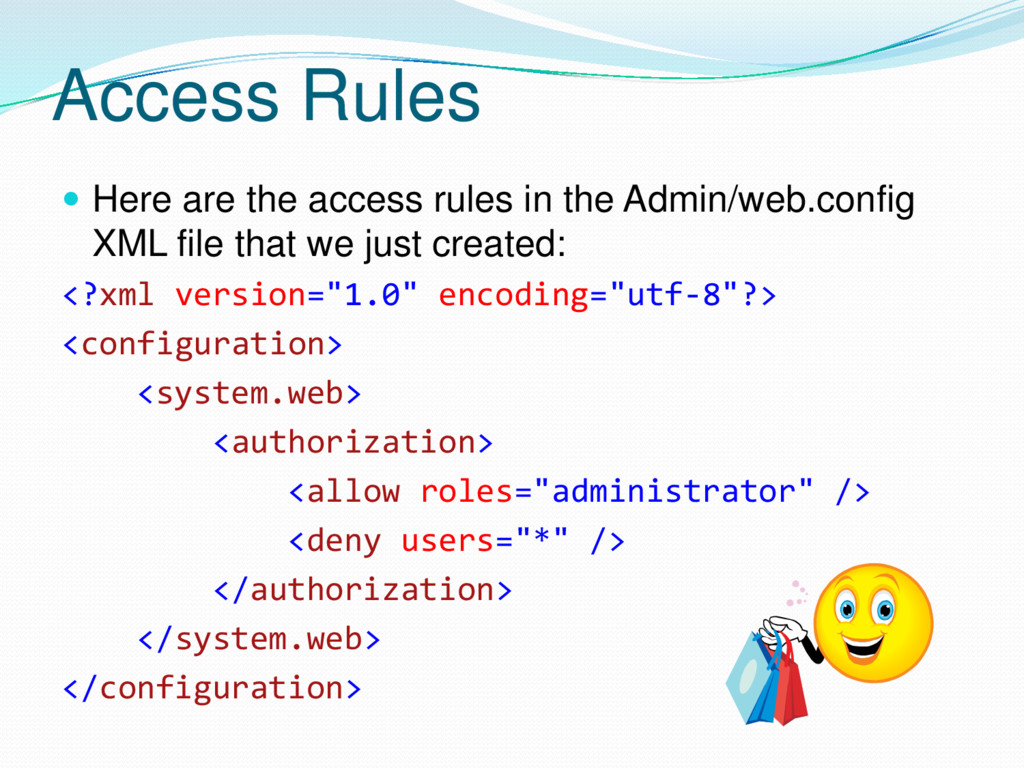
access rules: 1. Allow administrators 2. Deny all users Unless you deny a specific role or user to a folder, then these users can access the folder ASP.NET will looks at the rules from the top down So looks at the first rule, which allows administrators If user is an administrator, they can access the folder If user is not an administrator, the next rule will deny access to all other users
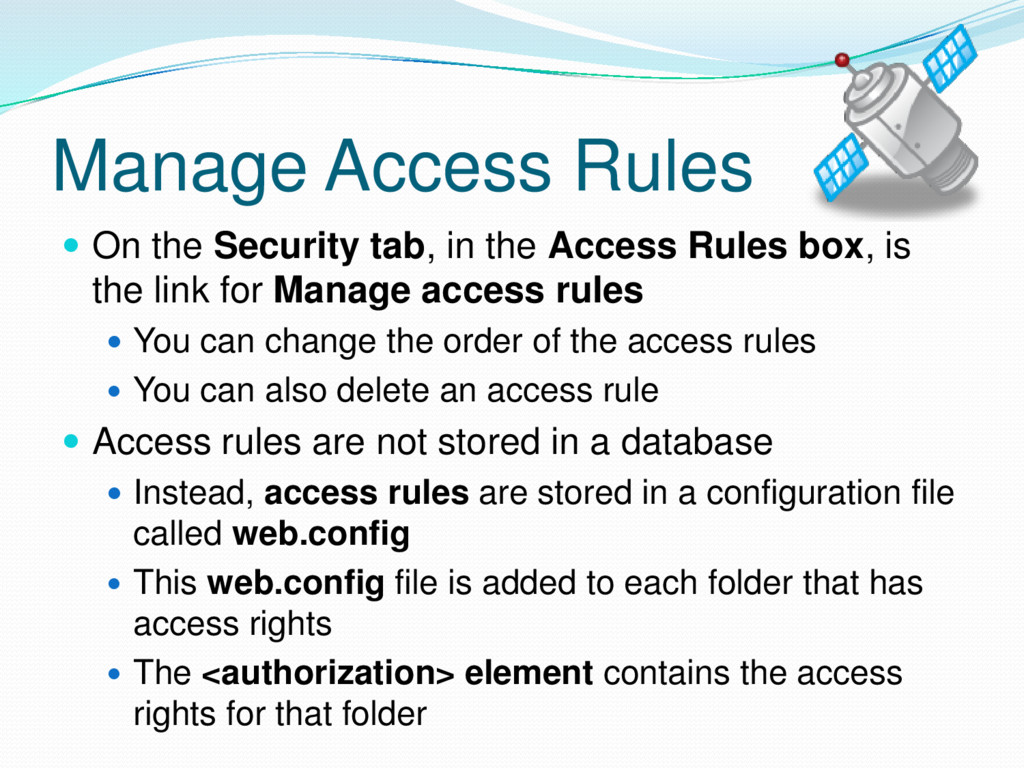
Access Rules box, is the link for Manage access rules You can change the order of the access rules You can also delete an access rule Access rules are not stored in a database Instead, access rules are stored in a configuration file called web.config This web.config file is added to each folder that has access rights The <authorization> element contains the access rights for that folder
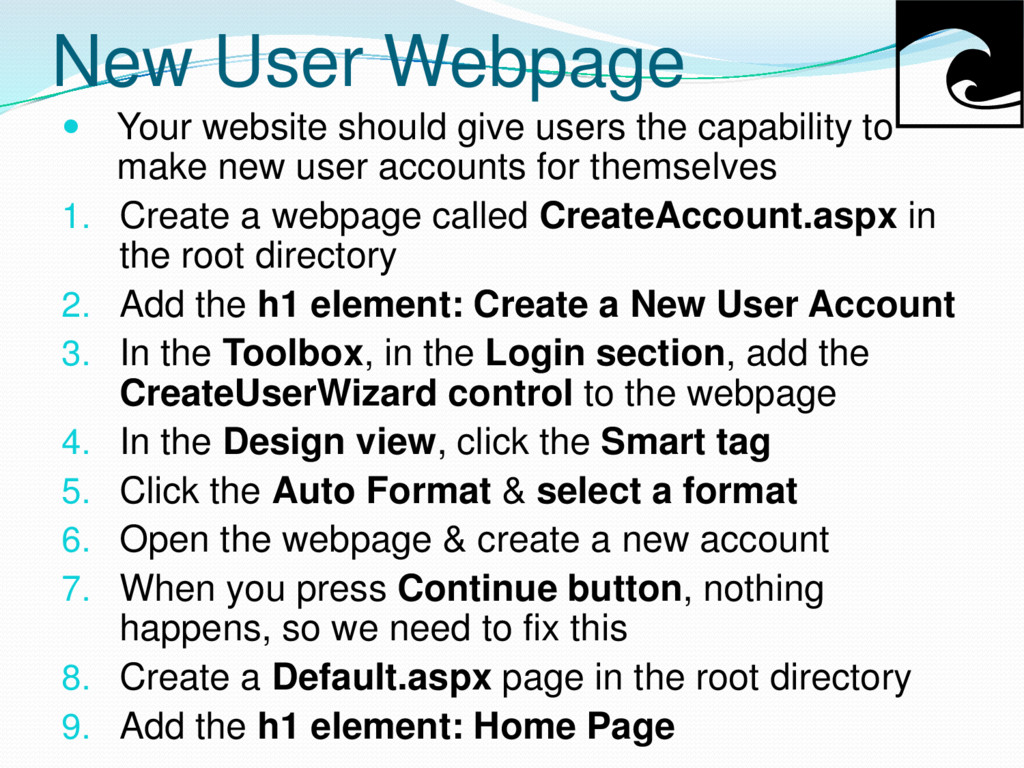
capability to make new user accounts for themselves 1. Create a webpage called CreateAccount.aspx in the root directory 2. Add the h1 element: Create a New User Account 3. In the Toolbox, in the Login section, add the CreateUserWizard control to the webpage 4. In the Design view, click the Smart tag 5. Click the Auto Format & select a format 6. Open the webpage & create a new account 7. When you press Continue button, nothing happens, so we need to fix this 8. Create a Default.aspx page in the root directory 9. Add the h1 element: Home Page
11. Click on the CreateUserWizard control 12. In the Properties window, in the Behavior category, set the ContinueDestinationPageURL attribute to the Default.aspx page in the root directory 13. Add another user account and see if the Continue button returns you to the Home Page
need a page to sign-in to the website 1. Right-click on the website name 2. Click Add New Item 3. Click Web Form 4. Use the Name: Login.aspx 5. Add the h1 tag: Login Page 6. In the Toolbox, in the Login section, add the Login control to the webpage 7. In the design view, click the Smart tag 8. Click Auto Format, and choose a Scheme 9. Open a browser and log into your website
whether the user is signed-in or signed-out 1. Open the Default.aspx page in the root directory 2. In the Toolbox, in the Login section, add the LoginStatus control to the webpage 3. Open a browser & test your webpage
website, we can display a personal message to the user For example: “Welcome back username” 1. Open the Default.aspx page in the root directory 2. Add two <br /> tags after the LoginStatus control 3. In the Toolbox, in the Login section, click the LoginView control, and drag it on the webpage 4. In the Design view, click the LoginView control’s smart tag 5. For Views, select AnoymousTemplate 6. In the Toolbox, in the Login section, drag a Login control into the box that is displayed in the LoginView control
LoginView control’s smart tag 8. For Views, select LoggedInTemplate 9. In the box that is displayed in the LoginView control, type “Welcome back ” 10. In the Toolbox, in the Login section, drag a LoginName control just after the words “Welcome back” 11. Open a browser and test your webpage 12. After logging in, you should see: “Welcome Back, username”