the server as a result of a user action on the webpage For example, clicking on a header column of a sortable GridView causes the table to be re-sorted according to the column that was clicked on After server-side code executes on the server, the entire webpage must be sent back to the browser to be re-displayed (this is called “postback”) This may take several seconds to happen Ajax (asynchronous JavaScript and XML) is a way to speed up the communication between the browser & server
by the user, so that the webpage only has to re-display the part of the webpage that is updated For example, if we had two GridViews on a page, and the user only clicked on one of the GridViews, then only this one GridView would be updated Ajax-enabled postback is called “partial page postback” or “partial postback”
ScriptManager Has JavaScript code that enables partial postbacks Must be on each webpage that uses Ajax Often is included on the master page 2. UpdatePanel Determines the part of the page that can to the partial postback 3. UpdateProgress Provides feedback to the users that shows that the data is being processed
Web Site 2. In Solution Explorer, right click on the website’s name 3. Click Add New Item 4. Click Web Form 5. Change the name to assignment22.aspx 6. Click Add button 7. In the form element, add a h1 element with the content “Assignment #22”
webpage 9. Delete the Text property and value (Text="Label") 10.Change the ID value to “output” 11.Below the Label, add a <br /> element 12.Below the <br /> element, add a Button 13.Change the Text value to “Full Postback” 14.In the Visual Basic file, add a Page Load method (select “(Page Events)”, then “Load”) 15.Add this code: output.Text = DateTime.Now 16.Test your webpage in a browser
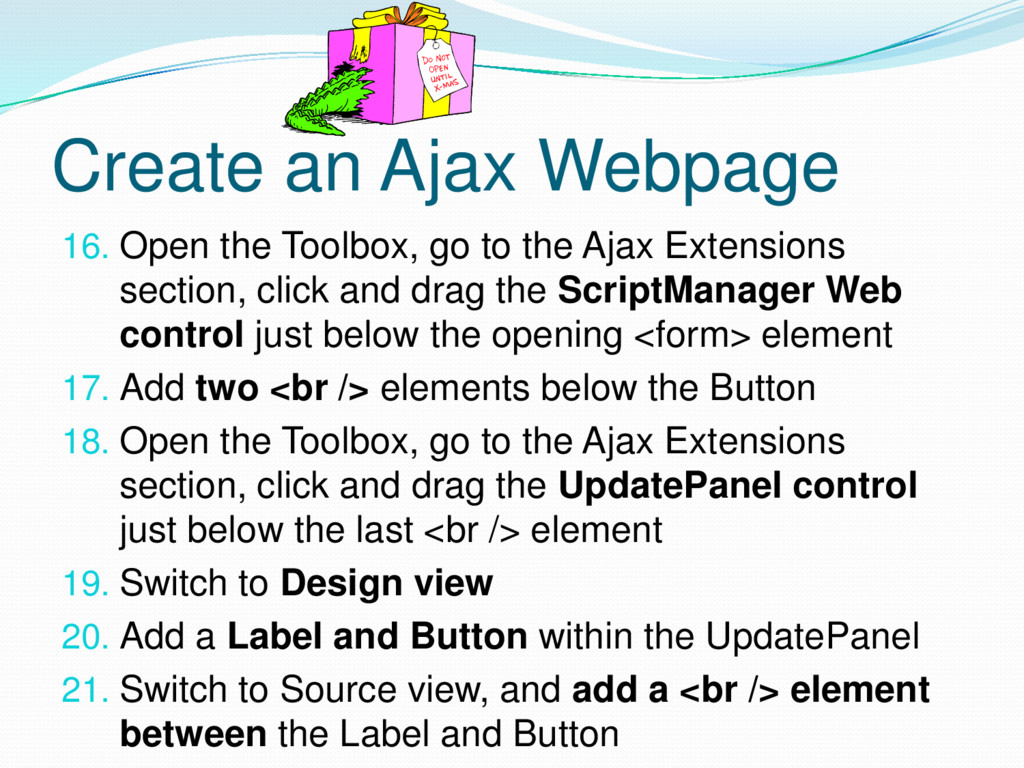
the Ajax Extensions section, click and drag the ScriptManager Web control just below the opening <form> element 17. Add two <br /> elements below the Button 18. Open the Toolbox, go to the Ajax Extensions section, click and drag the UpdatePanel control just below the last <br /> element 19. Switch to Design view 20. Add a Label and Button within the UpdatePanel 21. Switch to Source view, and add a <br /> element between the Label and Button
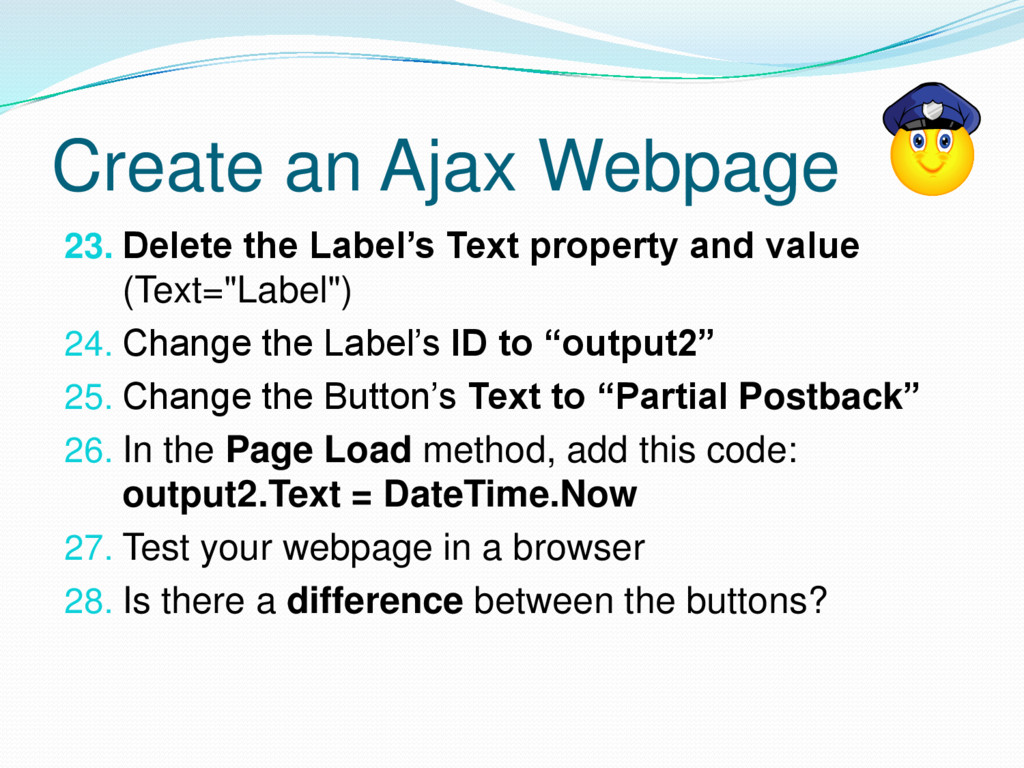
and value (Text="Label") 24. Change the Label’s ID to “output2” 25. Change the Button’s Text to “Partial Postback” 26. In the Page Load method, add this code: output2.Text = DateTime.Now 27. Test your webpage in a browser 28. Is there a difference between the buttons?
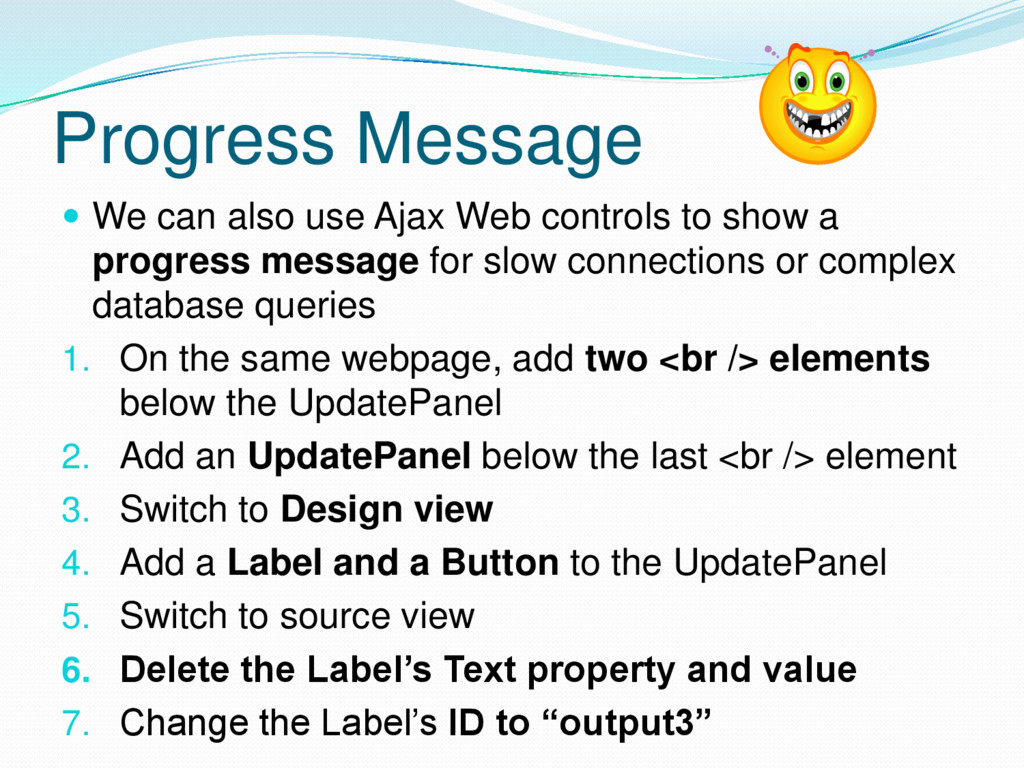
to show a progress message for slow connections or complex database queries 1. On the same webpage, add two <br /> elements below the UpdatePanel 2. Add an UpdatePanel below the last <br /> element 3. Switch to Design view 4. Add a Label and a Button to the UpdatePanel 5. Switch to source view 6. Delete the Label’s Text property and value 7. Change the Label’s ID to “output3”
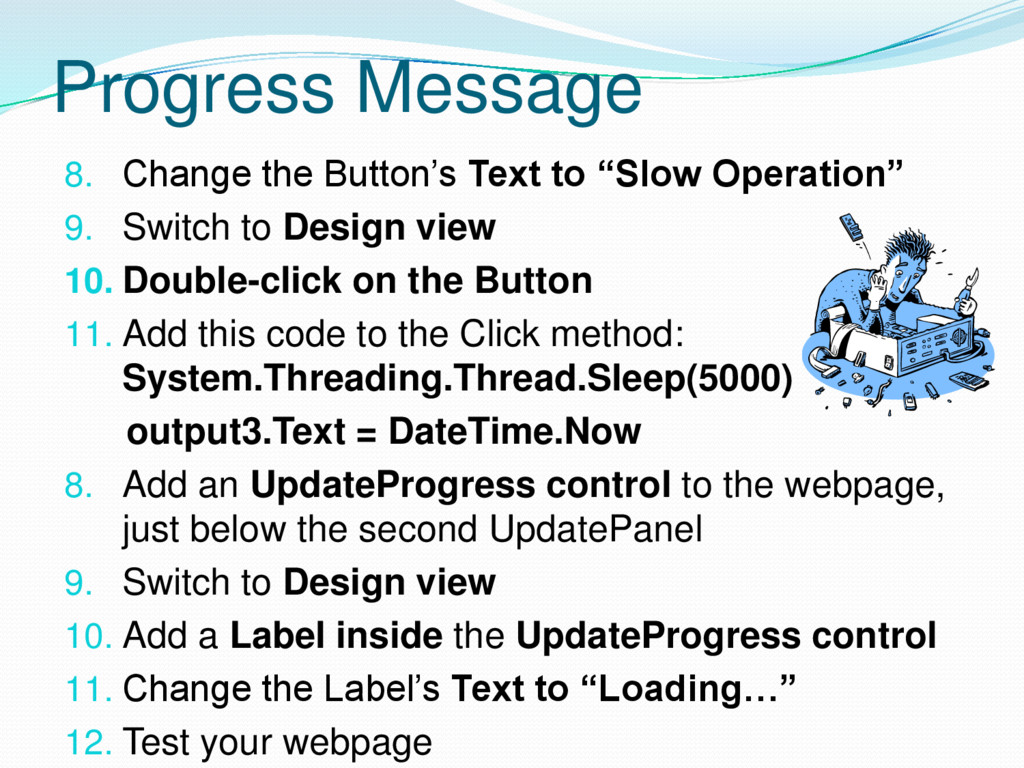
9. Switch to Design view 10. Double-click on the Button 11. Add this code to the Click method: System.Threading.Thread.Sleep(5000) output3.Text = DateTime.Now 8. Add an UpdateProgress control to the webpage, just below the second UpdatePanel 9. Switch to Design view 10. Add a Label inside the UpdateProgress control 11. Change the Label’s Text to “Loading…” 12. Test your webpage
changing 1. Click on the first UpdatePanel 2. Open the Properties window 3. In the Behavior category, change the UpdateMode to Conditional 4. Save the webpage 5. Test it out!