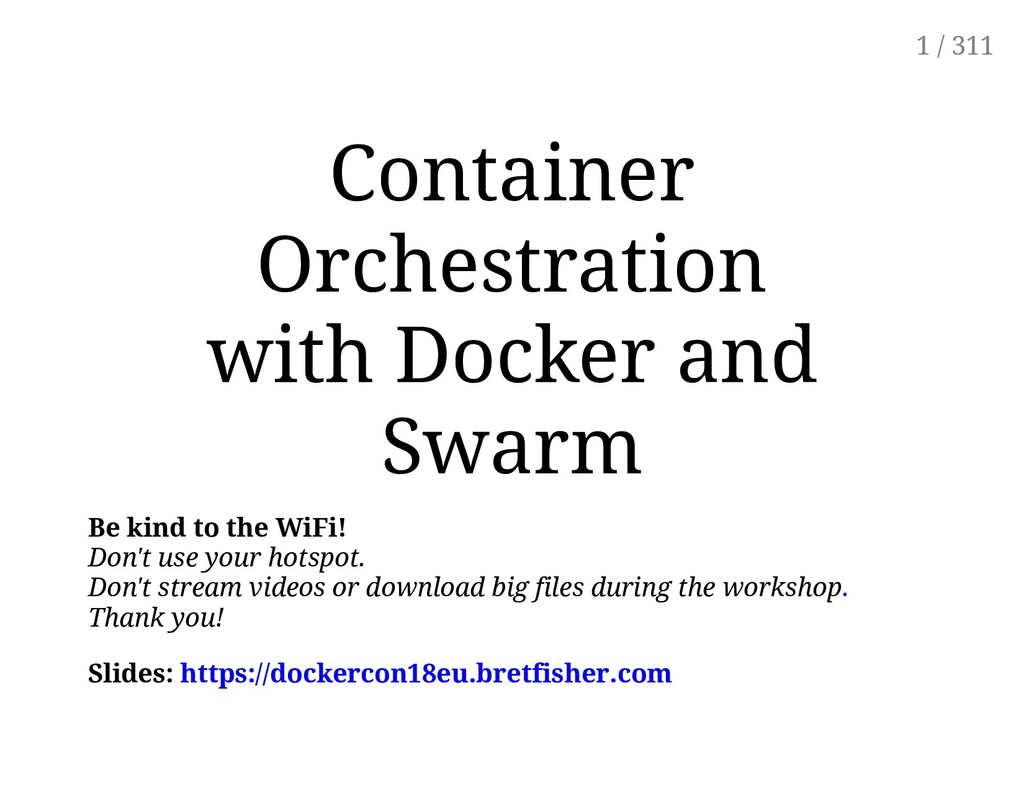
My workshop from DockerCon 2018 EU. Learn Docker Swarm basics (similar to and easier than Kubernetes) and deploy sample containers and multi-tier apps to discover the features.
WiFi! Don't use your hotspot. Don't stream videos or download big files during the workshop. Thank you! Slides: https://dockercon18eu.bretfisher.com 1 / 311
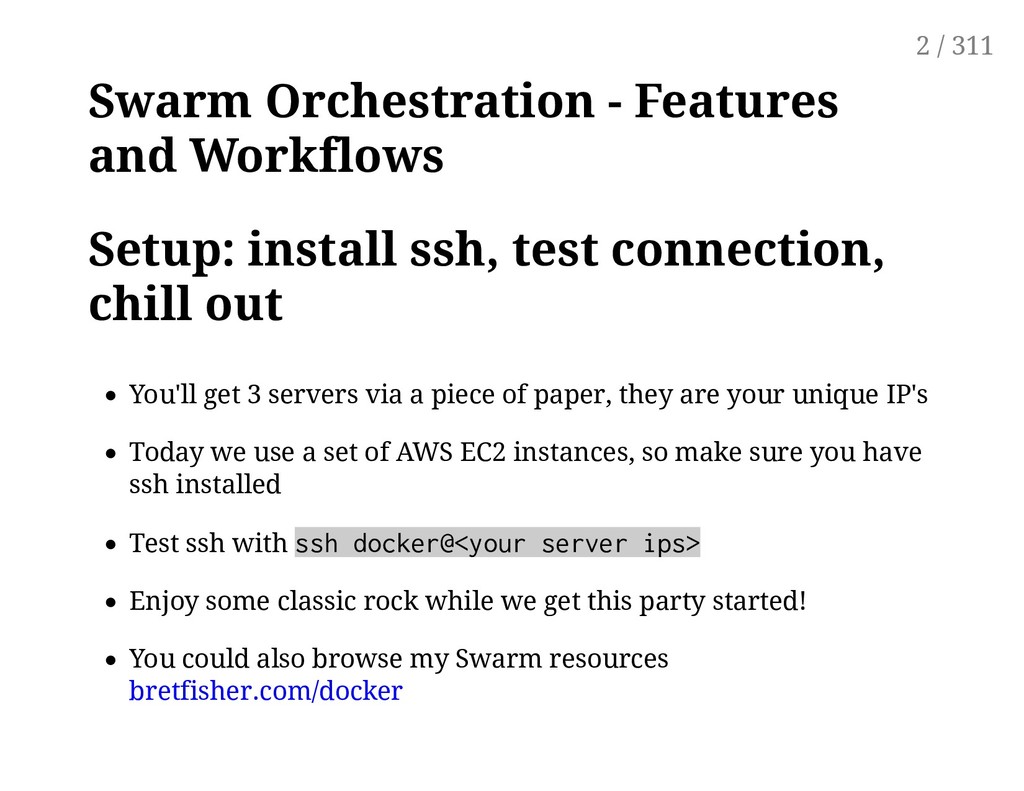
connection, chill out You'll get 3 servers via a piece of paper, they are your unique IP's Today we use a set of AWS EC2 instances, so make sure you have ssh installed Test ssh with ssh docker@<your server ips> Enjoy some classic rock while we get this party started! You could also browse my Swarm resources bretfisher.com/docker 2 / 311
at https://bretfisher.com Docker Captain, Udemy Course Author, DevOps Consultant, Meetup Organizer I spend 100% helping people with Docker and container tools Remy Clement-Hausman and Moustapha Gueye from Docker are here to help! Feel free to interrupt for questions at any time Live feedback, questions, help on Docker Community Slack (but first sign up for it) 3 / 311
public GitHub repository: https://github.com/bretfisher/container.training You can get updated "builds" of the slides there: http://container.training/ 4 / 311
public GitHub repository: https://github.com/bretfisher/container.training You can get updated "builds" of the slides there: http://container.training/ Typos? Mistakes? Questions? Feel free to hover over the bottom of the slide ... ' Try it! The source file will be shown and you can view it on GitHub and fork and edit it. 5 / 311
logs Metrics collection GUI's: Web Admin of Swarms and Registry Dealing with stateful services Constraints and global services Node management Your Journey Isn't Over 9 / 311
editing files a little bit of bash-fu (environment variables, loops) Some Docker knowledge docker run, docker ps, docker build ideally, you know how to write a Dockerfile and build it (even if it's a FROM line and a couple of RUN commands) It's totally OK if you are not a Docker expert! 12 / 311
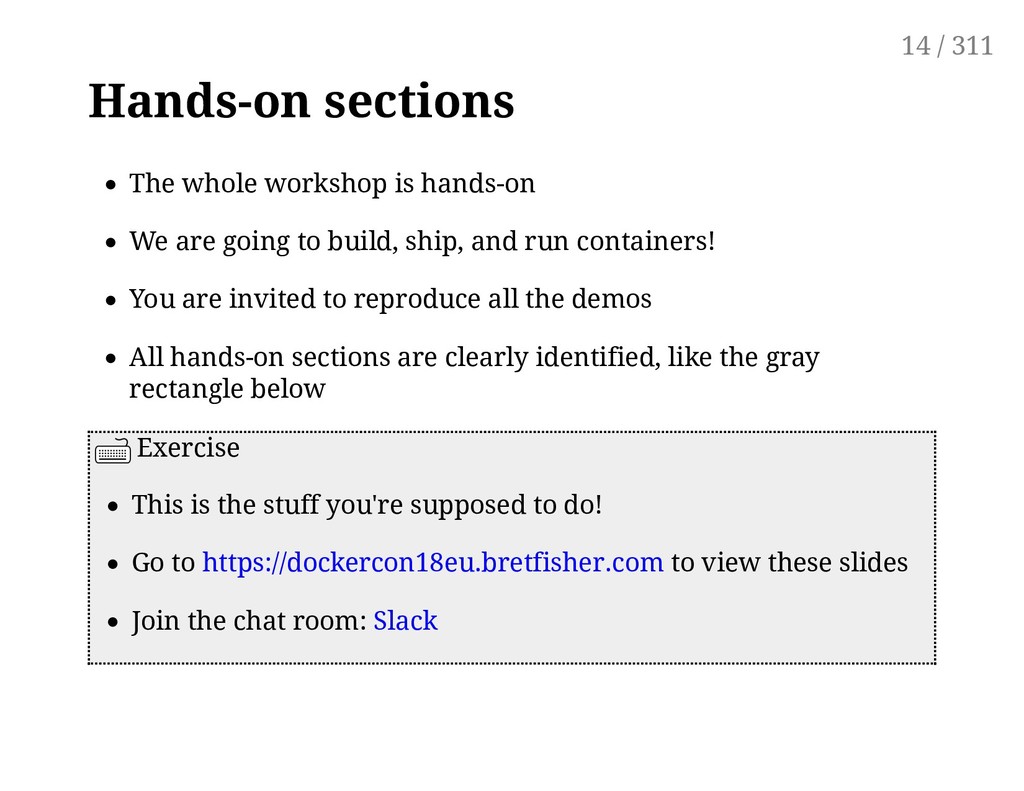
to build, ship, and run containers! You are invited to reproduce all the demos All hands-on sections are clearly identified, like the gray rectangle below Exercise This is the stuff you're supposed to do! Go to https://dockercon18eu.bretfisher.com to view these slides Join the chat room: Slack 14 / 311
a private cluster of cloud VMs (not shared with anybody else) They'll remain up for the duration of the workshop You should have a little card with login+password+IP addresses You can automatically SSH from one VM to another The nodes have aliases: node1, node2, etc. 17 / 311
all set On Windows, get one of these: putty Microsoft Win32 OpenSSH Git BASH MobaXterm On Android, JuiceSSH (Play Store) works pretty well Nice-to-have: Mosh instead of SSH, if your internet connection tends to lose packets 18 / 311
VM (node1) with your SSH client Check that you can SSH (without password) to node2: ssh node2 Type exit or ^D to come back to node1 If anything goes wrong — ask for help! 19 / 311
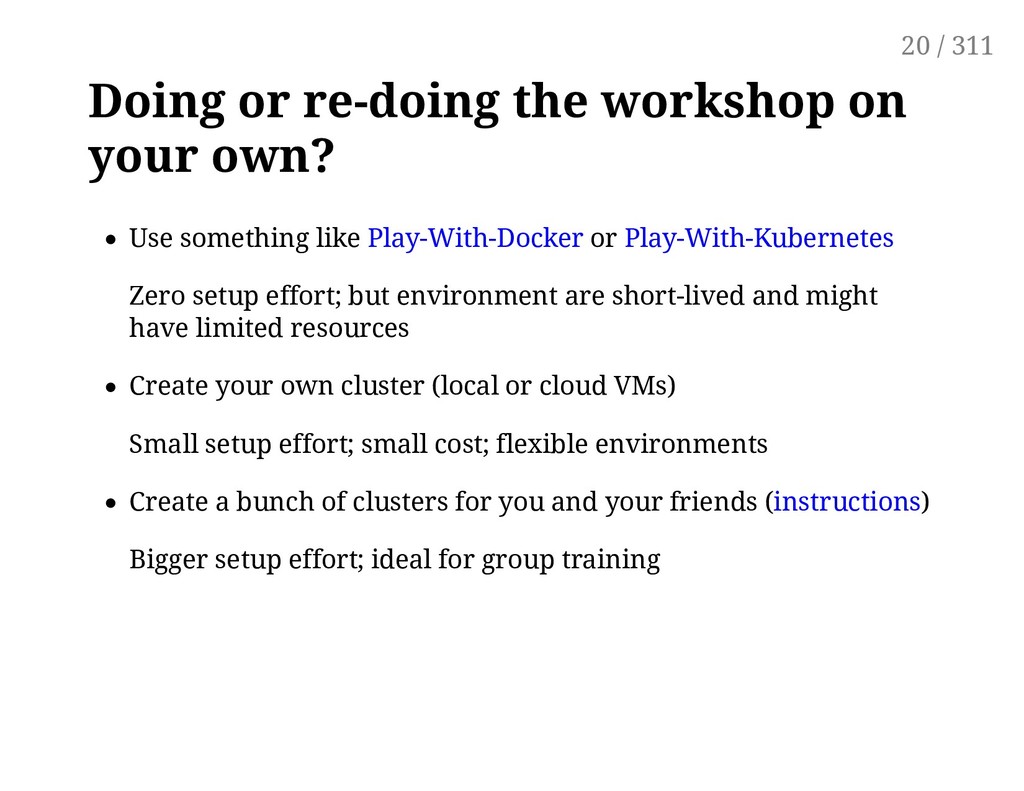
like Play-With-Docker or Play-With-Kubernetes Zero setup effort; but environment are short-lived and might have limited resources Create your own cluster (local or cloud VMs) Small setup effort; small cost; flexible environments Create a bunch of clusters for you and your friends (instructions) Bigger setup effort; ideal for group training 20 / 311
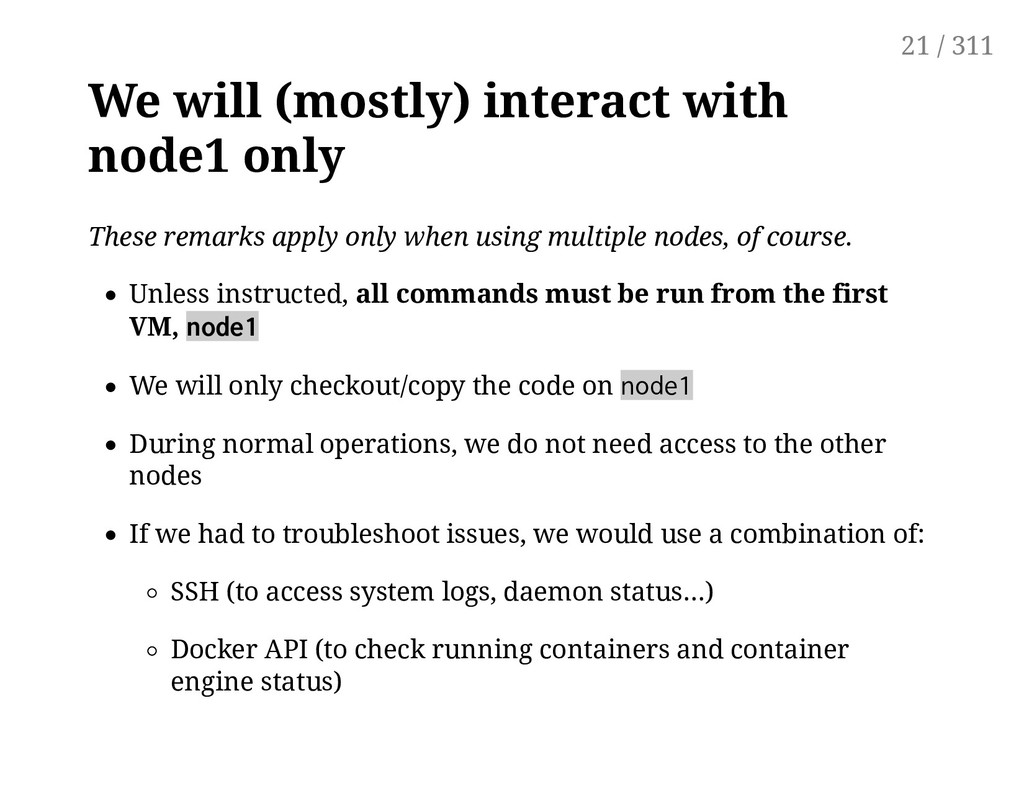
only when using multiple nodes, of course. Unless instructed, all commands must be run from the first VM, node1 We will only checkout/copy the code on node1 During normal operations, we do not need access to the other nodes If we had to troubleshoot issues, we would use a combination of: SSH (to access system logs, daemon status...) Docker API (to check running containers and container engine status) 21 / 311
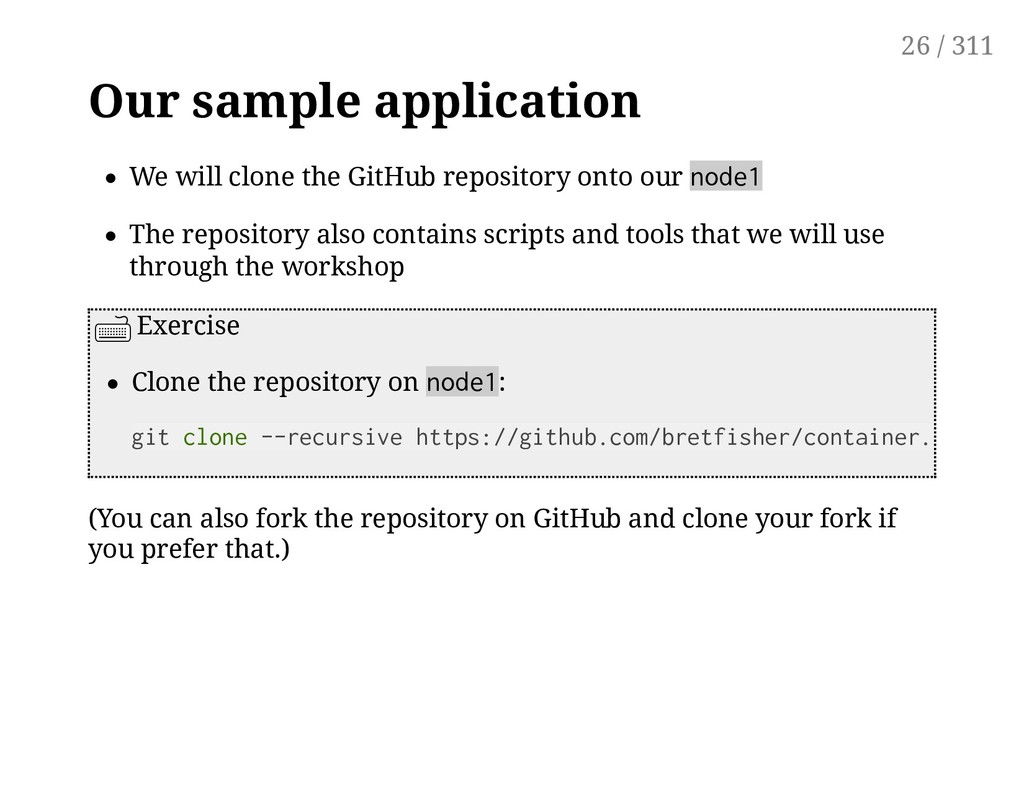
our node1 The repository also contains scripts and tools that we will use through the workshop Exercise Clone the repository on node1: (You can also fork the repository on GitHub and clone your fork if you prefer that.) git clone --recursive https://github.com/bretfisher/container.training 26 / 311
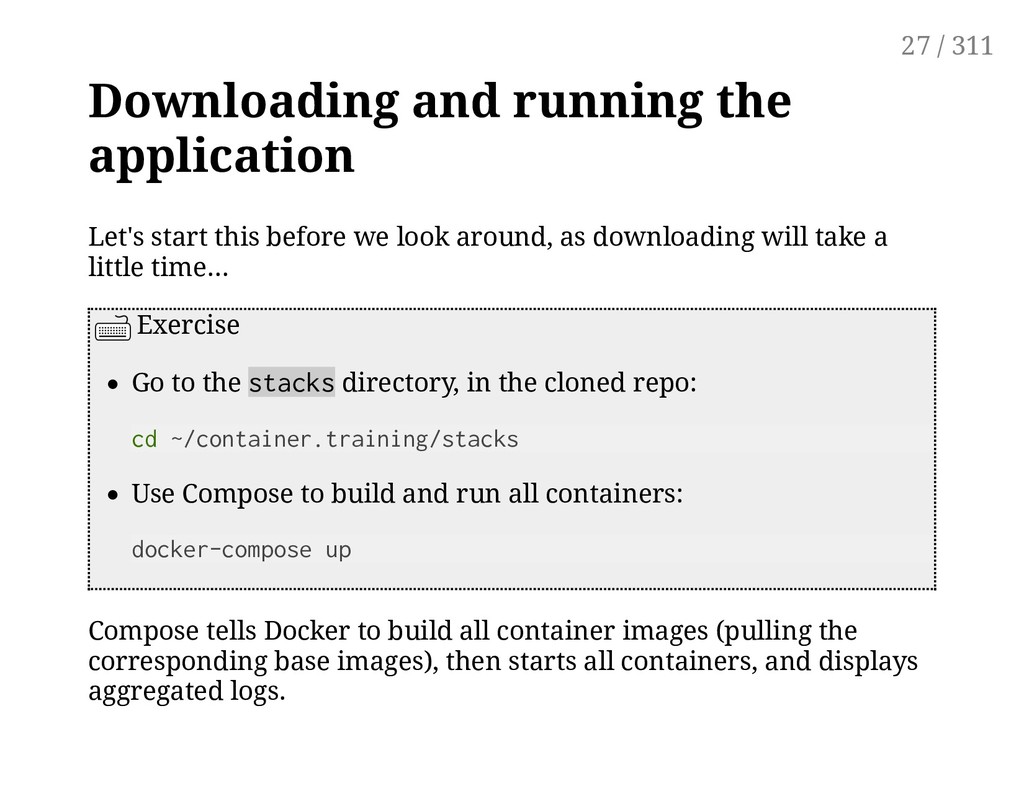
look around, as downloading will take a little time... Exercise Go to the stacks directory, in the cloned repo: cd ~/container.training/stacks Use Compose to build and run all containers: docker-compose up Compose tells Docker to build all container images (pulling the corresponding base images), then starts all containers, and displays aggregated logs. 27 / 311
you can't buy coffee with DockerCoins How DockerCoins works: generate a few random bytes hash these bytes increment a counter (to keep track of speed) repeat forever! 31 / 311
you can't buy coffee with DockerCoins How DockerCoins works: generate a few random bytes hash these bytes increment a counter (to keep track of speed) repeat forever! DockerCoins is not a cryptocurrency (the only common points are "randomness", "hashing", and "coins" in the name) 32 / 311
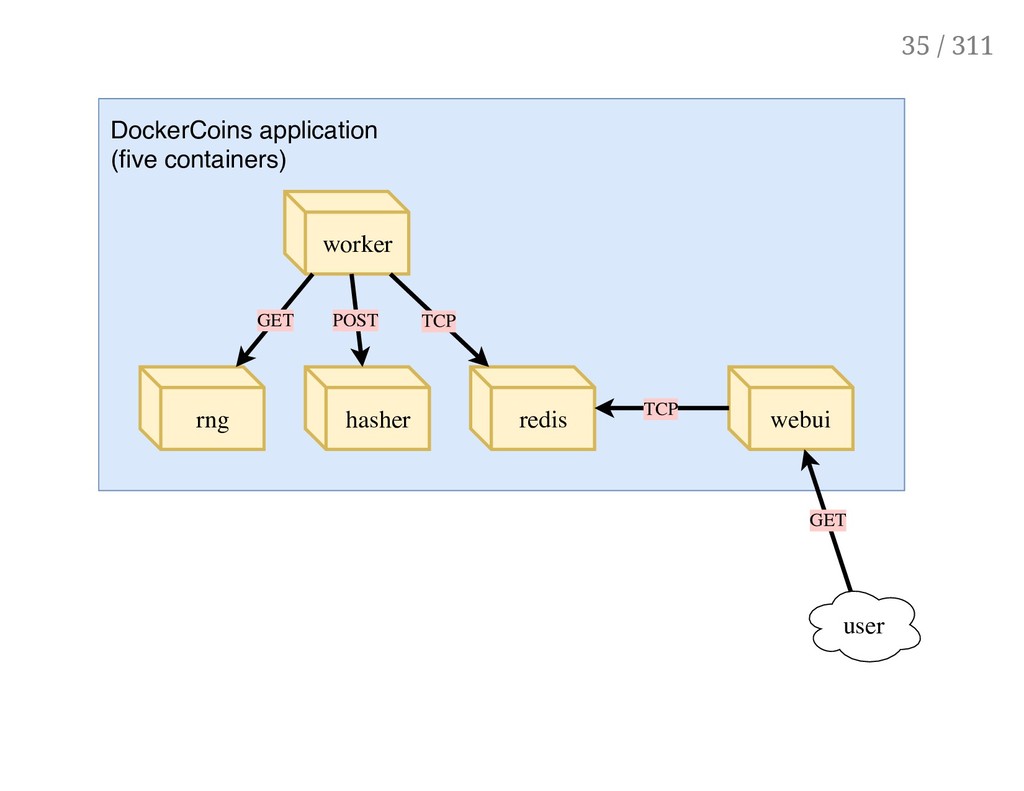
services: rng = web service generating random bytes hasher = web service computing hash of POSTed data worker = background process calling rng and hasher webui = web interface to watch progress redis = data store (holds a counter updated by worker) These 5 services are visible in the application's Compose file, docker-compose.yml 33 / 311
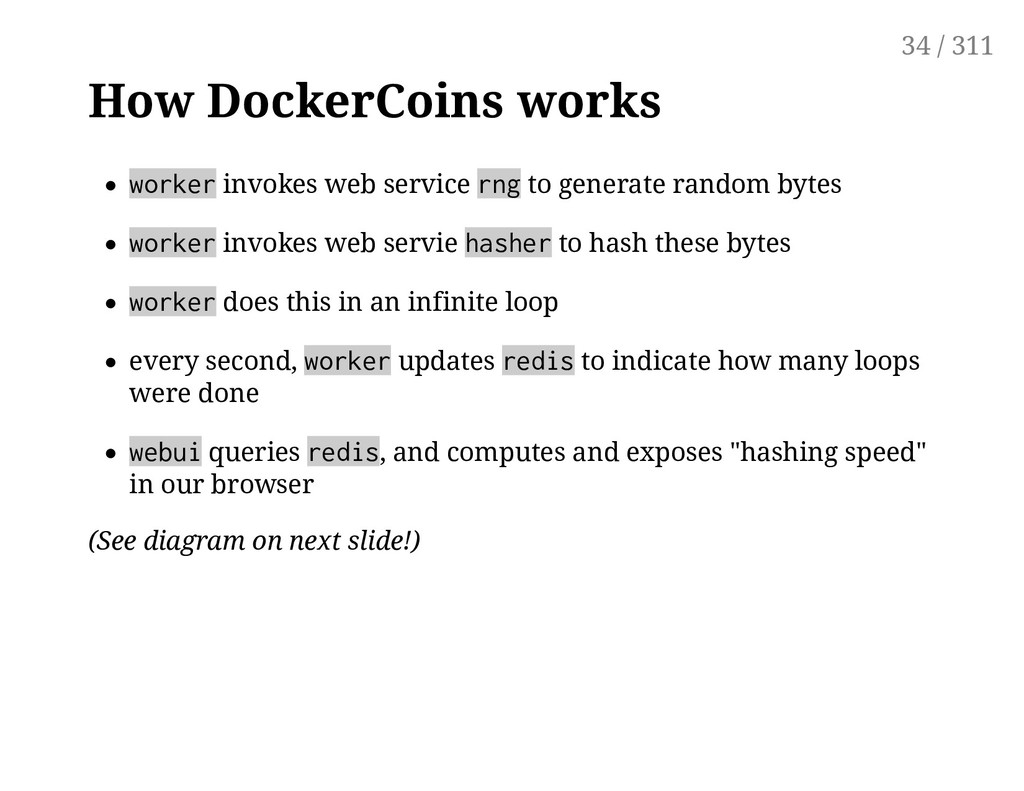
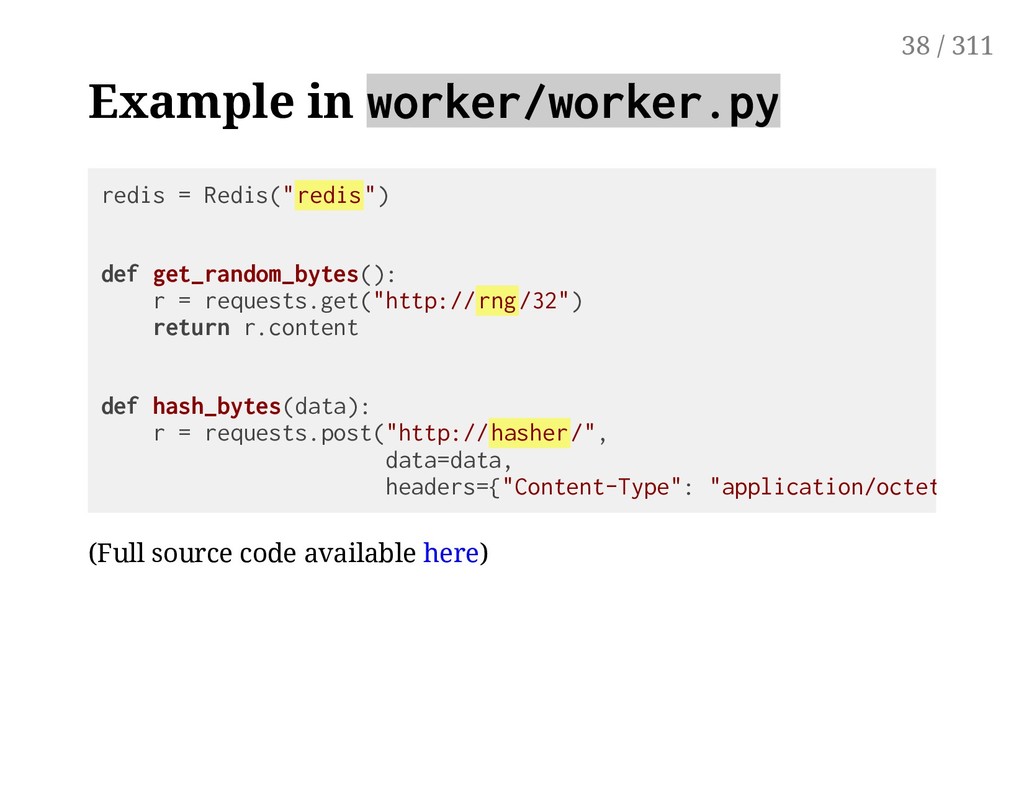
random bytes worker invokes web servie hasher to hash these bytes worker does this in an infinite loop every second, worker updates redis to indicate how many loops were done webui queries redis, and computes and exposes "hashing speed" in our browser (See diagram on next slide!) 34 / 311
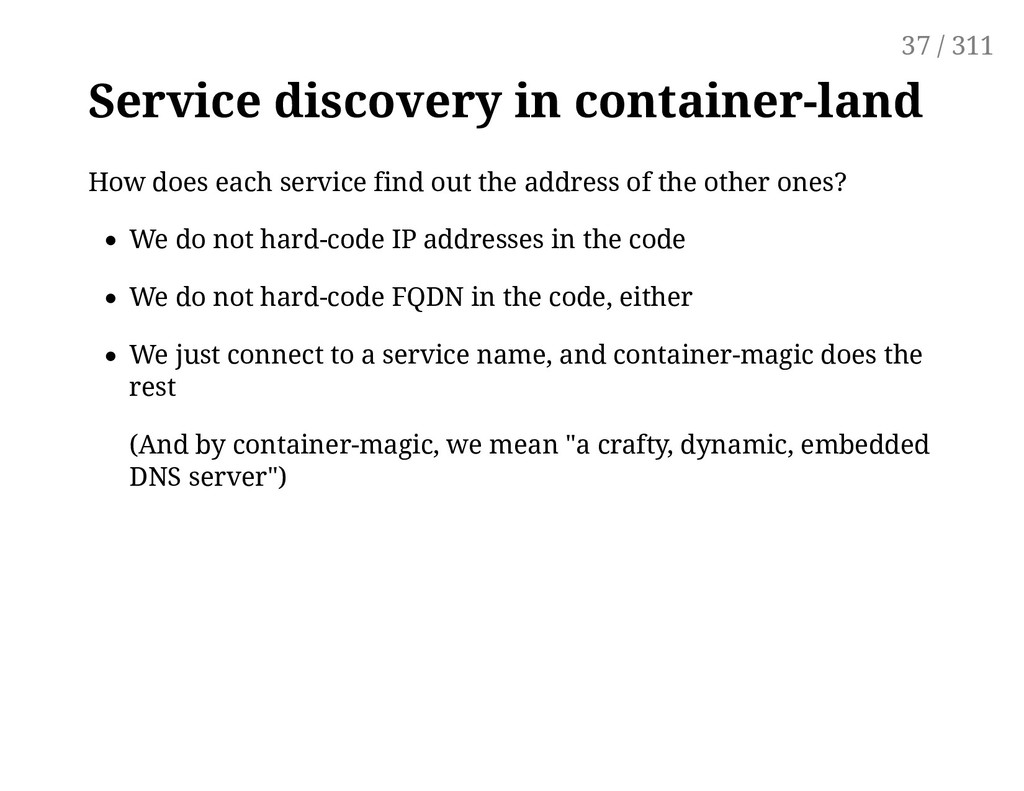
the address of the other ones? We do not hard-code IP addresses in the code We do not hard-code FQDN in the code, either We just connect to a service name, and container-magic does the rest (And by container-magic, we mean "a crafty, dynamic, embedded DNS server") 37 / 311
(No-one, ever) The webui container exposes a web dashboard; let's view it Exercise With a web browser, connect to node1 on port 8000 Remember: the nodeX aliases are valid only on the nodes themselves In your browser, you need to enter the IP address of your node A drawing area should show up, and after a few seconds, a blue graph will appear. 39 / 311
will politely ask the Docker Engine to stop the app The Docker Engine will send a TERM signal to the containers If the containers do not exit in a timely manner, the Engine sends a KILL signal Exercise Stop the application by hitting ^C 40 / 311
will politely ask the Docker Engine to stop the app The Docker Engine will send a TERM signal to the containers If the containers do not exit in a timely manner, the Engine sends a KILL signal Exercise Stop the application by hitting ^C Some containers exit immediately, others take longer. The containers that do not handle SIGTERM end up being killed after a 10s timeout. If we are very impatient, we can hit ^C a second time! 41 / 311
systems It is a reusable library, like libcontainer, libnetwork, vpnkit ... It is a plumbing part of the Docker ecosystem & Did you know that кит means "whale" in Russian? 46 / 311
on an external store: easier to deploy; higher performance) Dynamic reconfiguration of Raft without interrupting cluster operations Services managed with a declarative API (implementing desired state and reconciliation loop) Integration with overlay networks and load balancing Strong emphasis on security: automatic TLS keying and signing; automatic cert rotation full encryption of the data plane; automatic key rotation least privilege architecture (single-node compromise ≠ cluster compromise) on-disk encryption with optional passphrase 47 / 311
node (preferably more) A node can be a manager or a worker A manager actively takes part in the Raft consensus, and keeps the Raft log You can talk to a manager using the SwarmKit API One manager is elected as the leader; other managers merely forward requests to it The workers get their instructions from the managers Both workers and managers can run containers 48 / 311
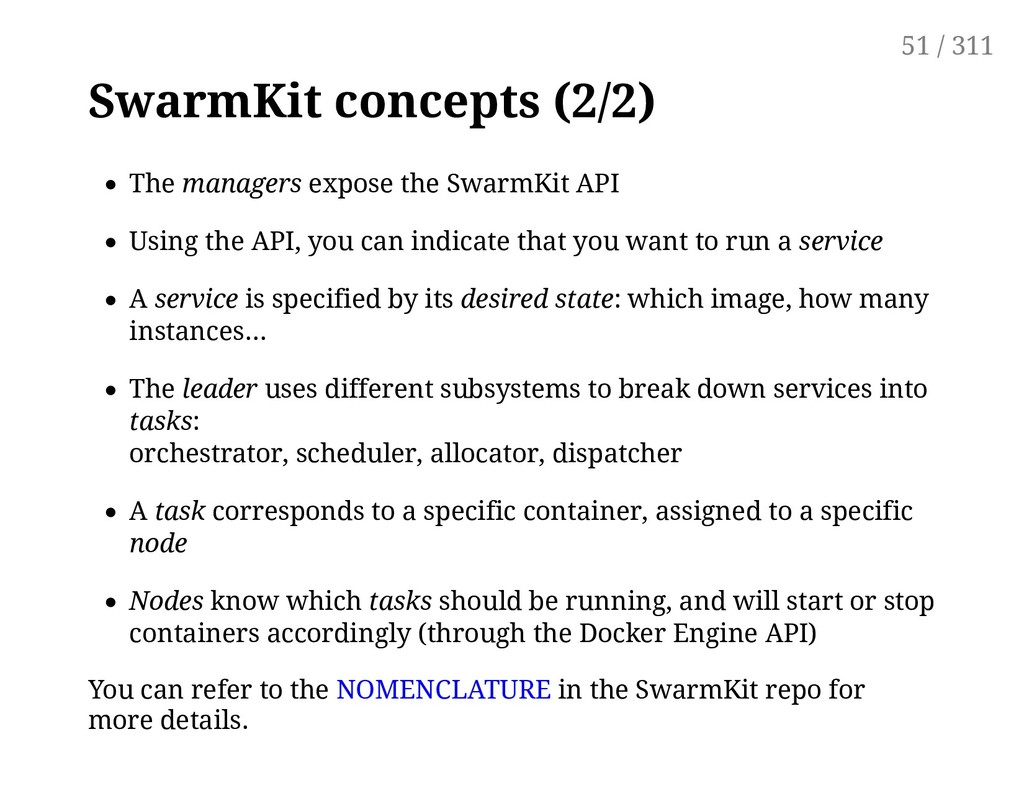
the API, you can indicate that you want to run a service A service is specified by its desired state: which image, how many instances... The leader uses different subsystems to break down services into tasks: orchestrator, scheduler, allocator, dispatcher A task corresponds to a specific container, assigned to a specific node Nodes know which tasks should be running, and will start or stop containers accordingly (through the Docker Engine API) You can refer to the NOMENCLATURE in the SwarmKit repo for more details. 51 / 311
emphasis on being declarative Declarative: I would like a cup of tea. Imperative: Boil some water. Pour it in a teapot. Add tea leaves. Steep for a while. Serve in a cup. 54 / 311
emphasis on being declarative Declarative: I would like a cup of tea. Imperative: Boil some water. Pour it in a teapot. Add tea leaves. Steep for a while. Serve in a cup. Declarative seems simpler at first ... 55 / 311
emphasis on being declarative Declarative: I would like a cup of tea. Imperative: Boil some water. Pour it in a teapot. Add tea leaves. Steep for a while. Serve in a cup. Declarative seems simpler at first ... ... As long as you know how to brew tea 56 / 311
a cup of tea, obtained by pouring an infusion¹ of tea leaves in a cup. ¹An infusion is obtained by letting the object steep a few minutes in hot² water. 58 / 311
a cup of tea, obtained by pouring an infusion¹ of tea leaves in a cup. ¹An infusion is obtained by letting the object steep a few minutes in hot² water. ²Hot liquid is obtained by pouring it in an appropriate container³ and setting it on a stove. 59 / 311
a cup of tea, obtained by pouring an infusion¹ of tea leaves in a cup. ¹An infusion is obtained by letting the object steep a few minutes in hot² water. ²Hot liquid is obtained by pouring it in an appropriate container³ and setting it on a stove. ³Ah, finally, containers! Something we know about. Let's get to work, shall we? 60 / 311
a cup of tea, obtained by pouring an infusion¹ of tea leaves in a cup. ¹An infusion is obtained by letting the object steep a few minutes in hot² water. ²Hot liquid is obtained by pouring it in an appropriate container³ and setting it on a stove. ³Ah, finally, containers! Something we know about. Let's get to work, shall we? Did you know there was an ISO standard specifying how to brew tea? 61 / 311
interrupted, we have to restart from scratch Declarative systems: if a task is interrupted (or if we show up to the party half-way through), we can figure out what's missing and do only what's necessary we need to be able to observe the system ... and compute a "diff" between what we have and what we want 62 / 311
All the SwarmKit features are "asleep" until you enable "Swarm mode" Examples of Swarm Mode commands: docker swarm (enable Swarm mode; join a Swarm; adjust cluster parameters) docker node (view nodes; promote/demote managers; manage nodes) docker service (create and manage services) 65 / 311
this new code is inactive Swarm mode can be enabled, "unlocking" SwarmKit functions (services, out-of-the-box overlay networks, etc.) Exercise Try a Swarm-specific command: docker node ls 66 / 311
this new code is inactive Swarm mode can be enabled, "unlocking" SwarmKit functions (services, out-of-the-box overlay networks, etc.) Exercise Try a Swarm-specific command: docker node ls You will get an error message: Error response from daemon: This node is not a swarm manager. [...] 67 / 311
swarm init This should be executed on a first, seed node DO NOT execute docker swarm init on multiple nodes! You would have multiple disjoint clusters. Exercise Create our cluster from node1: docker swarm init 70 / 311
have a message confirming that our node is now the (single) manager: Swarm initialized: current node (8jud...) is now a manager. Docker generated two security tokens (like passphrases or passwords) for our cluster The CLI shows us the command to use on other nodes to add them to the cluster using the "worker" security token: To add a worker to this swarm, run the following command: docker swarm join \ --token SWMTKN-1-59fl4ak4nqjmao1ofttrc4eprhrola2l87... \ 172.31.4.182:2377 71 / 311
same command as earlier Exercise List the nodes (well, the only node) of our cluster: docker node ls The output should look like the following: ID HOSTNAME STATUS AVAILABILITY MANAGER STATUS 8jud...ox4b * node1 Ready Active Leader 72 / 311
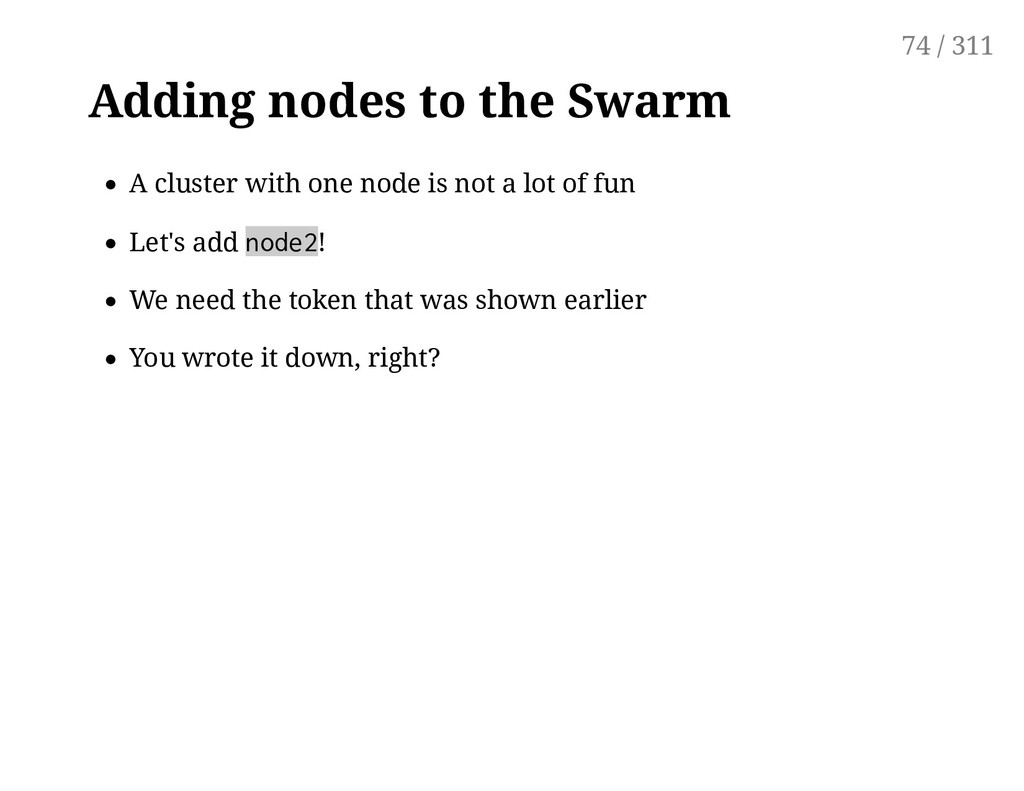
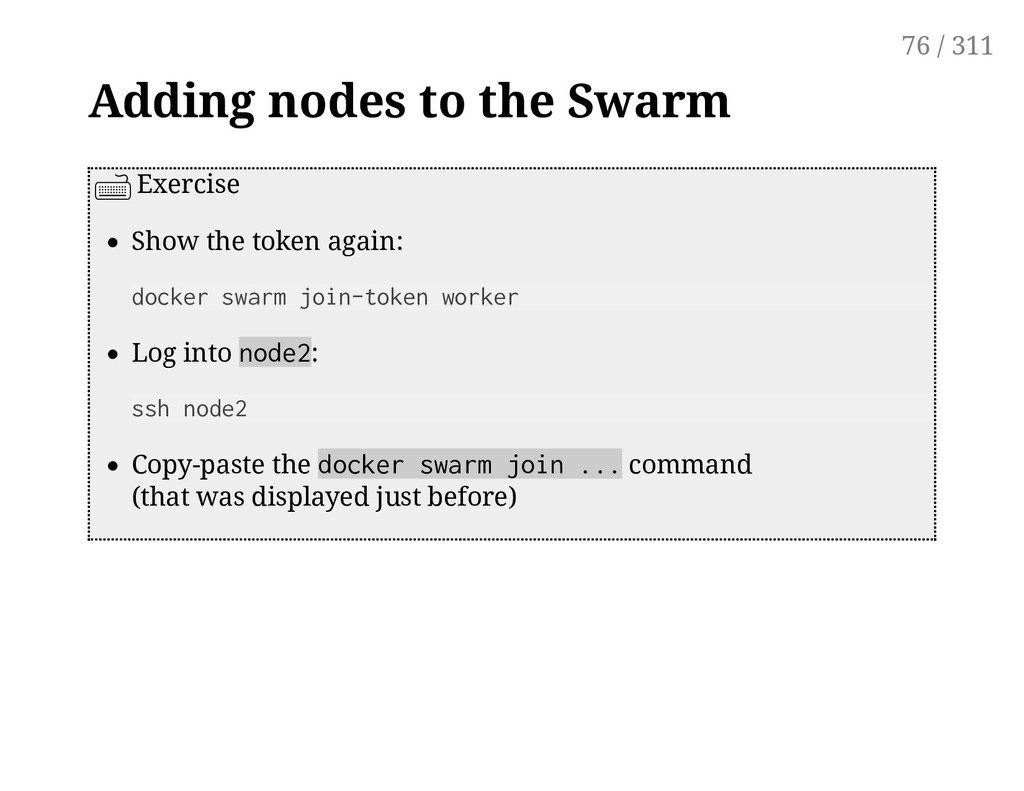
is not a lot of fun Let's add node2! We need the token that was shown earlier You wrote it down, right? Don't panic, we can easily see it again + 75 / 311
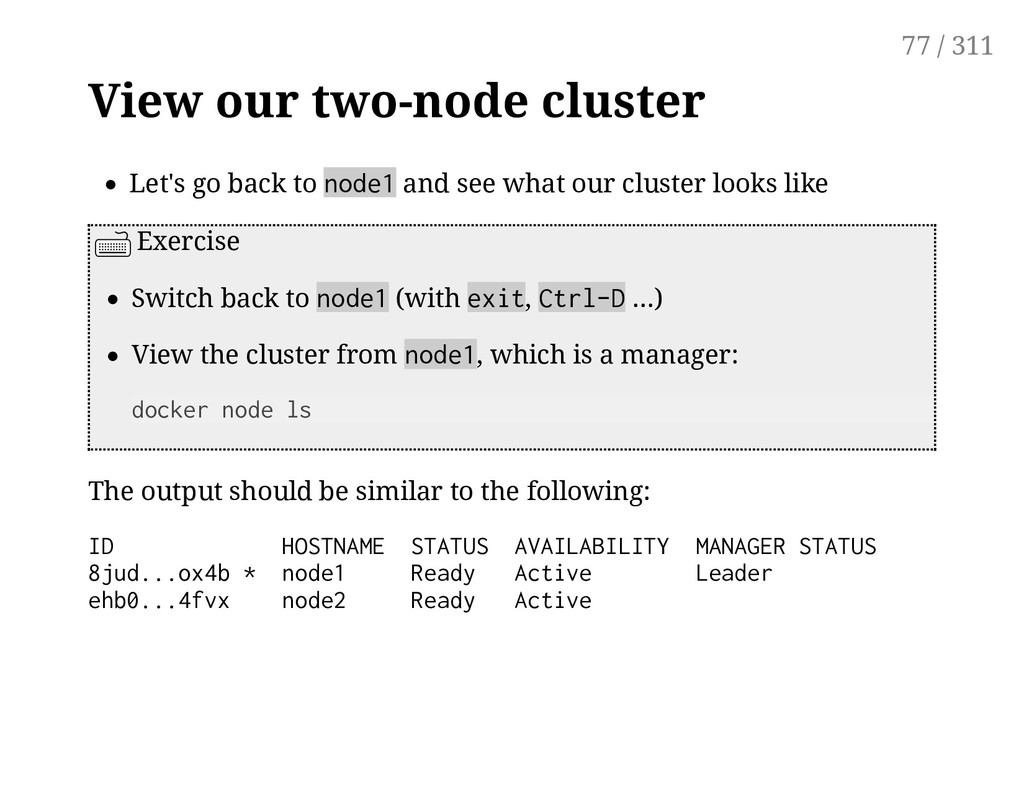
see what our cluster looks like Exercise Switch back to node1 (with exit, Ctrl-D ...) View the cluster from node1, which is a manager: docker node ls The output should be similar to the following: ID HOSTNAME STATUS AVAILABILITY MANAGER STATUS 8jud...ox4b * node1 Ready Active Leader ehb0...4fvx node2 Ready Active 77 / 311
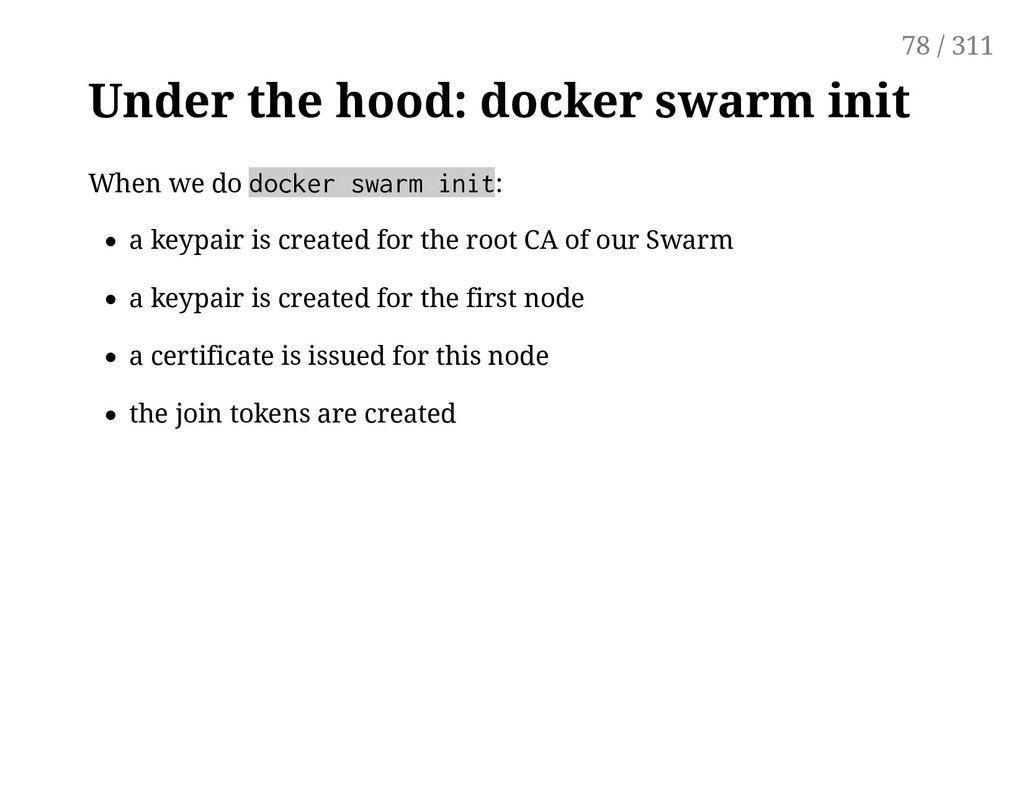
swarm init: a keypair is created for the root CA of our Swarm a keypair is created for the first node a certificate is issued for this node the join tokens are created 78 / 311
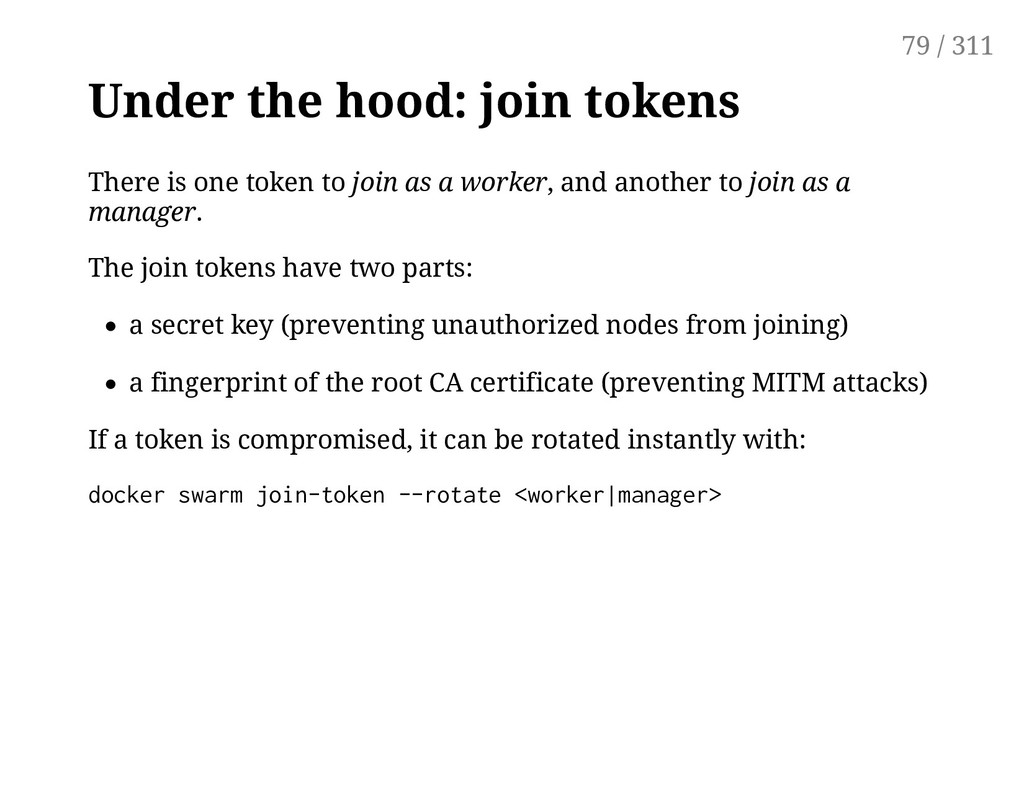
join as a worker, and another to join as a manager. The join tokens have two parts: a secret key (preventing unauthorized nodes from joining) a fingerprint of the root CA certificate (preventing MITM attacks) If a token is compromised, it can be rotated instantly with: docker swarm join-token --rotate <worker|manager> 79 / 311
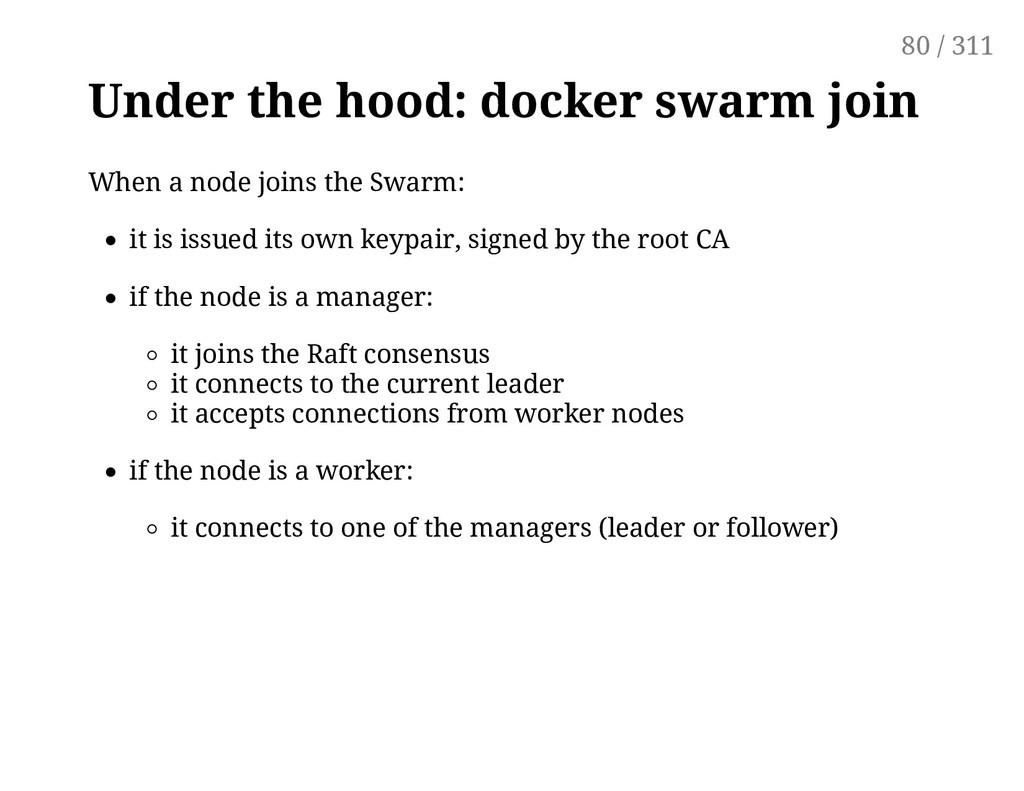
the Swarm: it is issued its own keypair, signed by the root CA if the node is a manager: it joins the Raft consensus it connects to the current leader it accepts connections from worker nodes if the node is a worker: it connects to one of the managers (leader or follower) 80 / 311
with AES-GCM; keys are rotated every 12 hours Authentication is done with mutual TLS; certificates are rotated every 90 days (docker swarm update allows to change this delay or to use an external CA) The data plane (communication between containers) is not encrypted by default (but this can be activated on a by-network basis, using IPSEC, leveraging hardware crypto if available) 81 / 311
concepts: Docker 1.12 Swarm Mode Deep Dive Part 1: Topology (video) Docker 1.12 Swarm Mode Deep Dive Part 2: Orchestration (video) Some presentations from the Docker Distributed Systems Summit in Berlin: Heart of the SwarmKit: Topology Management (slides) Heart of the SwarmKit: Store, Topology & Object Model (slides) (video) And DockerCon Black Belt talks: DC17US: Everything You Thought You Already Knew About 82 / 311
manager (node1) If we lose it, we lose quorum - and that's very bad! Containers running on other nodes will be fine ... But we won't be able to get or set anything related to the cluster If the manager is permanently gone, we will have to do a manual repair! Nobody wants to do that ... so let's make our cluster highly available 83 / 311
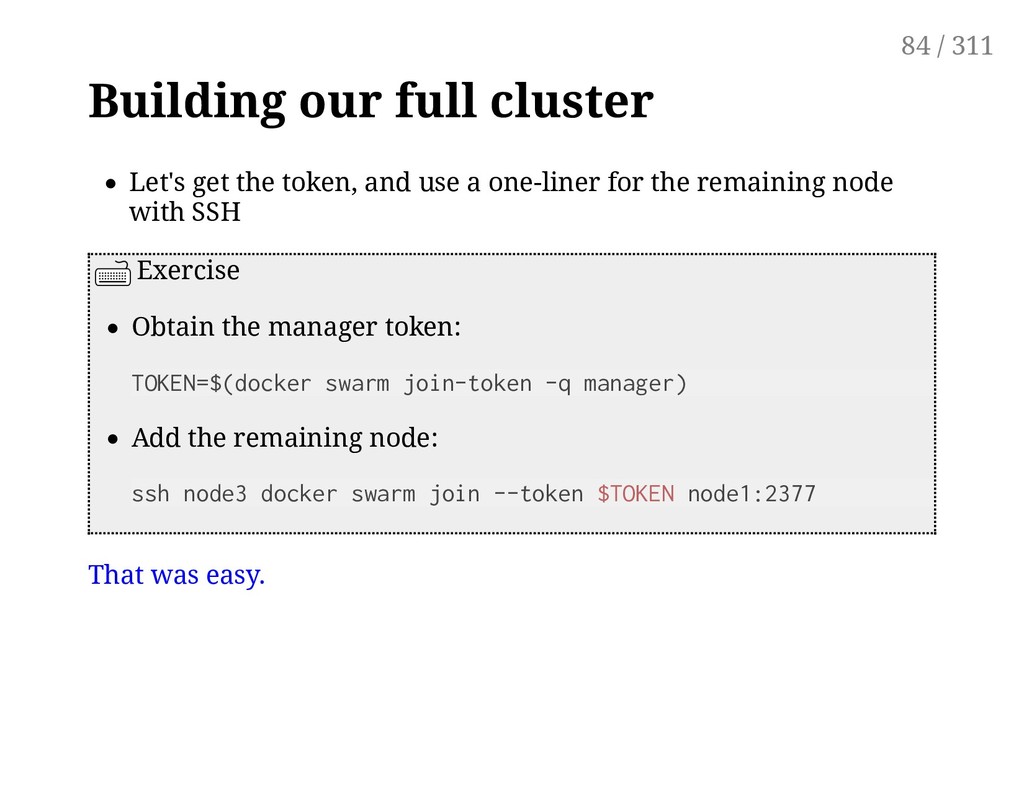
a one-liner for the remaining node with SSH Exercise Obtain the manager token: TOKEN=$(docker swarm join-token -q manager) Add the remaining node: ssh node3 docker swarm join --token $TOKEN node1:2377 That was easy. 84 / 311
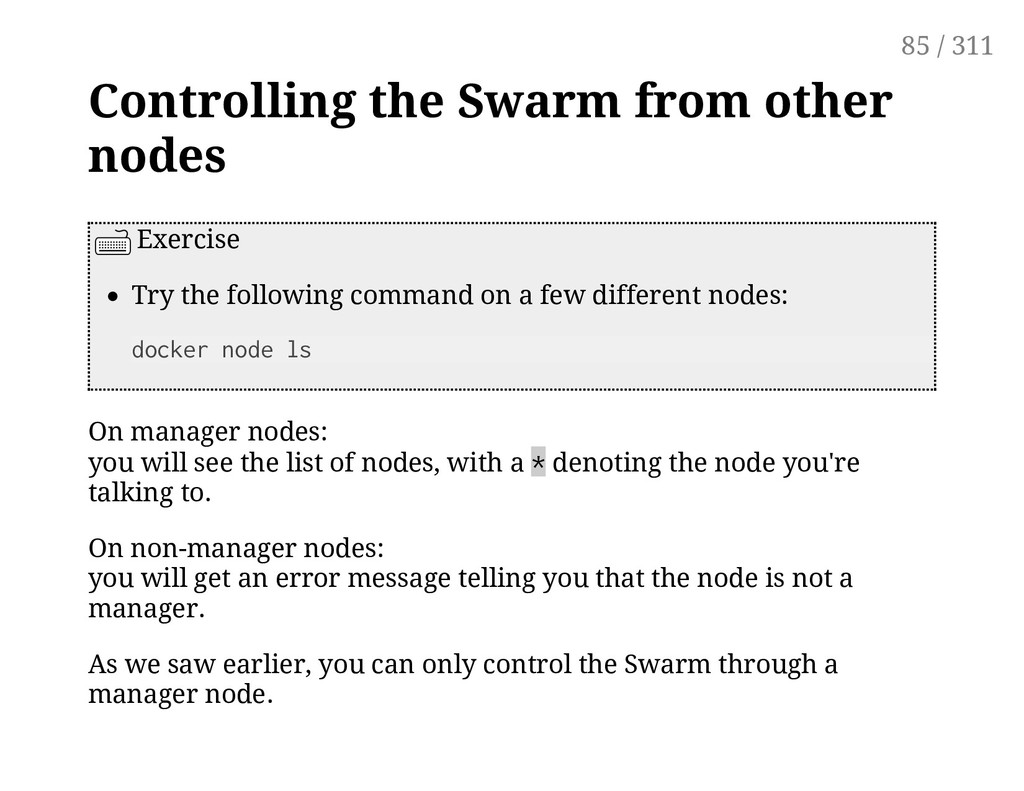
command on a few different nodes: docker node ls On manager nodes: you will see the list of nodes, with a * denoting the node you're talking to. On non-manager nodes: you will get an error message telling you that the node is not a manager. As we saw earlier, you can only control the Swarm through a manager node. 85 / 311
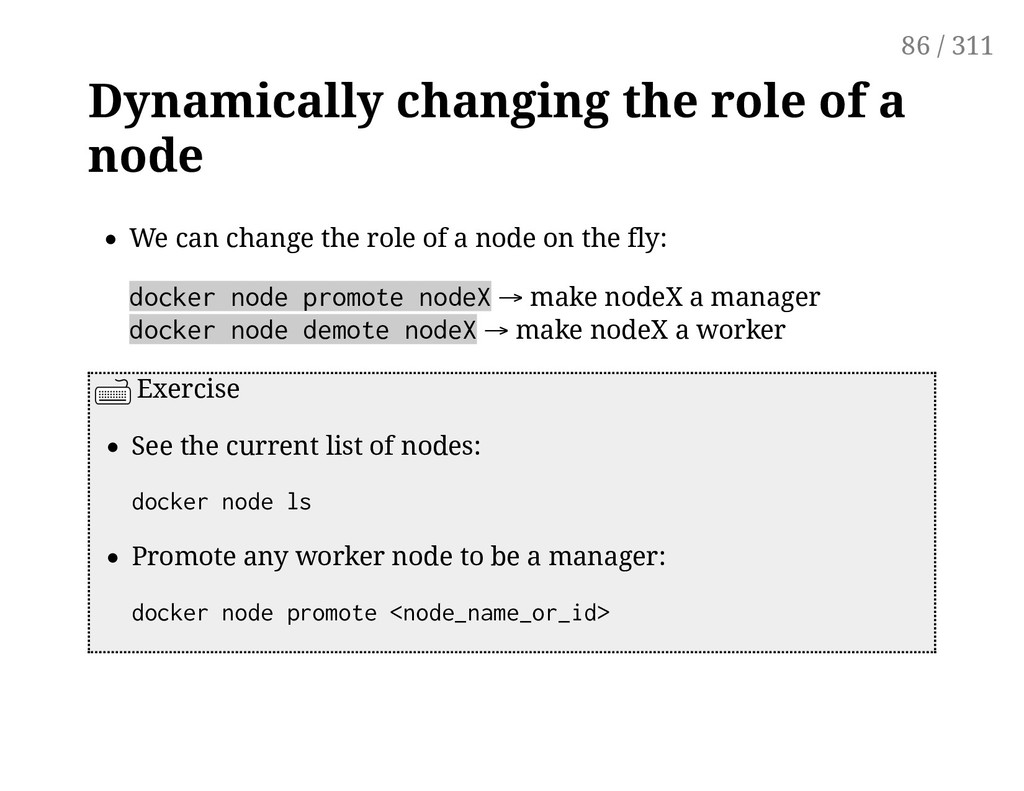
the role of a node on the fly: docker node promote nodeX → make nodeX a manager docker node demote nodeX → make nodeX a worker Exercise See the current list of nodes: docker node ls Promote any worker node to be a manager: docker node promote <node_name_or_id> 86 / 311
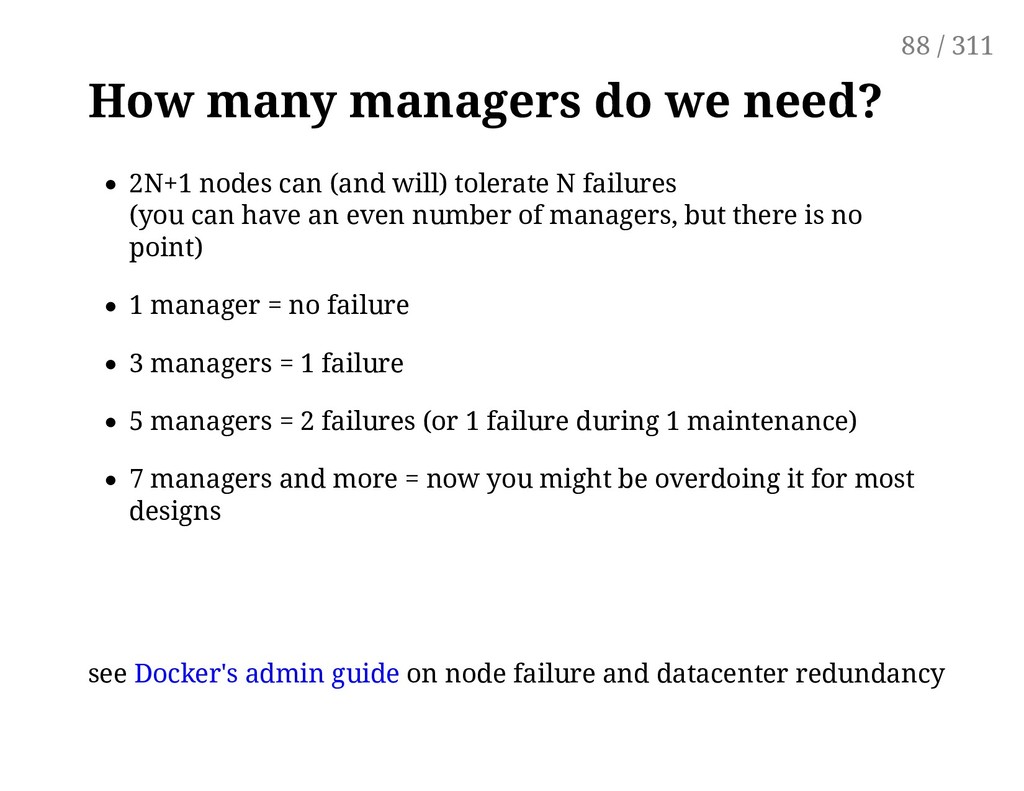
will) tolerate N failures (you can have an even number of managers, but there is no point) 1 manager = no failure 3 managers = 1 failure 5 managers = 2 failures (or 1 failure during 1 maintenance) 7 managers and more = now you might be overdoing it for most designs see Docker's admin guide on node failure and datacenter redundancy 88 / 311
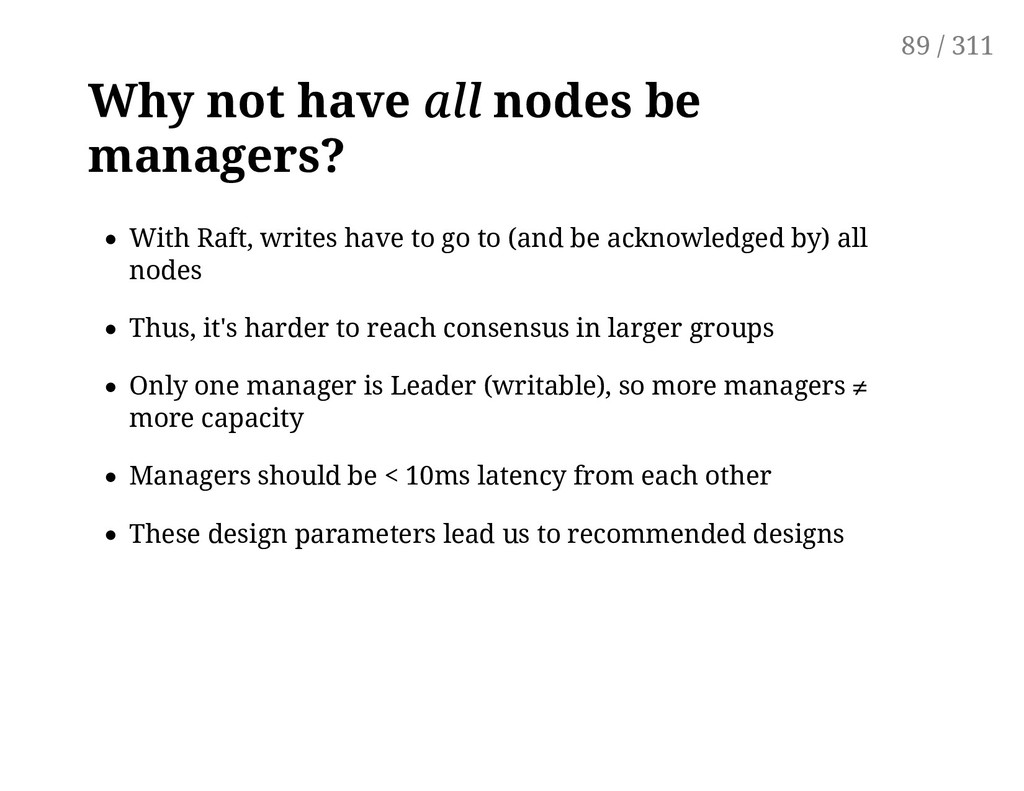
writes have to go to (and be acknowledged by) all nodes Thus, it's harder to reach consensus in larger groups Only one manager is Leader (writable), so more managers ≠ more capacity Managers should be < 10ms latency from each other These design parameters lead us to recommended designs 89 / 311
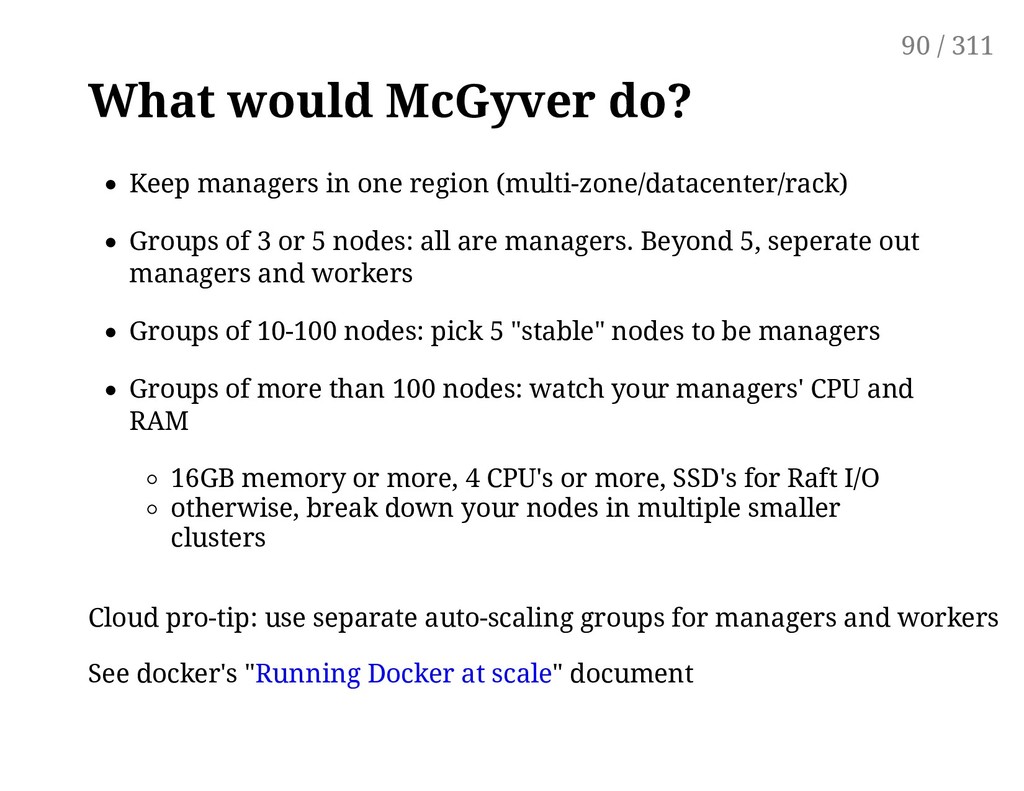
Groups of 3 or 5 nodes: all are managers. Beyond 5, seperate out managers and workers Groups of 10-100 nodes: pick 5 "stable" nodes to be managers Groups of more than 100 nodes: watch your managers' CPU and RAM 16GB memory or more, 4 CPU's or more, SSD's for Raft I/O otherwise, break down your nodes in multiple smaller clusters Cloud pro-tip: use separate auto-scaling groups for managers and workers See docker's "Running Docker at scale" document 90 / 311
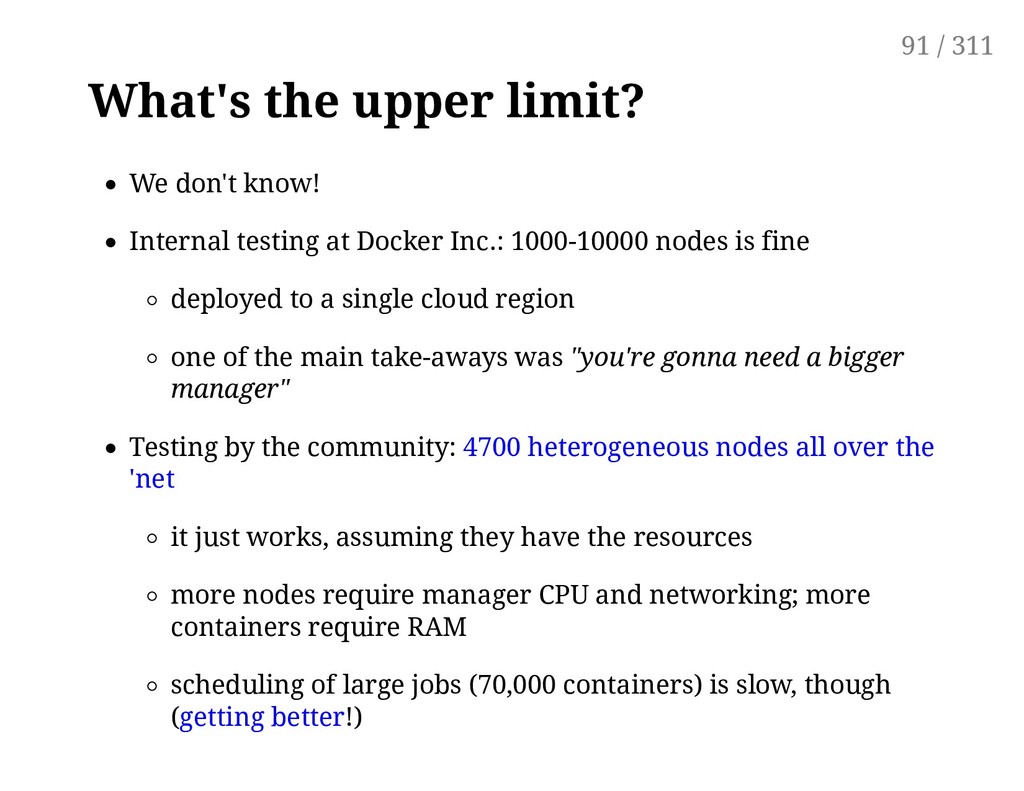
Docker Inc.: 1000-10000 nodes is fine deployed to a single cloud region one of the main take-aways was "you're gonna need a bigger manager" Testing by the community: 4700 heterogeneous nodes all over the 'net it just works, assuming they have the resources more nodes require manager CPU and networking; more containers require RAM scheduling of large jobs (70,000 containers) is slow, though (getting better!) 91 / 311
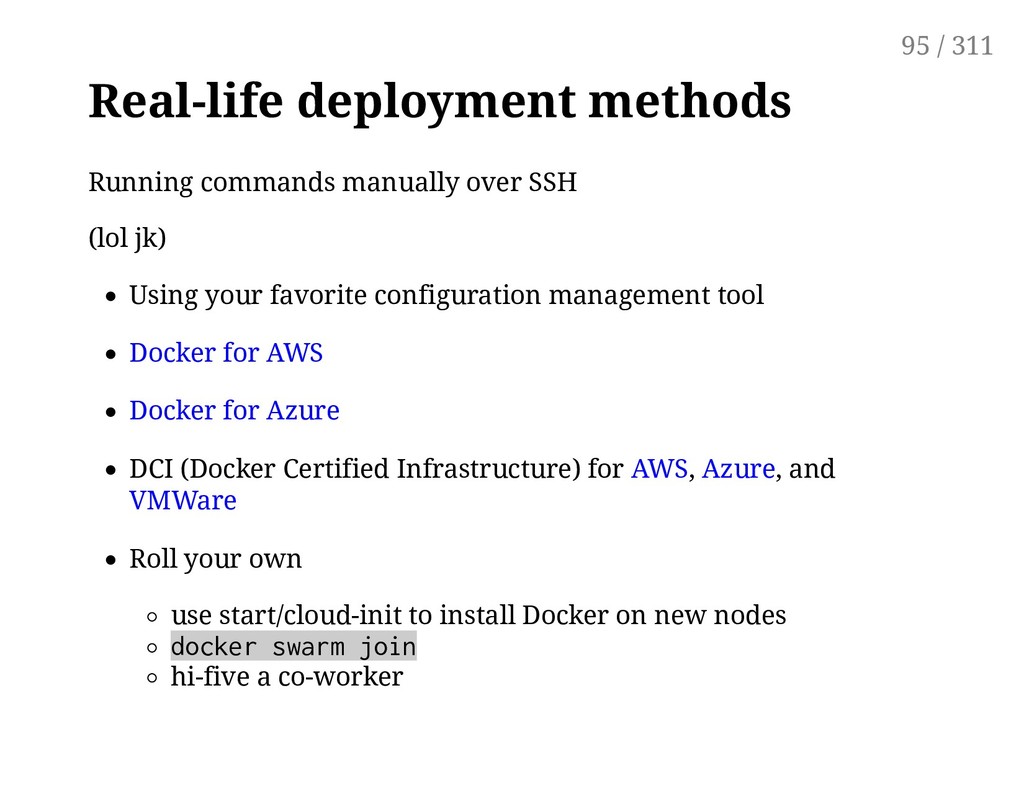
Using your favorite configuration management tool Docker for AWS Docker for Azure DCI (Docker Certified Infrastructure) for AWS, Azure, and VMWare Roll your own use start/cloud-init to install Docker on new nodes docker swarm join hi-five a co-worker 95 / 311
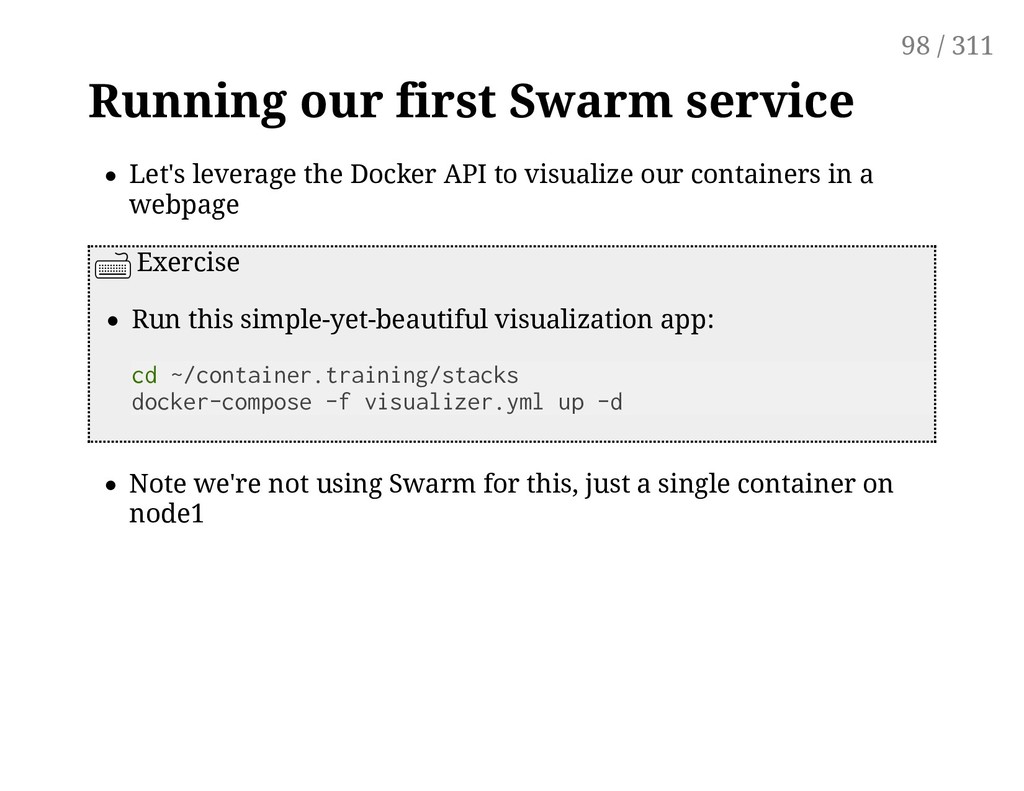
to visualize our containers in a webpage Exercise Run this simple-yet-beautiful visualization app: cd ~/container.training/stacks docker-compose -f visualizer.yml up -d Note we're not using Swarm for this, just a single container on node1 98 / 311
on port 8080 Exercise Point your browser to port 8080 of your node1's public ip (If you use Play-With-Docker, click on the (8080) badge) The webapp updates the display automatically (you don't need to reload the page) It only shows Swarm services (not standalone containers) It shows when nodes go down It has some glitches (it's not Carrier-Grade Enterprise-Compliant 99 / 311
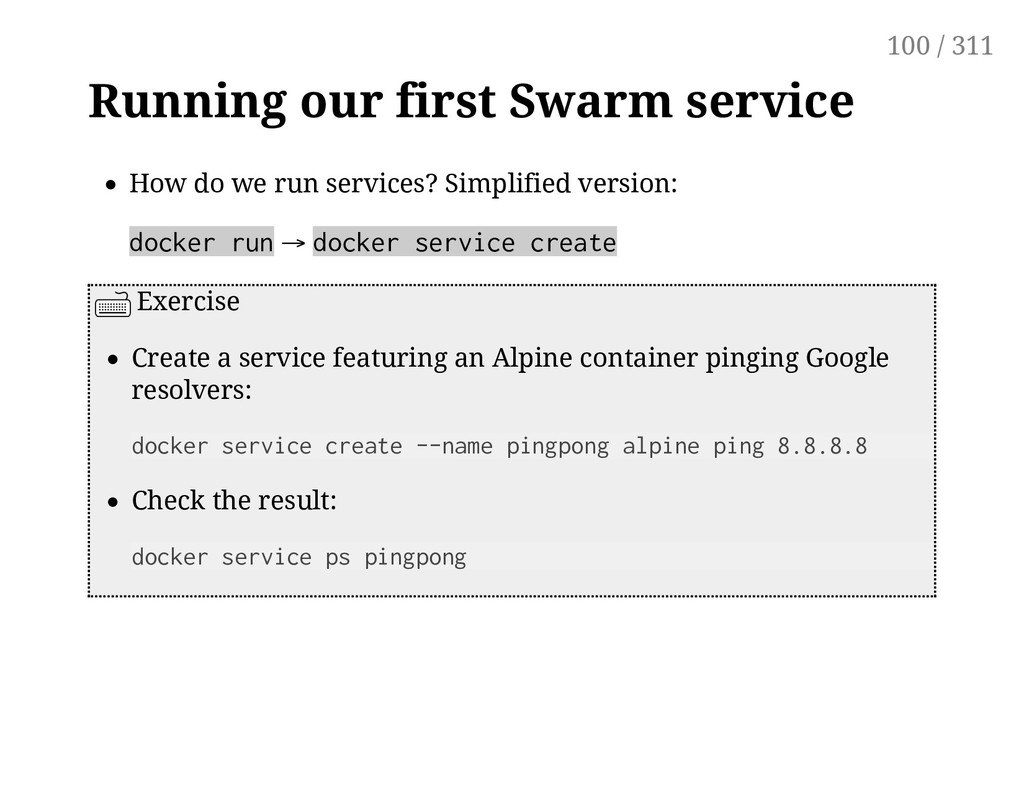
Simplified version: docker run → docker service create Exercise Create a service featuring an Alpine container pinging Google resolvers: docker service create --name pingpong alpine ping 8.8.8.8 Check the result: docker service ps pingpong 100 / 311
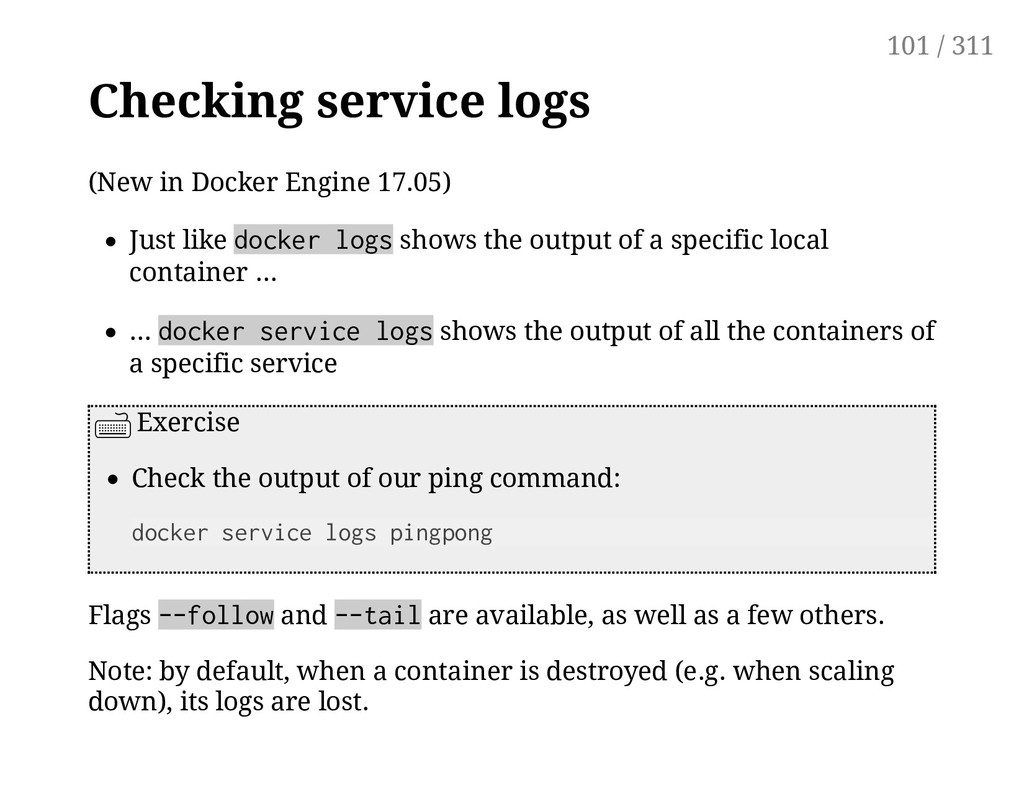
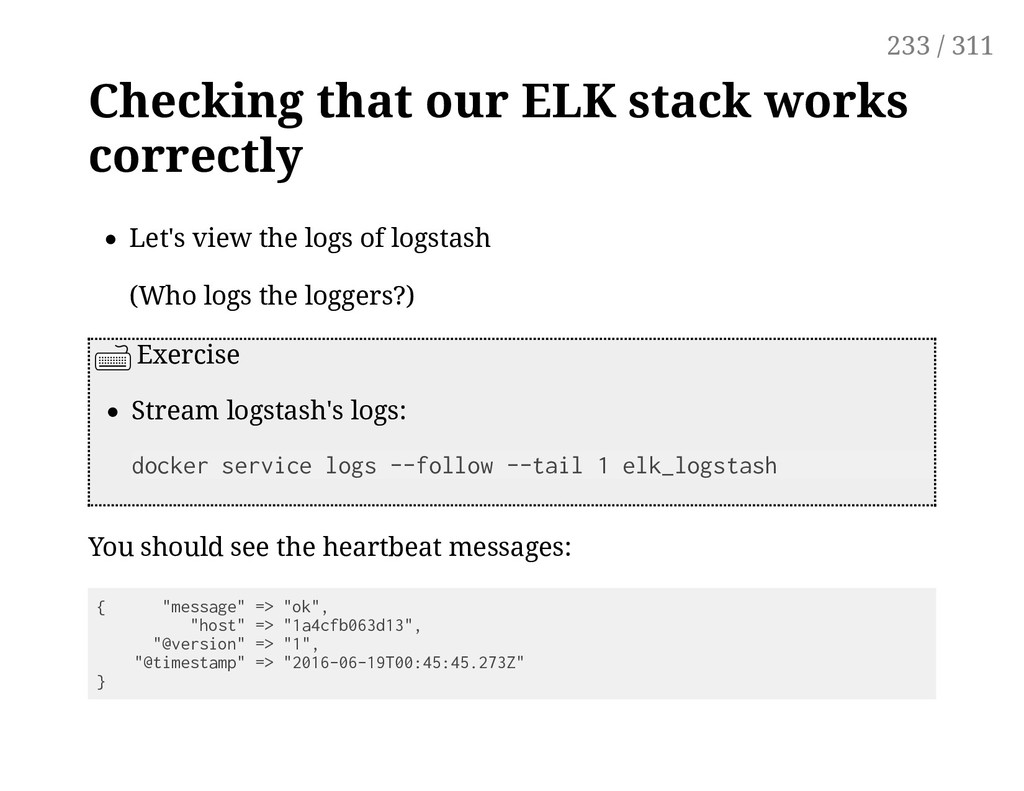
docker logs shows the output of a specific local container ... ... docker service logs shows the output of all the containers of a specific service Exercise Check the output of our ping command: docker service logs pingpong Flags --follow and --tail are available, as well as a few others. Note: by default, when a container is destroyed (e.g. when scaling down), its logs are lost. 101 / 311
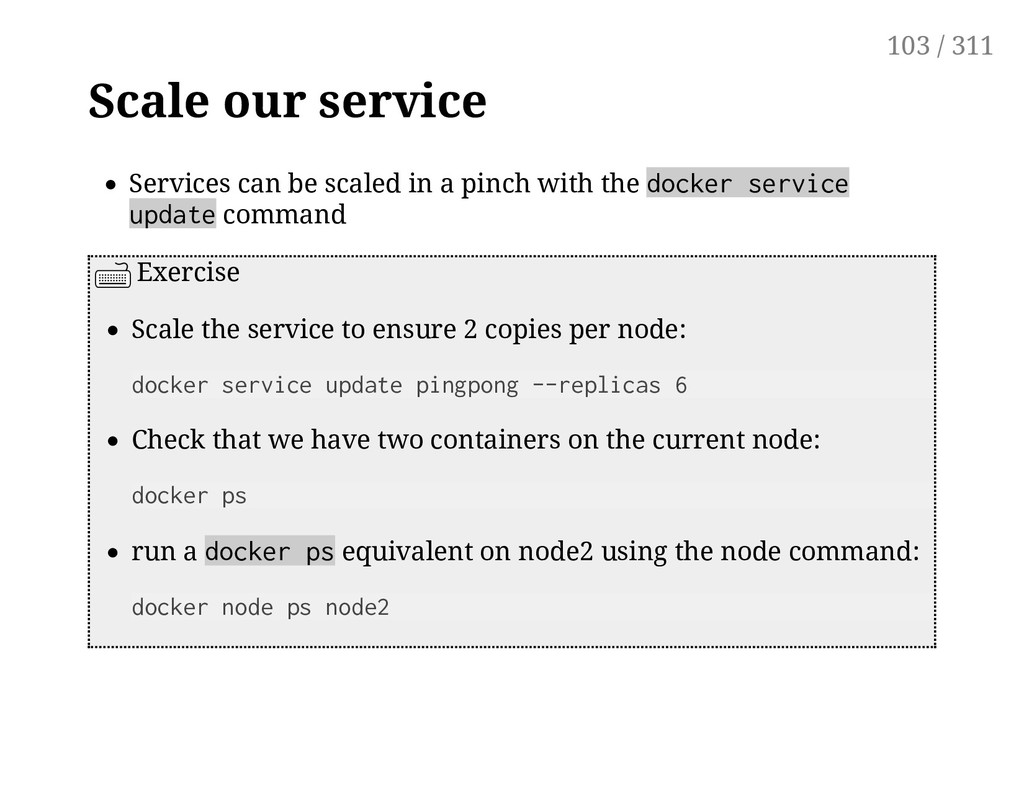
with the docker service update command Exercise Scale the service to ensure 2 copies per node: docker service update pingpong --replicas 6 Check that we have two containers on the current node: docker ps run a docker ps equivalent on node2 using the node command: docker node ps node2 103 / 311
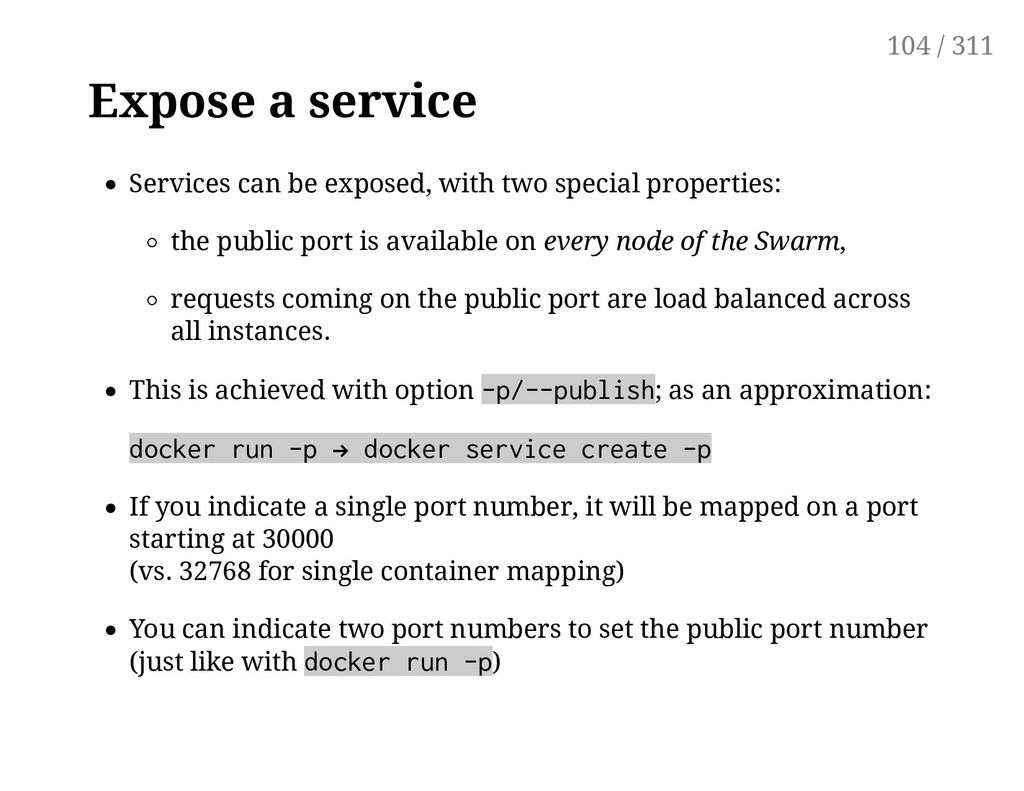
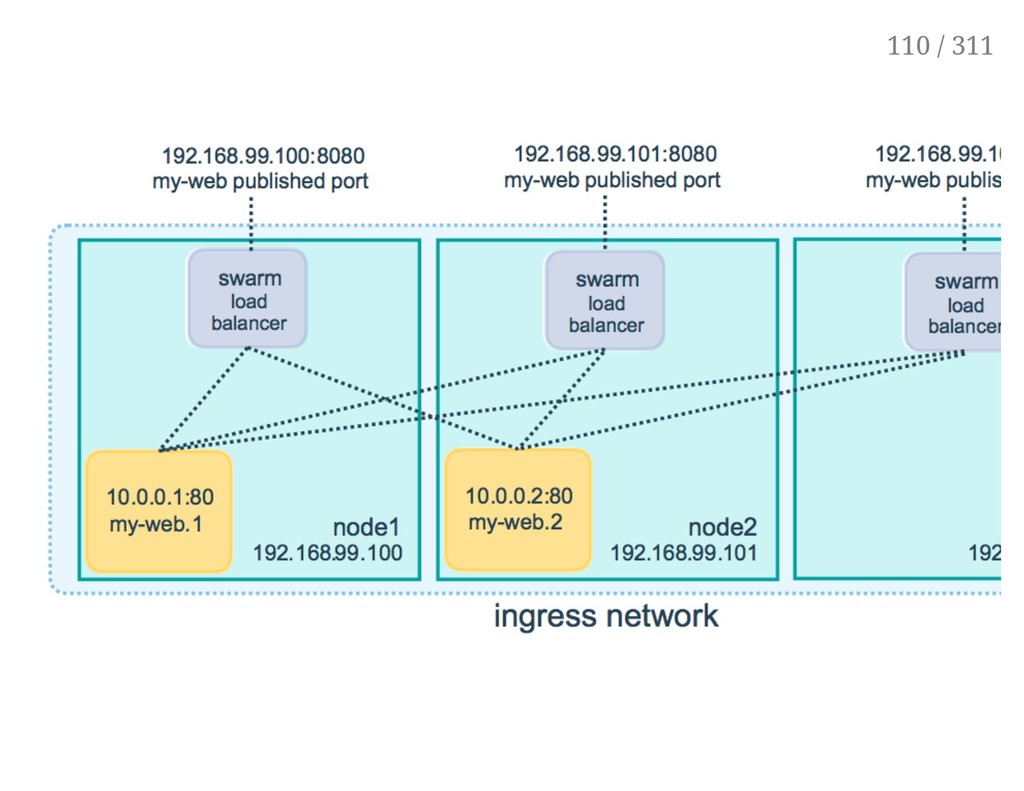
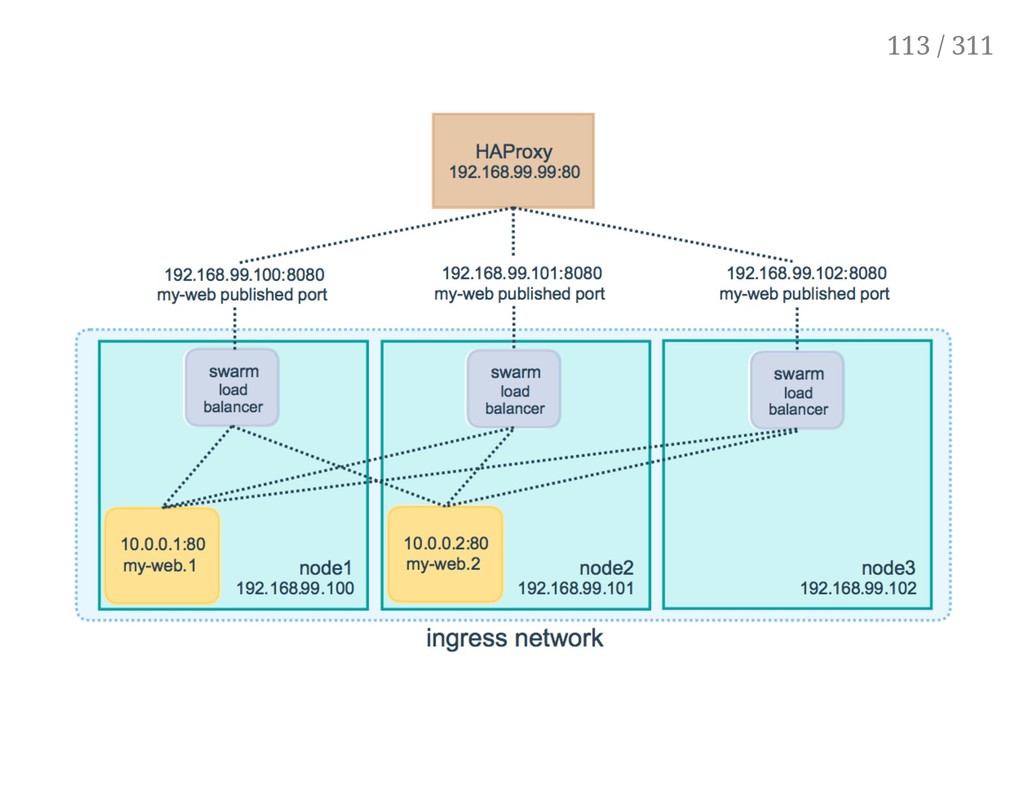
properties: the public port is available on every node of the Swarm, requests coming on the public port are load balanced across all instances. This is achieved with option -p/--publish; as an approximation: docker run -p ! docker service create -p If you indicate a single port number, it will be mapped on a port starting at 30000 (vs. 32768 for single container mapping) You can indicate two port numbers to set the public port number (just like with docker run -p) 104 / 311
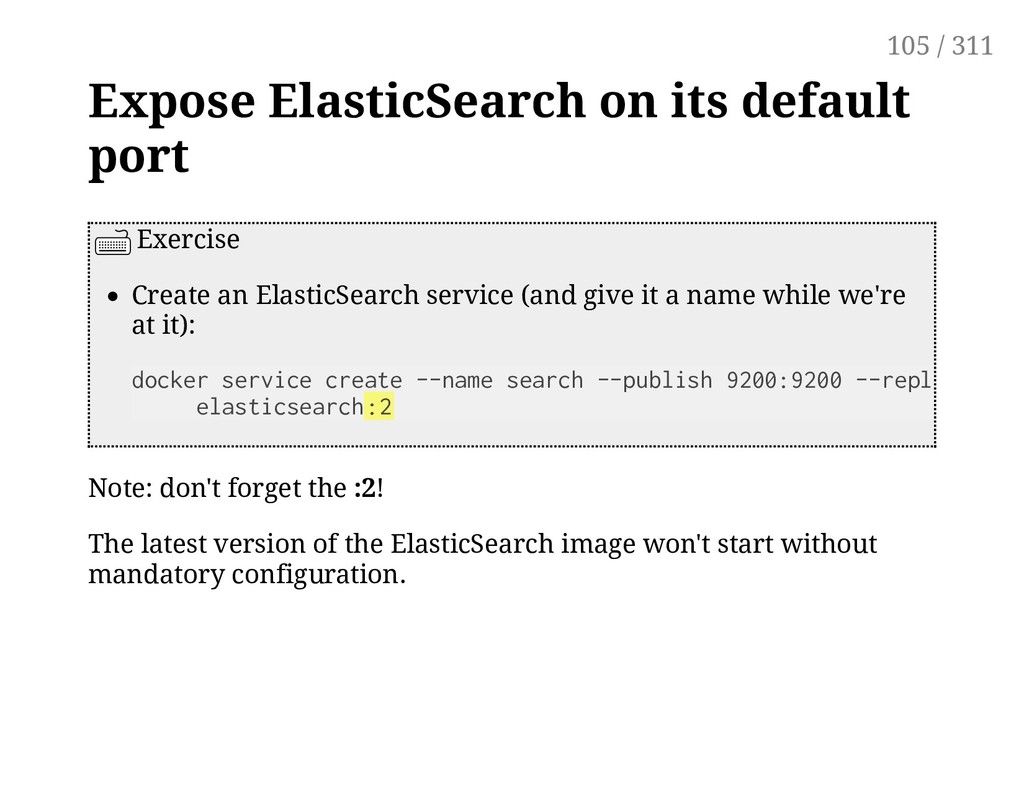
service (and give it a name while we're at it): Note: don't forget the :2! The latest version of the ElasticSearch image won't start without mandatory configuration. docker service create --name search --publish 9200:9200 --replicas 5 \ elasticsearch:2 105 / 311
see multiple states: assigned (the task has been assigned to a specific node) preparing (this mostly means "pulling the image") starting running When a task is terminated (stopped, killed...) it cannot be restarted (A replacement task will be created) 106 / 311
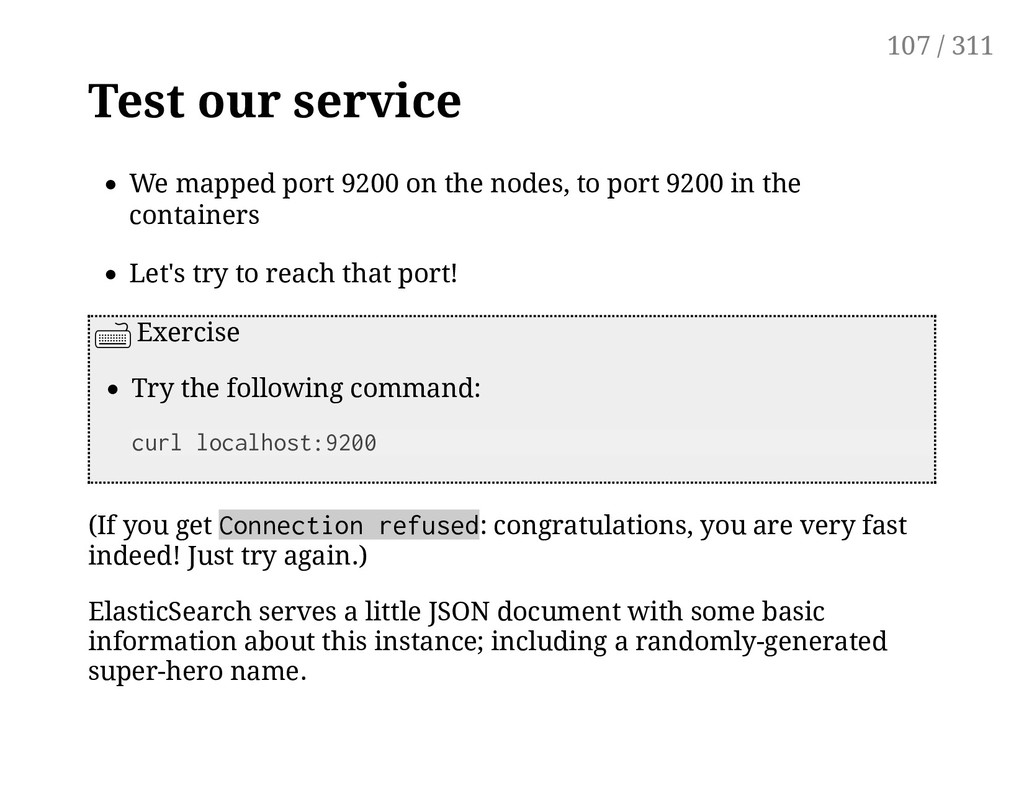
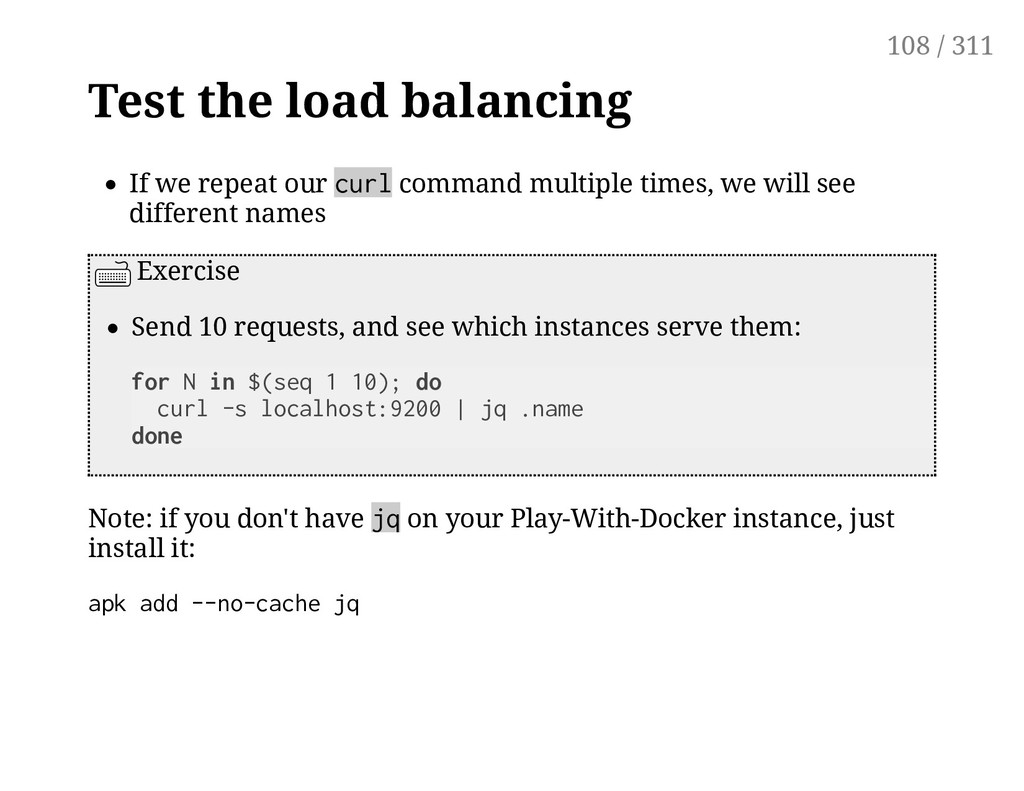
to port 9200 in the containers Let's try to reach that port! Exercise Try the following command: curl localhost:9200 (If you get Connection refused: congratulations, you are very fast indeed! Just try again.) ElasticSearch serves a little JSON document with some basic information about this instance; including a randomly-generated super-hero name. 107 / 311
multiple times, we will see different names Exercise Send 10 requests, and see which instances serve them: for N in $(seq 1 10); do curl -s localhost:9200 | jq .name done Note: if you don't have jq on your Play-With-Docker instance, just install it: apk add --no-cache jq 108 / 311
mesh. Each request is served by one of the instances, in rotation. Note: if you try to access the service from your browser, you will probably see the same instance name over and over, because your browser (unlike curl) will try to re-use the same connection. 109 / 311
done by IPVS IPVS is a high-performance, in-kernel load balancer It's been around for a long time (merged in the kernel since 2.4) Each node runs a local load balancer (Allowing connections to be routed directly to the destination, without extra hops) 111 / 311
inbound traffic on a Swarm cluster. Put all (or a subset) of your nodes in a DNS A record (good for web clients) Assign your nodes (or a subset) to an external load balancer (ELB, etc.) Use a virtual IP and make sure that it is assigned to an "alive" node etc. 112 / 311
headers If you want to place multiple HTTP services on port 80/443, you need something more You can set up NGINX or HAProxy on port 80/443 to route connections to the correct Service, but they need to be "Swarm aware" to dynamically update configs 114 / 311
headers If you want to place multiple HTTP services on port 80/443, you need something more You can set up NGINX or HAProxy on port 80/443 to route connections to the correct Service, but they need to be "Swarm aware" to dynamically update configs Docker EE provides its own Layer 7 routing Service labels like com.docker.lb.hosts=<FQDN> are detected automatically via Docker API and dynamically update the configuration 115 / 311
headers If you want to place multiple HTTP services on port 80/443, you need something more You can set up NGINX or HAProxy on port 80/443 to route connections to the correct Service, but they need to be "Swarm aware" to dynamically update configs Docker EE provides its own Layer 7 routing Service labels like com.docker.lb.hosts=<FQDN> are detected automatically via Docker API and dynamically update the configuration Two common open source options: Traefik - popular, many features, requires running on managers, needs key/value for HA 116 / 311
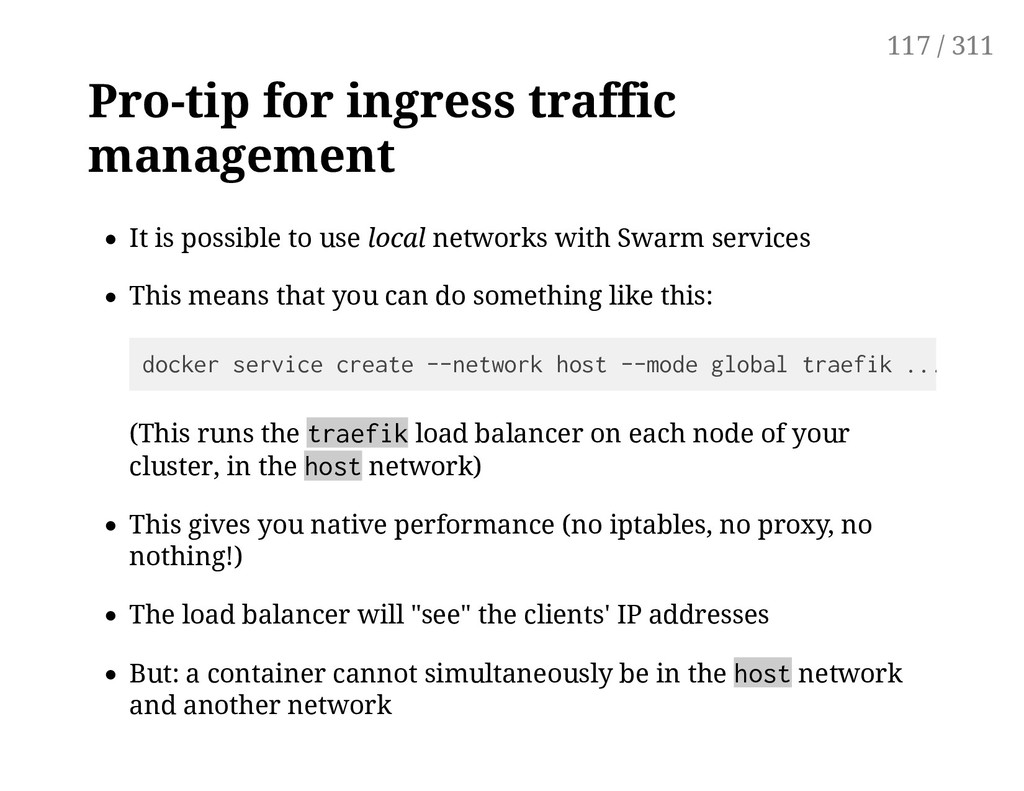
local networks with Swarm services This means that you can do something like this: (This runs the traefik load balancer on each node of your cluster, in the host network) This gives you native performance (no iptables, no proxy, no nothing!) The load balancer will "see" the clients' IP addresses But: a container cannot simultaneously be in the host network and another network docker service create --network host --mode global traefik ... 117 / 311
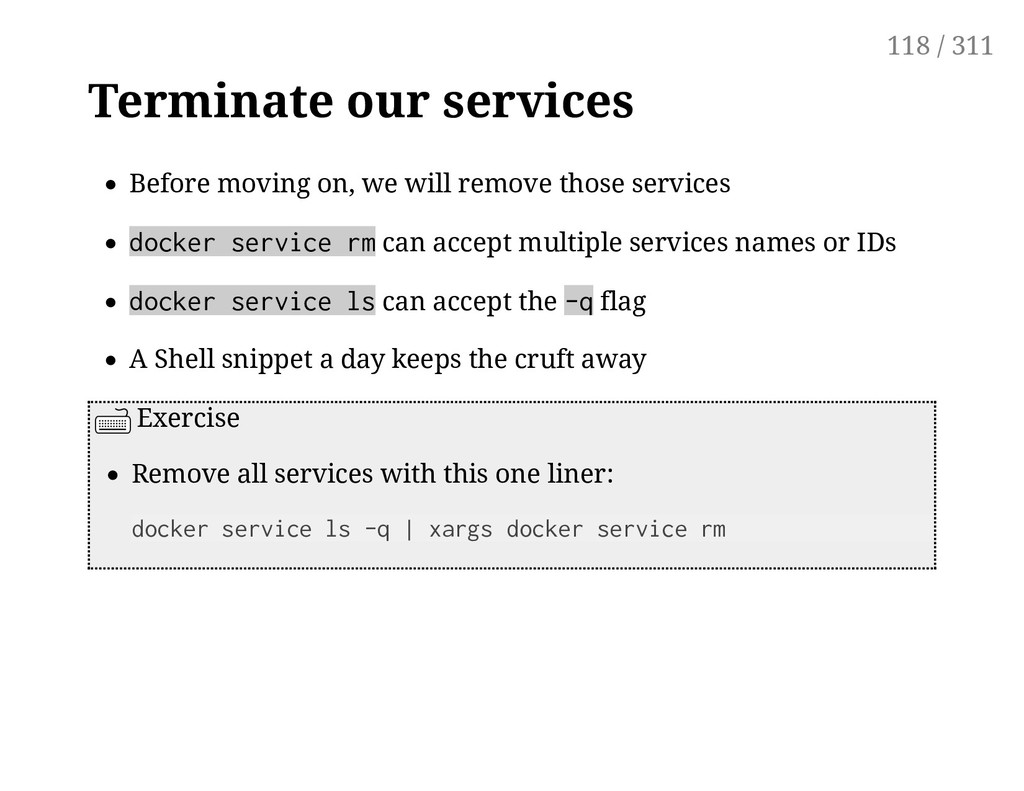
services docker service rm can accept multiple services names or IDs docker service ls can accept the -q flag A Shell snippet a day keeps the cruft away Exercise Remove all services with this one liner: docker service ls -q | xargs docker service rm 118 / 311
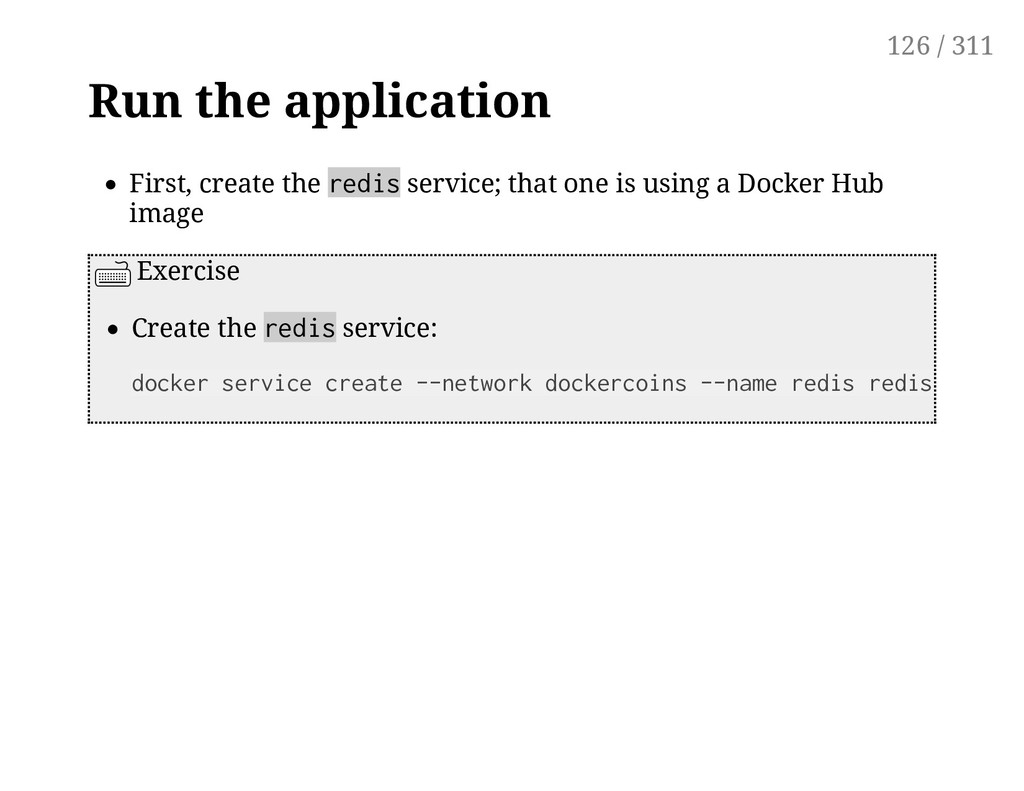
with docker network create Make sure to specify that you want an overlay network (otherwise you will get a local bridge network by default) Exercise Create an overlay network for our application: docker network create --driver overlay dockercoins 122 / 311
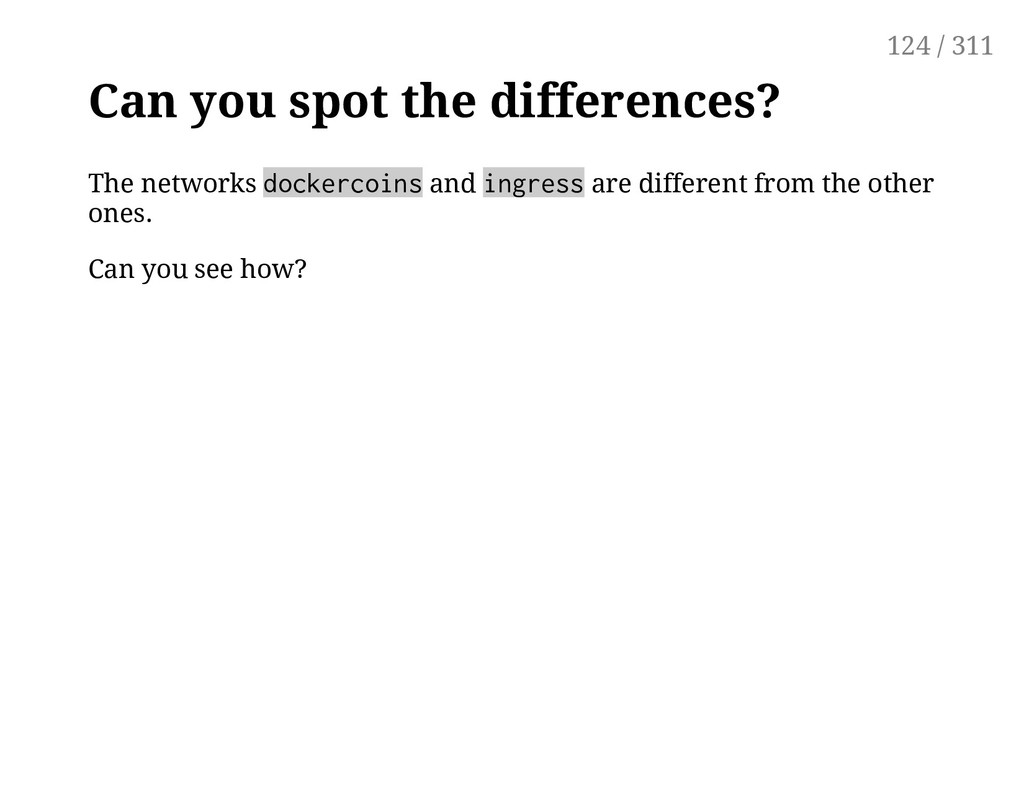
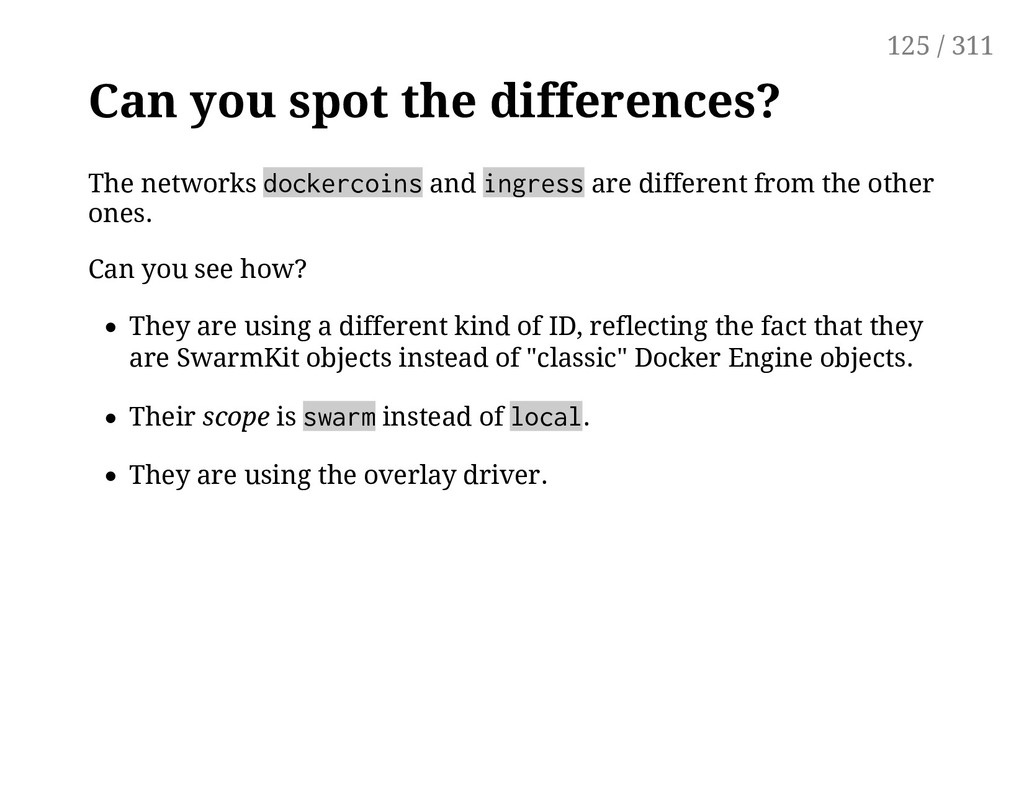
are different from the other ones. Can you see how? They are using a different kind of ID, reflecting the fact that they are SwarmKit objects instead of "classic" Docker Engine objects. Their scope is swarm instead of local. They are using the overlay driver. 125 / 311
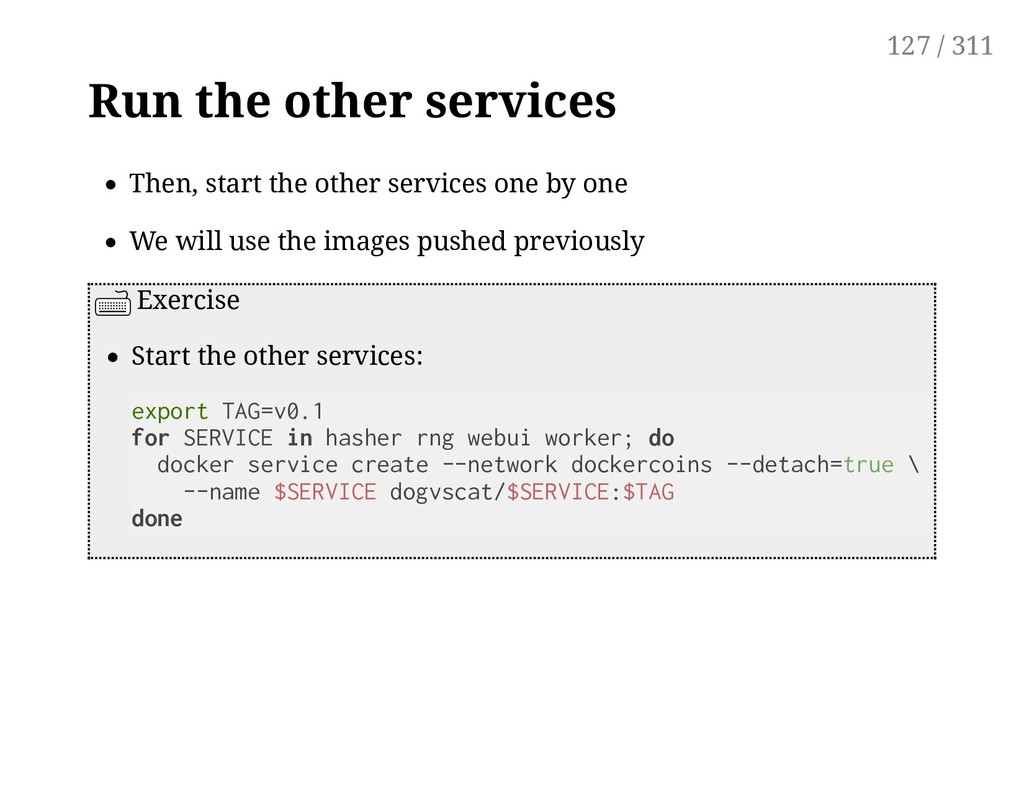
by one We will use the images pushed previously Exercise Start the other services: export TAG=v0.1 for SERVICE in hasher rng webui worker; do docker service create --network dockercoins --detach=true \ --name $SERVICE dogvscat/$SERVICE:$TAG done 127 / 311
the webui service, but it is not publishing any port Let's reconfigure it to publish a port Exercise Update webui so that we can connect to it from outside: docker service update webui --publish-add 8000:80 Note: to "de-publish" a port, you would have to specify the container port. (i.e. in that case, --publish-rm 80) 128 / 311
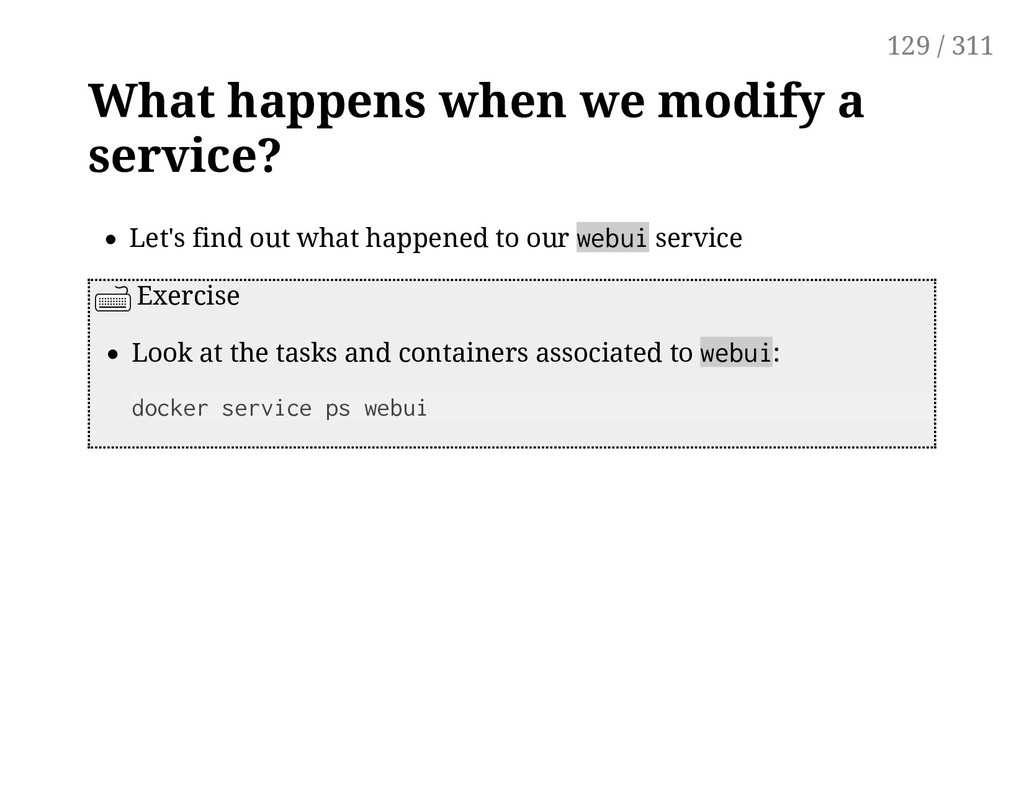
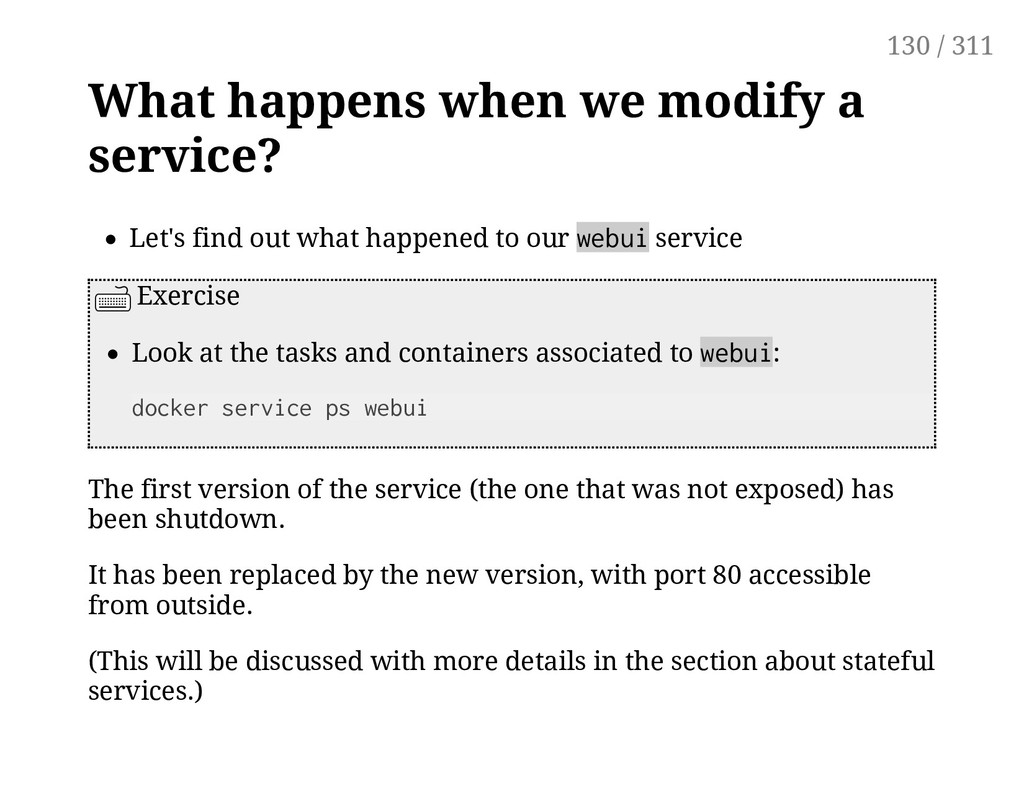
what happened to our webui service Exercise Look at the tasks and containers associated to webui: docker service ps webui The first version of the service (the one that was not exposed) has been shutdown. It has been replaced by the new version, with port 80 accessible from outside. (This will be discussed with more details in the section about stateful services.) 130 / 311
available on port 8000, on all the nodes of the cluster Exercise If you're using Play-With-Docker, just click on the (8000) badge Otherwise, point your browser to any node, on port 8000 131 / 311
update as well We also have a dedicated docker scale command that does the same thing Exercise Bring up more workers: docker service scale worker=10 Check the result in the web UI and Visualizer 132 / 311
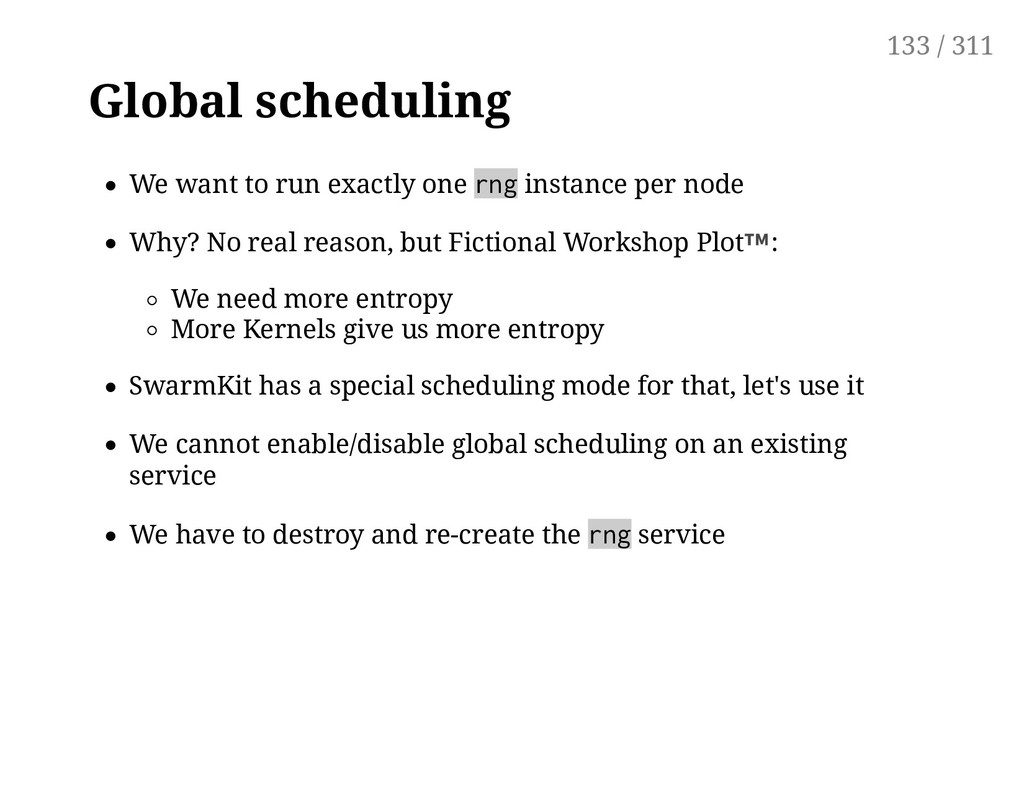
per node Why? No real reason, but Fictional Workshop Plot : We need more entropy More Kernels give us more entropy SwarmKit has a special scheduling mode for that, let's use it We cannot enable/disable global scheduling on an existing service We have to destroy and re-create the rng service 133 / 311
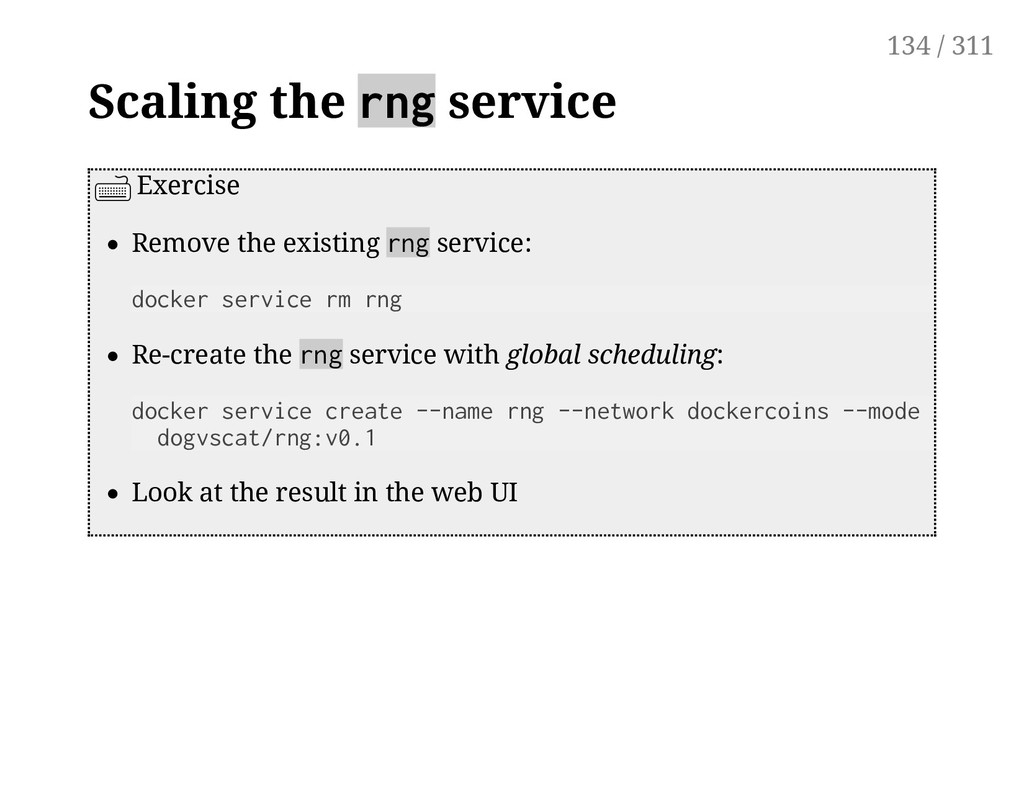
docker service rm rng Re-create the rng service with global scheduling: Look at the result in the web UI docker service create --name rng --network dockercoins --mode global \ dogvscat/rng:v0.1 134 / 311
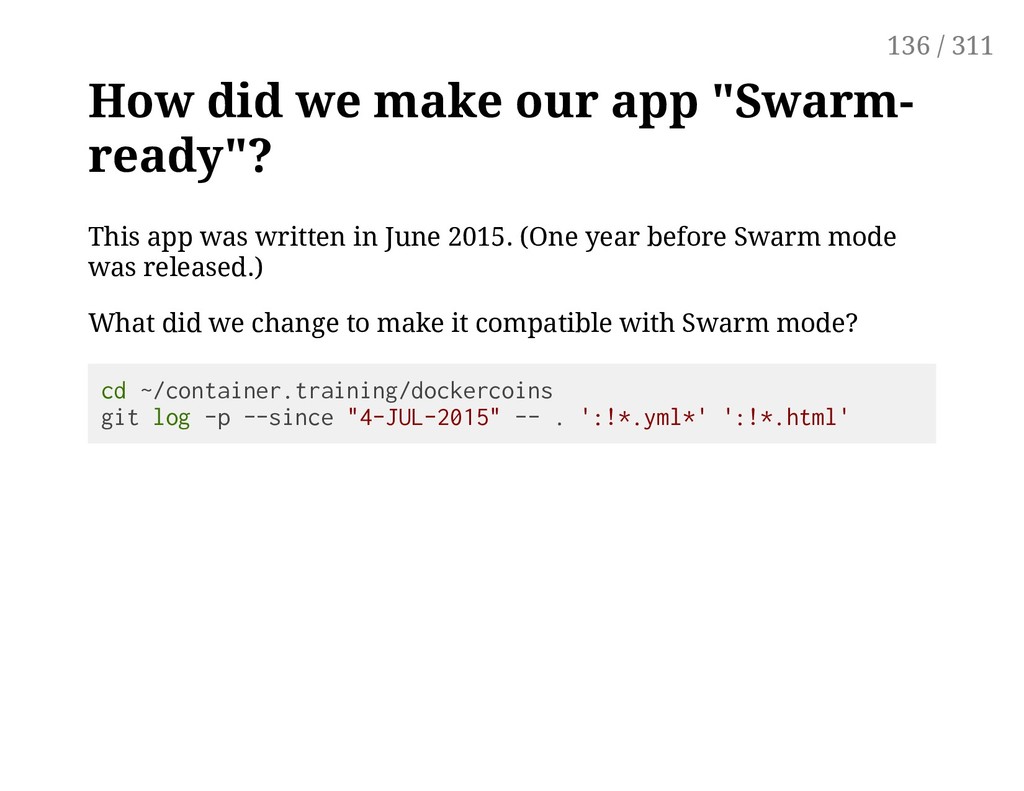
was written in June 2015. (One year before Swarm mode was released.) What did we change to make it compatible with Swarm mode? cd ~/container.training/dockercoins git log -p --since "4-JUL-2015" -- . ':!*.yml*' ':!*.html' 136 / 311
file (it contains an embedded contextual tweet) Dockerfiles (to switch to smaller images) That's it! We didn't change a single line of code in this app since it was written. 138 / 311
file (it contains an embedded contextual tweet) Dockerfiles (to switch to smaller images) That's it! We didn't change a single line of code in this app since it was written. The images that were built in June 2015 (when the app was written) can still run today ... ... in Swarm mode (distributed across a cluster, with load balancing) ... ... without any modification. 139 / 311
Twelve-Factor App principles Service discovery using DNS names Initially implemented as "links" Then "ambassadors" And now "services" Existing apps might require more changes! 140 / 311
team designed the Compose file format to work in Swarm too! Compose files v2 are great for local development Compose files v3 can also be used for Swarm (and Kubernetes) deployments! "Compose files" and "Stack files" are really the same thing 143 / 311
identical to version 2 Can be directly used by a Swarm/K8s cluster through docker stack ... commands Introduces a deploy section to pass orchestator-specific parameters Resource limits are moved to this deploy section 144 / 311
use are in the stacks directory Exercise Go to the stacks directory: cd ~/container.training/stacks Check dockercoins.yml: cat dockercoins.yml 145 / 311
docker stack Under the hood, they mostly map to docker service commands They also create networks, volumes, secrets, and configs Stacks have a name (which also serves as a namespace) Exercise Deploy our stack of apps: docker stack deploy --compose-file dockercoins.yml dockercoins We can now connect to any of our nodes on port 8000, and see the hashing speed graph. 146 / 311
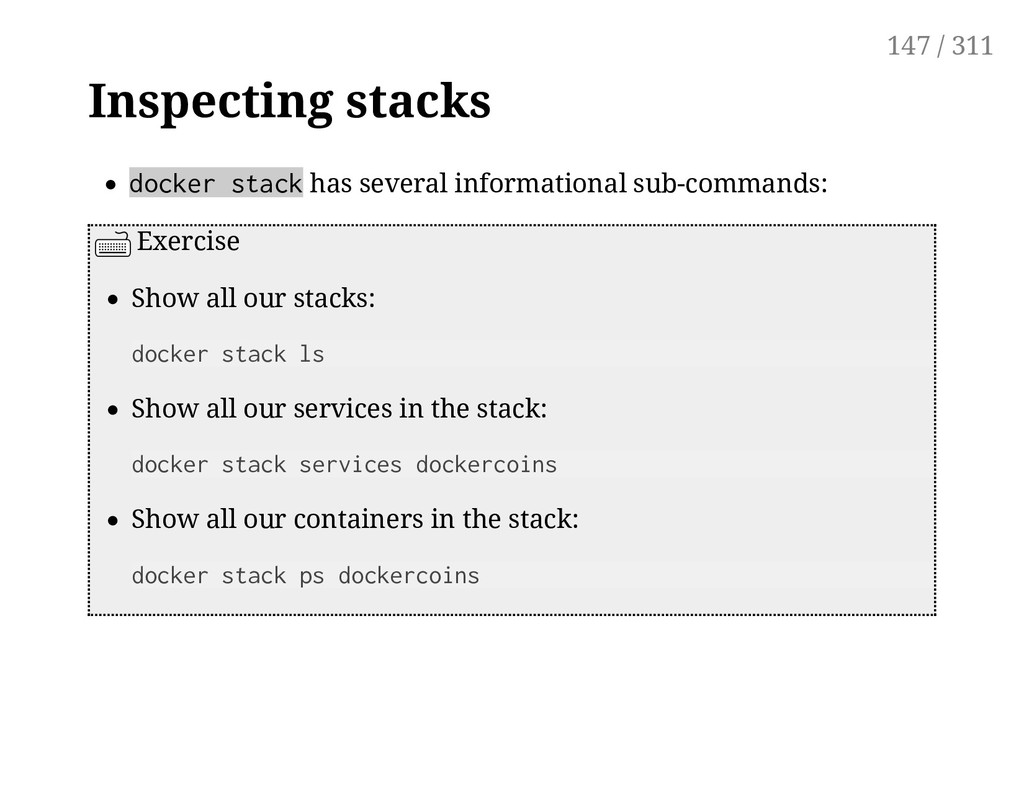
all our stacks: docker stack ls Show all our services in the stack: docker stack services dockercoins Show all our containers in the stack: docker stack ps dockercoins 147 / 311
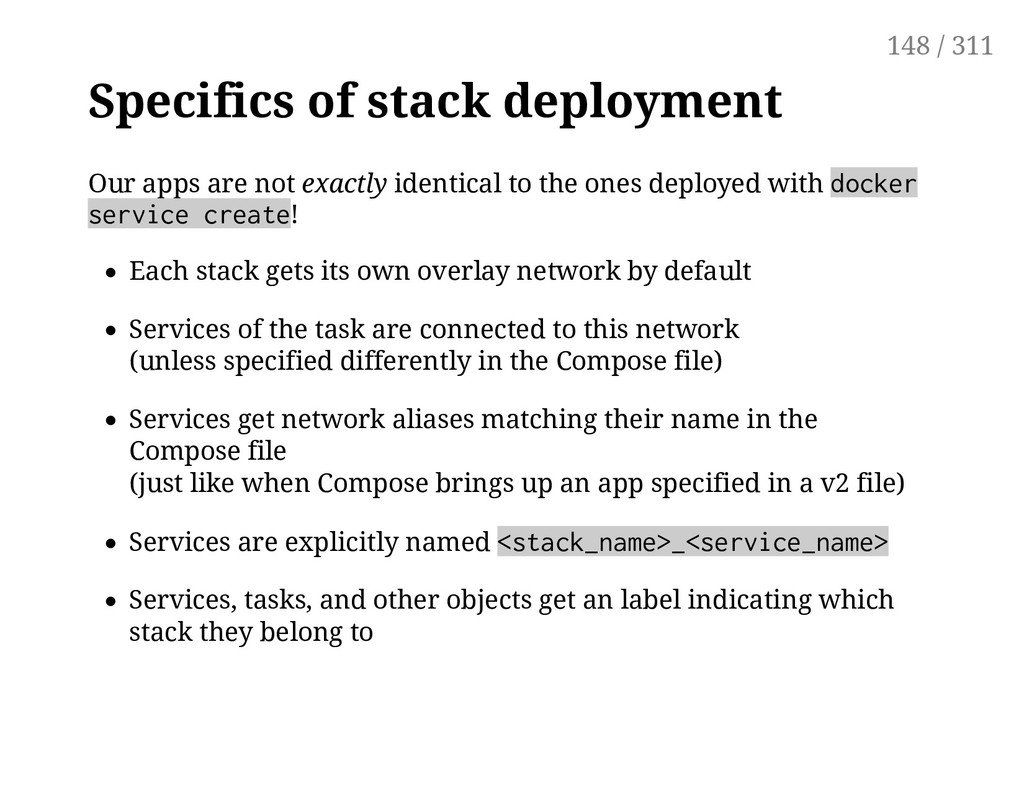
to the ones deployed with docker service create! Each stack gets its own overlay network by default Services of the task are connected to this network (unless specified differently in the Compose file) Services get network aliases matching their name in the Compose file (just like when Compose brings up an app specified in a v2 file) Services are explicitly named <stack_name>_<service_name> Services, tasks, and other objects get an label indicating which stack they belong to 148 / 311
variations between environments You can deploy the same Compose YAML (Stack files) many times in the same Swarm Compose/Stack files can use environment variables Compose/Stack files can use YAML templating (as of v3.4) Check out the new Docker App CLI for The Next Generation (github.com/docker/app) Version Compose files like you version code releases Store them in images on Docker Hub Deploy them with envvars to Swarm 149 / 311
format, the dev-to-ops workflow is simpler docker-compose auto-loads docker-compose.yml, usually built just for dev Developers can use docker-compose.override.yml to change defaults above docker-compose and Swarm Stacks can load alternate file(s), or many files (layered) docker-compose and Swarm Stacks can use environment variables and templating docker-compose ignores any deploy: info and Stacks ignore any build: info 150 / 311
deploy section Further versions (3.1, ...) add more features (secrets, configs ...) You can re-run docker stack deploy to update a stack You can make manual changes with docker service update ... ... But they will be wiped out each time you docker stack deploy (That's the intended behavior, when one thinks about it!) 151 / 311
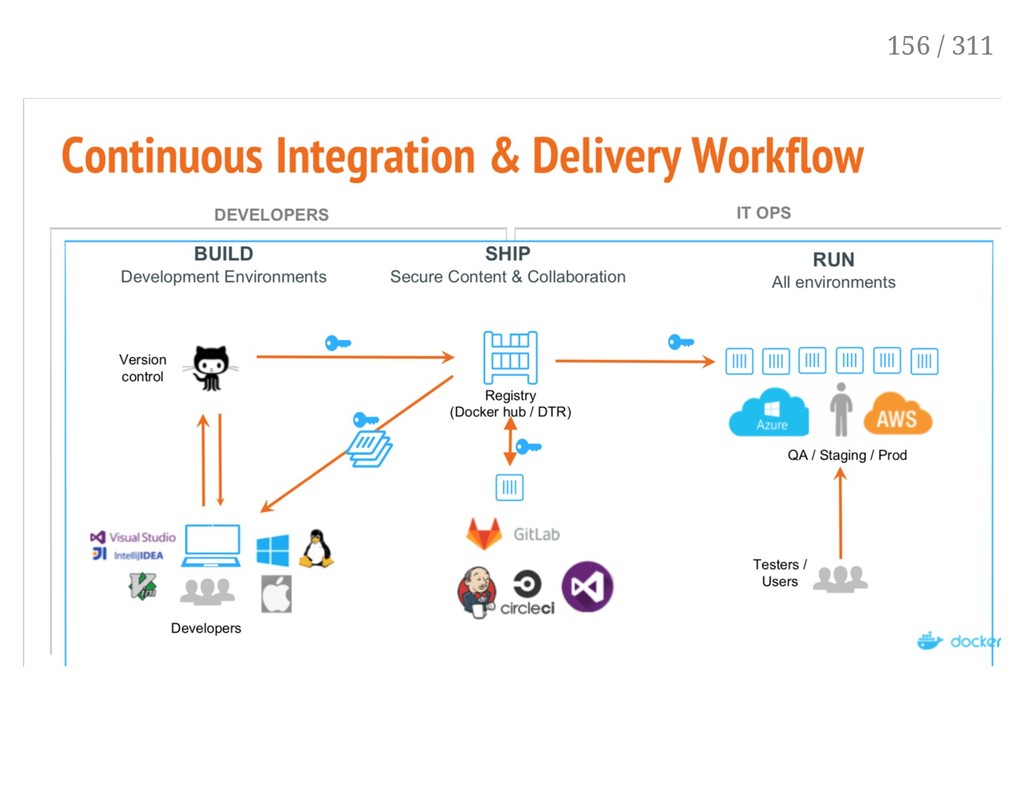
integration and deployment This lab won't have you building out CI/CD pipelines We're cheating a bit by using only pre-built images on server hosts and not in CI tool Docker and orchestration works with all the CI and deployment tools 154 / 311
tests in them, then push to registry If you security scan, do it then on your images after tests but before push Optionally, have CI do continuous deployment if build/test/push is successful CD tool would SSH into nodes, or use docker cli against remote engine If supported, it could use docker engine TCP API (swarm API is built-in) Docker KBase Development Pipeline Best Practices Docker KBase Continuous Integration with Docker Hub 155 / 311
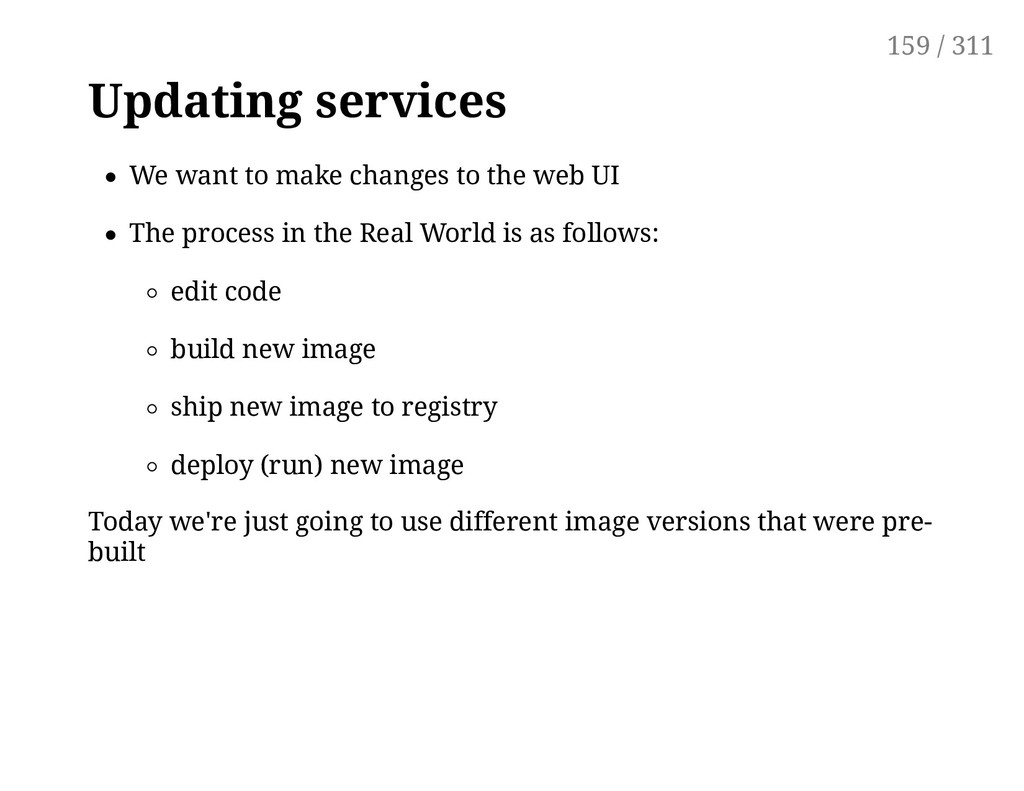
UI The process in the Real World is as follows: edit code build new image ship new image to registry deploy (run) new image Today we're just going to use different image versions that were pre- built 159 / 311
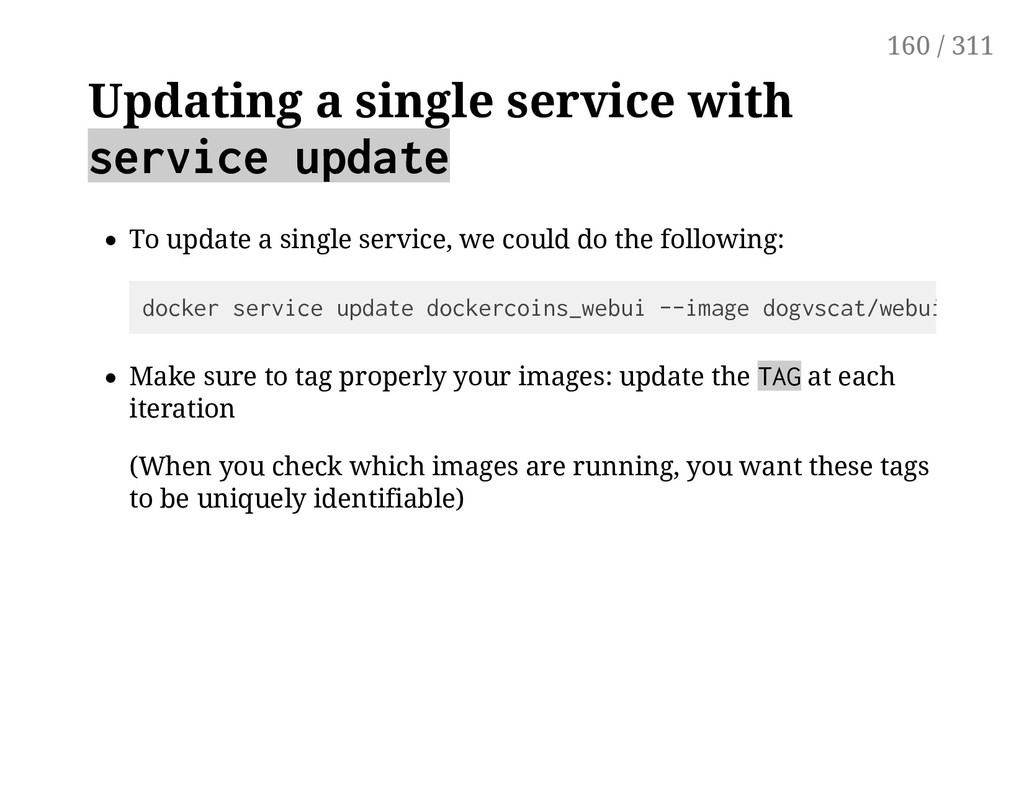
single service, we could do the following: Make sure to tag properly your images: update the TAG at each iteration (When you check which images are running, you want these tags to be uniquely identifiable) docker service update dockercoins_webui --image dogvscat/webui:v0.2 160 / 311
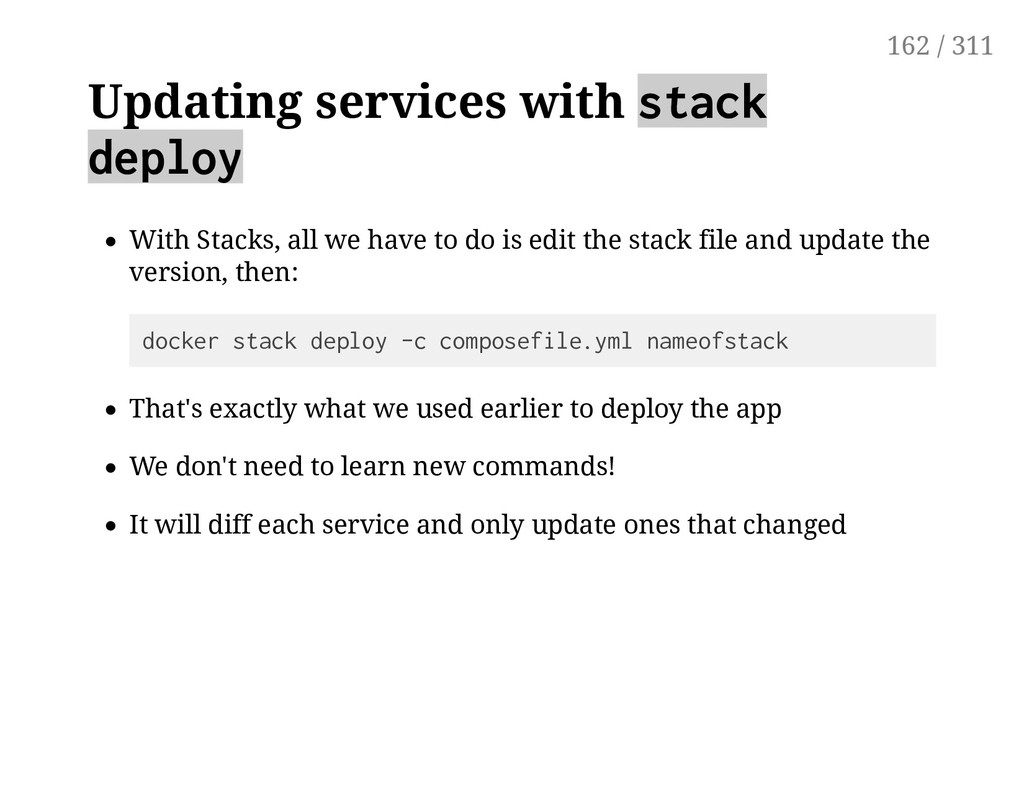
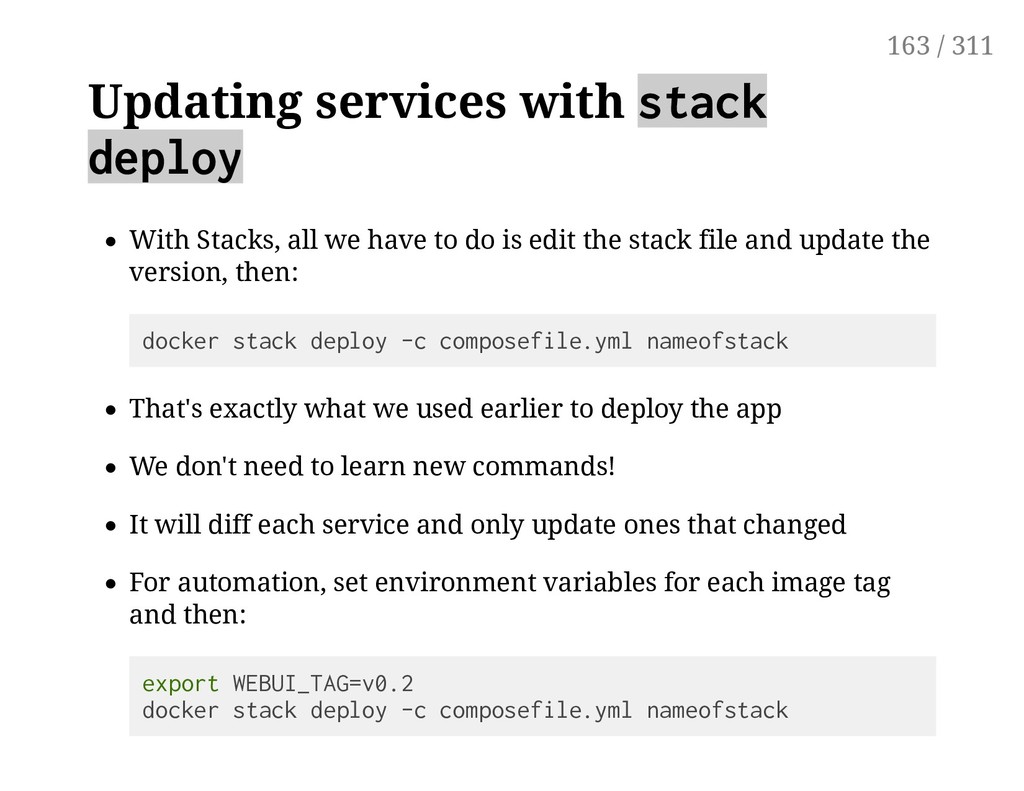
to do is edit the stack file and update the version, then: docker stack deploy -c composefile.yml nameofstack That's exactly what we used earlier to deploy the app We don't need to learn new commands! It will diff each service and only update ones that changed 162 / 311
to do is edit the stack file and update the version, then: docker stack deploy -c composefile.yml nameofstack That's exactly what we used earlier to deploy the app We don't need to learn new commands! It will diff each service and only update ones that changed For automation, set environment variables for each image tag and then: export WEBUI_TAG=v0.2 docker stack deploy -c composefile.yml nameofstack 163 / 311
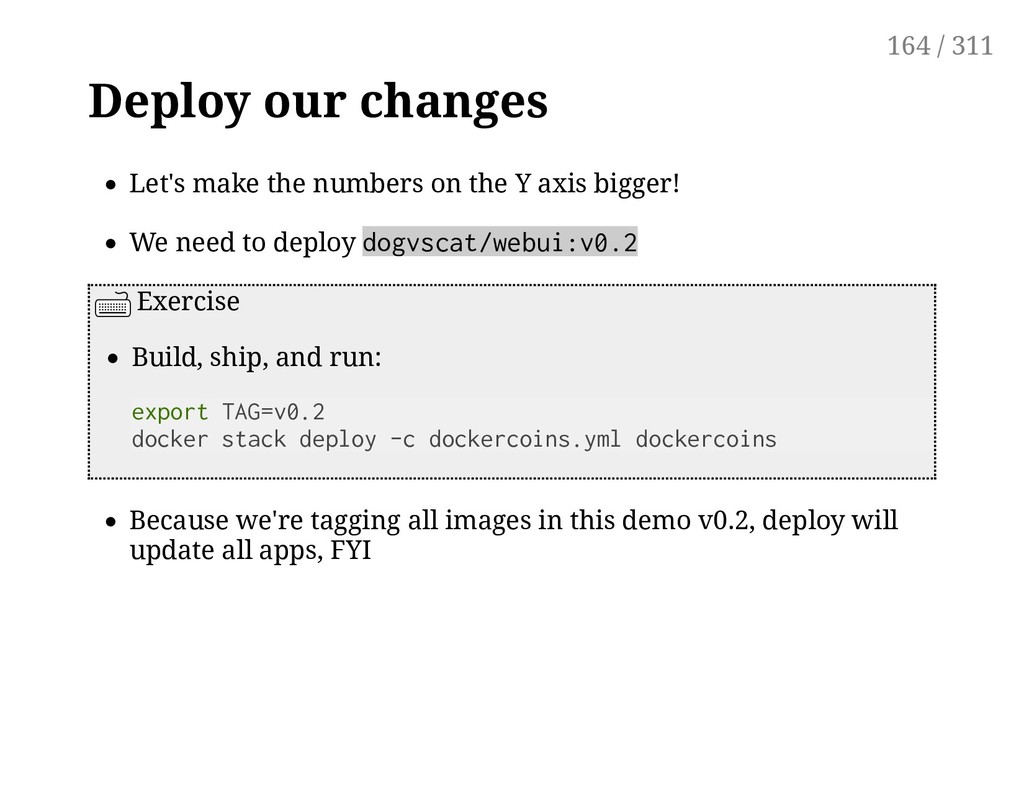
axis bigger! We need to deploy dogvscat/webui:v0.2 Exercise Build, ship, and run: export TAG=v0.2 docker stack deploy -c dockercoins.yml dockercoins Because we're tagging all images in this demo v0.2, deploy will update all apps, FYI 164 / 311
new version to be pulled and deployed) Then reload the web UI Or just mash "reload" frantically ... Eventually the legend on the left will be bigger! 165 / 311
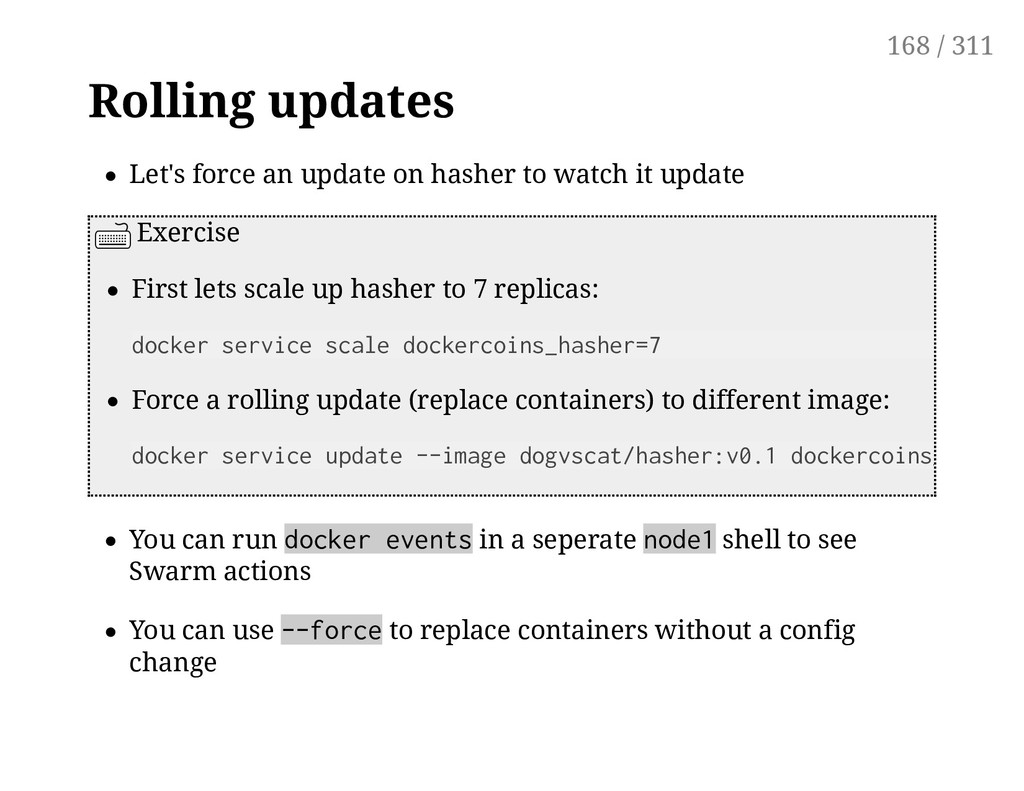
it update Exercise First lets scale up hasher to 7 replicas: docker service scale dockercoins_hasher=7 Force a rolling update (replace containers) to different image: You can run docker events in a seperate node1 shell to see Swarm actions You can use --force to replace containers without a config change docker service update --image dogvscat/hasher:v0.1 dockercoins_hasher 168 / 311
how updates happen Exercise Change the parallelism to 2, and the max failed container updates to 25%: docker service update --update-parallelism 2 \ --update-max-failure-ratio .25 dockercoins_hasher No containers were replaced, this is called a "no op" change Service metadata-only changes don't require orchestrator operations 169 / 311
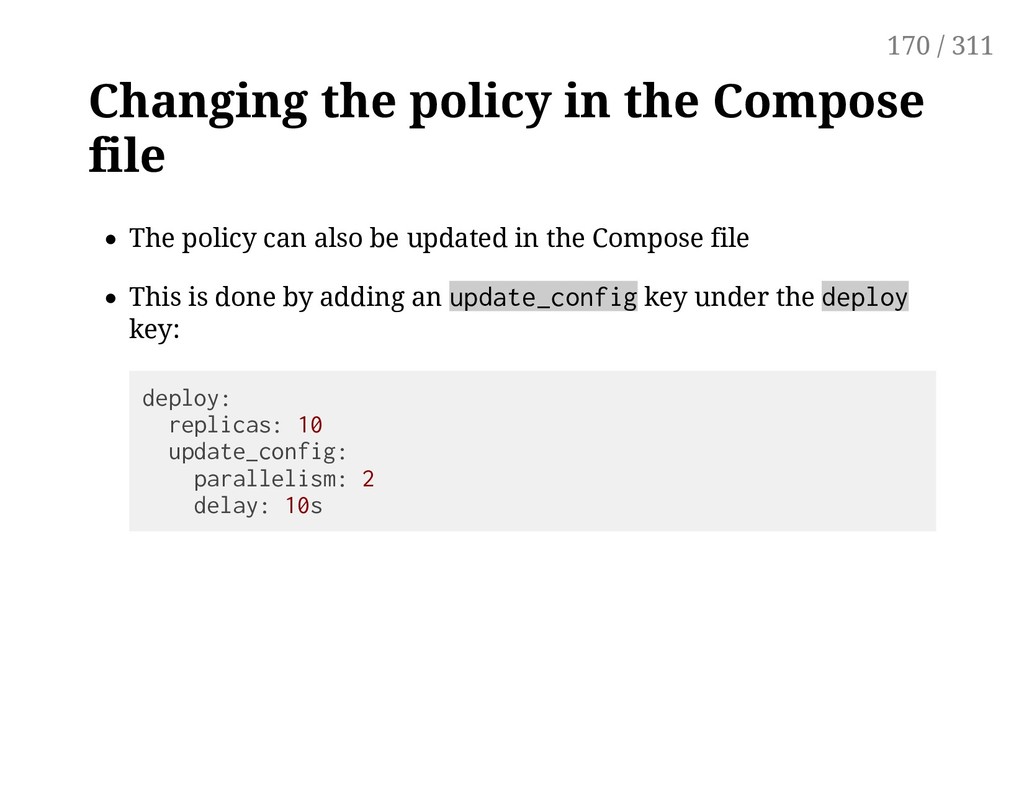
also be updated in the Compose file This is done by adding an update_config key under the deploy key: deploy: replicas: 10 update_config: parallelism: 2 delay: 10s 170 / 311
complete), we can rollback: by editing the Compose file and redeploying by using the special --rollback flag with service update by using docker service rollback Exercise Try to rollback the webui service: docker service rollback dockercoins_webui What happens with the web UI graph? 171 / 311
service definition see PreviousSpec in docker service inspect <servicename> If we visualize successive updates as a stack: it doesn't "pop" the latest update it "pushes" a copy of the previous update on top ergo, rolling back twice does nothing "Service definition" includes rollout cadence Each docker service update command = a new service definition 172 / 311
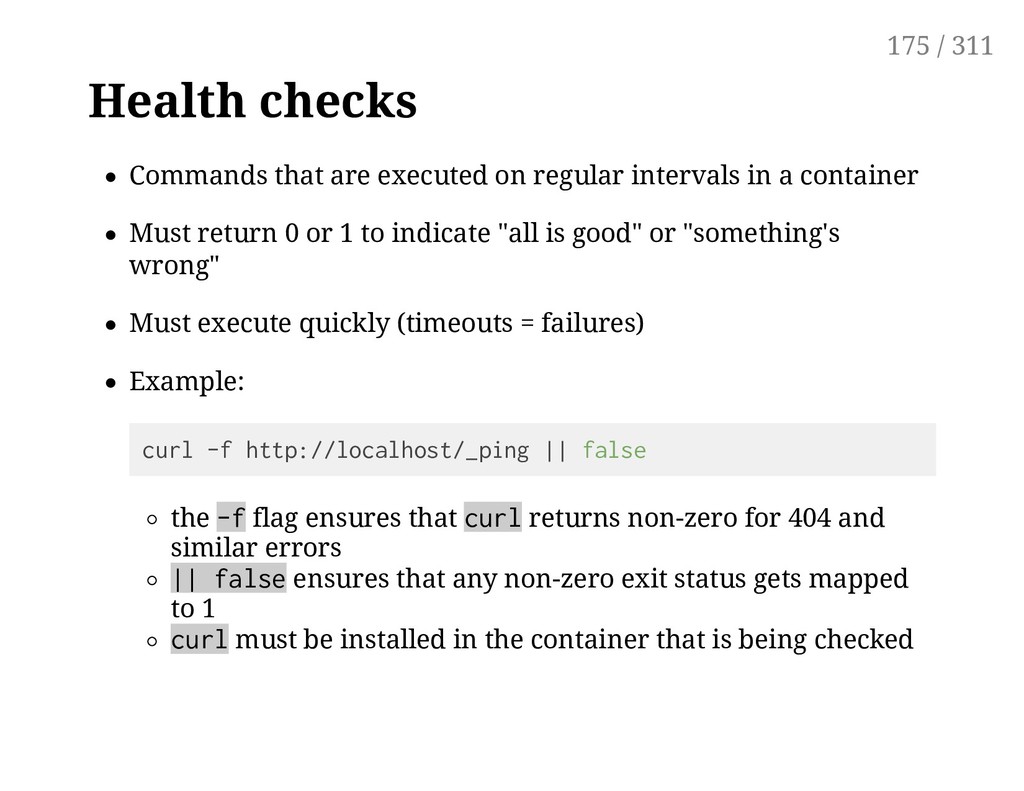
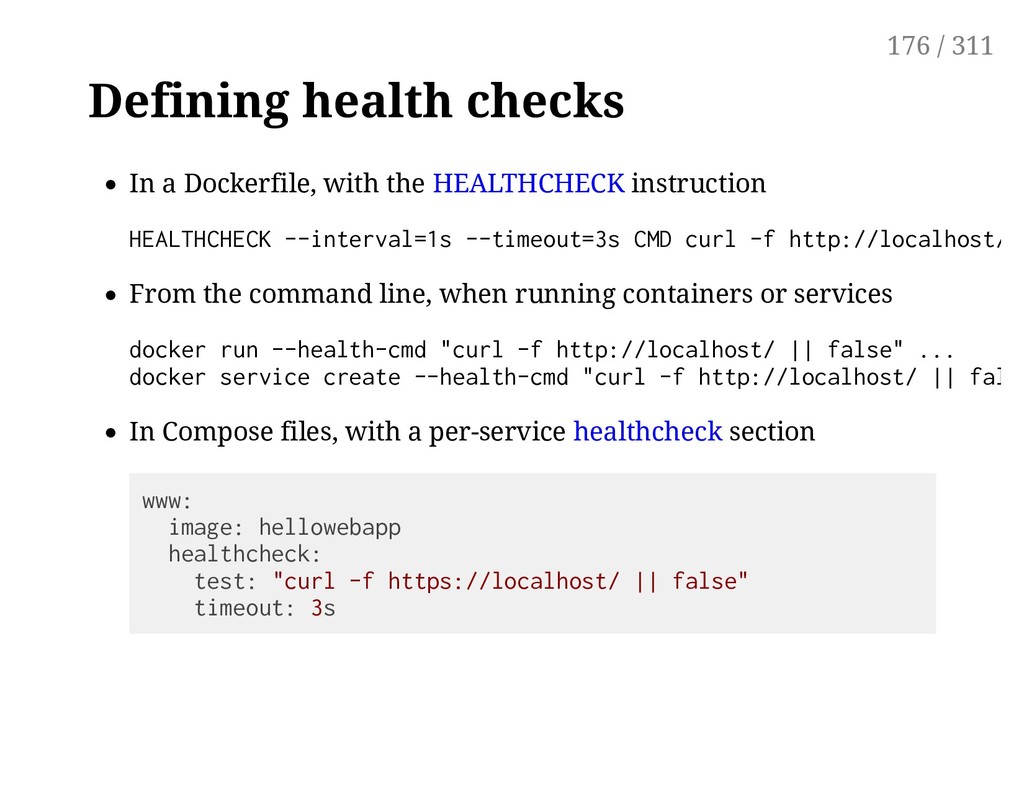
a container Must return 0 or 1 to indicate "all is good" or "something's wrong" Must execute quickly (timeouts = failures) Example: curl -f http://localhost/_ping || false the -f flag ensures that curl returns non-zero for 404 and similar errors || false ensures that any non-zero exit status gets mapped to 1 curl must be installed in the container that is being checked 175 / 311
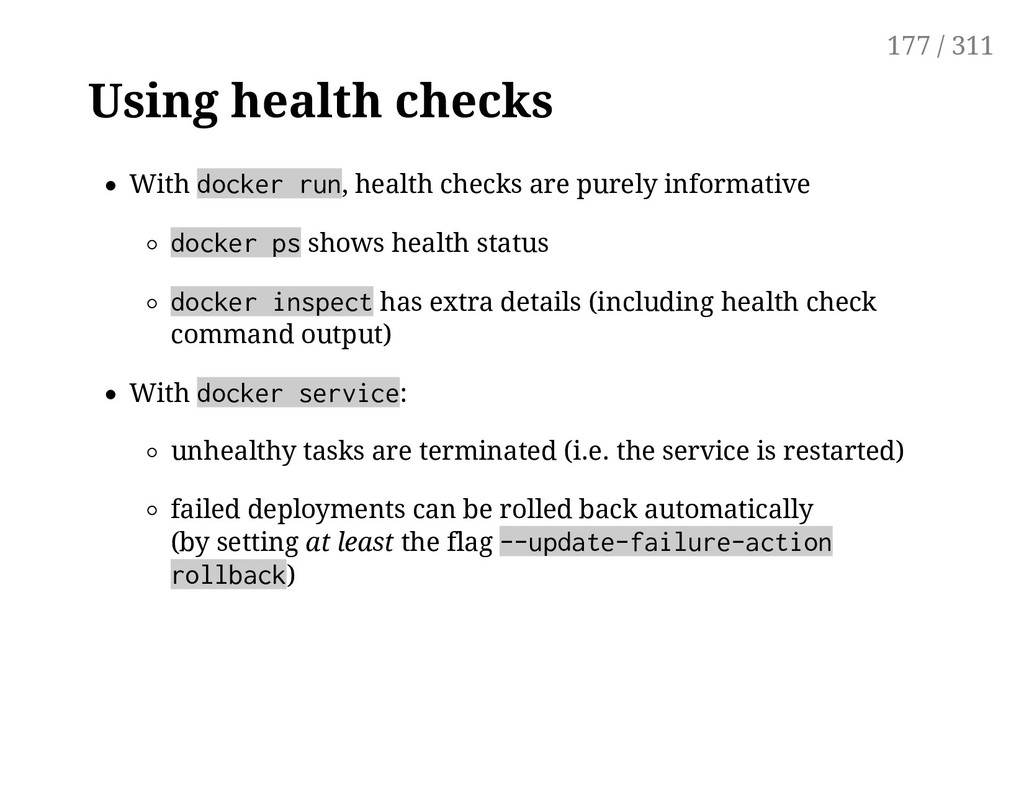
informative docker ps shows health status docker inspect has extra details (including health check command output) With docker service: unhealthy tasks are terminated (i.e. the service is restarted) failed deployments can be rolled back automatically (by setting at least the flag --update-failure-action rollback) 177 / 311
with a healthcheck. Exercise Go to the stacks directory: cd ~/container.training/stacks Deploy the updated stack with healthchecks built-in: Notice you're layering two Compose files, and the 2nd add's to the first docker stack deploy -c dockercoins.yml -c dockercoins+healthcheck.yml 180 / 311
healthchecks are necessary v0.3 of hasher will change the ruby listening port but not the Dockerfile This breaking change will prevent the app from listening on the correct port The container still runs fine, it just won't accept connections on port 80 Exercise Build, ship, and run the new image: docker service update --image dogvscat/hasher:v0.3 dockercoins_hasher 181 / 311
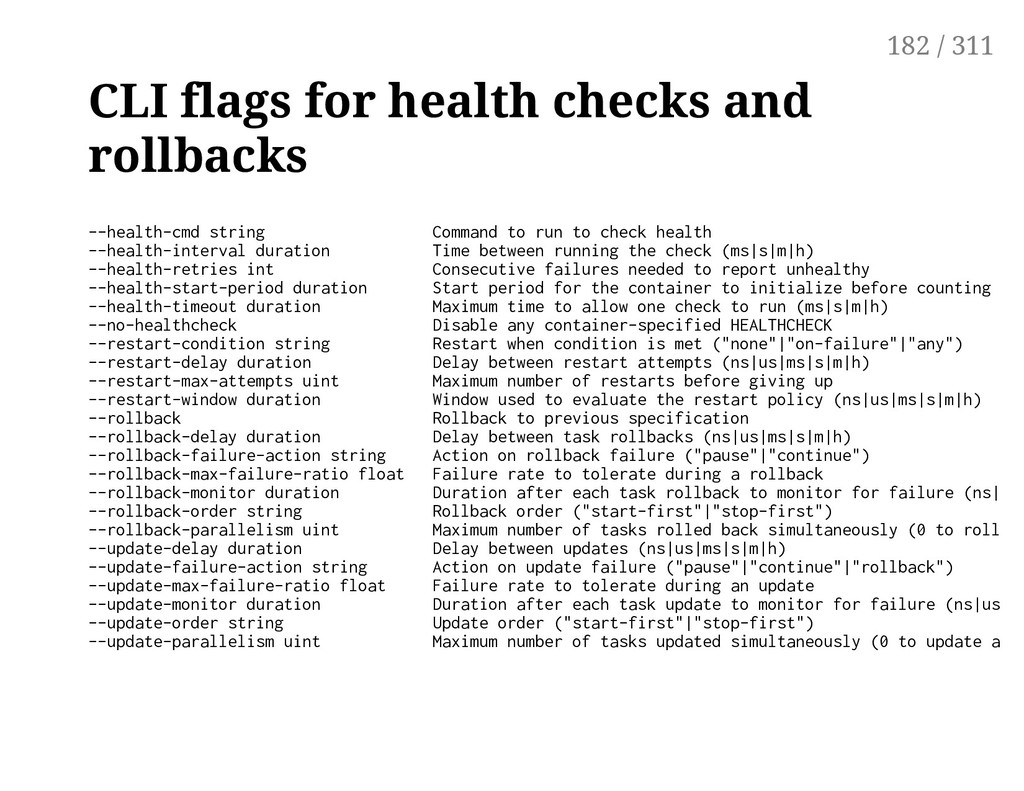
to run to check health --health-interval duration Time between running the check (ms|s|m|h) --health-retries int Consecutive failures needed to report unhealthy --health-start-period duration Start period for the container to initialize before counting ret --health-timeout duration Maximum time to allow one check to run (ms|s|m|h) --no-healthcheck Disable any container-specified HEALTHCHECK --restart-condition string Restart when condition is met ("none"|"on-failure"|"any") --restart-delay duration Delay between restart attempts (ns|us|ms|s|m|h) --restart-max-attempts uint Maximum number of restarts before giving up --restart-window duration Window used to evaluate the restart policy (ns|us|ms|s|m|h) --rollback Rollback to previous specification --rollback-delay duration Delay between task rollbacks (ns|us|ms|s|m|h) --rollback-failure-action string Action on rollback failure ("pause"|"continue") --rollback-max-failure-ratio float Failure rate to tolerate during a rollback --rollback-monitor duration Duration after each task rollback to monitor for failure (ns|us| --rollback-order string Rollback order ("start-first"|"stop-first") --rollback-parallelism uint Maximum number of tasks rolled back simultaneously (0 to roll ba --update-delay duration Delay between updates (ns|us|ms|s|m|h) --update-failure-action string Action on update failure ("pause"|"continue"|"rollback") --update-max-failure-ratio float Failure rate to tolerate during an update --update-monitor duration Duration after each task update to monitor for failure (ns|us|ms --update-order string Update order ("start-first"|"stop-first") --update-parallelism uint Maximum number of tasks updated simultaneously (0 to update all 182 / 311
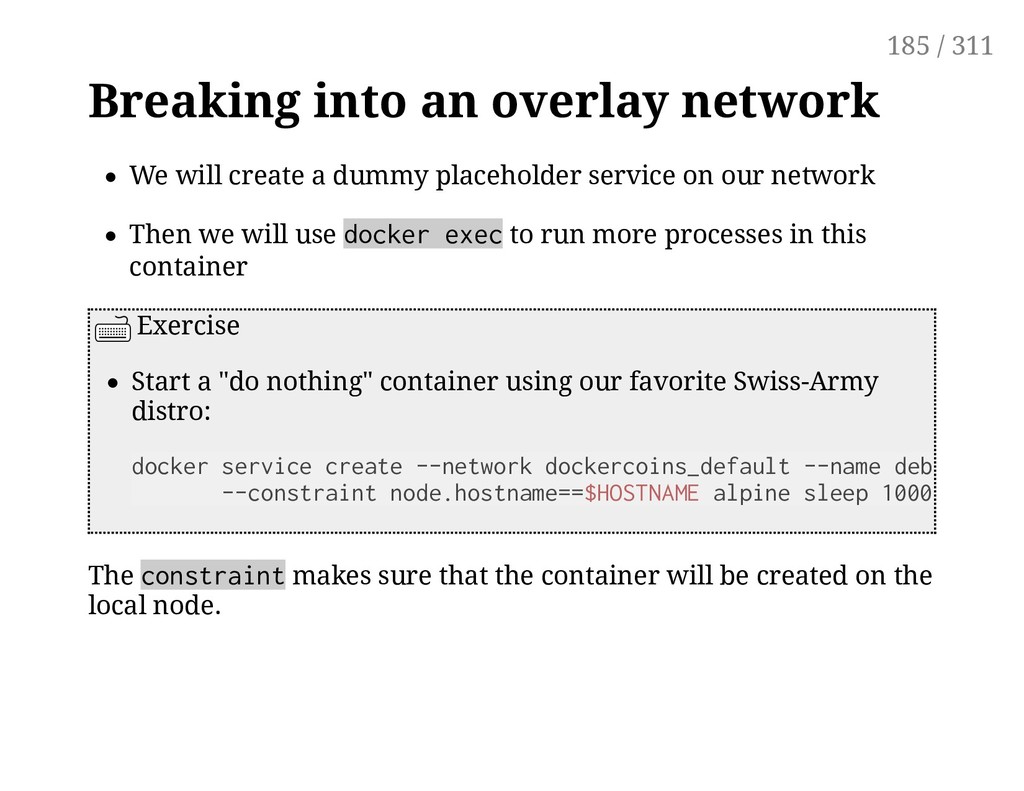
placeholder service on our network Then we will use docker exec to run more processes in this container Exercise Start a "do nothing" container using our favorite Swiss-Army distro: The constraint makes sure that the container will be created on the local node. docker service create --network dockercoins_default --name debug \ --constraint node.hostname==$HOSTNAME alpine sleep 1000000000 185 / 311
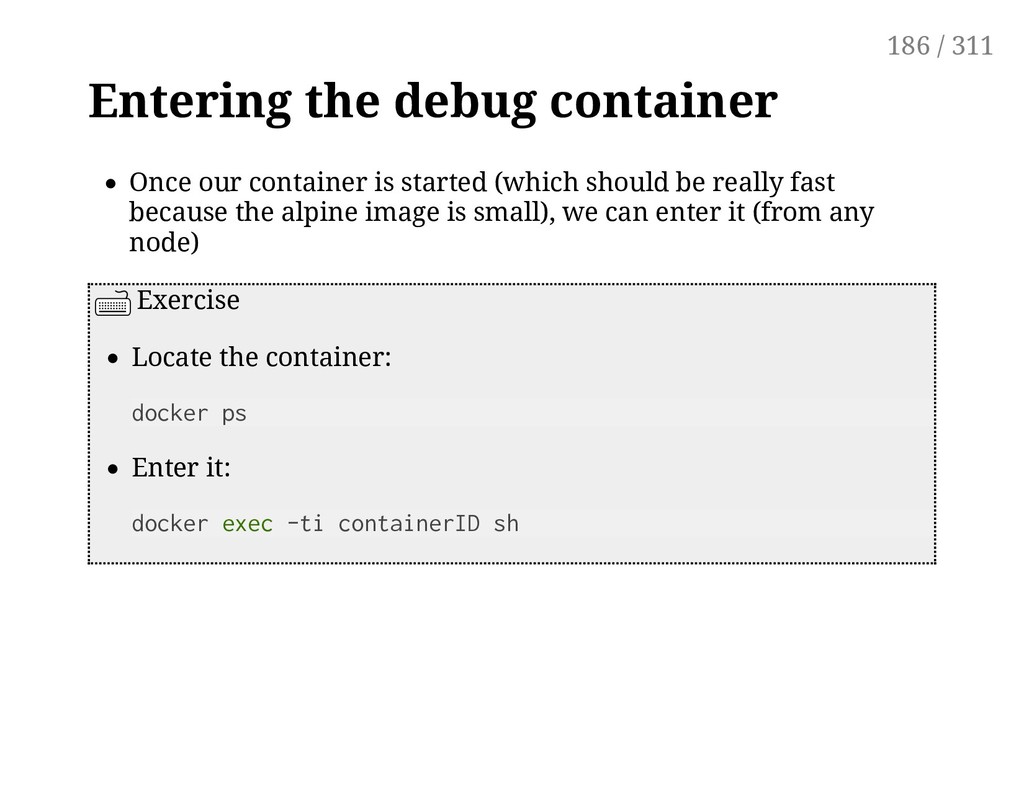
should be really fast because the alpine image is small), we can enter it (from any node) Exercise Locate the container: docker ps Enter it: docker exec -ti containerID sh 186 / 311
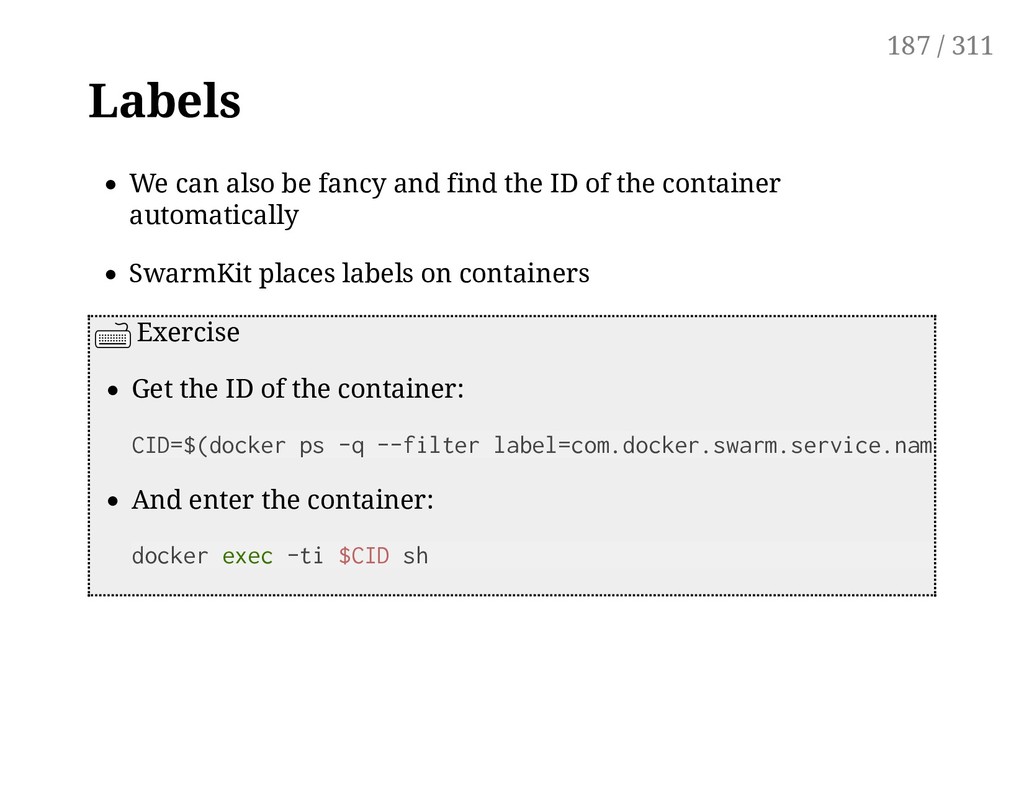
of the container automatically SwarmKit places labels on containers Exercise Get the ID of the container: And enter the container: docker exec -ti $CID sh CID=$(docker ps -q --filter label=com.docker.swarm.service.name=debug) 187 / 311
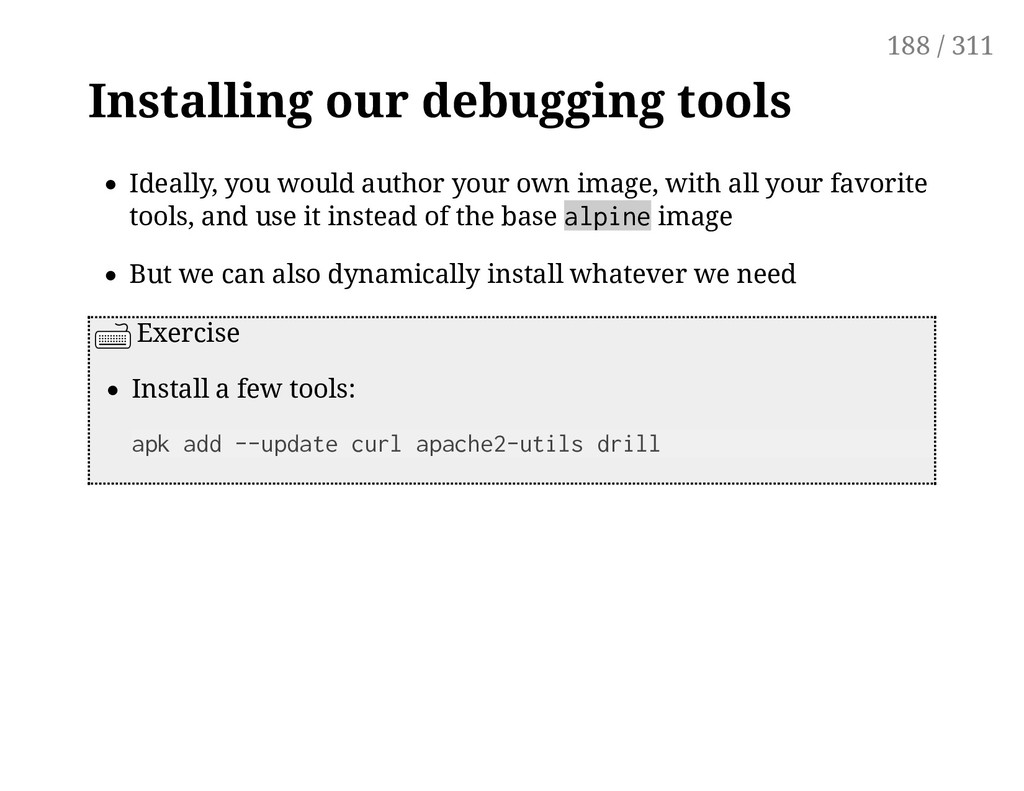
image, with all your favorite tools, and use it instead of the base alpine image But we can also dynamically install whatever we need Exercise Install a few tools: apk add --update curl apache2-utils drill 188 / 311
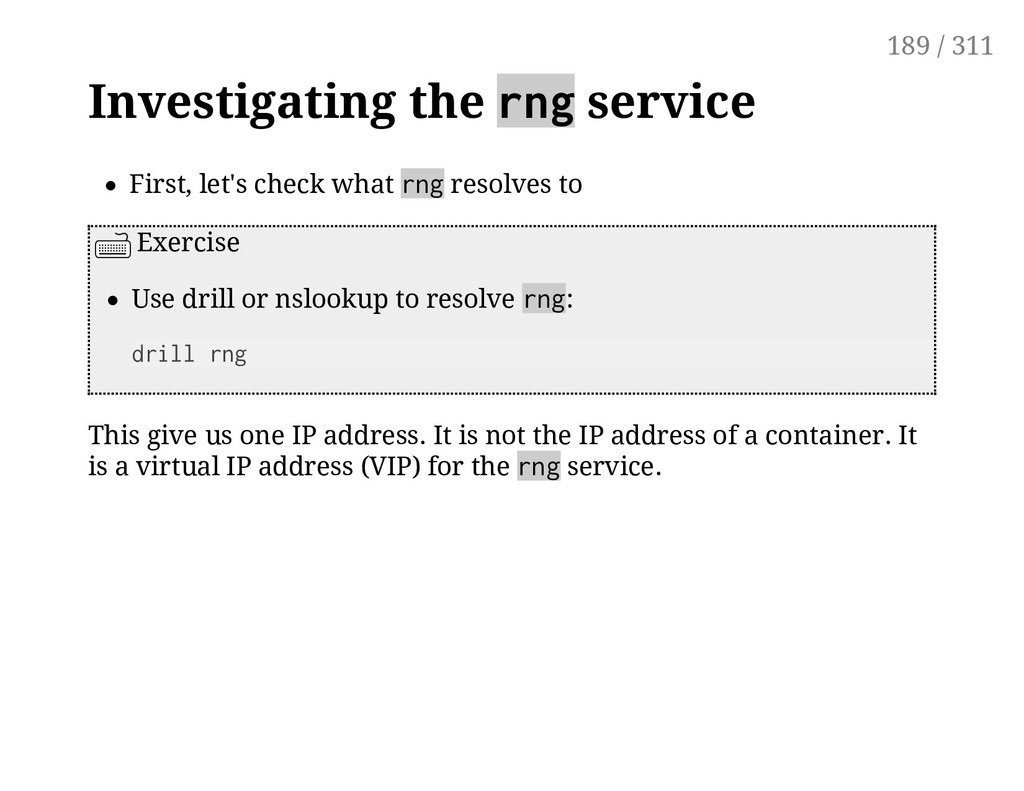
to Exercise Use drill or nslookup to resolve rng: drill rng This give us one IP address. It is not the IP address of a container. It is a virtual IP address (VIP) for the rng service. 189 / 311
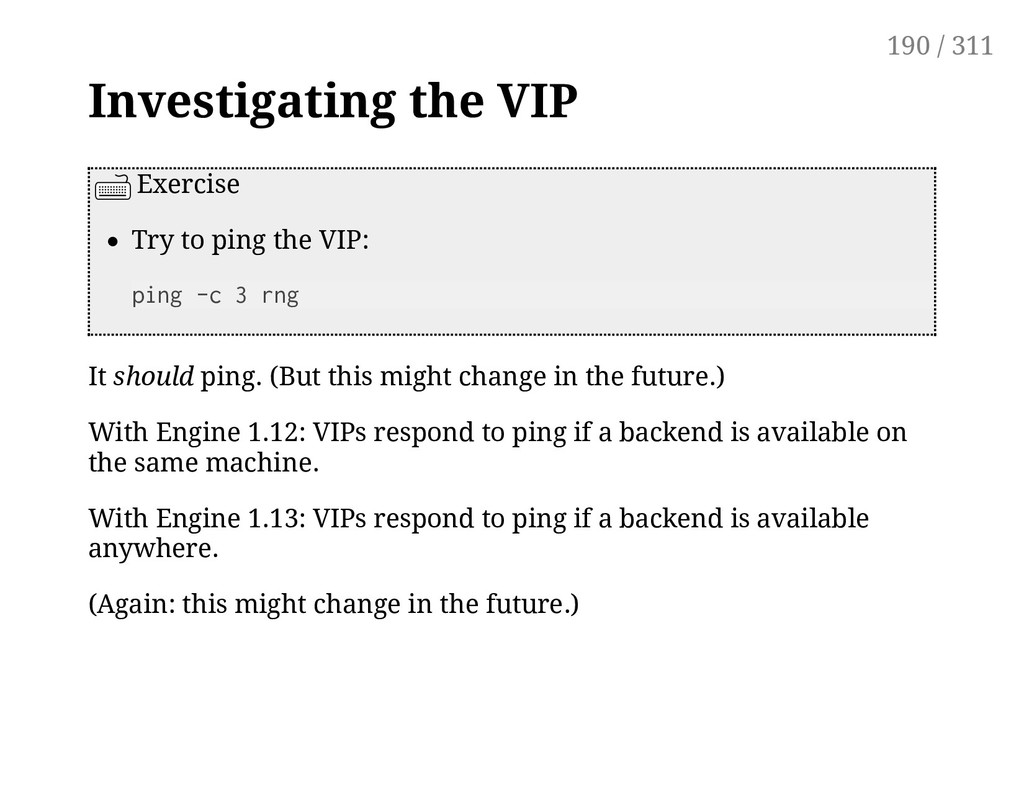
-c 3 rng It should ping. (But this might change in the future.) With Engine 1.12: VIPs respond to ping if a backend is available on the same machine. With Engine 1.13: VIPs respond to ping if a backend is available anywhere. (Again: this might change in the future.) 190 / 311
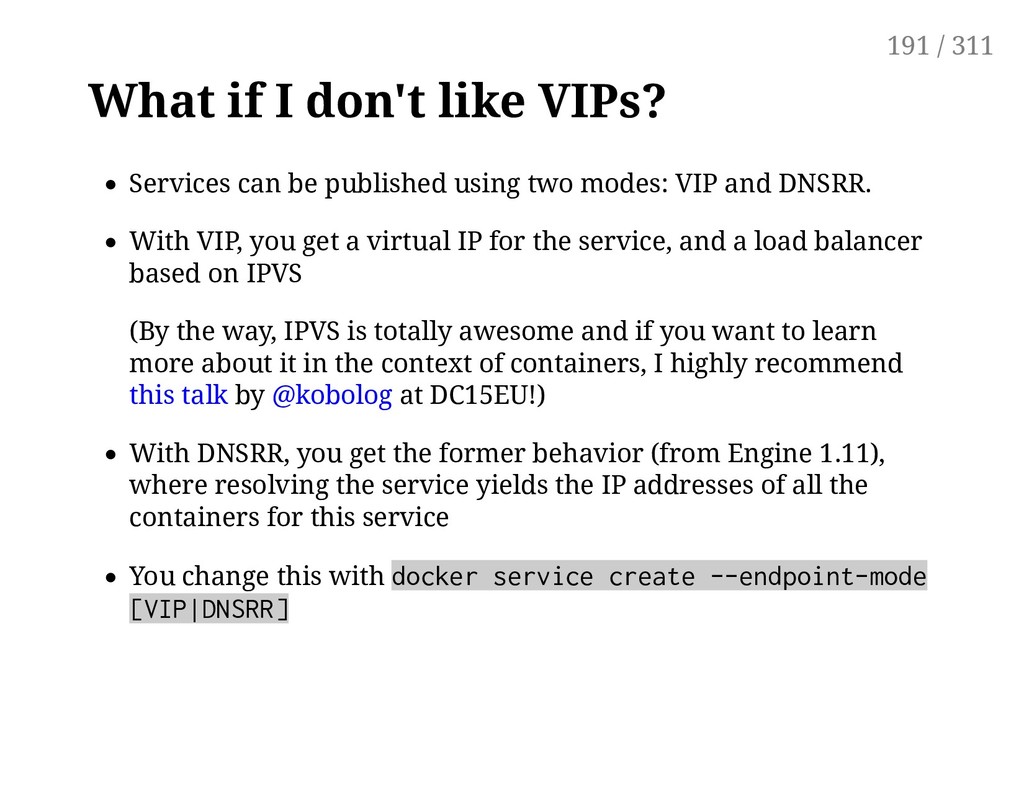
using two modes: VIP and DNSRR. With VIP, you get a virtual IP for the service, and a load balancer based on IPVS (By the way, IPVS is totally awesome and if you want to learn more about it in the context of containers, I highly recommend this talk by @kobolog at DC15EU!) With DNSRR, you get the former behavior (from Engine 1.11), where resolving the service yields the IP addresses of all the containers for this service You change this with docker service create --endpoint-mode [VIP|DNSRR] 191 / 311
name: tasks.<name> It will give you the IP addresses of the containers for a given service Exercise Obtain the IP addresses of the containers for the rng service: drill tasks.rng This should list 5 IP addresses. 192 / 311
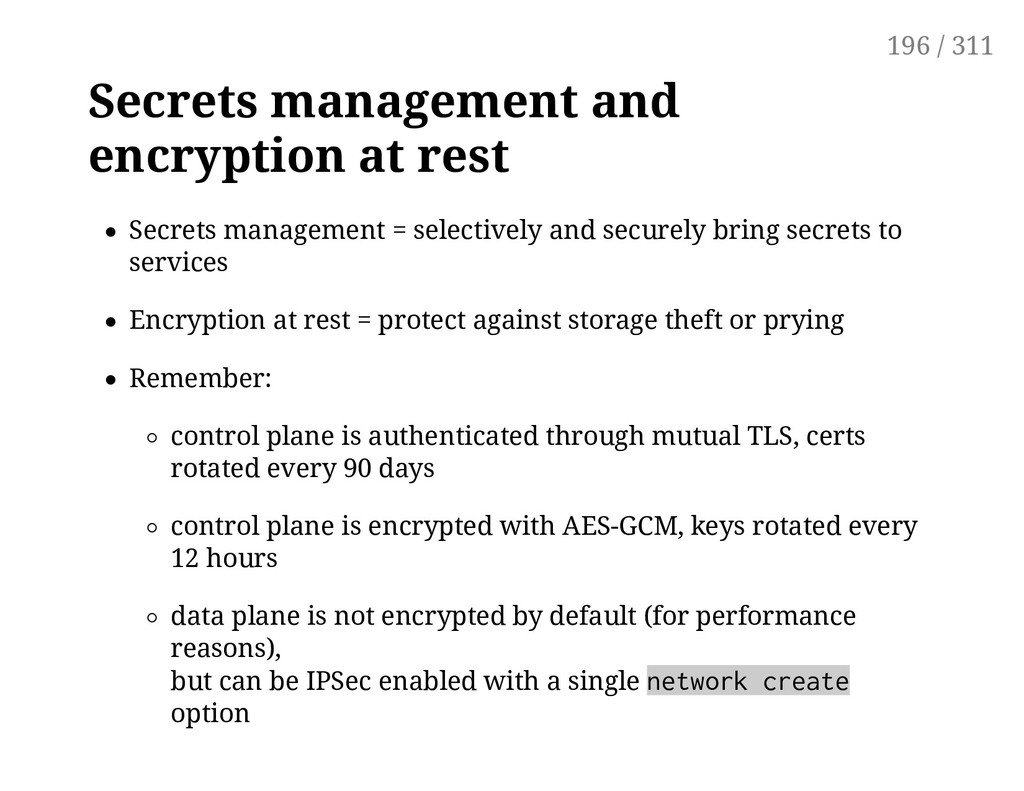
and securely bring secrets to services Encryption at rest = protect against storage theft or prying Remember: control plane is authenticated through mutual TLS, certs rotated every 90 days control plane is encrypted with AES-GCM, keys rotated every 12 hours data plane is not encrypted by default (for performance reasons), but can be IPSec enabled with a single network create option 196 / 311
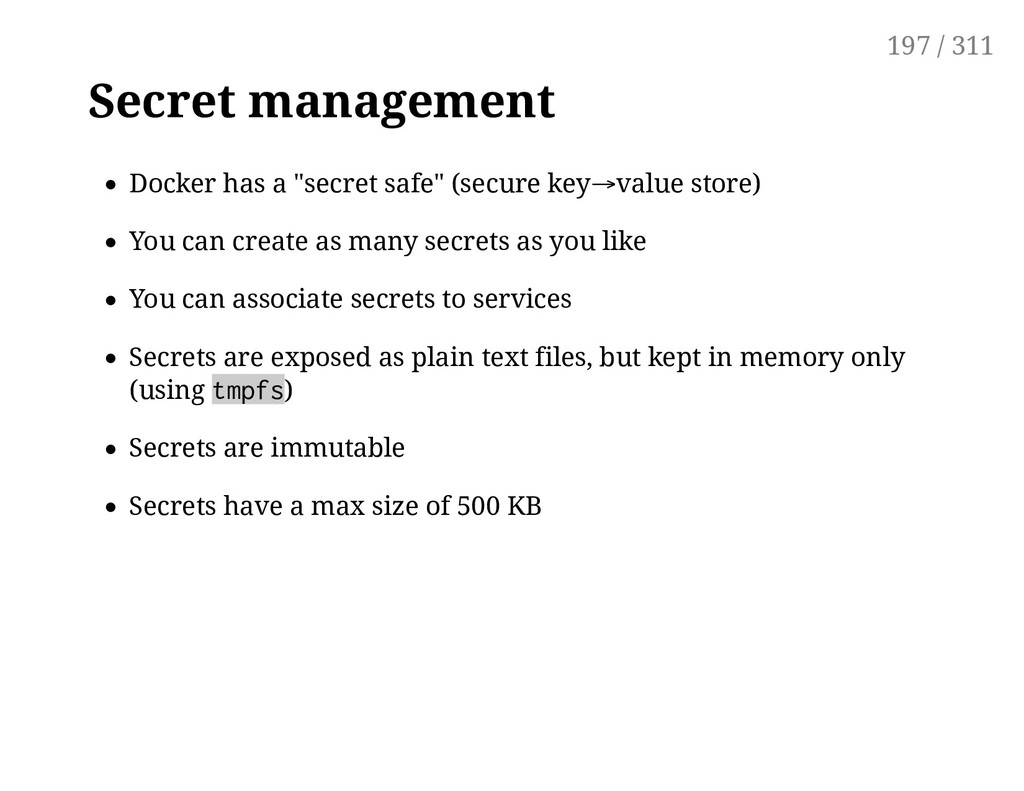
You can create as many secrets as you like You can associate secrets to services Secrets are exposed as plain text files, but kept in memory only (using tmpfs) Secrets are immutable Secrets have a max size of 500 KB 197 / 311
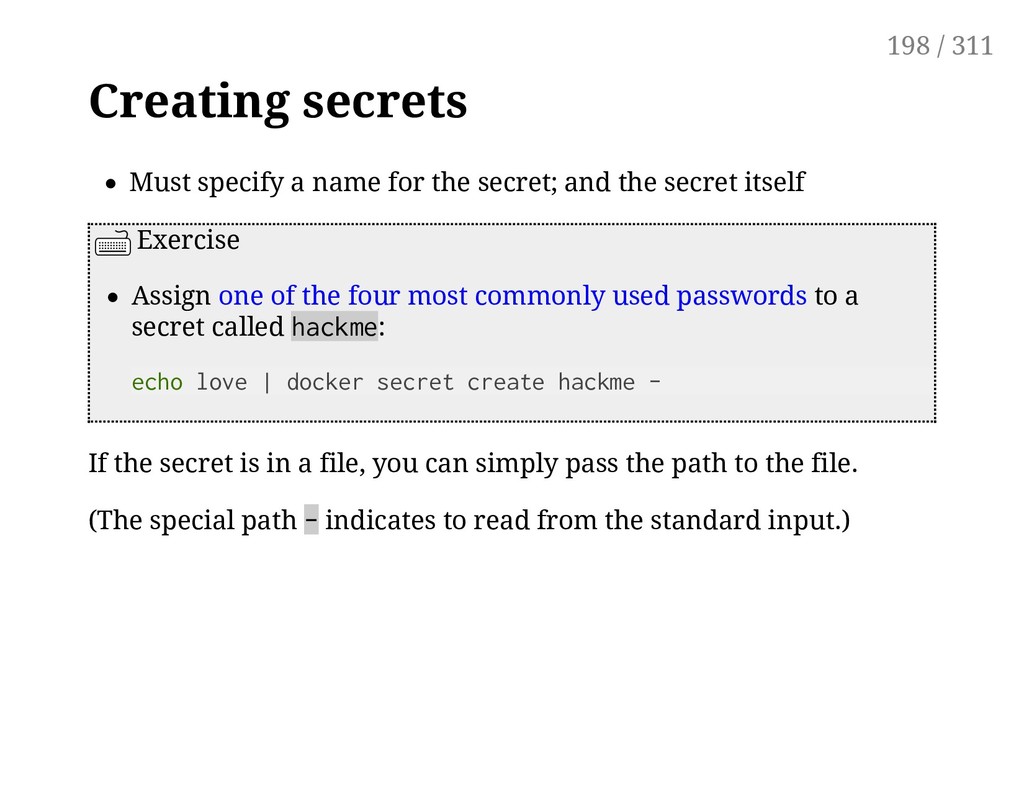
the secret itself Exercise Assign one of the four most commonly used passwords to a secret called hackme: echo love | docker secret create hackme - If the secret is in a file, you can simply pass the path to the file. (The special path - indicates to read from the standard input.) 198 / 311
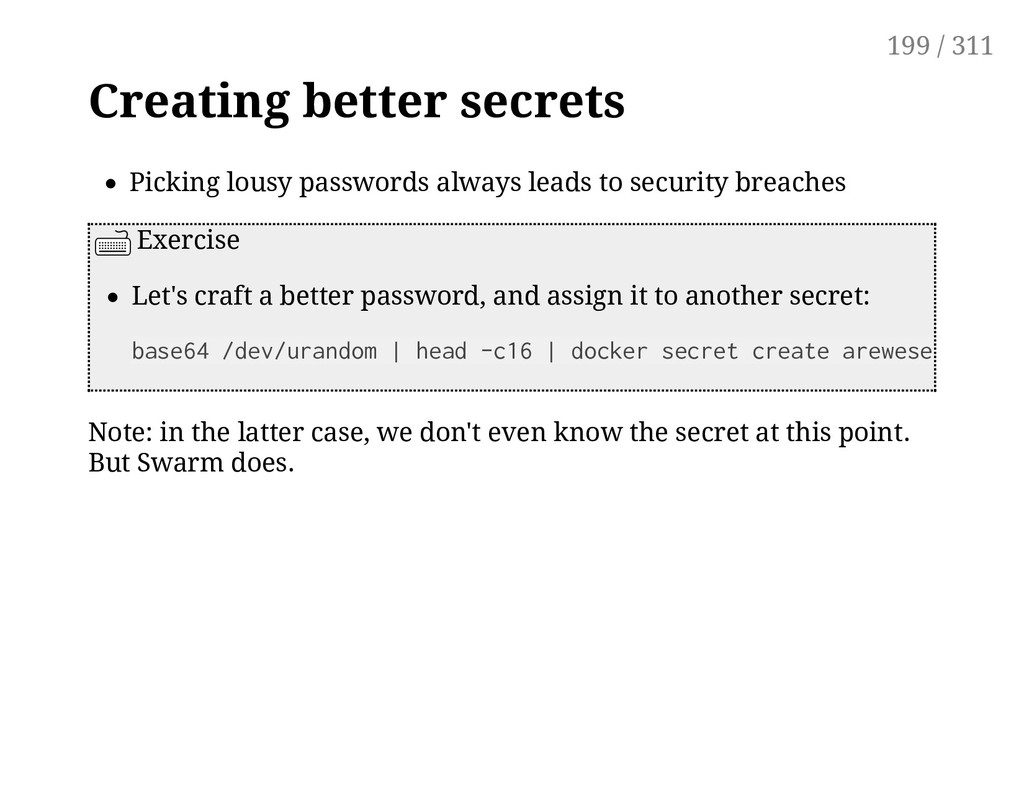
breaches Exercise Let's craft a better password, and assign it to another secret: Note: in the latter case, we don't even know the secret at this point. But Swarm does. base64 /dev/urandom | head -c16 | docker secret create arewesecureyet 199 / 311
Create a dummy service with both secrets: docker service create \ --secret hackme --secret arewesecureyet \ --name dummyservice \ --constraint node.hostname==$HOSTNAME \ alpine sleep 1000000000 We constrain the container to be on the local node for convenience. (We are going to use docker exec in just a moment!) 200 / 311
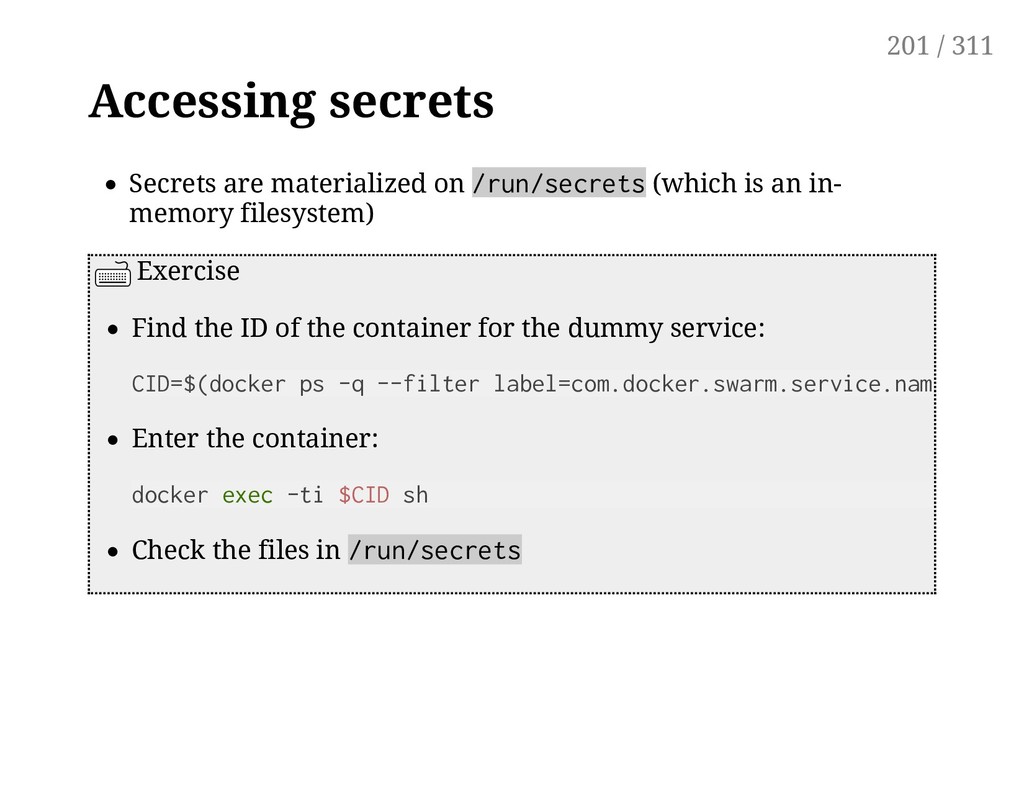
in- memory filesystem) Exercise Find the ID of the container for the dummy service: Enter the container: docker exec -ti $CID sh Check the files in /run/secrets CID=$(docker ps -q --filter label=com.docker.swarm.service.name=dummys 201 / 311
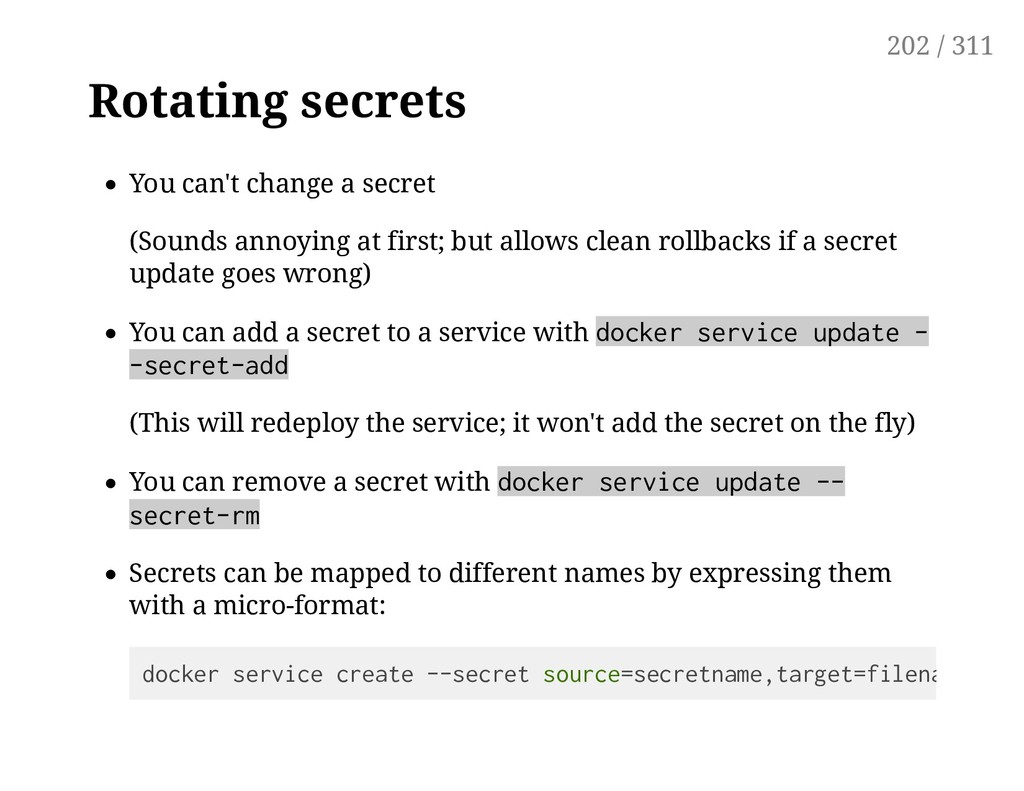
first; but allows clean rollbacks if a secret update goes wrong) You can add a secret to a service with docker service update - -secret-add (This will redeploy the service; it won't add the secret on the fly) You can remove a secret with docker service update -- secret-rm Secrets can be mapped to different names by expressing them with a micro-format: docker service create --secret source=secretname,target=filename 202 / 311
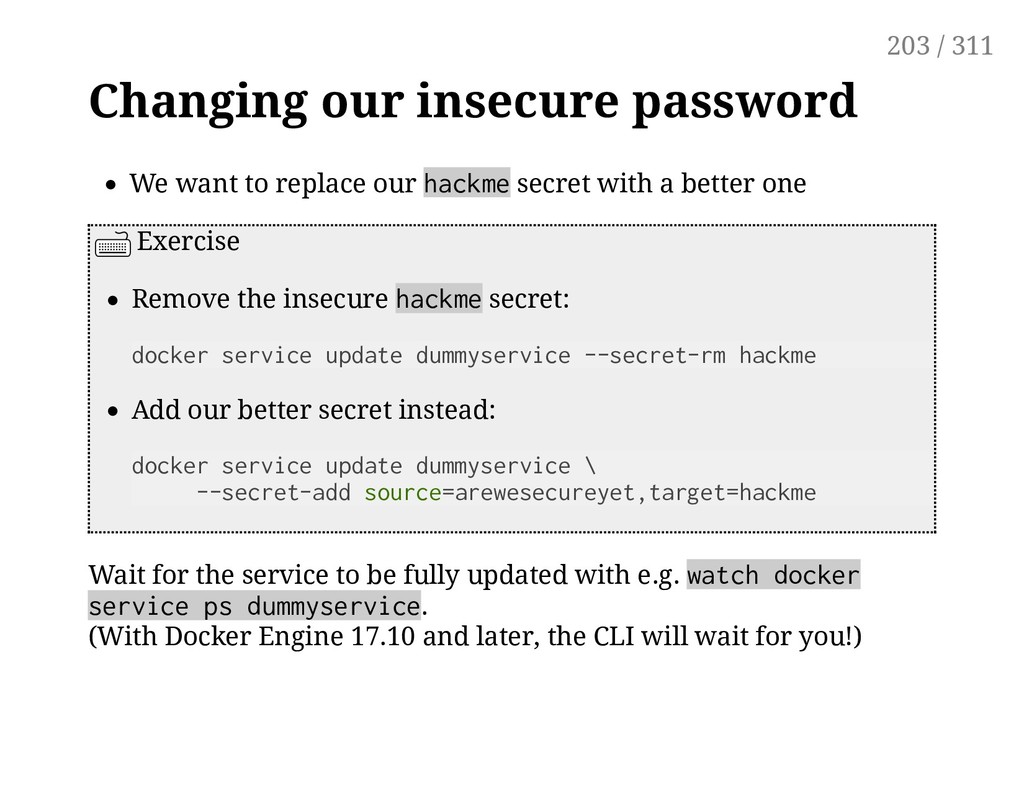
secret with a better one Exercise Remove the insecure hackme secret: docker service update dummyservice --secret-rm hackme Add our better secret instead: docker service update dummyservice \ --secret-add source=arewesecureyet,target=hackme Wait for the service to be fully updated with e.g. watch docker service ps dummyservice. (With Docker Engine 17.10 and later, the CLI will wait for you!) 203 / 311
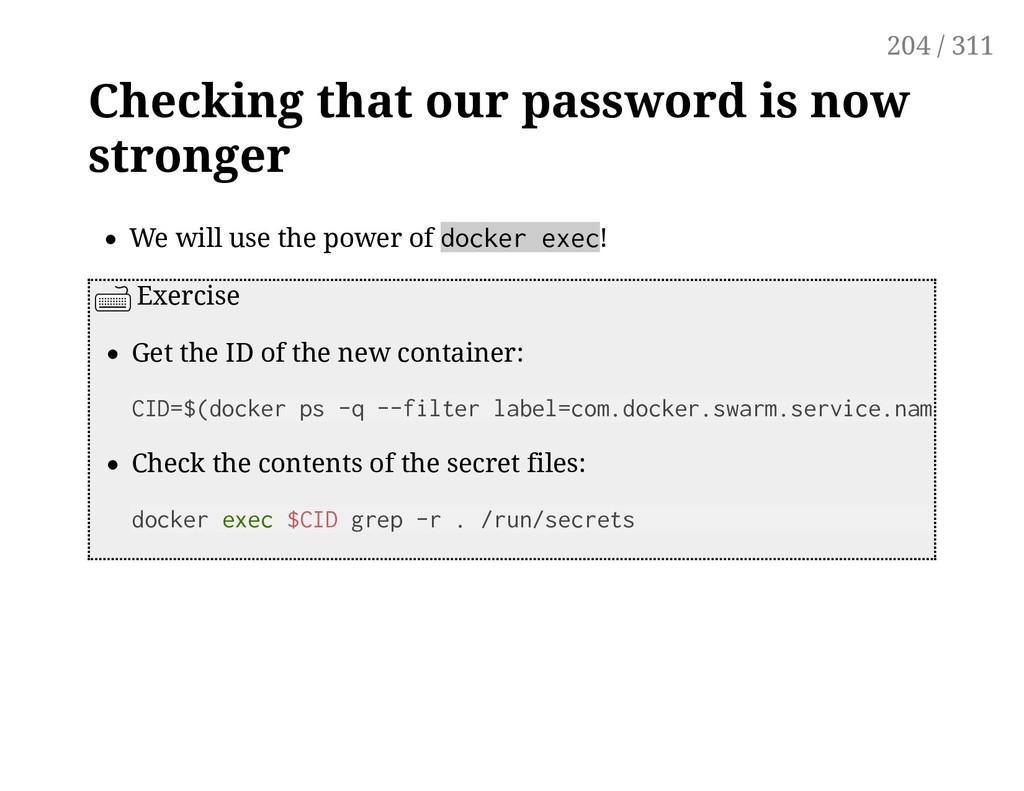
the power of docker exec! Exercise Get the ID of the new container: Check the contents of the secret files: docker exec $CID grep -r . /run/secrets CID=$(docker ps -q --filter label=com.docker.swarm.service.name=dummys 204 / 311
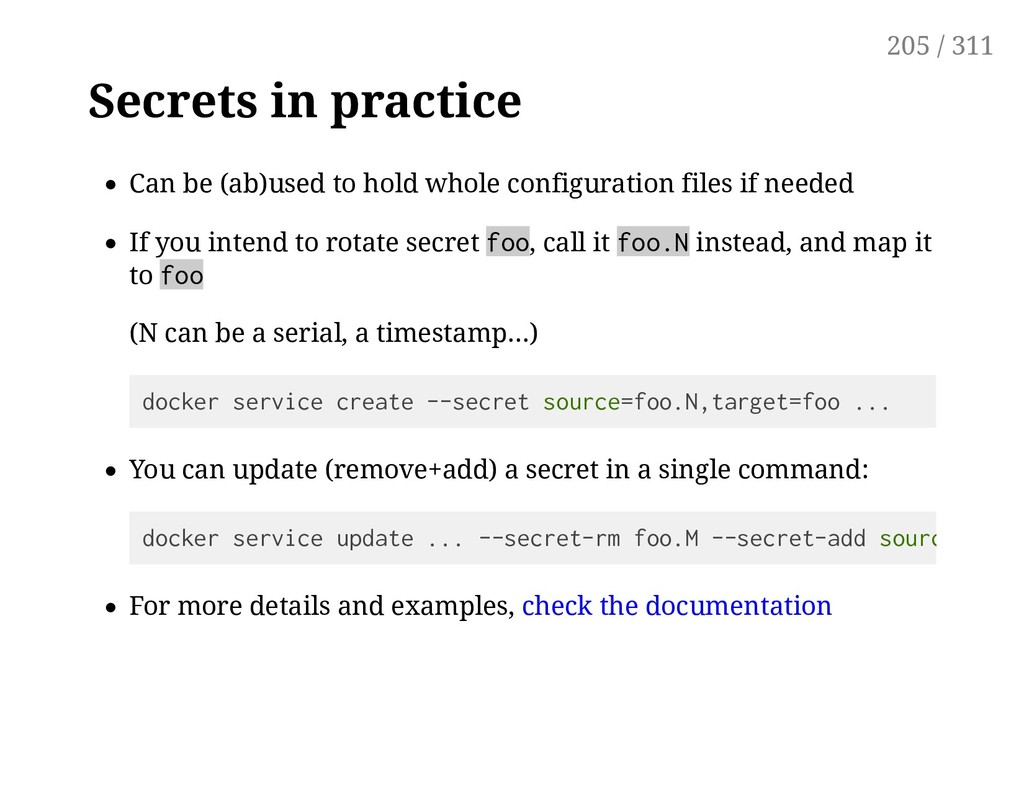
files if needed If you intend to rotate secret foo, call it foo.N instead, and map it to foo (N can be a serial, a timestamp...) docker service create --secret source=foo.N,target=foo ... You can update (remove+add) a secret in a single command: For more details and examples, check the documentation docker service update ... --secret-rm foo.M --secret-add source 205 / 311
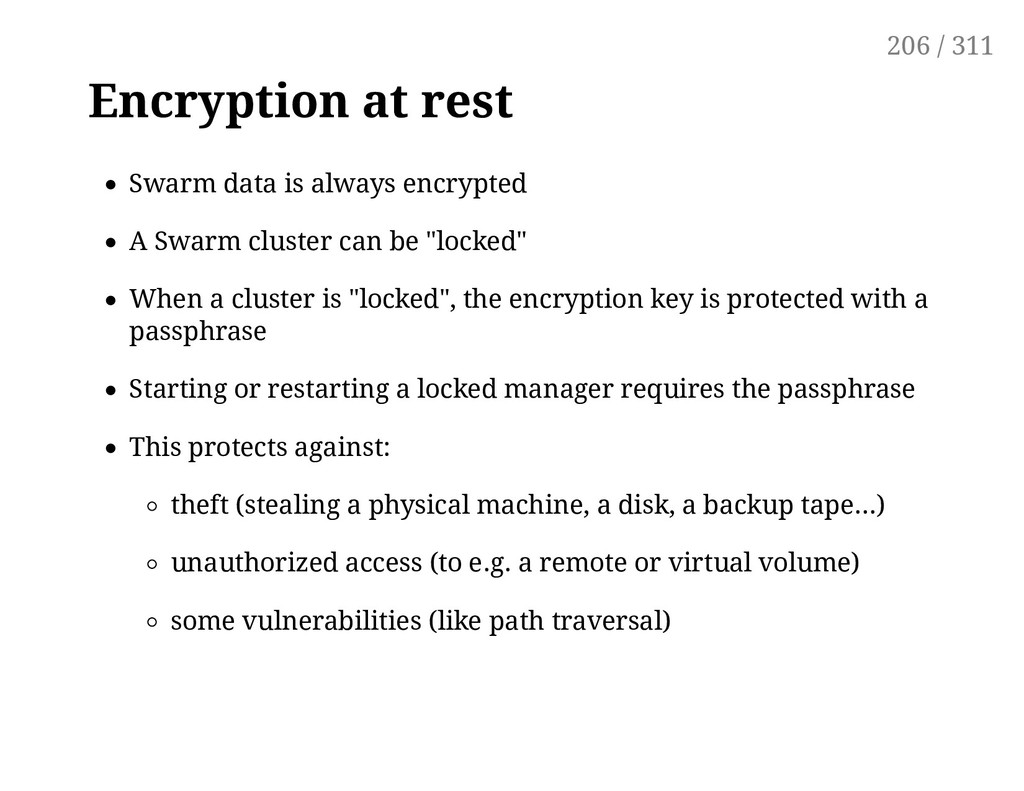
cluster can be "locked" When a cluster is "locked", the encryption key is protected with a passphrase Starting or restarting a locked manager requires the passphrase This protects against: theft (stealing a physical machine, a disk, a backup tape...) unauthorized access (to e.g. a remote or virtual volume) some vulnerabilities (like path traversal) 206 / 311
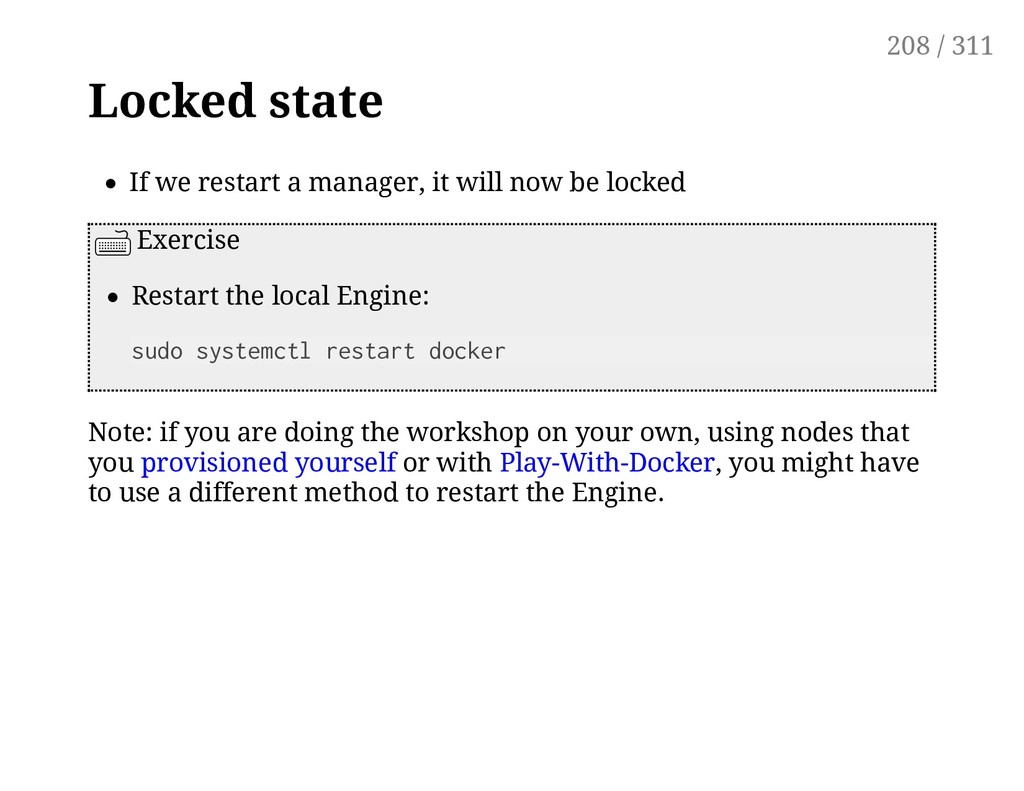
be locked Exercise Restart the local Engine: sudo systemctl restart docker Note: if you are doing the workshop on your own, using nodes that you provisioned yourself or with Play-With-Docker, you might have to use a different method to restart the Engine. 208 / 311
to crypted data) will fail Other commands are OK Exercise Try a few basic commands: docker ps docker run alpine echo ♥ docker node ls (The last command should fail, and it will tell you how to unlock this node.) 209 / 311
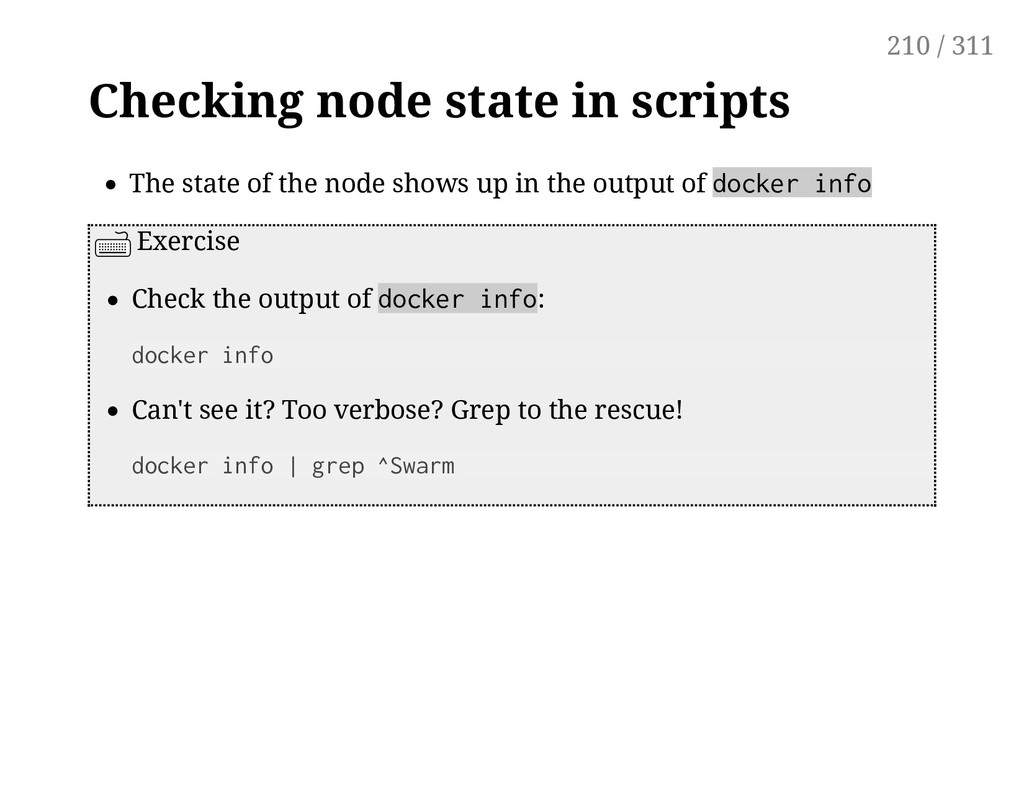
shows up in the output of docker info Exercise Check the output of docker info: docker info Can't see it? Too verbose? Grep to the rescue! docker info | grep ^Swarm 210 / 311
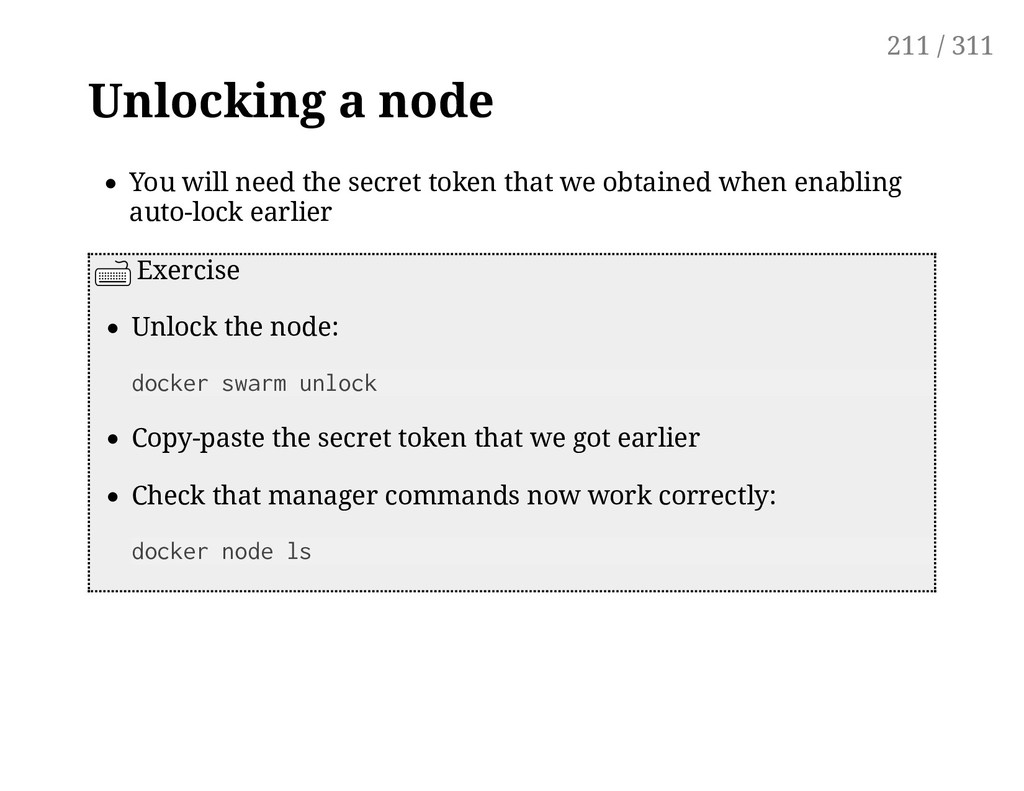
we obtained when enabling auto-lock earlier Exercise Unlock the node: docker swarm unlock Copy-paste the secret token that we got earlier Check that manager commands now work correctly: docker node ls 211 / 311
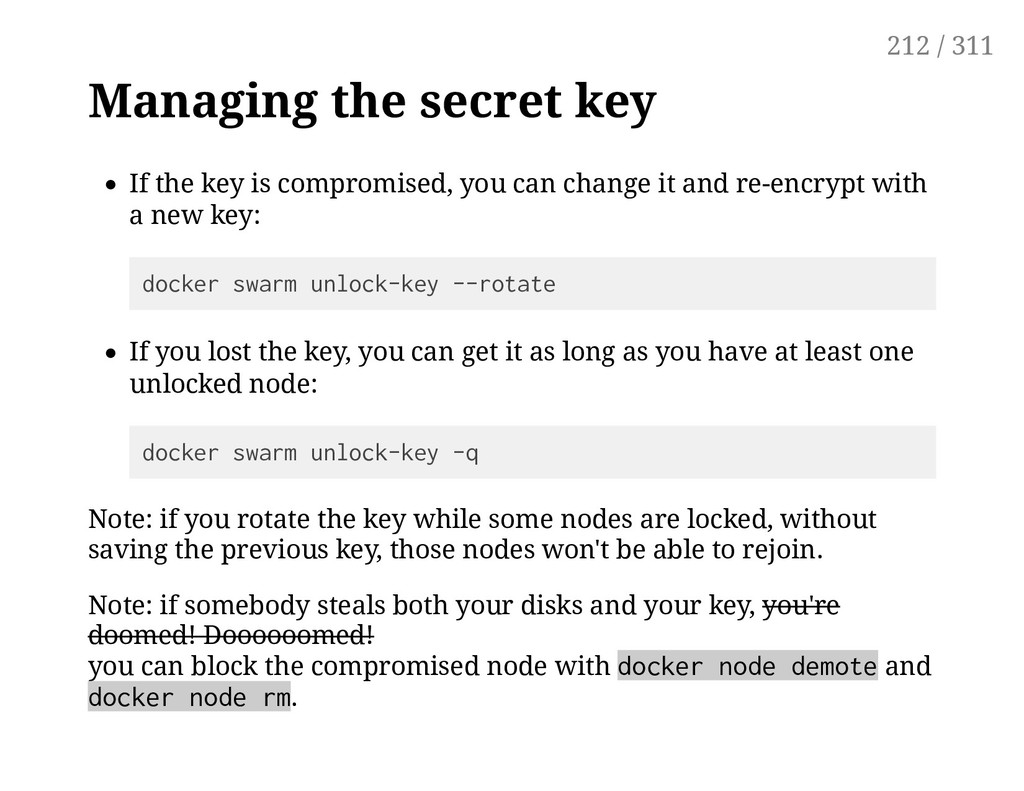
can change it and re-encrypt with a new key: docker swarm unlock-key --rotate If you lost the key, you can get it as long as you have at least one unlocked node: docker swarm unlock-key -q Note: if you rotate the key while some nodes are locked, without saving the previous key, those nodes won't be able to rejoin. Note: if somebody steals both your disks and your key, you're doomed! Doooooomed! you can block the compromised node with docker node demote and docker node rm. 212 / 311
secret key, disable auto-lock Exercise Permanently unlock the cluster: docker swarm update --autolock=false Note: if some nodes are in locked state at that moment (or if they are offline/restarting while you disabled autolock), they still need the previous unlock key to get back online. For more information about locking, you can check the upcoming documentation. 213 / 311
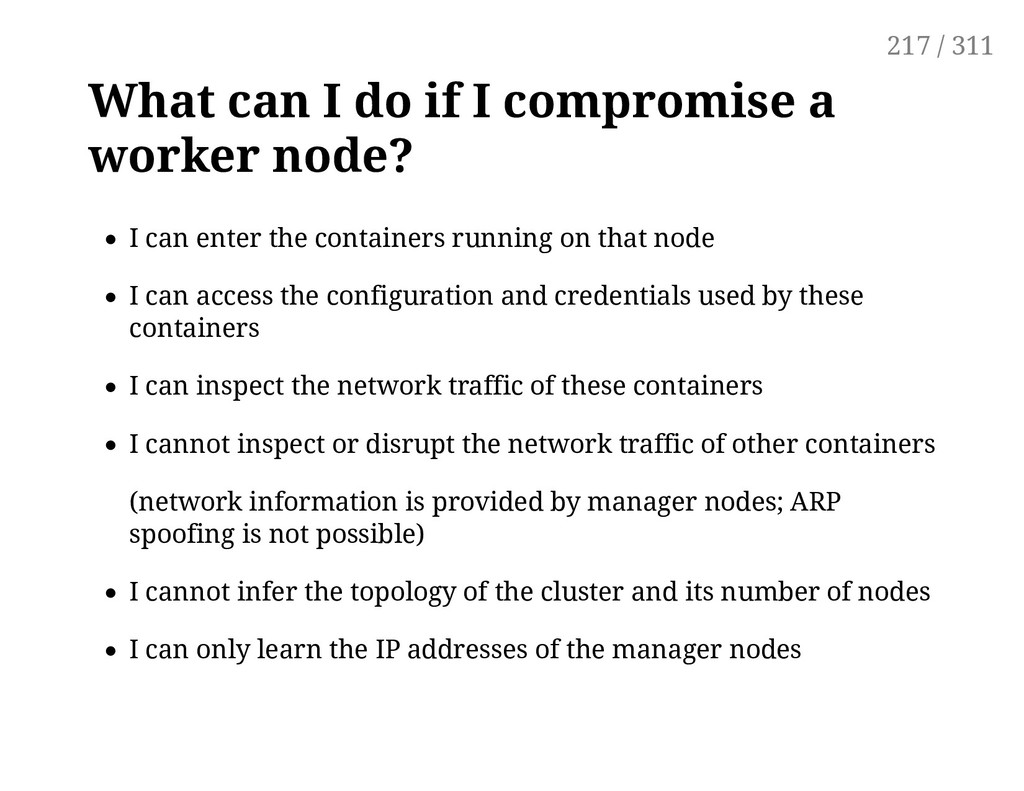
the "Raft log" Managers nodes have read/write access to this data Workers nodes have no access to this data Workers only receive the minimum amount of data that they need: which services to run network configuration information for these services credentials for these services Compromising a worker node does not give access to the full cluster 216 / 311
I can enter the containers running on that node I can access the configuration and credentials used by these containers I can inspect the network traffic of these containers I cannot inspect or disrupt the network traffic of other containers (network information is provided by manager nodes; ARP spoofing is not possible) I cannot infer the topology of the cluster and its number of nodes I can only learn the IP addresses of the manager nodes 217 / 311
Put managers in the highest security zone Enforce workloads of a given security level to run in a given zone Enforcement can be done with Authorization Plugins 218 / 311
API access is "all or nothing" When someone has access to the Docker API, they can access everything If your developers are using the Docker API to deploy on the dev cluster ... ... and the dev cluster is the same as the prod cluster ... ... it means that your devs have access to your production data, passwords, etc. This can easily be avoided 220 / 311
of flexibility: Use separate clusters for different security perimeters (And different credentials for each cluster) Add an extra layer of abstraction (sudo scripts, hooks, or full- blown PAAS) 222 / 311
of flexibility: Use separate clusters for different security perimeters (And different credentials for each cluster) Add an extra layer of abstraction (sudo scripts, hooks, or full- blown PAAS) Enable authorization plugins each API request is vetted by your plugin(s) by default, the subject name in the client TLS certificate is used as user name example: user and permission management in UCP 223 / 311
to a central place If that place could offer a nice web dashboard too, that'd be nice We are going to deploy an ELK stack It will accept logs over a GELF socket We will update our services to send logs through the GELF logging driver Learn about the GELF format and driver on Docker's blog 227 / 311
is not an "official" or "recommended" setup; it is just an example. We used ELK in this demo because it's a popular setup and we keep being asked about it; but you will have equal success with Fluent or other logging stacks! What we will do: Spin up an ELK stack with services Gaze at the spiffy Kibana web UI Manually send a few log entries using one-shot containers Set our containers up to send their logs to Logstash 230 / 311
(to store and index log entries) Logstash (to receive log entries from various sources, process them, and forward them to various destinations) Kibana (to view/search log entries with a nice UI) The only component that we will configure is Logstash We will accept log entries using the GELF protocol Log entries will be stored in ElasticSearch, and displayed on Logstash's stdout for debugging 231 / 311
Even better, we'll use a community project "docker-elk" by @tony_lapenna of Portainer fame We've sub-moduled' the git repo, so let's deploy plug-n-play style Exercise Deploy our ELK stack with our own custom override file!: Let's have a look at the Compose file. cd ~/container.training/stacks/docker-elk docker stack deploy -c docker-stack.yml -c ../elk.override.yml elk 232 / 311
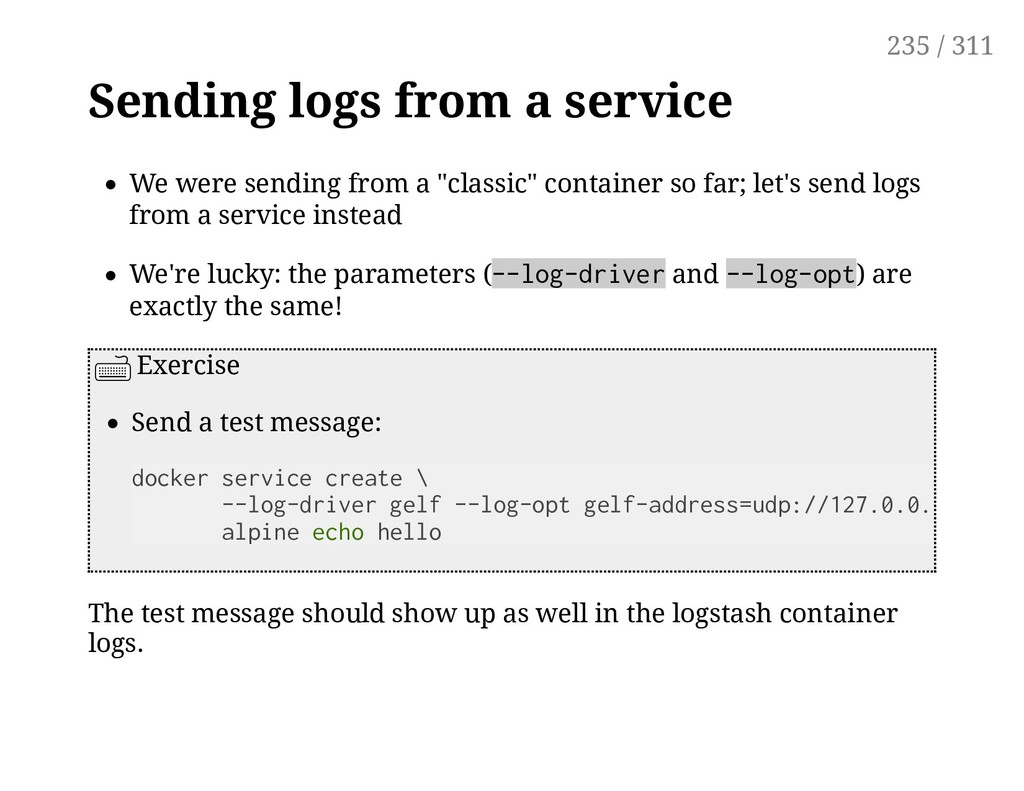
generate a logging message We will use a one-off container, and Docker's GELF logging driver Exercise Send a test message: The test message should show up in the logstash container logs. docker run --log-driver gelf --log-opt gelf-address=udp://127.0.0.1:12 --rm alpine echo hello 234 / 311
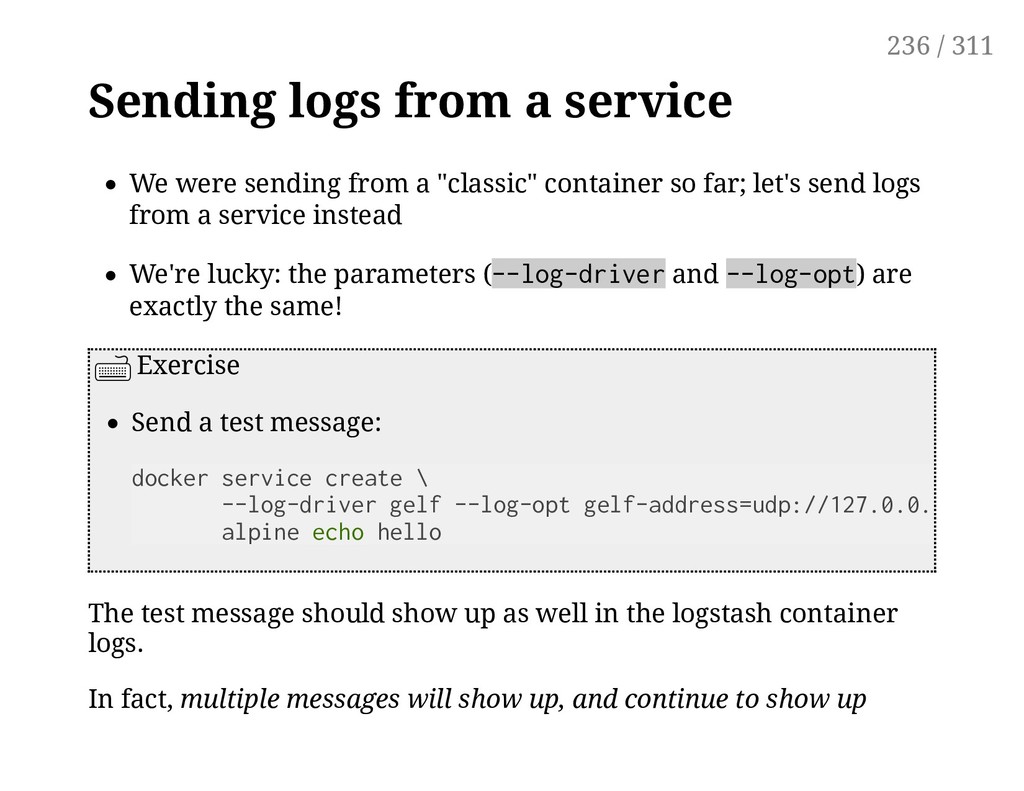
"classic" container so far; let's send logs from a service instead We're lucky: the parameters (--log-driver and --log-opt) are exactly the same! Exercise Send a test message: The test message should show up as well in the logstash container logs. docker service create \ --log-driver gelf --log-opt gelf-address=udp://127.0.0.1:12201 alpine echo hello 235 / 311
"classic" container so far; let's send logs from a service instead We're lucky: the parameters (--log-driver and --log-opt) are exactly the same! Exercise Send a test message: The test message should show up as well in the logstash container logs. In fact, multiple messages will show up, and continue to show up docker service create \ --log-driver gelf --log-opt gelf-address=udp://127.0.0.1:12201 alpine echo hello 236 / 311
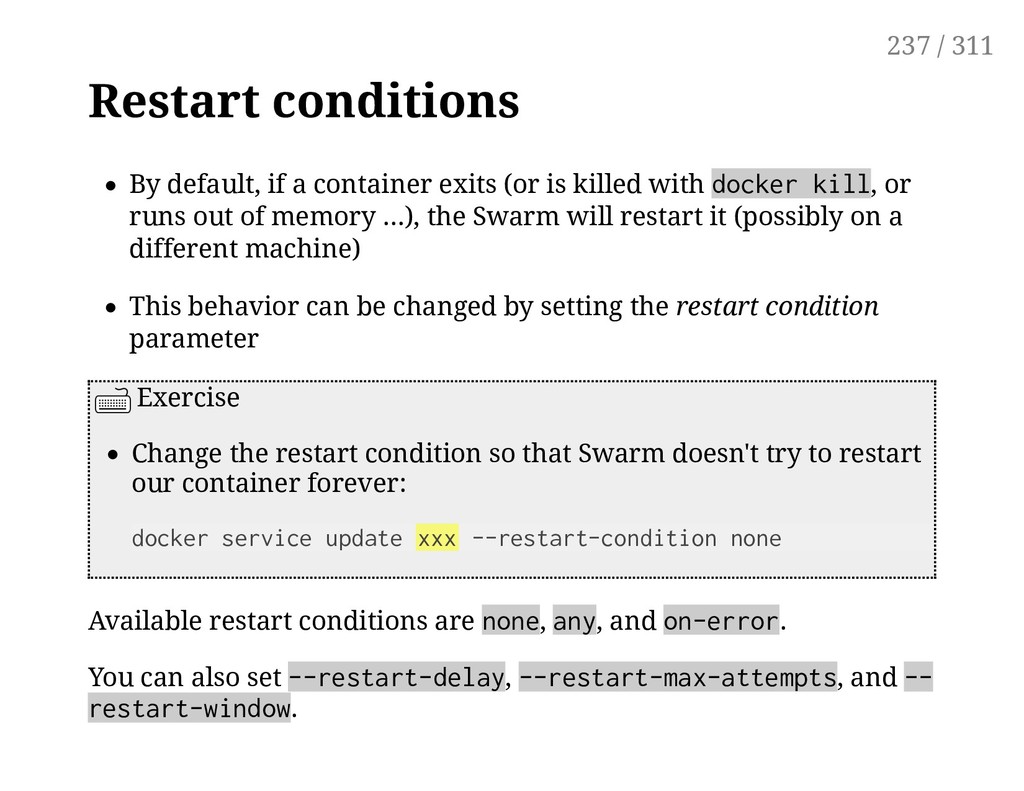
killed with docker kill, or runs out of memory ...), the Swarm will restart it (possibly on a different machine) This behavior can be changed by setting the restart condition parameter Exercise Change the restart condition so that Swarm doesn't try to restart our container forever: Available restart conditions are none, any, and on-error. You can also set --restart-delay, --restart-max-attempts, and -- restart-window. docker service update xxx --restart-condition none 237 / 311
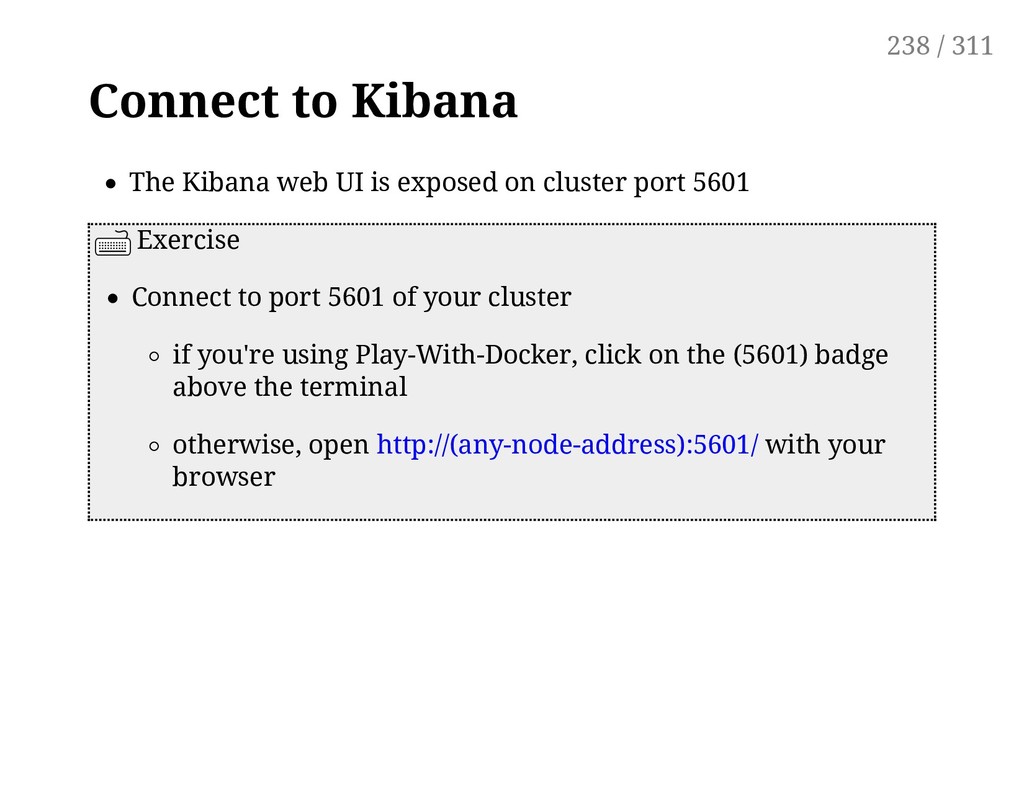
cluster port 5601 Exercise Connect to port 5601 of your cluster if you're using Play-With-Docker, click on the (5601) badge above the terminal otherwise, open http://(any-node-address):5601/ with your browser 238 / 311
pattern" Once it's received data, it can try to help you create an index Type logstash* in the input, then in the "Time-field name" drop down, select "@timestamp", and hit the "Create" button click "Discover" (in the top-left corner) click "Auto-refresh" (top-right corner) click "5 seconds" (top-left of the list) You should see a series of green bars. We can now tinker with fields on left 239 / 311
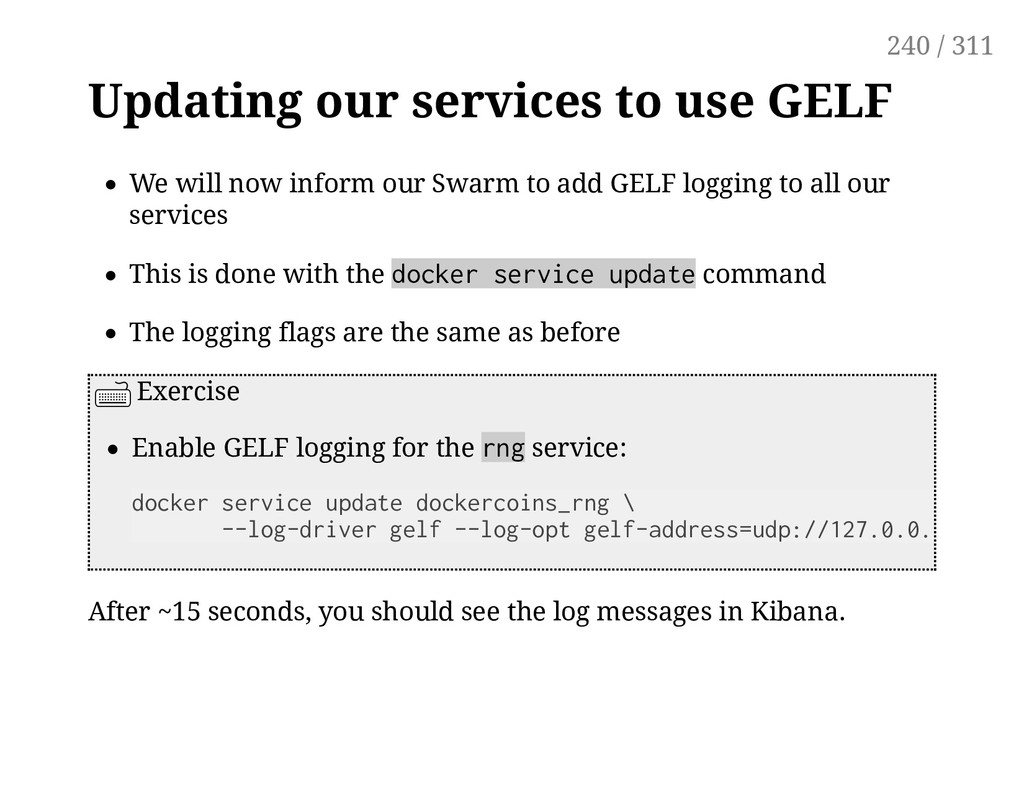
our Swarm to add GELF logging to all our services This is done with the docker service update command The logging flags are the same as before Exercise Enable GELF logging for the rng service: After ~15 seconds, you should see the log messages in Kibana. docker service update dockercoins_rng \ --log-driver gelf --log-opt gelf-address=udp://127.0.0.1:12201 240 / 311
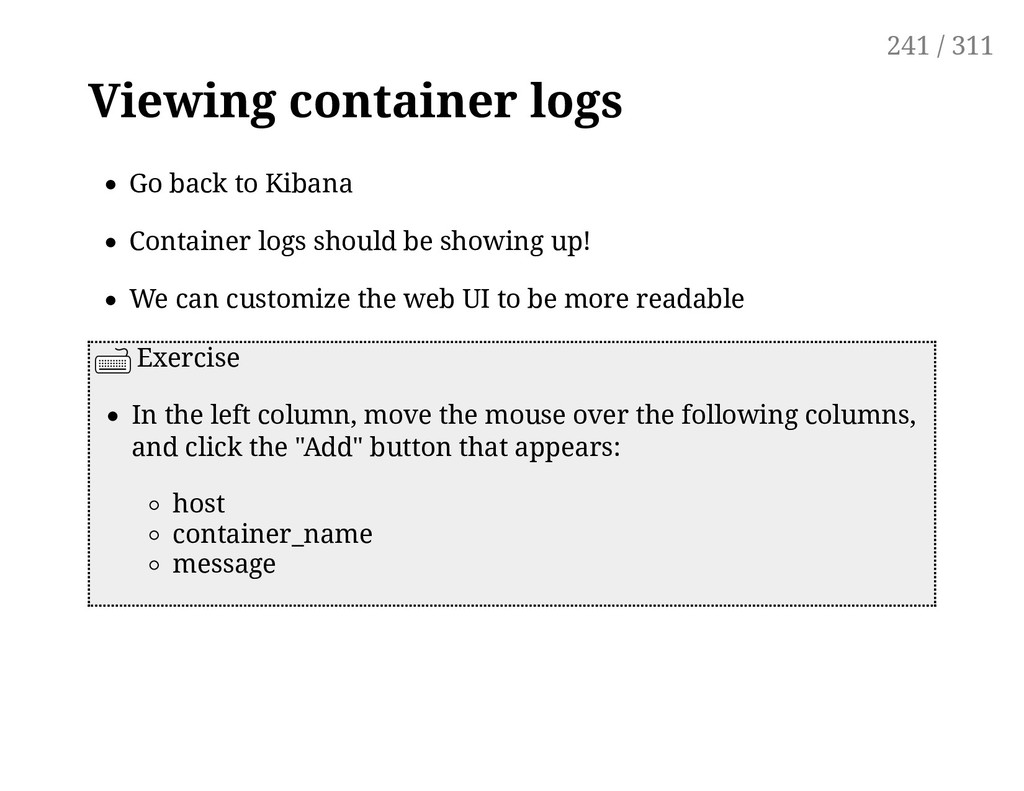
be showing up! We can customize the web UI to be more readable Exercise In the left column, move the mouse over the following columns, and click the "Add" button that appears: host container_name message 241 / 311
just an educational example. We did set up a single ElasticSearch instance and a single Logstash instance. In a production setup, you need an ElasticSearch cluster (both for capacity and availability reasons). You also need multiple Logstash instances. And if you want to withstand bursts of logs, you need some kind of message queue: Redis if you're cheap, Kafka if you want to make sure that you don't drop messages on the floor. Good luck. If you want to learn more about the GELF driver, have a look at this blog post. 242 / 311
Total number of processes running, and their states Number of open files, sockets, and their states I/O activity (disk, network), per operation or volume Physical/hardware (when applicable): temperature, fan speed ... ... and much more! 246 / 311
RAM breakdown will be different active vs inactive memory some memory is shared between containers, and accounted specially I/O activity is also harder to track async writes can cause deferred "charges" some page-ins are also shared between containers For details about container metrics, see: http://jpetazzo.github.io/2013/10/08/docker-containers-metrics/ 247 / 311
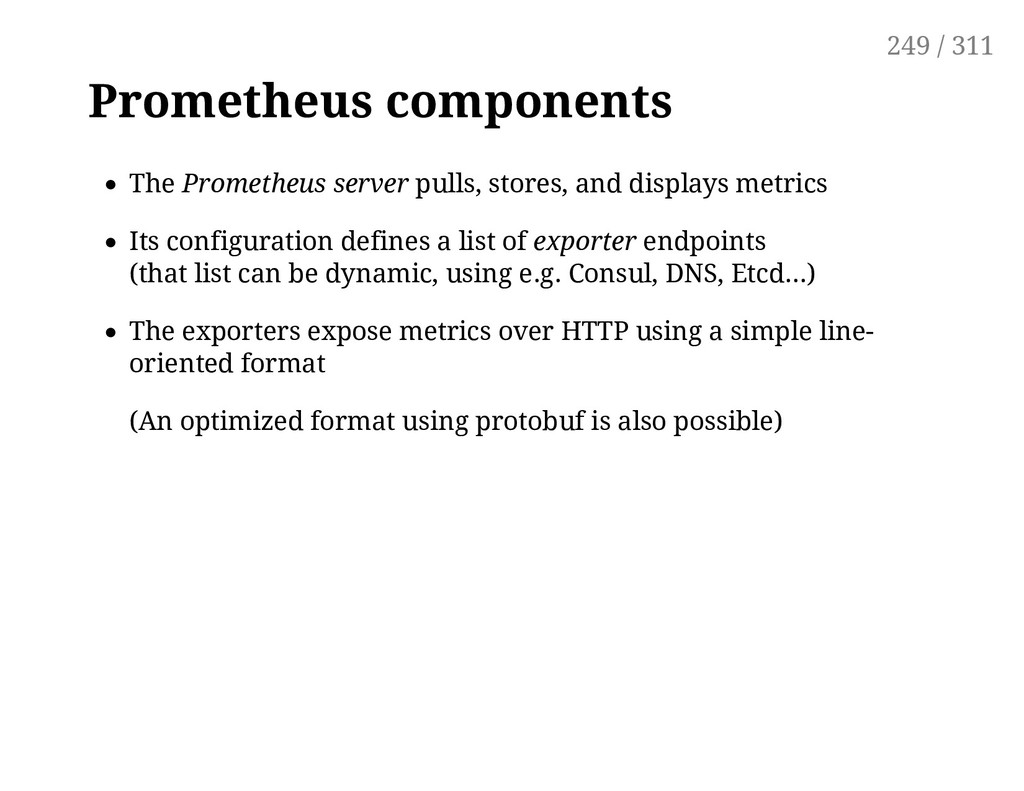
Its configuration defines a list of exporter endpoints (that list can be dynamic, using e.g. Consul, DNS, Etcd...) The exporters expose metrics over HTTP using a simple line- oriented format (An optimized format using protobuf is also possible) 249 / 311
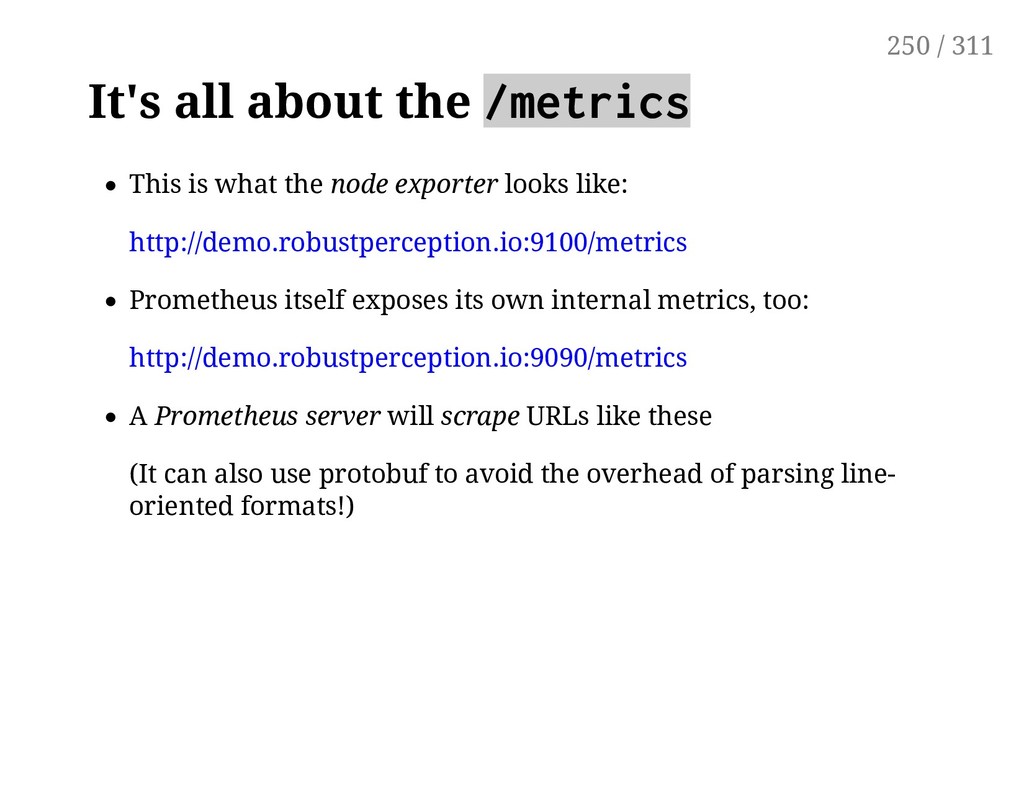
exporter looks like: http://demo.robustperception.io:9100/metrics Prometheus itself exposes its own internal metrics, too: http://demo.robustperception.io:9090/metrics A Prometheus server will scrape URLs like these (It can also use protobuf to avoid the overhead of parsing line- oriented formats!) 250 / 311
definition (once again) We will borrow from the community! (once again) Stefan Prodan maintains the excellent "Swarm Prom" repo Exercise Make sure we are in the stacks directory: cd ~/container.training/stacks/swarmprom docker stack deploy -c docker-compose.yml prom 251 / 311
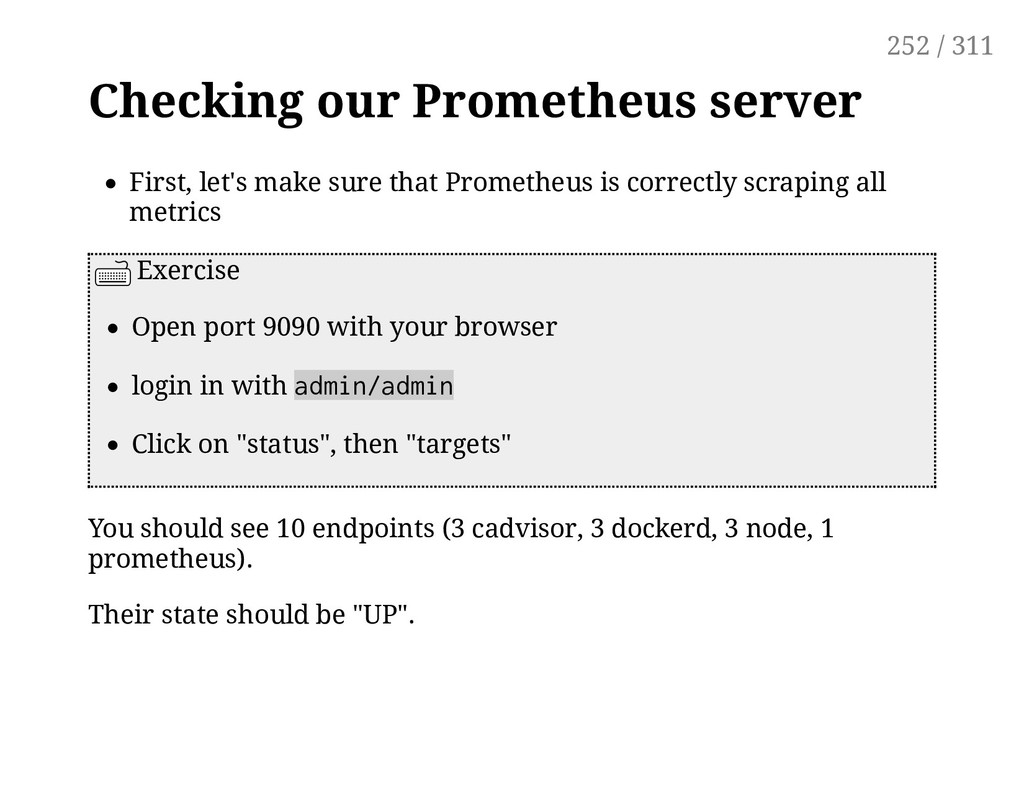
is correctly scraping all metrics Exercise Open port 9090 with your browser login in with admin/admin Click on "status", then "targets" You should see 10 endpoints (3 cadvisor, 3 dockerd, 3 node, 1 prometheus). Their state should be "UP". 252 / 311
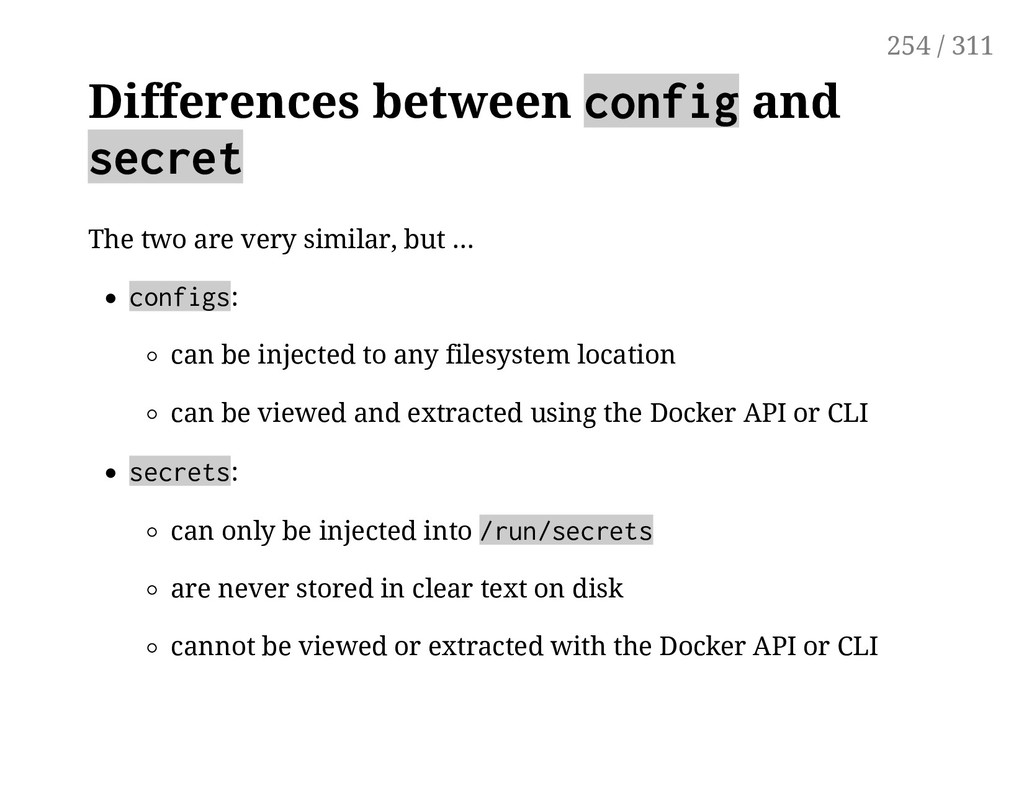
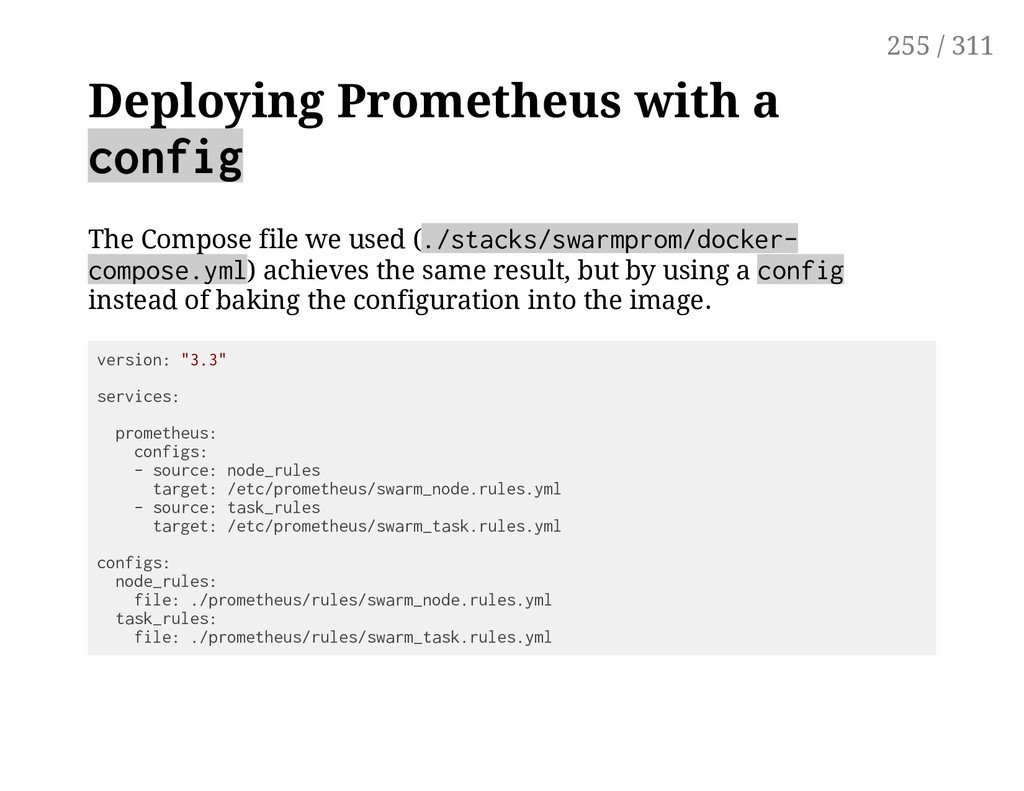
we often created a custom image just to inject a configuration file Instead, we could use the base Prometheus image + a config A config is a blob (usually, a configuration file) that: is created and managed through the Docker API (and CLI) gets persisted into the Raft log (i.e. safely) can be associated to a service (this injects the blob as a plain file in the service's containers) 253 / 311
but ... configs: can be injected to any filesystem location can be viewed and extracted using the Docker API or CLI secrets: can only be injected into /run/secrets are never stored in clear text on disk cannot be viewed or extracted with the Docker API or CLI 254 / 311
(./stacks/swarmprom/docker- compose.yml) achieves the same result, but by using a config instead of baking the configuration into the image. version: "3.3" services: prometheus: configs: - source: node_rules target: /etc/prometheus/swarm_node.rules.yml - source: task_rules target: /etc/prometheus/swarm_task.rules.yml configs: node_rules: file: ./prometheus/rules/swarm_node.rules.yml task_rules: file: ./prometheus/rules/swarm_task.rules.yml 255 / 311
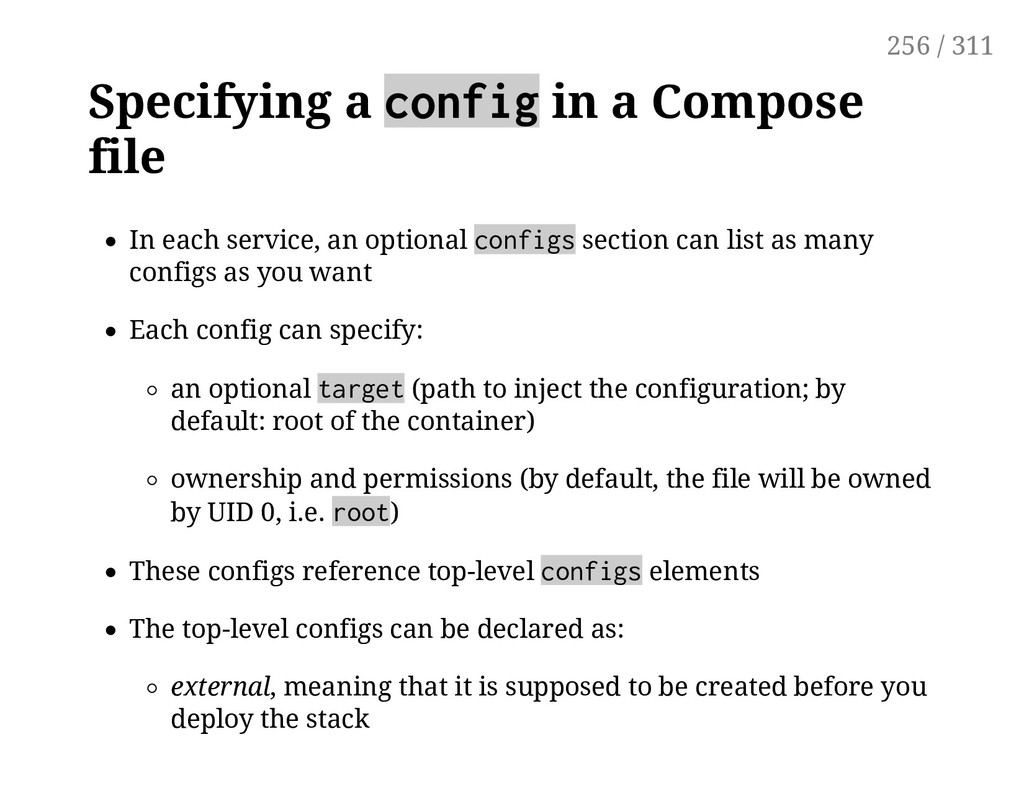
an optional configs section can list as many configs as you want Each config can specify: an optional target (path to inject the configuration; by default: root of the container) ownership and permissions (by default, the file will be owned by UID 0, i.e. root) These configs reference top-level configs elements The top-level configs can be declared as: external, meaning that it is supposed to be created before you deploy the stack 256 / 311
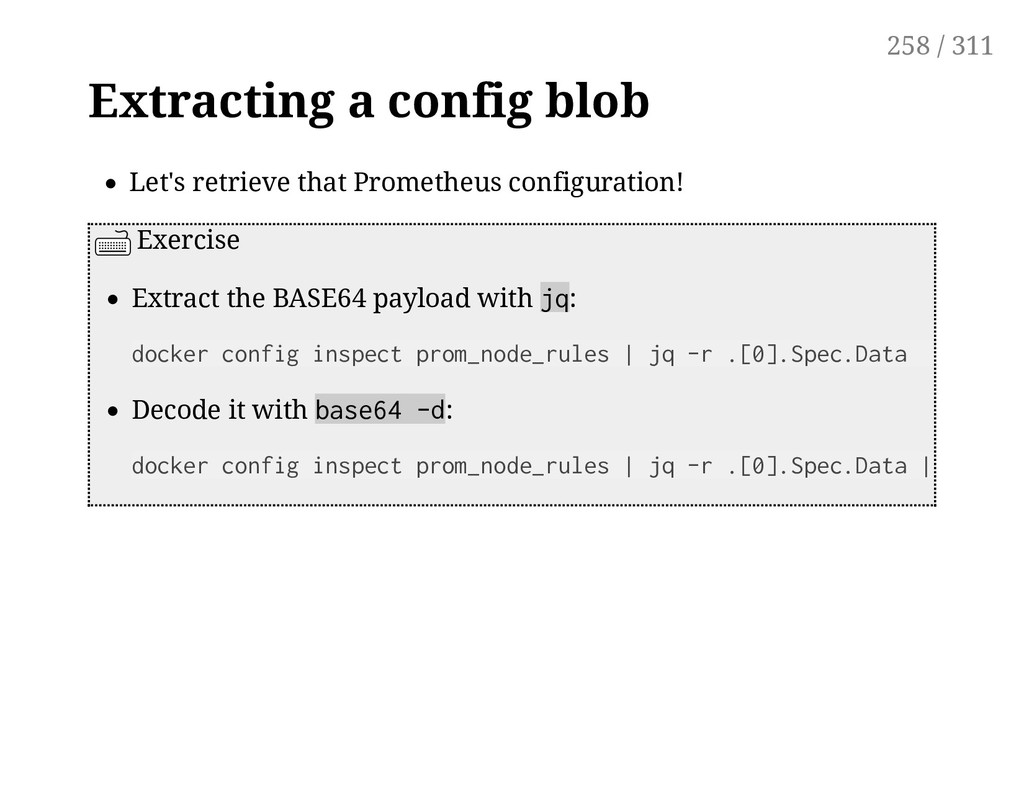
be viewed from the Docker CLI (or API) Exercise List existing config objects: docker config ls View details about our config object: docker config inspect prom_node_rules Note: the content of the config blob is shown with BASE64 encoding. (It doesn't have to be text; it could be an image or any kind of binary content!) 257 / 311
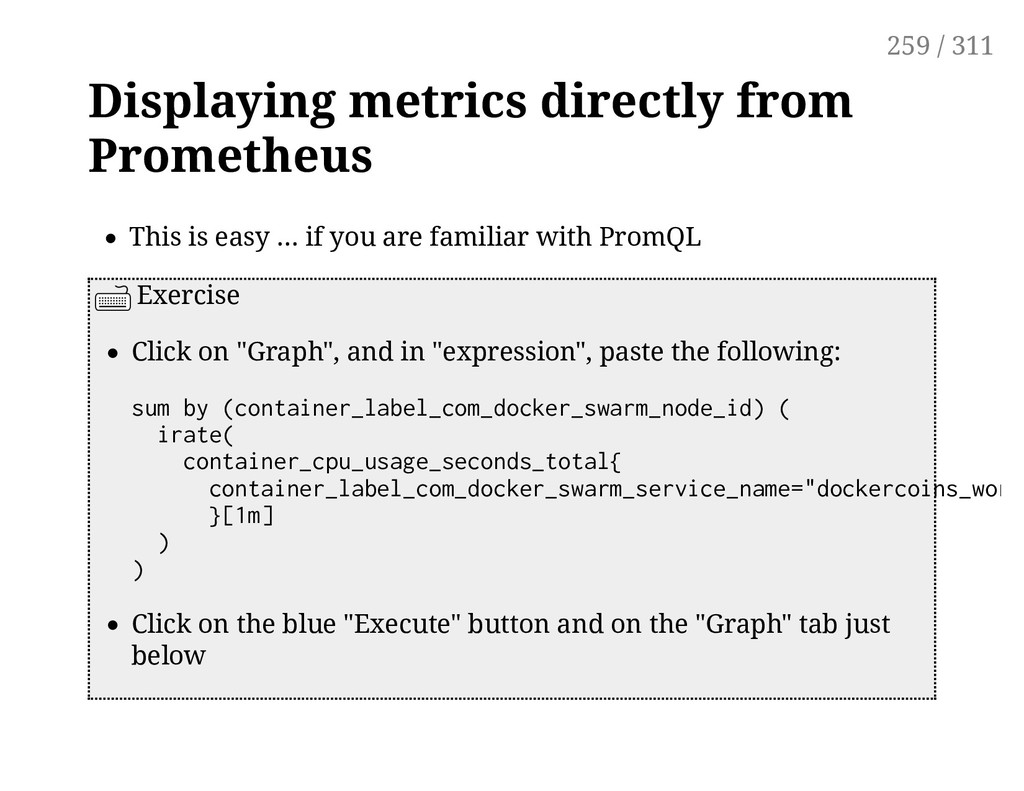
you are familiar with PromQL Exercise Click on "Graph", and in "expression", paste the following: sum by (container_label_com_docker_swarm_node_id) ( irate( container_cpu_usage_seconds_total{ container_label_com_docker_swarm_service_name="dockercoins_worke }[1m] ) ) Click on the blue "Execute" button and on the "Graph" tab just below 259 / 311
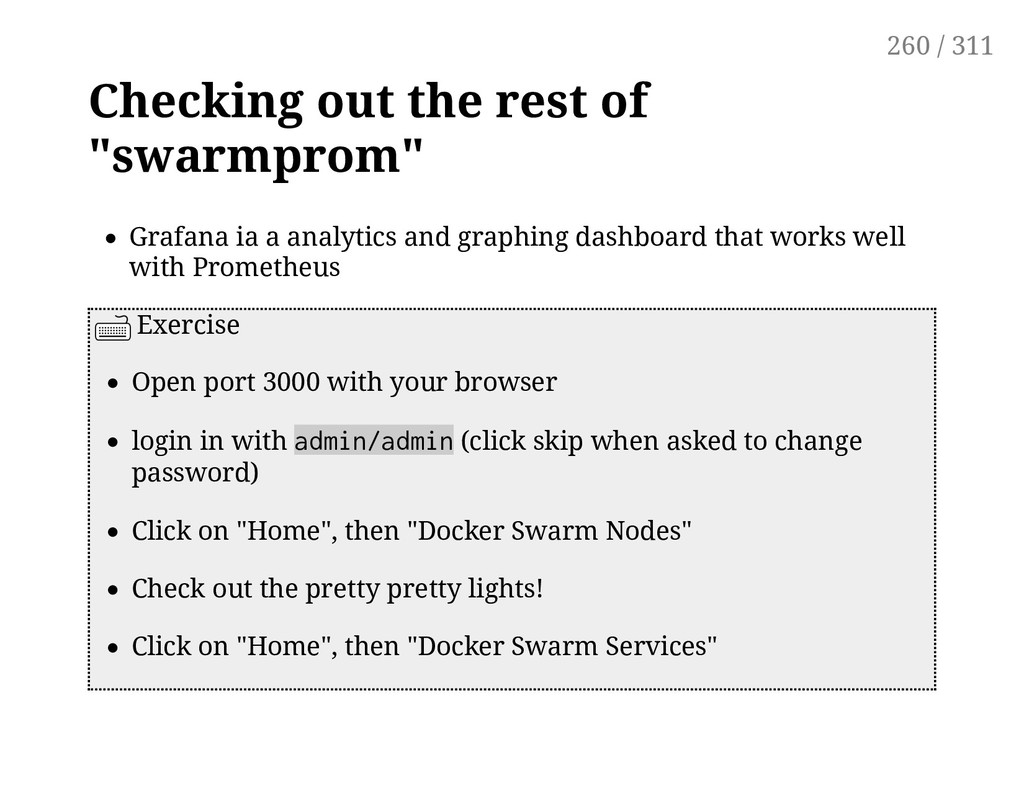
and graphing dashboard that works well with Prometheus Exercise Open port 3000 with your browser login in with admin/admin (click skip when asked to change password) Click on "Home", then "Docker Swarm Nodes" Check out the pretty pretty lights! Click on "Home", then "Docker Swarm Services" 260 / 311
original overview of Prometheus Docker Swarm & Container Overview, a custom dashboard for Grafana Gathering Container Metrics, a blog post about cgroups The Prometheus Time Series Database, a talk explaining why custom data storage is necessary for metrics DC17US: Monitoring, the Prometheus Way (video) DC17EU: Prometheus 2.0 Storage Engine (video) 262 / 311
interfaces to control and manage Swarm? Docker Enterprise is Docker Inc's paid offering, which has GUI's Portainer is a popular open source web GUI for Swarm with node agents Swarmpit is another open source web GUI for Swarm Portus is a SUSE-backed open source web GUI for registry Find lots of other Swarm tools in the Awesome Docker list 265 / 311
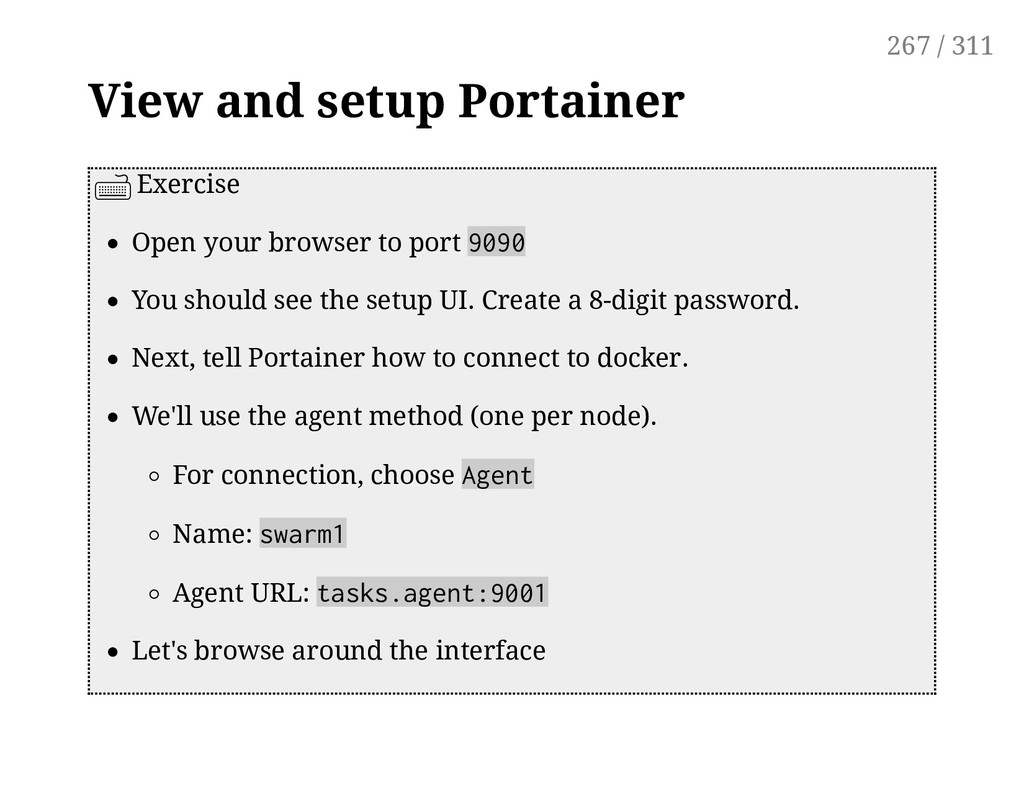
9090 You should see the setup UI. Create a 8-digit password. Next, tell Portainer how to connect to docker. We'll use the agent method (one per node). For connection, choose Agent Name: swarm1 Agent URL: tasks.agent:9001 Let's browse around the interface 267 / 311
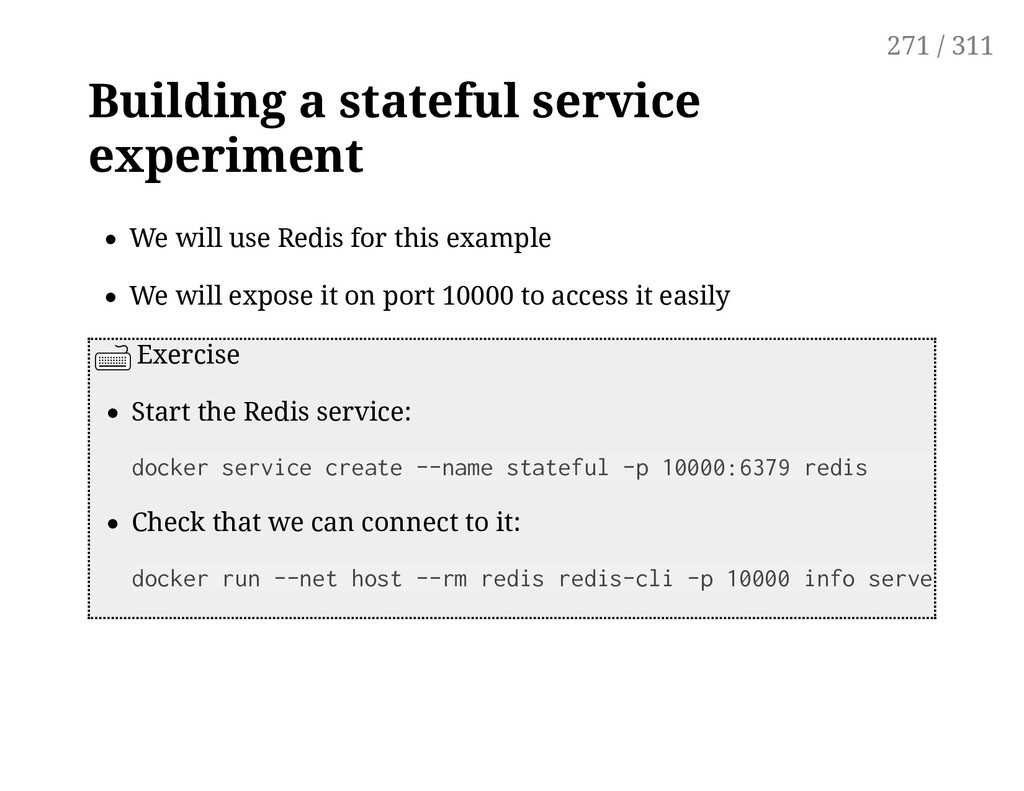
make sure that the data files are on a volume Volumes are host directories that are mounted to the container's filesystem These host directories can be backed by the ordinary, plain host filesystem ... ... Or by distributed/networked filesystems In the latter scenario, in case of node failure, the data is safe elsewhere ... ... And the container can be restarted on another node without data loss 270 / 311
this example We will expose it on port 10000 to access it easily Exercise Start the Redis service: docker service create --name stateful -p 10000:6379 redis Check that we can connect to it: docker run --net host --rm redis redis-cli -p 10000 info server 271 / 311
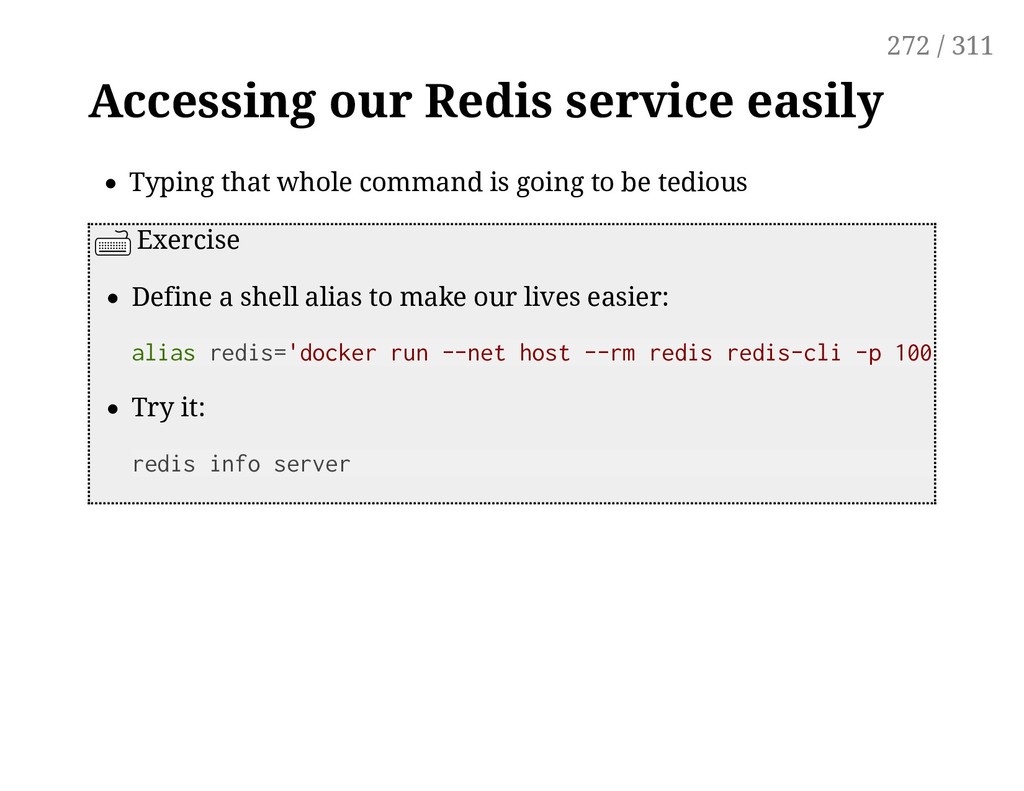
going to be tedious Exercise Define a shell alias to make our lives easier: Try it: redis info server alias redis='docker run --net host --rm redis redis-cli -p 10000' 272 / 311
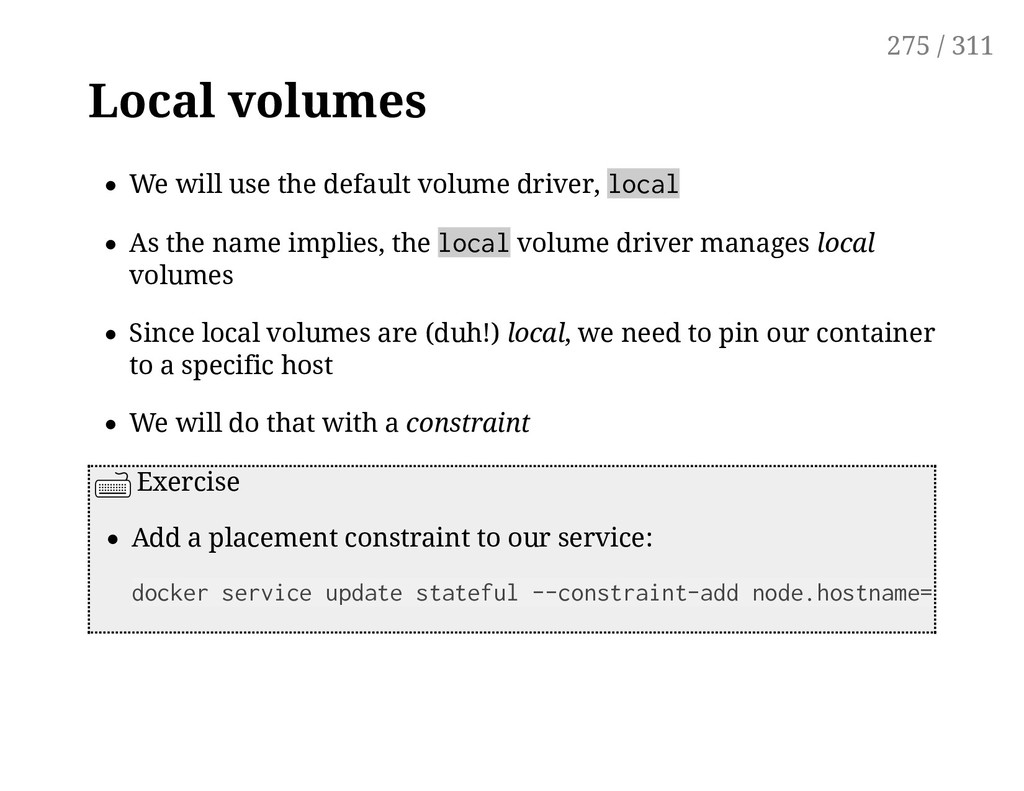
single namespace A global volume can be mounted on any node (bar some restrictions specific to the volume driver in use; e.g. using an EBS-backed volume on a GCE/EC2 mixed cluster) Attaching a global volume to a container allows to start the container anywhere (and retain its data wherever you start it!) Global volumes require extra plugins (Flocker, Portworx...) Docker doesn't come with a default global volume driver at this point Therefore, we will fall back on local volumes 274 / 311
As the name implies, the local volume driver manages local volumes Since local volumes are (duh!) local, we need to pin our container to a specific host We will do that with a constraint Exercise Add a placement constraint to our service: docker service update stateful --constraint-add node.hostname== 275 / 311
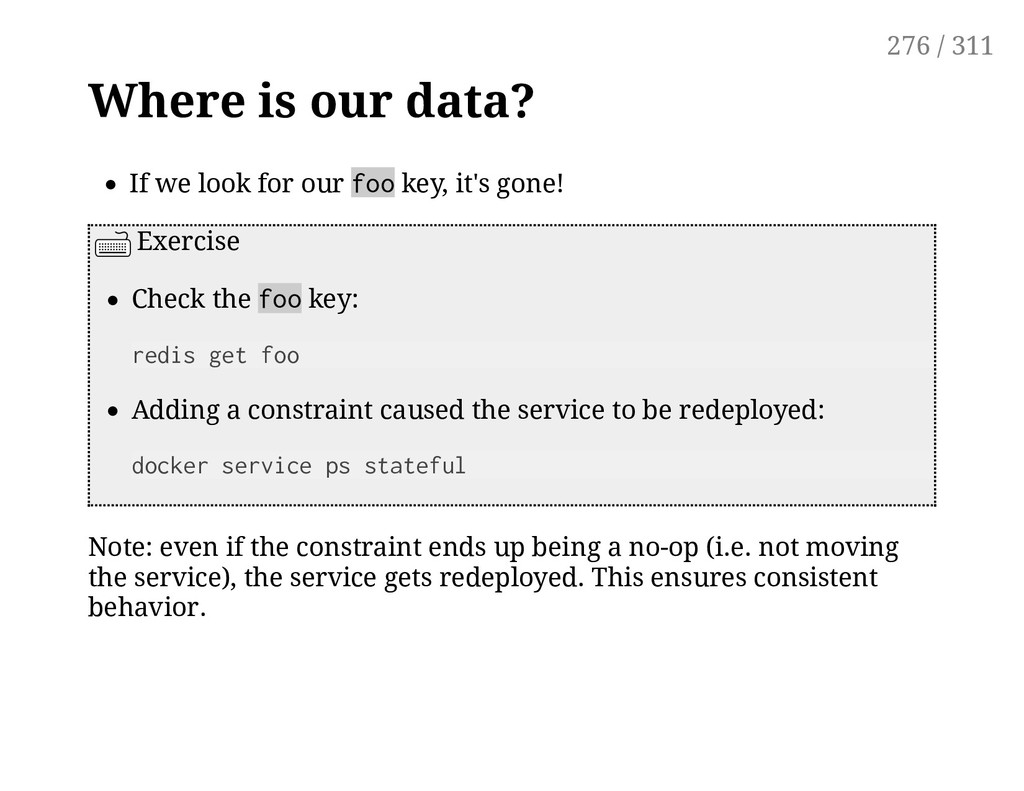
key, it's gone! Exercise Check the foo key: redis get foo Adding a constraint caused the service to be redeployed: docker service ps stateful Note: even if the constraint ends up being a no-op (i.e. not moving the service), the service gets redeployed. This ensures consistent behavior. 276 / 311
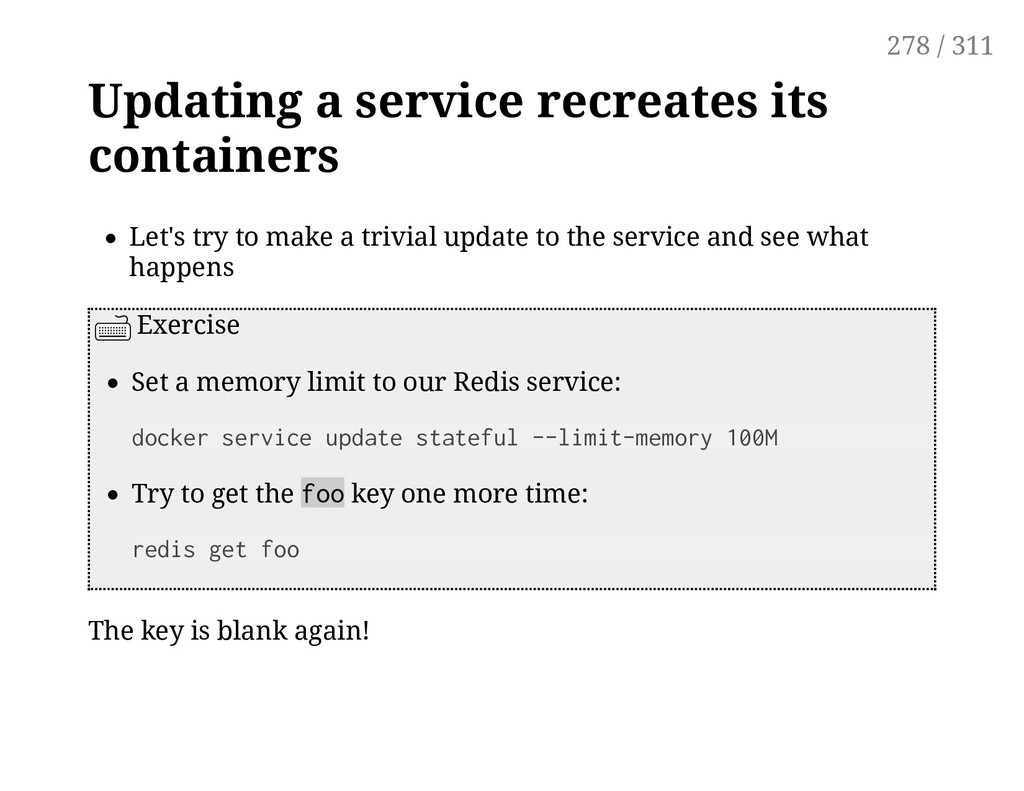
a trivial update to the service and see what happens Exercise Set a memory limit to our Redis service: docker service update stateful --limit-memory 100M Try to get the foo key one more time: redis get foo The key is blank again! 278 / 311
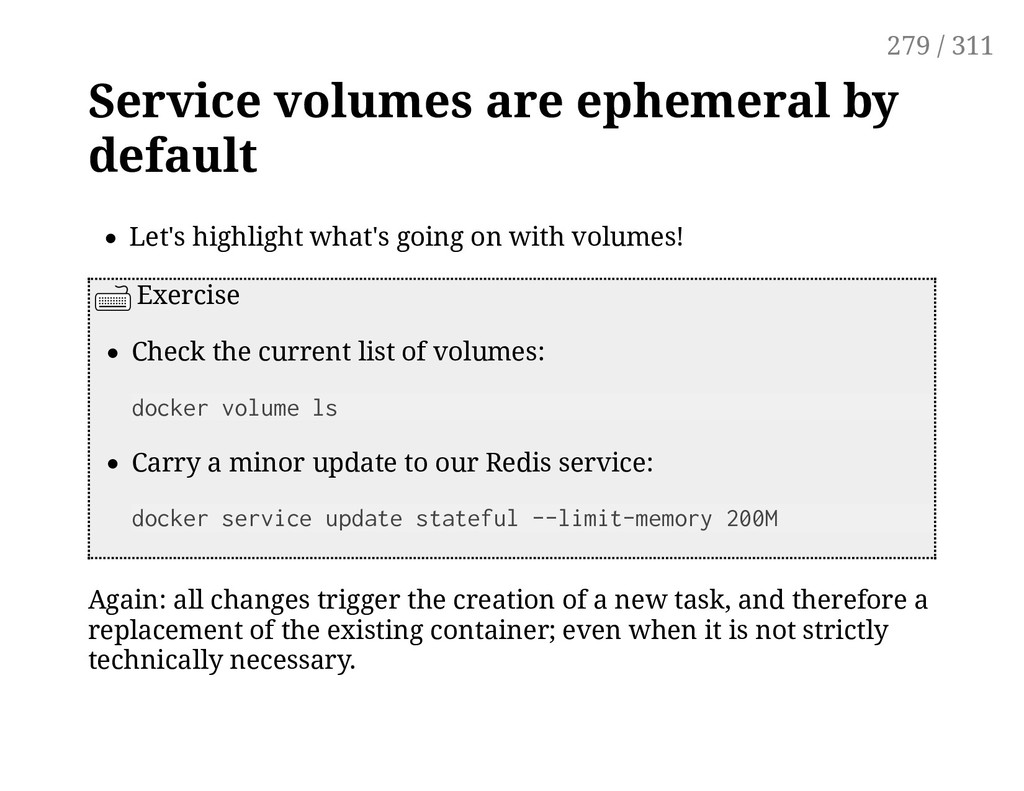
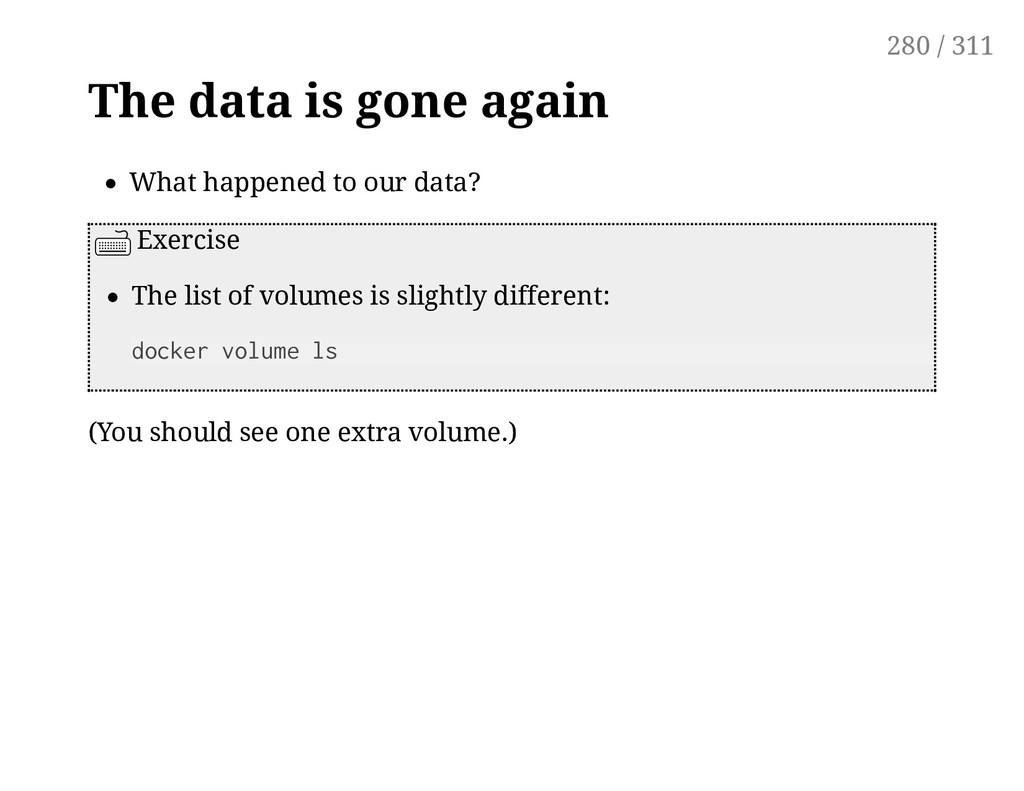
on with volumes! Exercise Check the current list of volumes: docker volume ls Carry a minor update to our Redis service: docker service update stateful --limit-memory 200M Again: all changes trigger the creation of a new task, and therefore a replacement of the existing container; even when it is not strictly technically necessary. 279 / 311
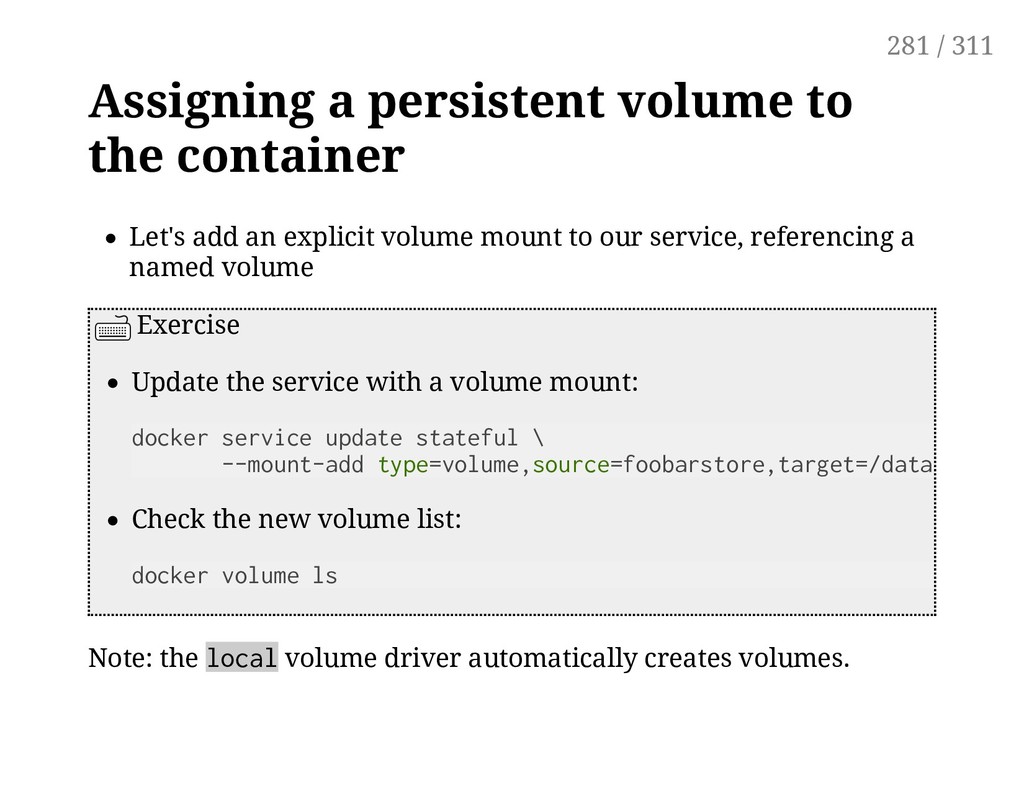
explicit volume mount to our service, referencing a named volume Exercise Update the service with a volume mount: docker service update stateful \ --mount-add type=volume,source=foobarstore,target=/data Check the new volume list: docker volume ls Note: the local volume driver automatically creates volumes. 281 / 311
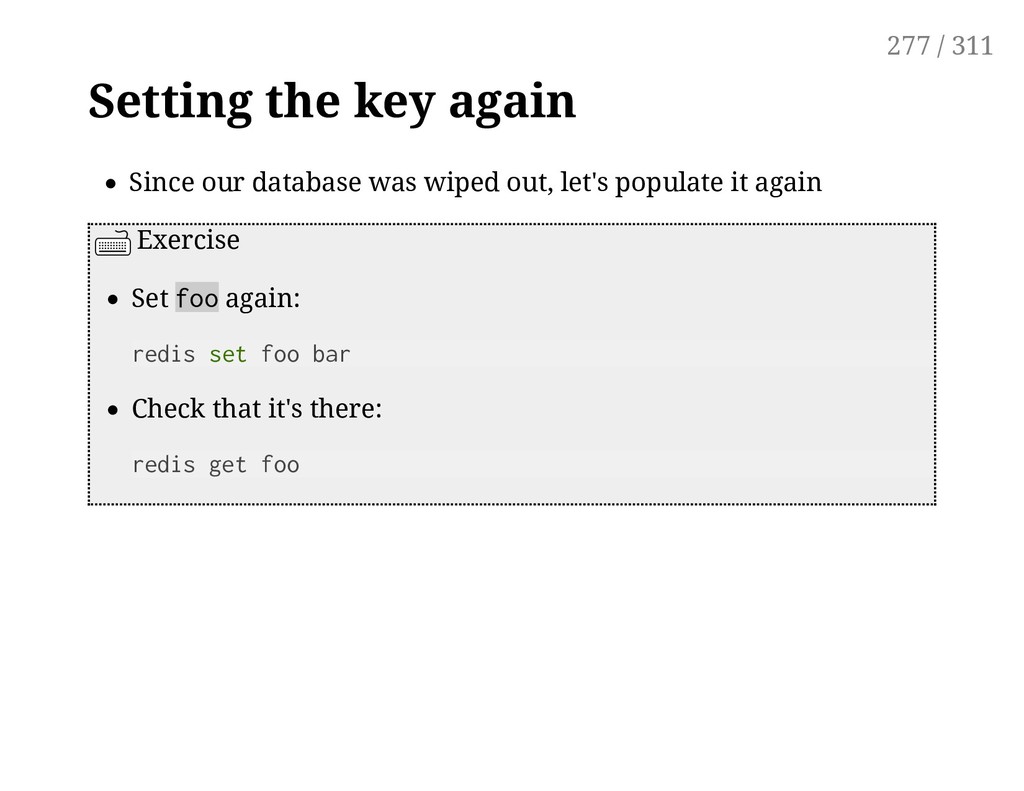
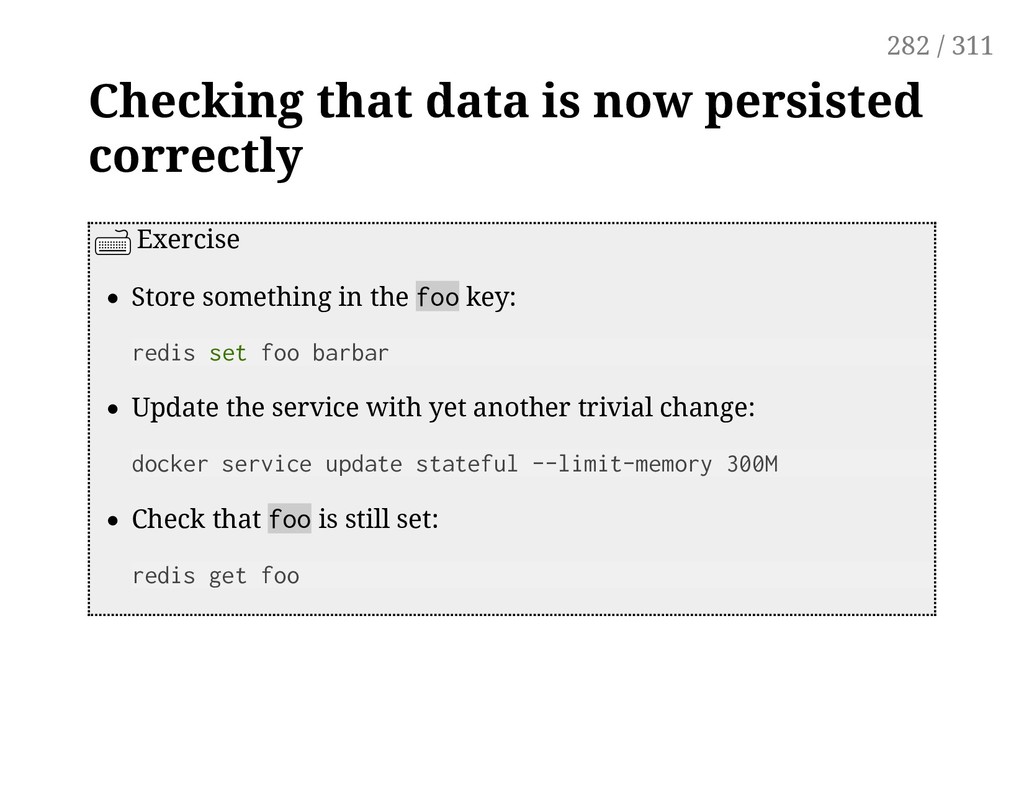
in the foo key: redis set foo barbar Update the service with yet another trivial change: docker service update stateful --limit-memory 300M Check that foo is still set: redis get foo 282 / 311
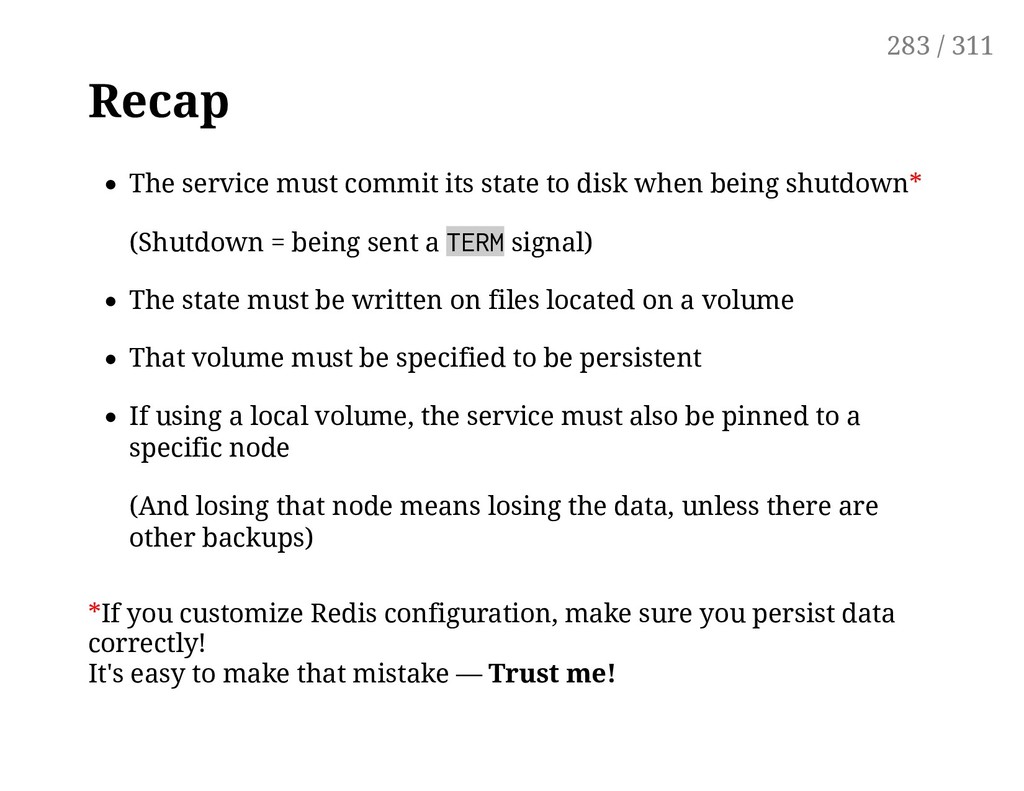
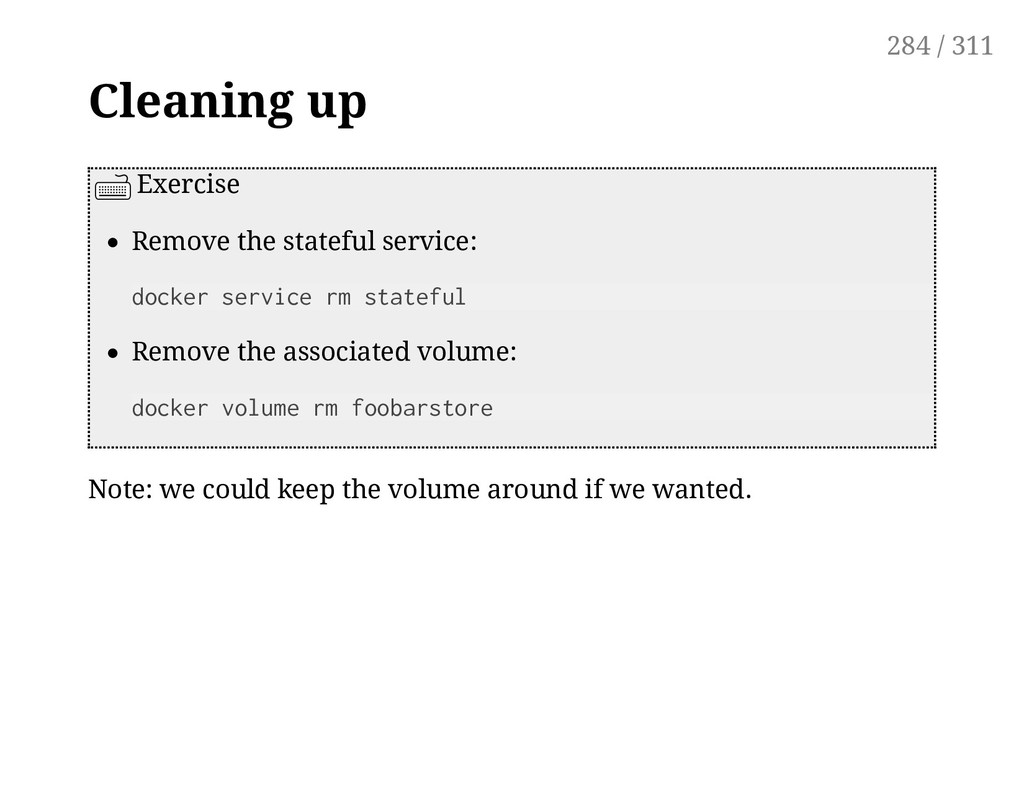
being shutdown* (Shutdown = being sent a TERM signal) The state must be written on files located on a volume That volume must be specified to be persistent If using a local volume, the service must also be pinned to a specific node (And losing that node means losing the data, unless there are other backups) *If you customize Redis configuration, make sure you persist data correctly! It's easy to make that mistake — Trust me! 283 / 311
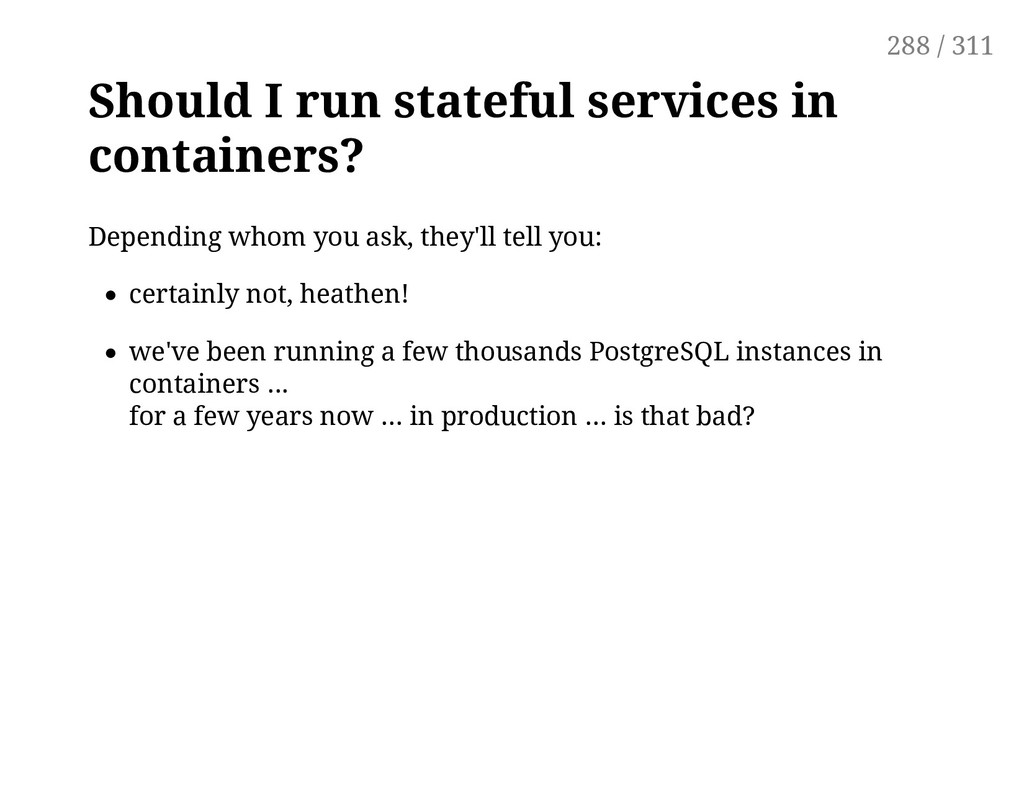
ask, they'll tell you: certainly not, heathen! we've been running a few thousands PostgreSQL instances in containers ... for a few years now ... in production ... is that bad? 288 / 311
ask, they'll tell you: certainly not, heathen! we've been running a few thousands PostgreSQL instances in containers ... for a few years now ... in production ... is that bad? what's a container? 289 / 311
ask, they'll tell you: certainly not, heathen! we've been running a few thousands PostgreSQL instances in containers ... for a few years now ... in production ... is that bad? what's a container? Perhaps a better question would be: "Should I run stateful services?" 290 / 311
ask, they'll tell you: certainly not, heathen! we've been running a few thousands PostgreSQL instances in containers ... for a few years now ... in production ... is that bad? what's a container? Perhaps a better question would be: "Should I run stateful services?" is it critical for my business? is it my value-add? or should I find somebody else to run them for me? 291 / 311
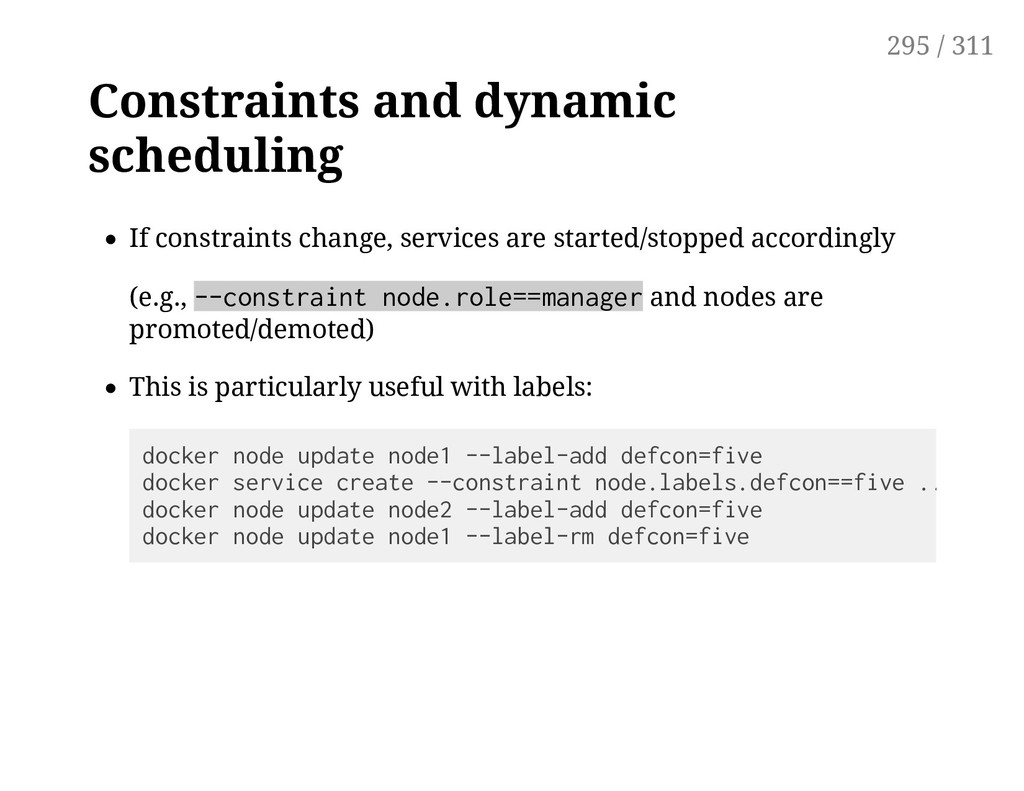
all nodes docker service create --mode global ... You can specify constraints for global services These services will run only on the node satisfying the constraints For instance, this service will run on all manager nodes: docker service create --mode global --constraint node.role==manager . 294 / 311
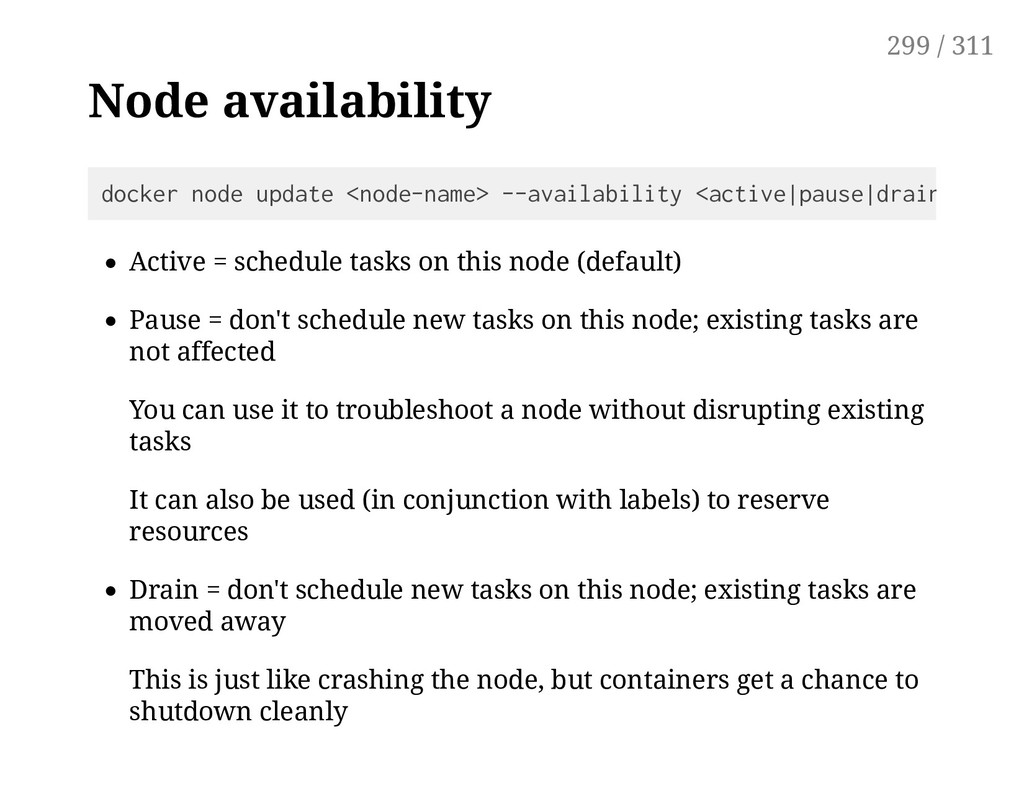
Pause = don't schedule new tasks on this node; existing tasks are not affected You can use it to troubleshoot a node without disrupting existing tasks It can also be used (in conjunction with labels) to reserve resources Drain = don't schedule new tasks on this node; existing tasks are moved away This is just like crashing the node, but containers get a chance to shutdown cleanly docker node update <node-name> --availability <active|pause|drain> 299 / 311
docker node promote Nodes can be demoted to worker with docker node demote This can also be done with docker node update <node> --role <manager|worker> Reminder: this has to be done from a manager node (workers cannot promote themselves) 300 / 311
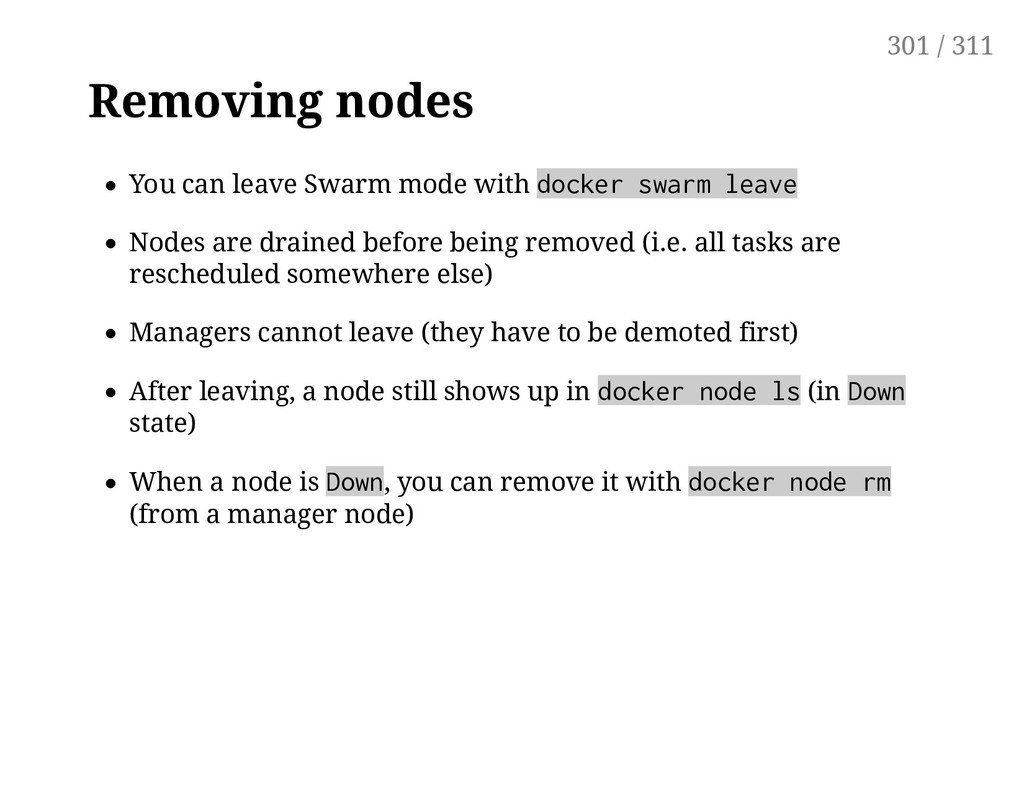
leave Nodes are drained before being removed (i.e. all tasks are rescheduled somewhere else) Managers cannot leave (they have to be demoted first) After leaving, a node still shows up in docker node ls (in Down state) When a node is Down, you can remove it with docker node rm (from a manager node) 301 / 311
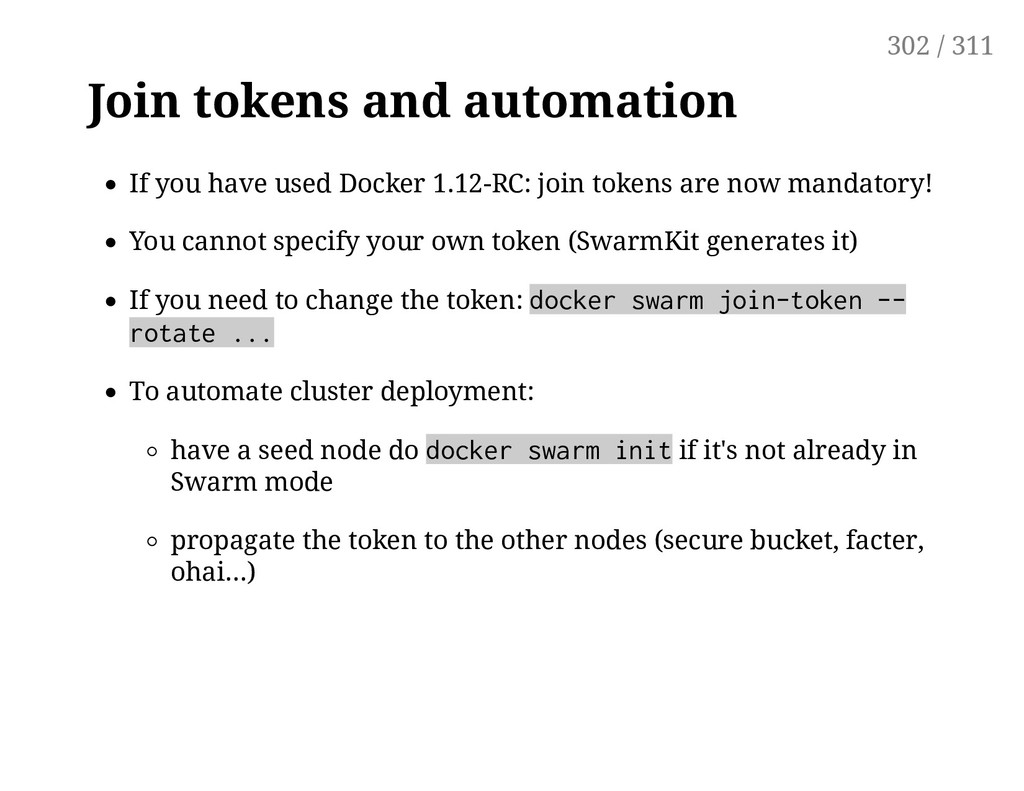
join tokens are now mandatory! You cannot specify your own token (SwarmKit generates it) If you need to change the token: docker swarm join-token -- rotate ... To automate cluster deployment: have a seed node do docker swarm init if it's not already in Swarm mode propagate the token to the other nodes (secure bucket, facter, ohai...) 302 / 311
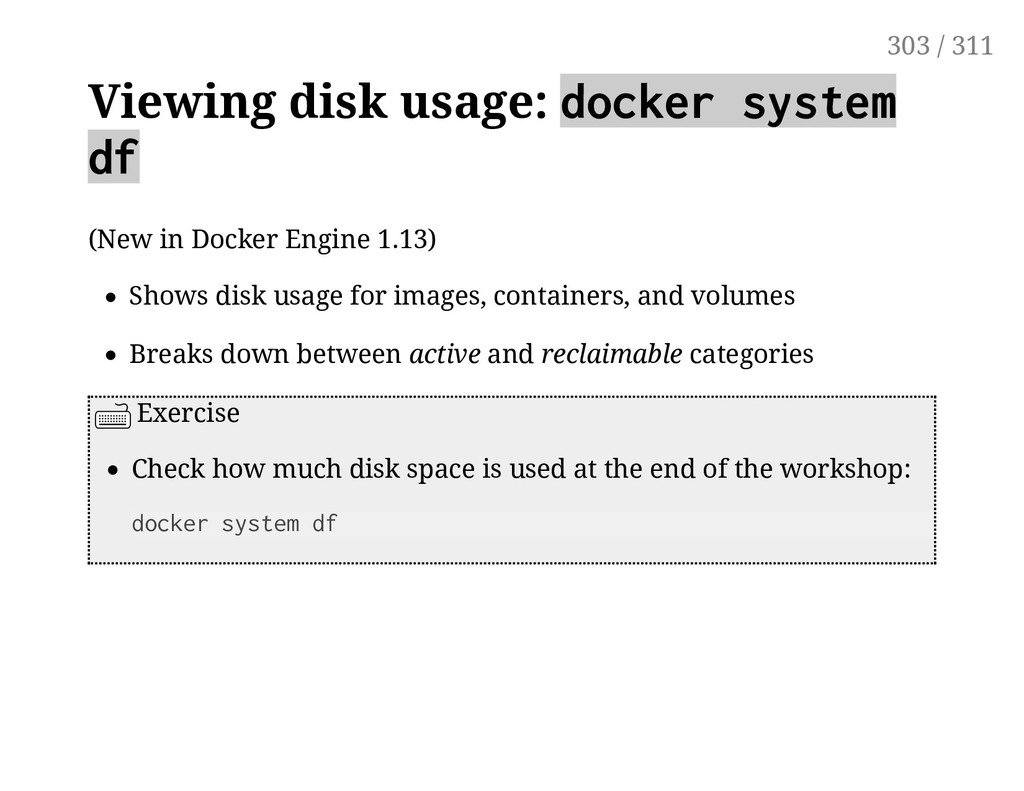
1.13) Shows disk usage for images, containers, and volumes Breaks down between active and reclaimable categories Exercise Check how much disk space is used at the end of the workshop: docker system df 303 / 311
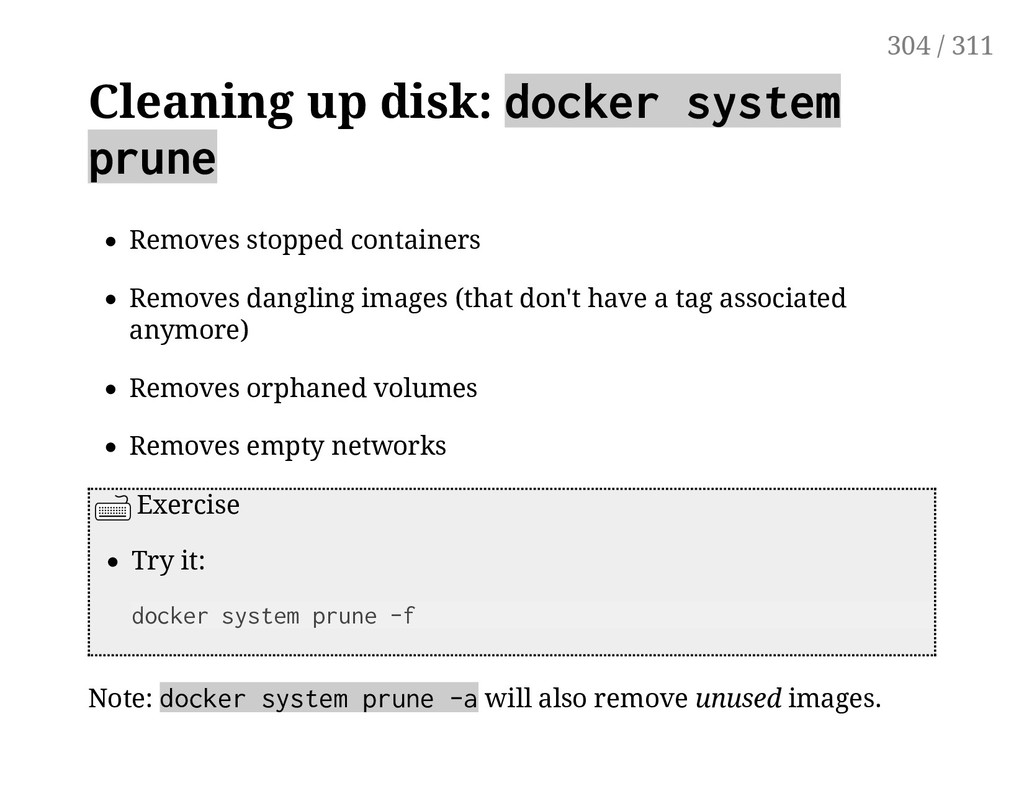
dangling images (that don't have a tag associated anymore) Removes orphaned volumes Removes empty networks Exercise Try it: docker system prune -f Note: docker system prune -a will also remove unused images. 304 / 311
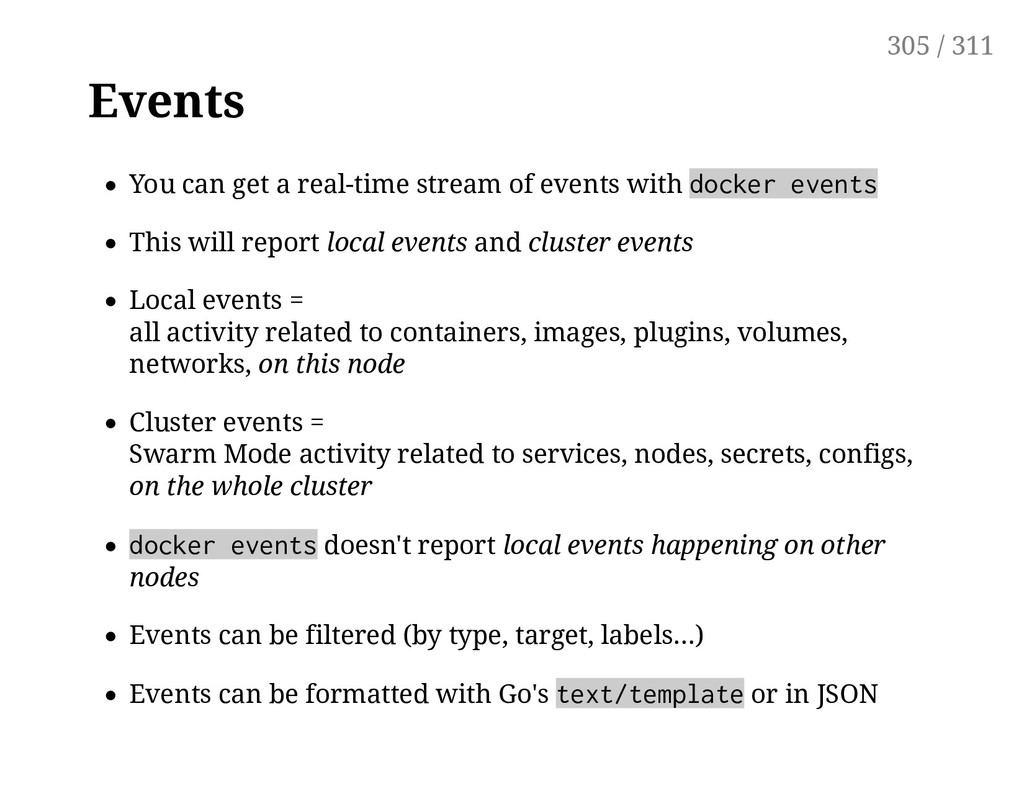
docker events This will report local events and cluster events Local events = all activity related to containers, images, plugins, volumes, networks, on this node Cluster events = Swarm Mode activity related to services, nodes, secrets, configs, on the whole cluster docker events doesn't report local events happening on other nodes Events can be filtered (by type, target, labels...) Events can be formatted with Go's text/template or in JSON 305 / 311
built-in to get a stream of all the events on all the nodes This can be achieved with (for instance) the four following services working together: a Redis container (used as a stateless, fan-in message queue) a global service bind-mounting the Docker socket, pushing local events to the queue a similar singleton service to push global events to the queue a queue consumer fetching events and processing them as you please I'm not saying that you should implement it with Shell scripts, but you totally could. 306 / 311
80,000 learning Docker and DevOps with me! Get in Docker Mastery Slack with over 12,000 people Docker Mastery video course $10 with this link Docker Swarm Mastery video course $10 with this link My Docker Resources and Blog/Tips/Social Links: https://bretfisher.com/docker YouTube Channel, weekly live AMA: https://bretfisher.com/youtube 310 / 311
Hub Docker Blog Docker documentation Docker on StackOverflow Docker on Twitter Play With Docker Hands-On Labs These slides (and future updates) are on → http://container.training/ 311 / 311