Upgrade to Pro — share decks privately, control downloads, hide ads and more …

SmartOS für den Hausgebrauch

fraosug
February 27, 2018

SmartOS für den Hausgebrauch

Vortrag und Hands-on von Volker A. Brandt

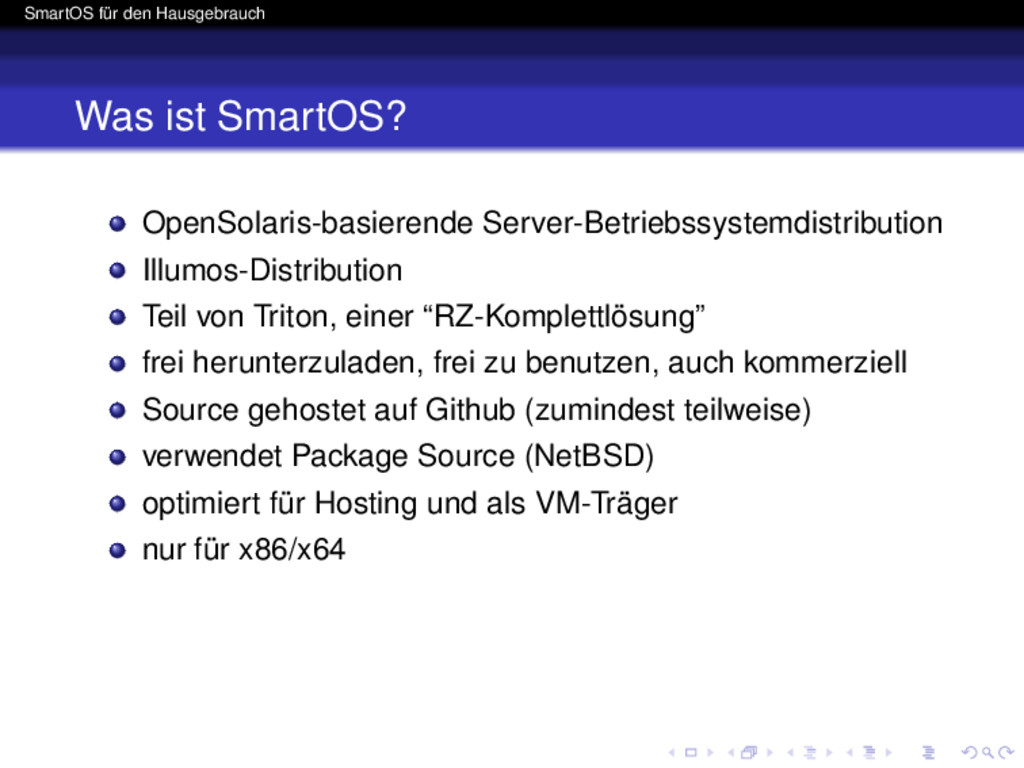
Das von Joyent aus OpenSolaris entwickelte SmartOS ist knallhart für die Cloud getrimmt -- ein skalierbarer Hypervisor mit minimalem Footprint und diversen Datacenter-Orchestrierungstools.

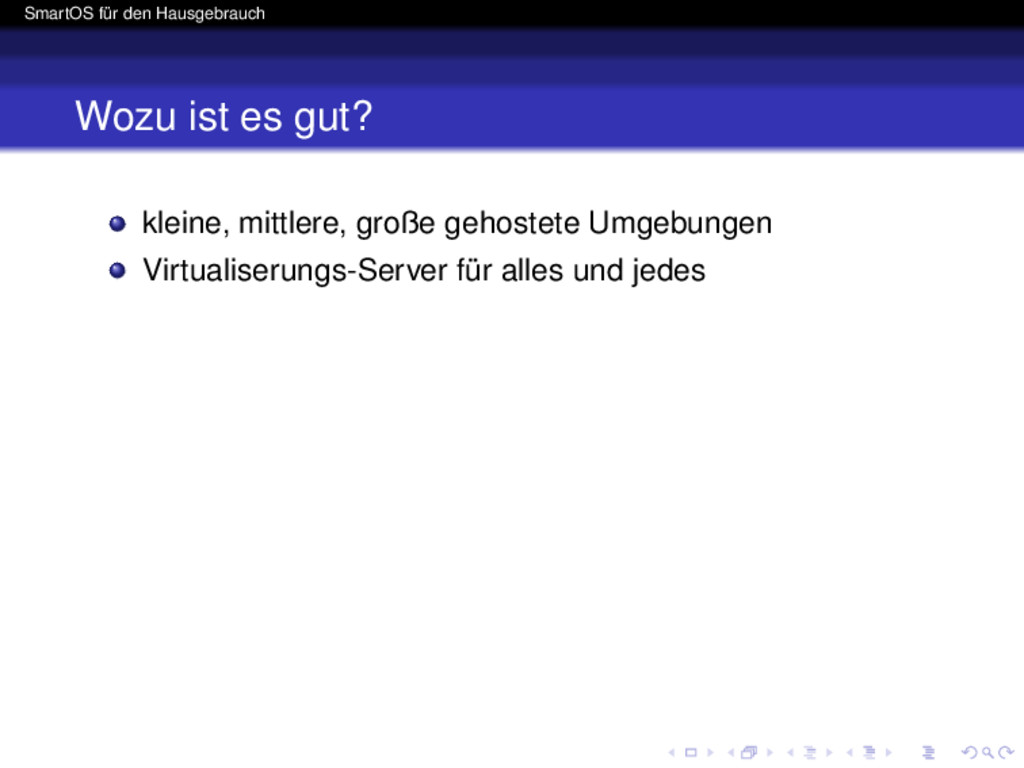
Also lohnt es sich überhaupt, über den Einsatz für "Kleinkram" daheim auch nur nachzudenken? Ja! Auch für ein kleines NAS, ein Time-Machine-Volume im Heimnetz oder als Host für 1-2 kleine Linuxe eignet sich SmartOS hervorragend -- und der Preis ist unschlagbar!

Ich möchte den Einsatz von SmartOS auf einem Microserver für diesen Einsatzzweck vorstellen und zeigen, daß man mit wenig Aufwand ein flexibles und performantes System bekommt, das mit jedem "Kauf-NAS" locker mithalten kann.

fraosug

February 27, 2018
Tweet

More Decks by fraosug

Other Decks in Technology

Transcript

  1. SmartOS für den Hausgebrauch SmartOS für den Hausgebrauch NAS und

    Virtualisierungsserver selbstgemacht Volker A. Brandt Brandt & Brandt Computer GmbH http://www.bb-c.de/ [email protected] 67. FRAOSUG-Treffen am 27.02.2018
  2. SmartOS für den Hausgebrauch Was ist SmartOS? OpenSolaris-basierende Server-Betriebssystemdistribution Illumos-Distribution

    Teil von Triton, einer “RZ-Komplettlösung” frei herunterzuladen, frei zu benutzen, auch kommerziell Source gehostet auf Github (zumindest teilweise) verwendet Package Source (NetBSD) optimiert für Hosting und als VM-Träger nur für x86/x64
  3. SmartOS für den Hausgebrauch Wozu ist es gut? kleine, mittlere,

    große gehostete Umgebungen Virtualiserungs-Server für alles und jedes
  4. SmartOS für den Hausgebrauch Wozu taugt es nicht? Desktop persistentes

    Arbeiten in der Global Zone Plattform für fertige (gekaufte) Software
  5. SmartOS für den Hausgebrauch Verfügbarkeit Joyent baut alle paar Wochen

    neue Boot-Images einfach USB-Stick aktualisieren und neu booten Netzwerk-Boot geht natürlich auch kostenpflichtiger Support über Triton/Hosting-Angebote Dan McDonald von OmniOS arbeitet jetzt auch bei Joyent sehr fleißiges Upstreamen von Änderungen
  6. SmartOS für den Hausgebrauch Was bekommt man? <shelob:/mirr/SmartOS/20180118,10056> ls -goLF

    total 1374671 -r--r--r-- 1 14696 Jan 18 05:02 changelog.txt -r--r--r-- 1 424 Jan 18 05:05 md5sums.txt -r--r--r-- 1 167445599 Jan 18 05:06 platform-20180118T013028Z.tgz -r--r--r-- 1 17 Jan 18 05:05 SINGLE_USER_ROOT_PASSWORD.txt -r--r--r-- 1 167829832 Jan 18 05:03 smartos-20180118T013028Z-USB.img.bz2 -r--r--r-- 1 282572800 Jan 18 03:57 smartos-20180118T013028Z.iso -r--r--r-- 1 167972238 Jan 18 05:02 smartos-20180118T013028Z.vmwarevm.tar.bz2
  7. SmartOS für den Hausgebrauch First Boot: Serielle Console mit dem

    USB-Stick grub> variable os_console ttyb Selected OS console device is ’ttyb’.. To change OS console device, enter command-line modee and use ’variable os_console <dev>’, then Esc to return.. Valid <dev> values are: ttya, ttyb, ttyc, ttyd, vga (und dann noch das übliche (... -B console=ttyb,...).
  8. SmartOS für den Hausgebrauch First Boot: Start SmartOS Setup Joyent

    https://wiki.smartos.org/install -------------------------------------------------------------------------------- You must answer the following questions to configure your SmartOS node. You will have a chance to review and correct your answers, as well as a chance to edit the final configuration, before it is applied. At the prompts, if you type ^C you will be placed into a shell. When you exit the shell the configuration process will resume from where it was interrupted. Press [enter] to continue
  9. SmartOS für den Hausgebrauch First Boot: Network 1 SmartOS Setup

    Networking https://wiki.smartos.org/install -------------------------------------------------------------------------------- To set up networking you must first configure a network tag. A network tag refers to a physical NIC or an aggregation. Virtual machines will be created on top of a network tag. Setup will first create a network tag and configure a NIC so that you can access the SmartOS global zone. After setup has been completed, you will have the option of creating additional network tags and configuring additional NICs for accessing the global zone through the nictagadm(1M) command. Press [enter] to continue
  10. SmartOS für den Hausgebrauch First Boot: Network 2 SmartOS Setup

    Networking - Admin https://wiki.smartos.org/install -------------------------------------------------------------------------------- The admin network is the primary network in SmartOS. It is the default network that is created. The configured NIC will be used to access the global zone. If you wish to use a VLAN on this network, you must configure VLAN ACCESS mode for this network. Number Link MAC Address State Network 1 bge0 94:18:82:37:1a:dc up - 2 bge1 94:18:82:37:1a:dd down - Enter the number of the NIC for the ’admin’ interface: 1 (admin) IP address (or dhcp): 192.168.222.98 (admin) netmask [255.255.255.0]:
  11. SmartOS für den Hausgebrauch First Boot: Gateway und DNS SmartOS

    Setup Networking - Continued https://wiki.smartos.org/install -------------------------------------------------------------------------------- The default gateway will determine which router will be used to connect the global zone to other networks. This will almost certainly be the router connected to your ’admin’ network. Use ’none’ if you have no gateway. Enter the default gateway IP [none]: 192.168.222.254 The DNS servers set here will be used to provide name resolution abilities to the SmartOS global zone itself. These DNS servers are independent of anything you use to create virtual machines through vmadm(1M). Enter the Primary DNS server IP [8.8.8.8]: 192.168.222.254 Checking connectivity...OK Enter the Secondary DNS server IP [8.8.4.4]: 217.0.43.33 Checking connectivity...OK Default DNS search domain: bb-c.de By default the headnode acts as an NTP server for the admin network. You can set the headnode to be an NTP client to synchronize to another NTP server. Enter an NTP server IP address or hostname [0.smartos.pool.ntp.org]: 192.168.222.254 Checking connectivity...OK
  12. SmartOS für den Hausgebrauch First Boot: zpool SmartOS Setup Storage

    https://wiki.smartos.org/install -------------------------------------------------------------------------------- SmartOS will automatically determine what we think is the best zpool layout from your current disks. You may use this suggestion, change to another built in storage profile, or simply create your own zpool. vdevs: c2t0d0 total capacity: 2794.52 GB This is the ’default’ storage configuration. To use it, type ’yes’. To see a different configuration, type: ’raidz2’, ’mirror’, or ’default’. To specify a manual configuration, type: ’manual’. Selected zpool layout [yes]:
  13. SmartOS für den Hausgebrauch First Boot: Password und Hostname SmartOS

    Setup System Configuration https://wiki.smartos.org/install -------------------------------------------------------------------------------- Setup will now go through and prompt for final pieces of account configuration. This includes setting the root password for the global zone and optionally setting a hostname. Enter root password: Confirm password: Enter system hostname [press enter for none]: basalt
  14. SmartOS für den Hausgebrauch First Boot: Zusammenfassung SmartOS Setup Verify

    Configuration https://wiki.smartos.org/install -------------------------------------------------------------------------------- Please verify your SmartOS Configuration. After this point the system will set up and all data on the disks will be erased. Net MAC IP addr. Netmask Admin 94:18:82:37:1a:dc 192.168.222.98 255.255.255.0 DNS Servers: (192.168.222.254, 217.0.43.33), Search Domain: bb-c.de Hostname: basalt NTP server: 192.168.222.254 Is this correct, proceed with installation? [y]: Creating pool zones... done Making dump zvol... dump on /dev/zvol/dsk/zones/dump size done Initializing config dataset for zones... Creating config dataset... done Creating global cores dataset... done Creating opt dataset... done Initializing var dataset... done Creating swap zvol... done System setup has completed. Press enter to reboot. rebooting...
  15. SmartOS für den Hausgebrauch Konfiguration # cat /usbkey/config # #

    This file was auto-generated and must be source-able by bash. # admin_nic=94:18:82:37:1a:dc admin_ip=192.168.222.98 admin_netmask=255.255.255.0 admin_network= admin_gateway=192.168.222.98 headnode_default_gateway=192.168.222.254 dns_resolvers=192.168.222.254,217.0.43.33 dns_domain=bb-c.de ntp_hosts=192.168.222.254 compute_node_ntp_hosts=192.168.222.98 hostname=basalt
  16. SmartOS für den Hausgebrauch Die Herausforderung: Das OS ist auf

    einem USB-Stick! das Betriebssystem ist im Wesentlichen read-only root ist eine RAM-Disk, ziemlich klein und hat wenig freien Platz /usr ist ein Loopback und read-only nach einem Reboot ist alles weg
  17. SmartOS für den Hausgebrauch SmartOS hat eine Art Nachkonfiguration für

    Dateien # ls -l config.inc total 9 -r--r--r-- 1 root root 615 Jan 27 16:12 authorized_keys # tail -2 config root_authorized_keys_file=authorized_keys default_keymap=germany Das reicht aber nicht!
  18. SmartOS für den Hausgebrauch Die Lösung: Persistenz in /opt/custom SmartOS

    ist eigentlich so entworfen, daß in der globalen Zone nichts persistentes verbleiben soll. Wie erstelle ich also Konfigurationsdateien in /etc, starte SMF-Dienste, mache crontab-Einträge usw. usw. usw.? Der Trick: SMF-Manifeste in /opt/custom/smf werden beim Booten eingelesen man baut damit eine Art Init-Dienst für Arme, der alles Gewünschte nachstartet DEMO