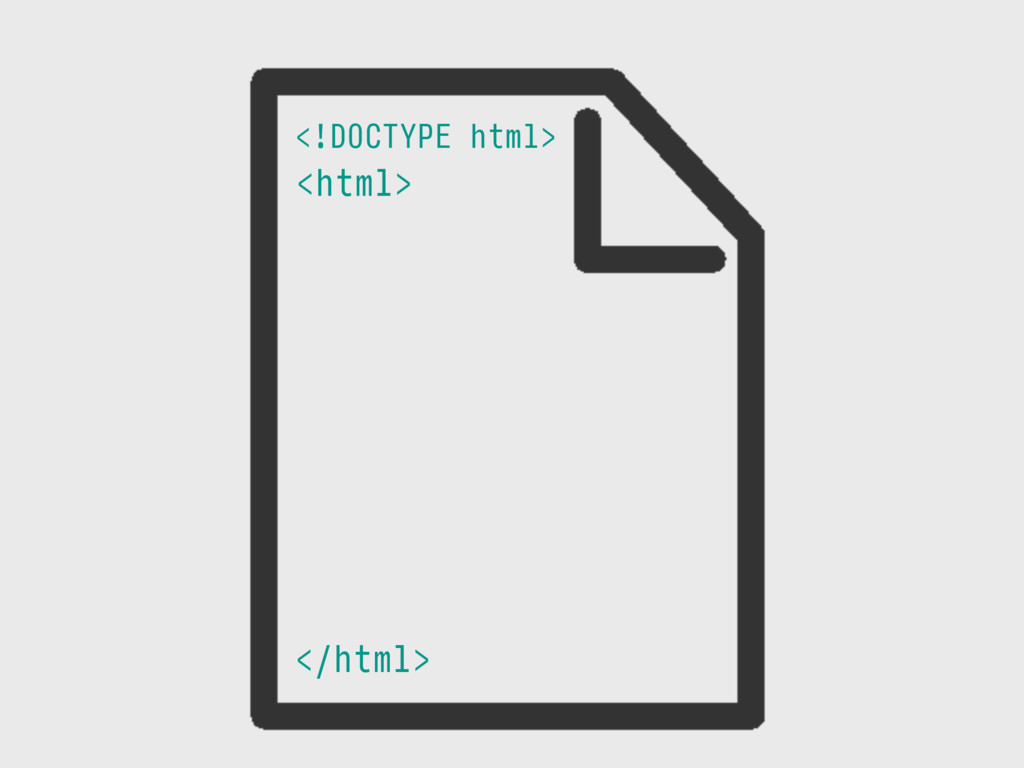
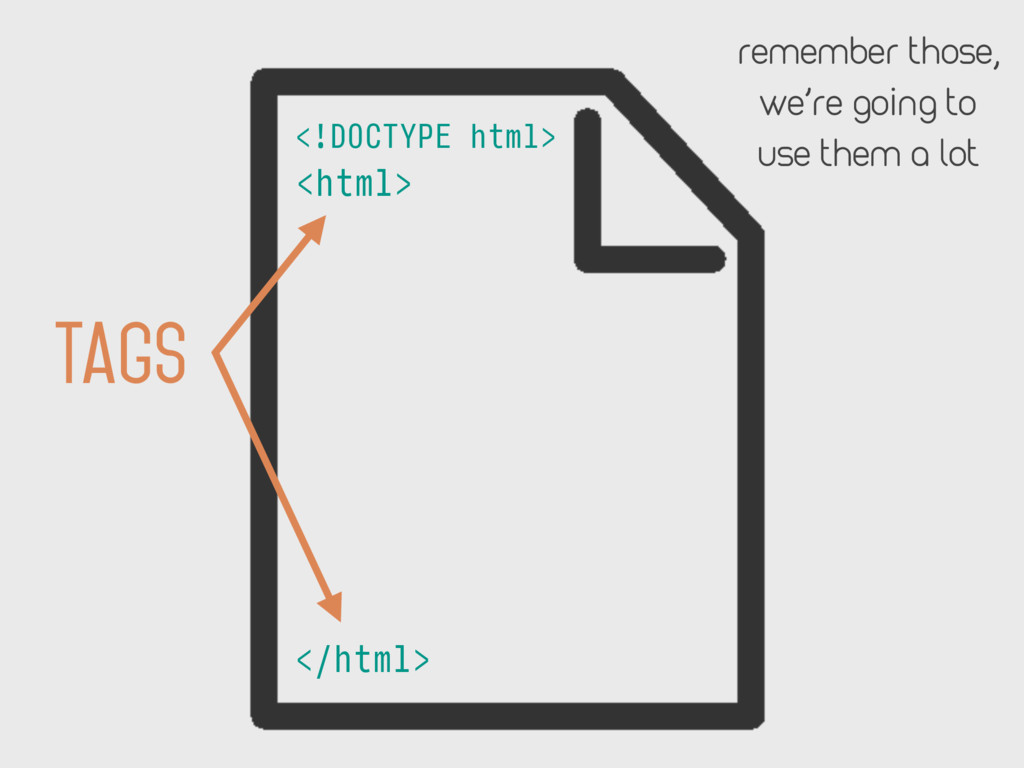
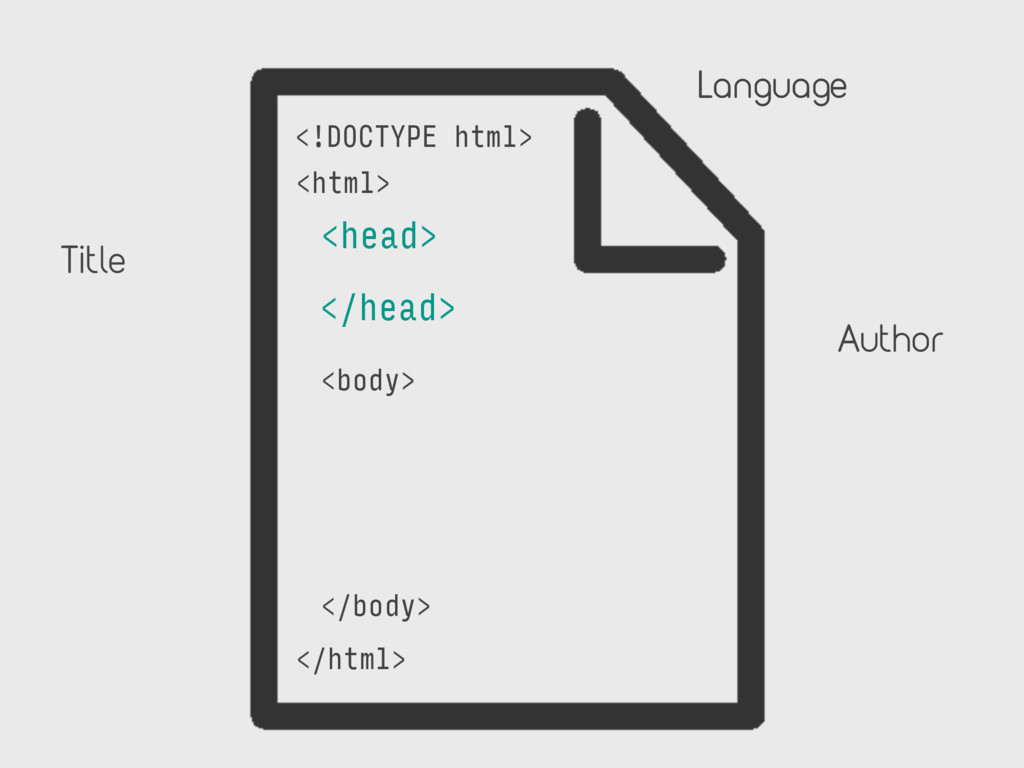
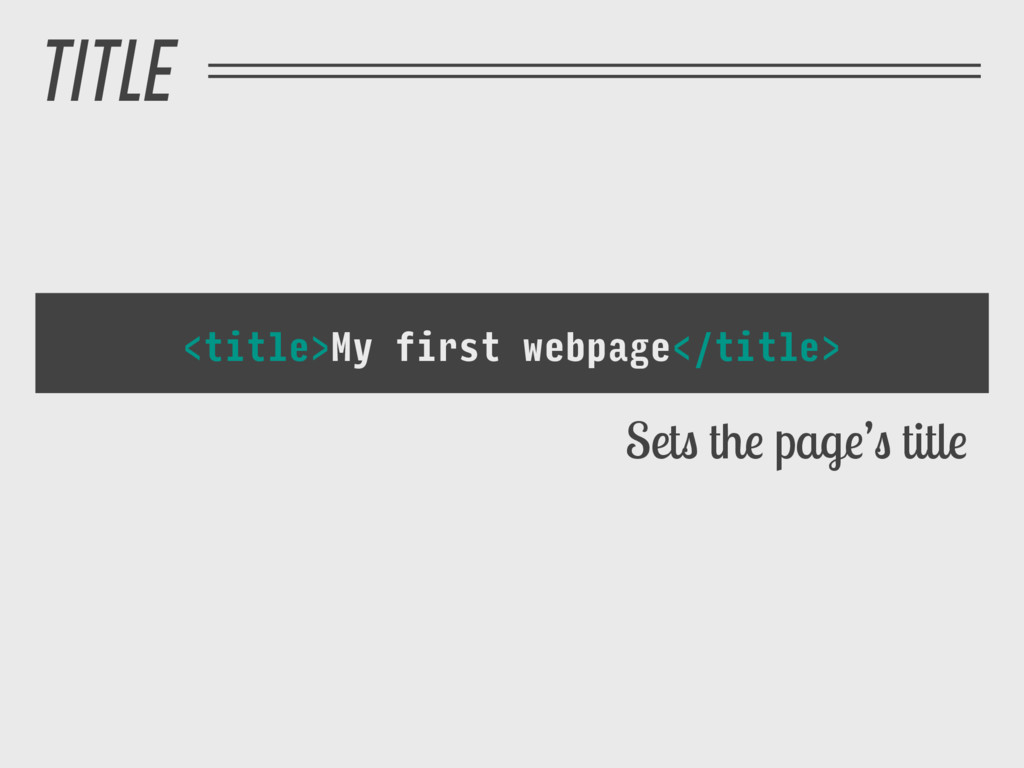
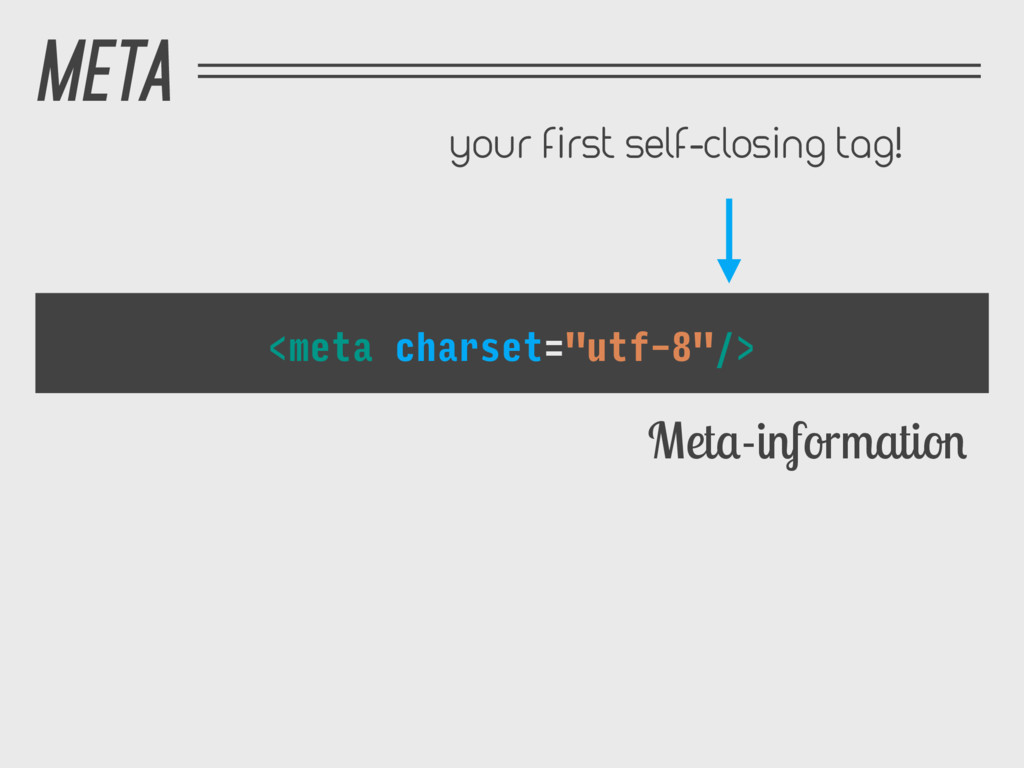
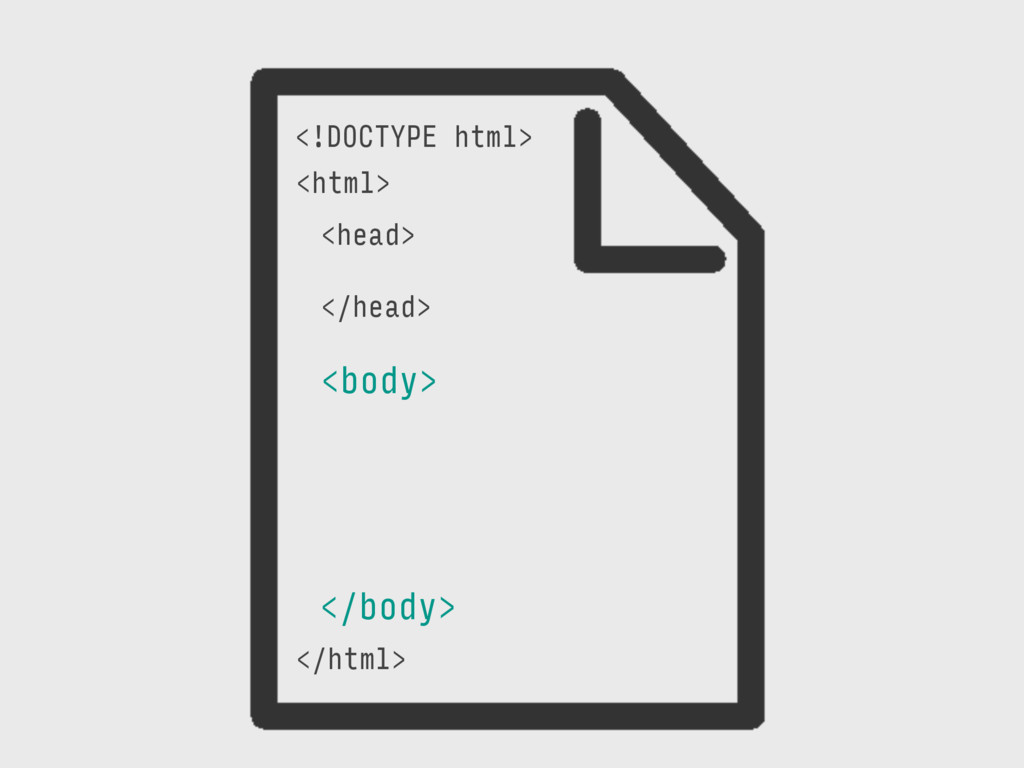
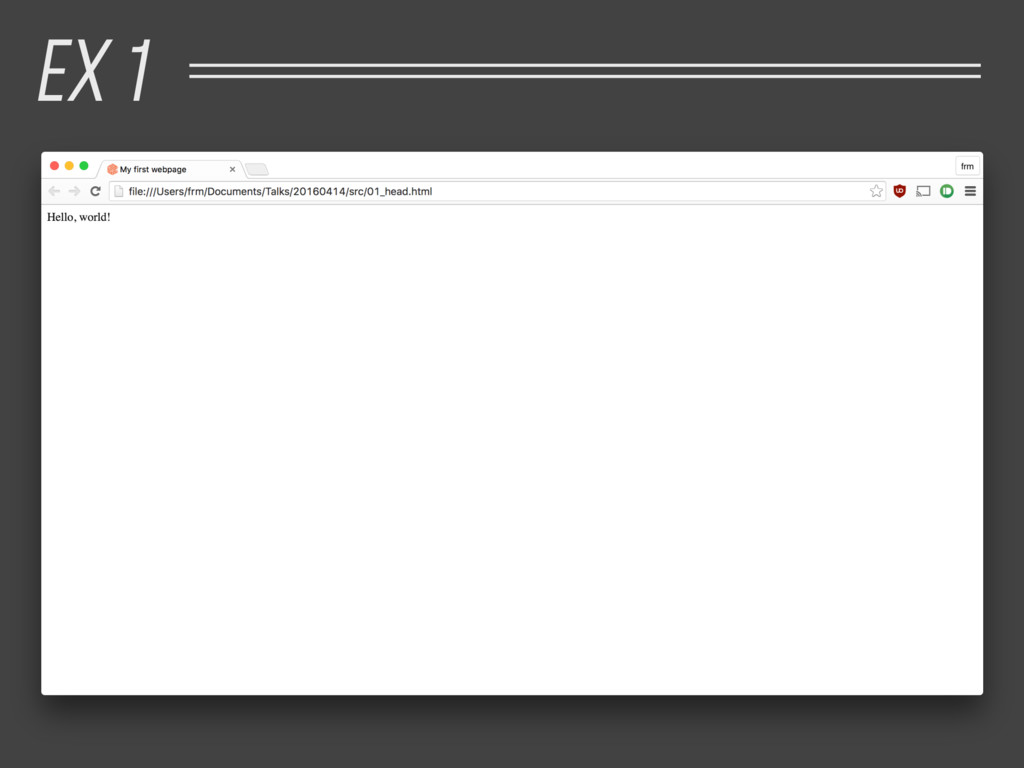
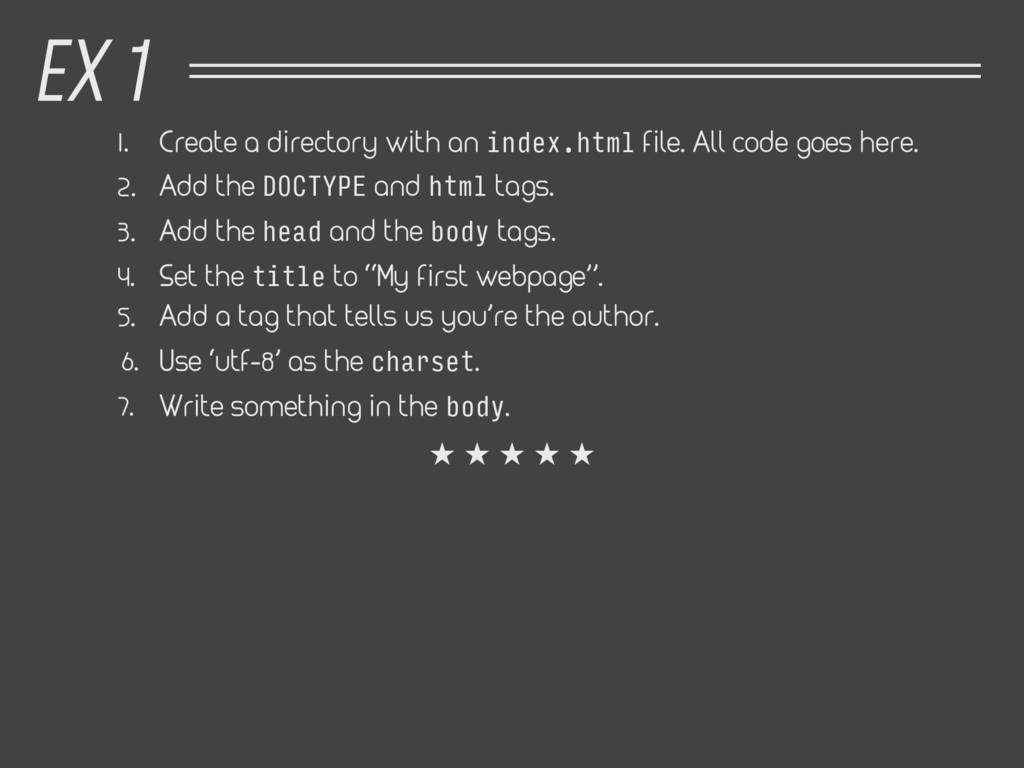
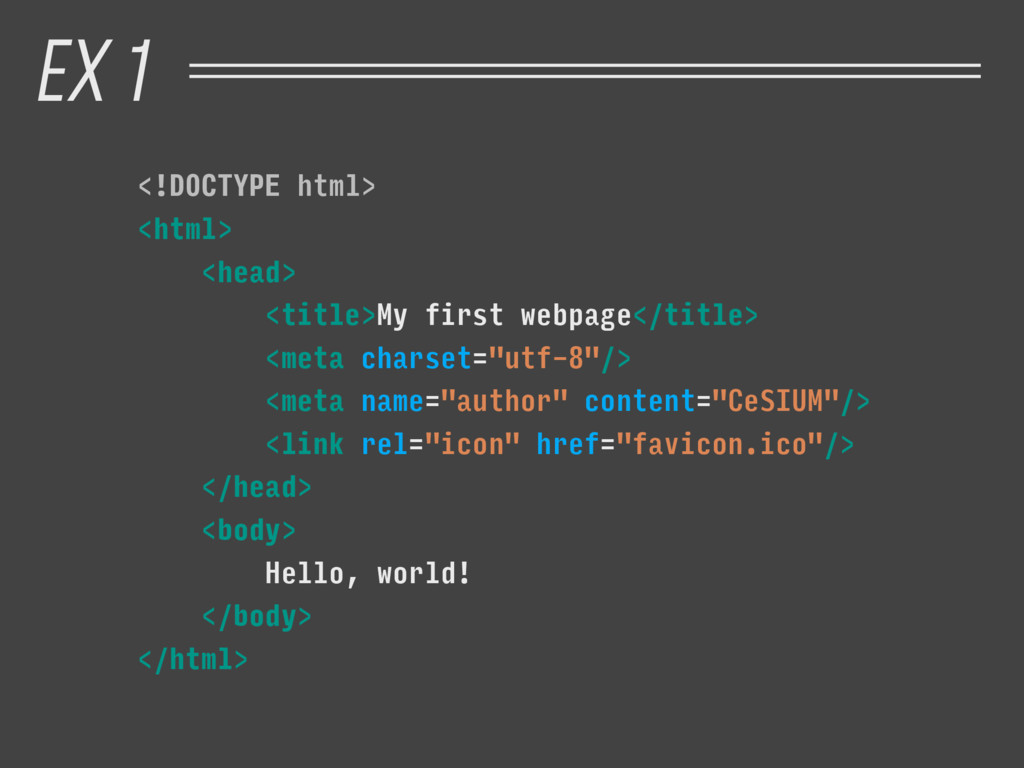
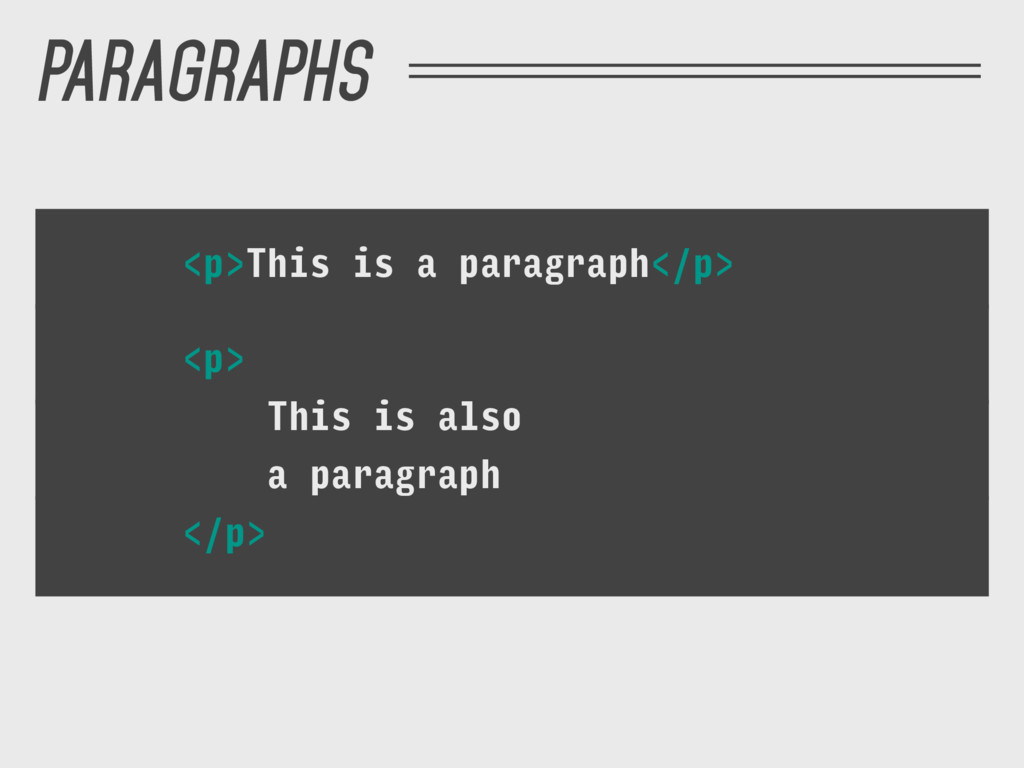
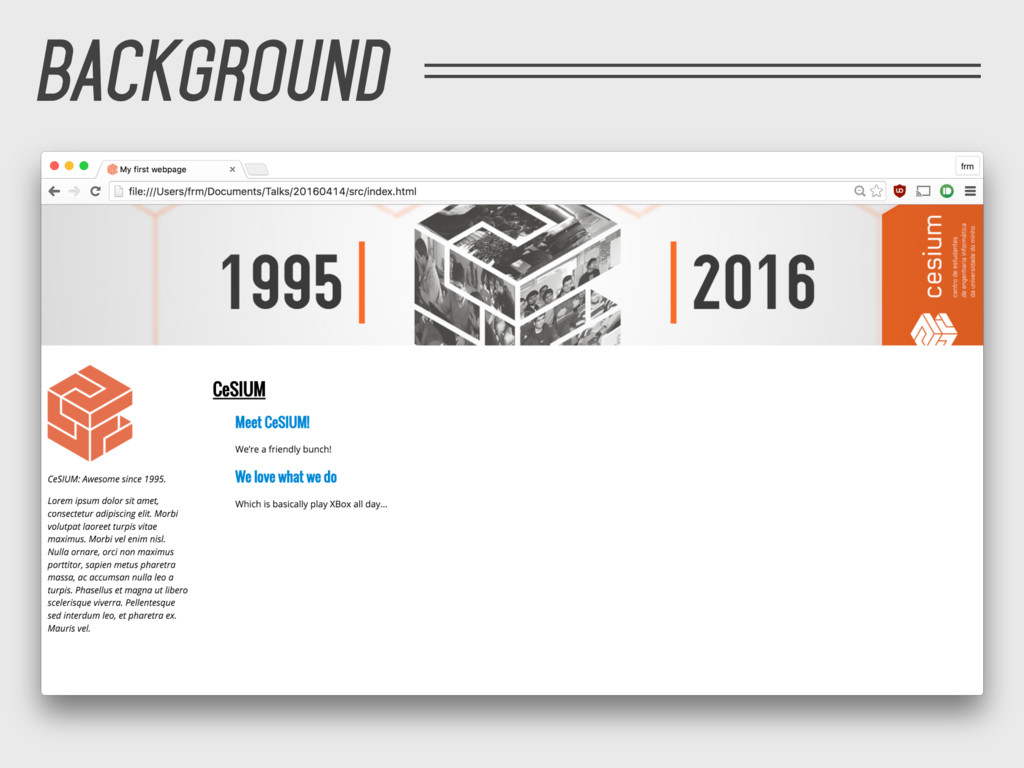
goes here. 2. Add the DOCTYPE and html tags. 3. Add the head and the body tags. 4. Set the title to “My first webpage”. 5. Add a tag that tells us you’re the author. 6. Use ‘utf-8’ as the charset. 7. Write something in the body. EX 1
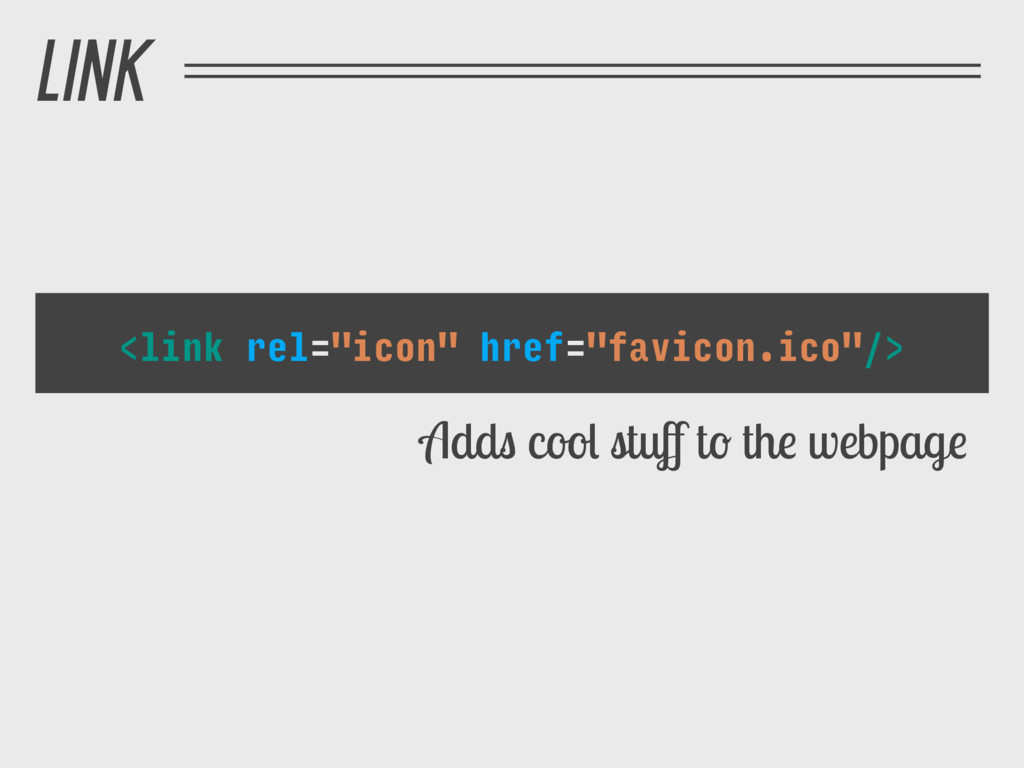
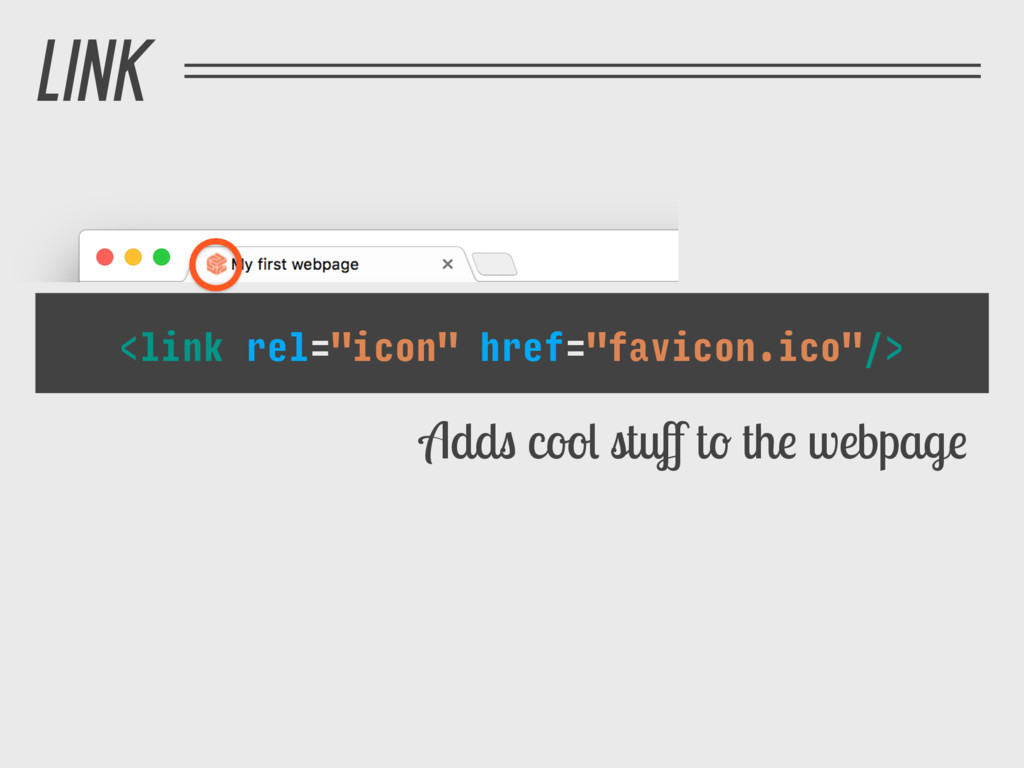
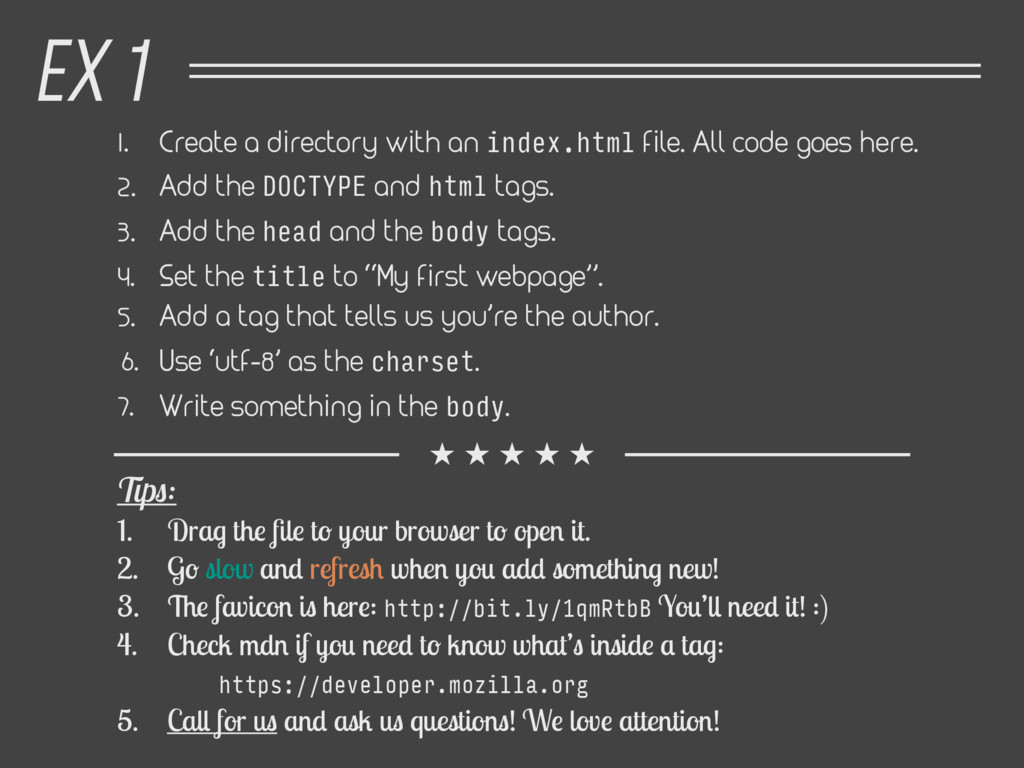
goes here. 2. Add the DOCTYPE and html tags. 3. Add the head and the body tags. 4. Set the title to “My first webpage”. 5. Add a tag that tells us you’re the author. 6. Use ‘utf-8’ as the charset. 7. Write something in the body. Tips: 1. Drag the file to your browser to open it. 2. Go slow and refresh when you add something new! 3. The favicon is here: http://bit.ly/1qmRtbB You’ll need it! :) 4. Check mdn if you need to know what’s inside a tag: https://developer.mozilla.org 5. Call for us and ask us questions! We love attention! EX 1
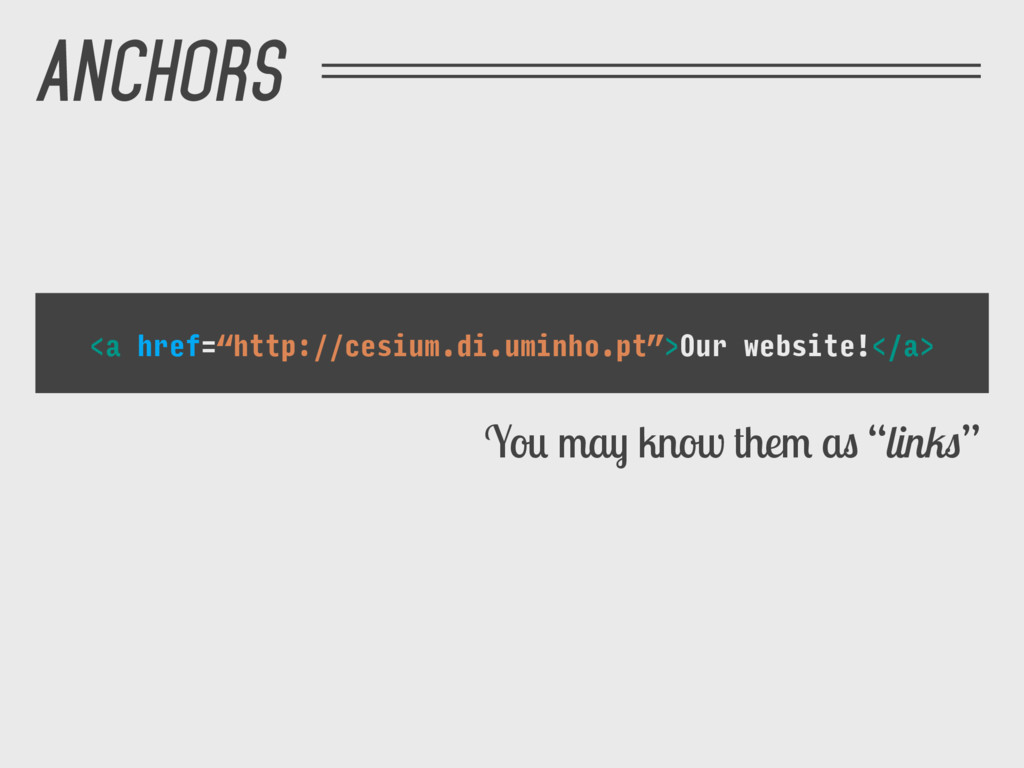
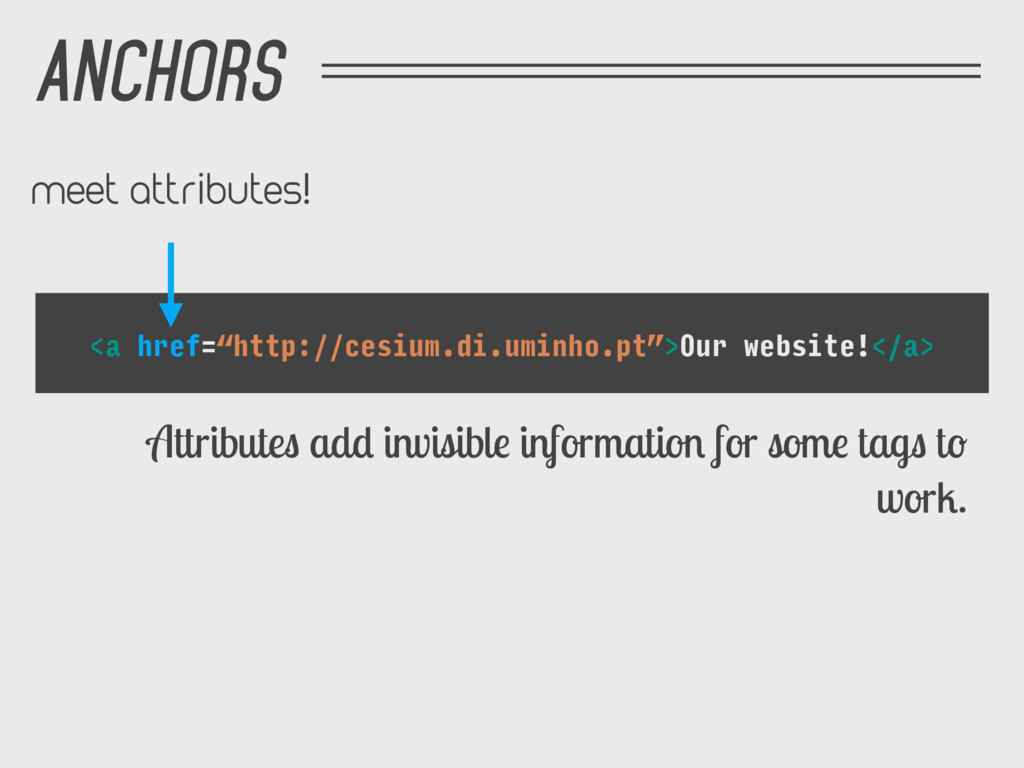
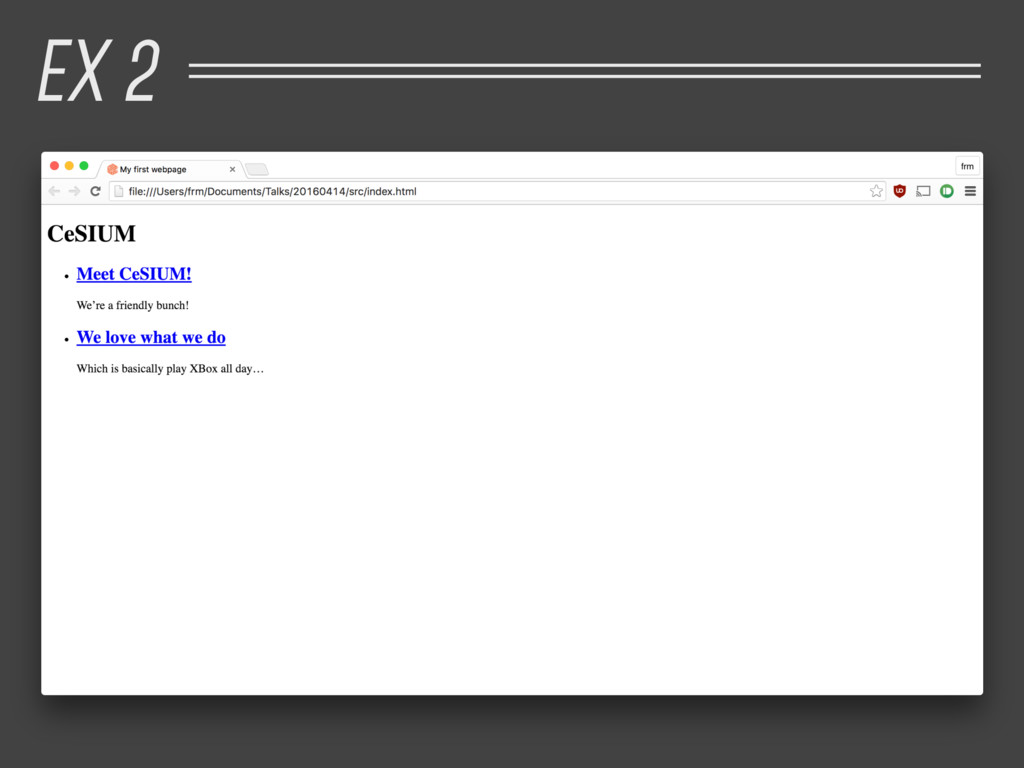
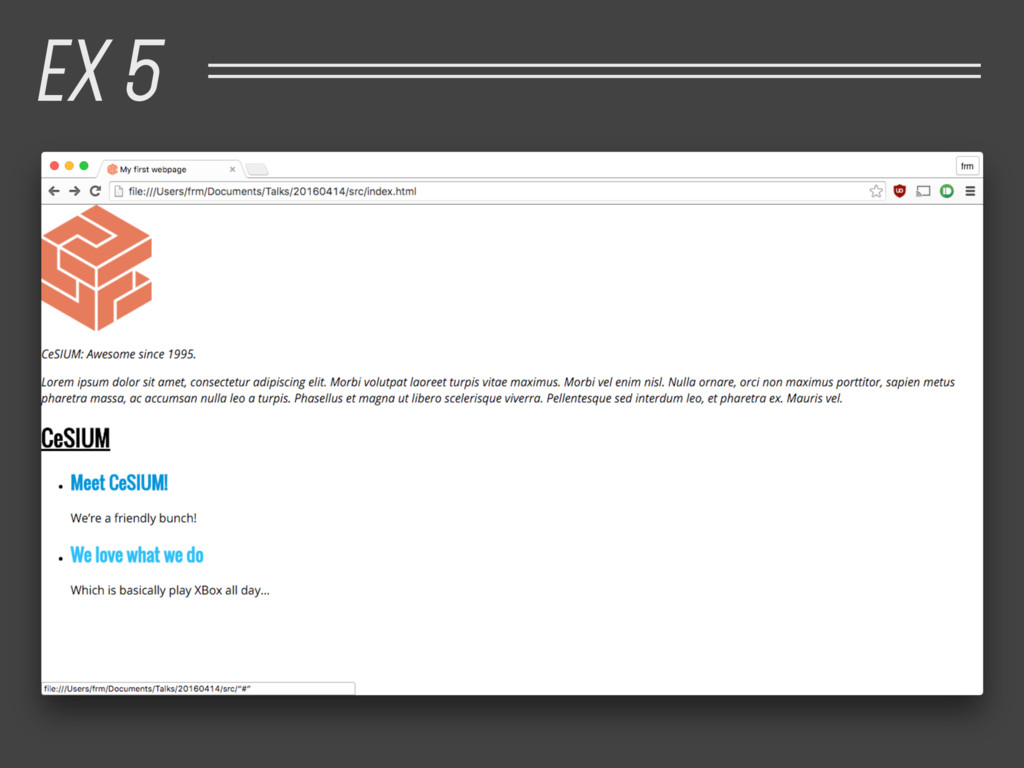
personal webpage. 2. Create an unordered list. 3. Each list item should be a (smaller) heading and a paragraph. 4. Make it so that each heading is inside an anchor. EX 2
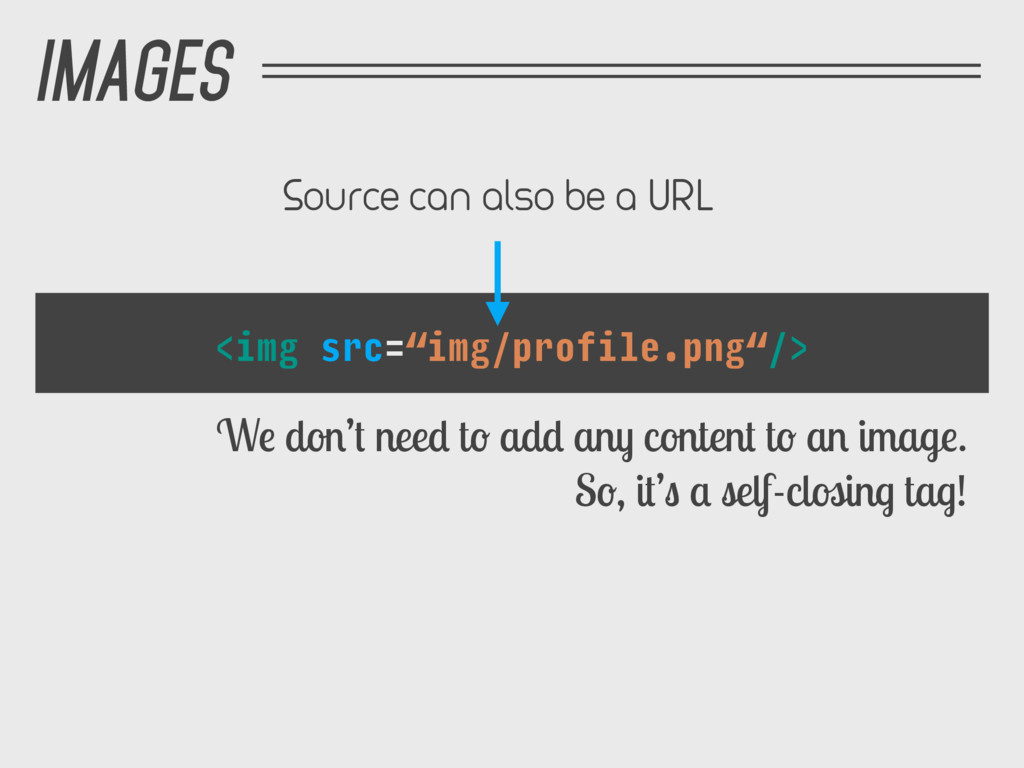
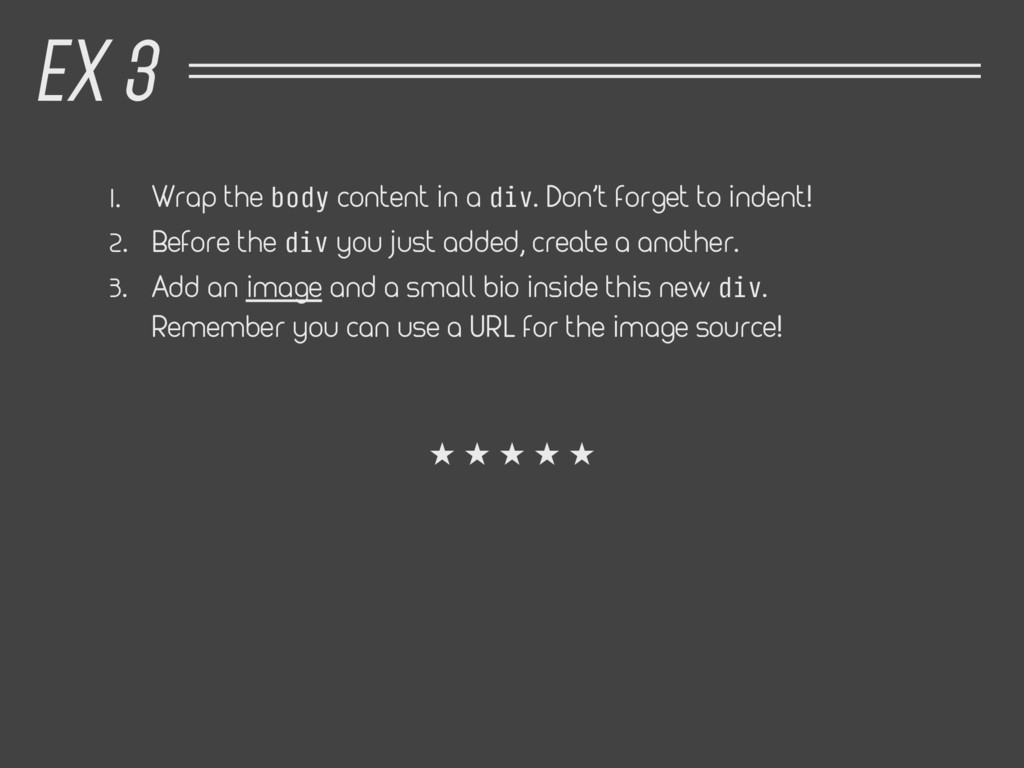
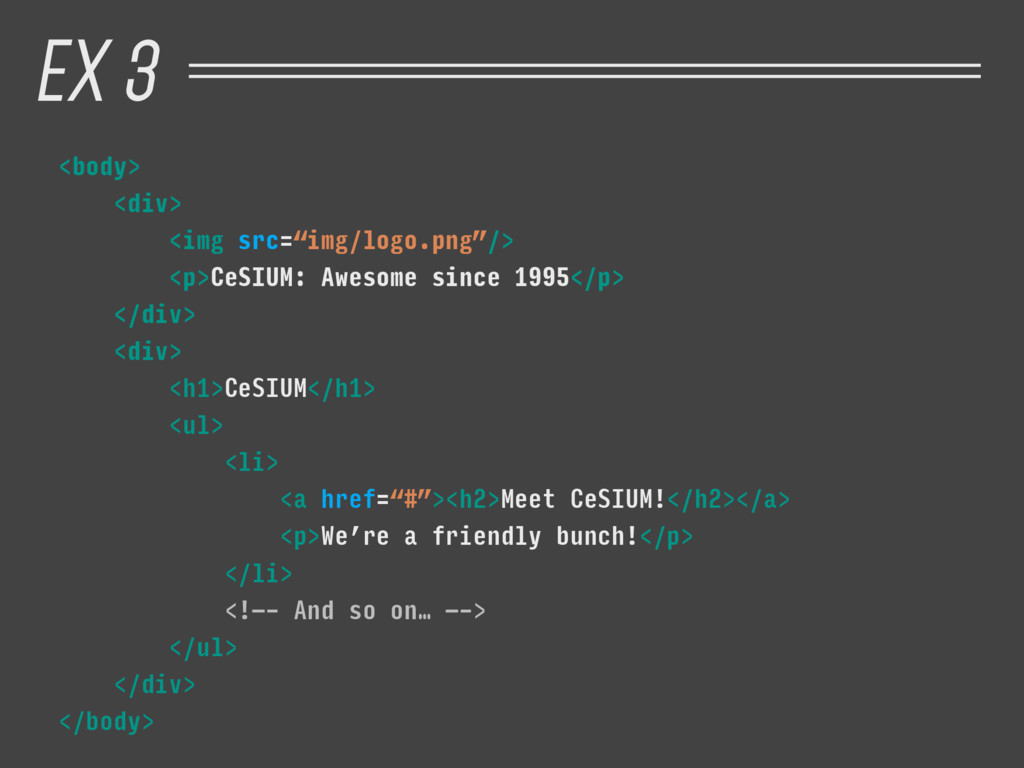
to indent! 2. Before the div you just added, create a another. 3. Add an image and a small bio inside this new div. Remember you can use a URL for the image source! EX 3
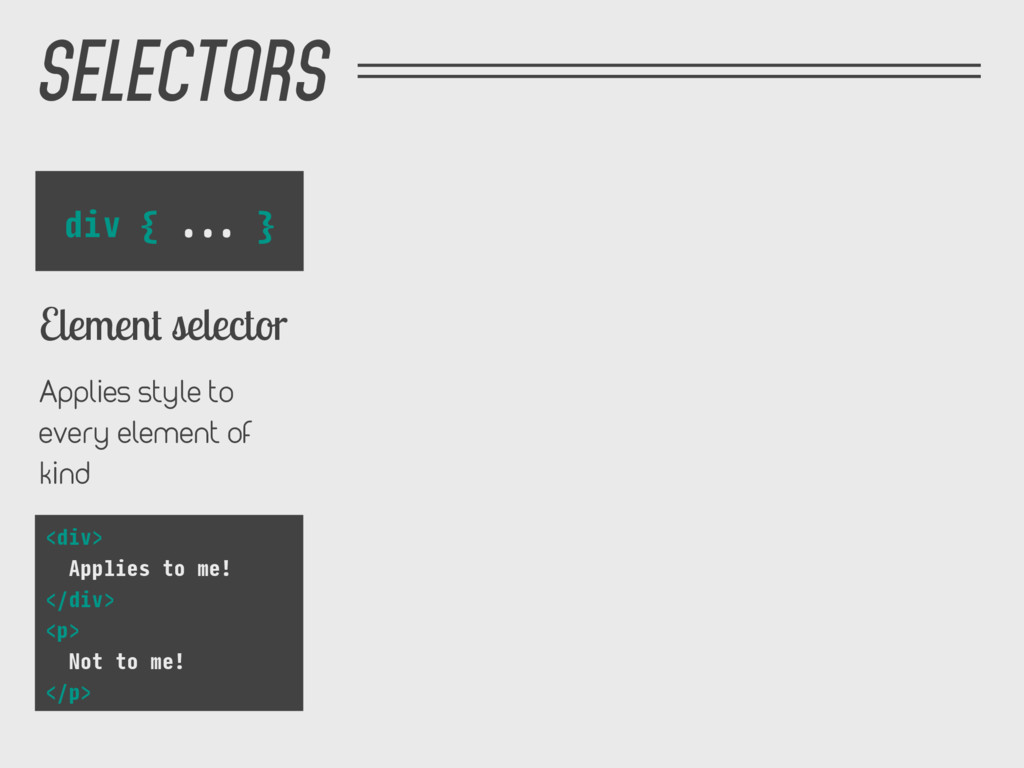
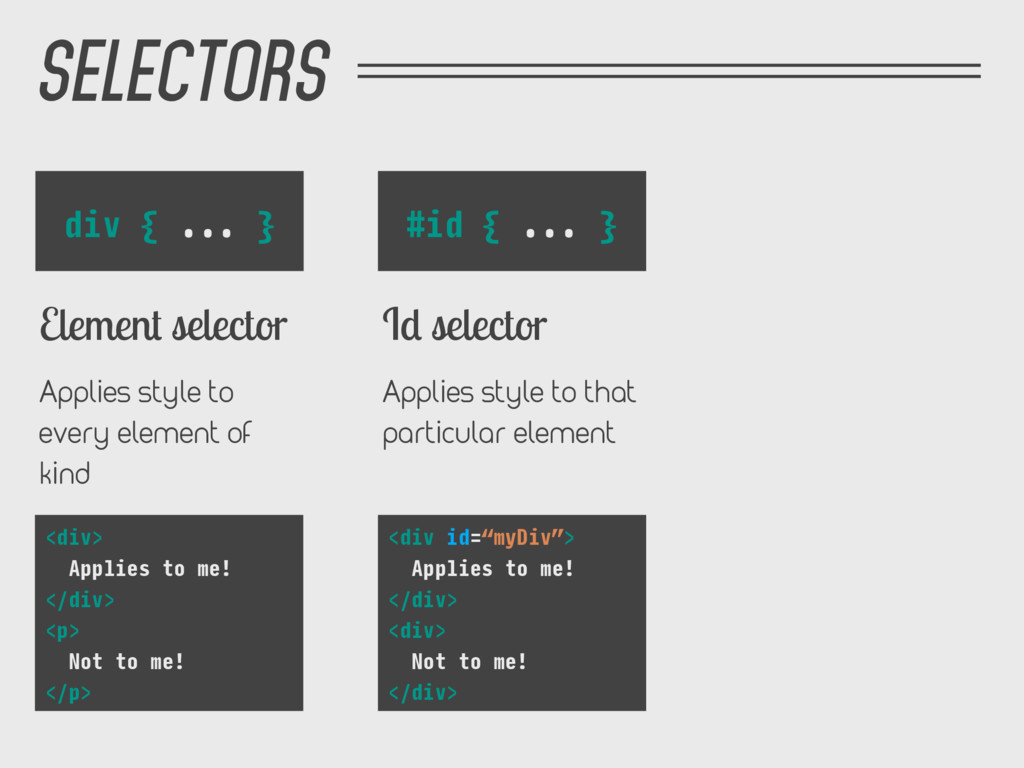
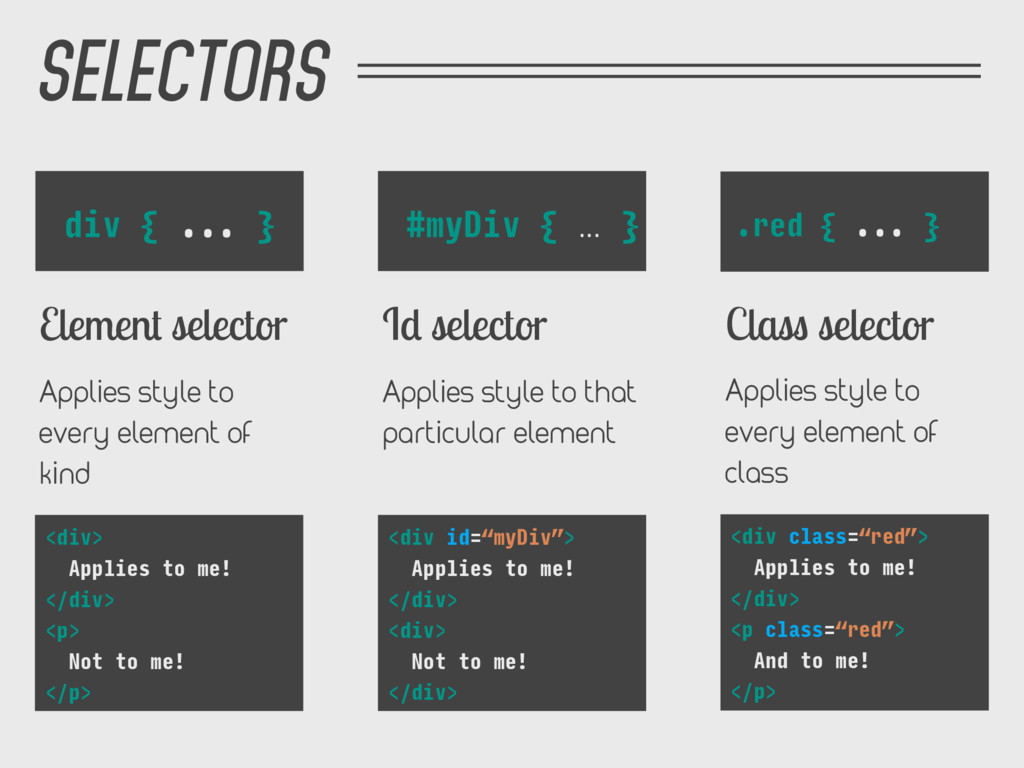
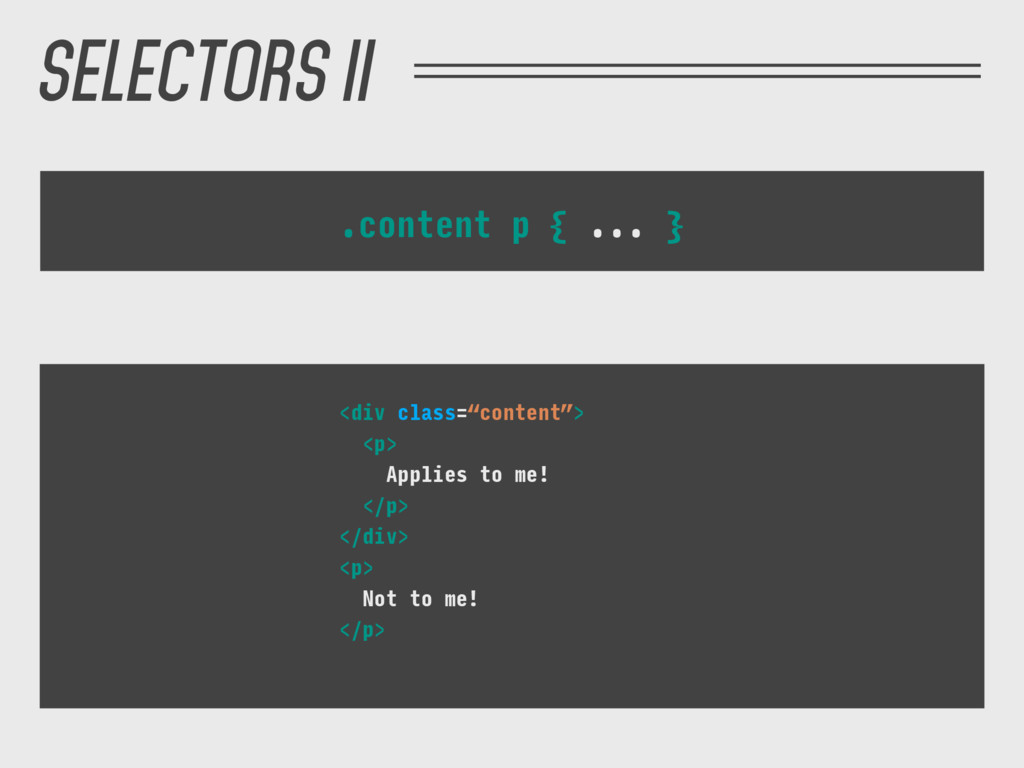
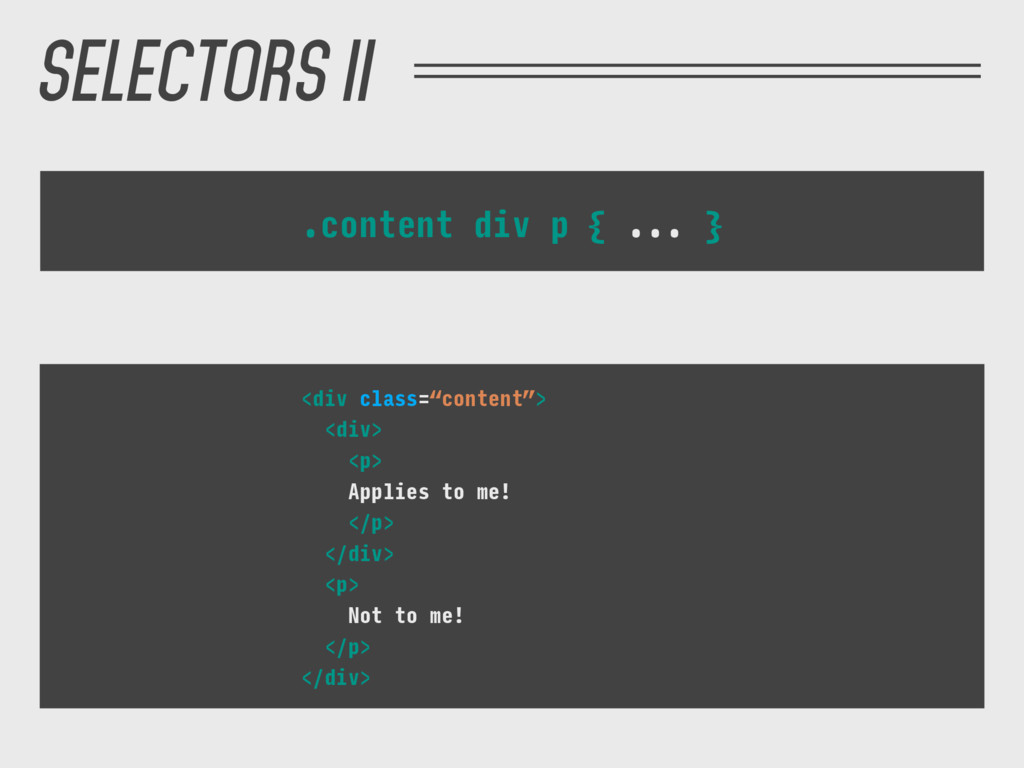
that particular element <div id=“myDiv”> Applies to me! </div> <div> Not to me! </div> div { ... } Element selector Applies style to every element of kind <div> Applies to me! </div> <p> Not to me! </p>
every element of class <div class=“red”> Applies to me! </div> <p class=“red”> And to me! </p> #myDiv { ... } Id selector Applies style to that particular element <div id=“myDiv”> Applies to me! </div> <div> Not to me! </div> div { ... } Element selector Applies style to every element of kind <div> Applies to me! </div> <p> Not to me! </p>
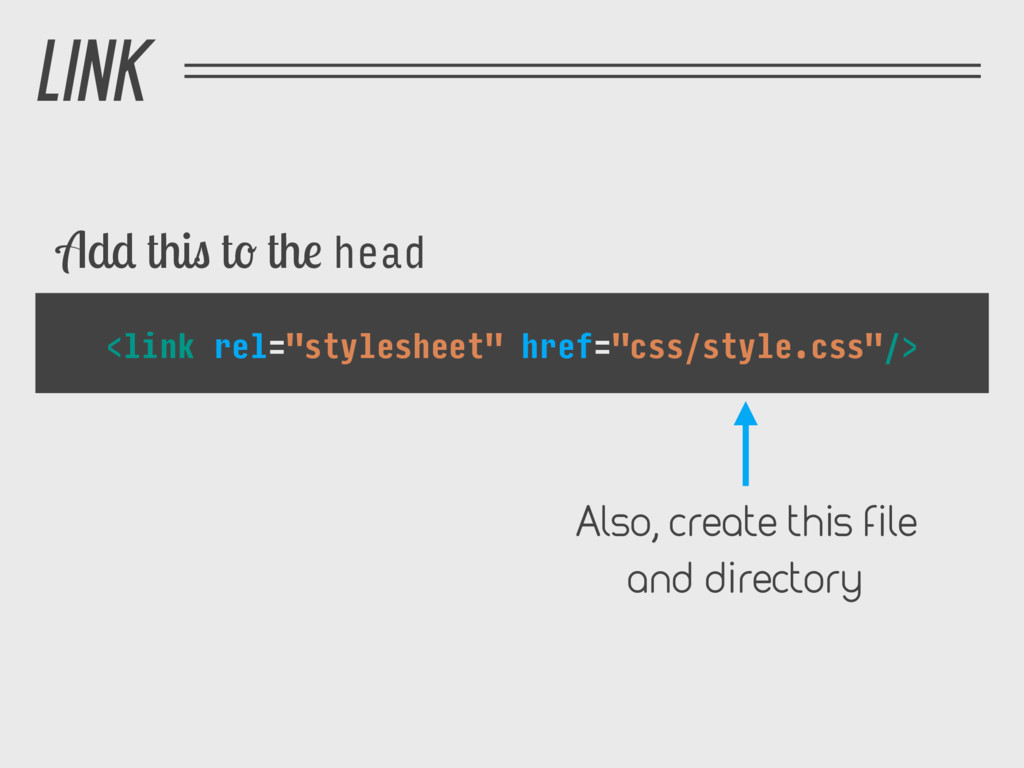
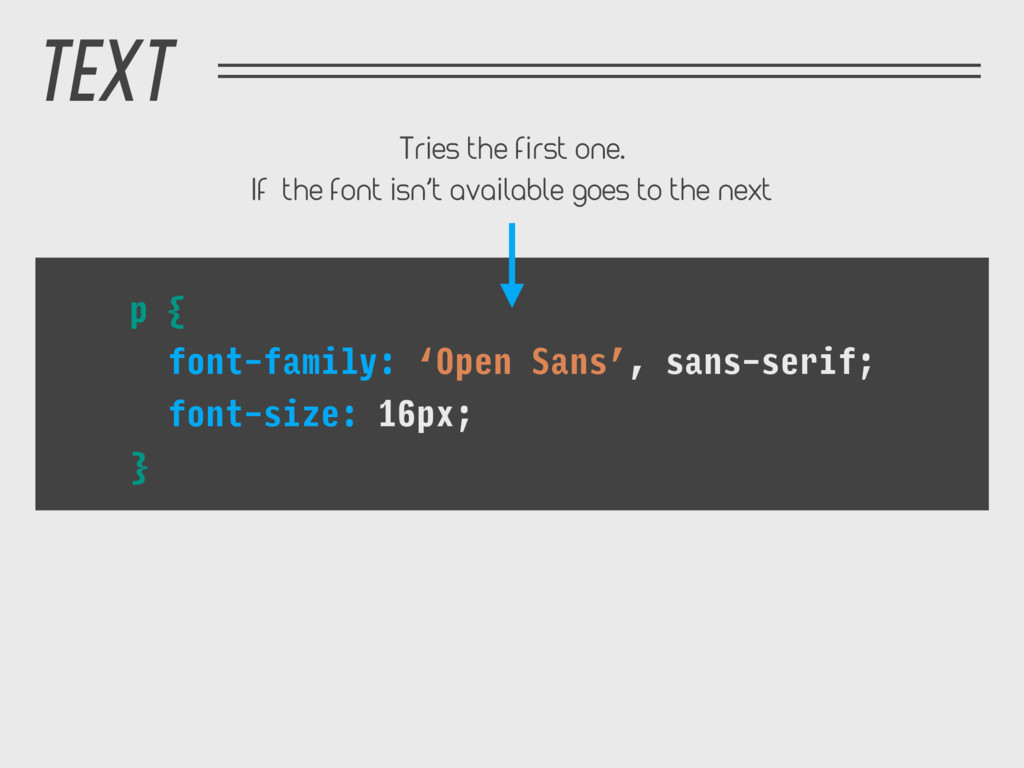
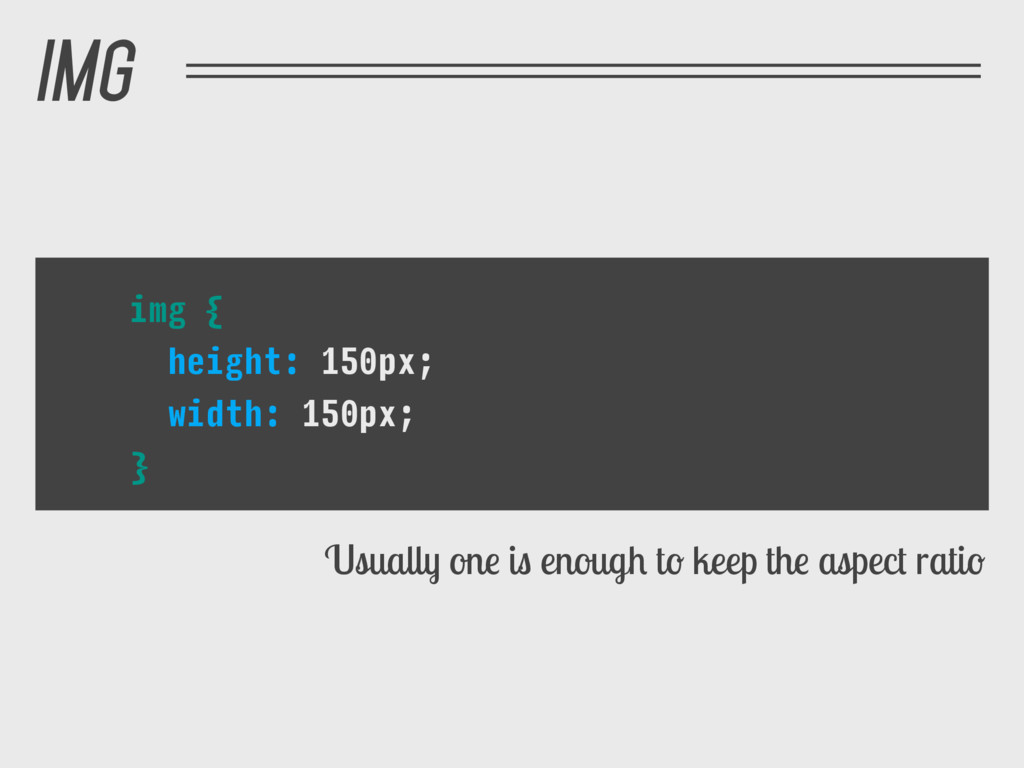
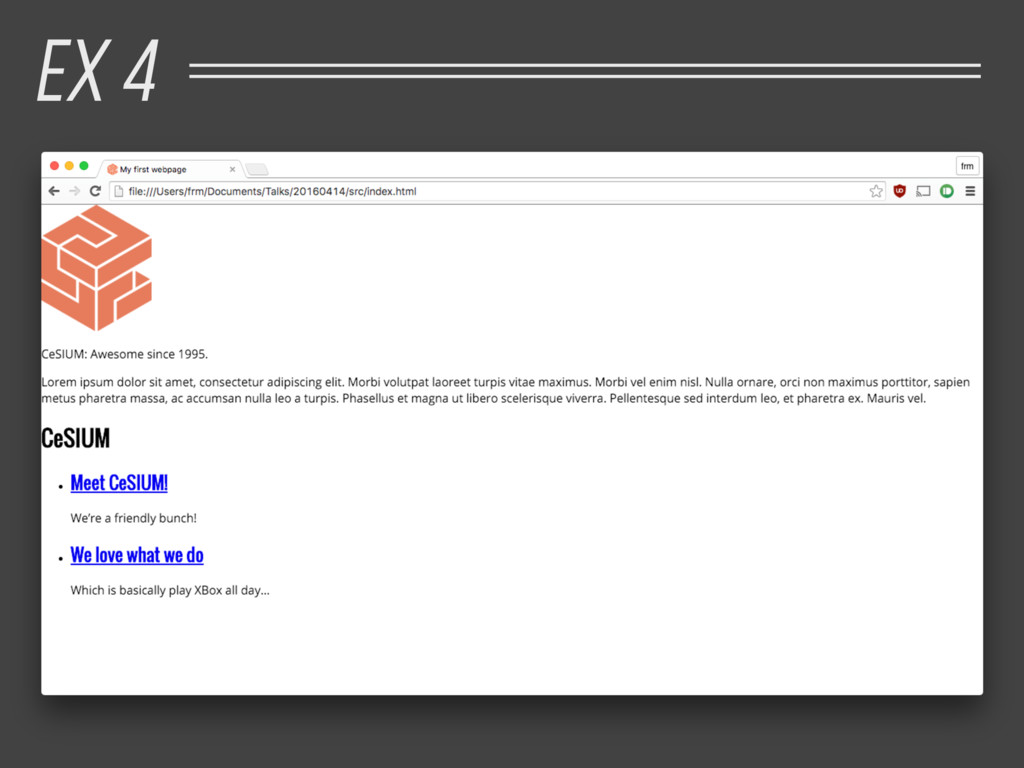
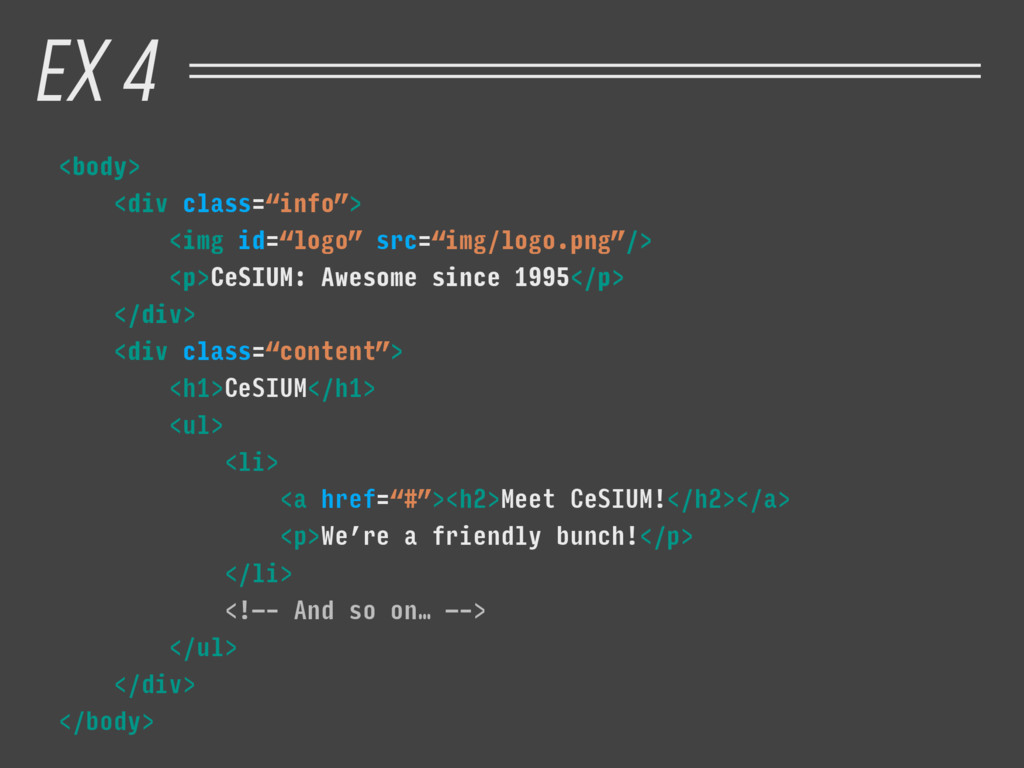
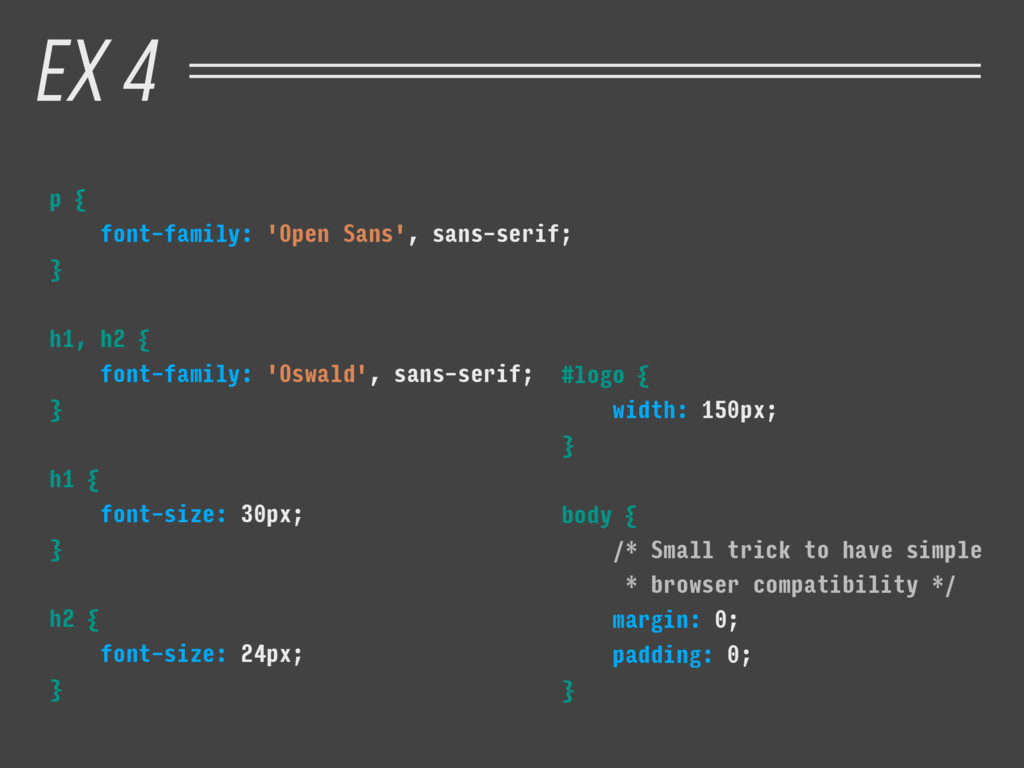
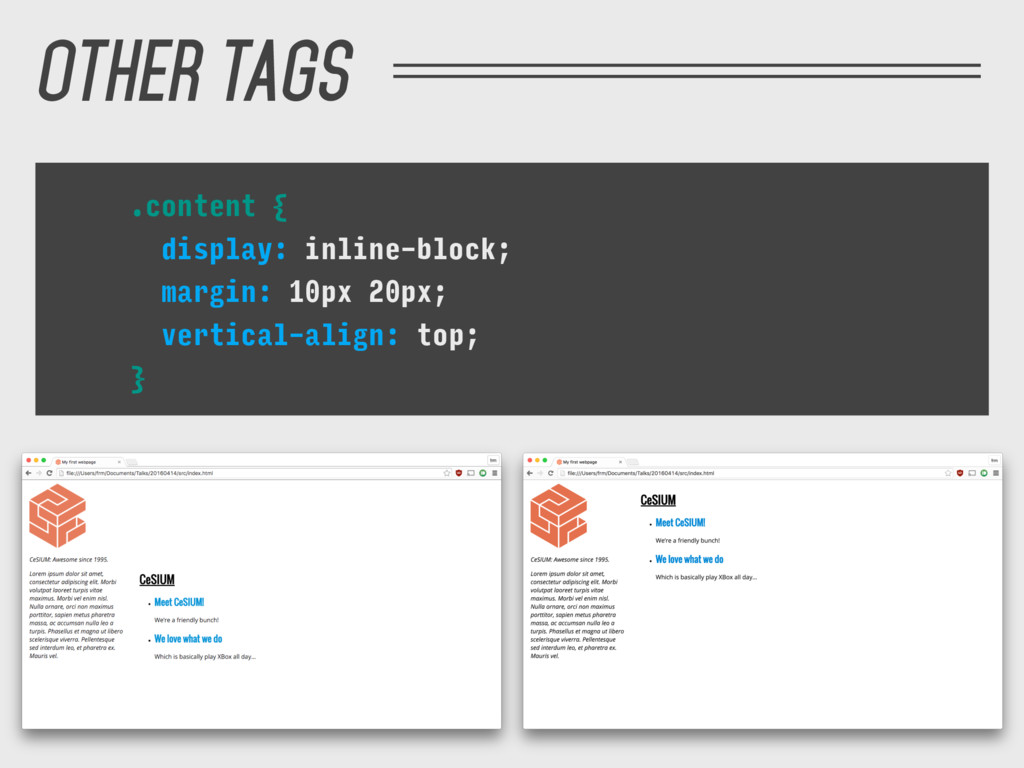
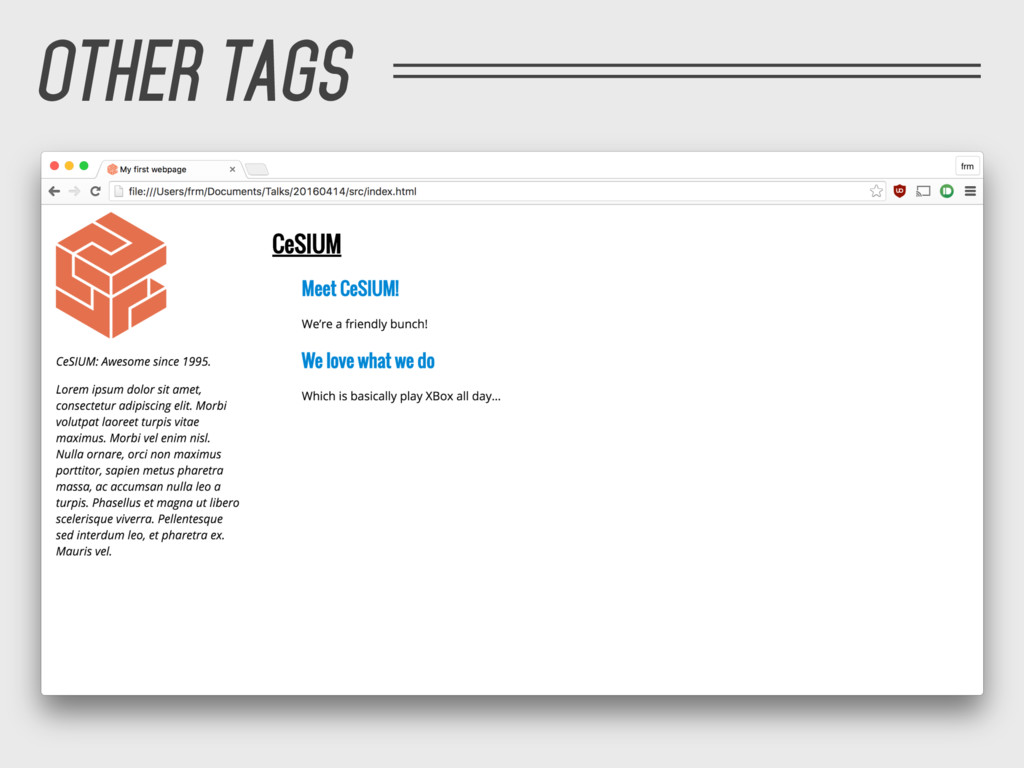
info to the first one and a class called content to the second one. 2. Add an id to the image. Name it whatever you want, but make it suggestive enough for everyone to understand! 3. Change the font-family of every paragraph to ‘Open Sans’. 4. Do the same for every heading (remember we have h1 and h2), but set it to ‘Oswald’ instead! Make them 30px and 24px respectively. 5. Make the img have a width of 150px. Tips: 1. Google Fonts is a great source of awesome fonts! Both Oswald and Open Sans can be found there. 2. Add the fonts to your collection. 3. Add the resulting link tag to your index.html file EX 4
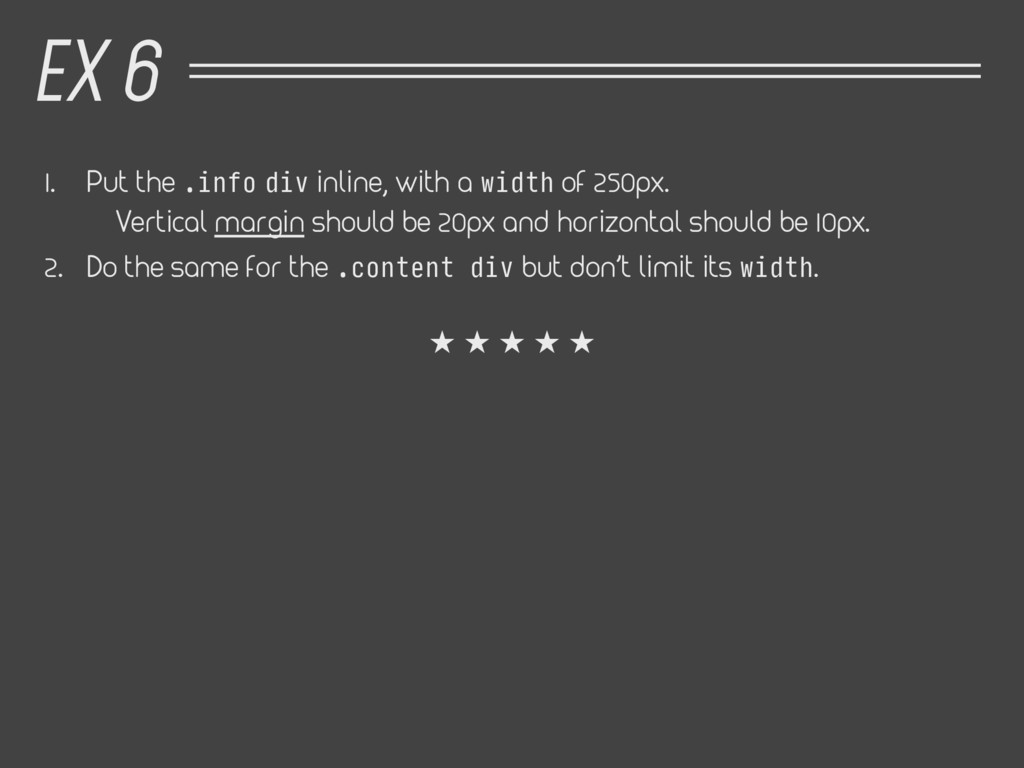
250px. Vertical margin should be 20px and horizontal should be 10px. 2. Do the same for the .content div but don’t limit its width. .info { display: inline-block; margin: 10px 20px; width: 250px; } .content { display: inline-block; margin: 10px 20px; } EX 6
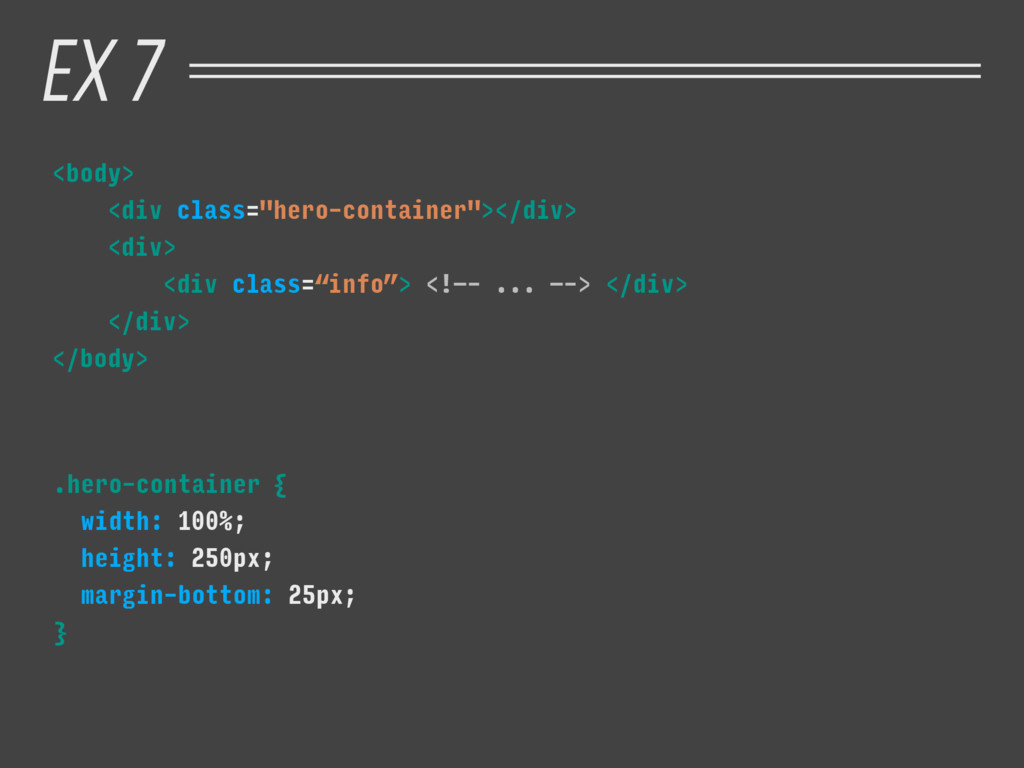
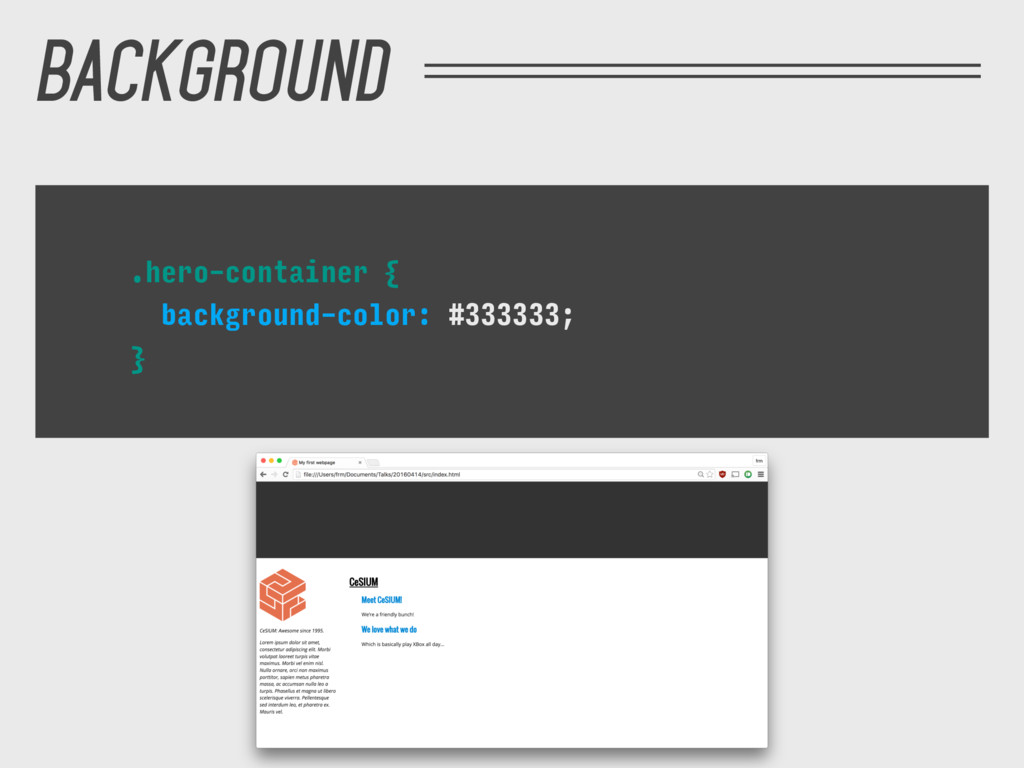
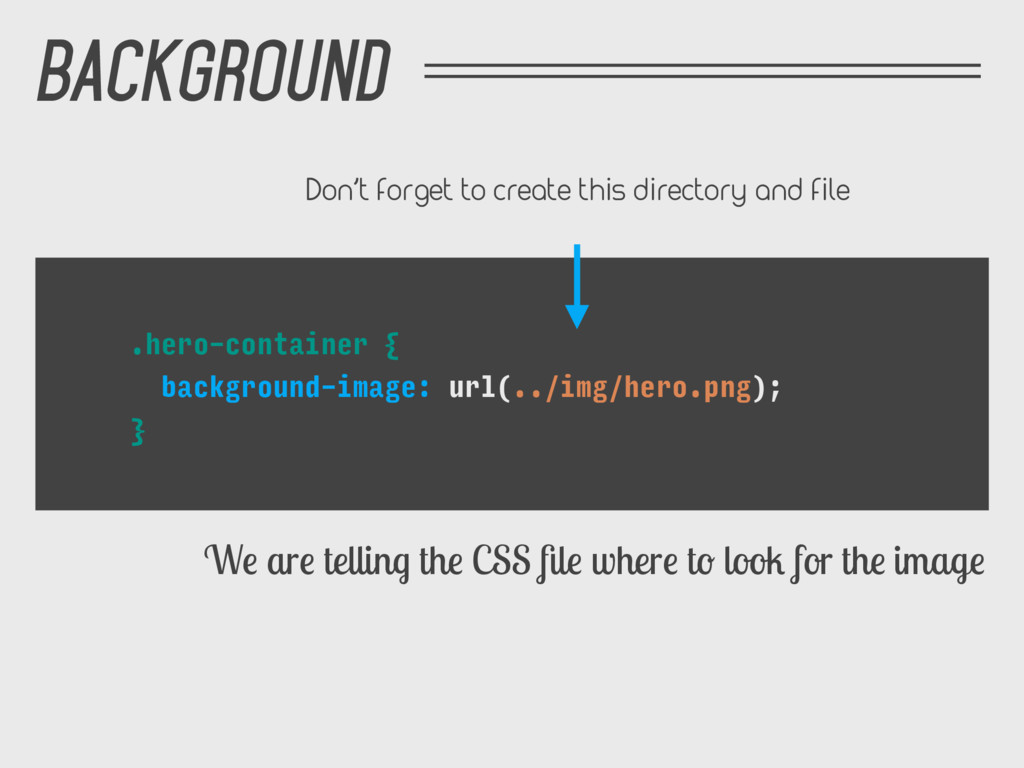
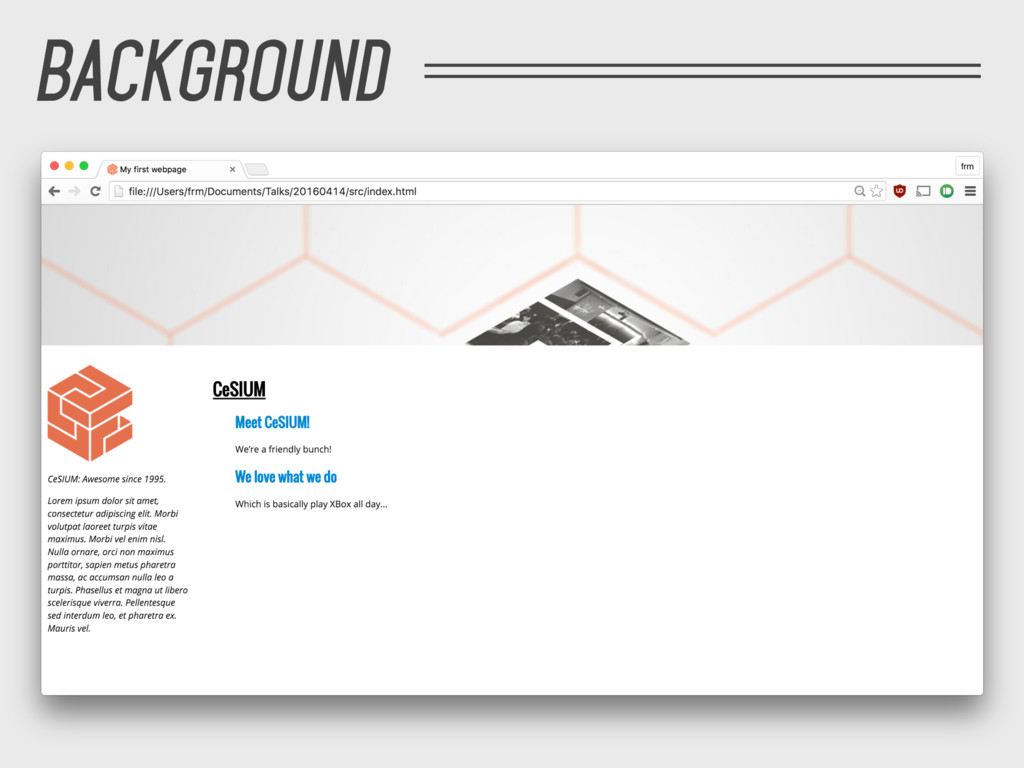
div. 2. Add a div before the newly created one. Keep it empty and add a class of hero-container. 3. Add a width of 100%, height of 250px and separate it from the other div. The distance should be 25px. EX 7