Upgrade to Pro — share decks privately, control downloads, hide ads and more …

Explore Firebase MLKit for Android

Hiren Dave
November 26, 2018

Explore Firebase MLKit for Android

My tech talk on Explore Firebase on ML Kit for Android and GDG DevFest At Ahmedabad.

Hiren Dave

November 26, 2018
Tweet

More Decks by Hiren Dave

Other Decks in Technology

Transcript

  1. End Skills Required for ML Develop a passion for learning

    Supervised Learning Unsupervised Learning Linear Regression Neural Networks Naïve Byes Logistic Regression TensorFlow Numpy / Pandas Python
  2. “To think creatively, we must be able to look afresh

    at what we normally take for granted” - George Keller Hey, I am a mobile app developer. Don’t you think it’s too much learning for me?
  3. Introduction to ML Kit for Firebase At Google I/O 2018,

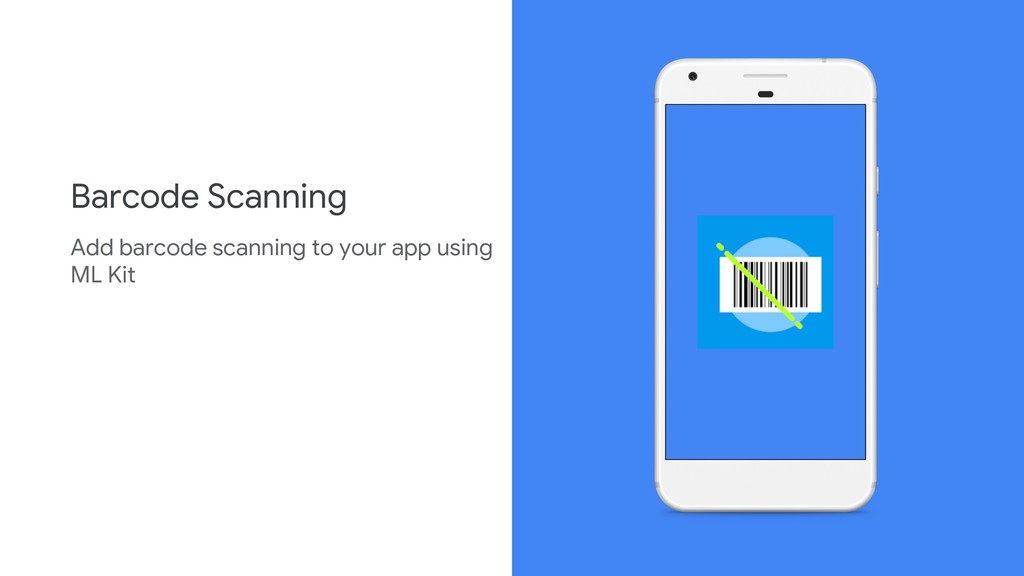
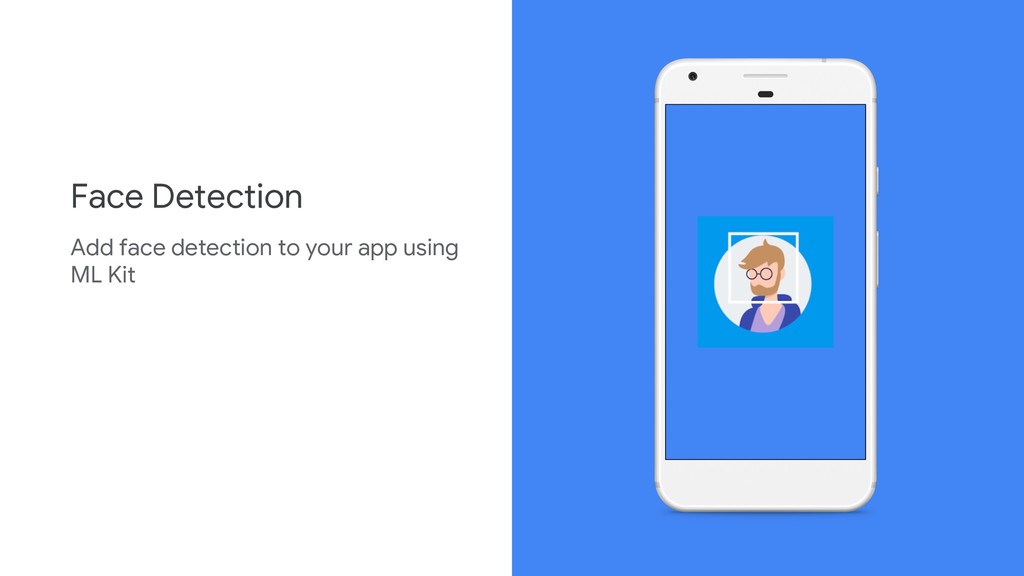
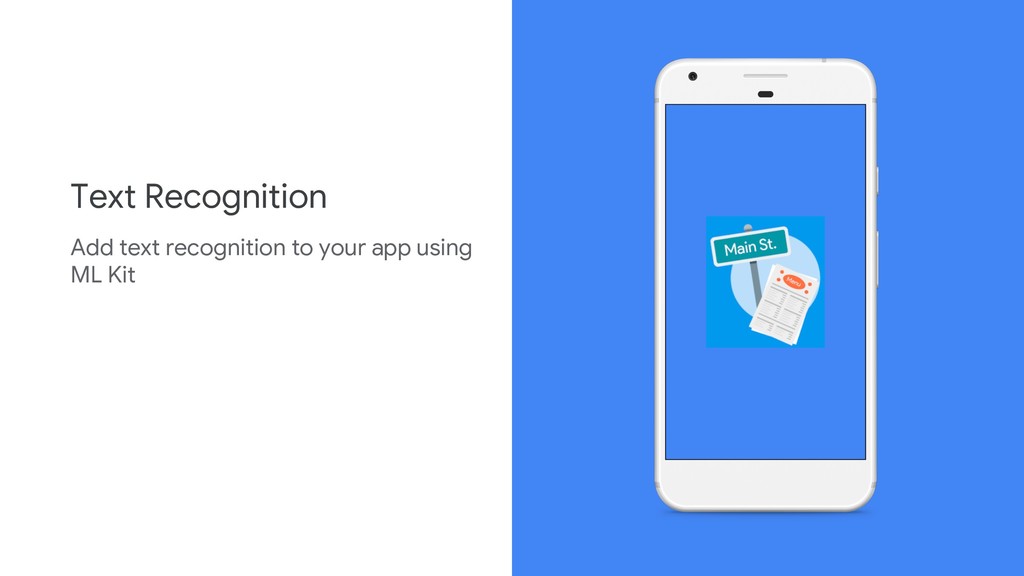
    ML Kit was introduced as part of Firebase suite. The SDK brings power of Google Vision APIs, TensorFlow Lite and Neural Network APIs together in single SDK. To use the ML Kit, you don’t have to be skilled ML developer
  4. Ready To Use APIS It comes with set of prebuilt

    ready to use APIs for ML use cases like Text recognition Face detection Barcode scanning Image labeling Shape detection Pre built APIs for mobile apps
  5. Integrate SDK Prepare Input Apply ML Model Deploy Chart Data

    Source Info Use APIs in Android Mobile App
  6. Connect to Firebase • Click Tools > Firebase • Select

    Connect Your App To Firebase • Click on Connect to Firebase • Add displayed code to your app. That’s it. Your app is now connected to Firebase
  7. Add ML Kit Dependencies Add following dependencies in your gradle

    implementation 'com.google.firebase:firebase-ml-vision:16.0.0' implementation 'com.google.firebase:firebase-ml-vision-image-label-model:15.0.0'
  8. Add Extra Dependencies Add following dependencies in your manifest file.

    <meta-data android:name="com.google.firebase.ml.vision.DEPENDENCIES" android:value="barcode, face,ocr" />
  9. Setup Image Detector Options val firebaseVisionImage = FirebaseVisionImage.fromBitmap(image) val options

    = FirebaseVisionFaceDetectorOptions.Builder() .setModeType(FirebaseVisionFaceDetectorOptions.ACCURATE_MODE .setLandmarkType(FirebaseVisionFaceDetectorOptions.ALL_LANDMARKS) .setClassificationType(FirebaseVisionFaceDetectorOptions.ALL_CLASSIFIC ATIONS) .setMinFaceSize(0.15f) .setTrackingEnabled(true) .build()
  10. On Cloud APIs Cloud APIs leverage the power of Google

    Cloud Platform’s ML Technology ML Kit also gives you cloud APIs.
  11. Setup Firebase Project • Login to Firebase console • Create

    project • Upgrade to Blaze Plan • Enable Cloud Based APIs • Copy API Key in your code That’s it and now you can work with cloud base API without adding dependencies in your app.
  12. Configure API Client and Feature Vision.Builder visionBuilder = new Vision.Builder(

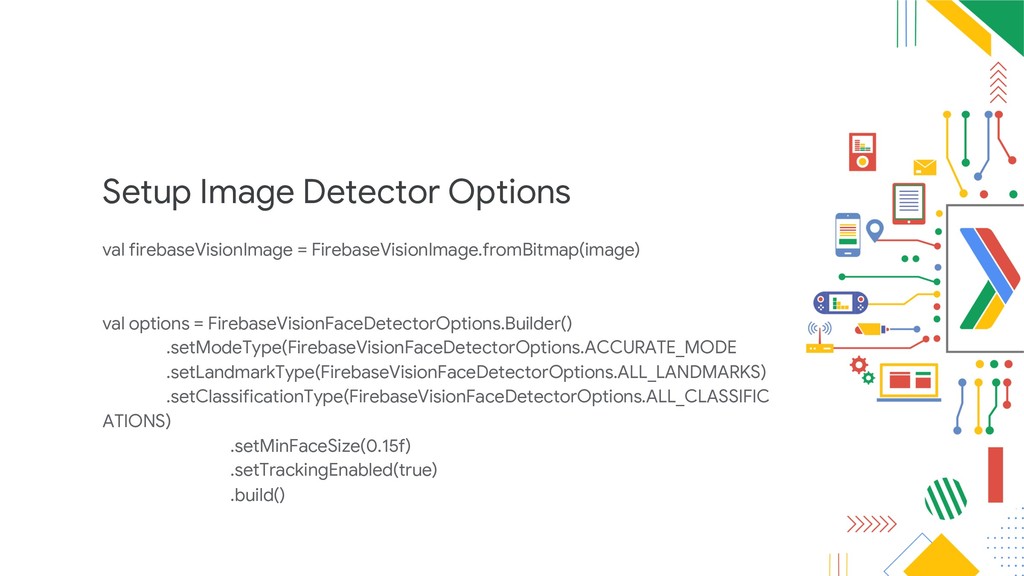
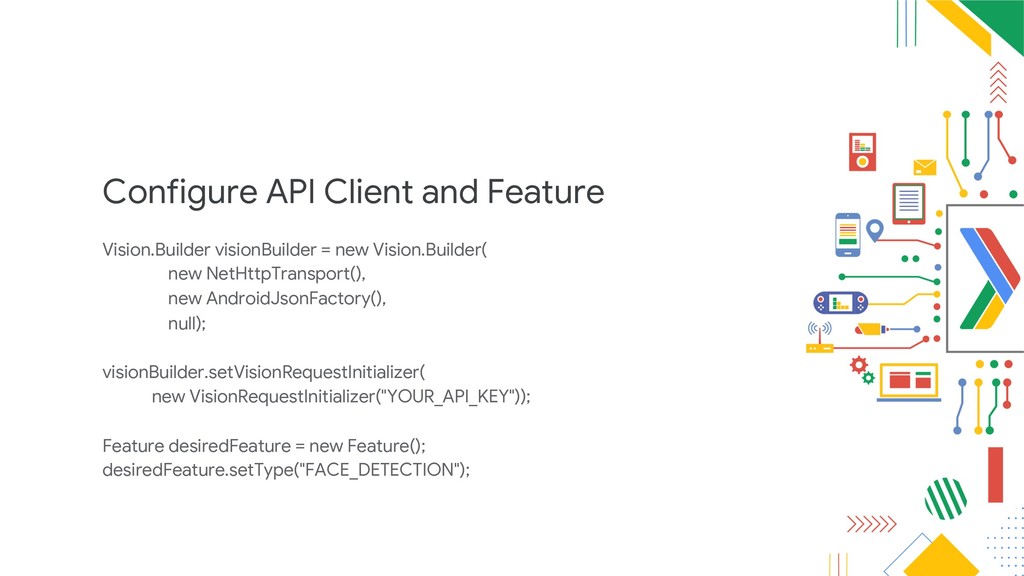
    new NetHttpTransport(), new AndroidJsonFactory(), null); visionBuilder.setVisionRequestInitializer( new VisionRequestInitializer("YOUR_API_KEY")); Feature desiredFeature = new Feature(); desiredFeature.setType("FACE_DETECTION");
  13. Use Custom Model If you want to use existing ML

    models in your mobile app, you can use it along with ML Kit Use custom TensorFlow Lite model
  14. Use Custom TensorFlow Model • Generate quality dataset. • Train

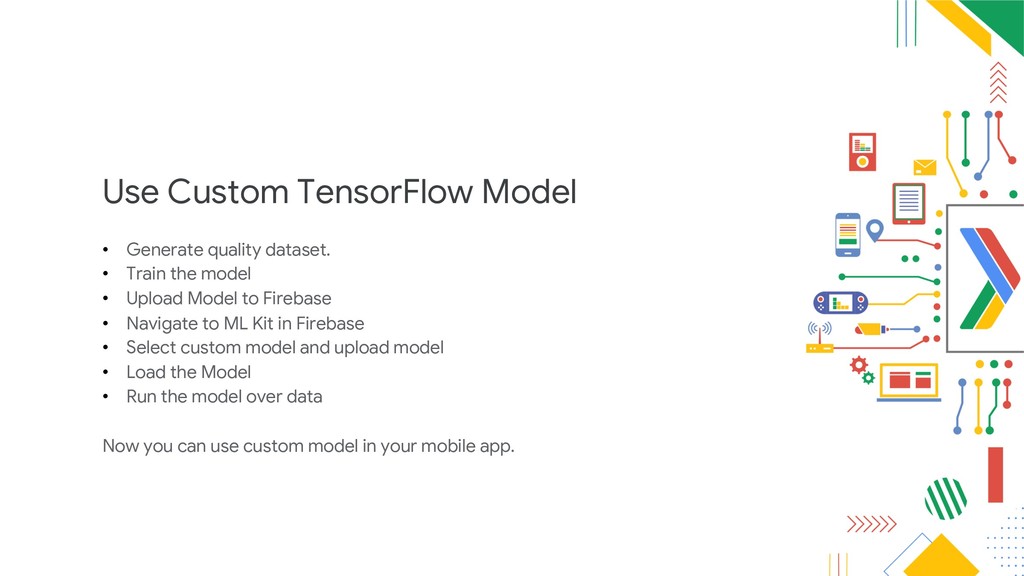
    the model • Upload Model to Firebase • Navigate to ML Kit in Firebase • Select custom model and upload model • Load the Model • Run the model over data Now you can use custom model in your mobile app.
  15. Q&A