Upgrade to Pro — share decks privately, control downloads, hide ads and more …

Evaluation Activity 6

Sponsored · Your Podcast. Everywhere. Effortlessly. Share. Educate. Inspire. Entertain. You do you. We'll handle the rest.

Evaluation Activity 6

Avatar for janiney

janiney

May 01, 2014
Tweet

More Decks by janiney

Other Decks in Education

Transcript

  1. Evaluation Activity 6 What have you learnt about technologies from

    the process of constructing this product? Before doing the coursework, I did not have a personal tumblr account therefore I wasn’t as familiar with this social networking site. Though, as I’ve been using it for the past couple of months I have gotten used to it and find it a lot easier to use than before. I have also learned how to operate a digital camera and how to pan using the tripod from when filming the first two minute opening. The blog in which we had to upload and keep up to date with on our work. The camera which was used to film the first two minute opening. We also used a fish eye lens to film the spy hole scene to make it seem like the victim was looking through the spy hole of the door. This was the tripod used which held the camera into position. Also we used the tripod throughout the whole of the two minute opening except the scene where the fish eye lens was used, as that part was hand held filmed.
  2. Kit List: Other camera equipment also used to film the

    two minute opening. The use of the external microphone and windscreen was important as filming the outside scenes, the speech was difficult to be heard without it and the windscreen protects the sound from being over heard by windiness. Also adjusting the camera onto the plate was essentially important as we did not want the camera to fall off the tripod. Camera - Canon EOS 600D & SD Card Fish eye lens Tripod & Plate External Microphone & Windscreen
  3. When editing, Sarah and I used two different programs. I

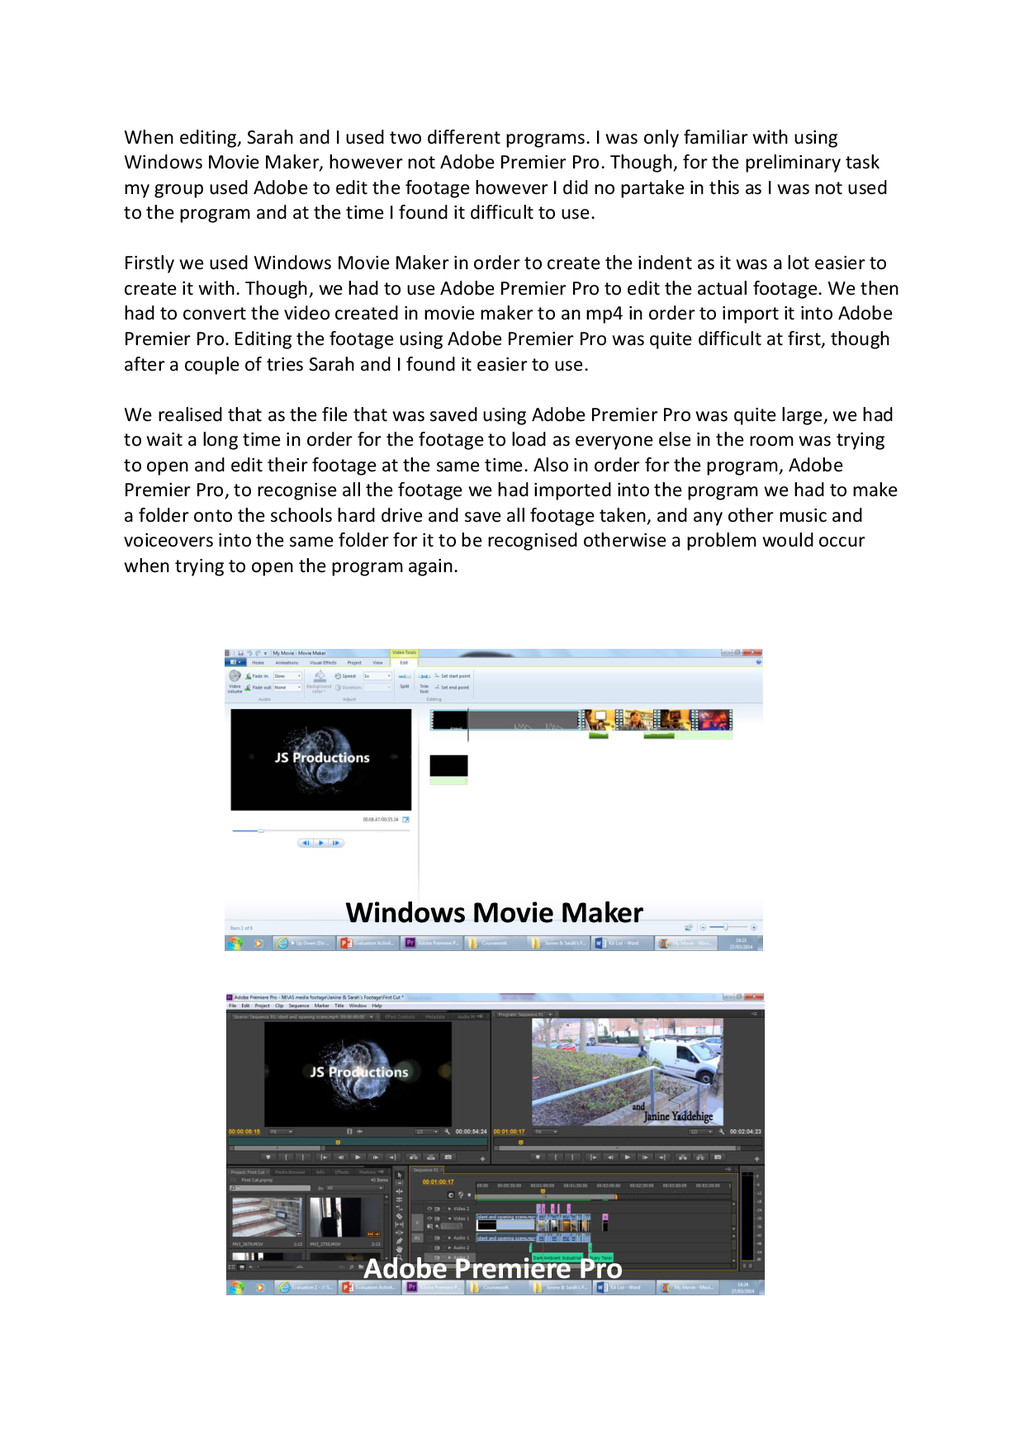
    was only familiar with using Windows Movie Maker, however not Adobe Premier Pro. Though, for the preliminary task my group used Adobe to edit the footage however I did no partake in this as I was not used to the program and at the time I found it difficult to use. Firstly we used Windows Movie Maker in order to create the indent as it was a lot easier to create it with. Though, we had to use Adobe Premier Pro to edit the actual footage. We then had to convert the video created in movie maker to an mp4 in order to import it into Adobe Premier Pro. Editing the footage using Adobe Premier Pro was quite difficult at first, though after a couple of tries Sarah and I found it easier to use. We realised that as the file that was saved using Adobe Premier Pro was quite large, we had to wait a long time in order for the footage to load as everyone else in the room was trying to open and edit their footage at the same time. Also in order for the program, Adobe Premier Pro, to recognise all the footage we had imported into the program we had to make a folder onto the schools hard drive and save all footage taken, and any other music and voiceovers into the same folder for it to be recognised otherwise a problem would occur when trying to open the program again. Adobe Premiere Pro Windows Movie Maker
  4. In order to put up PowerPoint onto to Tumblr, I

    had to use slide share, as it’s a website where you can view power points easily. Once it’s uploaded onto PowerPoint, I had to use the embed link and paste it onto tumblr using the video button so it automatically came up. This is shown as the red circle below. Also to put up word documents, I had to save the print screen onto paint and save it as a jpeg. Once saved, I had to post it onto tumblr using the photo button. This is shown as the green circle above. SLIDESHARE TUMBLR