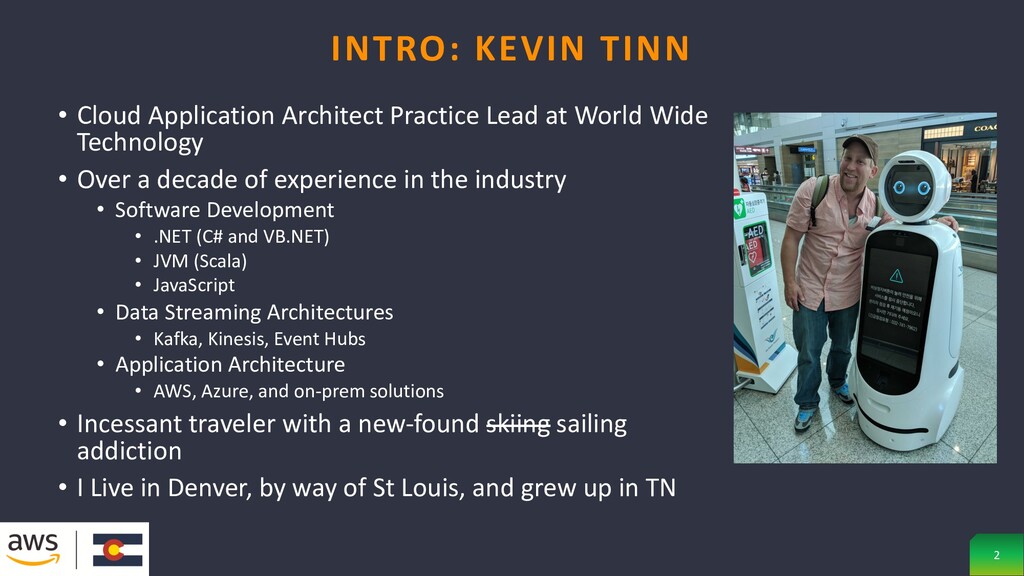
• Over a decade of experience in the industry • Software Development • .NET (C# and VB.NET) • JVM (Scala) • JavaScript • Data Streaming Architectures • Kafka, Kinesis, Event Hubs • Application Architecture • AWS, Azure, and on-prem solutions • Incessant traveler with a new-found skiing sailing addiction • I Live in Denver, by way of St Louis, and grew up in TN INTRO: KEVIN TINN 2
good info in the README • https://github.com/kevasync/aws-meetup-group- terraform/blob/master/README.md • Session Link: • https://app.hopin.to/events/cpl20/sessions/b926a36a-3a04-429e-a6fd- 13004d6900db REPO INFO 4
Repeatable process allows for high-fidelity duplication of production environments for testing and development purposes with minimal efforts • In the event of non-trivial environment issues, redeployment of resources to known good state is far more timely than troubleshooting • Not that you shouldn’t troubleshoot, as discoveries can be folded into known good state that is deployed via coded infrastructure • Allows for source-controlled storage and CI/CD pipeline integration • Recap CloudFormation Meetup • https://github.com/kevasync/aws-meetup-group-cloud-formation-meetup BENEFITS OF CODED INFRA 5
https://github.com/hashicorp/terraform • Released in 2014 and widely adopted by the industry • Enables definition and provisioning of datacenter and cloud infrastructure using high-level config language called Hashicorp Configuration Language (HCL) or JSON • Goal is to enable building, changing, and versioning infrastructure safely • Can be used to provision on many platforms • AWS, Azure, GCP, Alibaba Cloud, IBM Cloud (Bluemix), DigitalOcean, Linode, Oracle Cloud Infrastructure, OVH, VMware vSphere, OpenNebula, OpenStack INTRO TO TERRAFORM 6
Terraform Enterprise • Terraform Cloud: Free to use SaaS (Software as a Service) offering • Keeps track of state for things that have been deployed • Terraform Enterprise: Self-hosted distribution of Terraform Cloud. It offers enterprises a private instance of the Terraform Cloud application, with no resource limits and with additional enterprise-grade architectural features like audit logging and SAML single sign-on. • For this lab, we will just be using the TF CLI, which stores state locally, thus we are not using either • In a production scenario you should not use the CLI locally to deploy • Tie your CI/CD into TF cloud to Enterprise FLAVORS OF TERRAFORM 7
and exposing resources. Providers generally are an IaaS (AWS, VMWare, Azure, GCP, Alibaba Cloud), PaaS (Heroku, GitHub), or SaaS services (Terraform Cloud, DataDog) • The combination of IaaS, PaaS, and SaaS offerings allows the creation so a complete tech stack • Repos • CI/CD pipelines • Cloud and Data center infrastructure • Serverless cloud components • List of providers: https://www.terraform.io/docs/providers/index.html • It should be noted that different providers can require different syntaxes for similar components, e.g. a VM • This results in vender lock-in TERRAFORM PROVIDERS 8
files: Write - Describe to Terraform the components needed, from a single application to an entire datacenter • Execution plans: Plan - During its planning step, Terraform creates an execution plan that defines what it will do when applying configuration files • Resource Graph: Plan -Terraform builds a graph of all your resources, and parallelizes the creation and modification of any non-dependent resources • Change Automation: Apply - Changesets are created and applied to your environment based on the exec TERRAFORM APPROACH & COMPONENTS 9
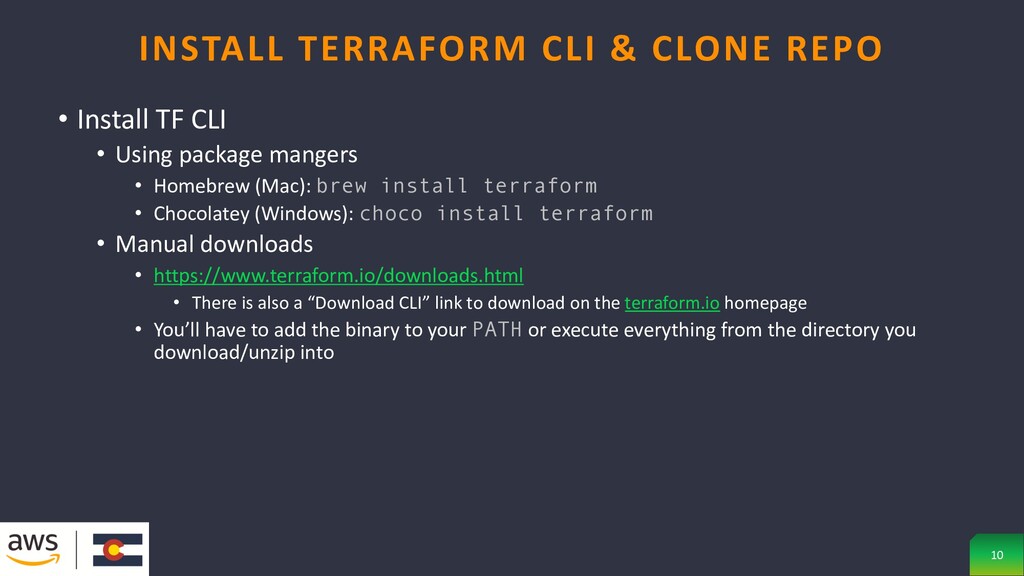
(Mac): brew install terraform • Chocolatey (Windows): choco install terraform • Manual downloads • https://www.terraform.io/downloads.html • There is also a “Download CLI” link to download on the terraform.io homepage • You’ll have to add the binary to your PATH or execute everything from the directory you download/unzip into INSTALL TERRAFORM CLI & CLONE REPO 10
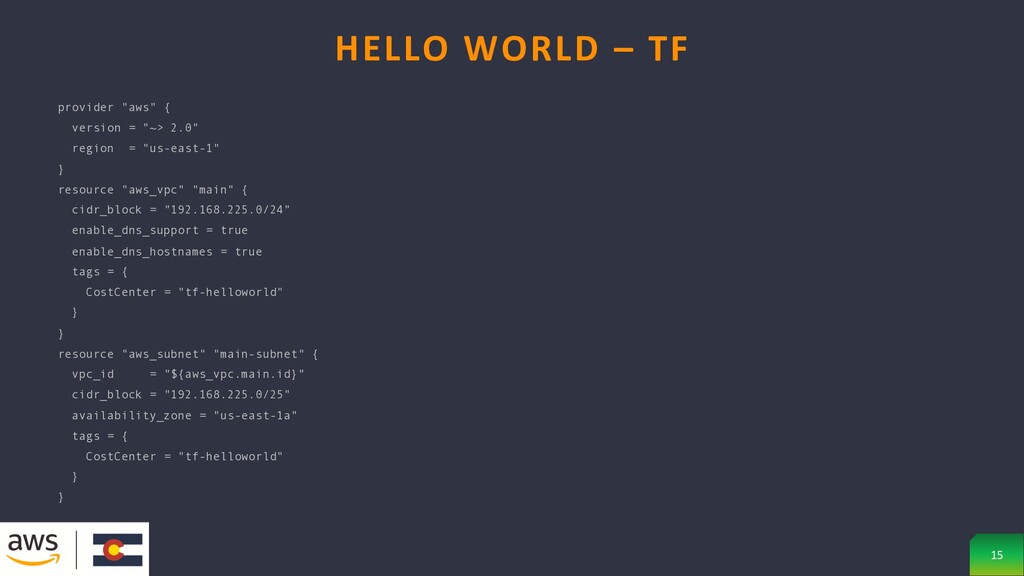
a VPC and subnet • After installing Terraform and configuring AWS credentials, create a directory called tf-helloworld • In it create a file called stack.tf • Add contents from next slide and save • Also available in README from https://github.com/kevasync/aws-meetup-group- terraform HELLO WORLD – TERRAFORM-STYLE 14
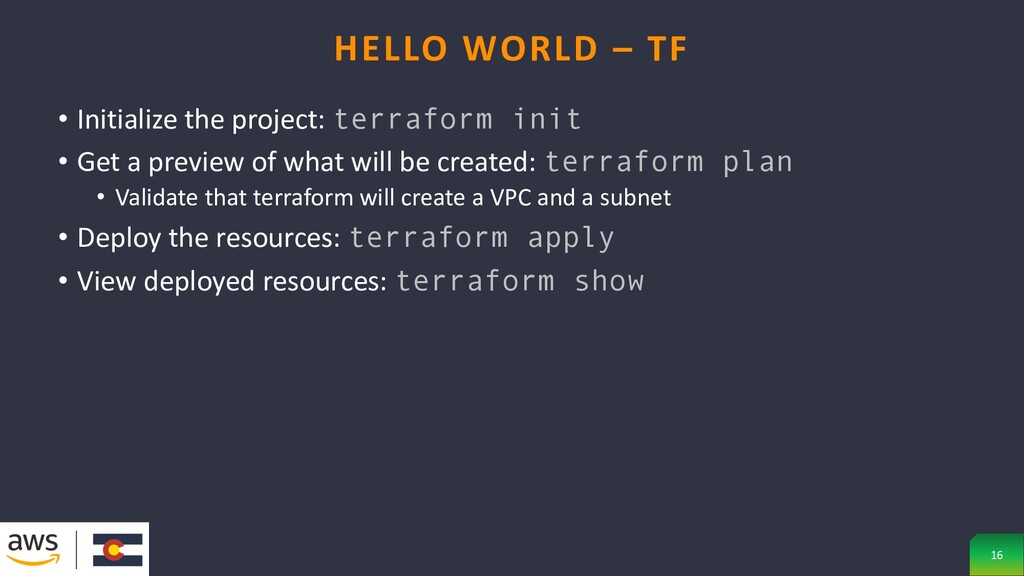
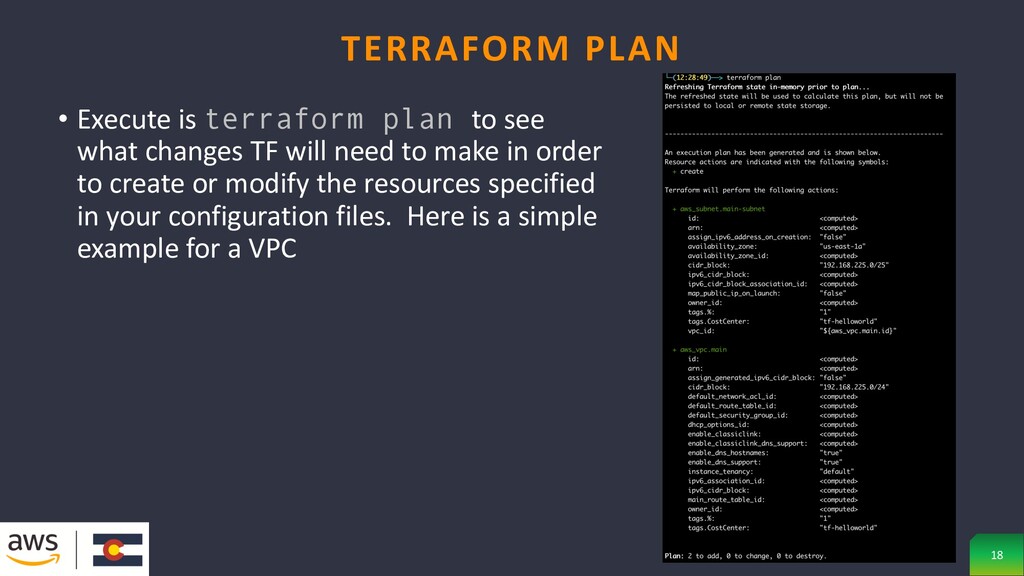
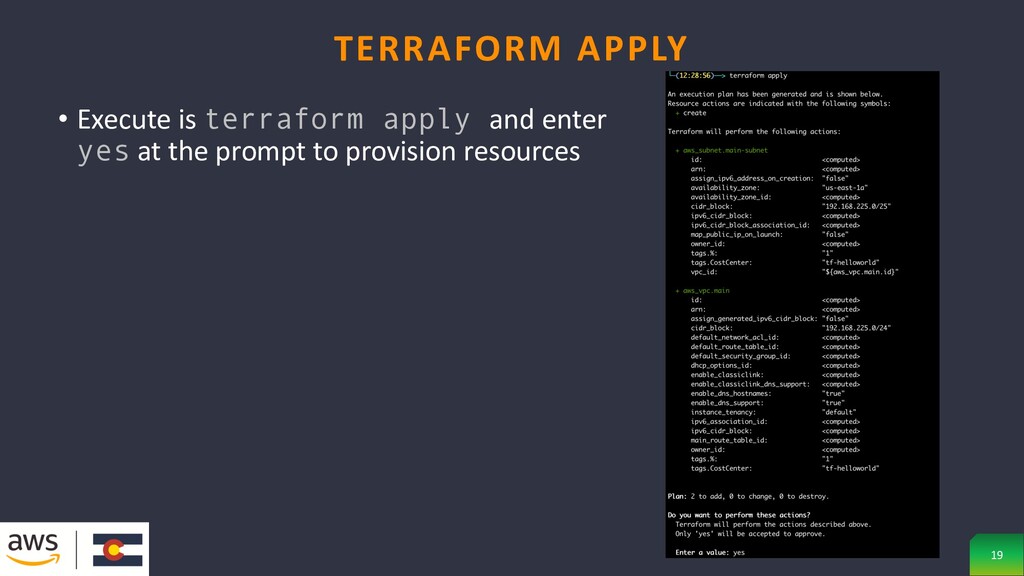
of what will be created: terraform plan • Validate that terraform will create a VPC and a subnet • Deploy the resources: terraform apply • View deployed resources: terraform show HELLO WORLD – TF 16
will need to make in order to create or modify the resources specified in your configuration files. Here is a simple example for a VPC TERRAFORM PLAN 18
Clean up the resources: terraform destroy • Check out the Terraform docs for examples of how to create other AWS resources: https://www.terraform.io/docs/providers/aws/ HELLO WORLD – WRAP UP 22
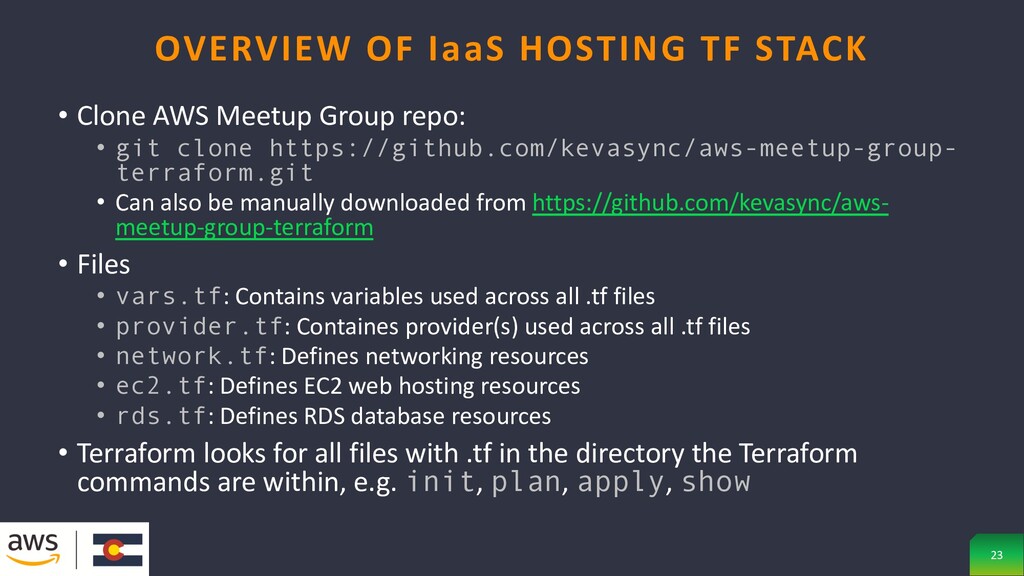
terraform.git • Can also be manually downloaded from https://github.com/kevasync/aws- meetup-group-terraform • Files • vars.tf: Contains variables used across all .tf files • provider.tf: Containes provider(s) used across all .tf files • network.tf: Defines networking resources • ec2.tf: Defines EC2 web hosting resources • rds.tf: Defines RDS database resources • Terraform looks for all files with .tf in the directory the Terraform commands are within, e.g. init, plan, apply, show OVERVIEW OF IaaS HOSTING TF STACK 23
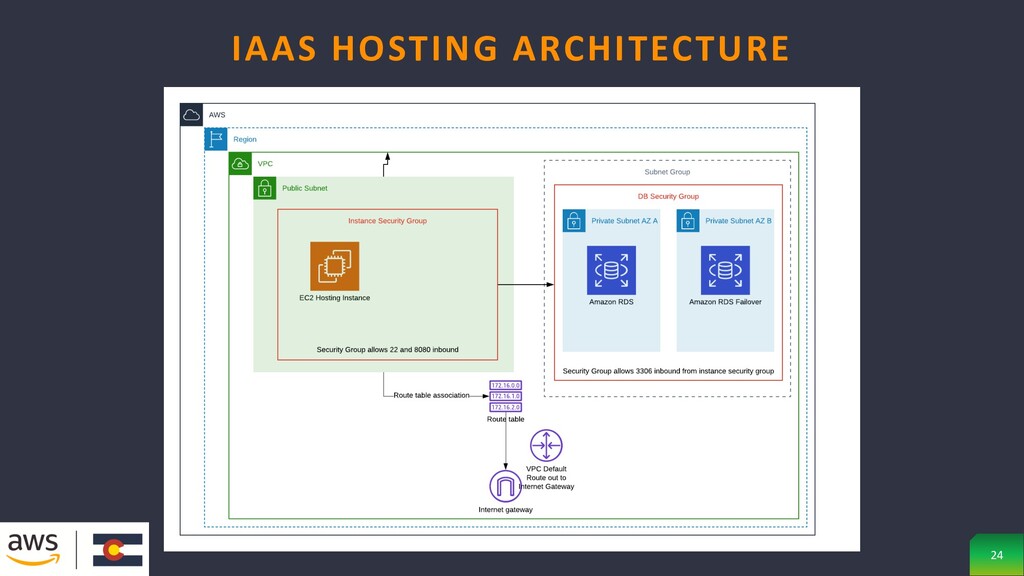
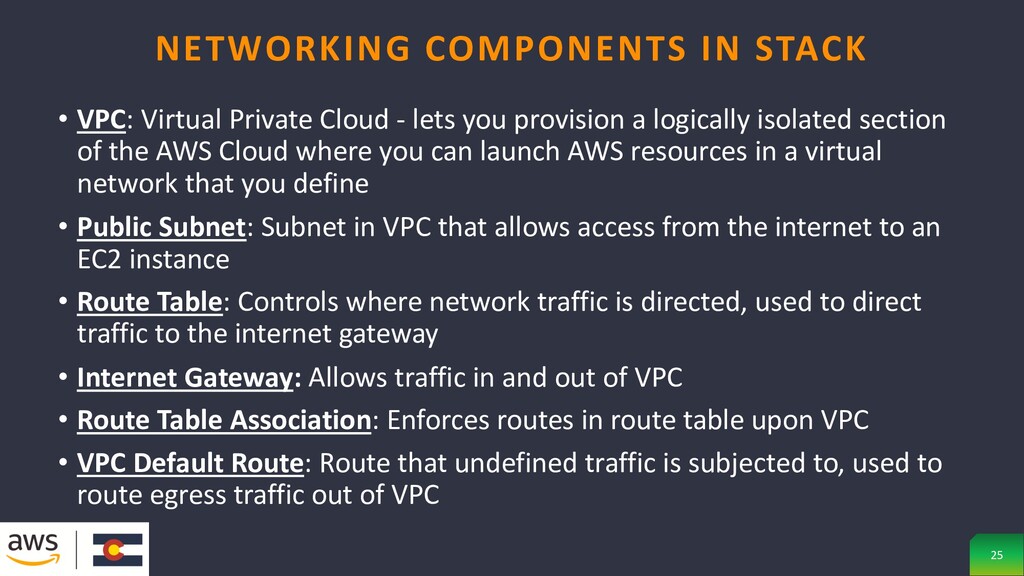
logically isolated section of the AWS Cloud where you can launch AWS resources in a virtual network that you define • Public Subnet: Subnet in VPC that allows access from the internet to an EC2 instance • Route Table: Controls where network traffic is directed, used to direct traffic to the internet gateway • Internet Gateway: Allows traffic in and out of VPC • Route Table Association: Enforces routes in route table upon VPC • VPC Default Route: Route that undefined traffic is subjected to, used to route egress traffic out of VPC NETWORKING COMPONENTS IN STACK 25
• RDS Subnet 1: Subnet that primary RDS database resides in • RDS Subnet 2: Subnet that failover RDS database resides in; must be different Availability Zone than RDS Subnet 1 • RDS Subnet Group: Grouping of subnets used to implement high- availability of RDS Database • RDS Security Group: Defines what source/destination IPs/ports communication to/from RDS Database can occur RDS COMPONENTS IN STACK 27
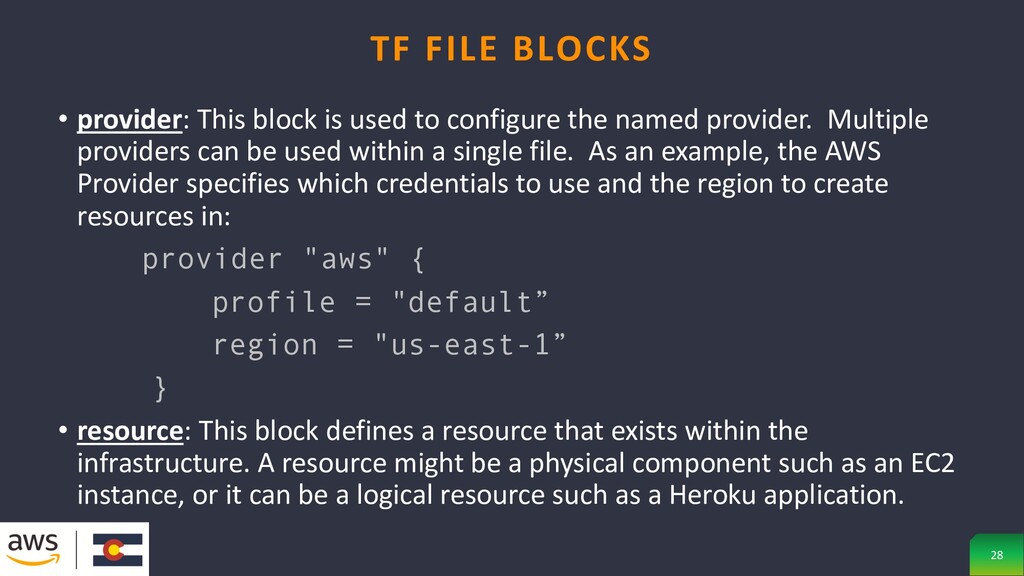
provider. Multiple providers can be used within a single file. As an example, the AWS Provider specifies which credentials to use and the region to create resources in: provider "aws" { profile = "default” region = "us-east-1” } • resource: This block defines a resource that exists within the infrastructure. A resource might be a physical component such as an EC2 instance, or it can be a logical resource such as a Heroku application. TF FILE BLOCKS 28
Get latest Amazon Machine Image (AMI) Id for a specific kind of image • In our case, the latest ID for the AMZN provided Linux image • Each data resource is associated with a single data source, which determines the kind of object (or objects) it reads and what query constraint arguments are available. • Each data source in turn belongs to a provider, which is a plugin for Terraform that offers a collection of resource types and data sources that most often belong to a single cloud or on-premises infrastructure platform. TF FILE BLOCKS 29
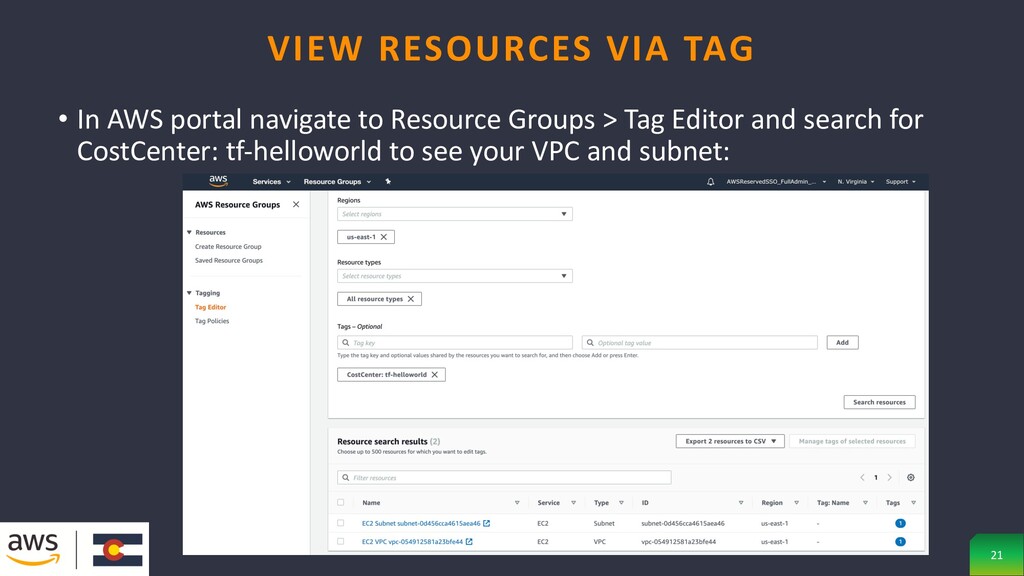
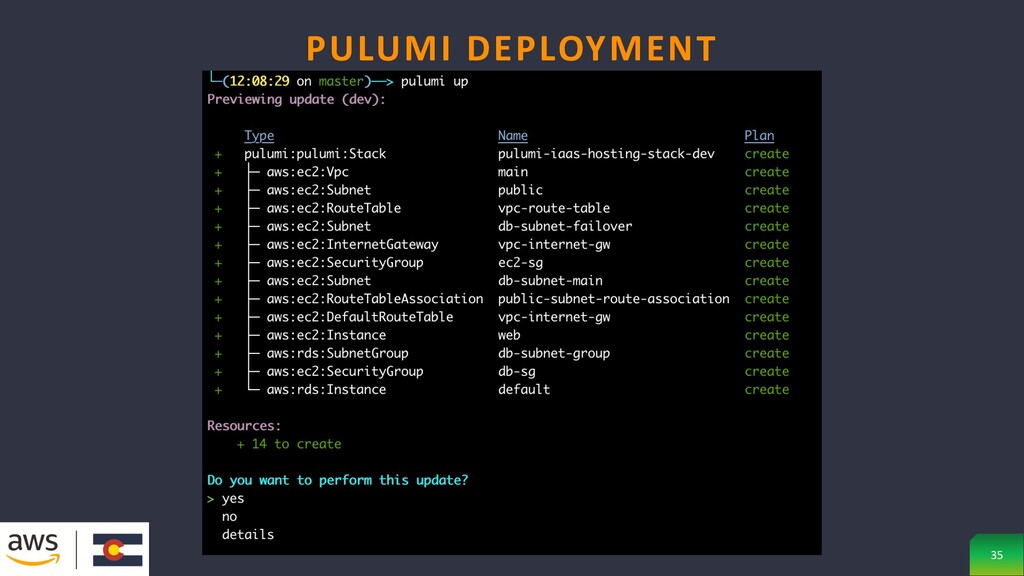
terraform plan • terraform apply • Check out resources searching for CostCenter: aws-meetup-group tag • Delete the repo • terraform destroy DEPLOY RESOURCES FROM REPO 30
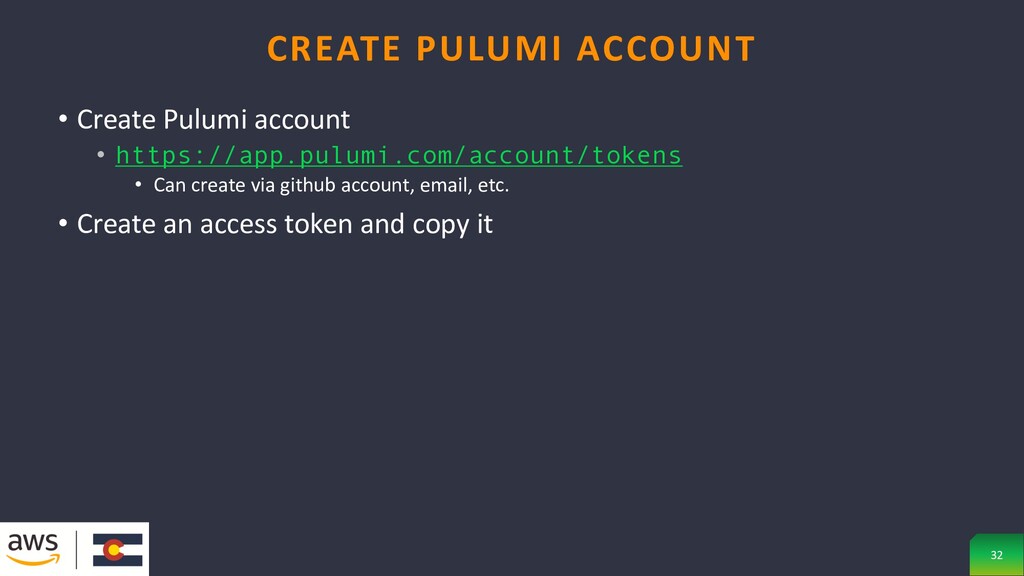
deploying cloud infrastructure and applications in your favorite language on any cloud” • Allows IaC using programming languages. Allowing developers to code infra without having to learn a new language • Also allows for better test-ability • Supported Languages • JavaScript • Typescript • Python • .NET Core • Go PULUMI OVERVIEW 31
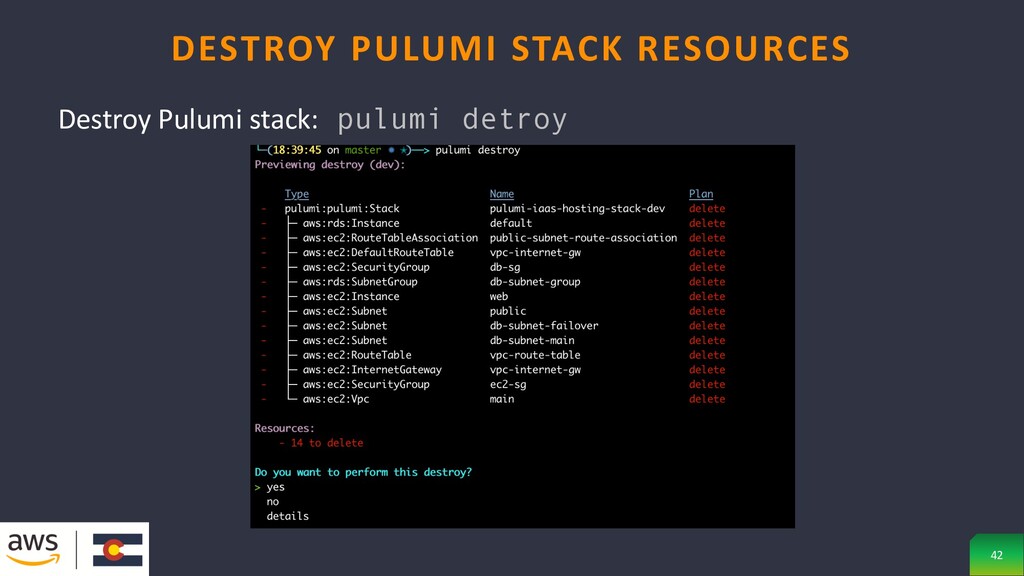
pulumi stack rm <account>/<stack>/<env> --force • Be careful, if you delete the stack without destroying the resources they will be orphaned, and you will have to delete resources manually • Hooray tags! DESTROY RESOURCES & DELETE PULUMI STACK 36
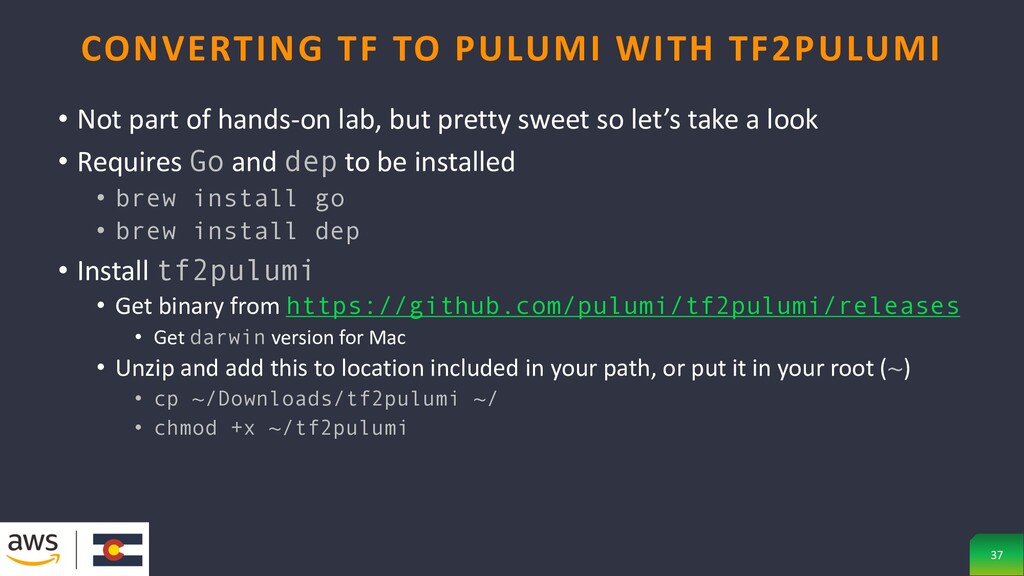
let’s take a look • Requires Go and dep to be installed • brew install go • brew install dep • Install tf2pulumi • Get binary from https://github.com/pulumi/tf2pulumi/releases • Get darwin version for Mac • Unzip and add this to location included in your path, or put it in your root (~) • cp ~/Downloads/tf2pulumi ~/ • chmod +x ~/tf2pulumi CONVERTING TF TO PULUMI WITH TF2PULUMI 37
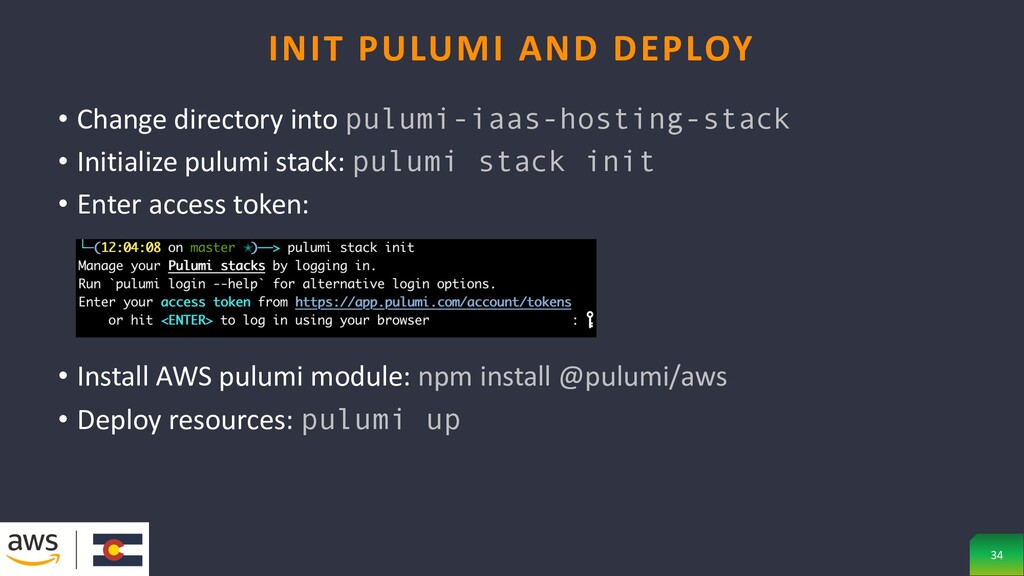
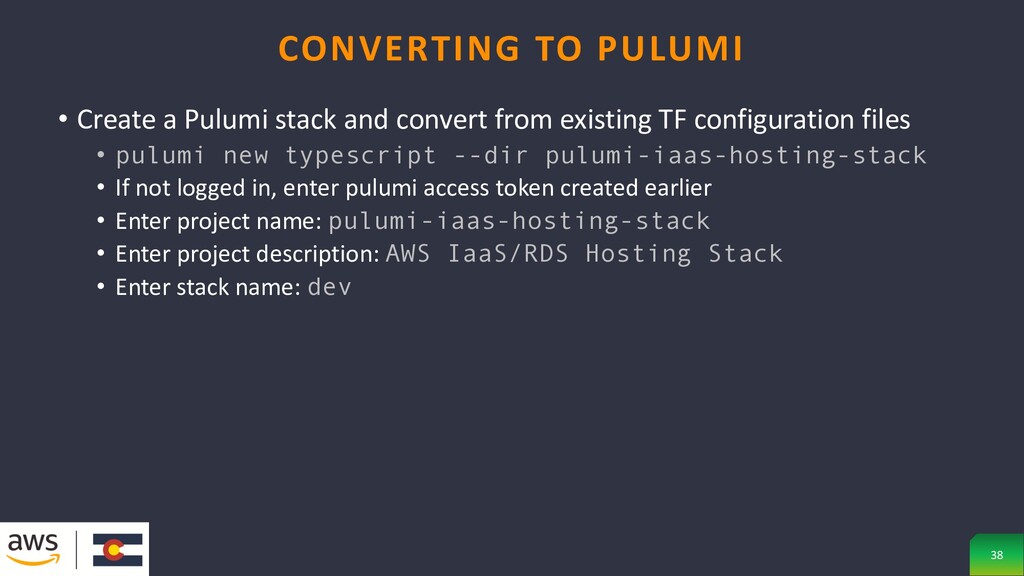
configuration files • pulumi new typescript --dir pulumi-iaas-hosting-stack • If not logged in, enter pulumi access token created earlier • Enter project name: pulumi-iaas-hosting-stack • Enter project description: AWS IaaS/RDS Hosting Stack • Enter stack name: dev CONVERTING TO PULUMI 38
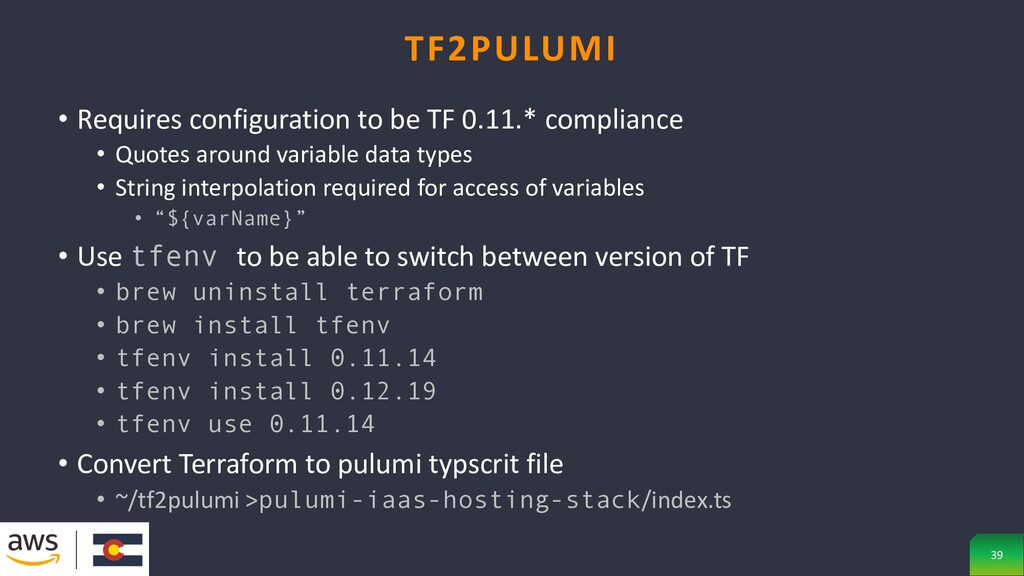
around variable data types • String interpolation required for access of variables • “${varName}” • Use tfenv to be able to switch between version of TF • brew uninstall terraform • brew install tfenv • tfenv install 0.11.14 • tfenv install 0.12.19 • tfenv use 0.11.14 • Convert Terraform to pulumi typscrit file • ~/tf2pulumi >pulumi-iaas-hosting-stack/index.ts TF2PULUMI 39
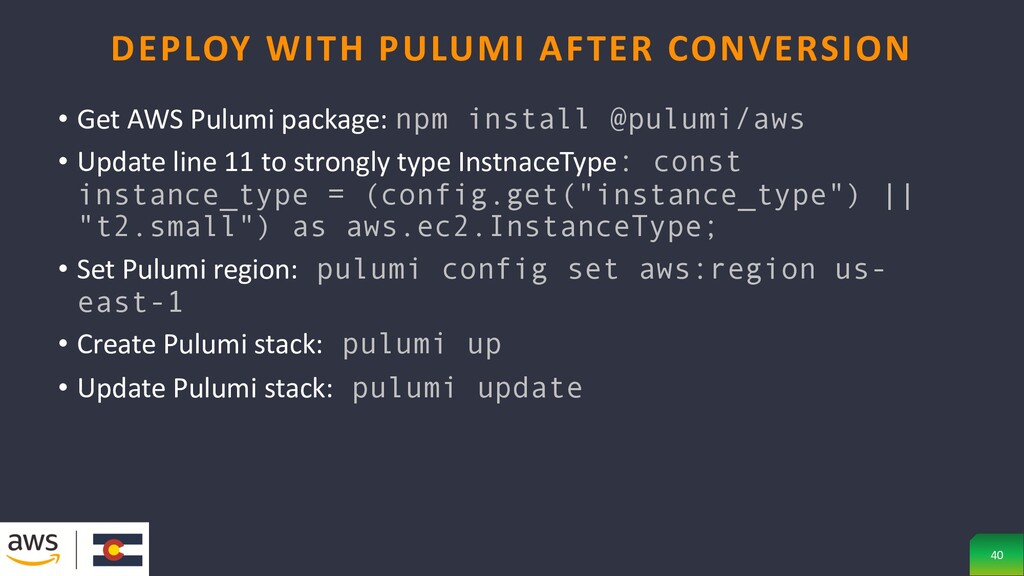
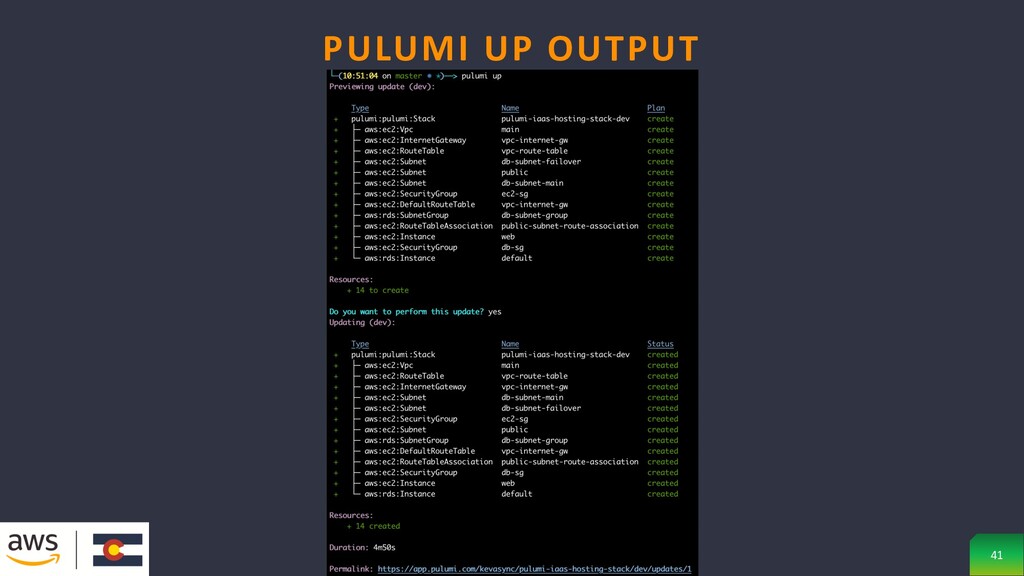
line 11 to strongly type InstnaceType: const instance_type = (config.get("instance_type") || "t2.small") as aws.ec2.InstanceType; • Set Pulumi region: pulumi config set aws:region us- east-1 • Create Pulumi stack: pulumi up • Update Pulumi stack: pulumi update DEPLOY WITH PULUMI AFTER CONVERSION 40
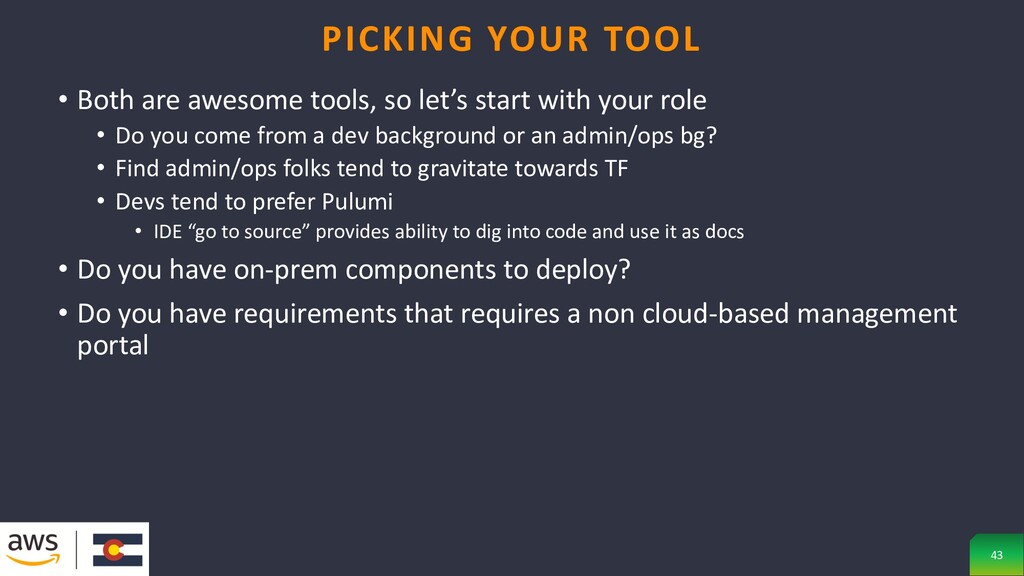
role • Do you come from a dev background or an admin/ops bg? • Find admin/ops folks tend to gravitate towards TF • Devs tend to prefer Pulumi • IDE “go to source” provides ability to dig into code and use it as docs • Do you have on-prem components to deploy? • Do you have requirements that requires a non cloud-based management portal PICKING YOUR TOOL 43
Terraform • Getting started with Terraform • Deploying a complex, multi-file Terraform stack • Intro to Pulumi • Deploying a complex stack with Pulumi • Converting a Terraform project to Pulumi using tf2pulumi • Thank you for joining • Thanks to Code PaLOUsa for organizing!! • Please come talk to me if you have further questions CONCLUSION 44