how we do the things we do. Anytime you solve a problem, you have utilised your design skills. We just need the confidence to bring out what we already know.
do design as a profession, your work boils down to: 1. Empathising 2. Researching 3. Prototyping/Creating Instead of telling you more about design, go through this guide and experience it by doing a design thinking exercise. This design thinking exercise is based on Stanford’s virtual course on design thinking.
redesign the gift giving experience for a partner. We are NOT redesigning the gift and we are not redesigning your gift giving experience. We are designing the gift giving experience for your partner. You can always pick a different experience/challenge and apply the same steps to come up with a useful solution. To pick a different experience/challenge look at the challenges/difficulties around you and pick one.
is to get to work and use the steps below to redesign your going to work experience. Whoever you are designing for becomes the user and they are the ones to answer your questions. For the design thinking exercise we will complete 6 tasks, and on completing these tasks you would have learnt how to think and work as a designer.
you can ask a few questions. This can be your friend, a colleague, your sibling or a random stranger. • This partner will be your ‘user’ for the whole of this exercise. • Get a pen and note or a recorder to note their responses to your questions that tell you more about the experience you are trying to improve. The most important part of designing for someone is to gain empathy for that person. This is where researching comes in.
have to to understand them. To understand them, you have to research on them. You use the insights you gain from the user research to design and create. To research, you interview people who experience or have experienced what you want to improve on. They might not have a problem with it, but in interviewing them you gain insight and learn ways you can create an enjoyable experience by gaining empathy for them.
2: [ ] Ask your partner about the last time they gave a gift, what happened? How was it? • How did they come up with the idea for the gift? What was difficult about finding and giving this gift? What was hard/easy about finding and giving the gift? • In asking, try to understand what happened and why it happened. Take note of things they find interesting or surprising. Do this for about 4 mins. It can be less or more, depending on the time you have available.
things that you found interesting. You are going to ask more questions and dig deeper. As you ask more questions, try to dig for feelings and emotion. Ask `WHY?` often. • Read this article on the 5 Whys as developed by Toyota to understand the power of asking why in design.
to dig deeper on the answers they gave that you found interesting. • Try to ask till you see/hit an emotion of pain as they answer you or try to answer you. Emotion is very key in design. It is by easing people pains that you design good solutions. • Do this for about 4 mins. It can be less or more, depending on the time you have available.
from your research complete the following tasks. Task 4.1: [ ] Write out the Needs List. • Based off your notes, write out separately the things your partner was trying to accomplish by giving a gift. What were they trying to do by going through that experience. What does gift giving do for them. Needs should be verbs. • Do this for about 4 mins. It can be less or more, depending on the time you have available.
from your research complete the following tasks. Task 4.2: [ ] Write out the Insights List. • Based off your notes, write out separately the things that stood out to you as you did the interviews. These are the things you noticed would be helpful in improving that experience for your user. This is the Insights List. • Do this for about 4 mins. It can be less or more, depending on the time you have available.
problem statement • Create a problem statement by combining the items in your Needs List with items in your Insights List. Use this template: UserName [replace with user’s name/description] needs/wants a way to _______________________________________ [write out user need], surprisingly // because // but [choose one that flows best to include in the sentence] ___________________________________________ [write insight]. Example: Ali needs a way make the most of his time, but he doesn’t know how to manage his time, he doesn’t even know people can manage their time.
your solution (app, website or service), complete the following tasks. Task 5.1: [ ] Define possible solutions, products or services based off findings • If you need help doing this, watch how to generate ideas. • Do this for about 4 mins. It can be less or more, depending on the time you have available.
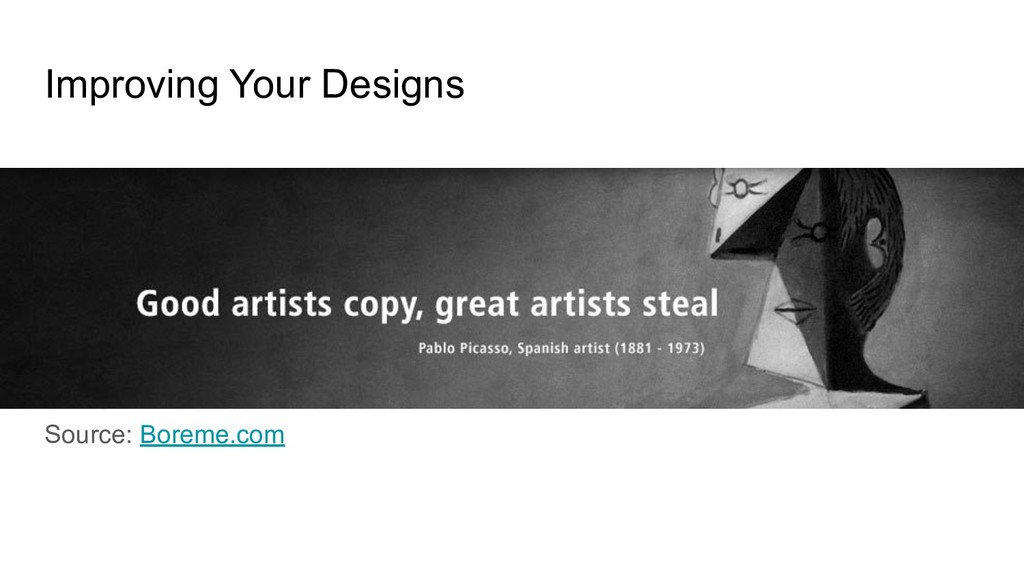
need help doing this, watch how to build your creative confidence. ◦ You can also search online to see how other apps which solve this problem were designed, to get inspiration on what to sketch. Product Hunt is a good site for this. ◦ Read these articles to learn how to create new designs by looking at what others have created: ▪ Develop an eye for design by breaking down other designs [Article] ▪ Stealing Your Way to Original Designs [Article] • Do this for about 6 mins. It can be less or more, depending on the time you have available.
solution and get feedback on why your solution works for them, or why is doesn’t work. • You are presenting this solution not to validate your solution, but to collect feedback, hear what your potential user feels about the solution and improve on it. • Do this for about 4 mins. It can be less or more, depending on the time you have available.
into sketch and improve on your sketch • Read this guide on UX Sketching for tips on how to sketch and improve your sketches • Do this for about 4 mins. It can be less or more, depending on the time you have available.
tasks. Task 6.1: [ ] Use Figma to convert your sketches into digital images/wireframes • For help with using Figma watch this Intro to Figma video. • For more detailed tutorials on the different tools and features of Figma, go through this video playlist. • Do this for about 8 mins. It can be less or more, depending on the time you have available.
with your user/partner for more feedback on how to improve the design. • Remember this is to collect feedback and not to validate your solution. • Do this for about 4 mins. It can be less or more, depending on the time you have available.
any, and adjust any errors on the design Now you have completed the design thinking exercise. The next set of steps take you through improving the quality of your design and making them more professional.
community of designers, where you can get feedback from other designers like you • Create a https://dribbble.com/ account and keep looking at design posts everyday • Subscribe to http://sidebar.io/ • Buy and read the book The Design of Everyday Things (Here is a free course on YouTube on the book by the author) • Read this article on Design Concept and Inspiration
content on how to improve your designs, go through the next few pages. It will take you step by step through different resources that tell you: • How to arrange information and content in a way that guides the user to take the right steps while using your product • How to pick the right colours and fonts for your design • How to get inspirations, icons and assets you need to improve your design • And other free and useful resources to improve your designs Click through and use the resources here to learn how to create and design beautiful digital experiences for the web.
know and understand how to properly arrange information in your designs to lure in users, go through these resources. • Understanding Visual Hierarchy in Web Design - "Visual hierarchy is one of the most important principles behind effective web design. This article will examine why developing a visual hierarchy is crucial on the web, the theory behind it, and how you can use some very basic exercises in your own designs to put these principles into practice." • Visual Direction in Web Design - "One of the big secrets of design is learning how to guide the visual direction of viewers; This principle is often overlooked by even the most experienced designers, so today we’re going to take a deeper look at how it works." • The Psychology of Content Design [Article]
the right colours for your designs, go through these resources. • An Introduction to Color Theory for Web Designers [Article] • 6 Beginner “Safety First” Color Guidelines for the Web [Article] • Hex Colour Generator - A random colour generator • Colour Tool - A tool to help you create colour palettes for your interface
understand typography and how to pick fonts for your designs. • An animated short video on the History of Typography • A Comprehensive Guide to Typography Basics [Article] • A Beginner’s Guide to Pairing Fonts [Article] • How to design with only text [Video] • Your body text is too small [Article] • Checklist for Better Web Typography [Article]
understand typography and how to pick fonts for your designs. • FontPair - A tool to help designers find the best Google font pairs. • Google Fonts - Free fonts collated by Google. • WhatFont - A Chrome extension that instantly helps you identify any webfont. • WhatTheFont - A tool that can identify fonts from a picture or screenshot of a site or flyer.
use these resources. • Designing for the next step [Article] • Designing with Grids to help arrange your designs [Article] • Understanding unified designs and why unity is important in design [Article] • White Space: Designing the Invisible [Article] • The power of empty space [Video]
Easily convert your paper sketches to interactive prototypes for free. • Use Wirify to see the Wireframe-d version of any site you like. • Figma - A vector-based interface design tool with real-time collaboration. • WhatFont - A Chrome extension that instantly helps you identify any webfont. • WhatTheFont - A tool that can identify fonts from a picture or screenshot of a site or flyer. • Google Fonts - Free fonts collated by Google. • FontPair - A tool to help designers find the best Google font pairs. • Colour Tool - A tool to help you create colour palettes for your interface. • Hex Colour Generator - A random colour generator
![Empathy & Research Task 1: [ ] Get a partner](https://files.speakerdeck.com/presentations/02096480cc1c4b70b96471fe02b70ab3/slide_5.jpg)
![Research some more Task 3: [ ] Ask more questions](https://files.speakerdeck.com/presentations/02096480cc1c4b70b96471fe02b70ab3/slide_9.jpg)
![Capture Findings From Research Interviews Task 4.3: [ ] Define](https://files.speakerdeck.com/presentations/02096480cc1c4b70b96471fe02b70ab3/slide_12.jpg)
![Prototyping [ ] Hand draw/sketch/prototype possible solution • If you](https://files.speakerdeck.com/presentations/02096480cc1c4b70b96471fe02b70ab3/slide_14.jpg)
![Prototyping Task 5.3: [ ] Walk your partner/potential-user through sketched](https://files.speakerdeck.com/presentations/02096480cc1c4b70b96471fe02b70ab3/slide_15.jpg)
![Prototyping Task 5.4: [ ] Apply findings from feedback back](https://files.speakerdeck.com/presentations/02096480cc1c4b70b96471fe02b70ab3/slide_16.jpg)
![Construct Full Designs Task 6.2: [ ] Share finished design](https://files.speakerdeck.com/presentations/02096480cc1c4b70b96471fe02b70ab3/slide_18.jpg)
![Construct Full Designs Task 6.3: [ ] Implement feedback if](https://files.speakerdeck.com/presentations/02096480cc1c4b70b96471fe02b70ab3/slide_19.jpg)
![Extras • How to design a logo yourself [Article]](https://files.speakerdeck.com/presentations/02096480cc1c4b70b96471fe02b70ab3/slide_30.jpg)