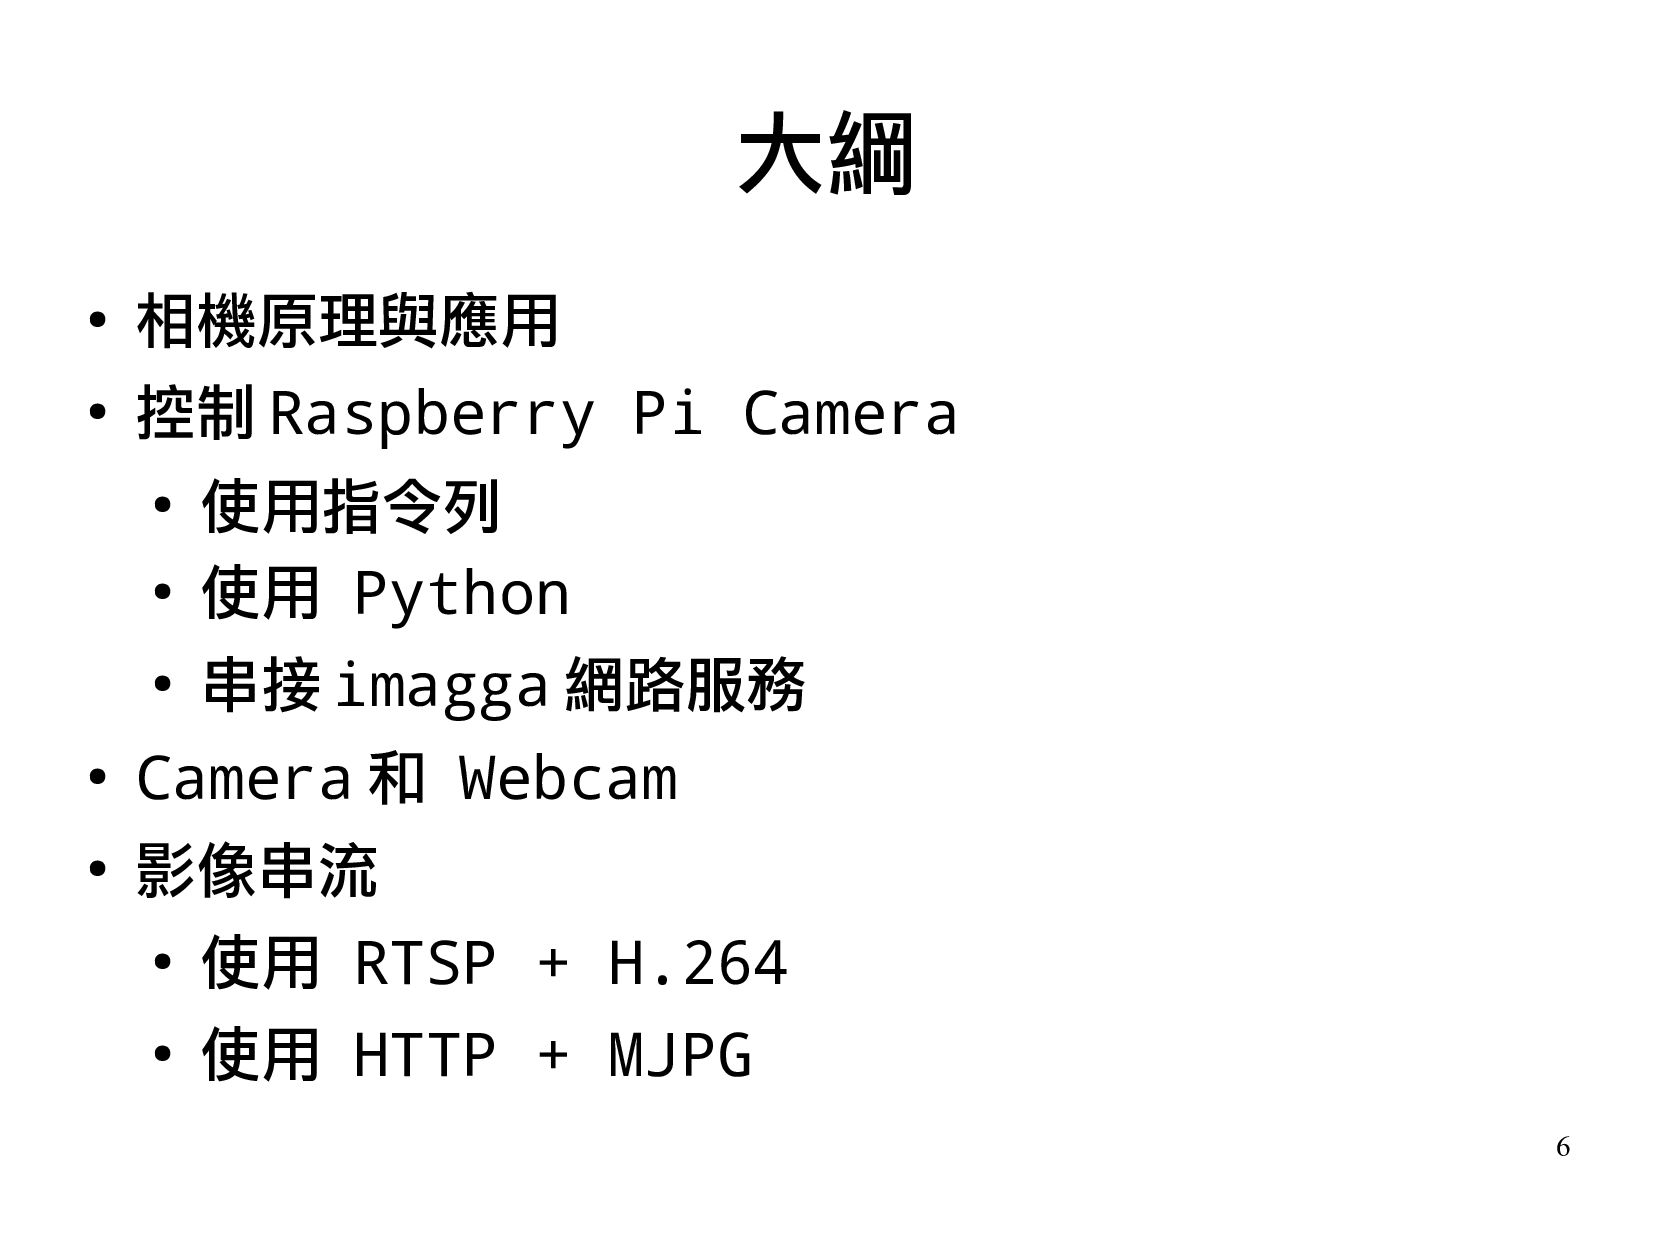
1.相機原理與應用(1 小時)
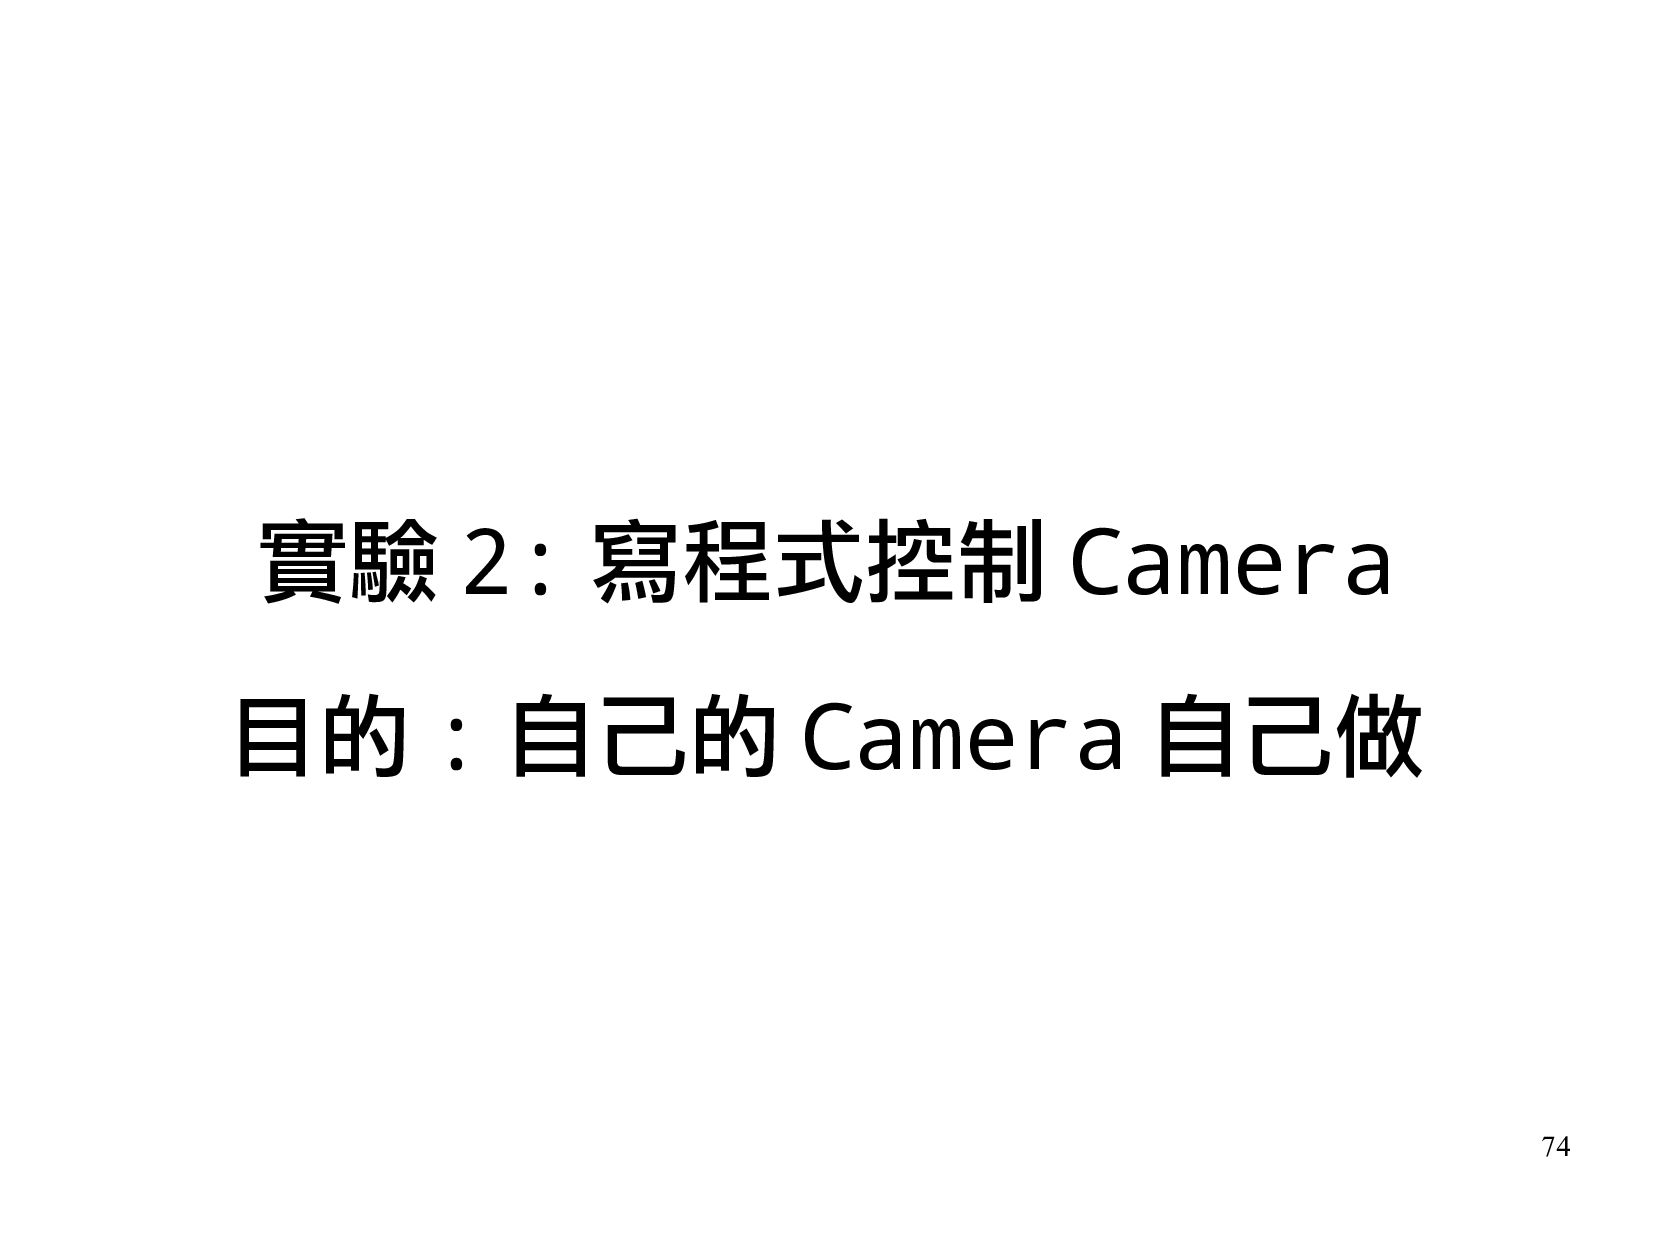
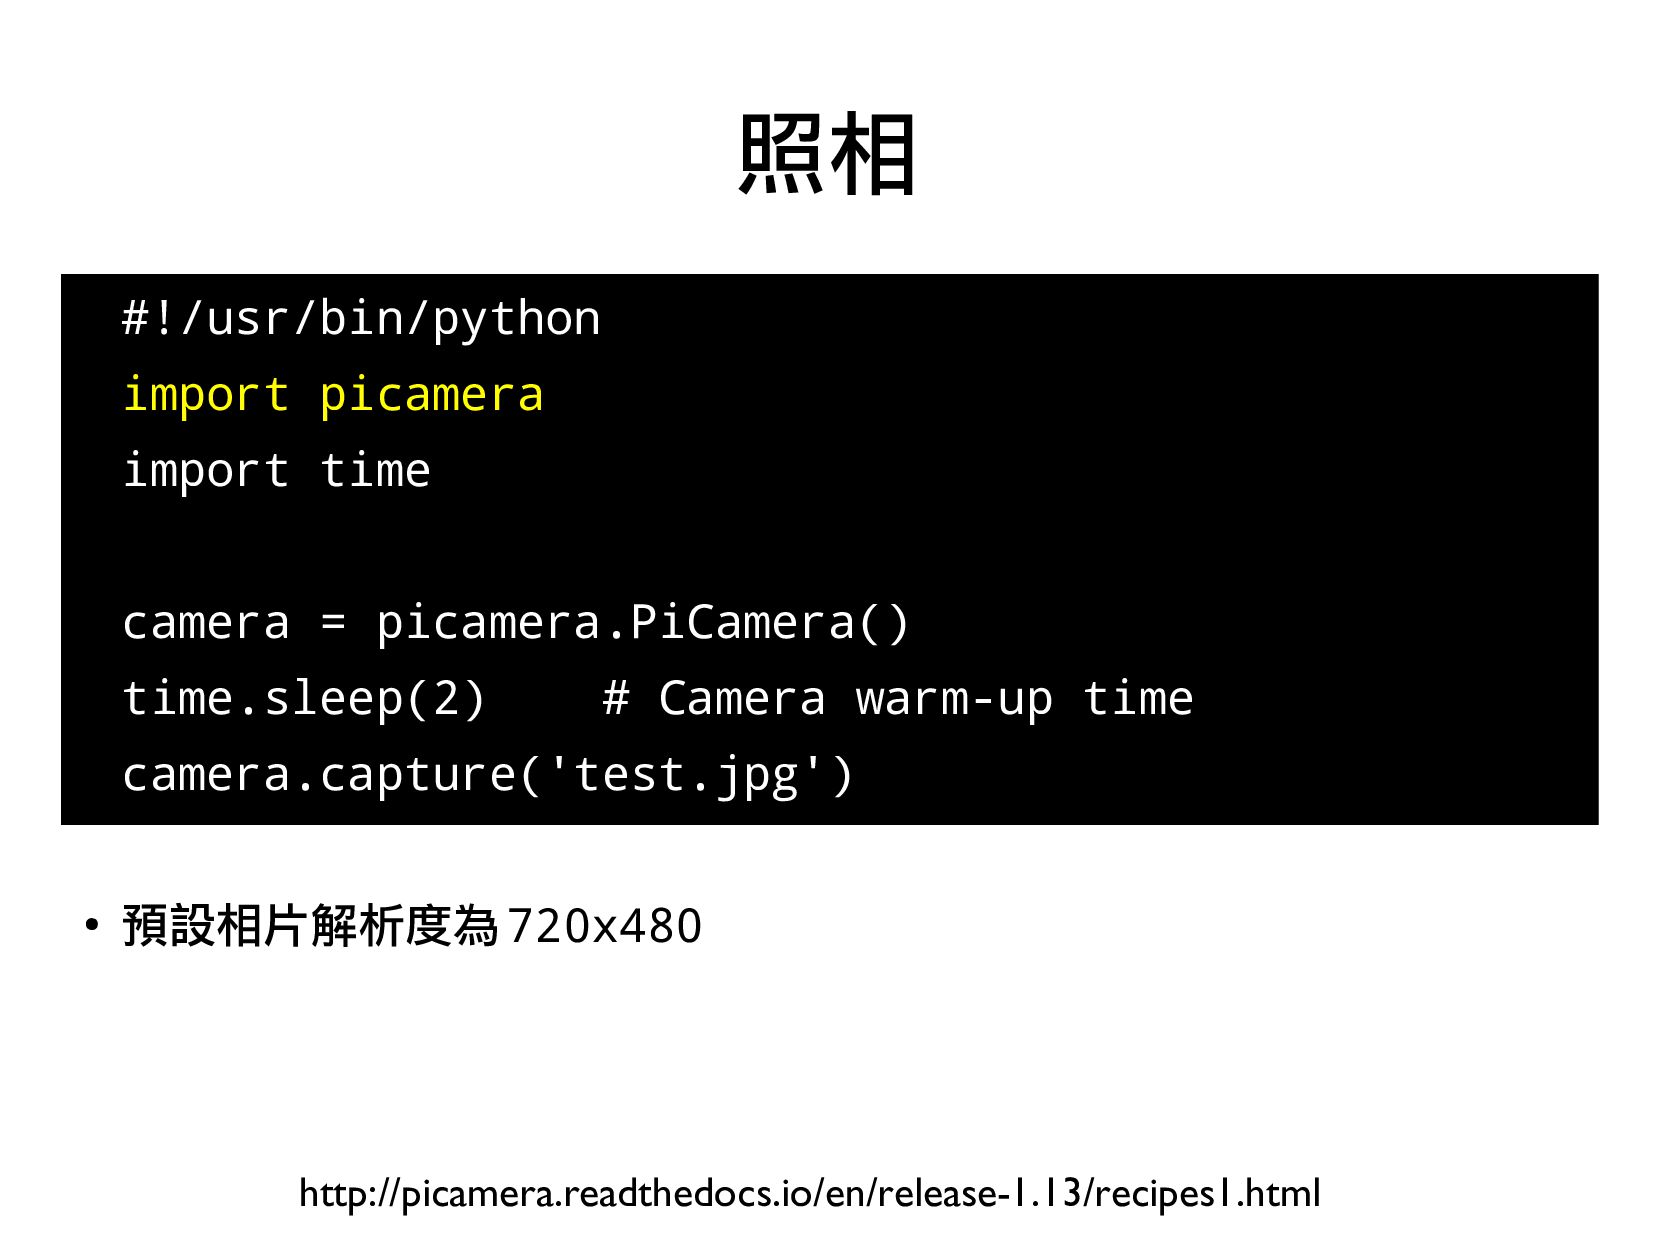
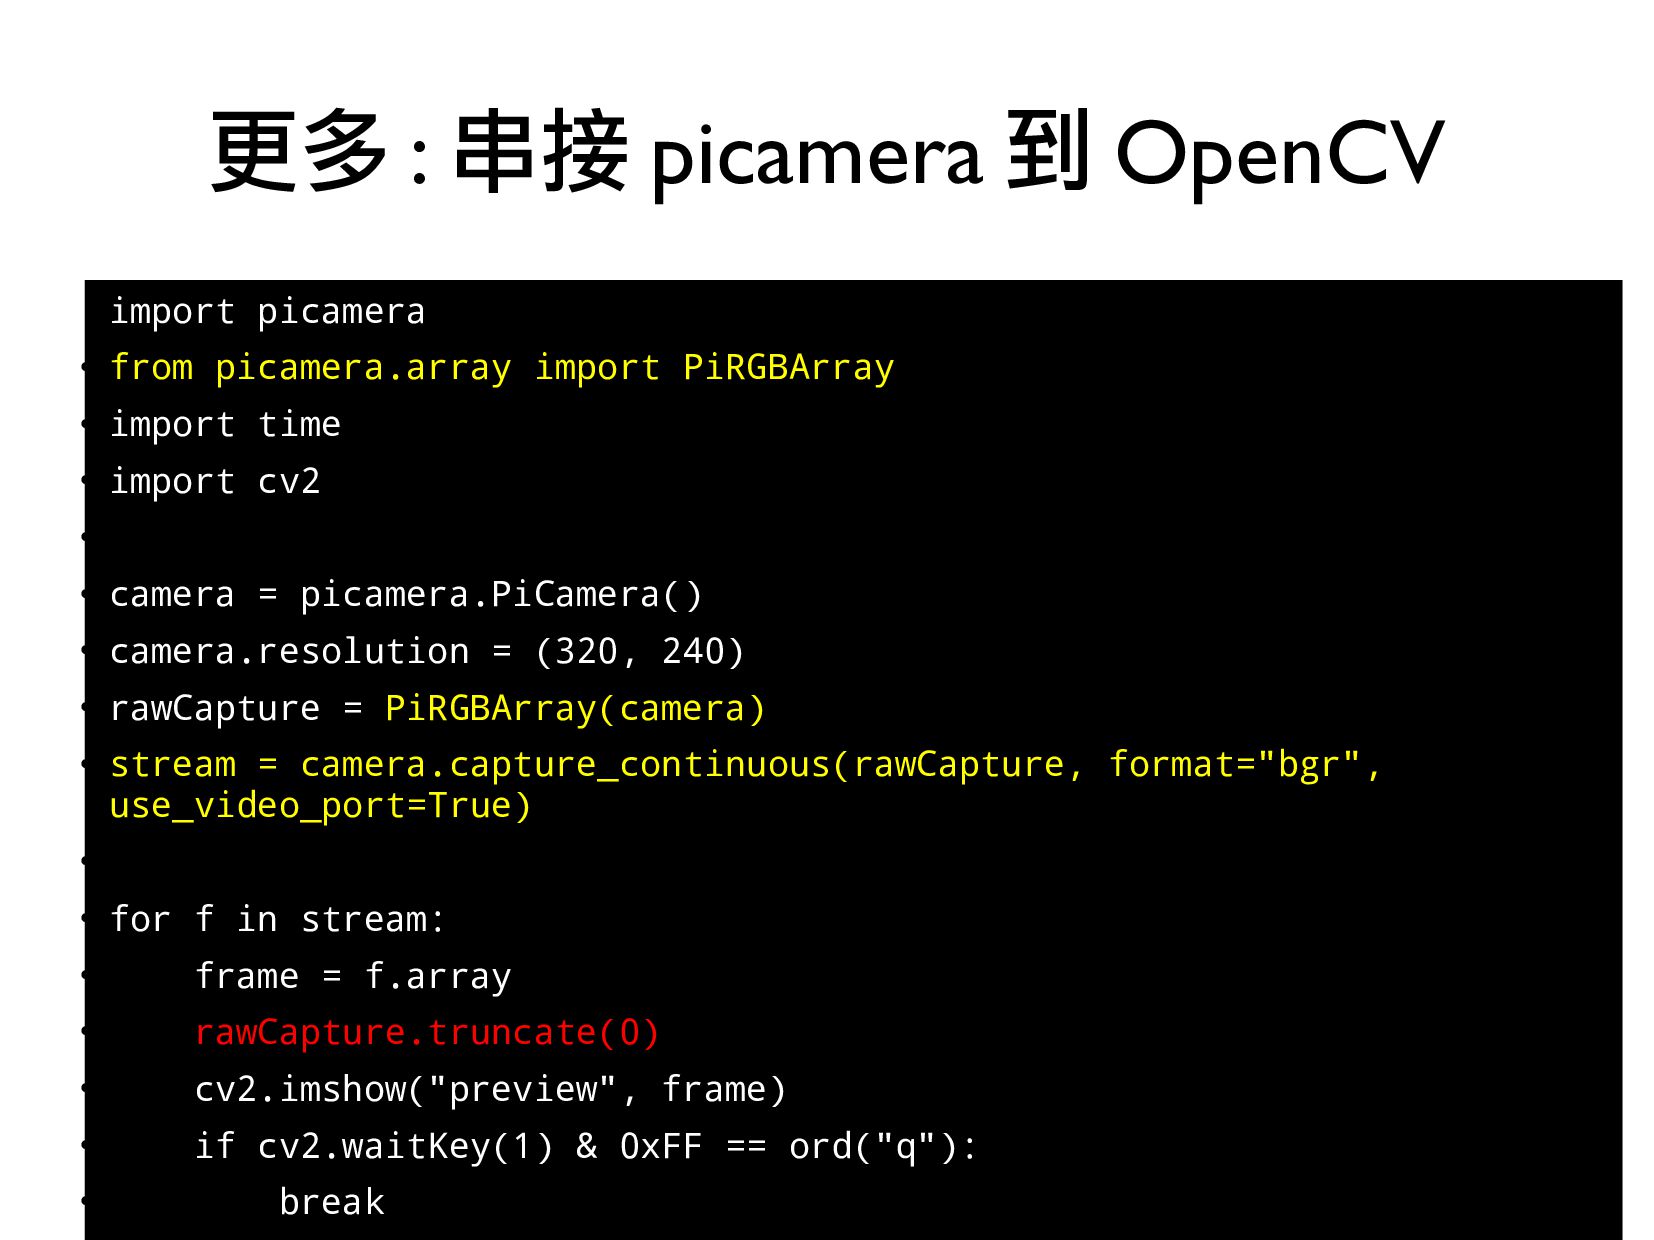
2.控制 Raspberry Pi Camera(2 小時)
- 使用指令列
- 使用 Python
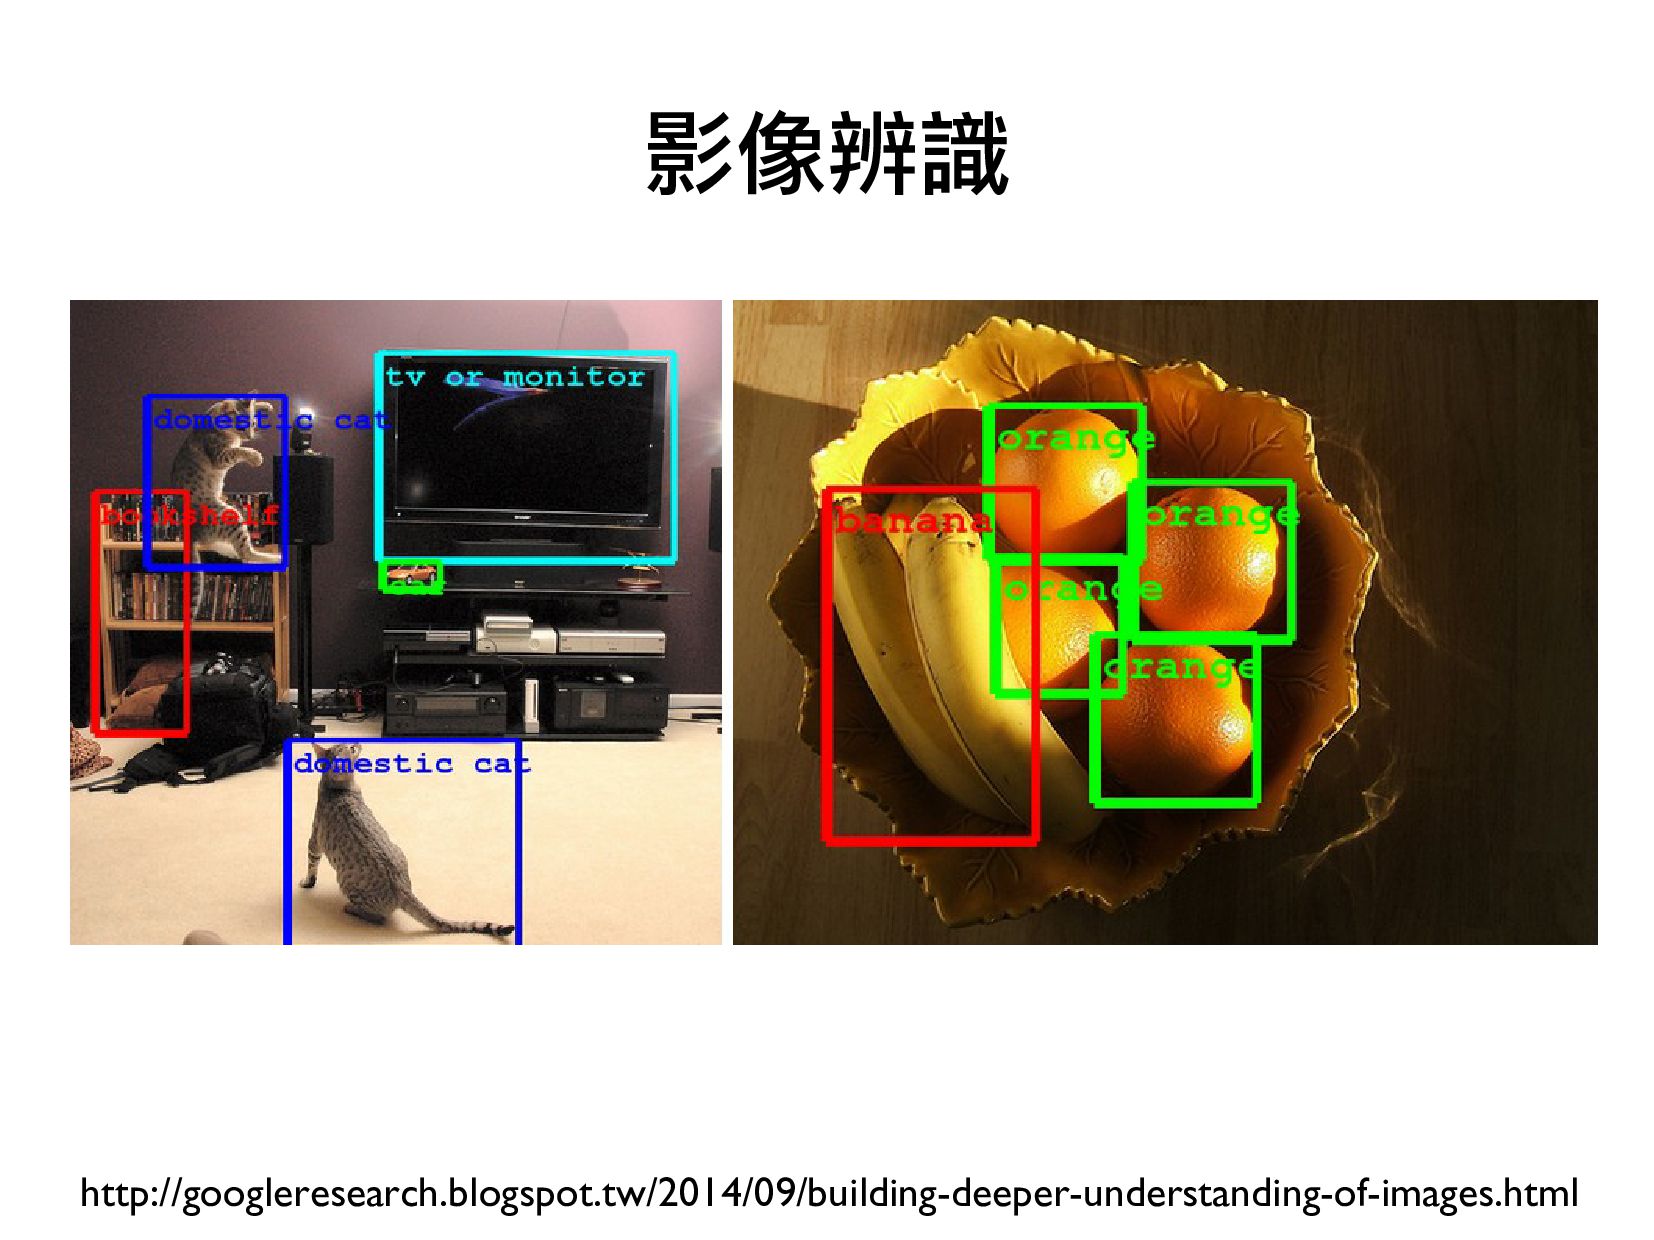
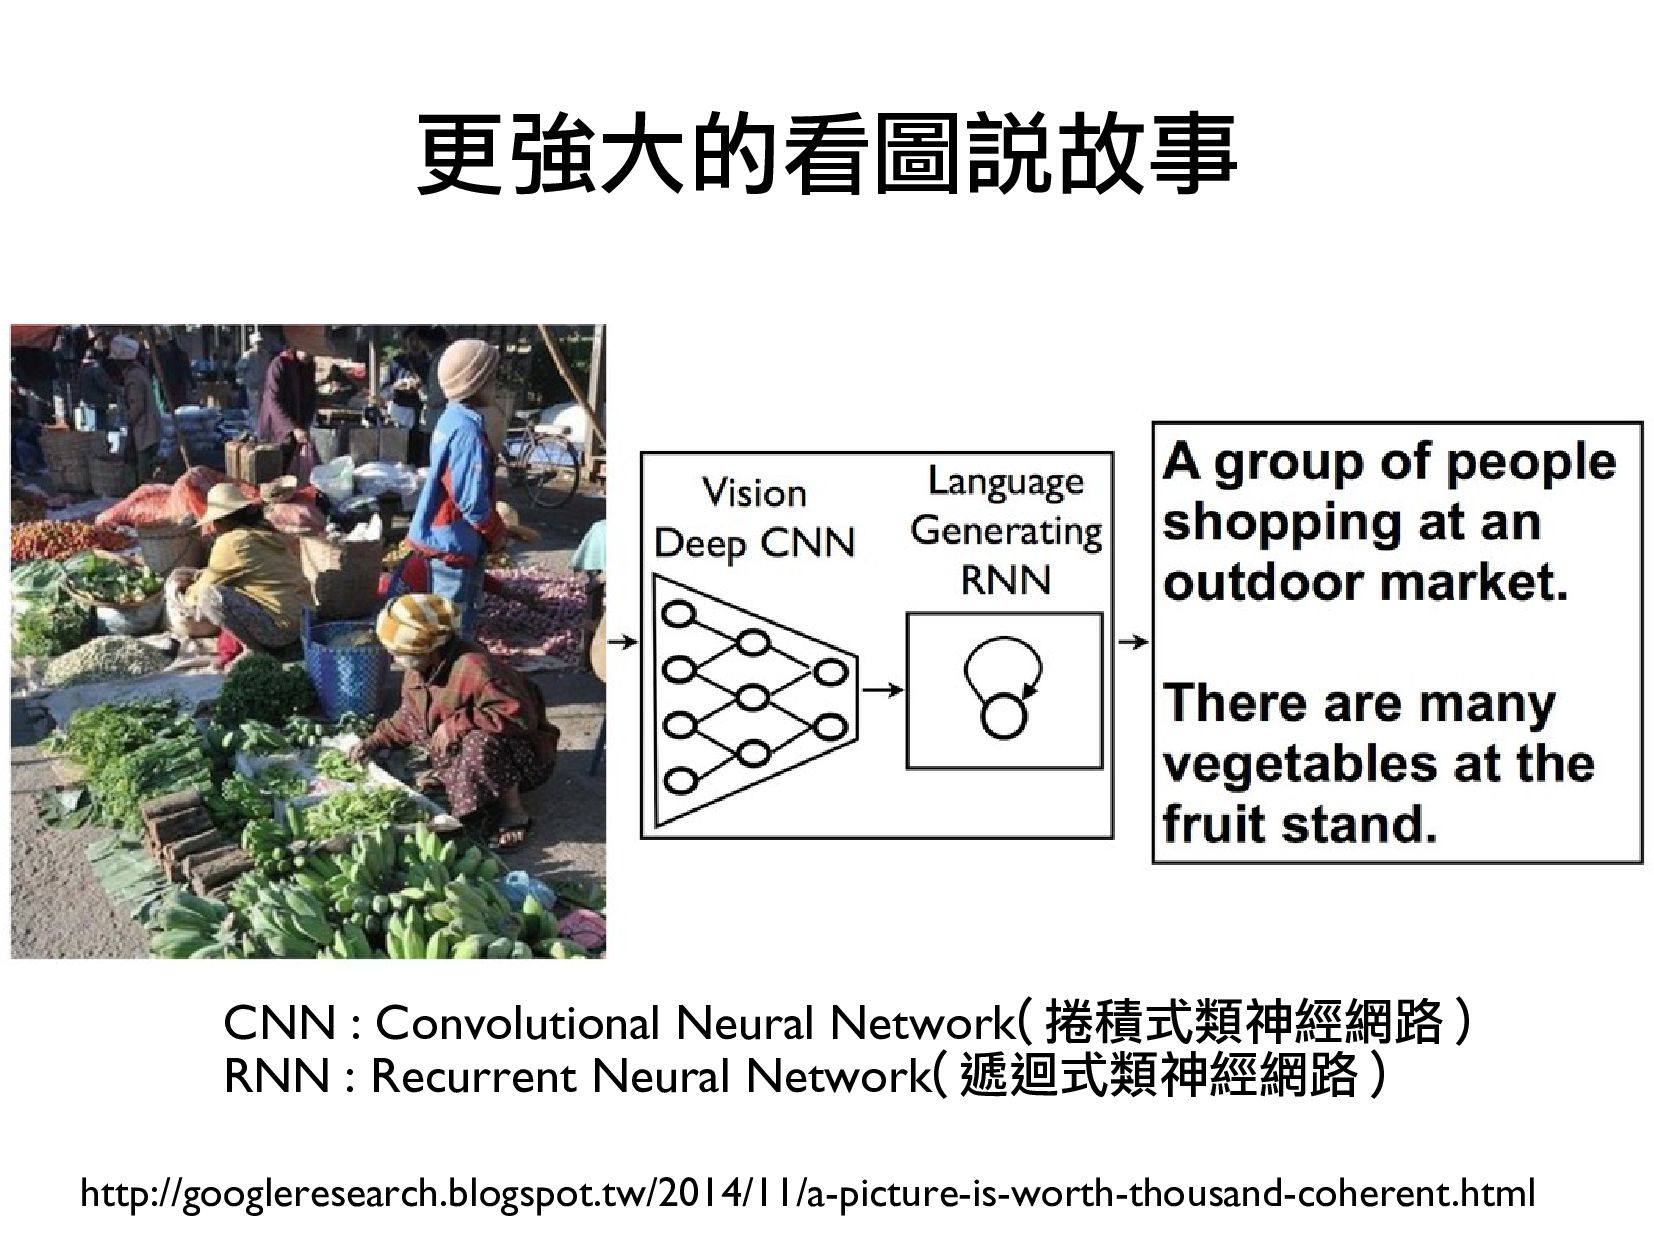
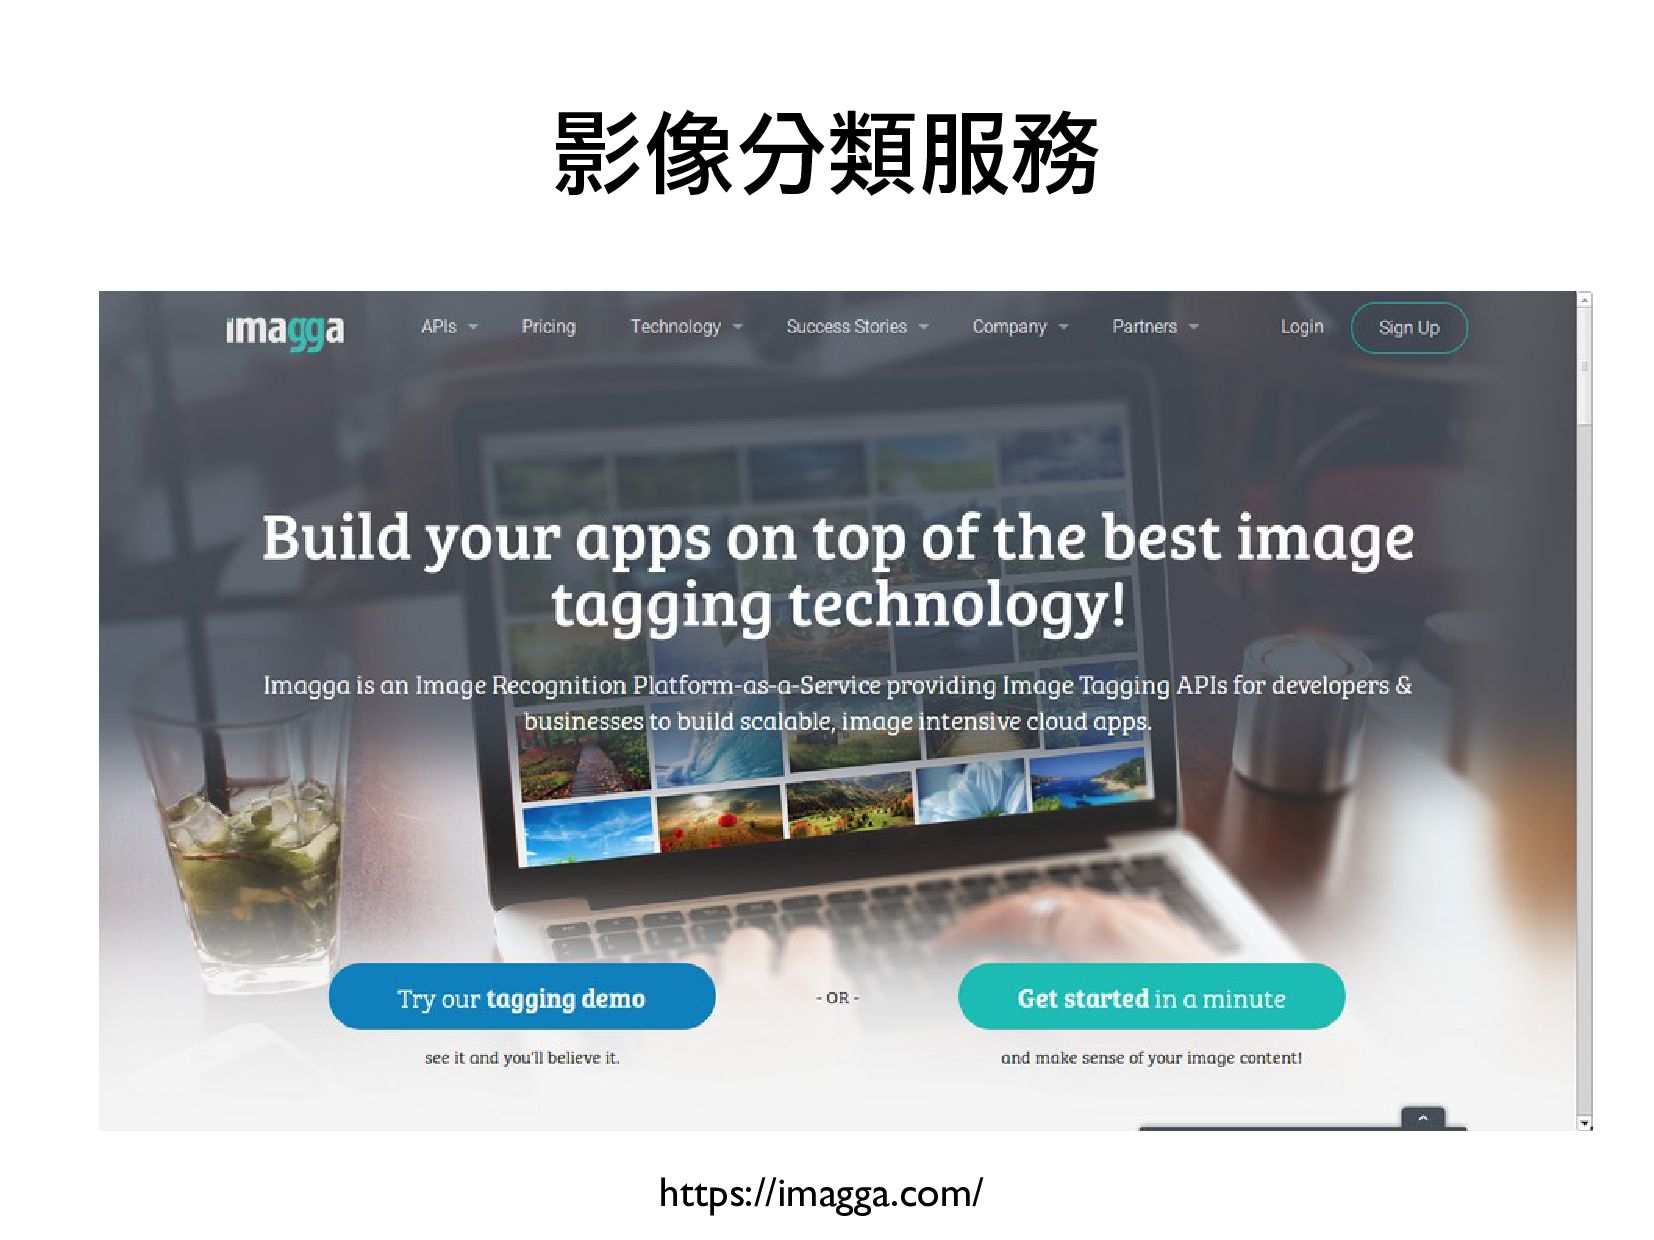
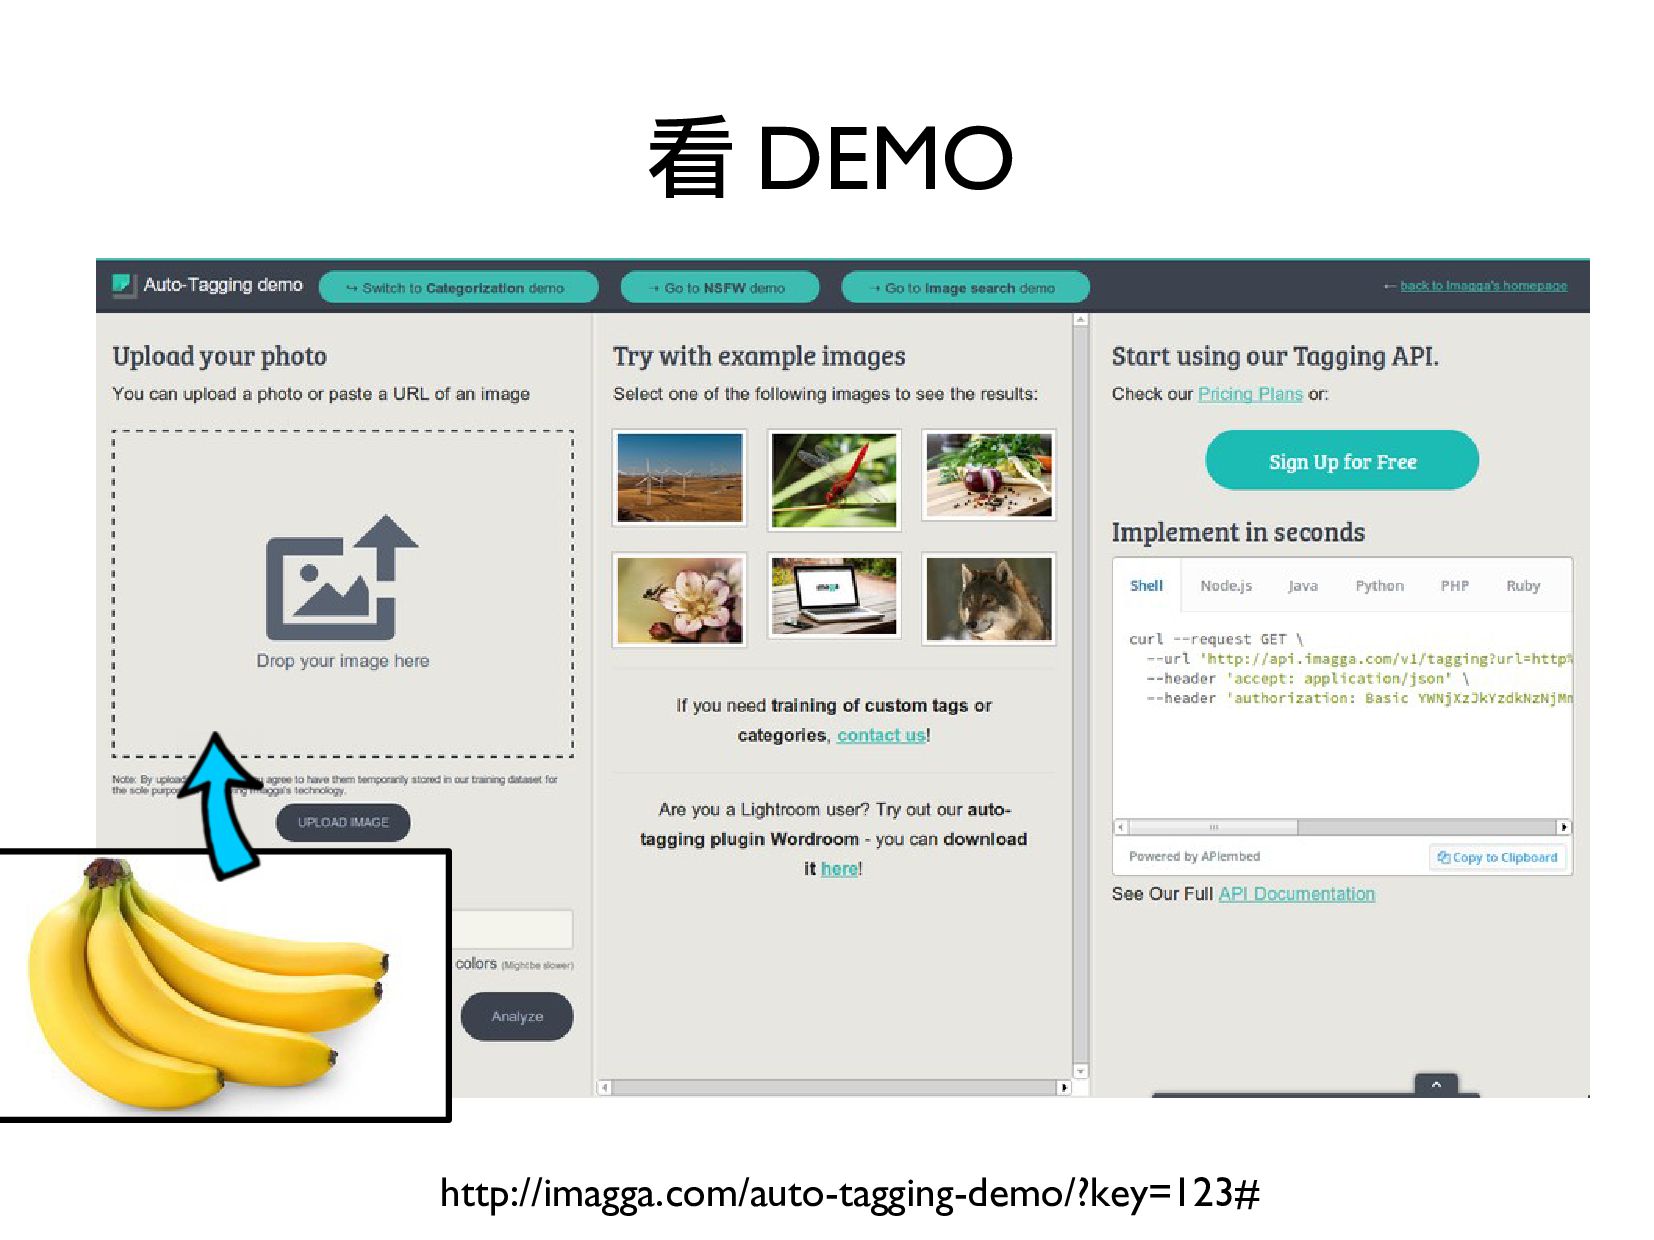
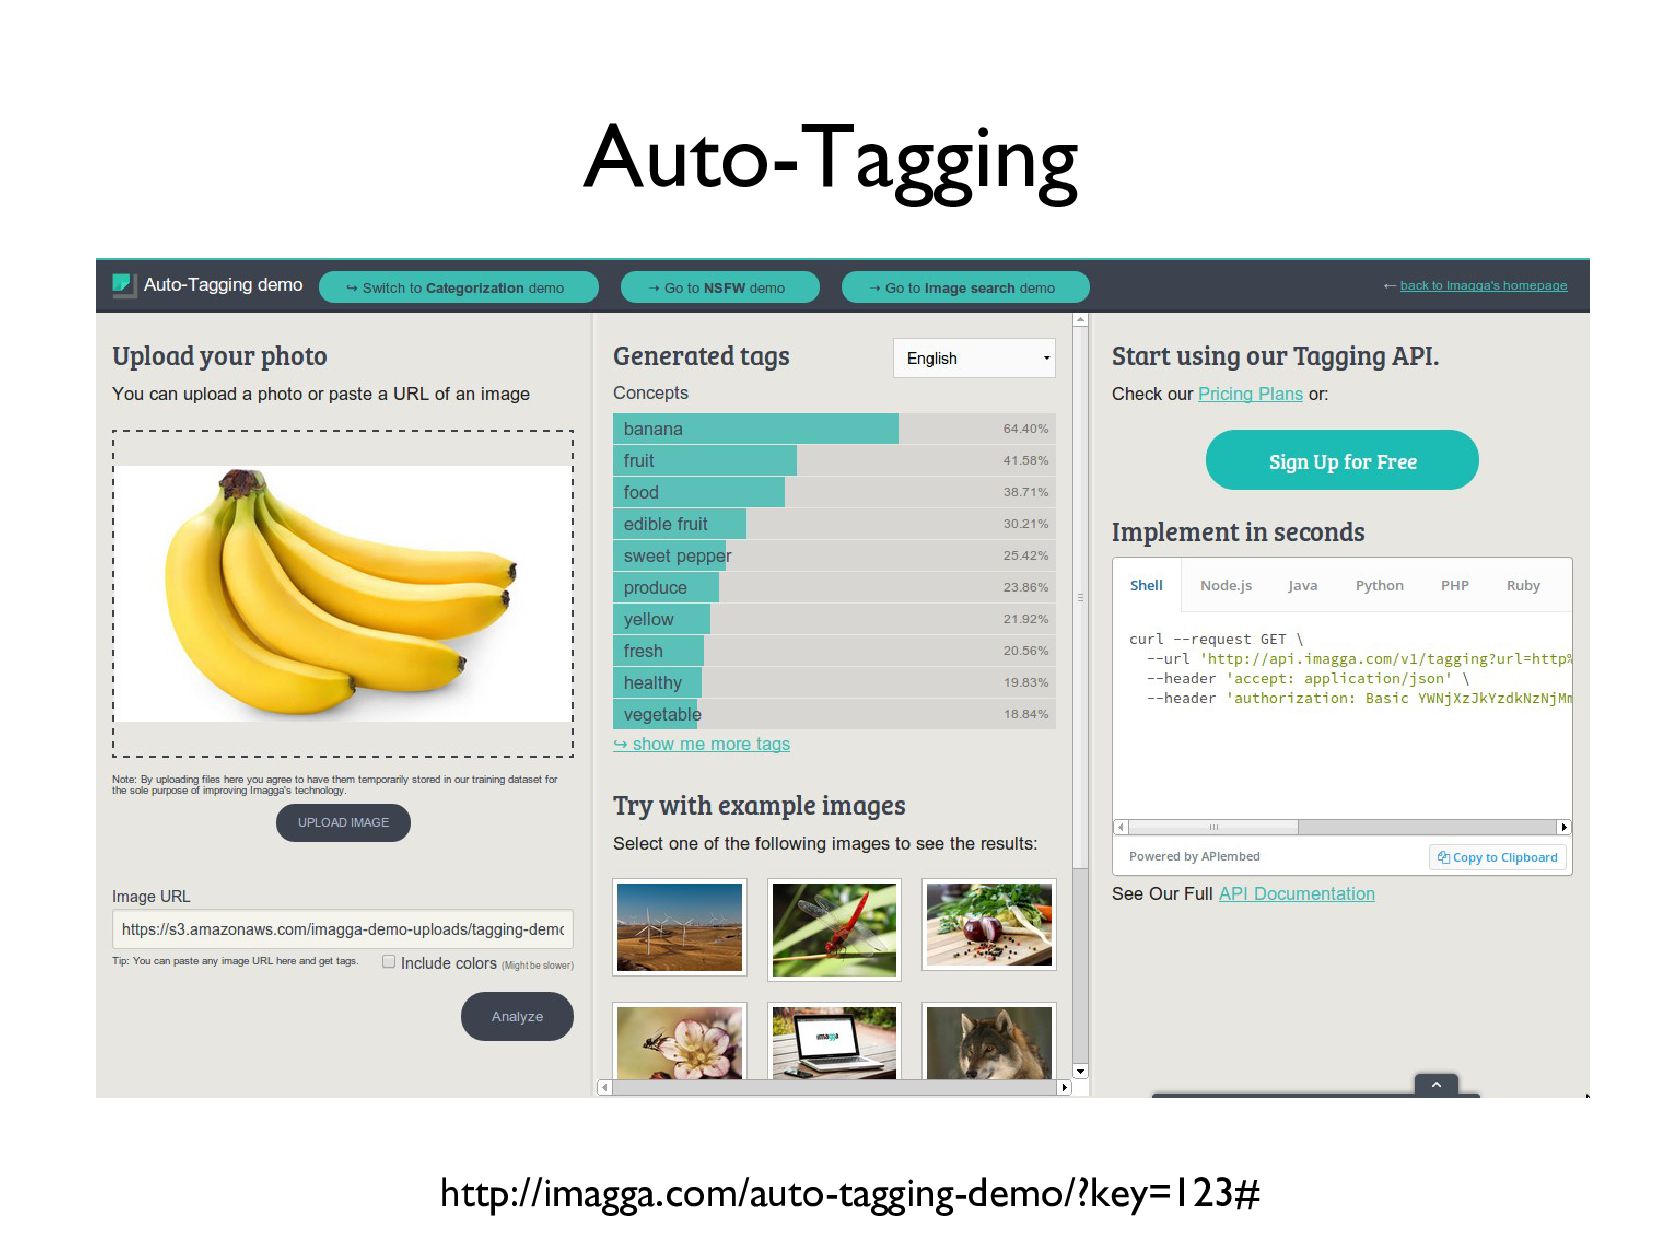
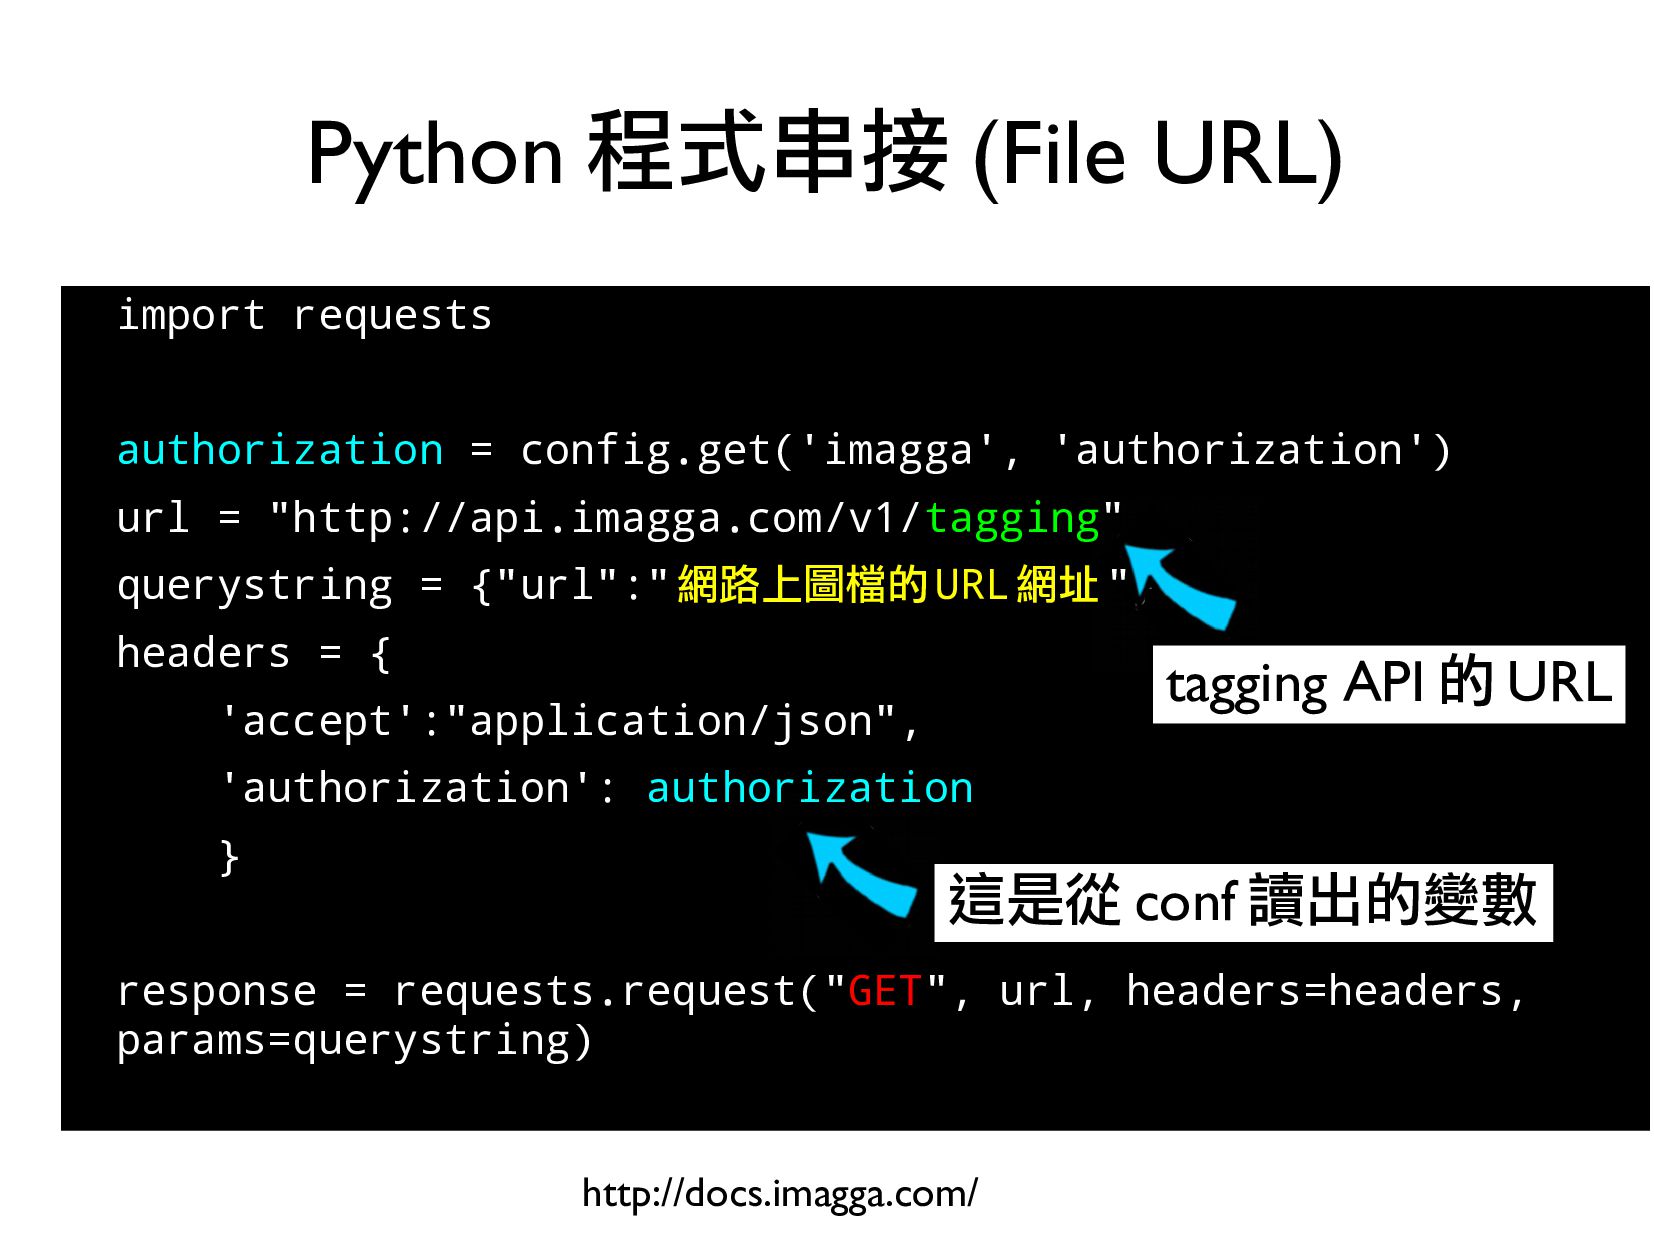
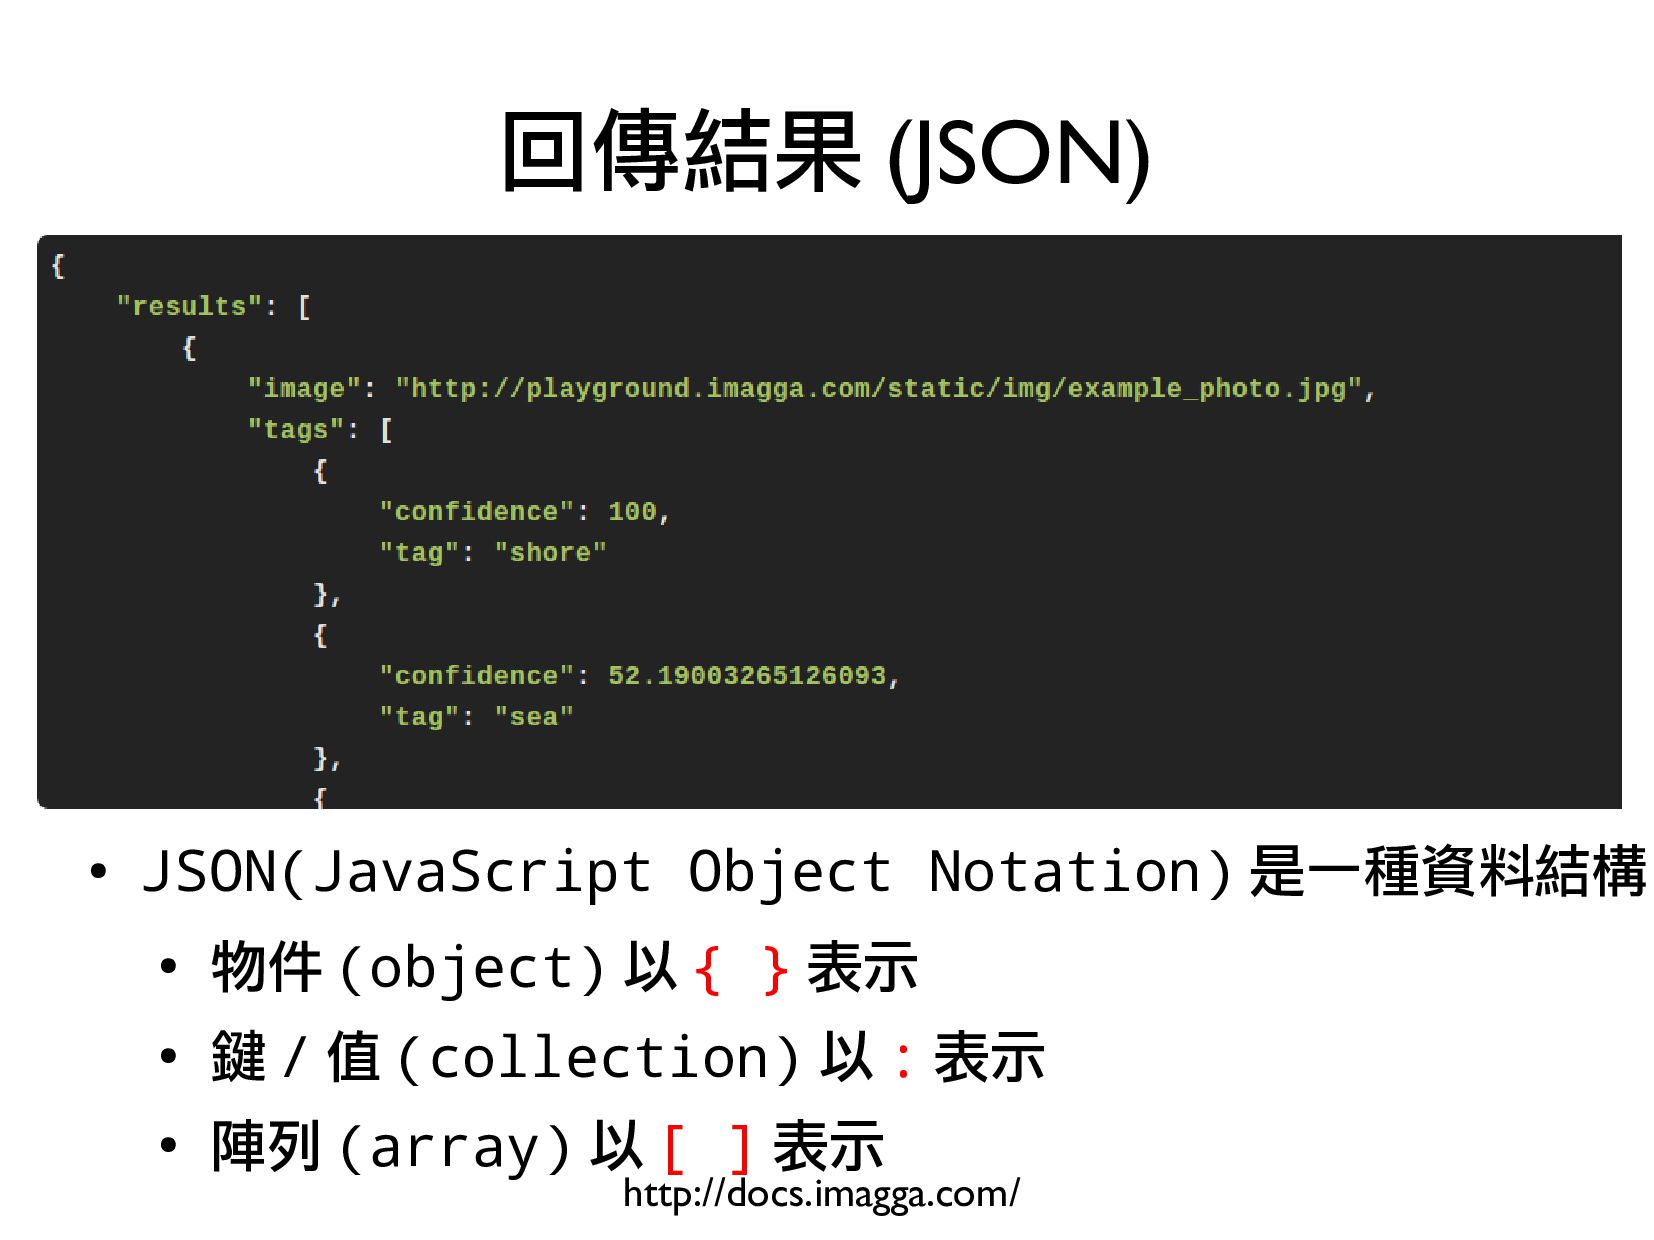
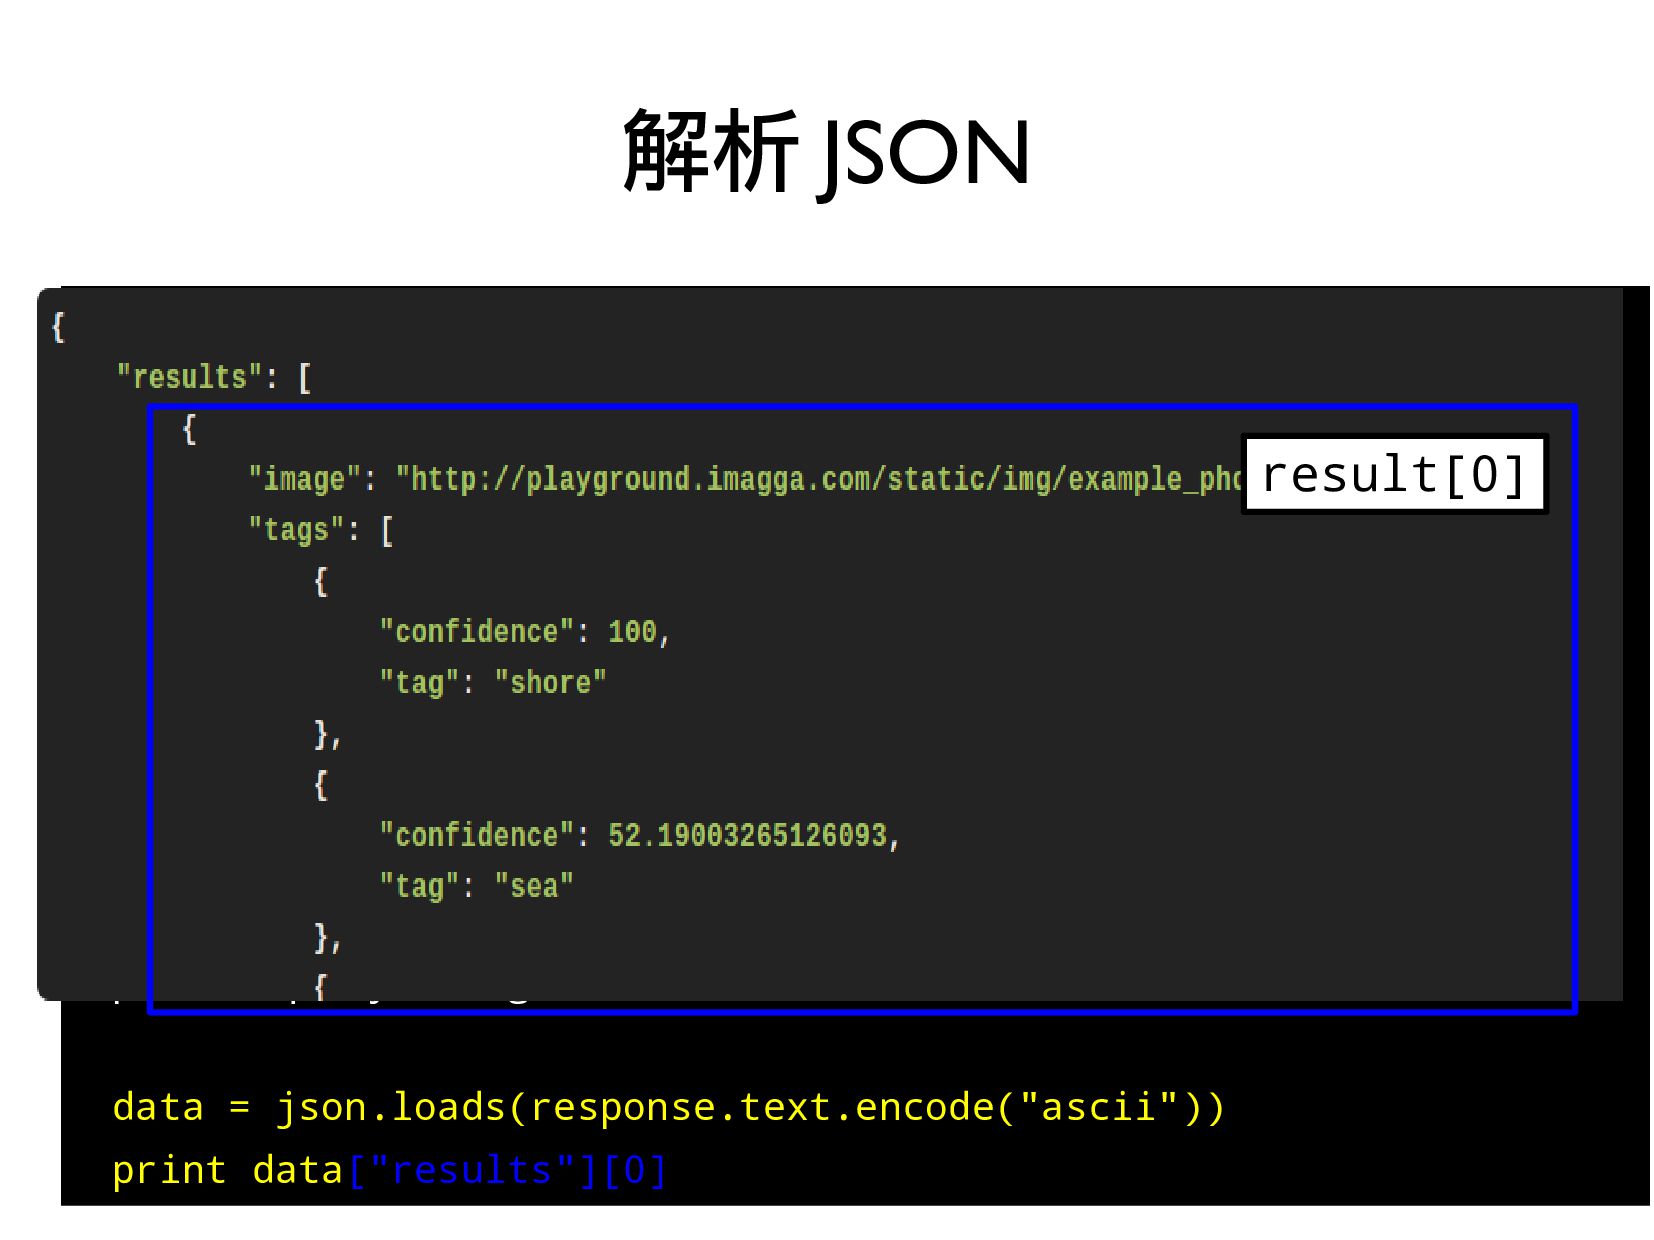
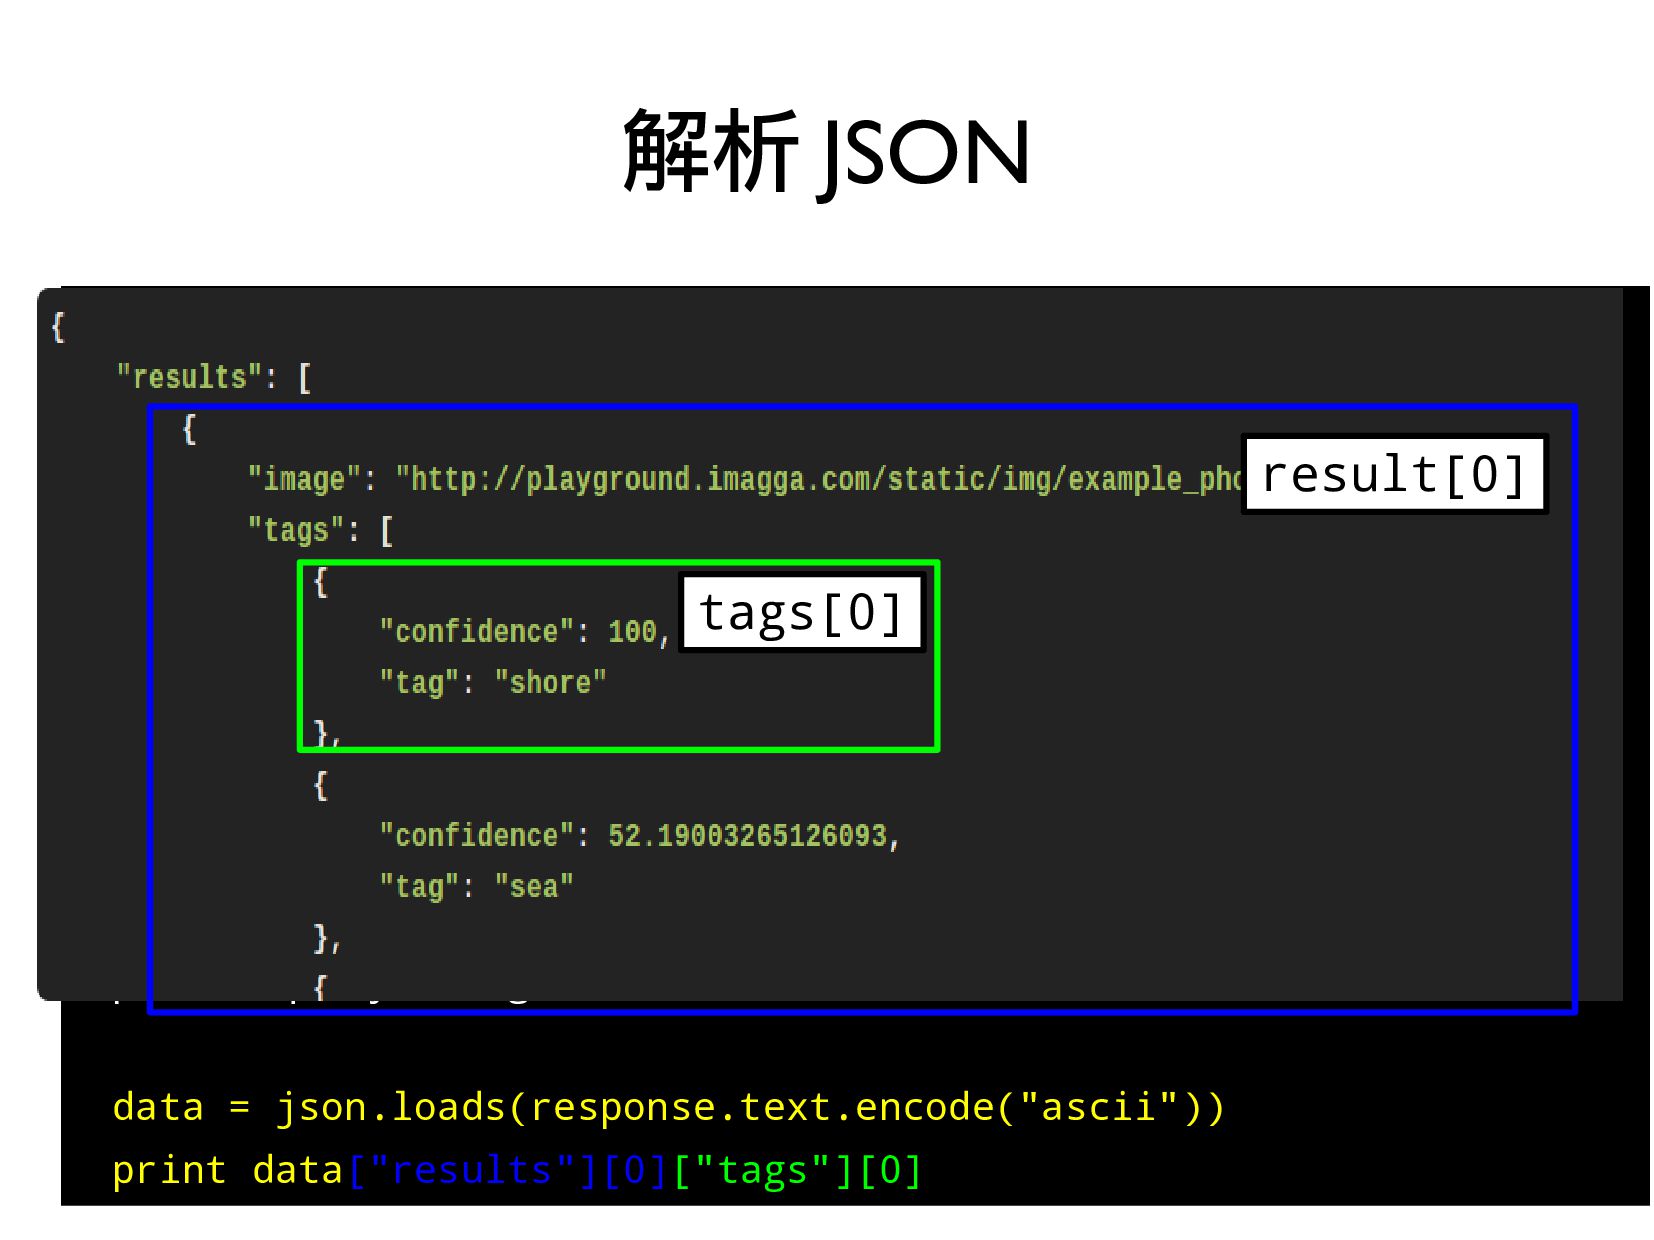
3.串接 imagga 網路服務(1 小時)
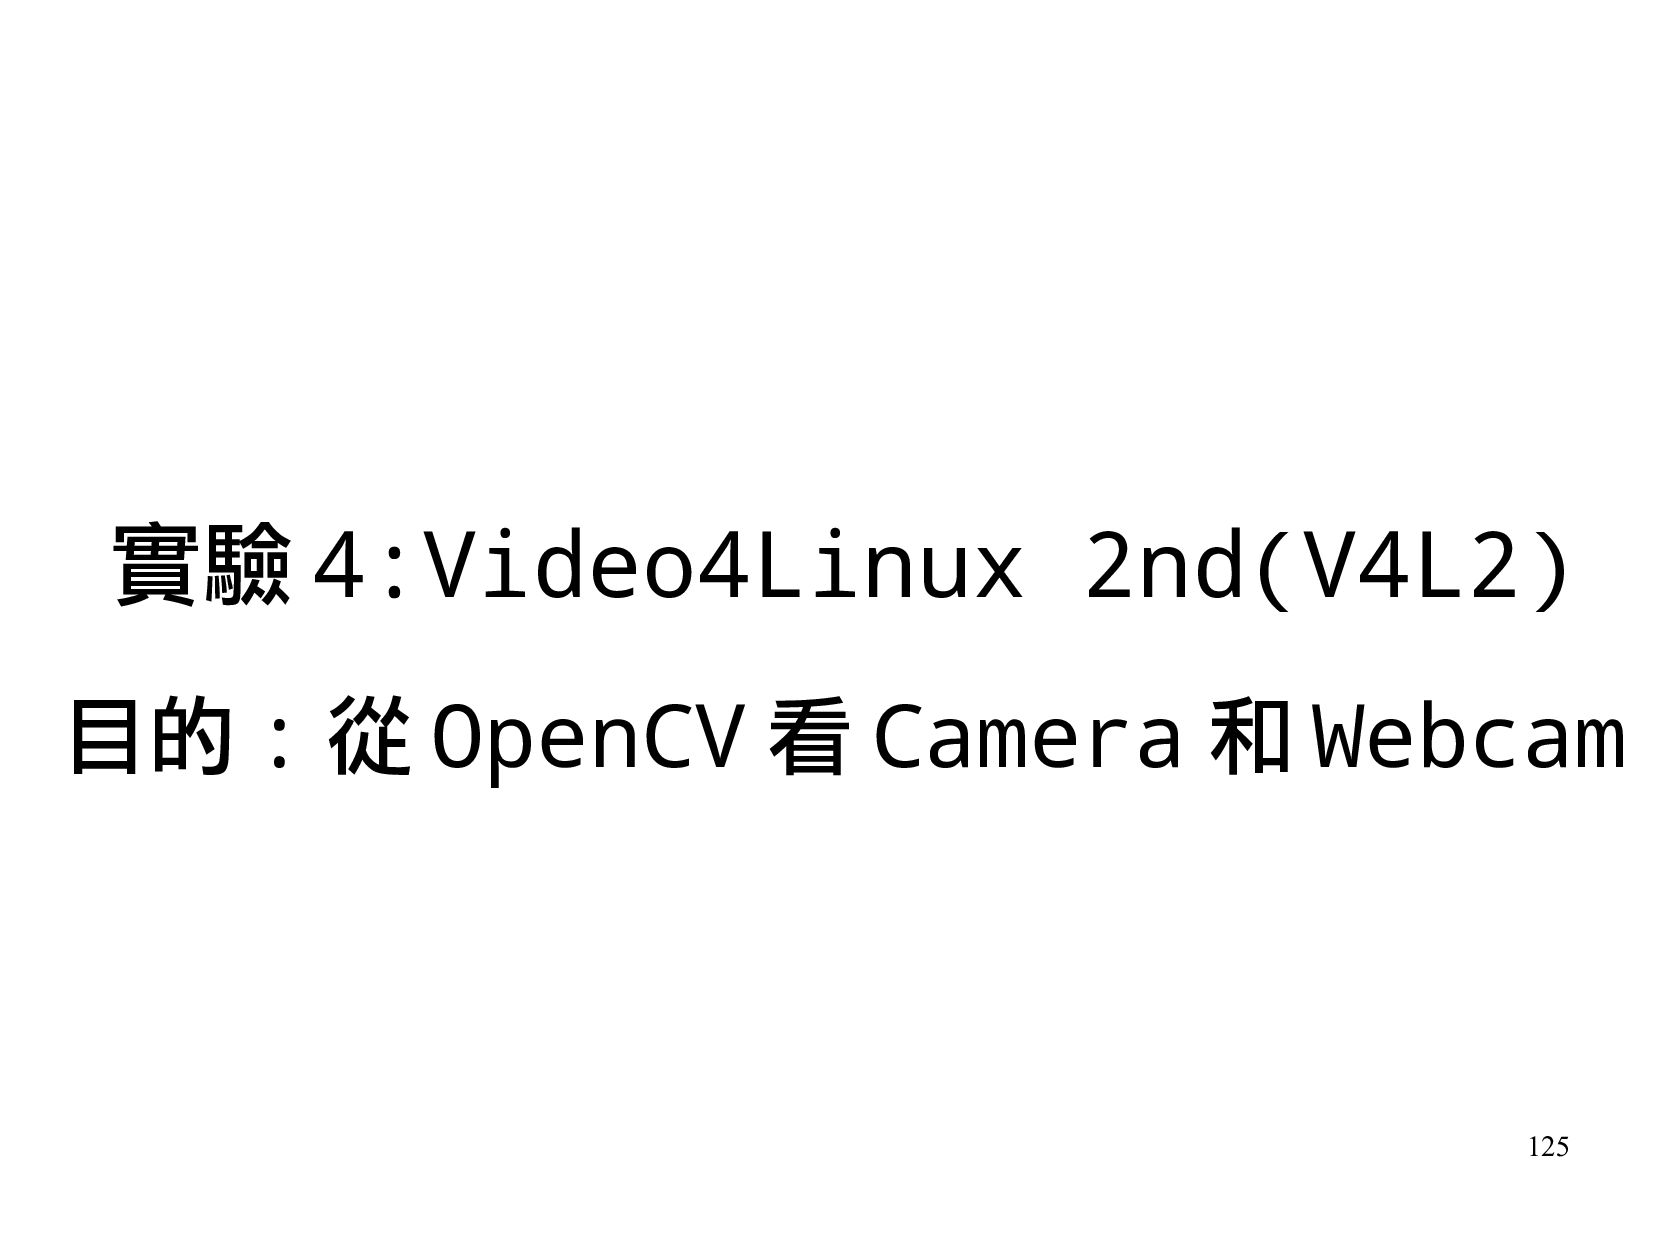
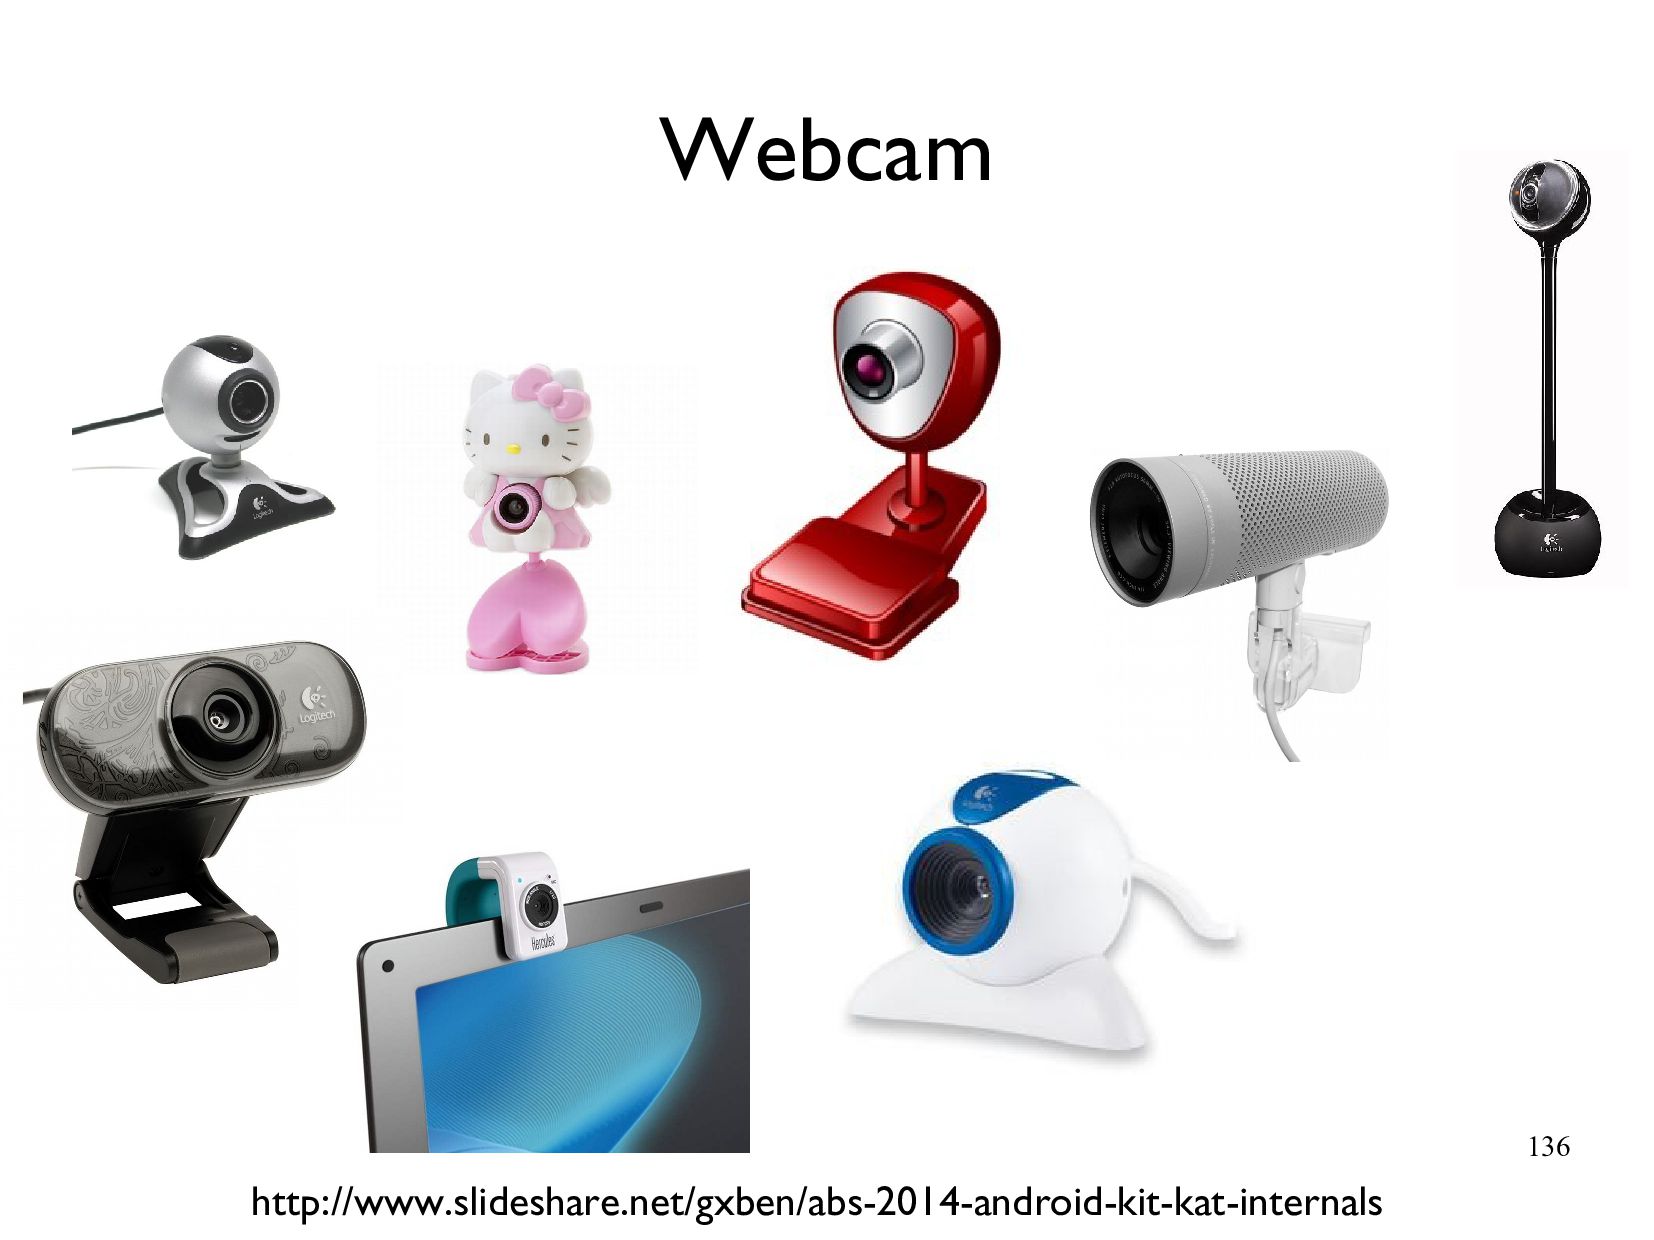
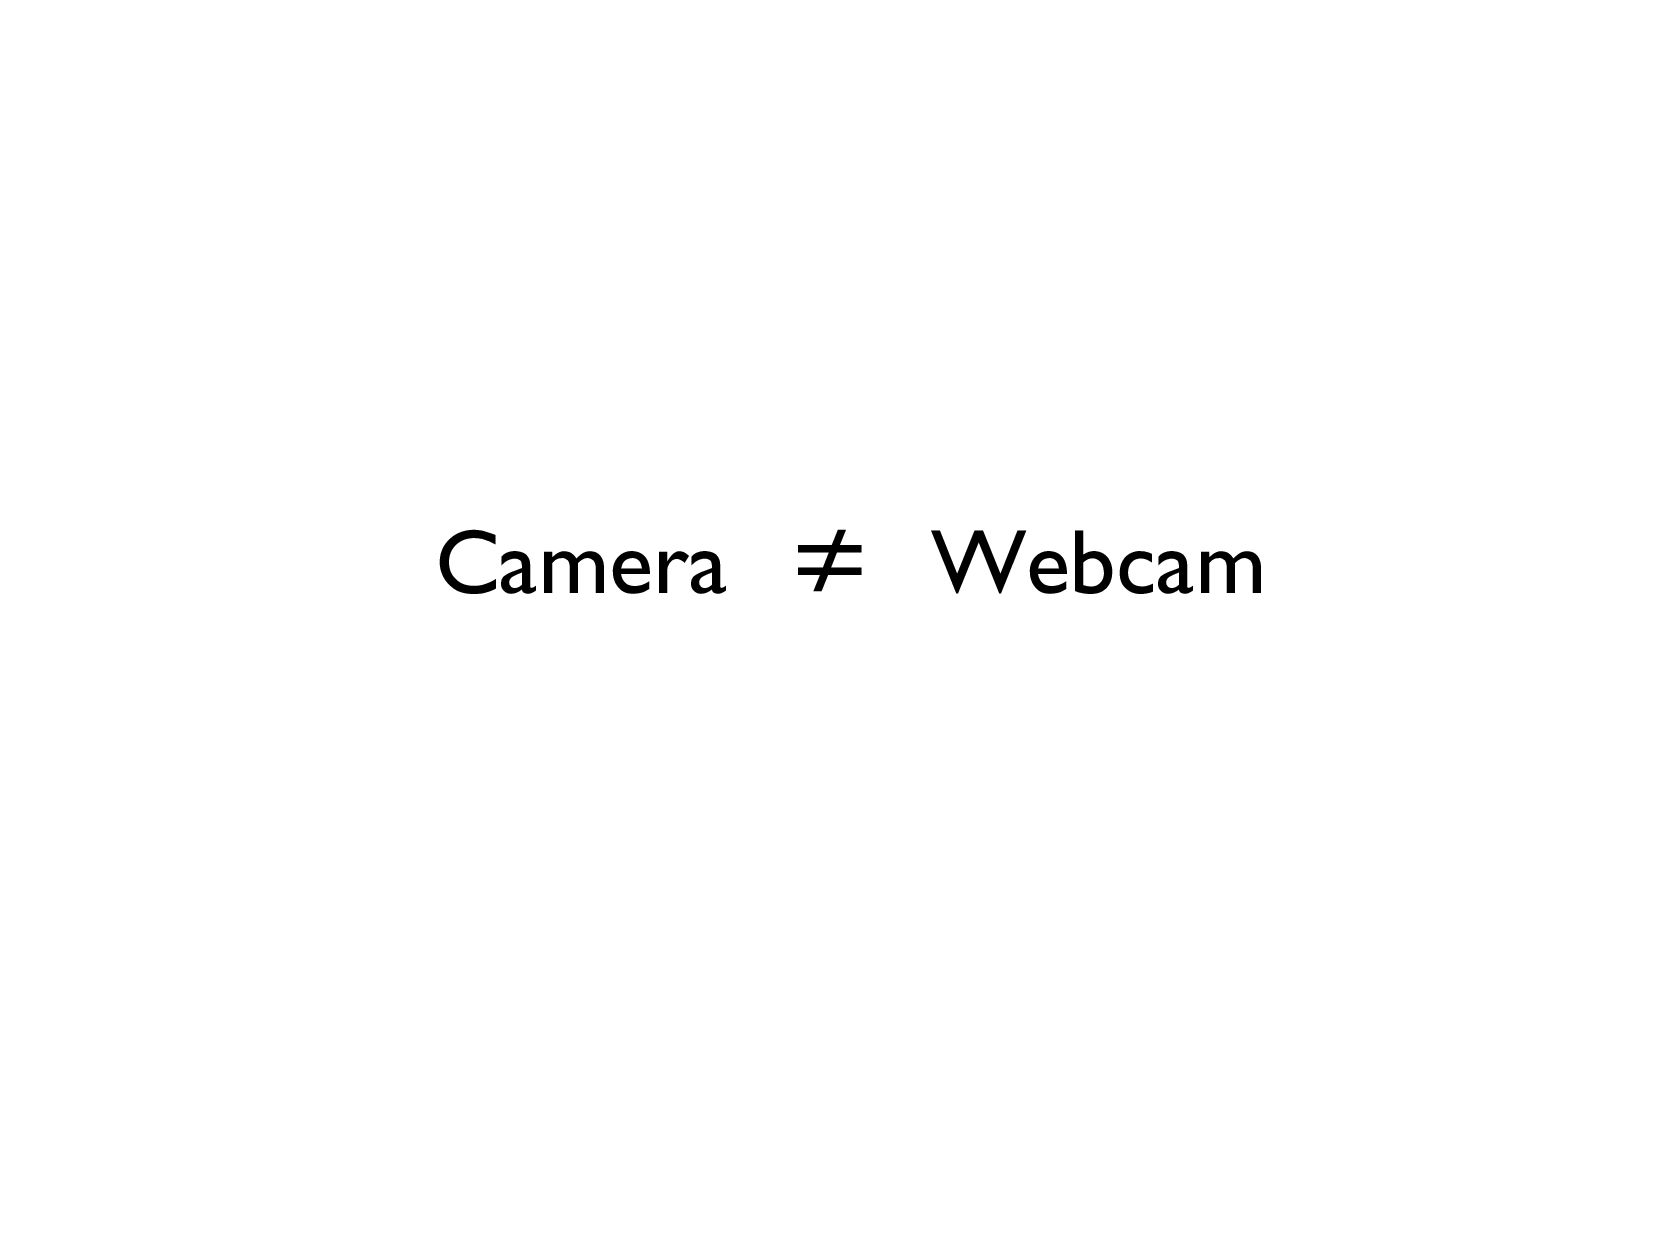
4.Camera和 Webcam(1 小時)
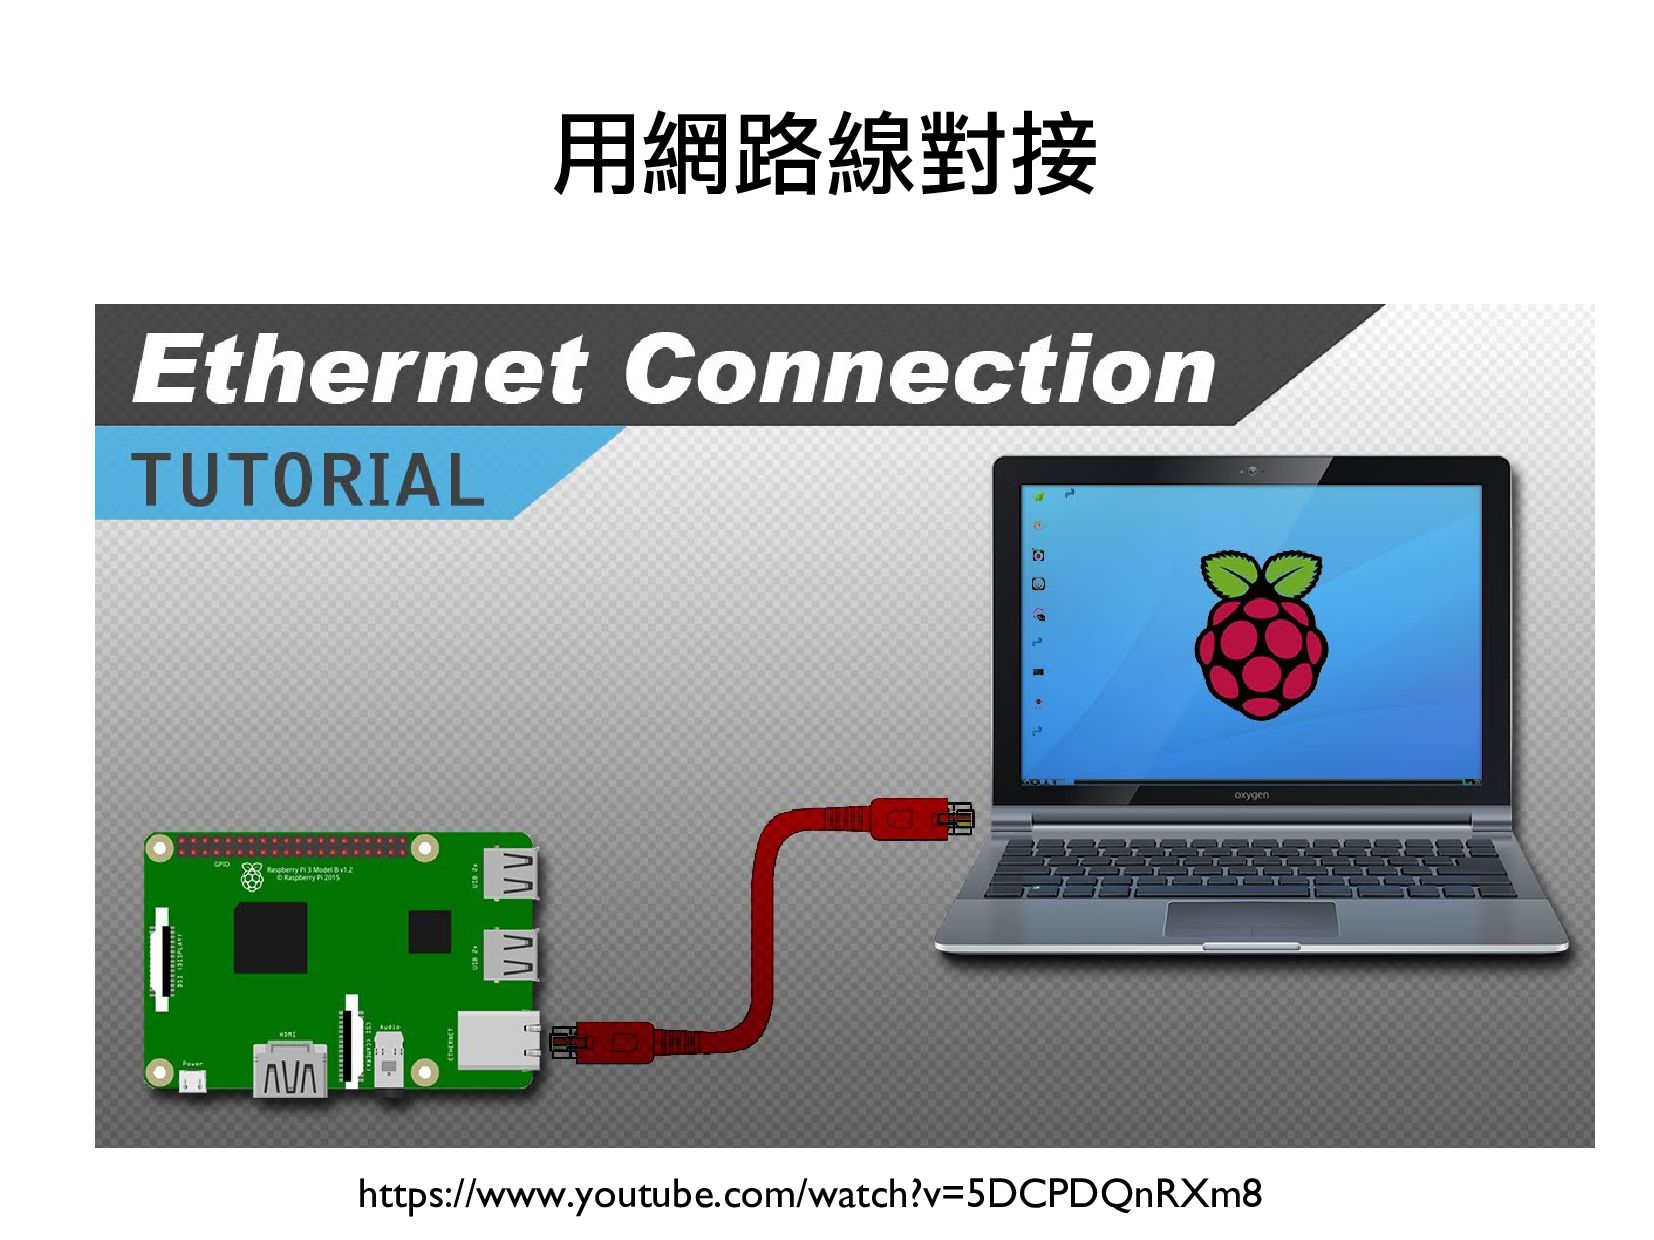
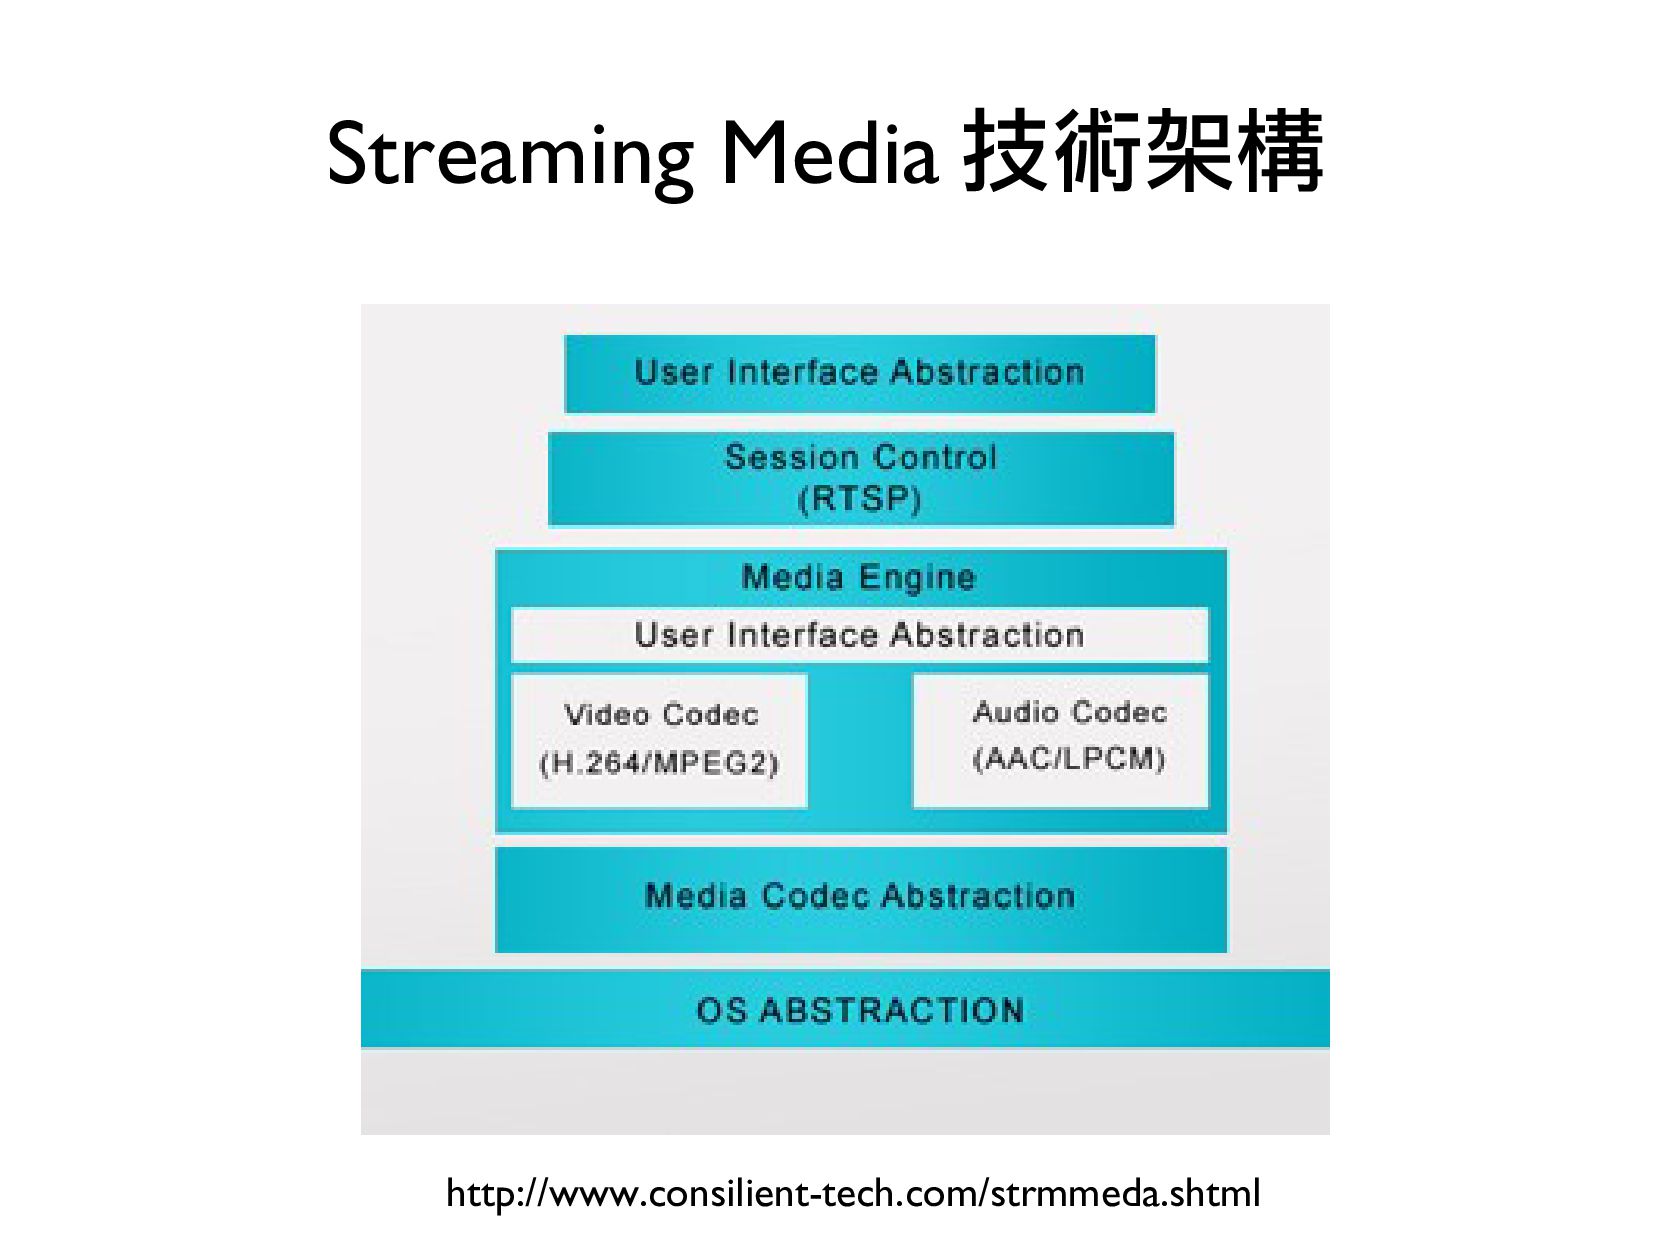
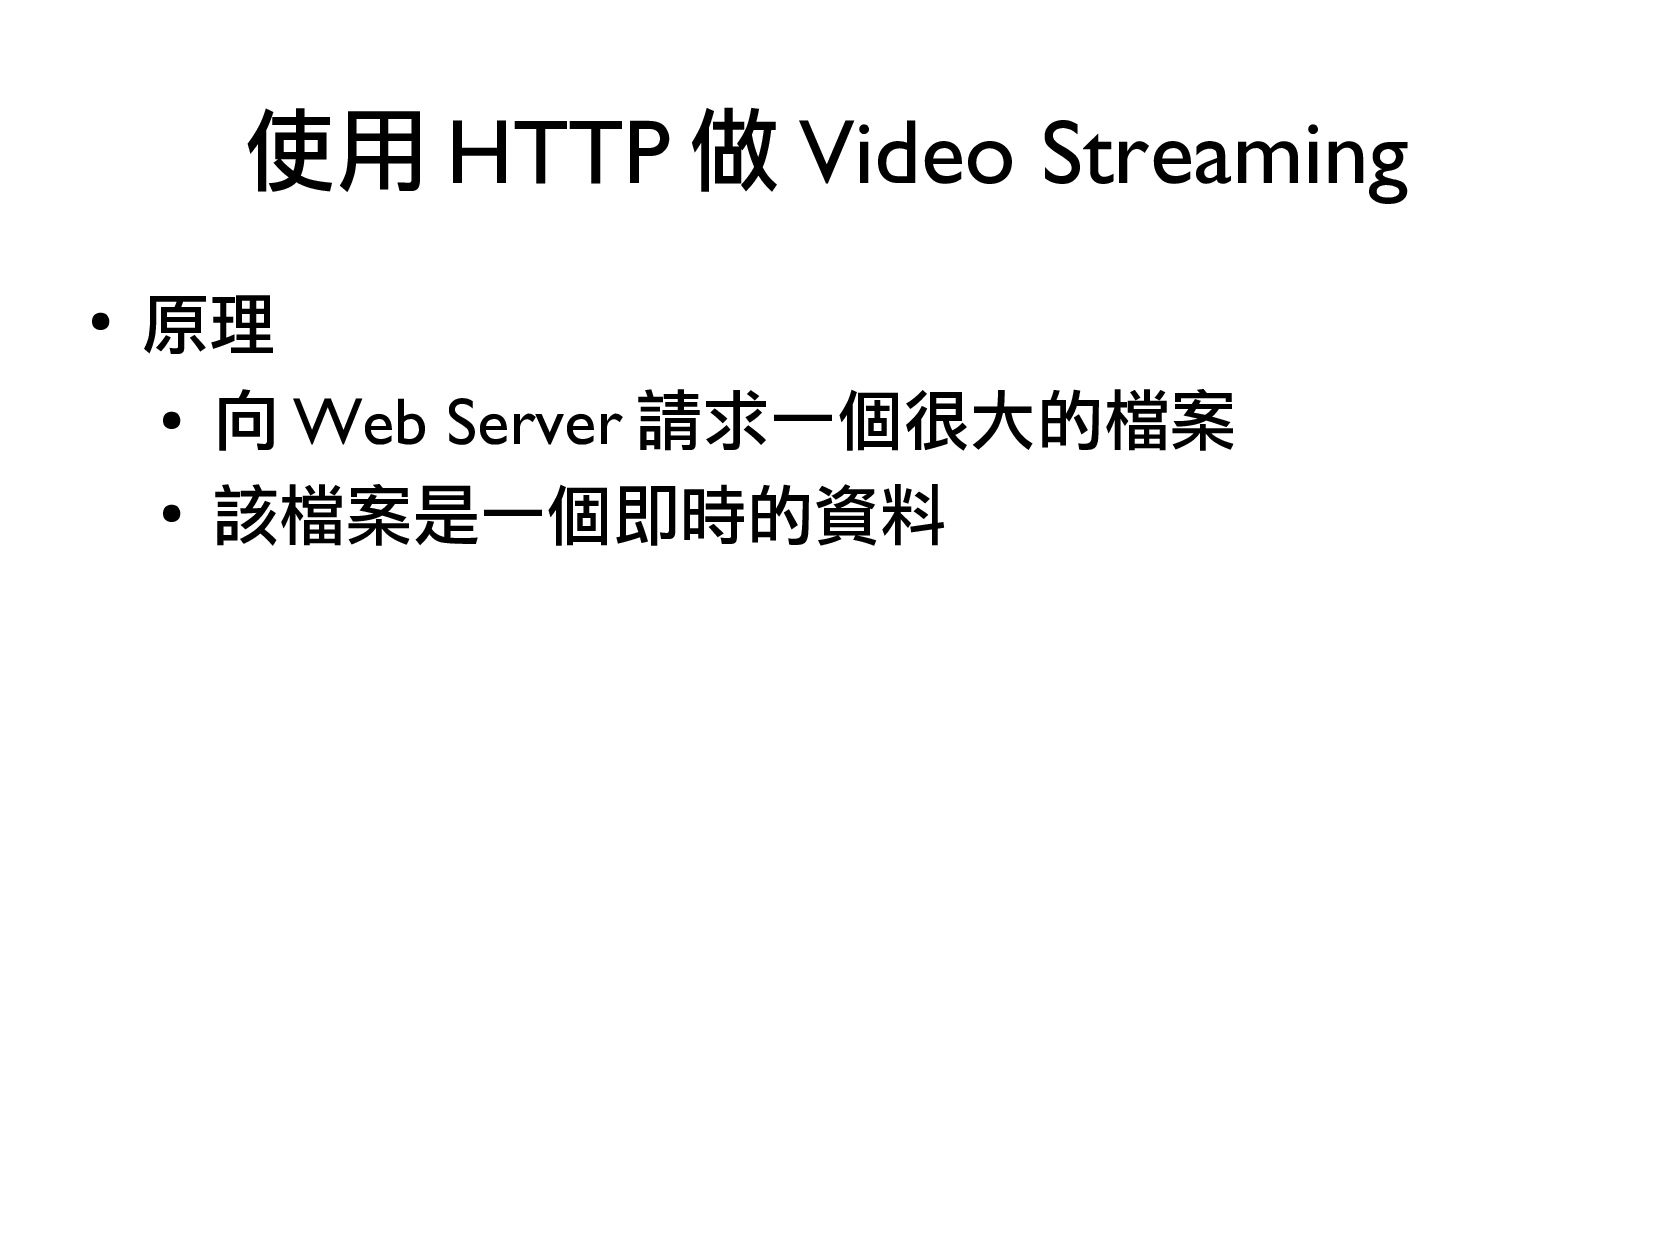
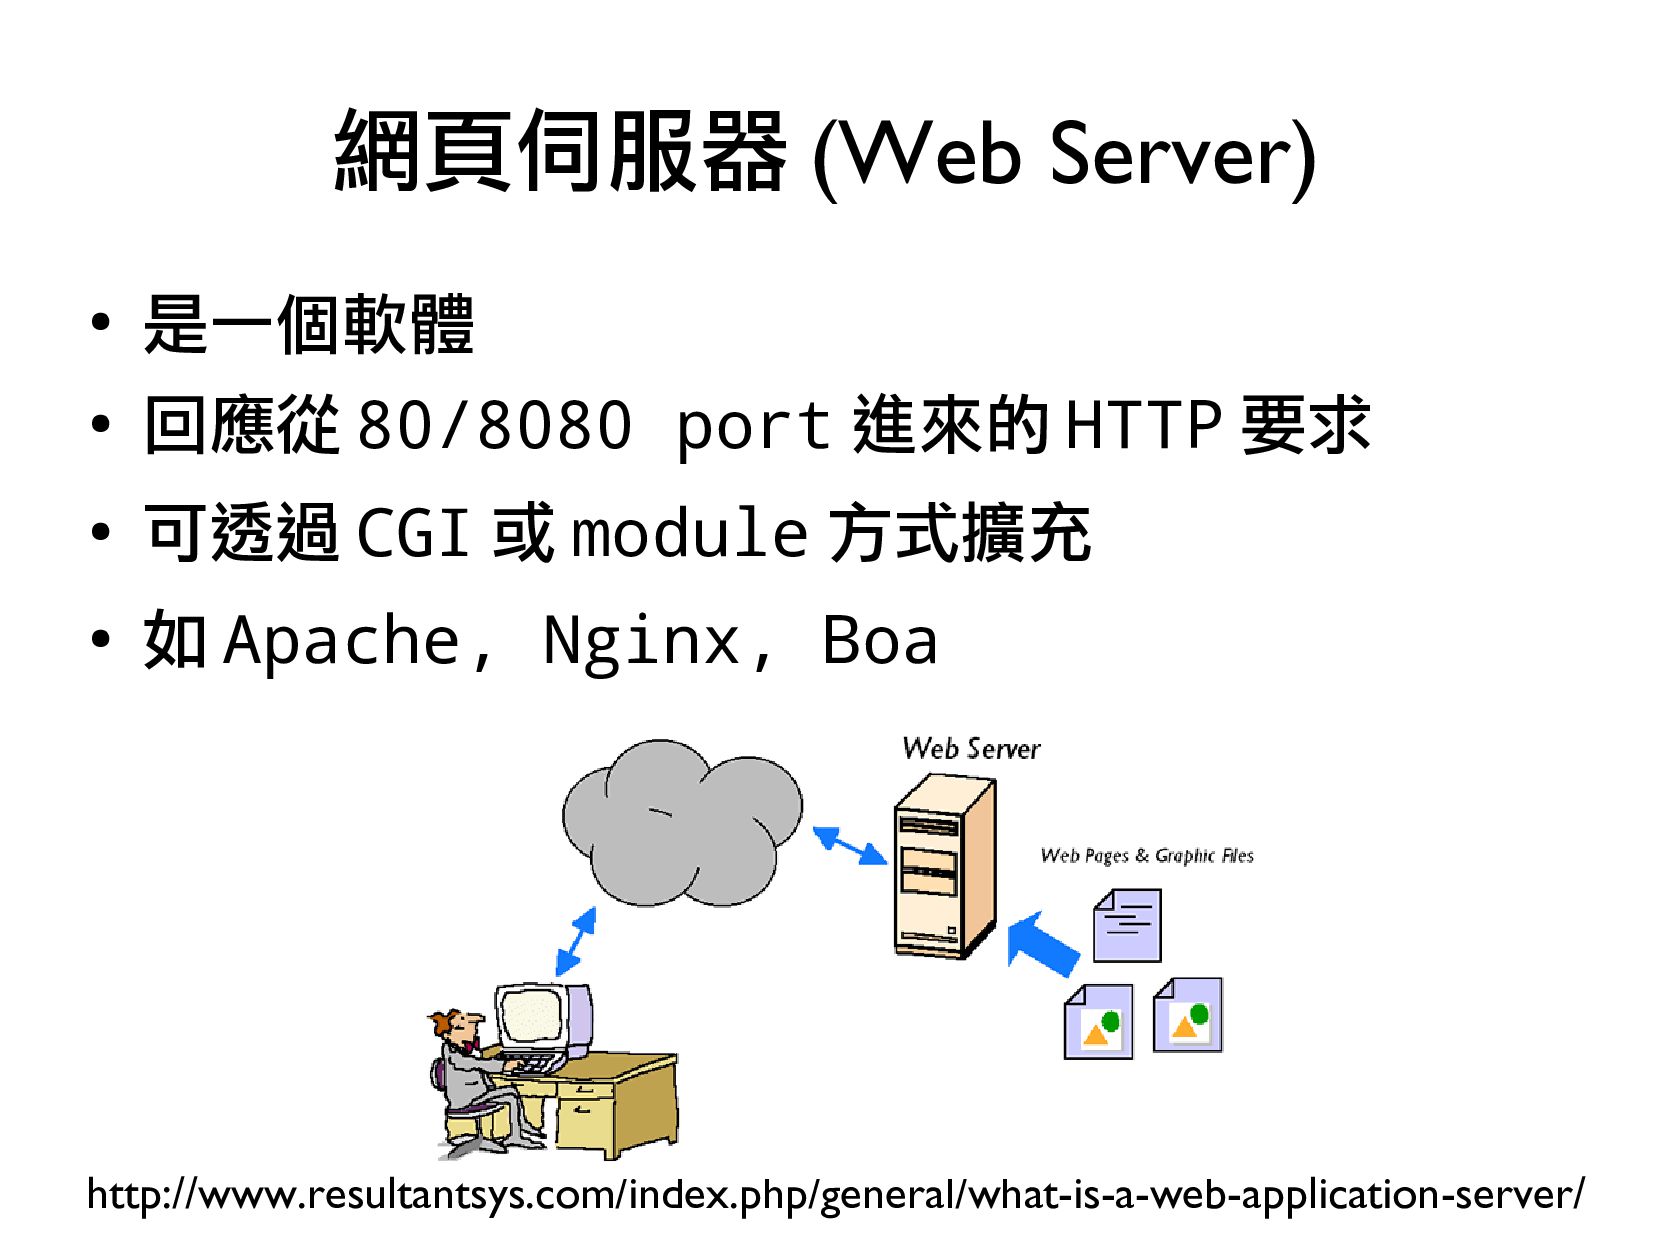
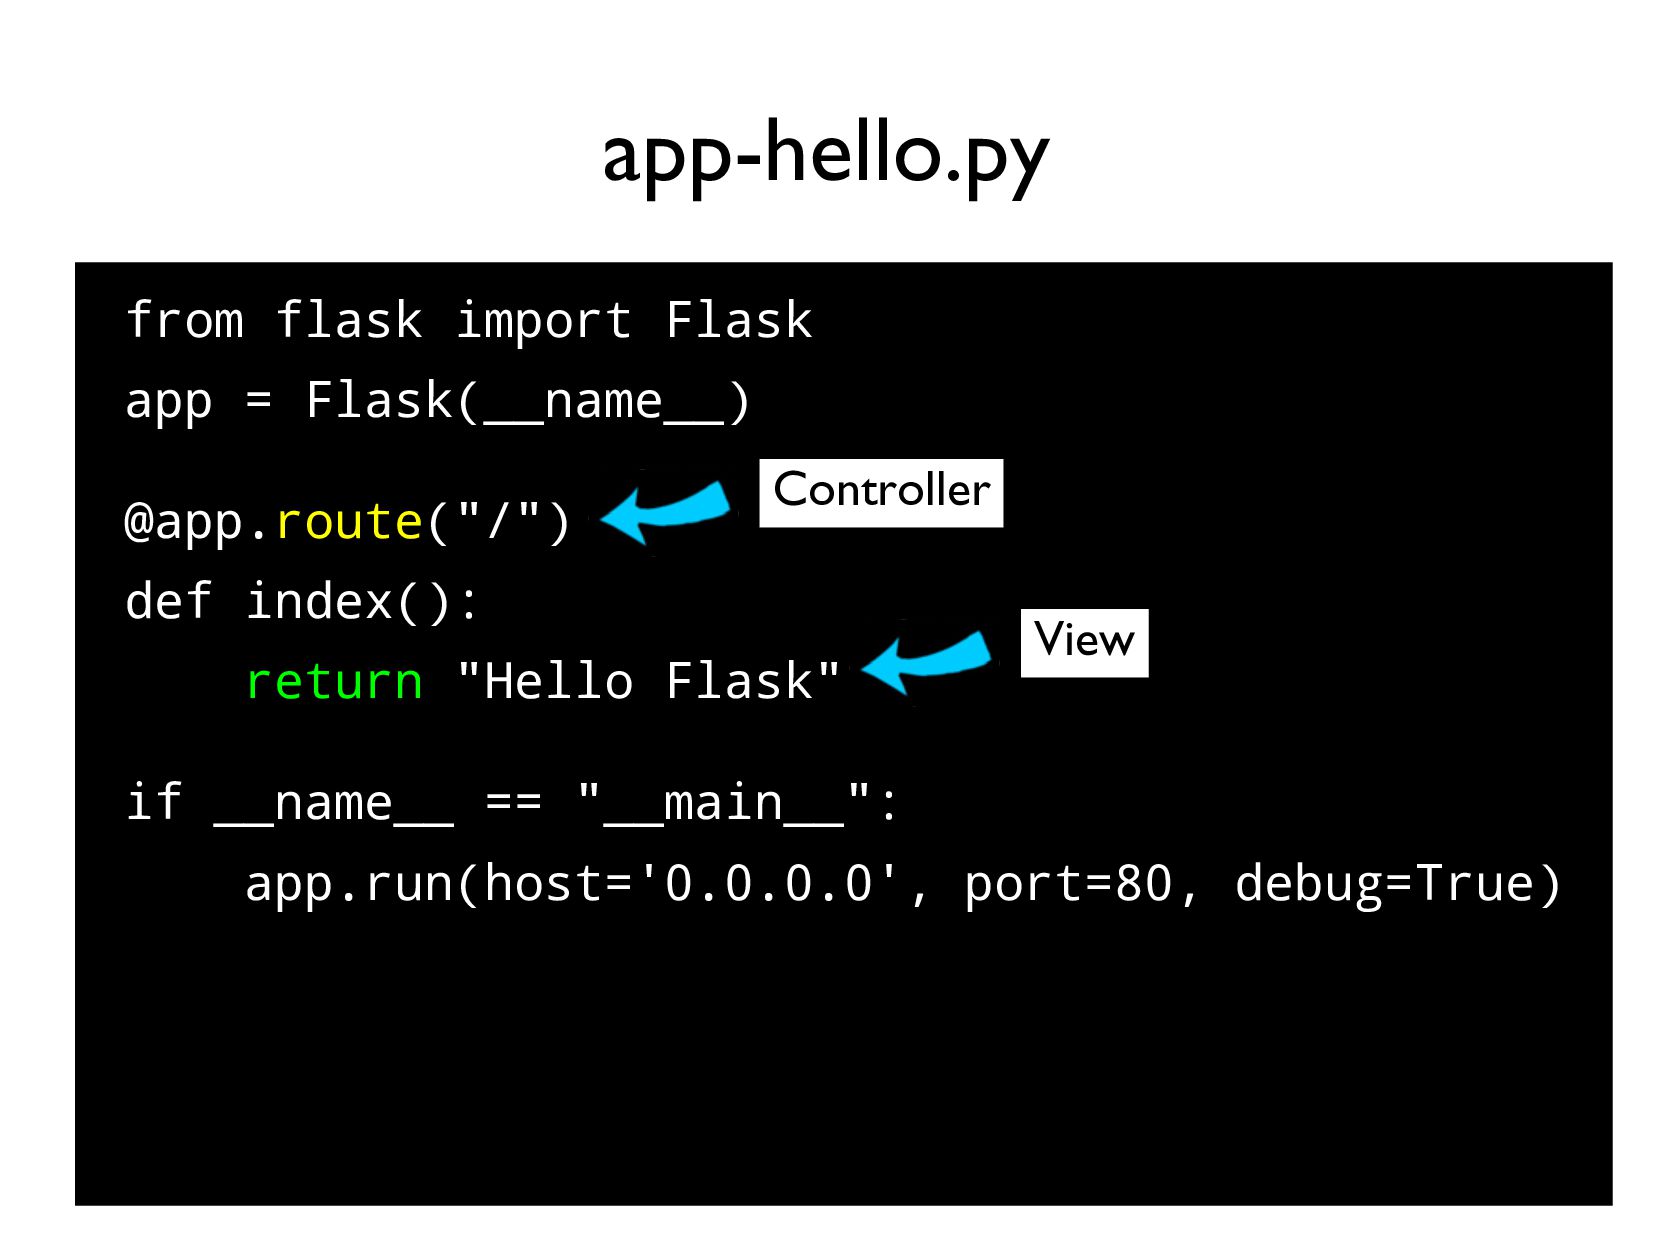
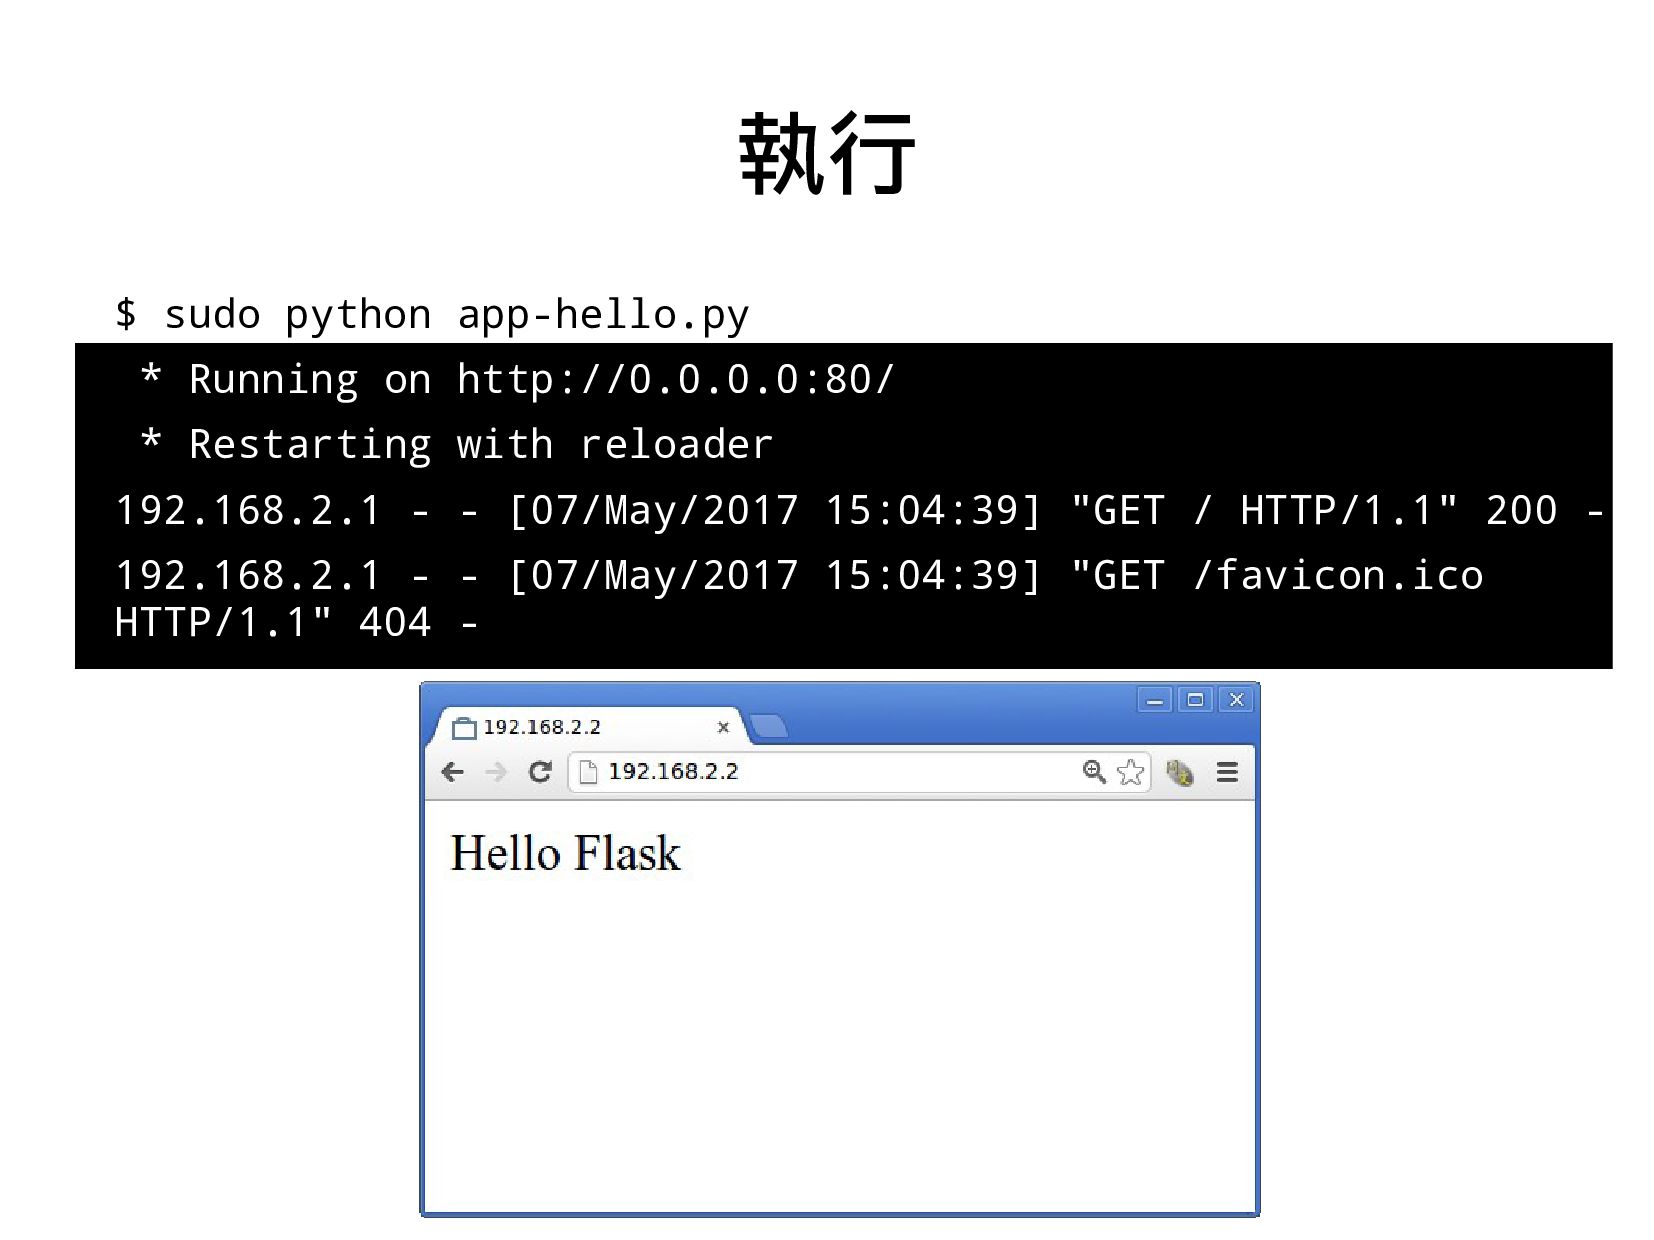
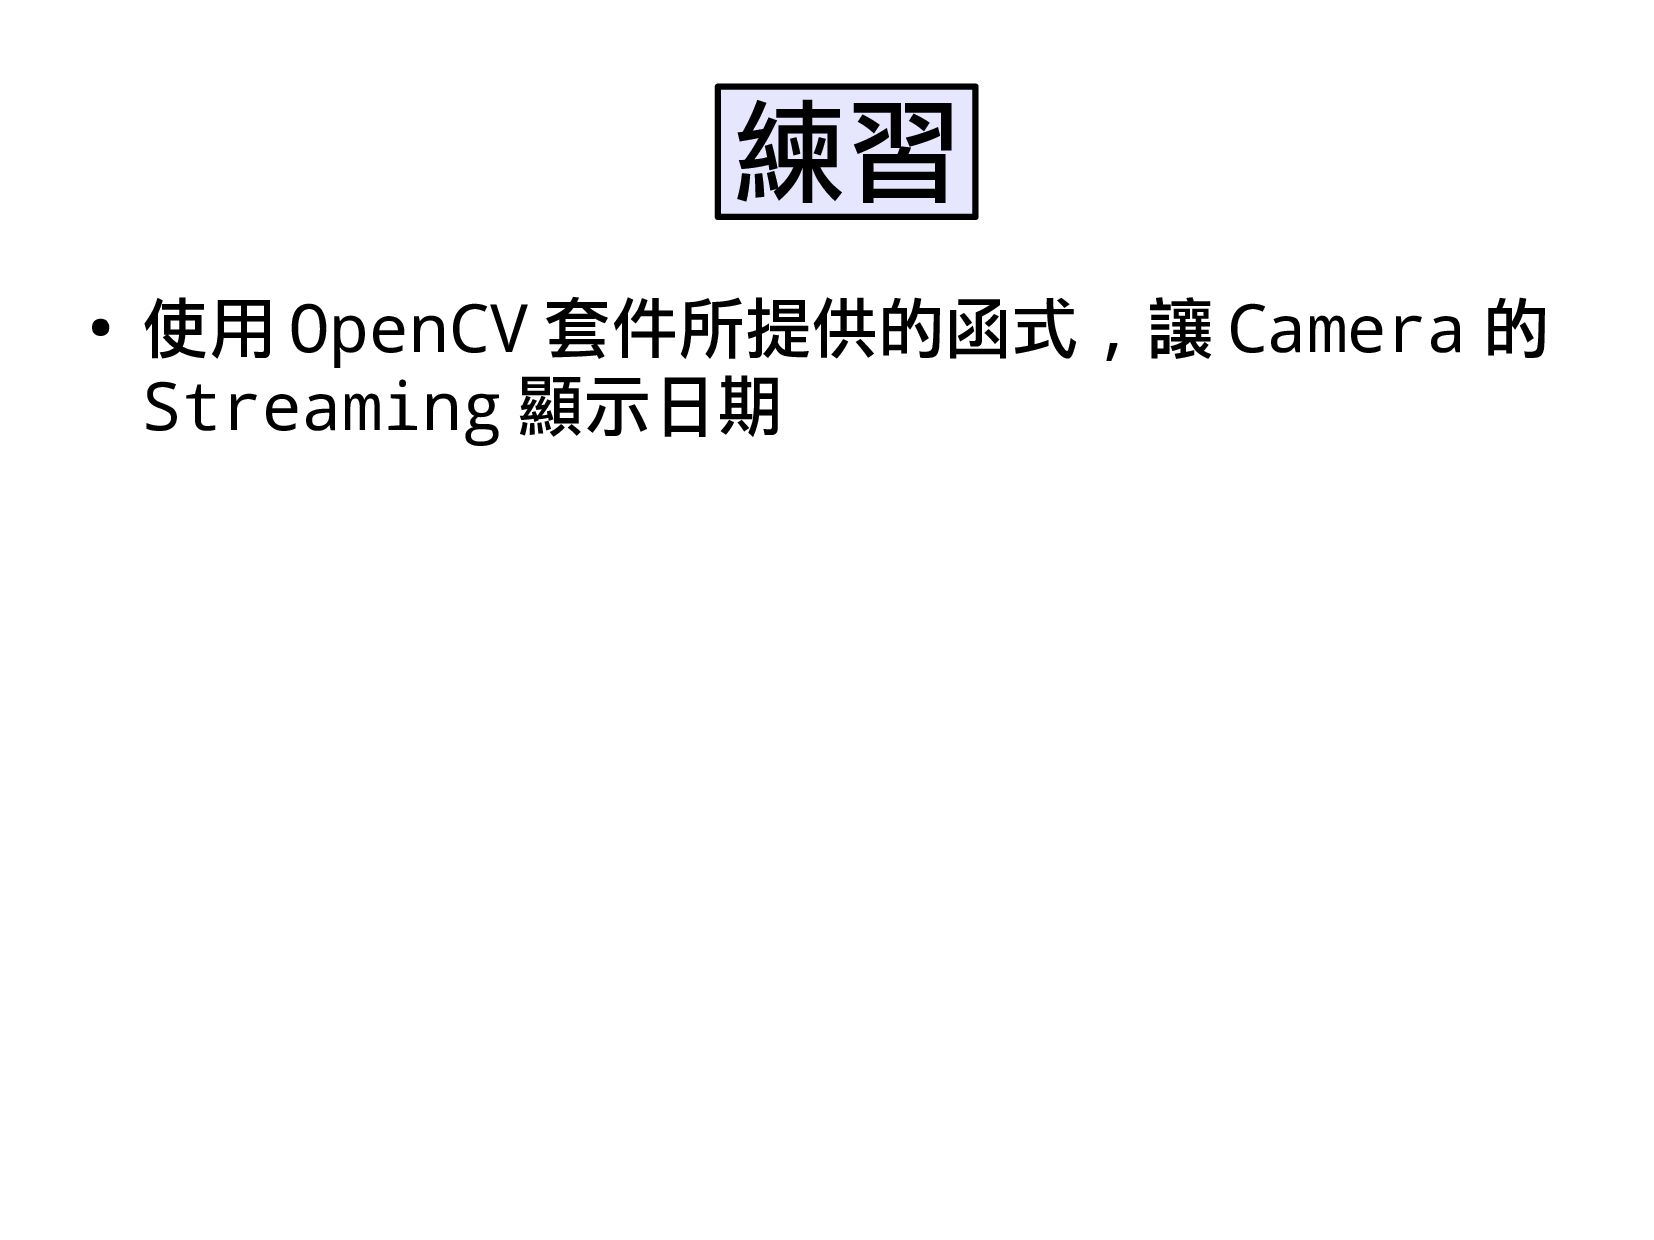
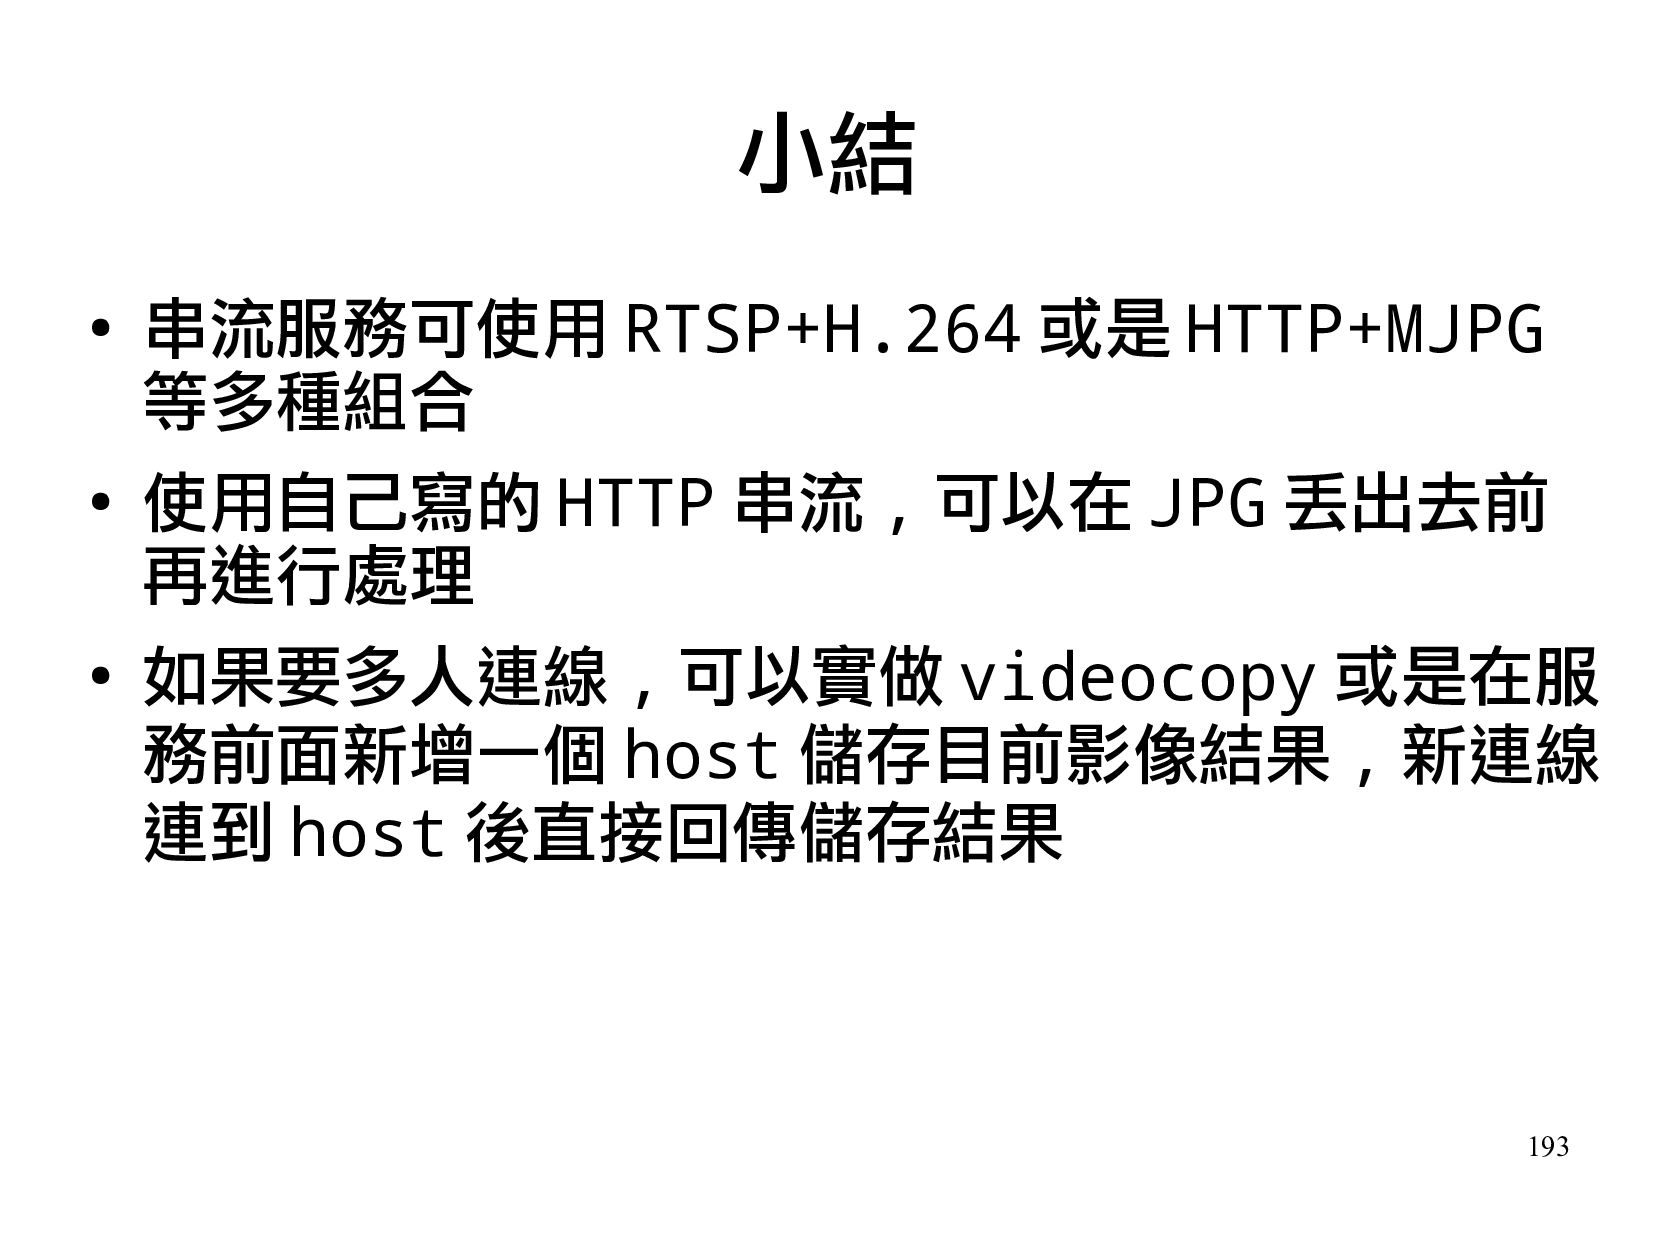
5.影像串流(3 小時)
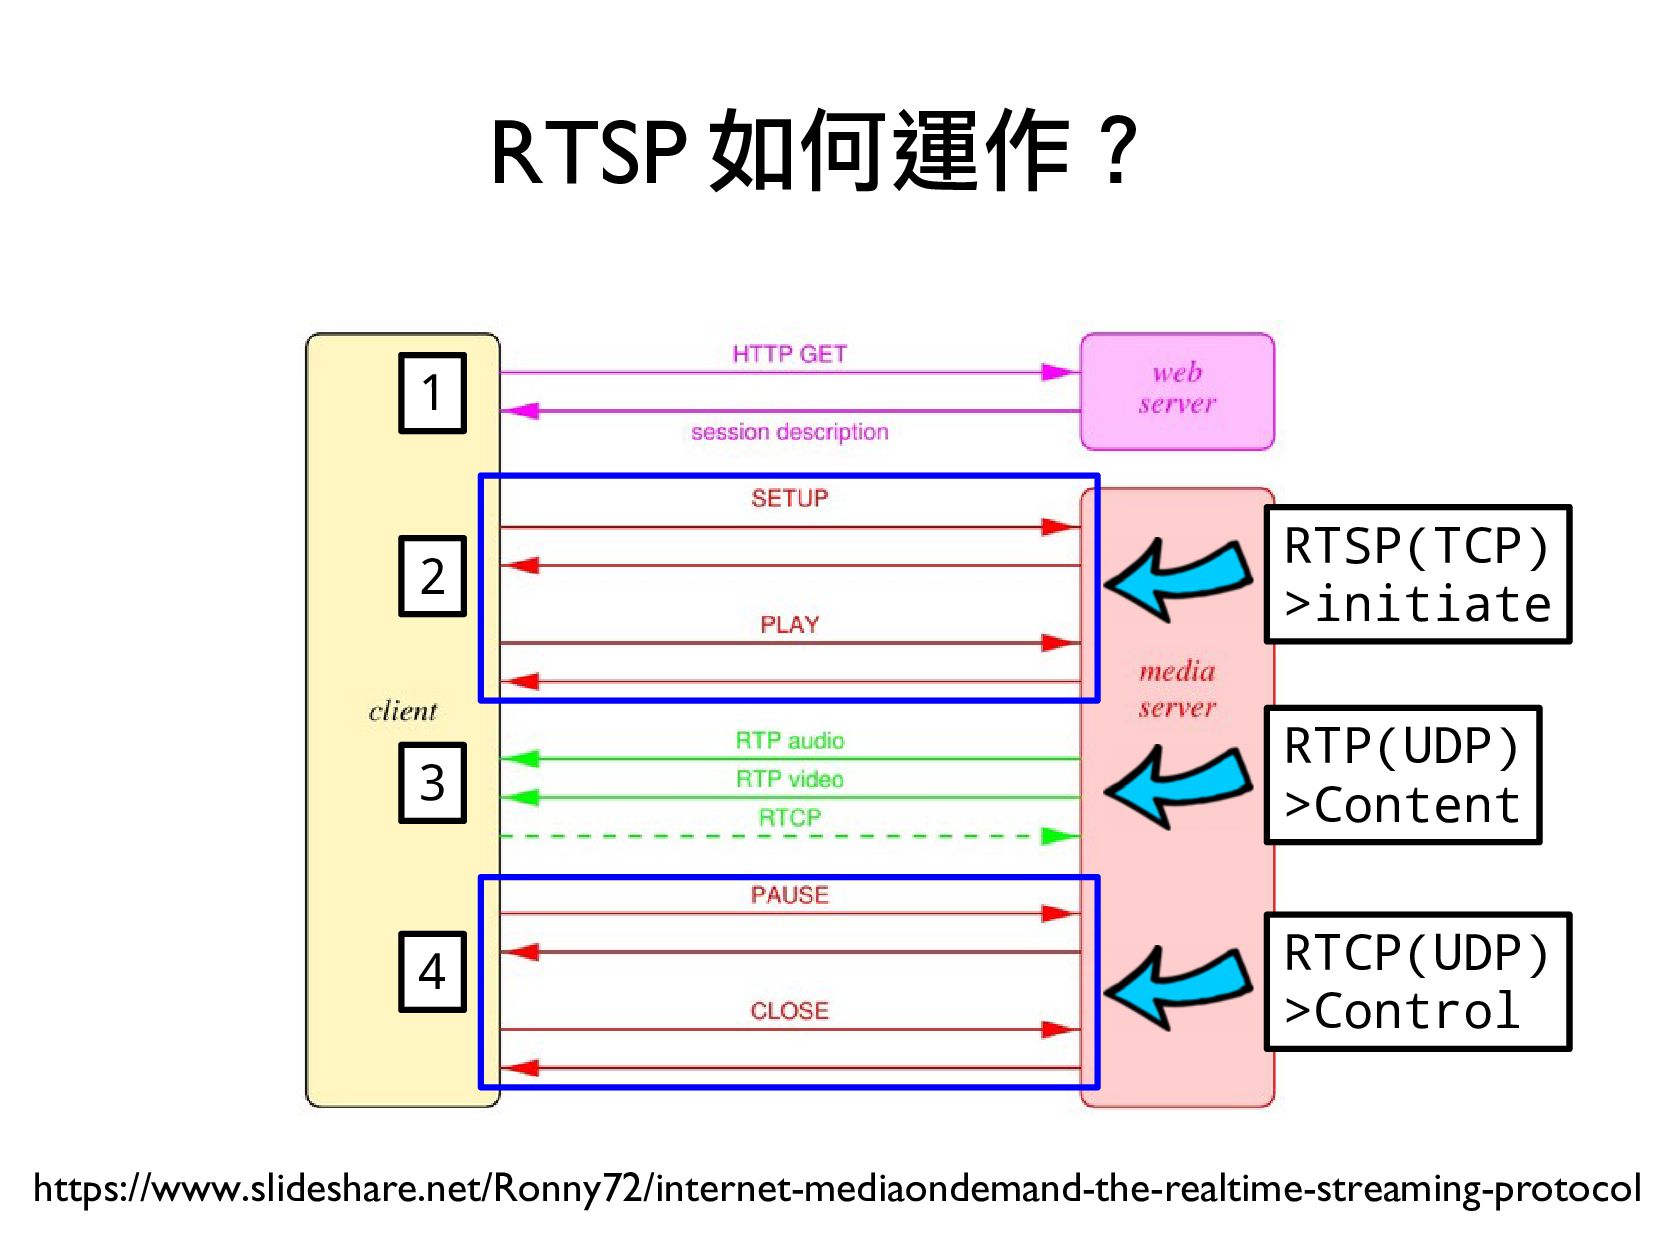
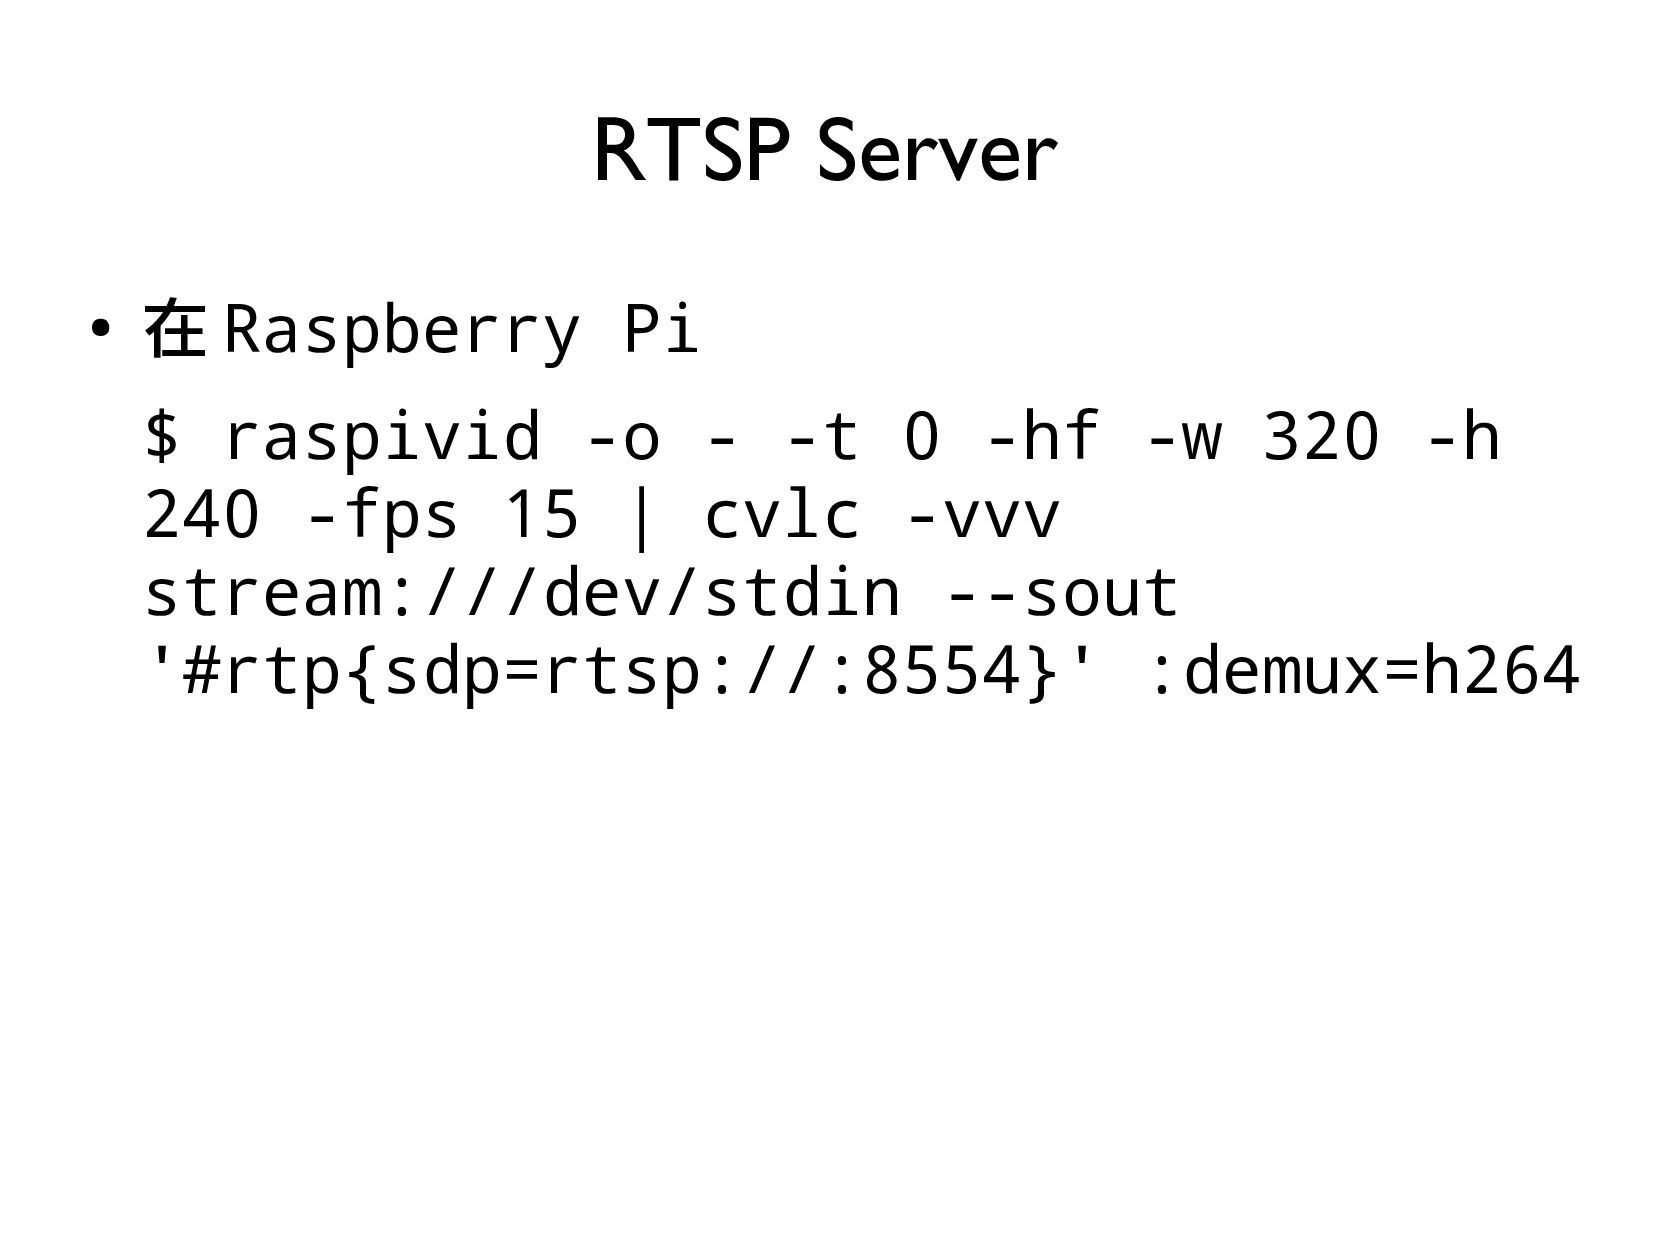
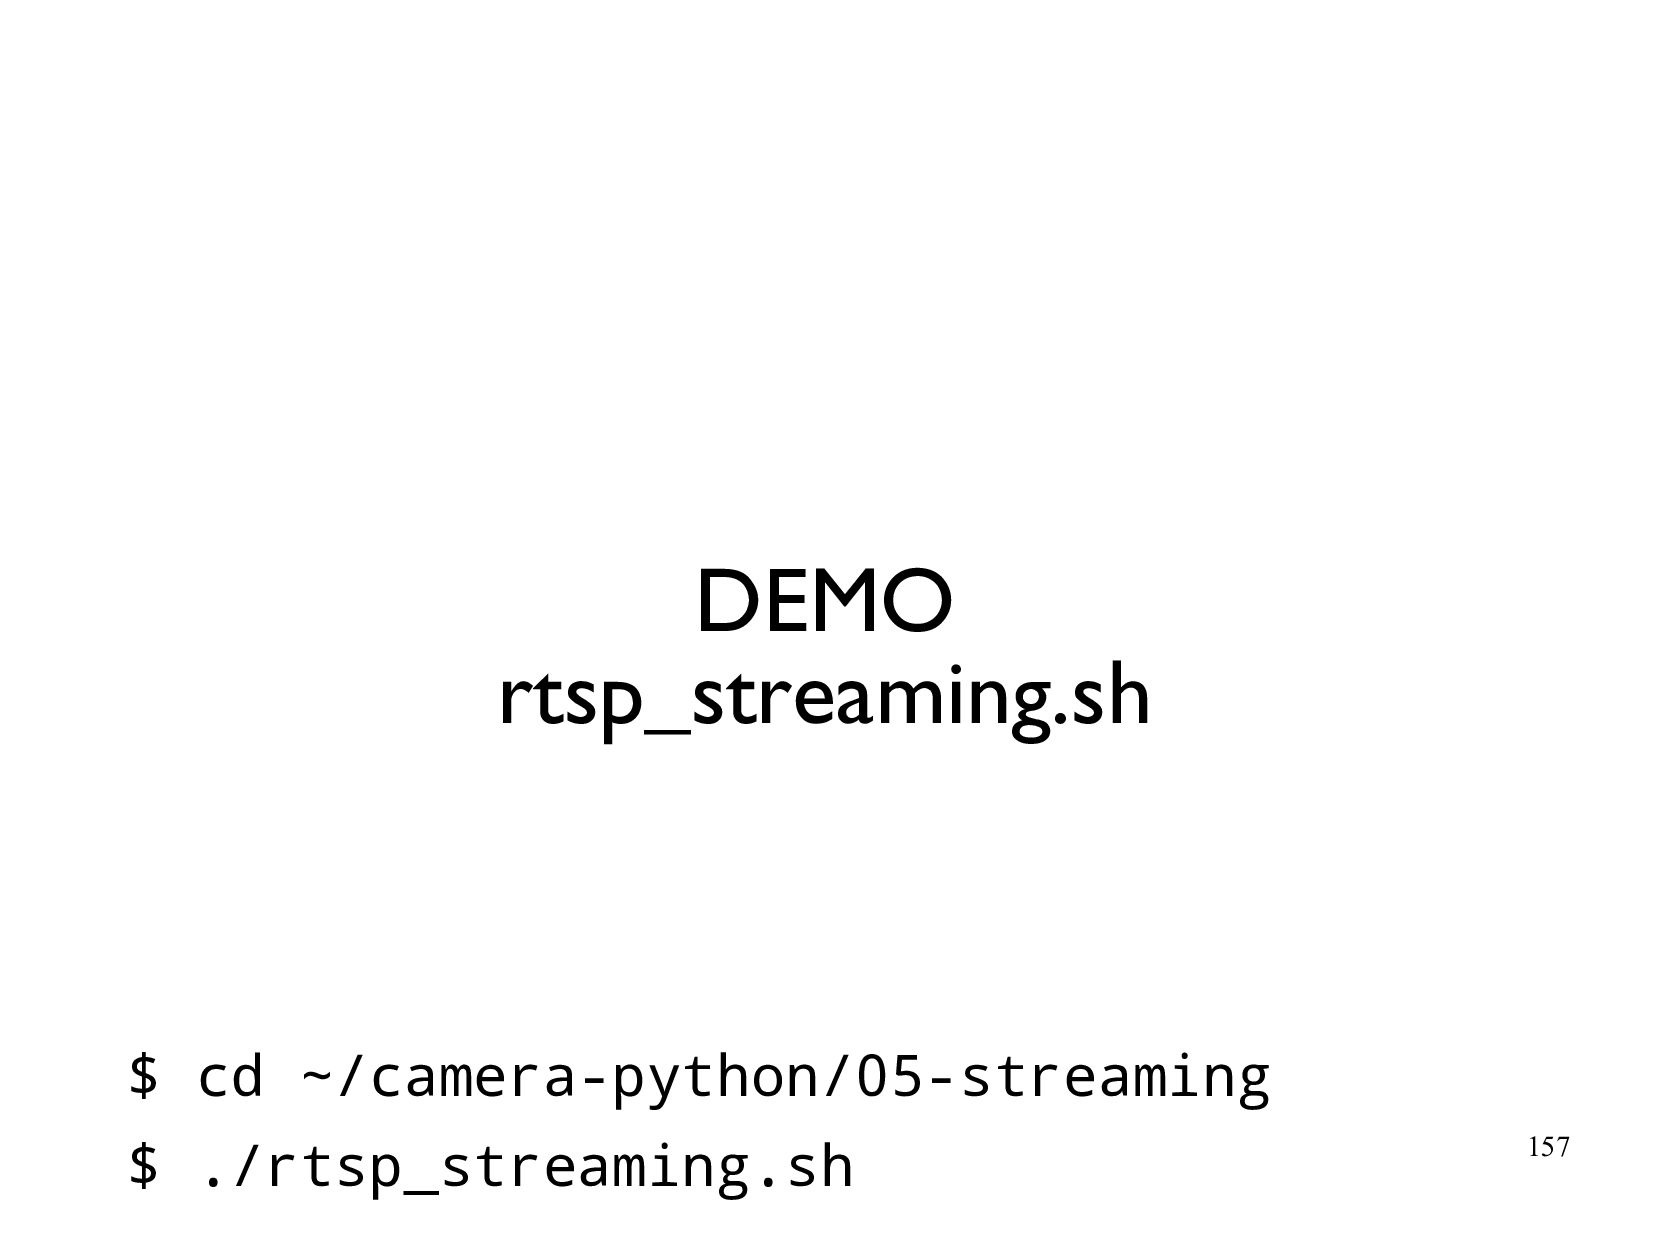
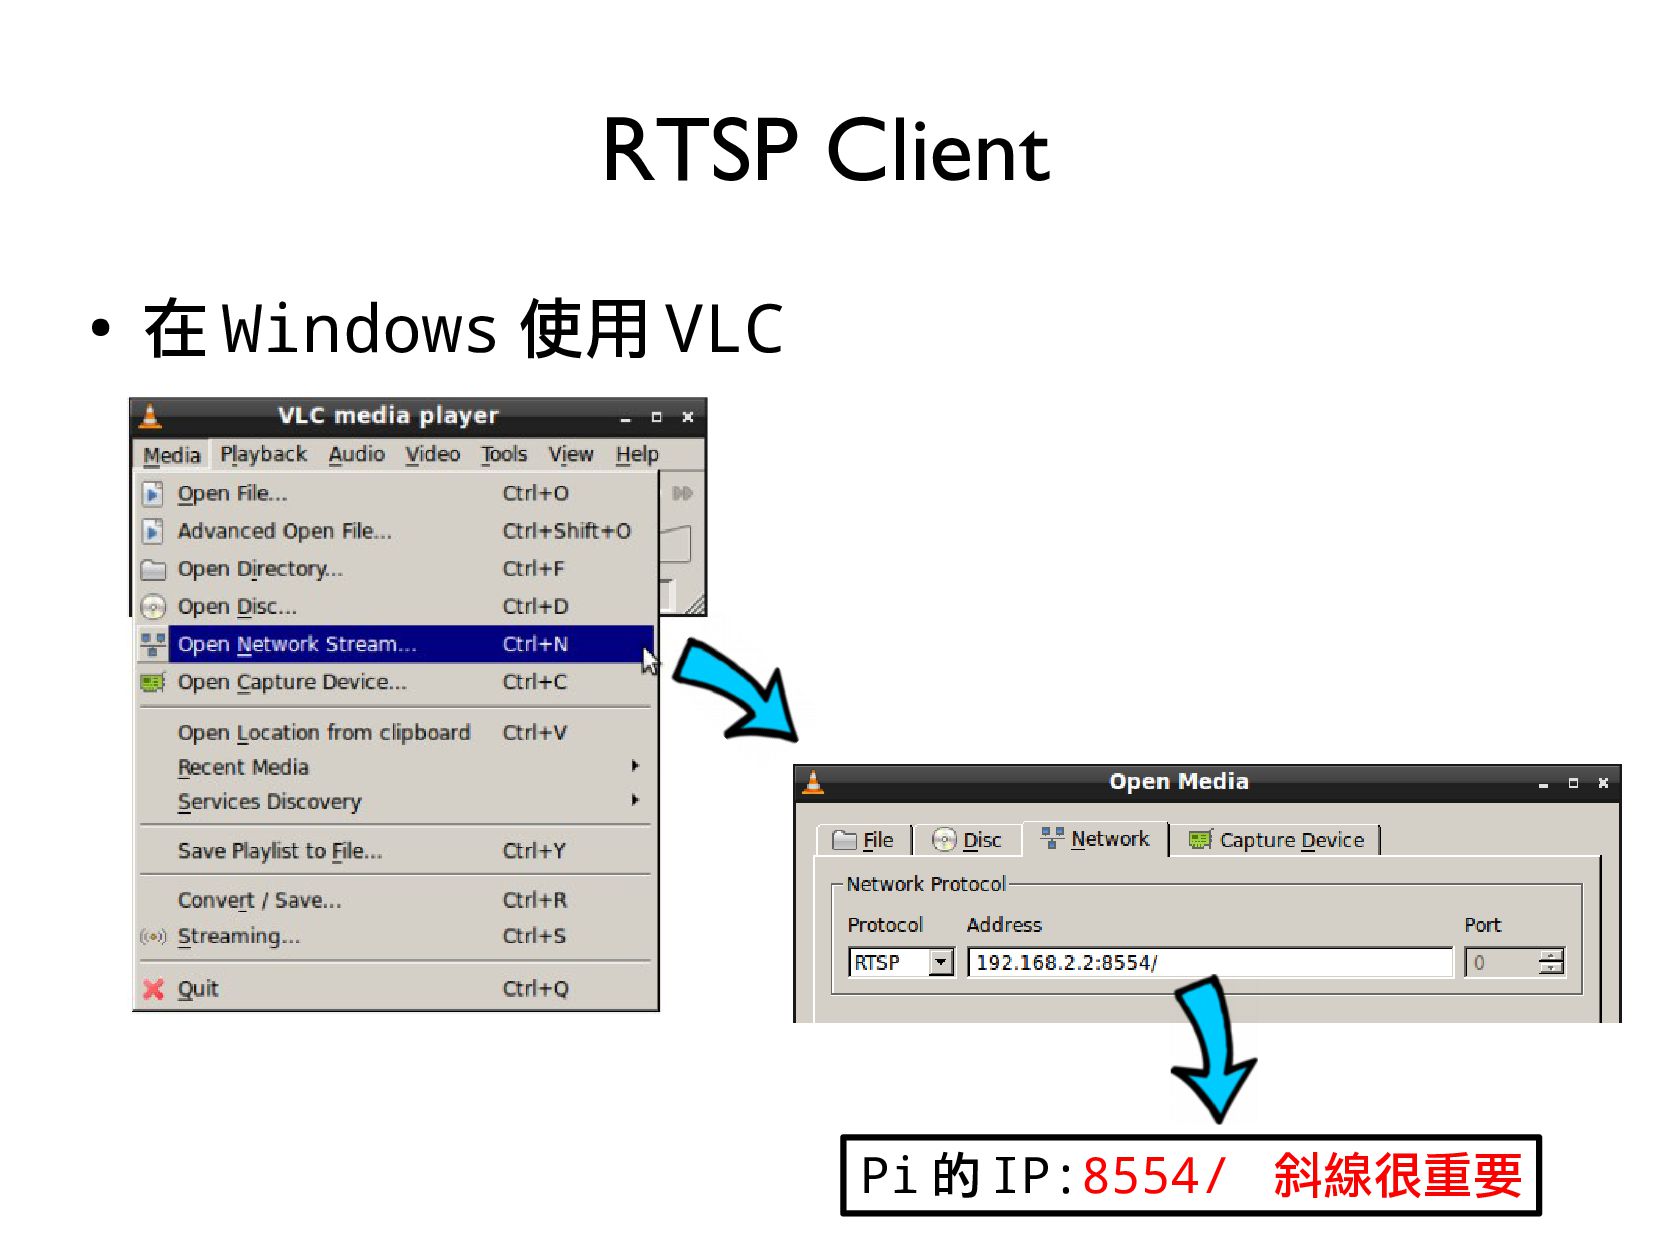
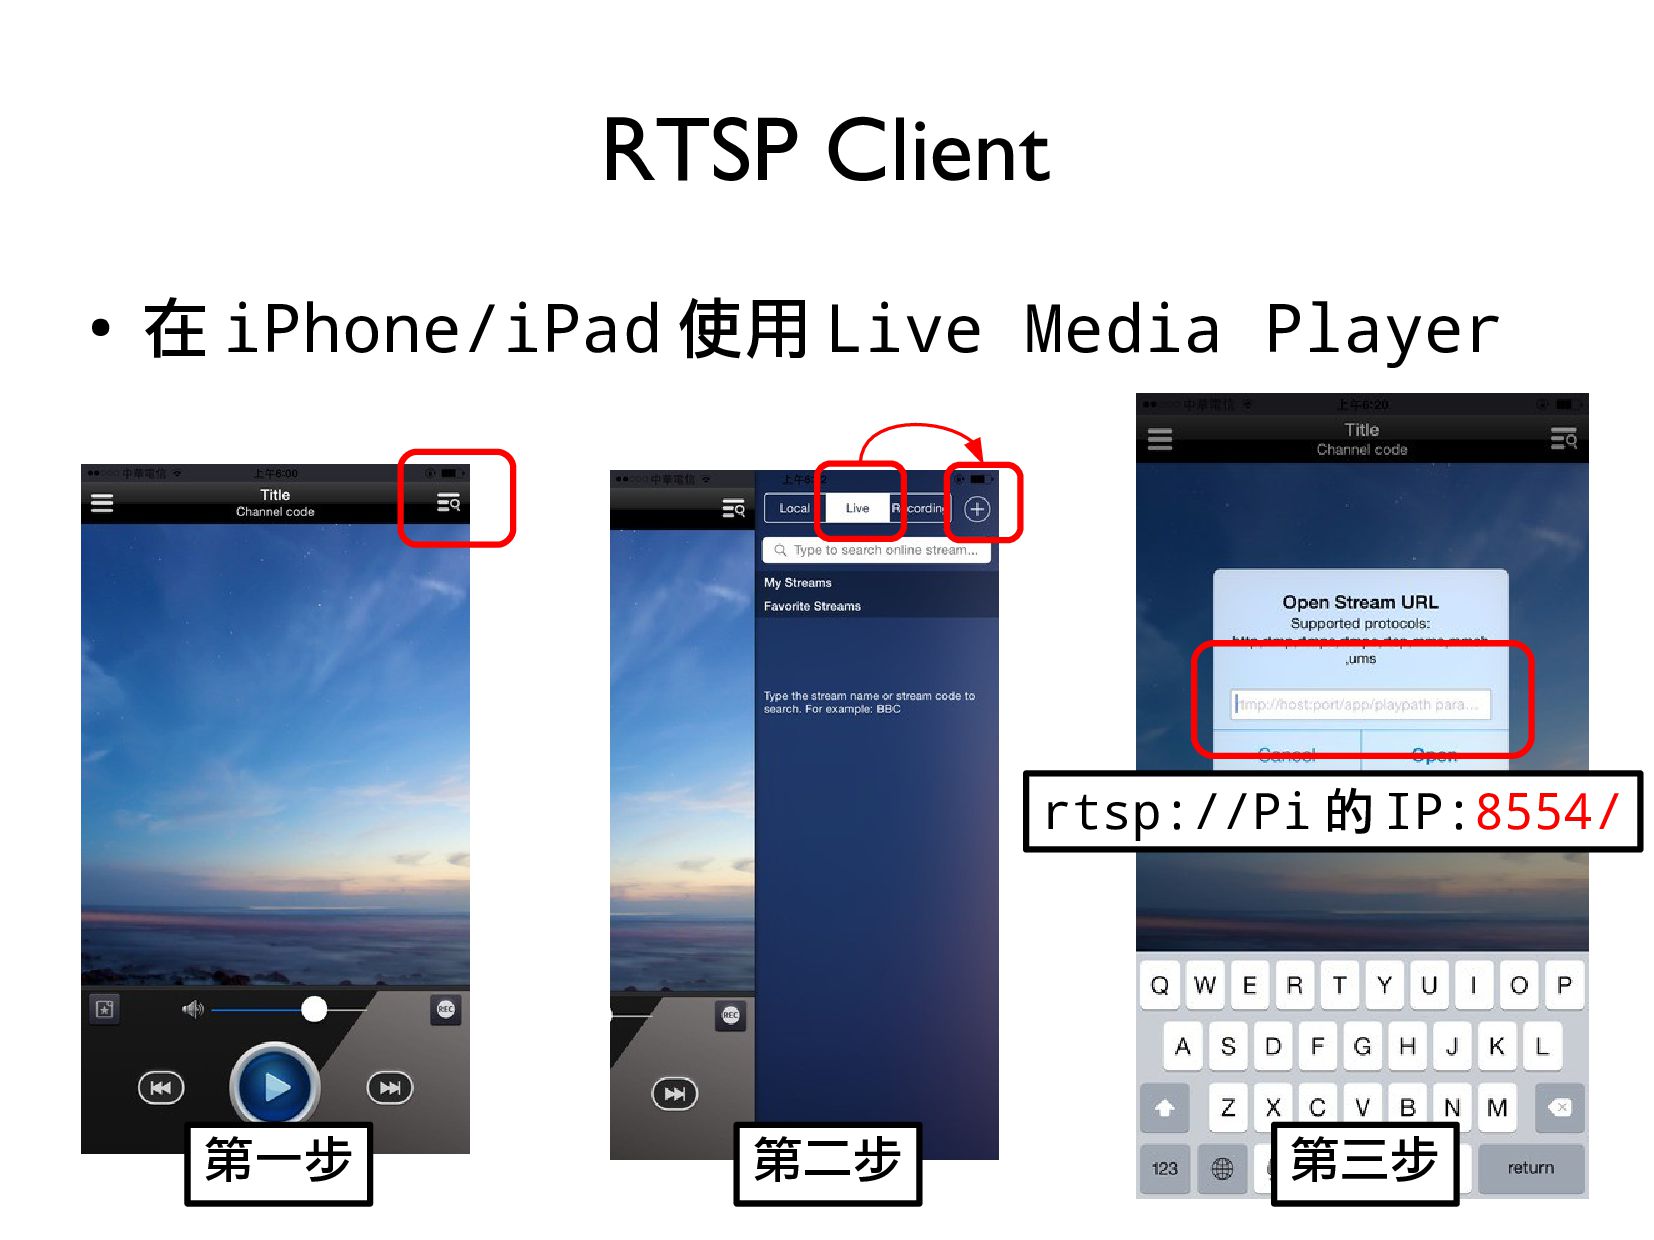
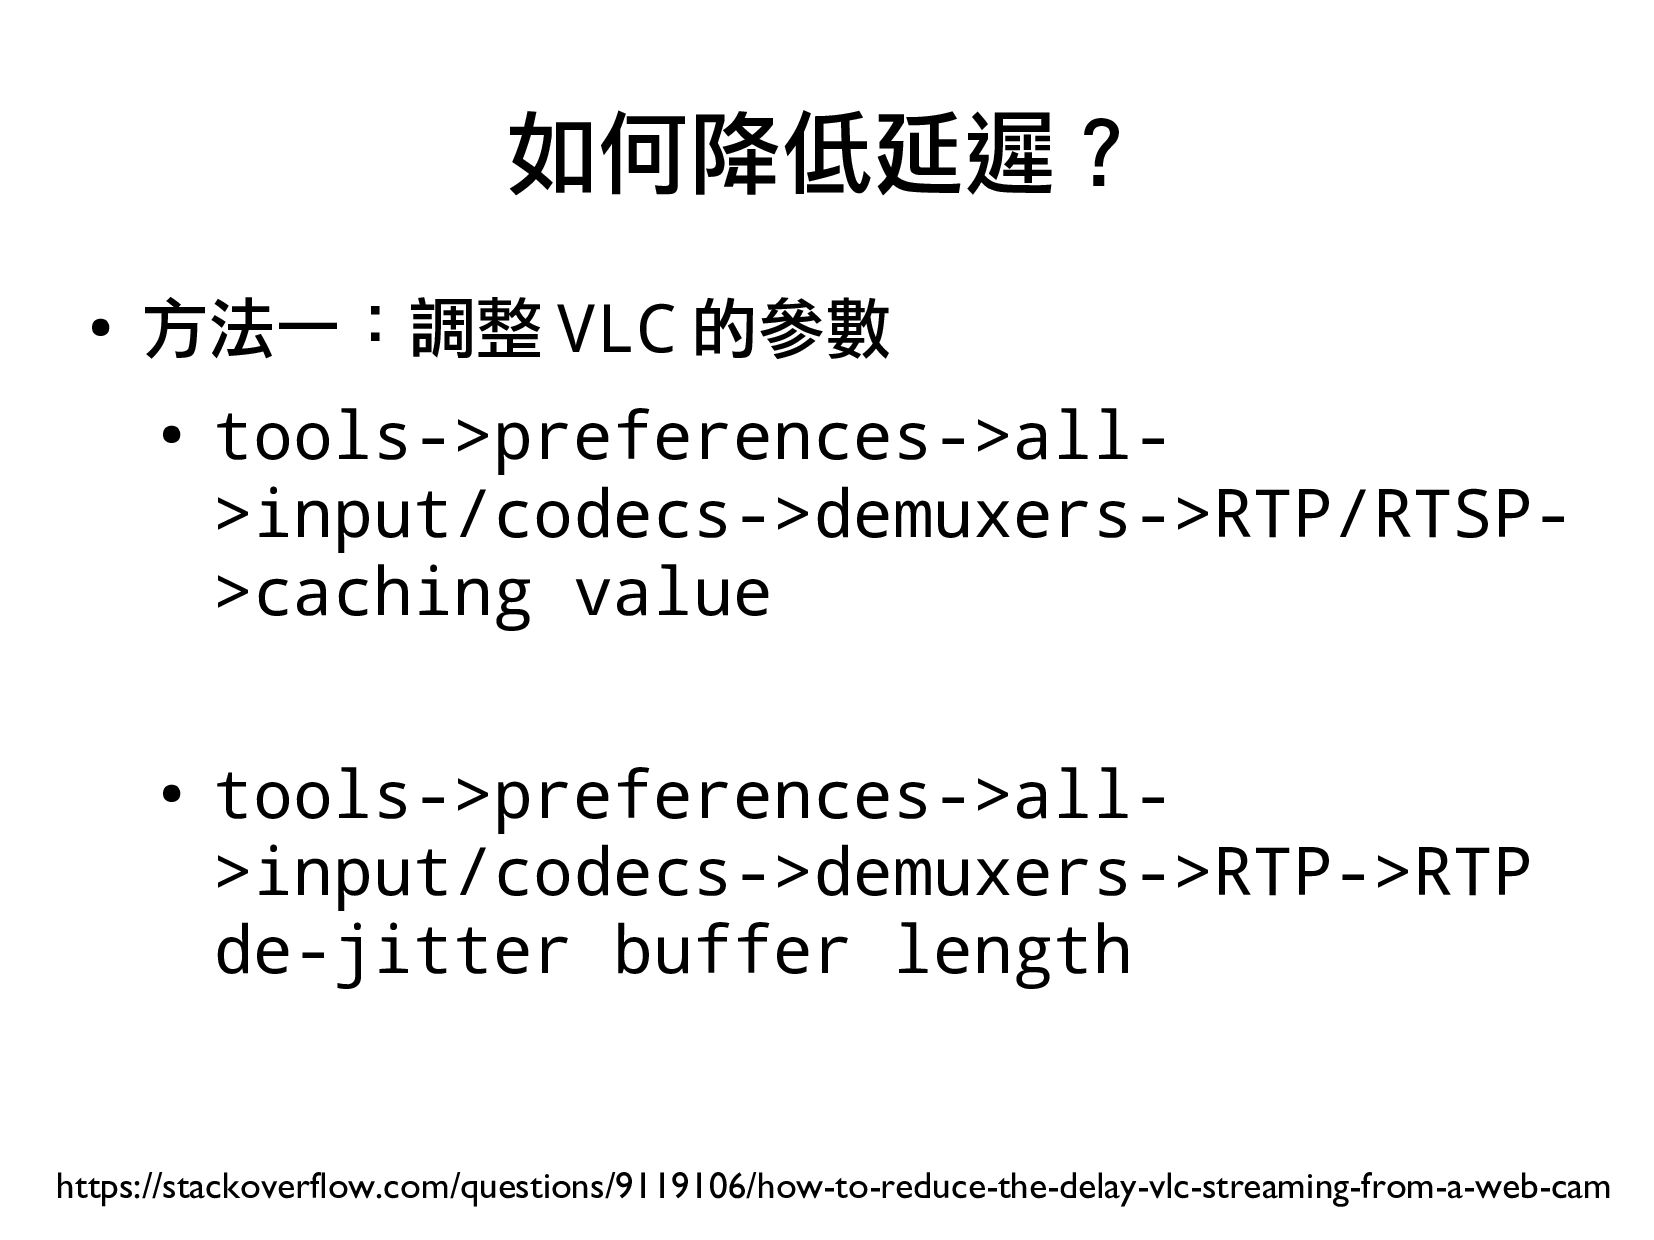
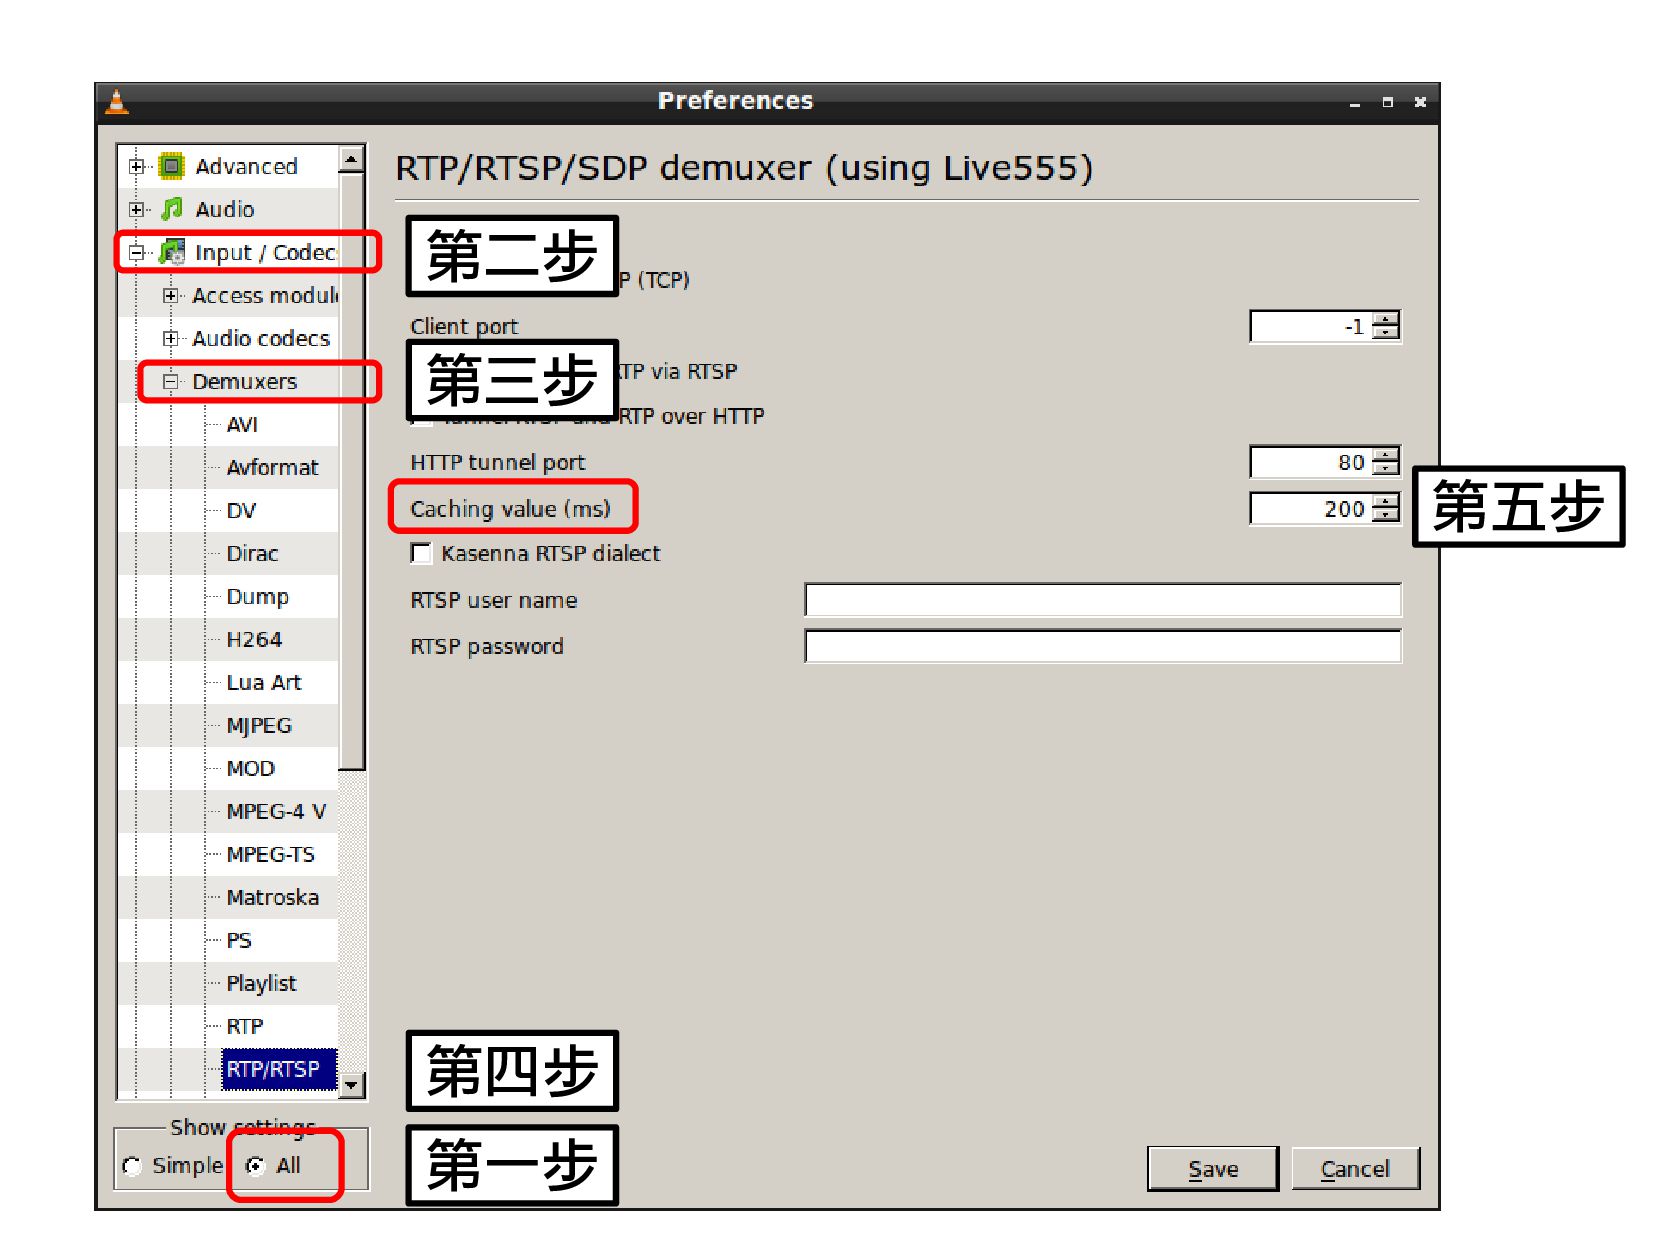
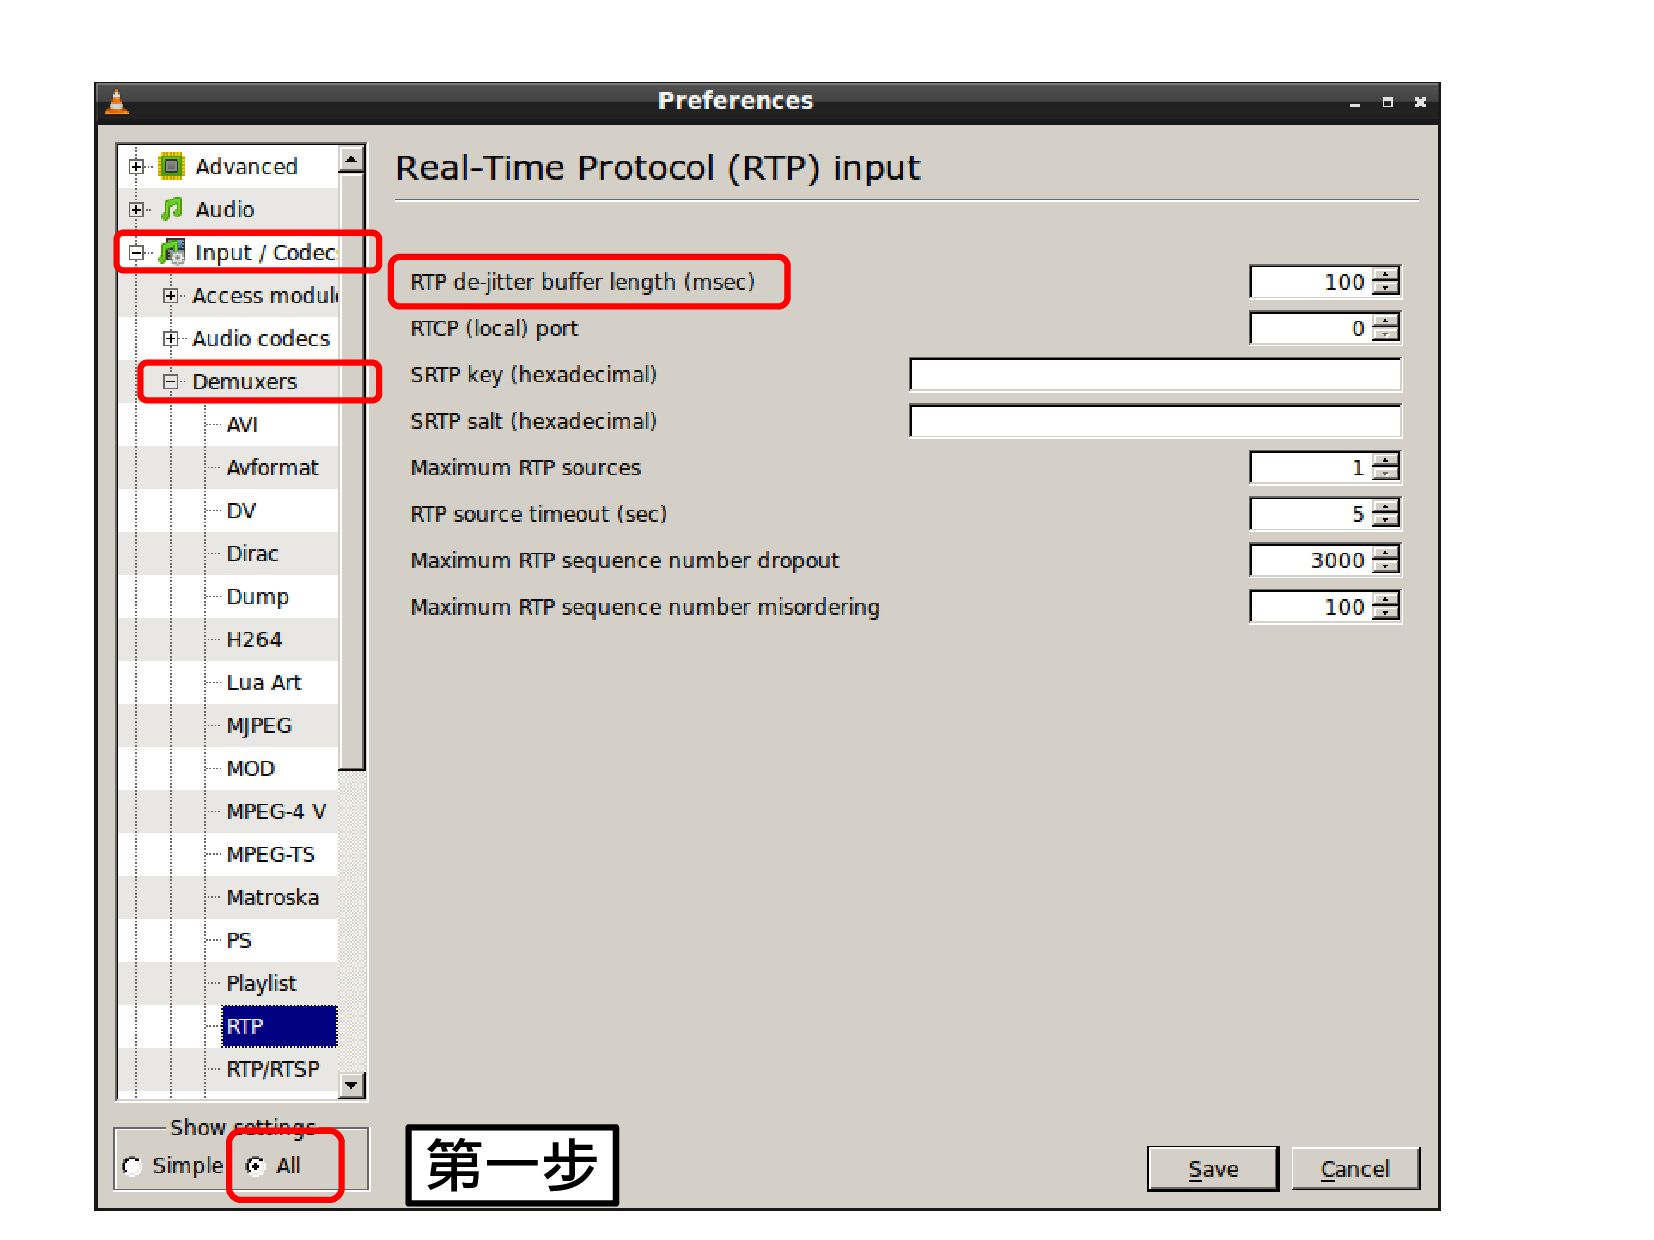
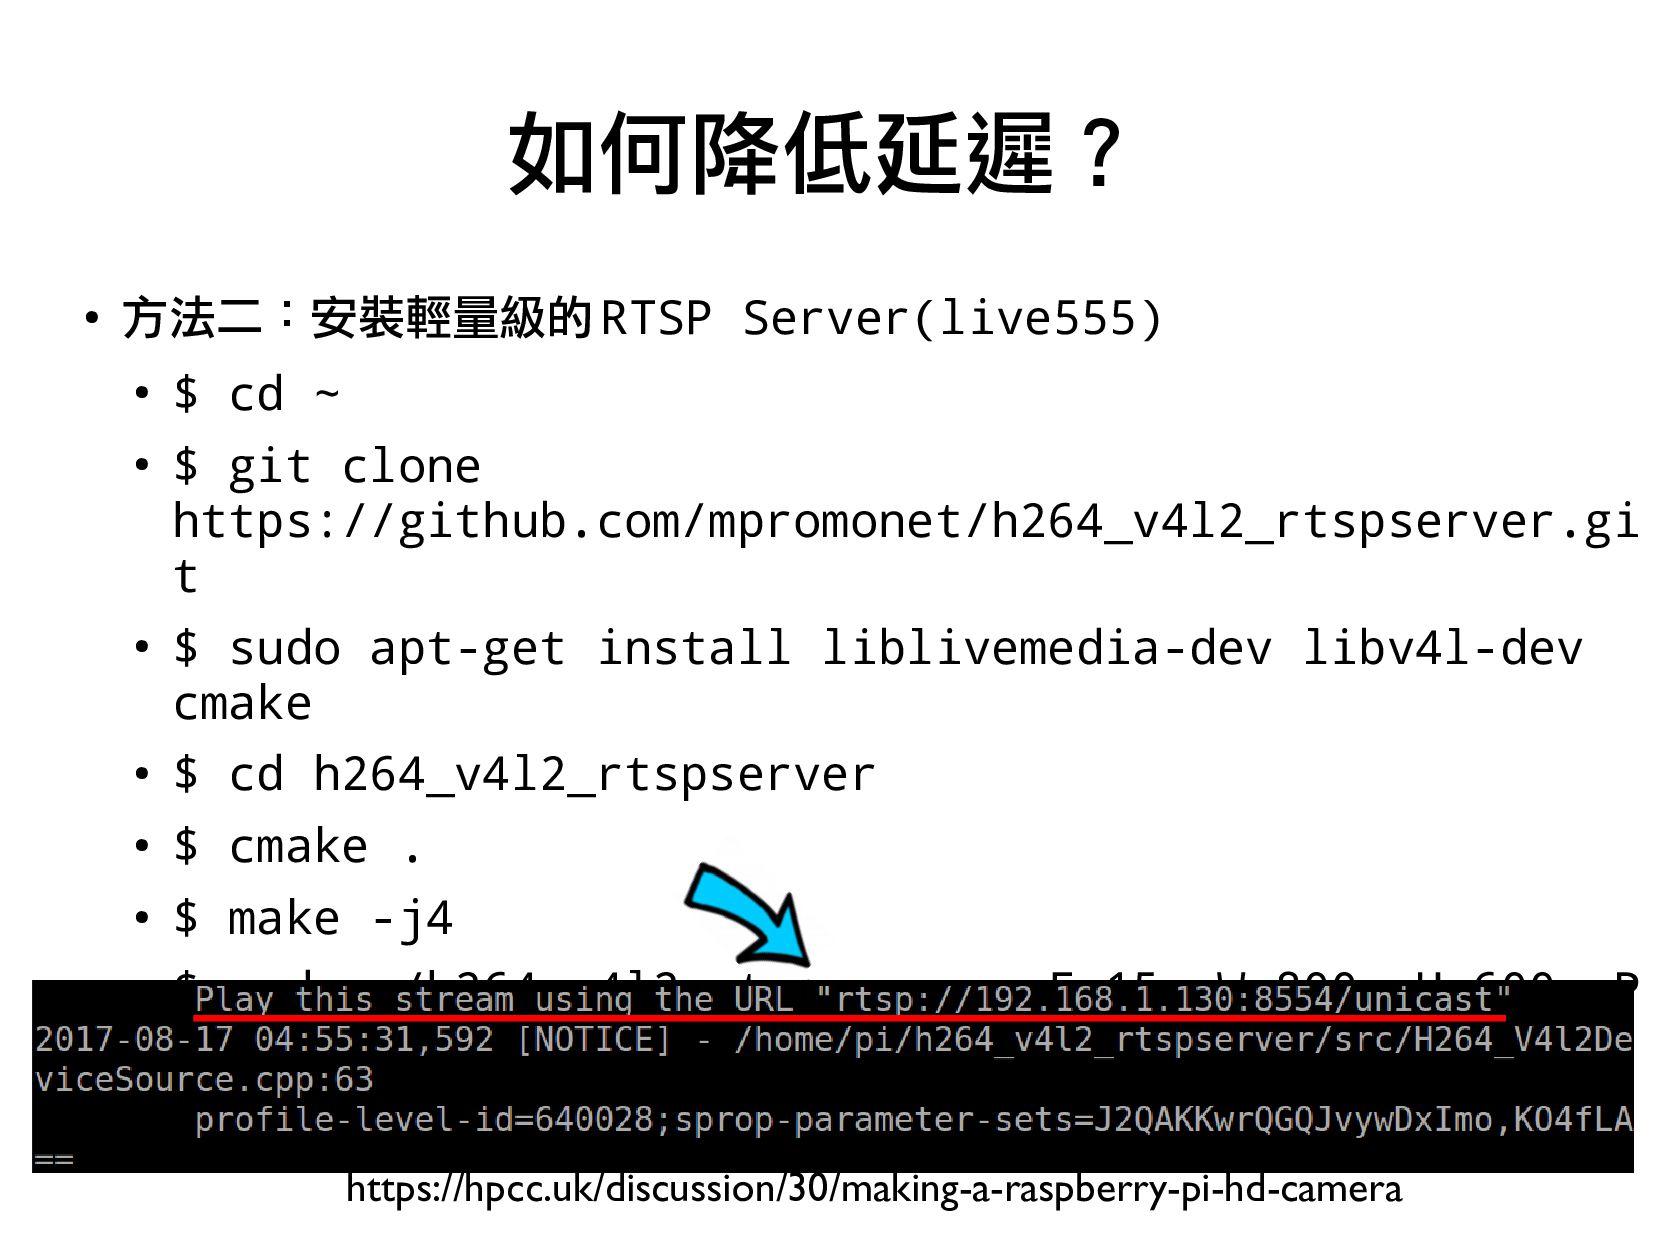
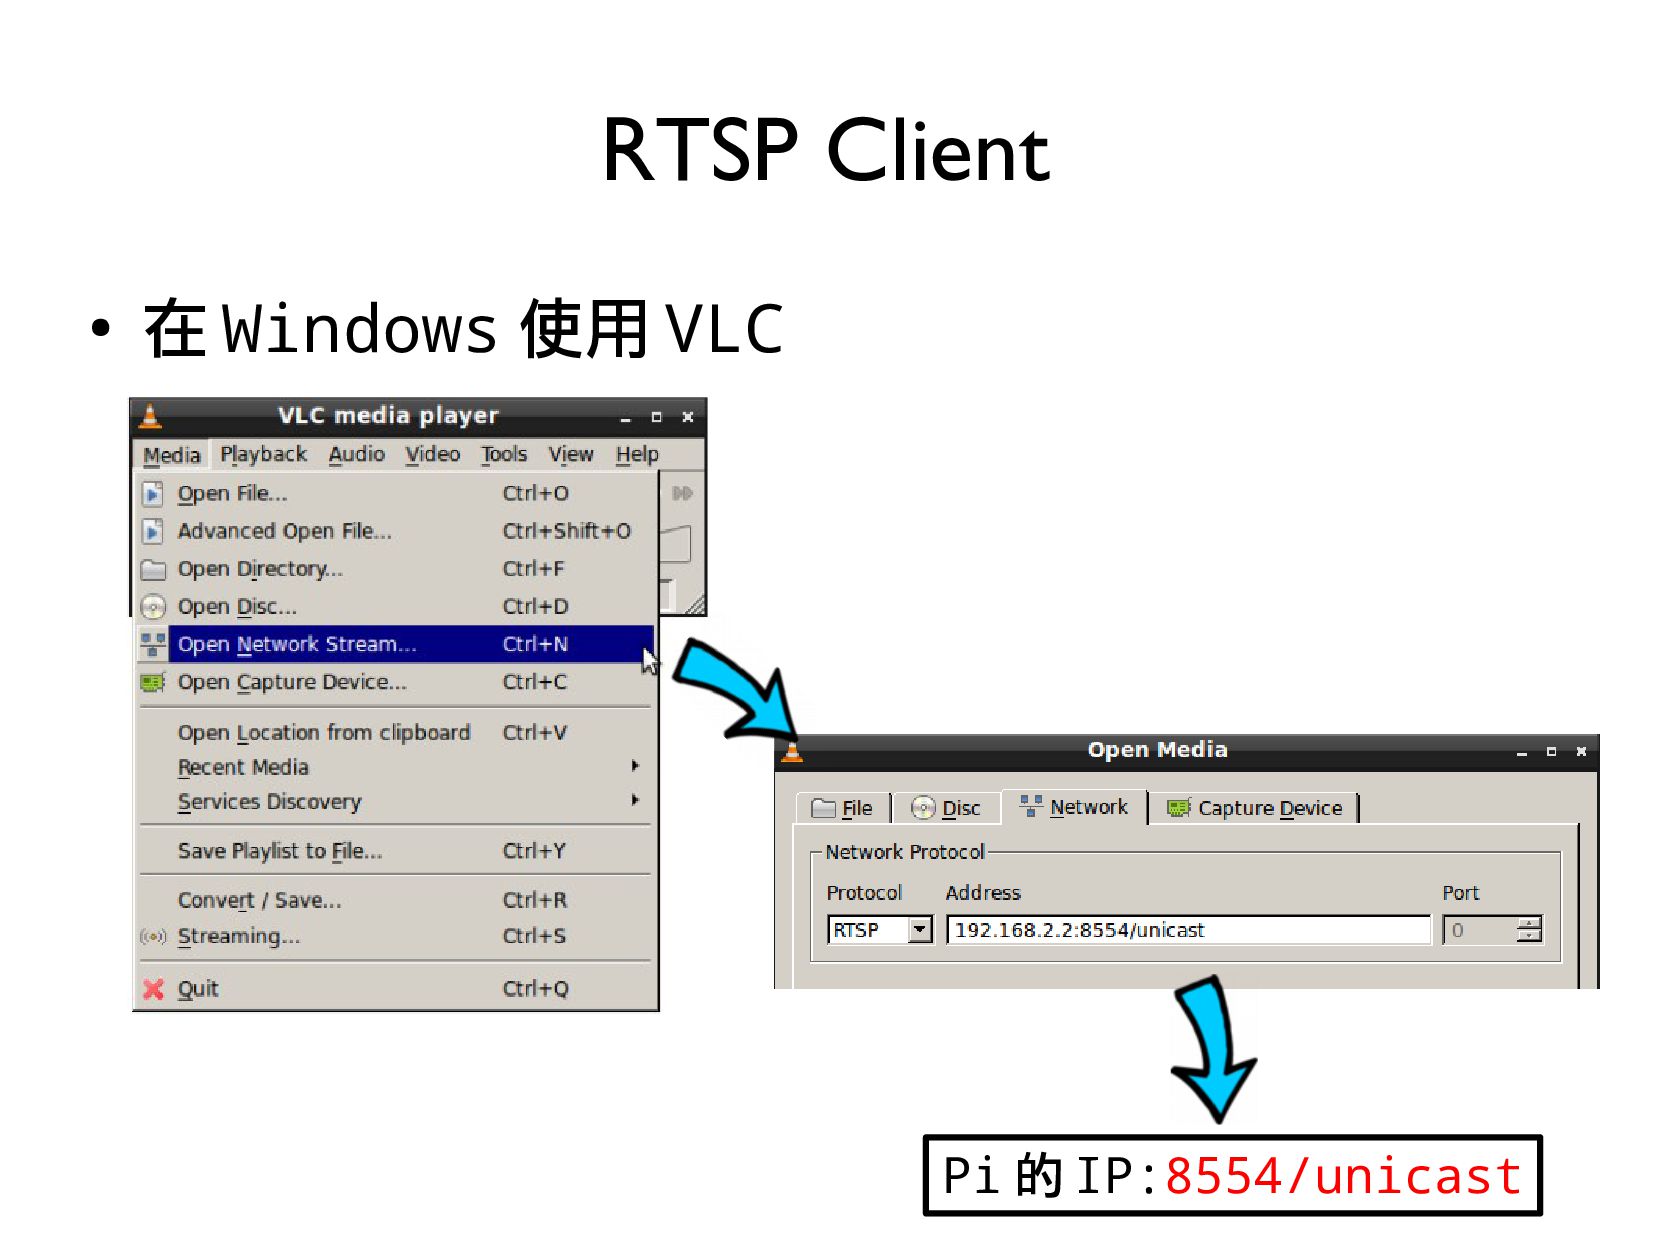
- 使用 RTSP + H.264
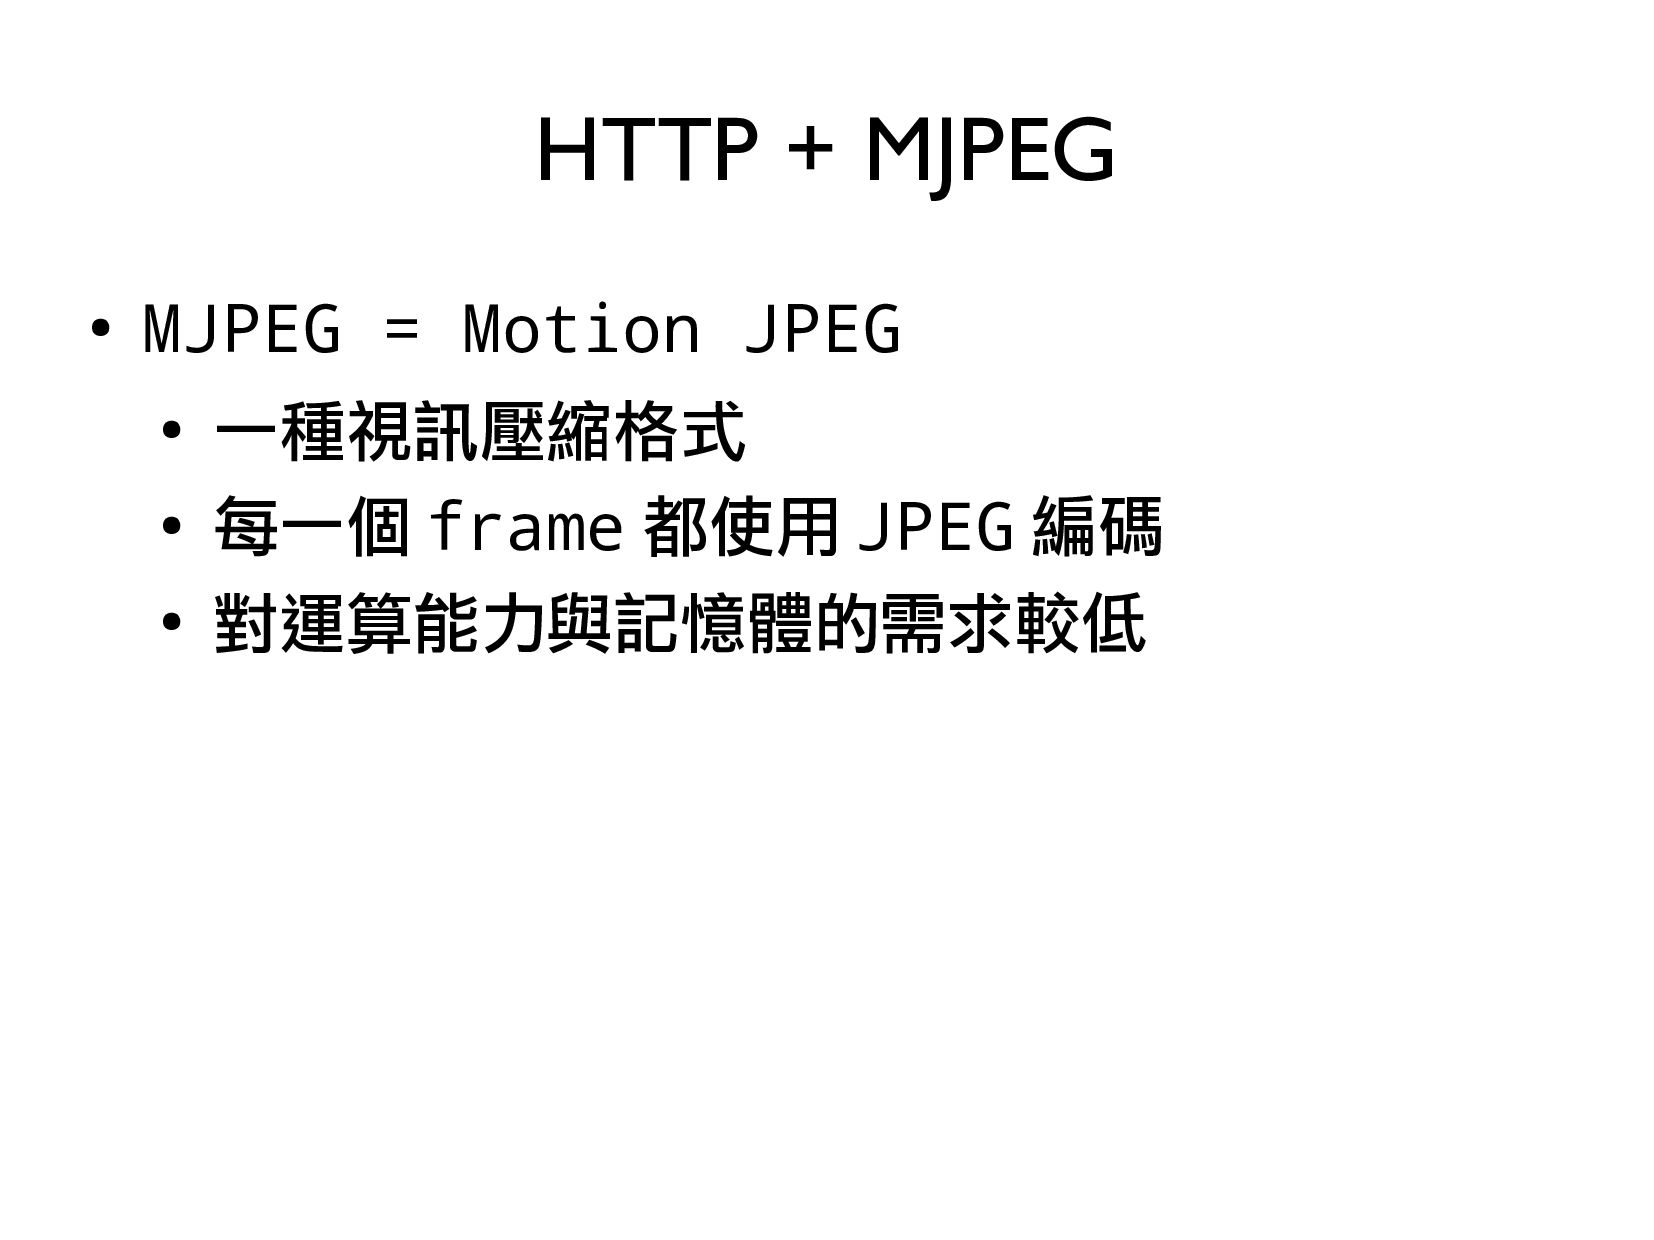
- 使用 HTTP + MJPG
購買 Pi 3:
https://www.piepie.com.tw/10684/raspberry-pi-3-model-b
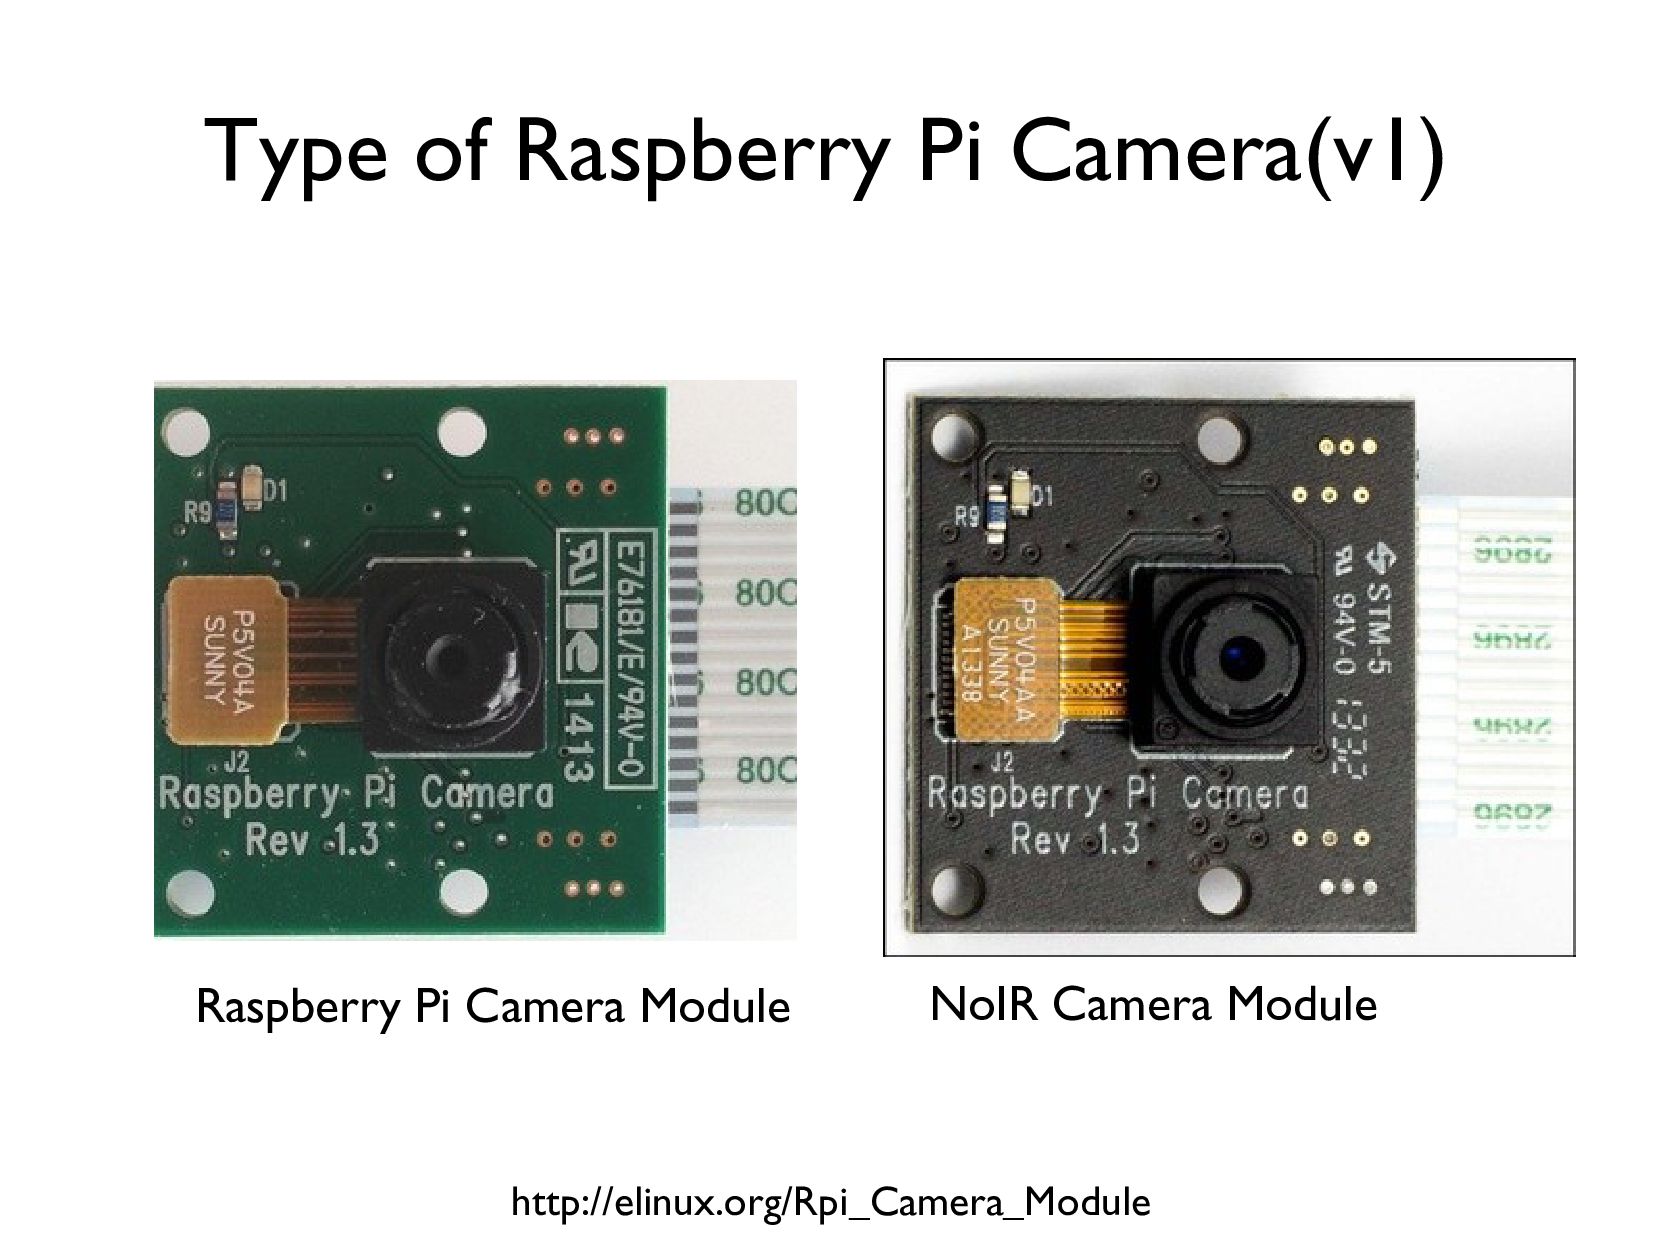
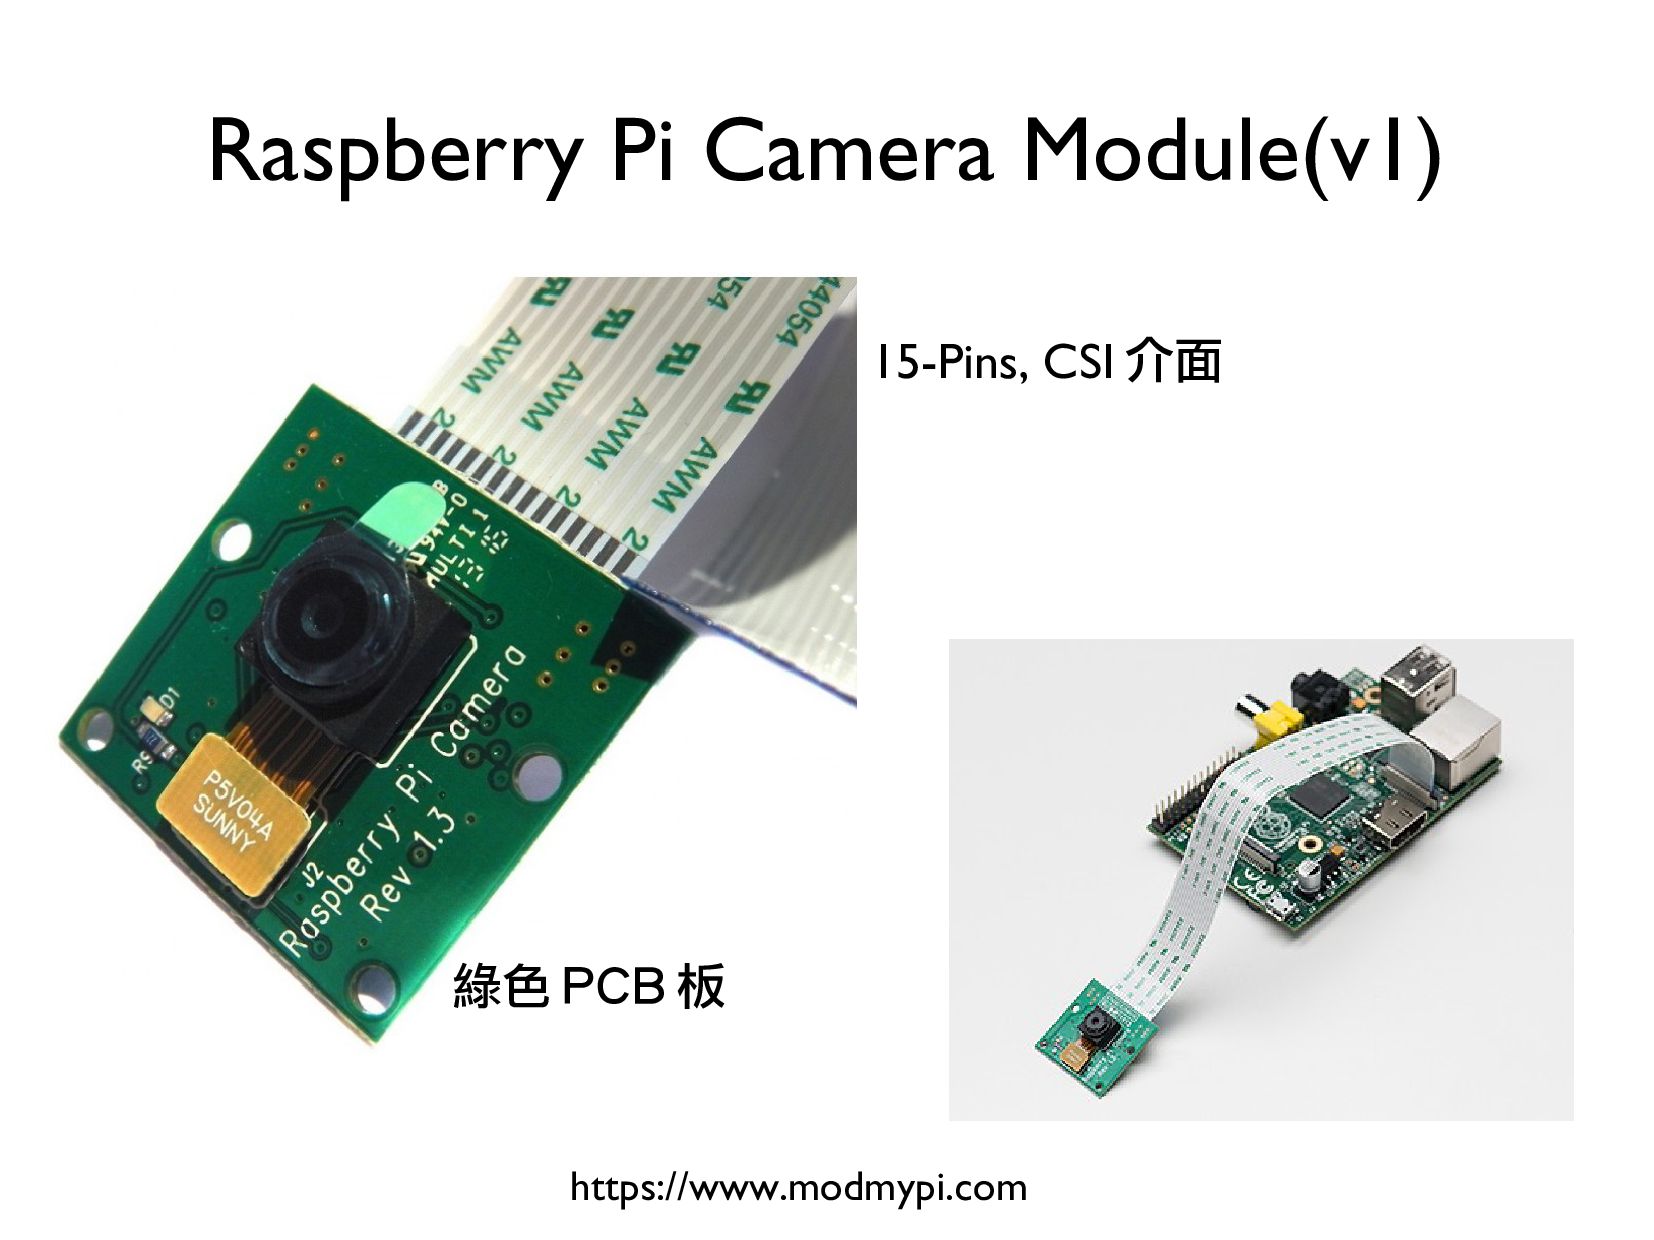
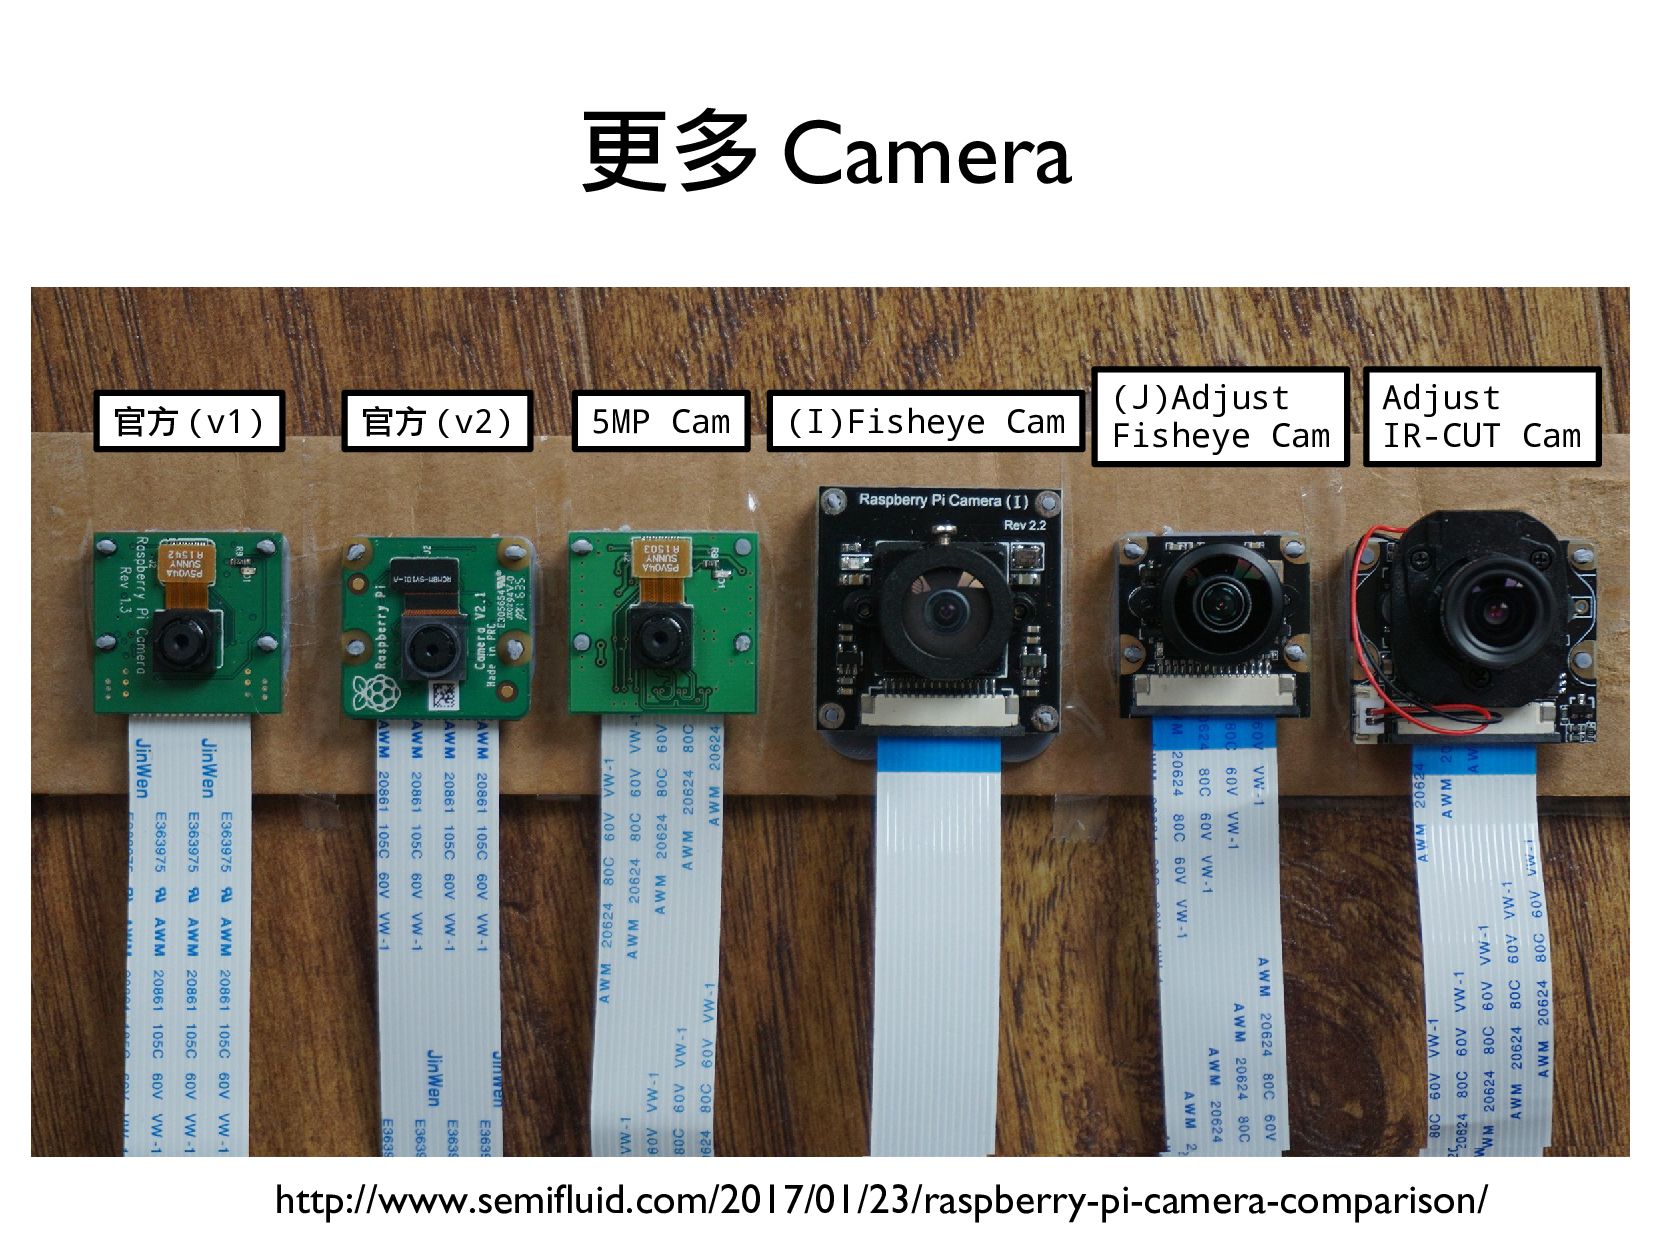
購買相機:
https://www.piepie.com.tw/12085/raspberrypi-camera-module-v2
https://www.piepie.com.tw/12056/raspberrypi-noir-camera-module-v2
範例程式:
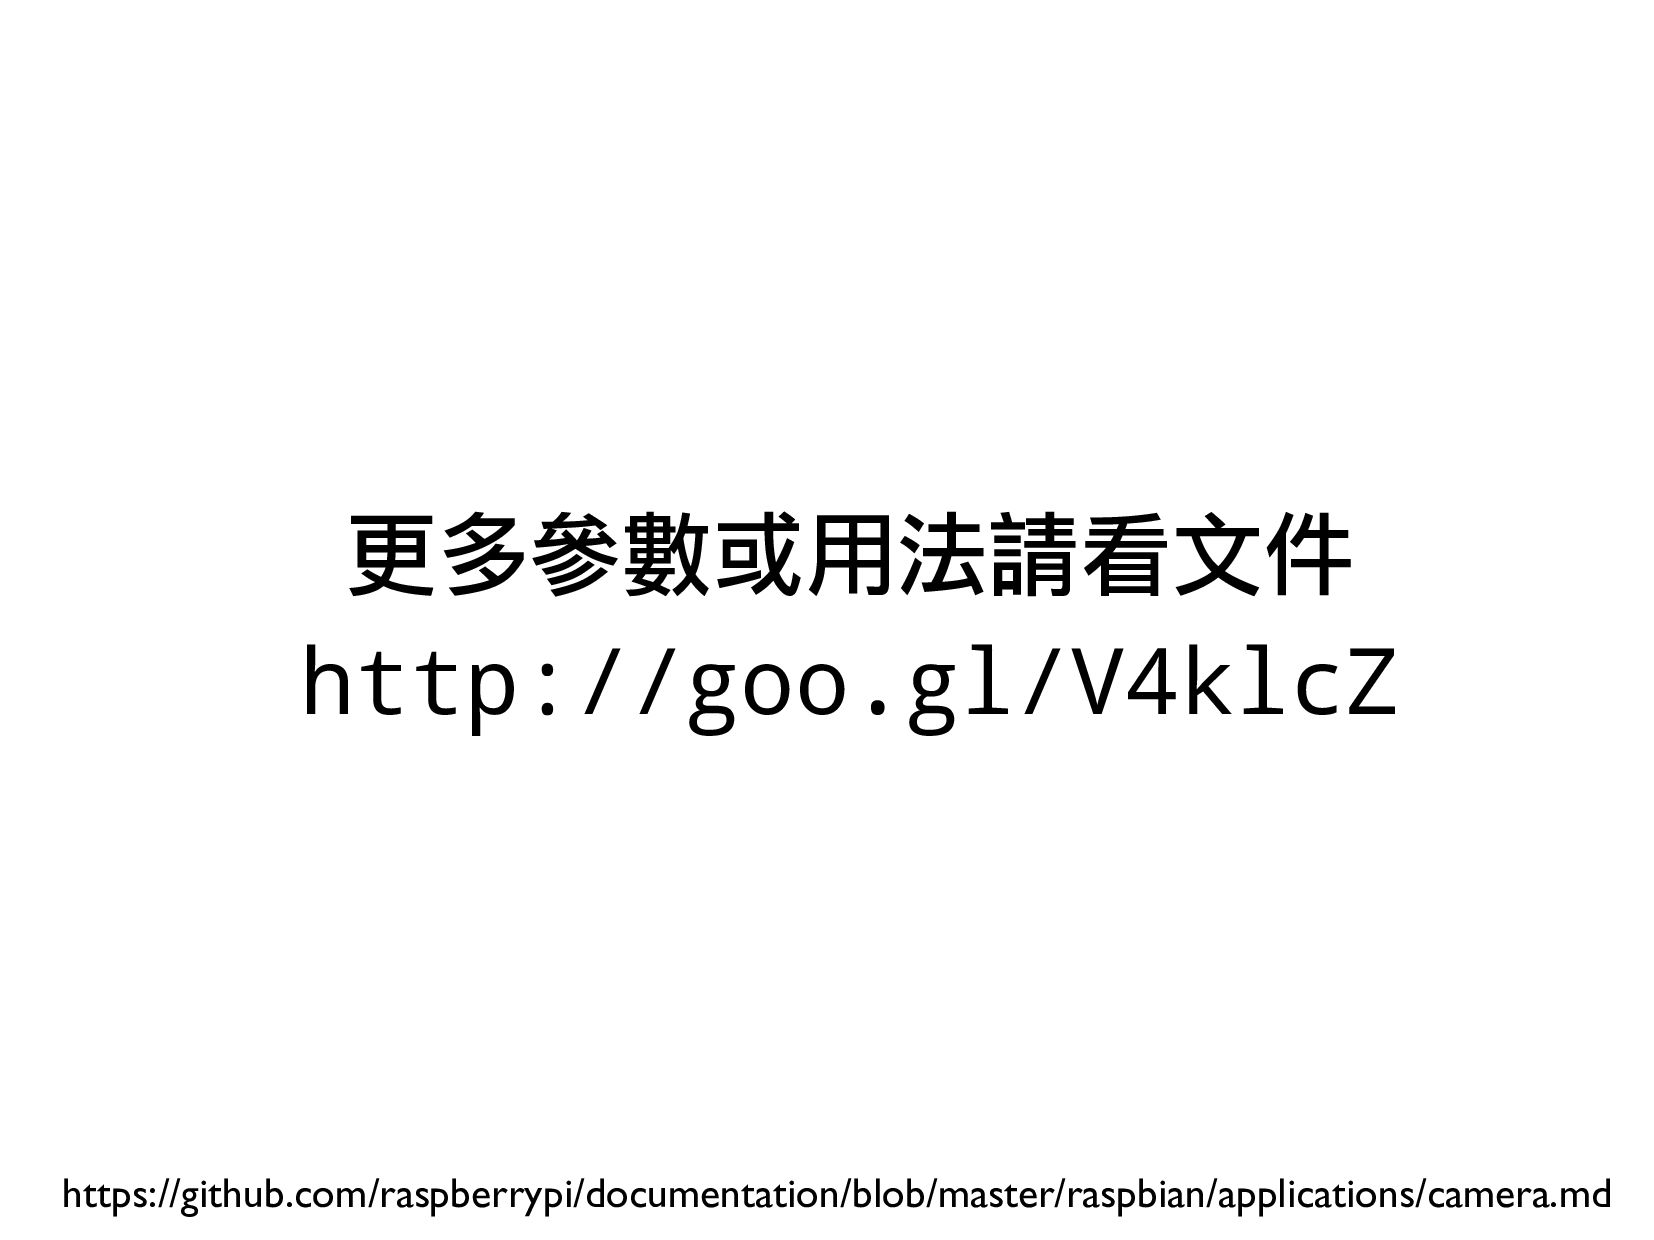
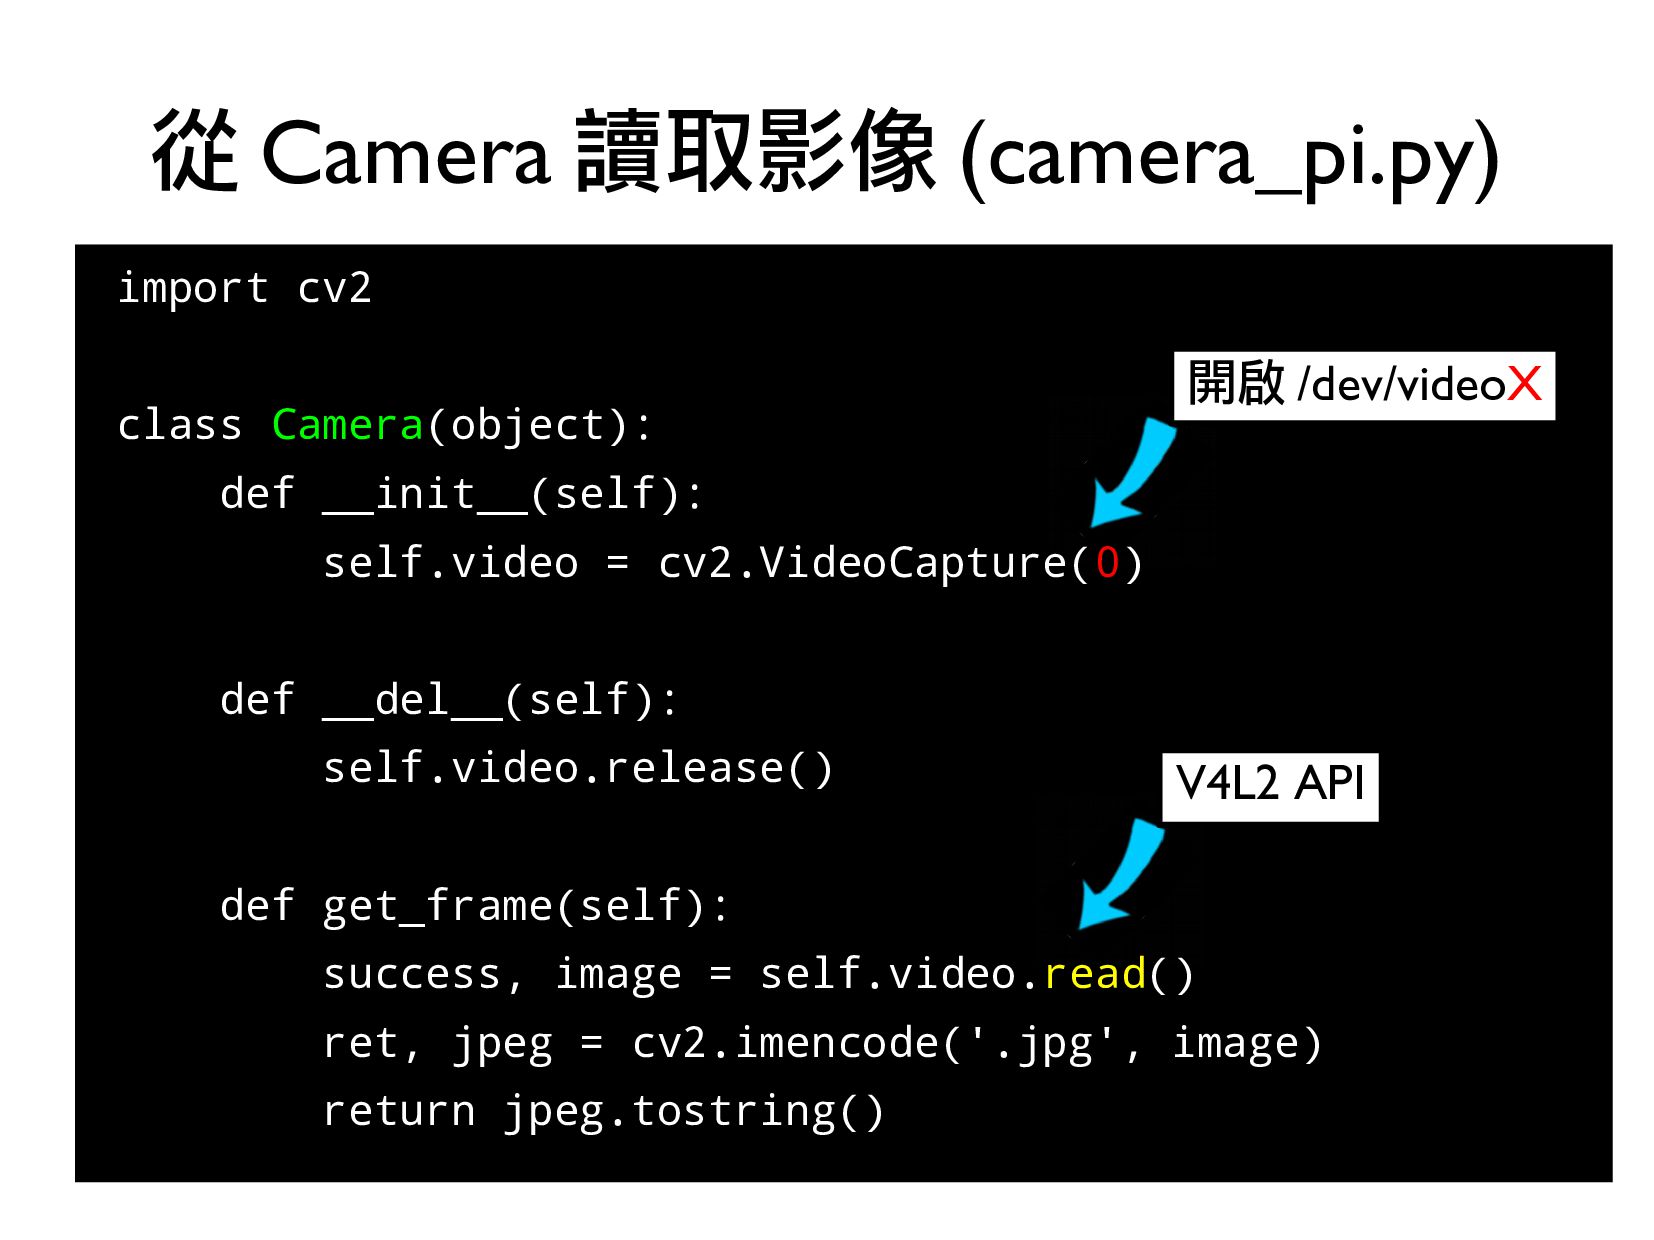
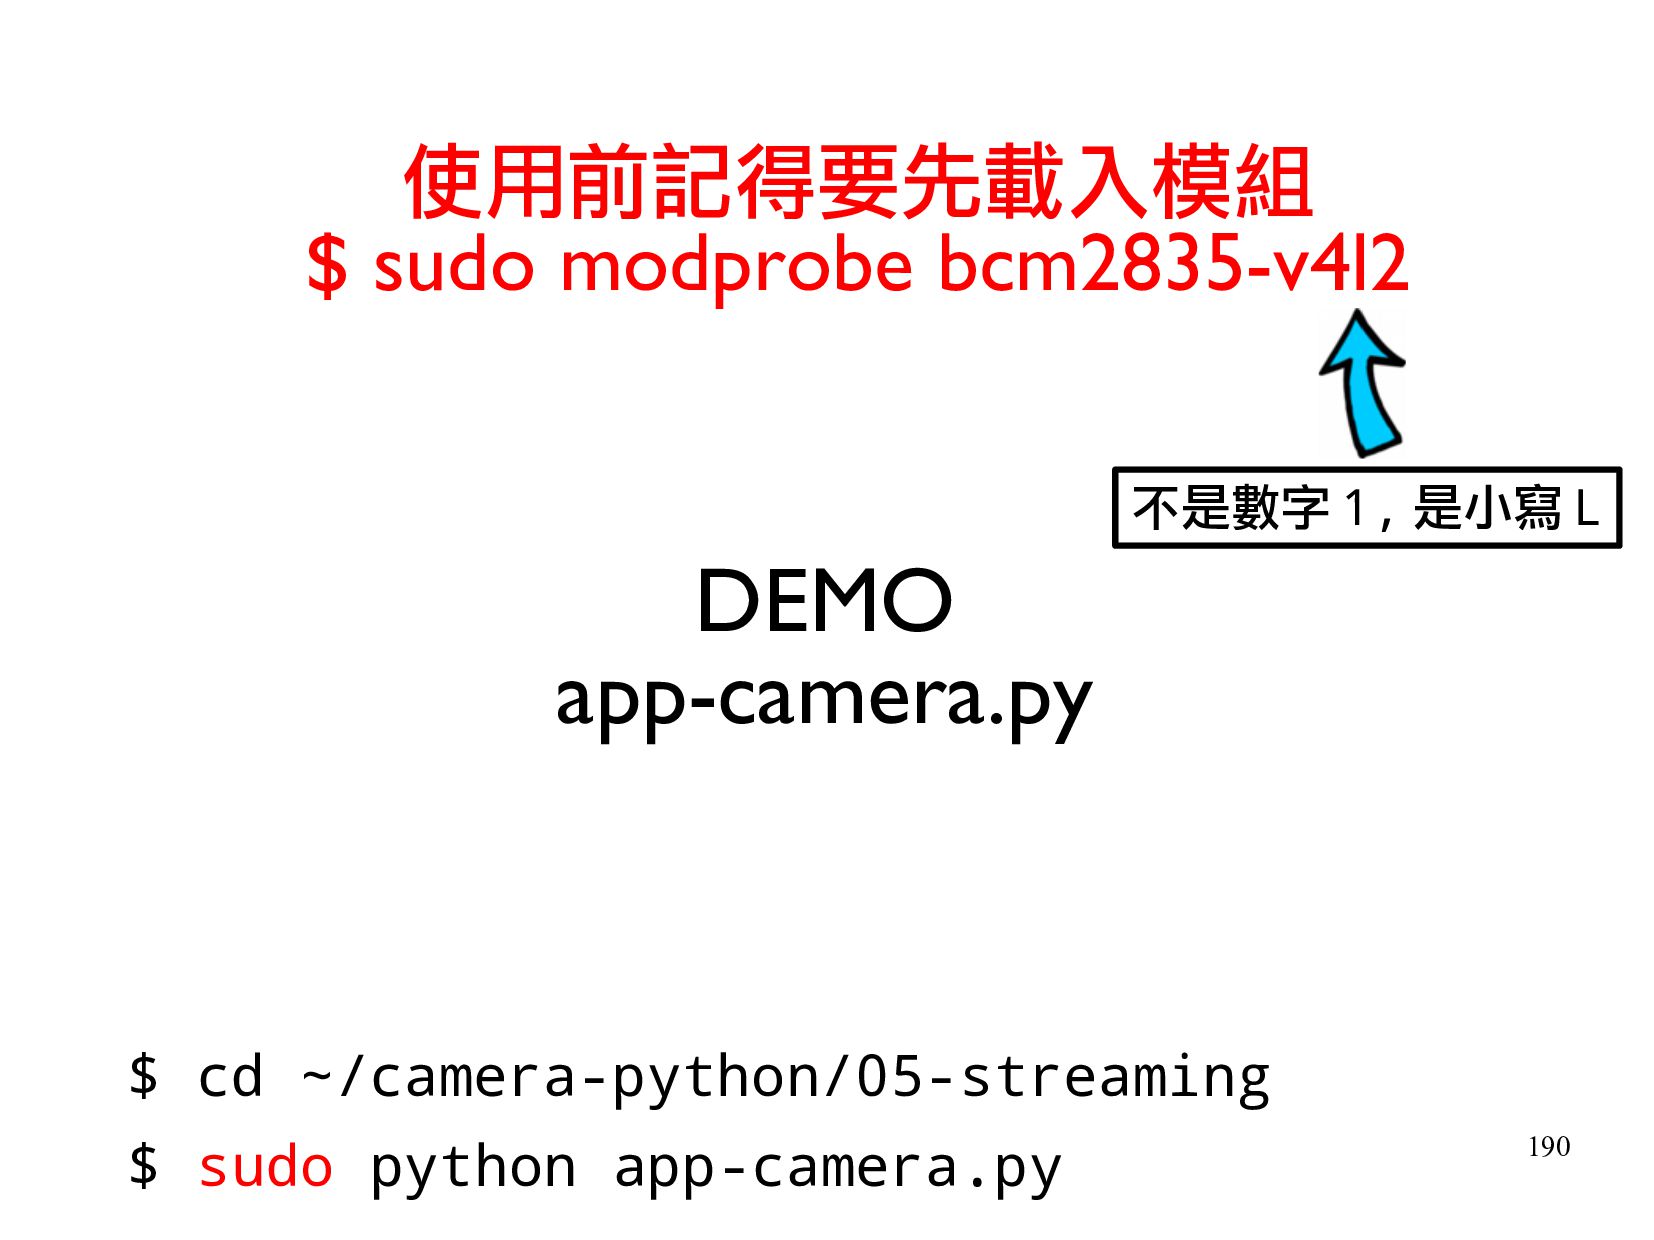
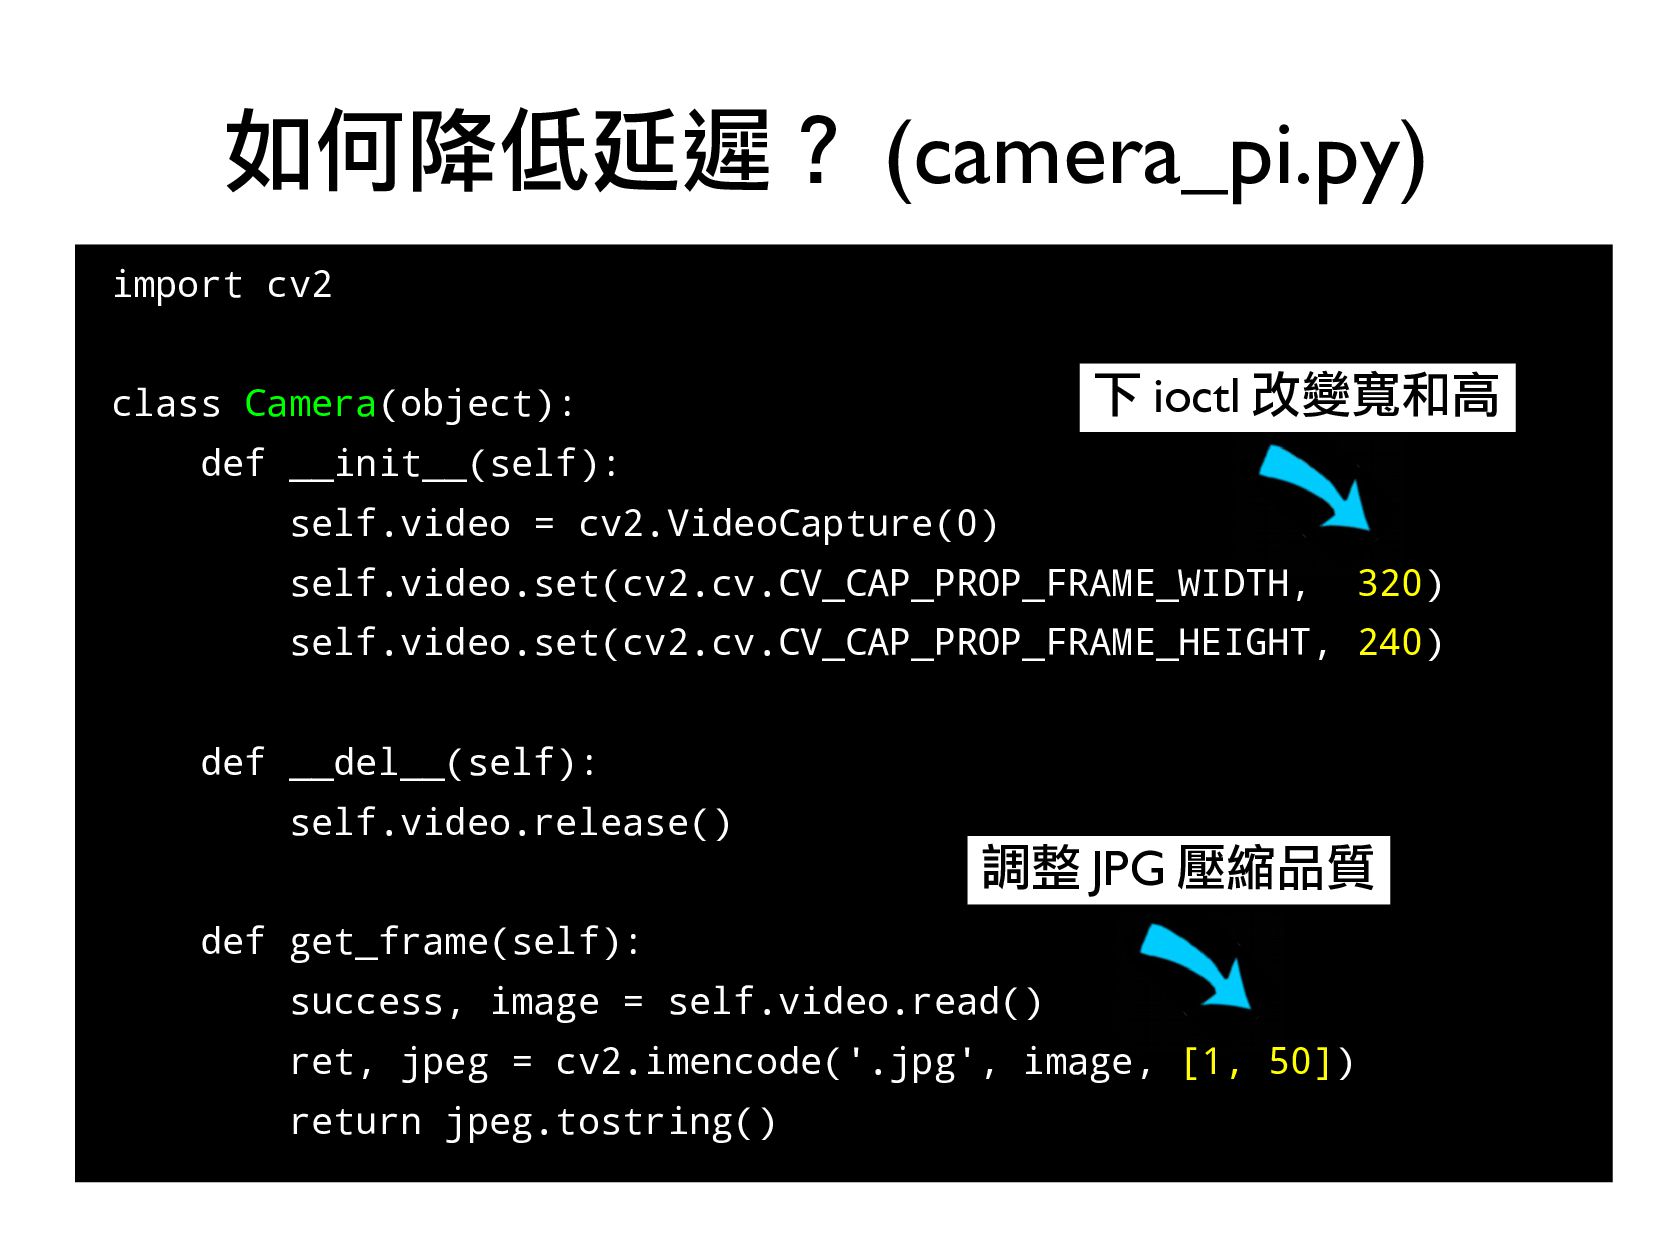
https://github.com/piepie-tw/camera-python-opencv
Day2 投影片:
https://speakerdeck.com/piepie_tw/raspberry-pi-camera-python-opencv-day2
![Raspberry Pi Camera + Python 台灣樹莓派 <[email protected]> 2017/07/27 @NFU](https://files.speakerdeck.com/presentations/4abd39b744d44b3eacacfce3555a01be/slide_0.jpg)
![80 • 自動迭代 (iterator) for i in xrange(start, stop[, step])](https://files.speakerdeck.com/presentations/4abd39b744d44b3eacacfce3555a01be/slide_79.jpg)
![• $ nano web_service.conf [imagga] authorization = Basic YWNjXzJkYzdkNzNjMmYwODliMToxYzQ3Yzg2ZDg0YjdmY jdjYjZjNzQ1NTQ1MmYwNTgzMQ==](https://files.speakerdeck.com/presentations/4abd39b744d44b3eacacfce3555a01be/slide_105.jpg)
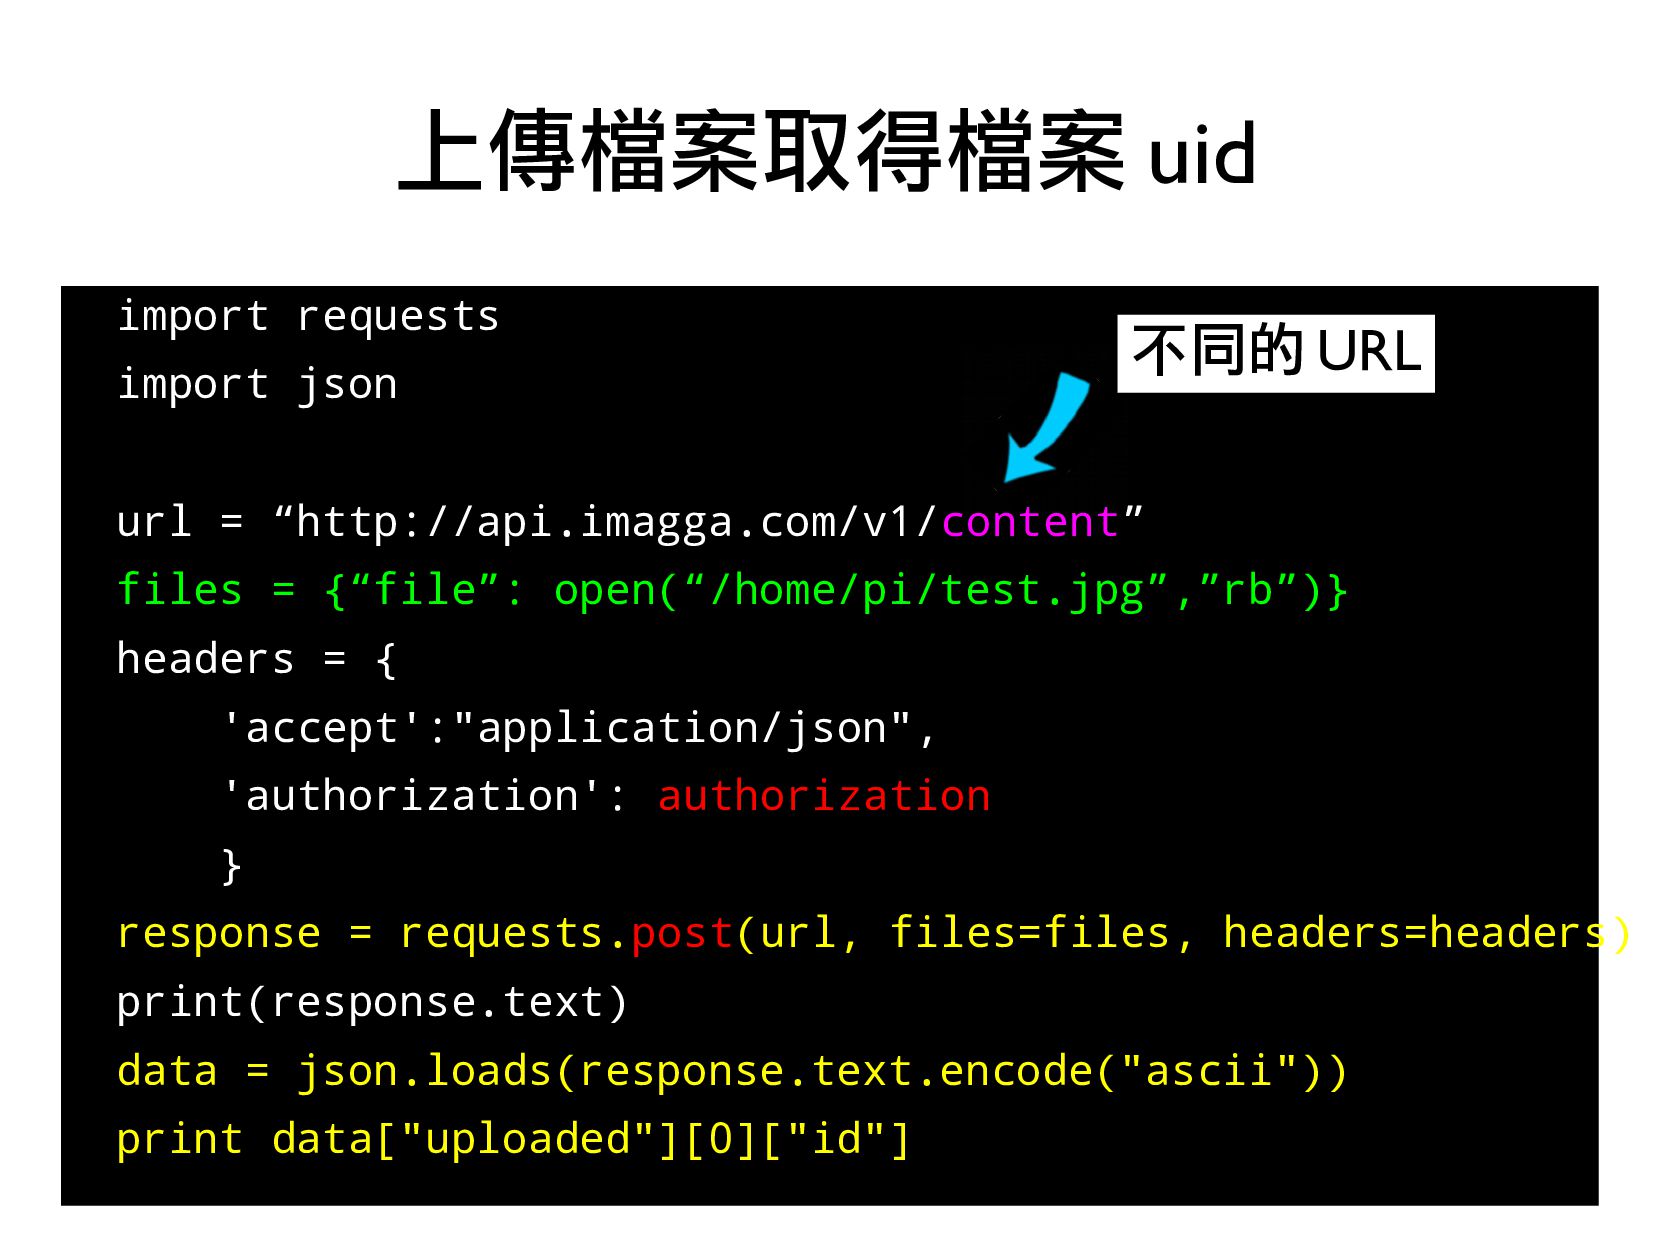
![# … 接前頁 • url = "http://api.imagga.com/v1/tagging" querystring = {"content":data["uploaded"][0]["id"]}](https://files.speakerdeck.com/presentations/4abd39b744d44b3eacacfce3555a01be/slide_117.jpg)
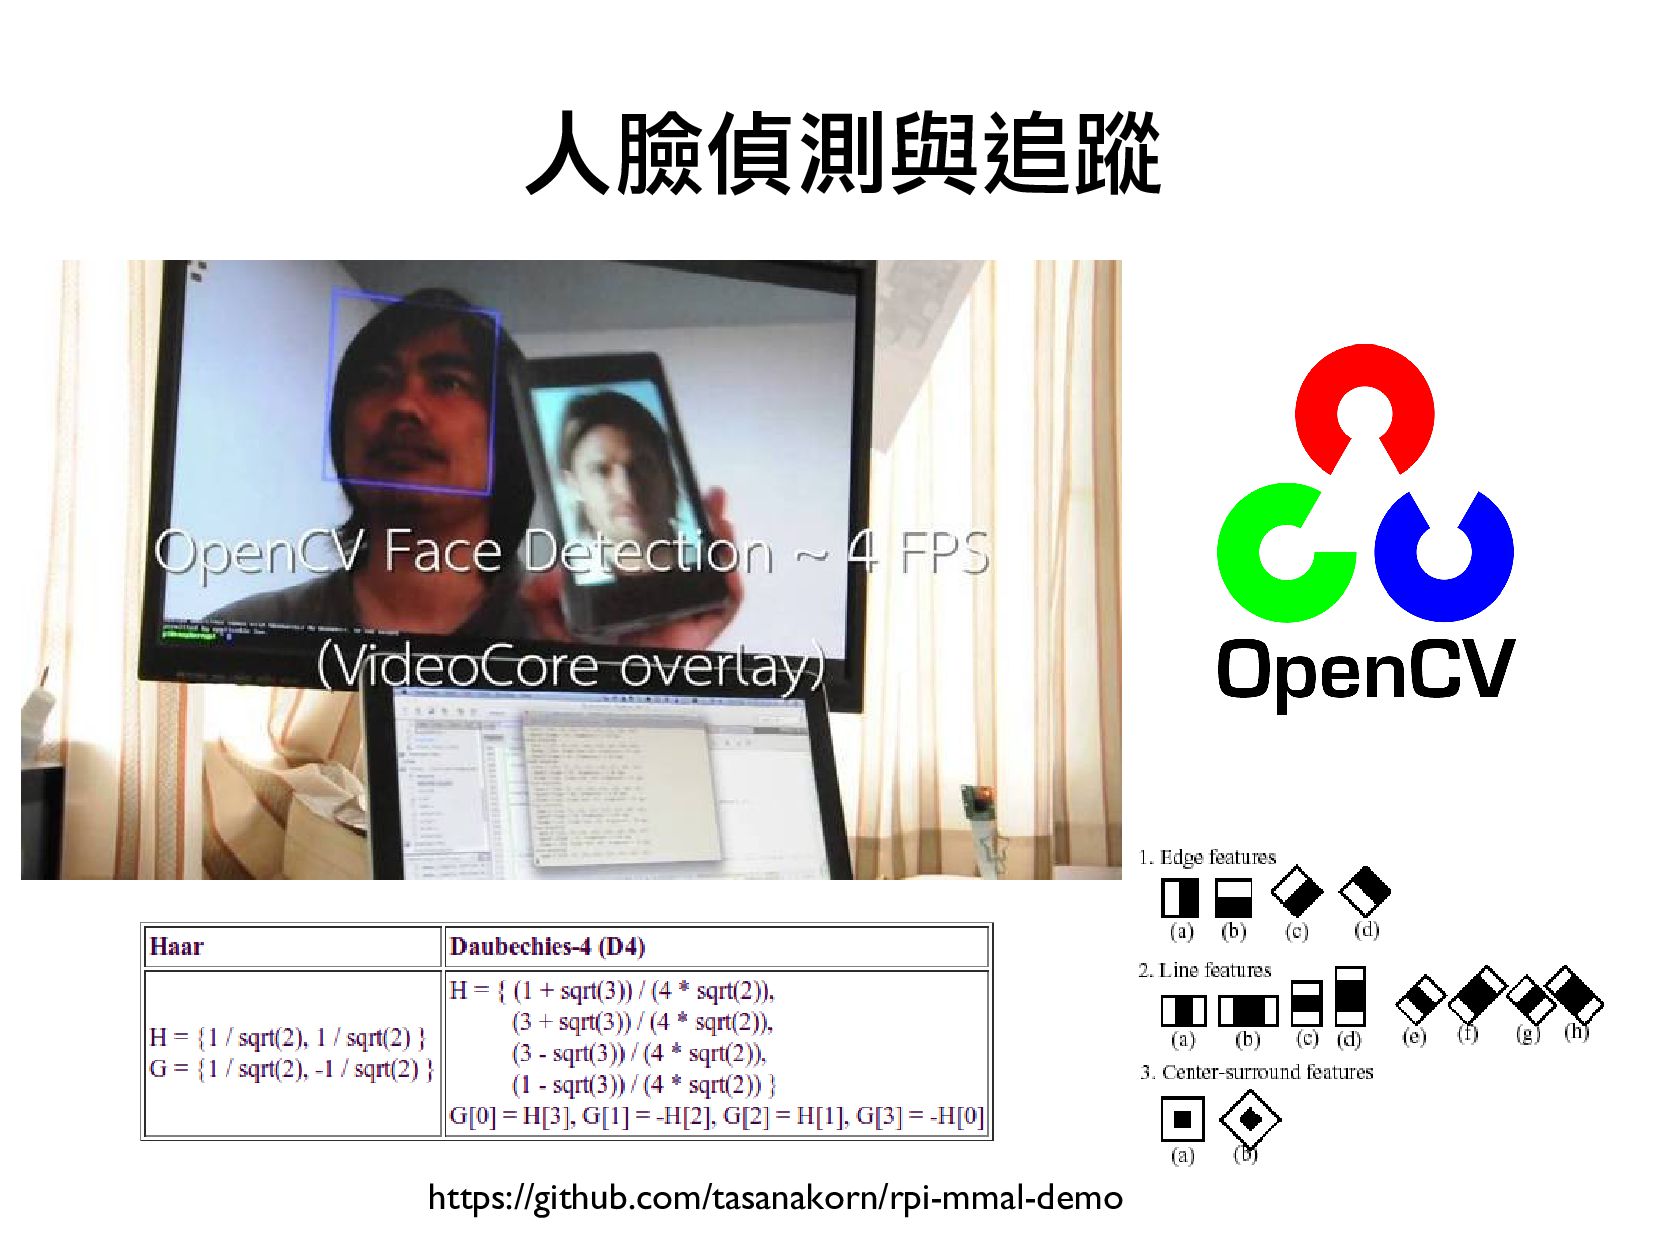
![import cv2 • import sys • imagePath = sys.argv[1] image](https://files.speakerdeck.com/presentations/4abd39b744d44b3eacacfce3555a01be/slide_127.jpg)