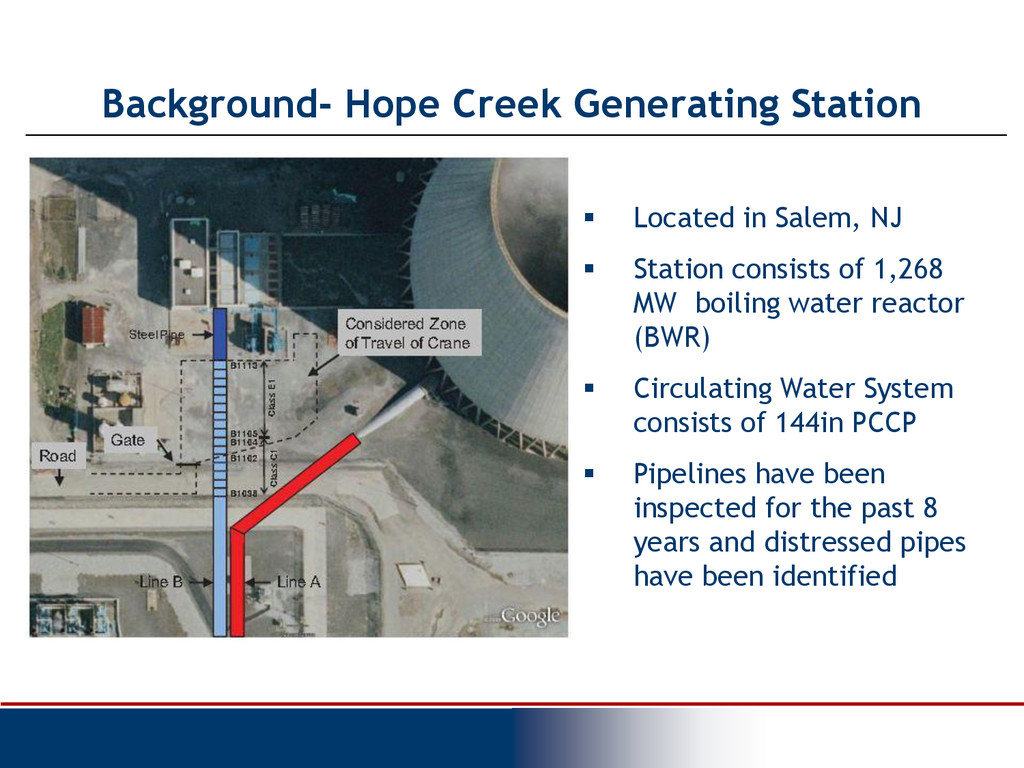
Station consists of 1,268 MW boiling water reactor (BWR) Circulating Water System consists of 144in PCCP Pipelines have been inspected for the past 8 years and distressed pipes have been identified
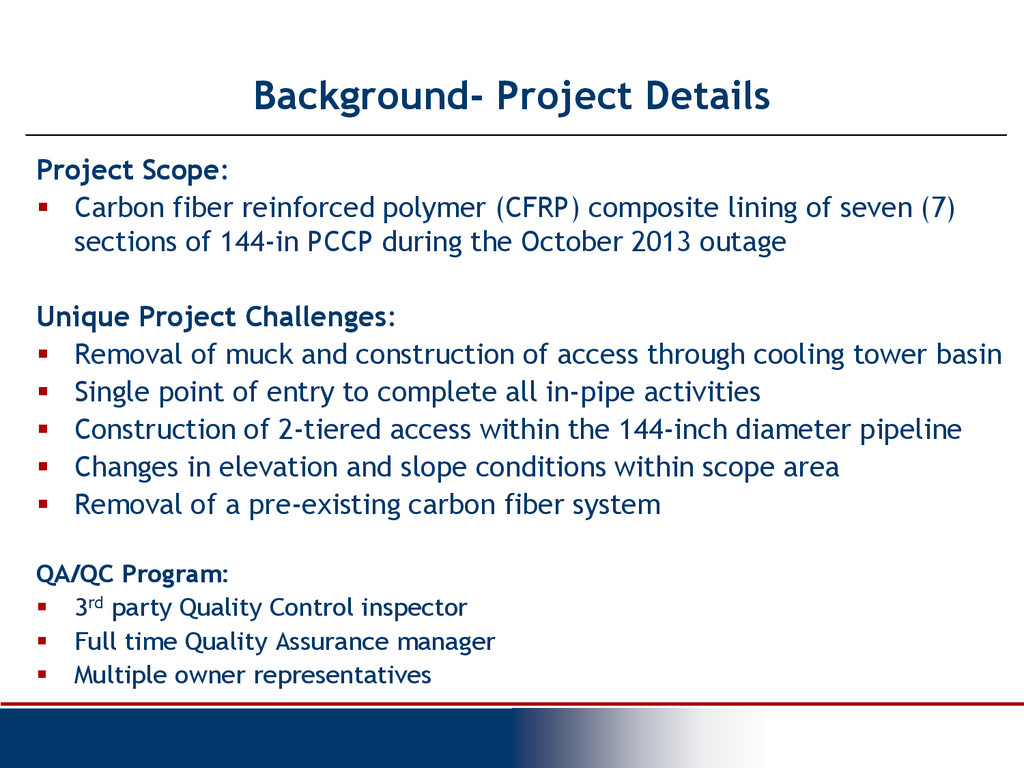
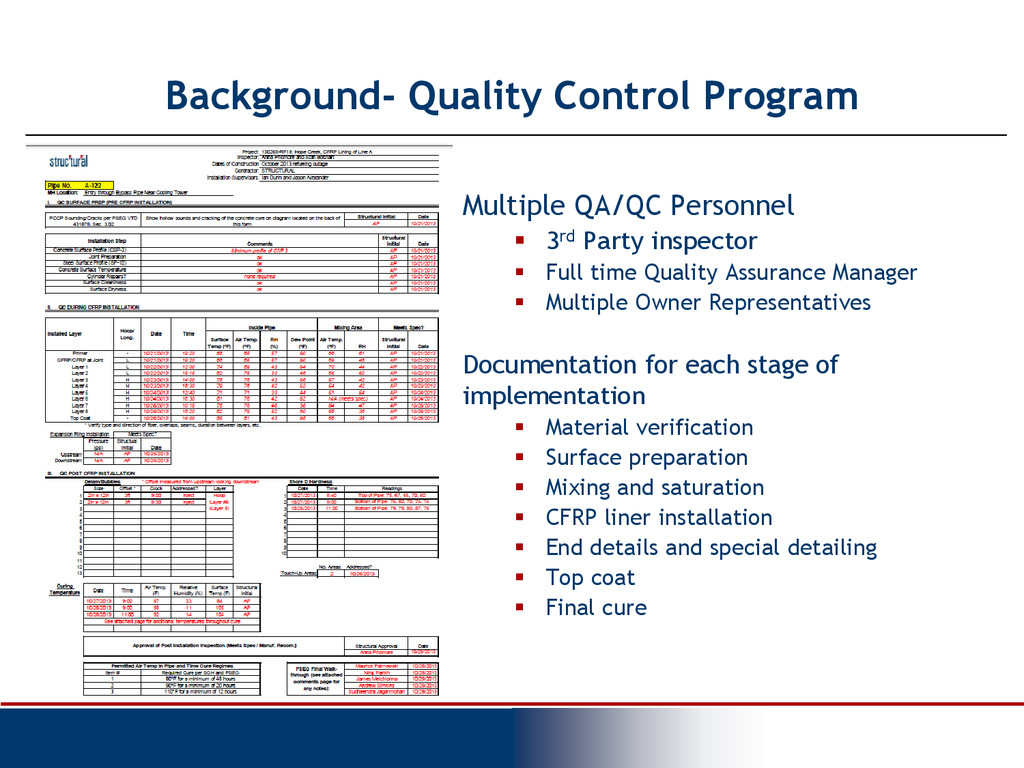
(CFRP) composite lining of seven (7) sections of 144-in PCCP during the October 2013 outage Unique Project Challenges: Removal of muck and construction of access through cooling tower basin Single point of entry to complete all in-pipe activities Construction of 2-tiered access within the 144-inch diameter pipeline Changes in elevation and slope conditions within scope area Removal of a pre-existing carbon fiber system QA/QC Program: 3rd party Quality Control inspector Full time Quality Assurance manager Multiple owner representatives
inspector Full time Quality Assurance Manager Multiple Owner Representatives Documentation for each stage of implementation Material verification Surface preparation Mixing and saturation CFRP liner installation End details and special detailing Top coat Final cure
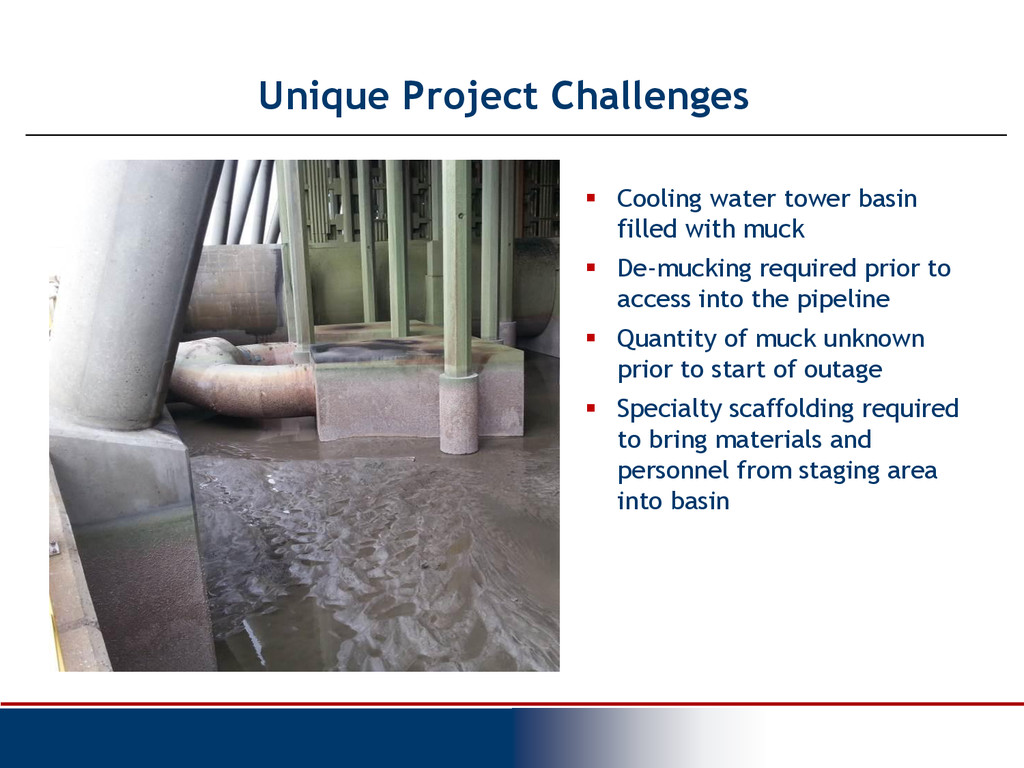
muck De-mucking required prior to access into the pipeline Quantity of muck unknown prior to start of outage Specialty scaffolding required to bring materials and personnel from staging area into basin
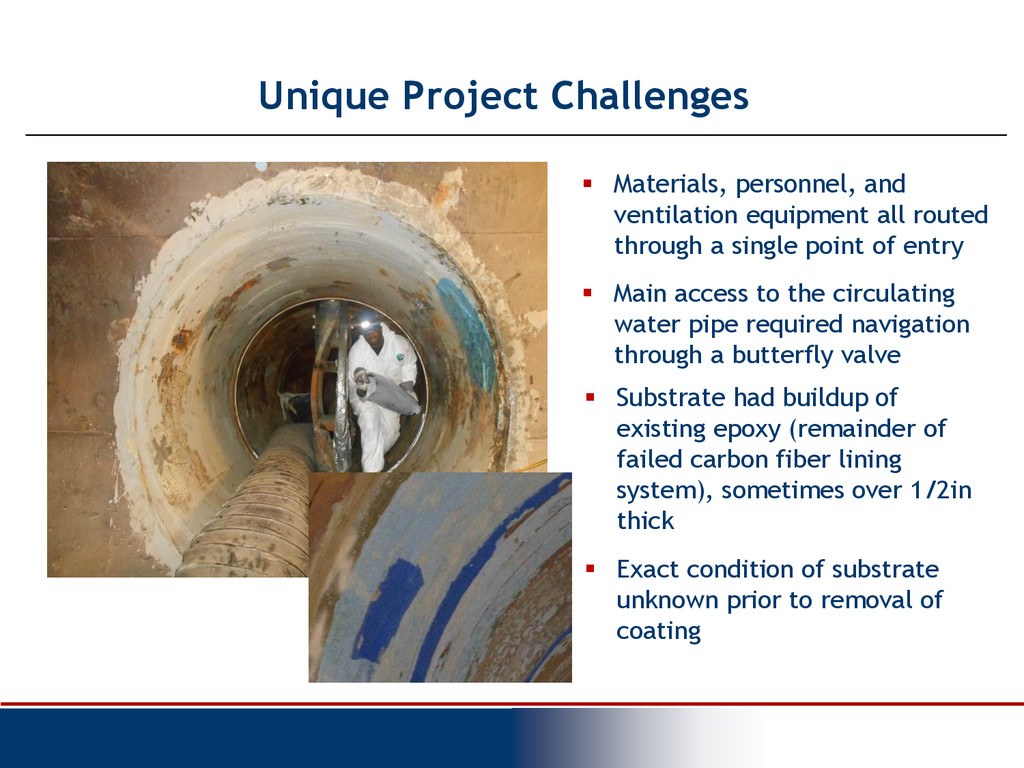
routed through a single point of entry Main access to the circulating water pipe required navigation through a butterfly valve Substrate had buildup of existing epoxy (remainder of failed carbon fiber lining system), sometimes over 1/2in thick Exact condition of substrate unknown prior to removal of coating
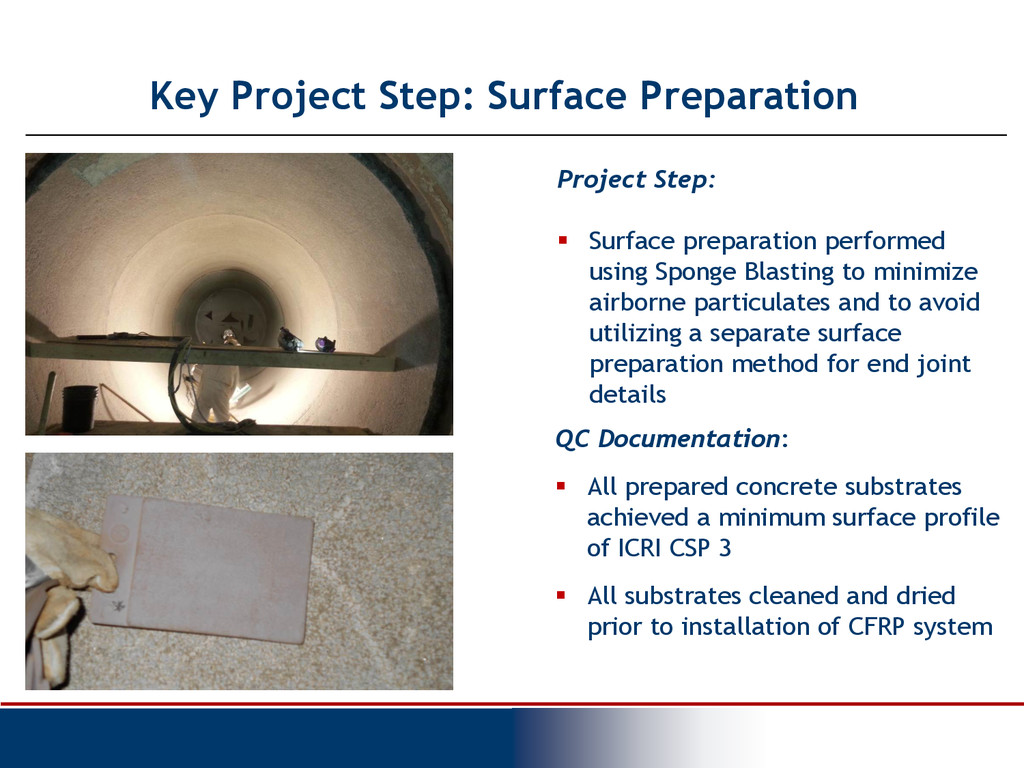
performed using Sponge Blasting to minimize airborne particulates and to avoid utilizing a separate surface preparation method for end joint details QC Documentation: All prepared concrete substrates achieved a minimum surface profile of ICRI CSP 3 All substrates cleaned and dried prior to installation of CFRP system
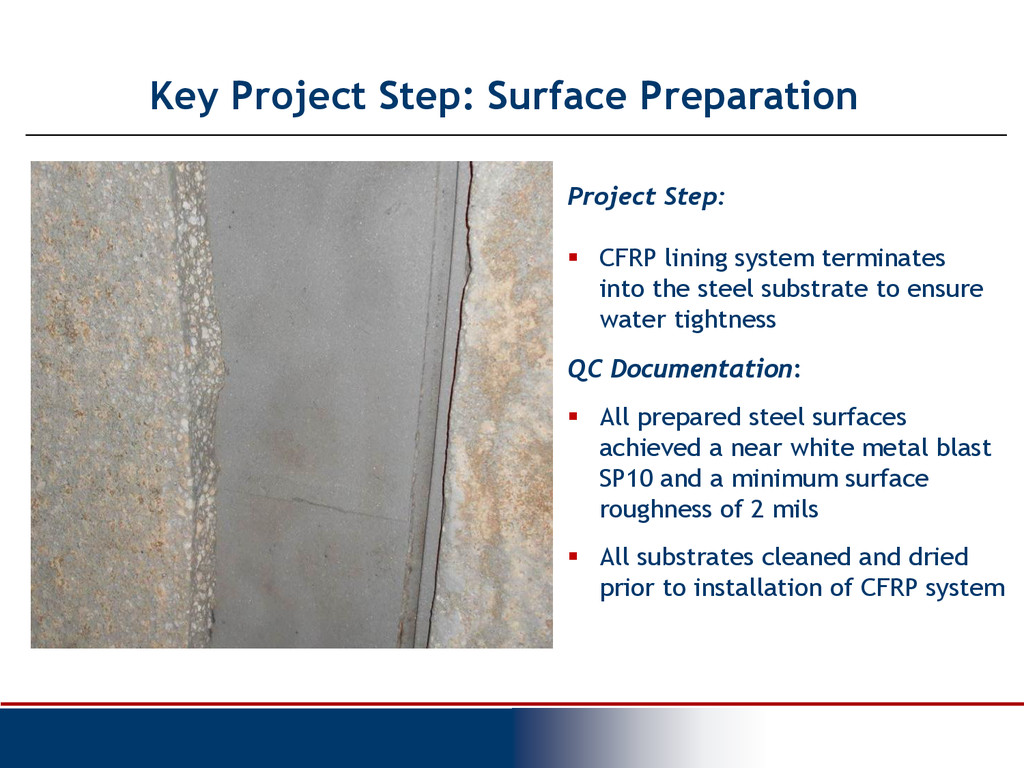
substrate to ensure water tightness QC Documentation: All prepared steel surfaces achieved a near white metal blast SP10 and a minimum surface roughness of 2 mils All substrates cleaned and dried prior to installation of CFRP system Key Project Step: Surface Preparation
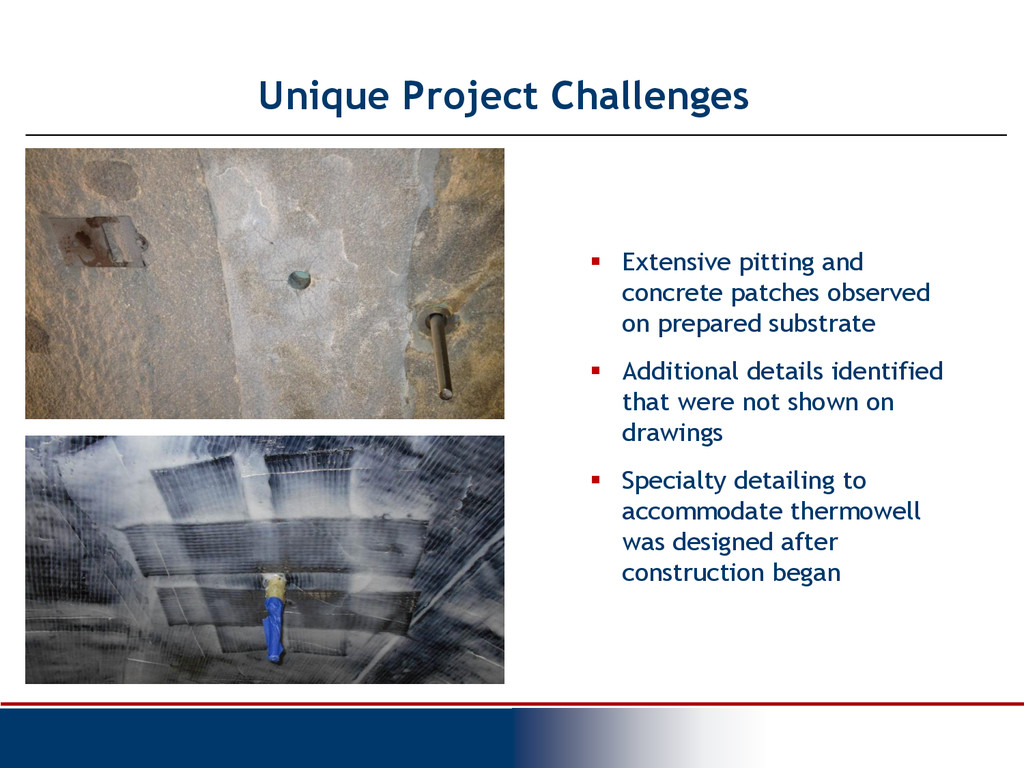
on prepared substrate Additional details identified that were not shown on drawings Specialty detailing to accommodate thermowell was designed after construction began
arrive on site in premeasured containers for part A and B components Designated mixing region is an isolated area to avoid material contamination Mechanical saturator ensures consistent application of epoxy to carbon fiber QC Documentation: Lot numbers of fabrics and epoxies are documented Gap between saturator rollers measured and calibrated using weigh test Weigh test verifies ratio of fabric to epoxy is within tolerance (1:1 for carbon fiber fabric, 0.8:1 for glass fiber fabric ±10%)
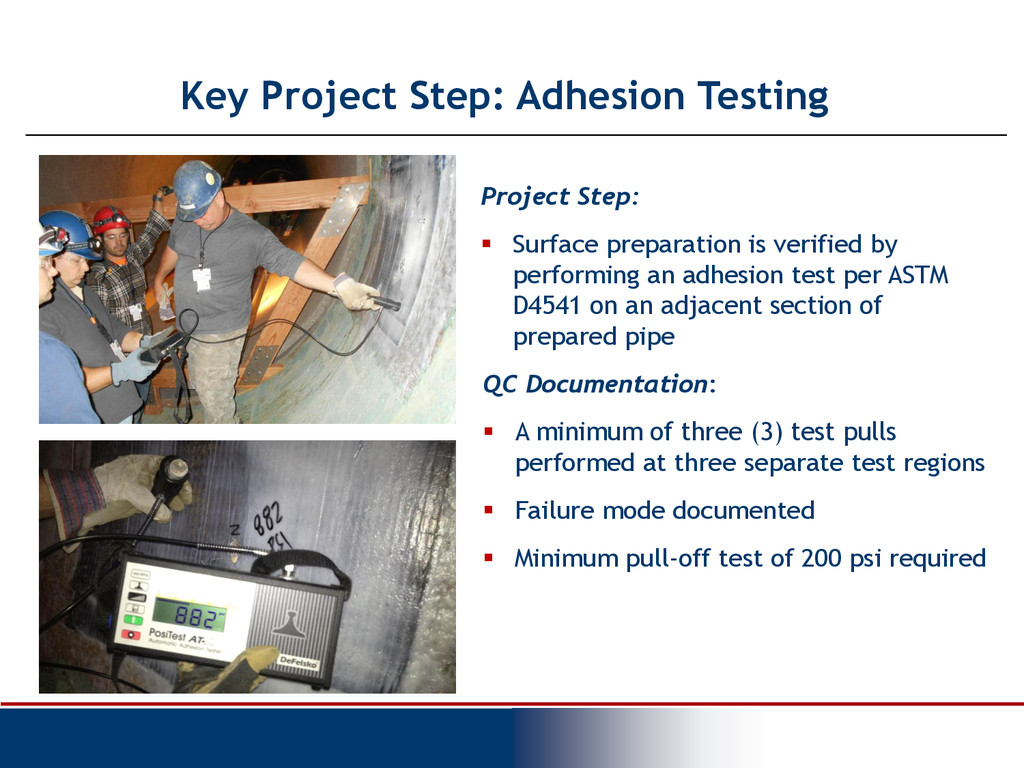
adhesion test per ASTM D4541 on an adjacent section of prepared pipe QC Documentation: A minimum of three (3) test pulls performed at three separate test regions Failure mode documented Minimum pull-off test of 200 psi required Key Project Step: Adhesion Testing
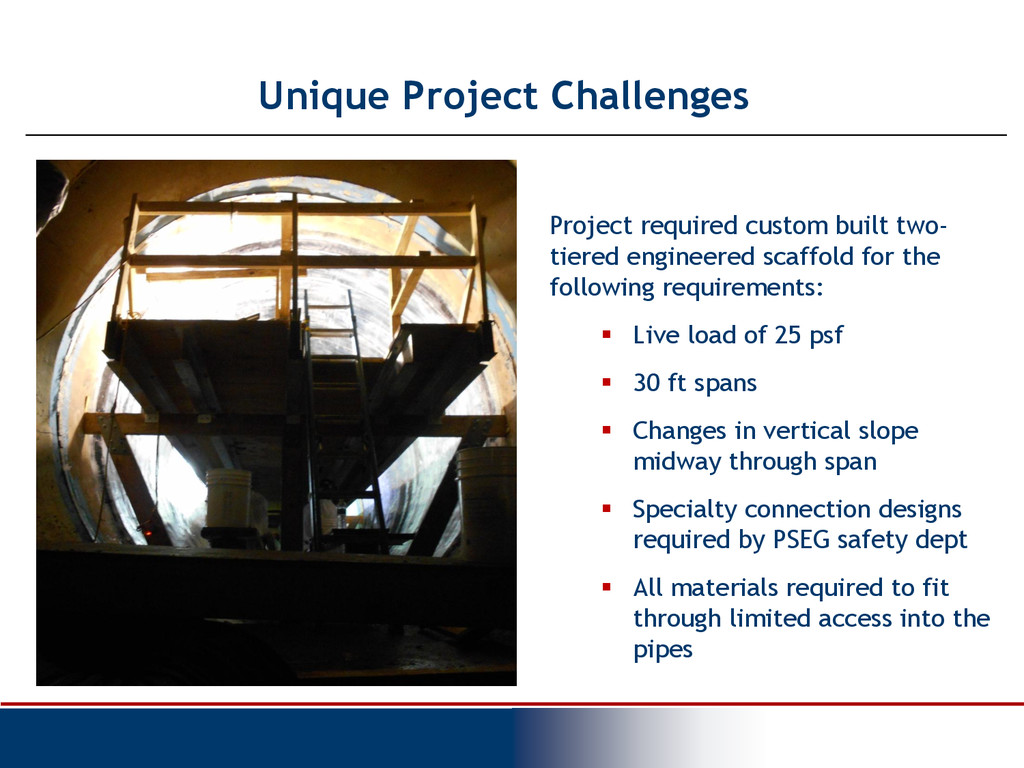
scaffold for the following requirements: Live load of 25 psf 30 ft spans Changes in vertical slope midway through span Specialty connection designs required by PSEG safety dept All materials required to fit through limited access into the pipes
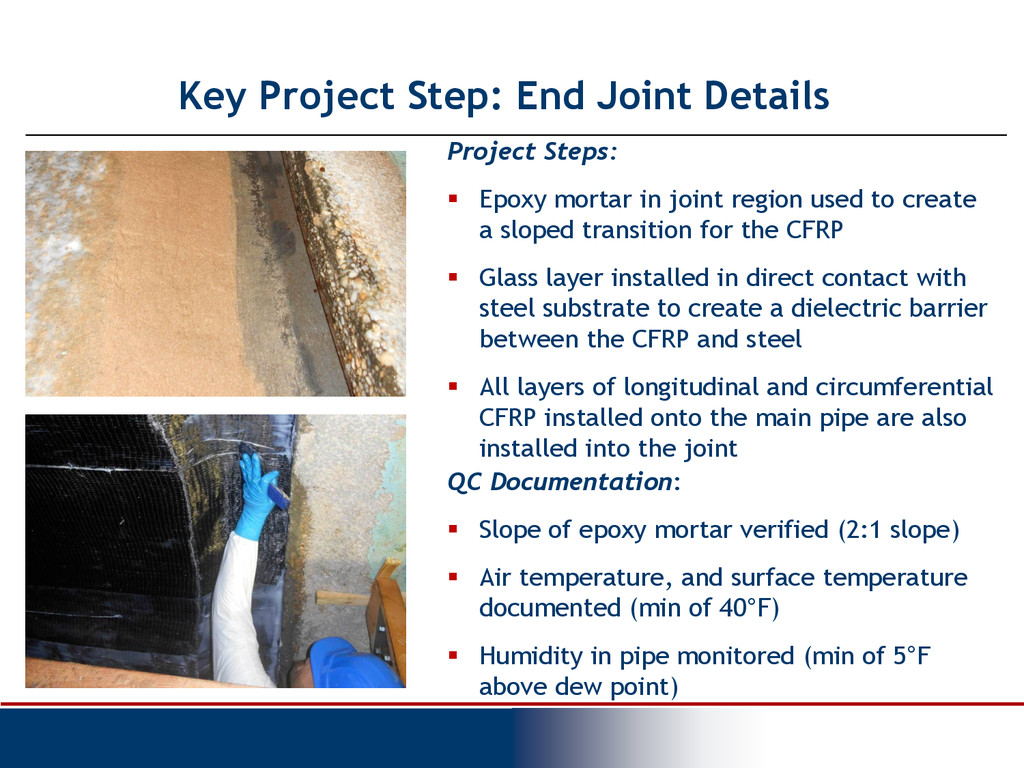
create a sloped transition for the CFRP Glass layer installed in direct contact with steel substrate to create a dielectric barrier between the CFRP and steel All layers of longitudinal and circumferential CFRP installed onto the main pipe are also installed into the joint QC Documentation: Slope of epoxy mortar verified (2:1 slope) Air temperature, and surface temperature documented (min of 40°F) Humidity in pipe monitored (min of 5°F above dew point) Key Project Step: End Joint Details
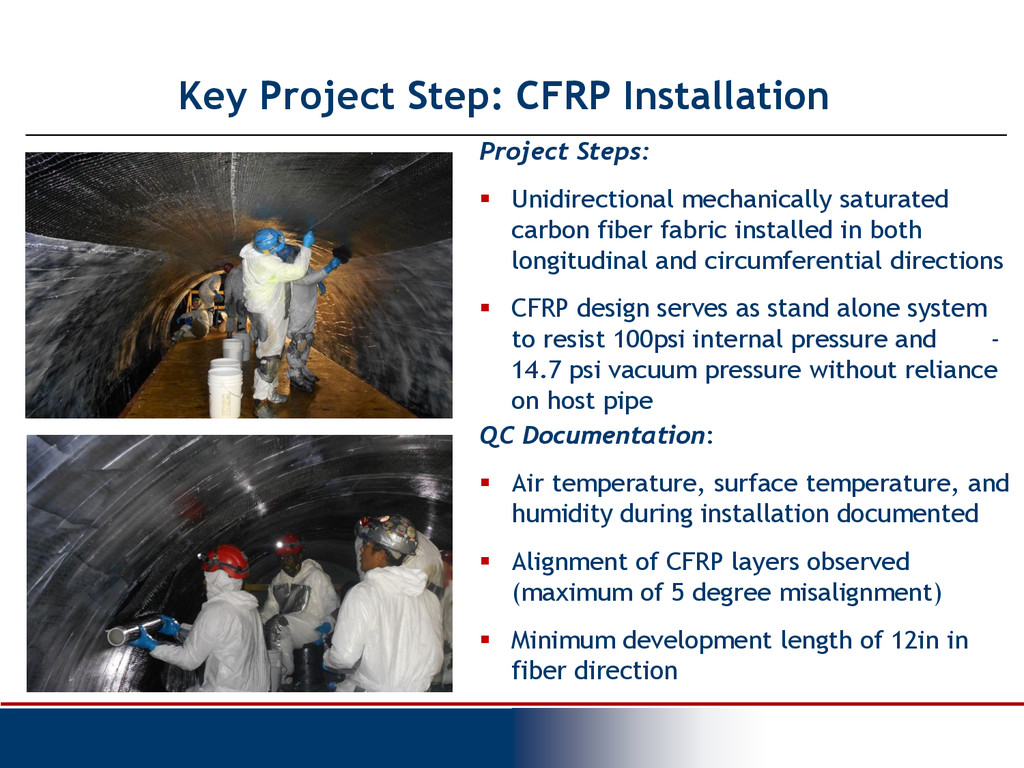
in both longitudinal and circumferential directions CFRP design serves as stand alone system to resist 100psi internal pressure and - 14.7 psi vacuum pressure without reliance on host pipe QC Documentation: Air temperature, surface temperature, and humidity during installation documented Alignment of CFRP layers observed (maximum of 5 degree misalignment) Minimum development length of 12in in fiber direction Key Project Step: CFRP Installation
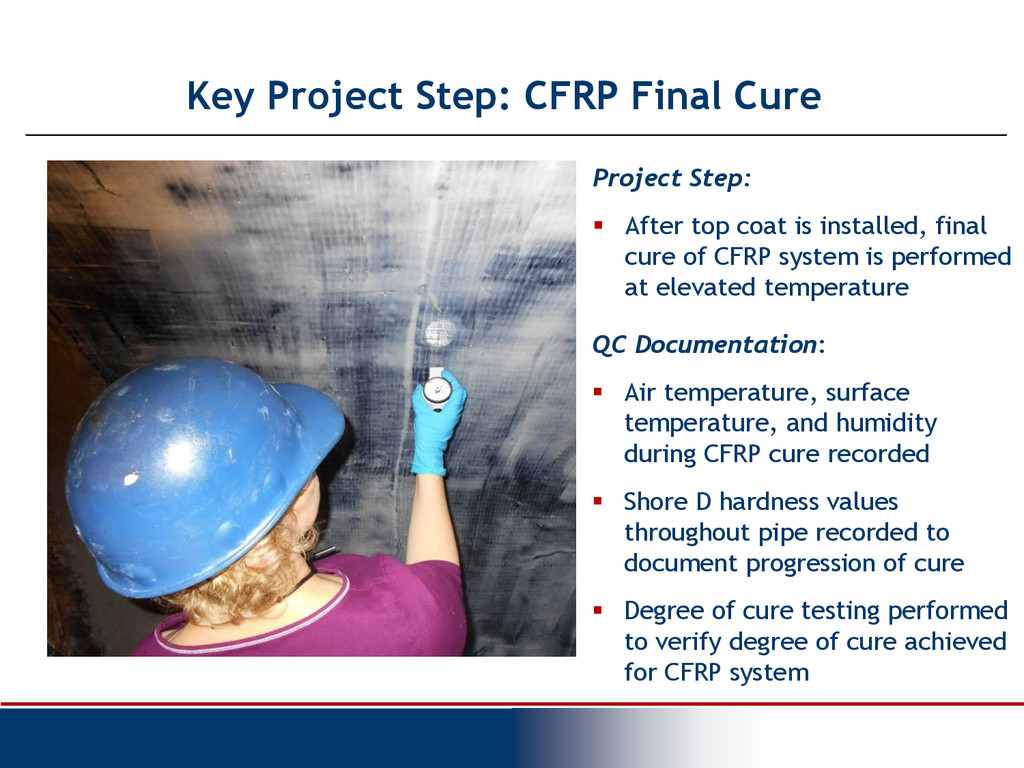
top coat is installed, final cure of CFRP system is performed at elevated temperature QC Documentation: Air temperature, surface temperature, and humidity during CFRP cure recorded Shore D hardness values throughout pipe recorded to document progression of cure Degree of cure testing performed to verify degree of cure achieved for CFRP system
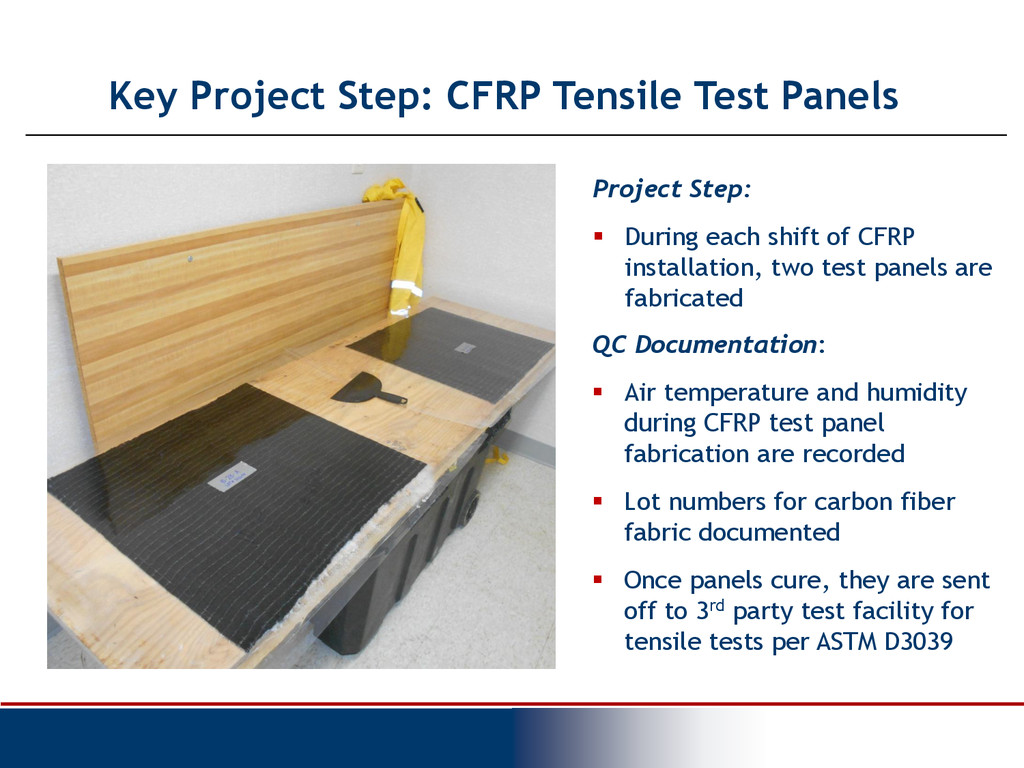
During each shift of CFRP installation, two test panels are fabricated QC Documentation: Air temperature and humidity during CFRP test panel fabrication are recorded Lot numbers for carbon fiber fabric documented Once panels cure, they are sent off to 3rd party test facility for tensile tests per ASTM D3039
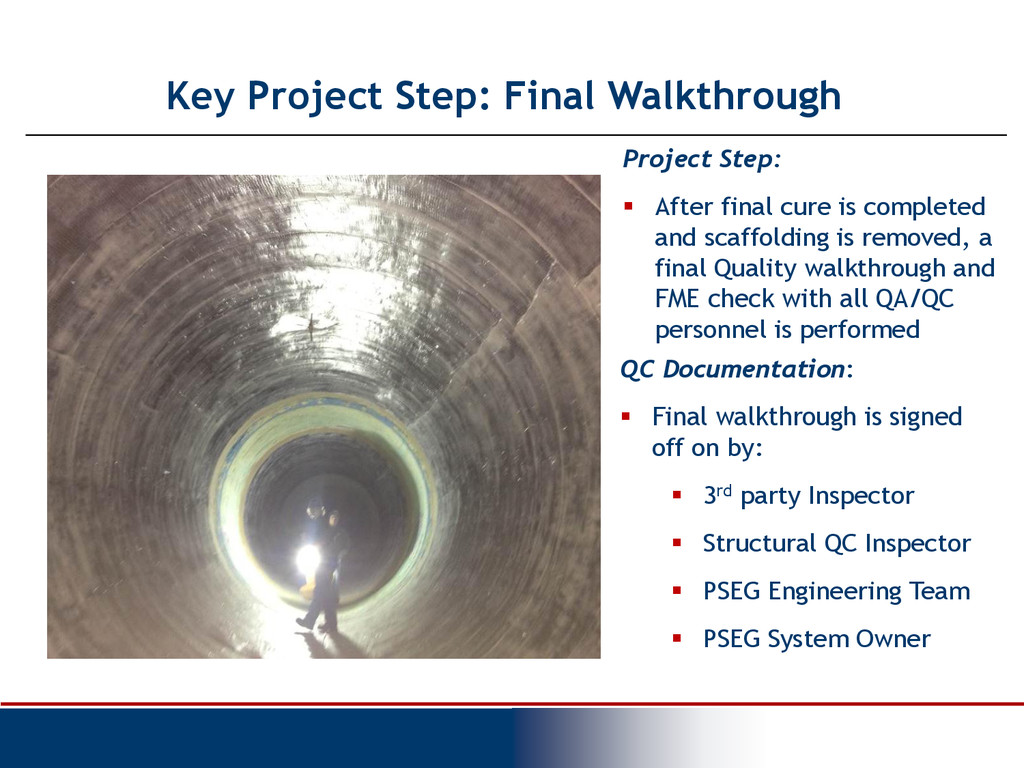
cure is completed and scaffolding is removed, a final Quality walkthrough and FME check with all QA/QC personnel is performed QC Documentation: Final walkthrough is signed off on by: 3rd party Inspector Structural QC Inspector PSEG Engineering Team PSEG System Owner


 structural
 masakiokuda
 terasawat
 doratex
 naochim2026
 hiola
hiola
 drpoonamkc
 uranoken
 juanmartin2026
 ainischool
 matleenalaakso
 notwaldorf
 morganepeng
 jlugia
 maltzj
 eileencodes
 ipullrank
 tomoyanonymous
 inesmontani
 samlambert
 emna__ayadi
 3n
3n