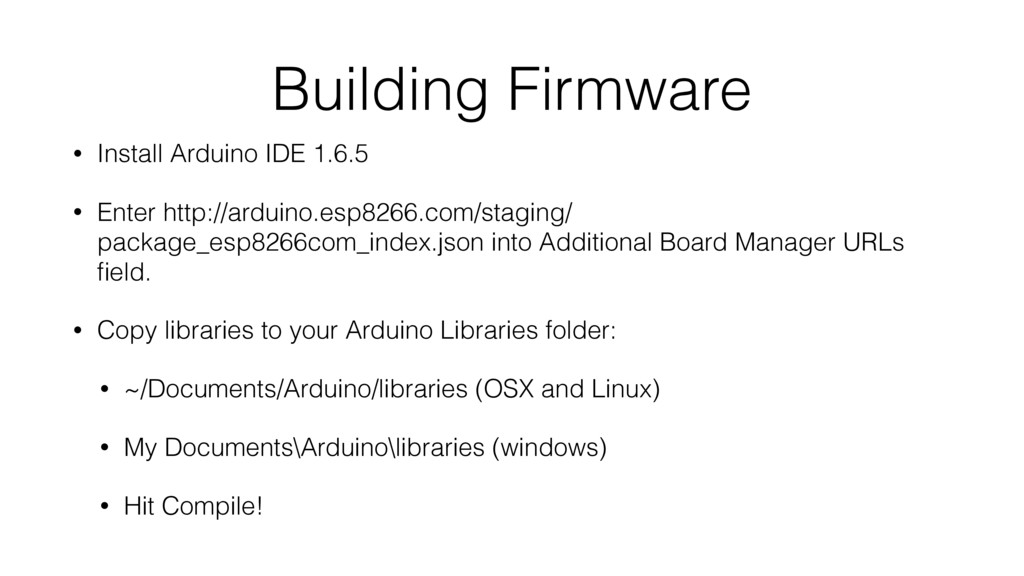
package_esp8266com_index.json into Additional Board Manager URLs field. • Copy libraries to your Arduino Libraries folder: • ~/Documents/Arduino/libraries (OSX and Linux) • My Documents\Arduino\libraries (windows) • Hit Compile!
product, serial could be printed on a screen. • No hard coded SSID / Password • No hard coded MQTT URL and credentials. • Simple • Encapsulate some of the hard stuff
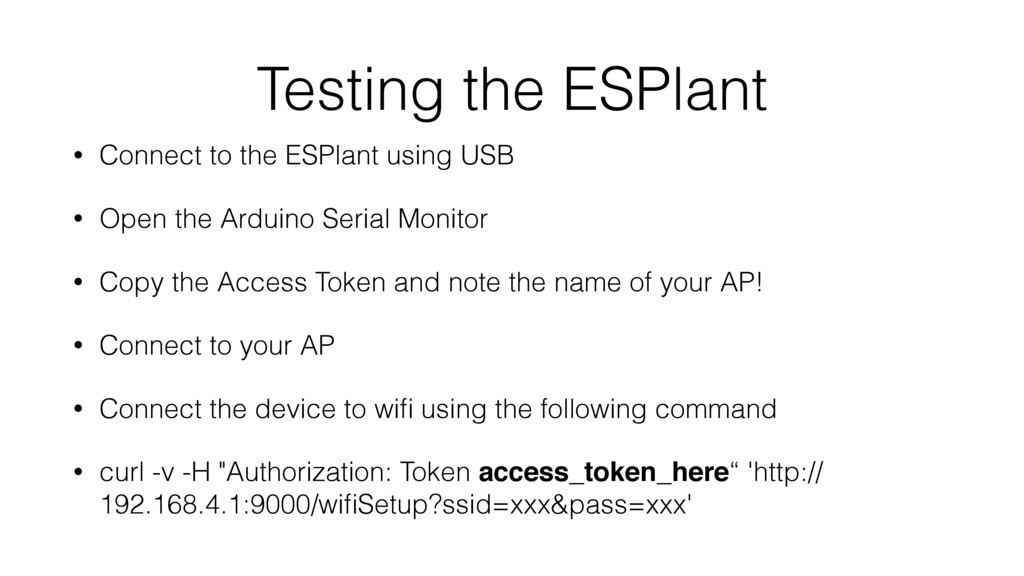
• Open the Arduino Serial Monitor • Copy the Access Token and note the name of your AP! • Connect to your AP • Connect the device to wifi using the following command • curl -v -H "Authorization: Token access_token_here“ 'http:// 192.168.4.1:9000/wifiSetup?ssid=xxx&pass=xxx'
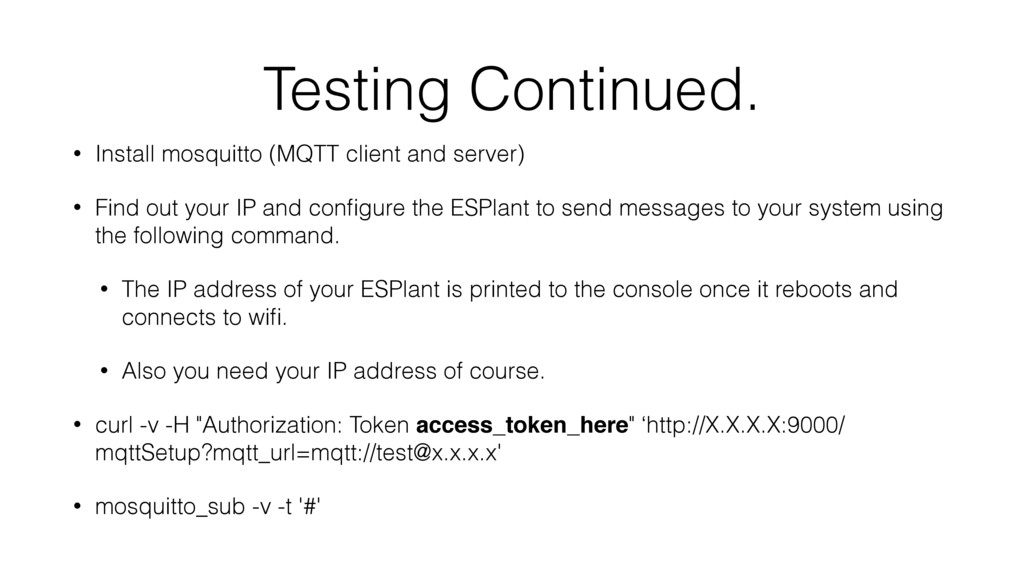
Find out your IP and configure the ESPlant to send messages to your system using the following command. • The IP address of your ESPlant is printed to the console once it reboots and connects to wifi. • Also you need your IP address of course. • curl -v -H "Authorization: Token access_token_here" ‘http://X.X.X.X:9000/ mqttSetup?mqtt_url=mqtt://[email protected]' • mosquitto_sub -v -t '#'