Upgrade to Pro
— share decks privately, control downloads, hide ads and more …
Speaker Deck
Features
Speaker Deck
PRO
Sign in
Sign up for free
Search
Search
コンテナ起動への道
Search
xorphitus
August 16, 2016
Programming
170
0
Share
Embed
Copy iframe code
Copy JS code
Copy link
Start on current slide
コンテナ起動への道
コンテナの要素技術を使ってみました。
xorphitus
August 16, 2016
More Decks by xorphitus
See All by xorphitus
オリジナリティのあるGitLabを標準に近づける
xorphitus
1
790
マイクロサービスを作ろう
xorphitus
0
150
型システムを学ぼうとした結果
xorphitus
0
79
M-x doctor
xorphitus
0
170
型で数を表そう
xorphitus
0
110
AOT と direct linking
xorphitus
0
85
CFS入門
xorphitus
0
87
HyperLogLog
xorphitus
0
130
immutable database
xorphitus
0
320
Other Decks in Programming
See All in Programming
ソフトウェア設計に溶けるインフラ ― AWS CDK のインフラ認識論
konokenj
3
650
Haskell/Servantを通してWebミドルウェアを捉え直す
pizzacat83
1
610
Generative UI & AI-Assistants for Your Angular Solutions
manfredsteyer
PRO
1
230
ここ半年くらいでAIに作らせたR用ツール
eitsupi
0
250
壊れたパーサから始める関数型設計と構成的なパーサ #fp_matsuri
raiga0310
2
400
php-fpmのプロセスが枯渇した日-調査・対処・そして本当にやるべきだったこと-
shibuchaaaan
0
140
PHPだって関数型したい 〜できること、できないこと〜 / fp-in-php
jsoizo
1
250
AI時代の仕事技芸論〜ソフトウェア開発で「遊ぶように働く」職人的熟達のすすめ(スクフェス仙台 2026バージョン)
kuranuki
0
730
Welcome to the "Parametricity" 🏙️ − Generic だけど Specific な世界 −
guvalif
PRO
1
180
アルゴリズムは何を圧縮しているのか ─ Haskell から育った「圧縮代数」というメンタルモデル
naoya
16
3.6k
FDEが実現するAI駆動経営の現在地
gonta
2
220
全PRの83%がAIレビューだけでマージできるようになった開発組織はその後どうなったか
athug
0
440
Featured
See All Featured
How to Grow Your eCommerce with AI & Automation
katarinadahlin
PRO
1
230
SERP Conf. Vienna - Web Accessibility: Optimizing for Inclusivity and SEO
sarafernandez
2
1.5k
The Illustrated Children's Guide to Kubernetes
chrisshort
51
53k
Prompt Engineering for Job Search
mfonobong
0
380
Optimising Largest Contentful Paint
csswizardry
37
3.8k
Max Prin - Stacking Signals: How International SEO Comes Together (And Falls Apart)
techseoconnect
PRO
0
320
How to Build an AI Search Optimization Roadmap - Criteria and Steps to Take #SEOIRL
aleyda
1
2.1k
Paper Plane (Part 1)
katiecoart
PRO
1
9.8k
SEO Brein meetup: CTRL+C is not how to scale international SEO
lindahogenes
1
2.8k
Test your architecture with Archunit
thirion
1
2.3k
The SEO Collaboration Effect
kristinabergwall1
1
510
Leadership Guide Workshop - DevTernity 2021
reverentgeek
1
330
Transcript
コンテナ起動への道 @xorhitus (2016-08)
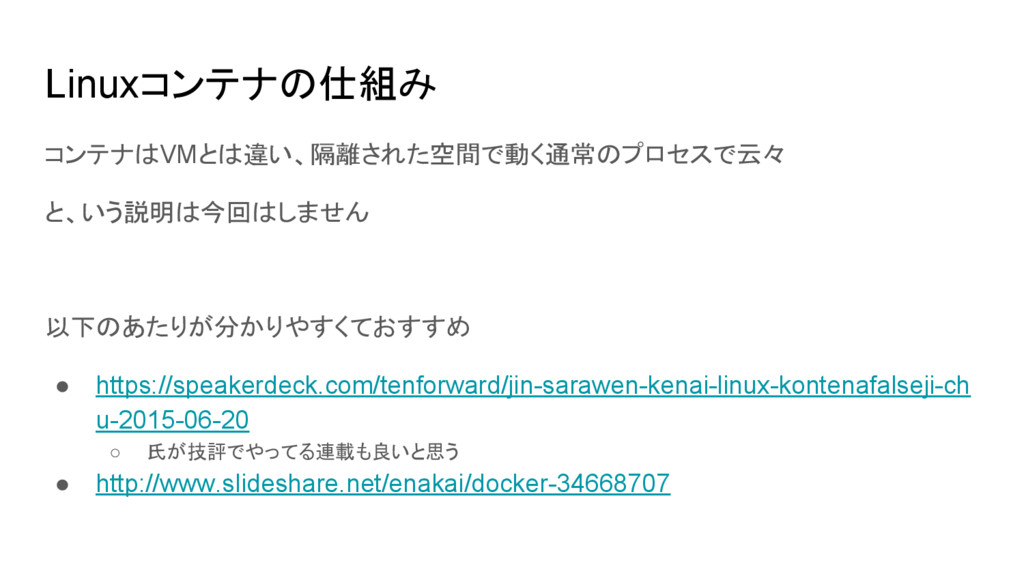
Linuxコンテナの仕組み コンテナはVMとは違い、隔離された空間で動く通常のプロセスで云々 と、いう説明は今回はしません 以下のあたりが分かりやすくておすすめ • https://speakerdeck.com/tenforward/jin-sarawen-kenai-linux-kontenafalseji-ch u-2015-06-20 ◦ 氏が技評でやってる連載も良いと思う •
http://www.slideshare.net/enakai/docker-34668707
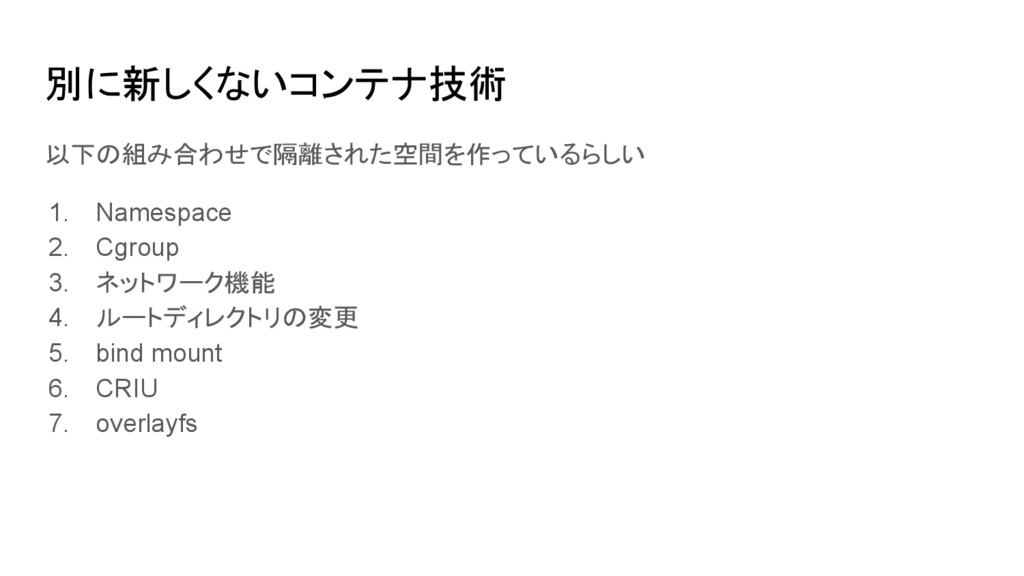
別に新しくないコンテナ技術 以下の組み合わせで隔離された空間を作っているらしい 1. Namespace 2. Cgroup 3. ネットワーク機能 4. ルートディレクトリの変更
5. bind mount 6. CRIU 7. overlayfs
よし、流行ってるし コンテナを立ち上げてみよう
$ docker run
Dockerは甘え $ docker run
まずはNamespaceから
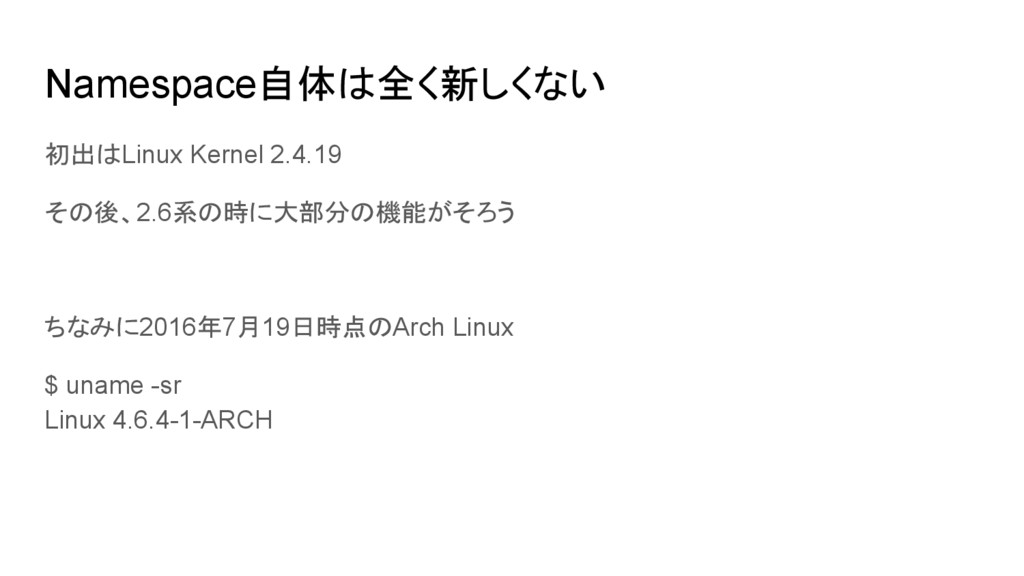
Namespace自体は全く新しくない 初出はLinux Kernel 2.4.19 その後、2.6系の時に大部分の機能がそろう ちなみに2016年7月19日時点のArch Linux $ uname -sr
Linux 4.6.4-1-ARCH
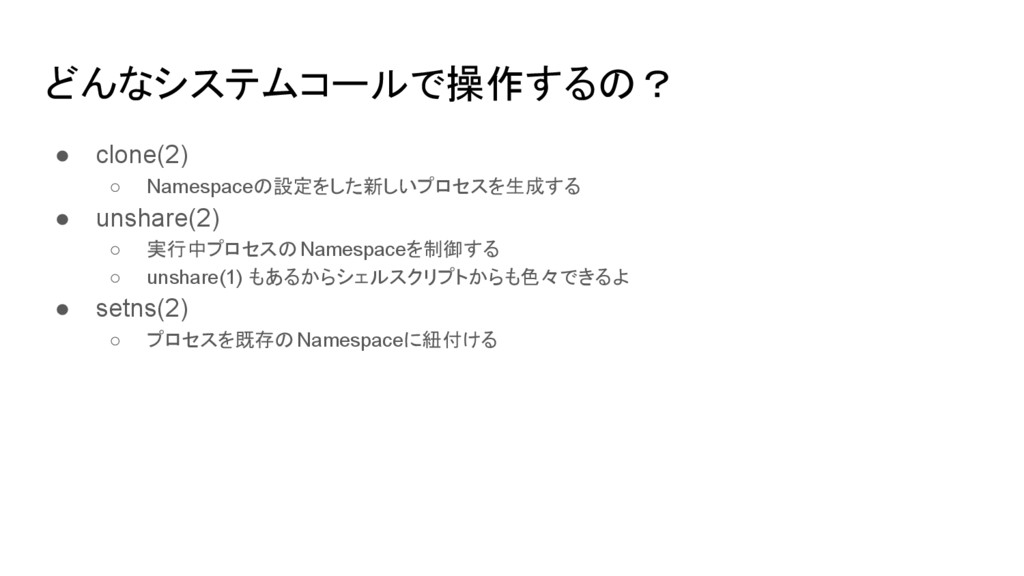
どんなシステムコールで操作するの? • clone(2) ◦ Namespaceの設定をした新しいプロセスを生成する • unshare(2) ◦ 実行中プロセスのNamespaceを制御する ◦
unshare(1) もあるからシェルスクリプトからも色々できるよ • setns(2) ◦ プロセスを既存のNamespaceに紐付ける
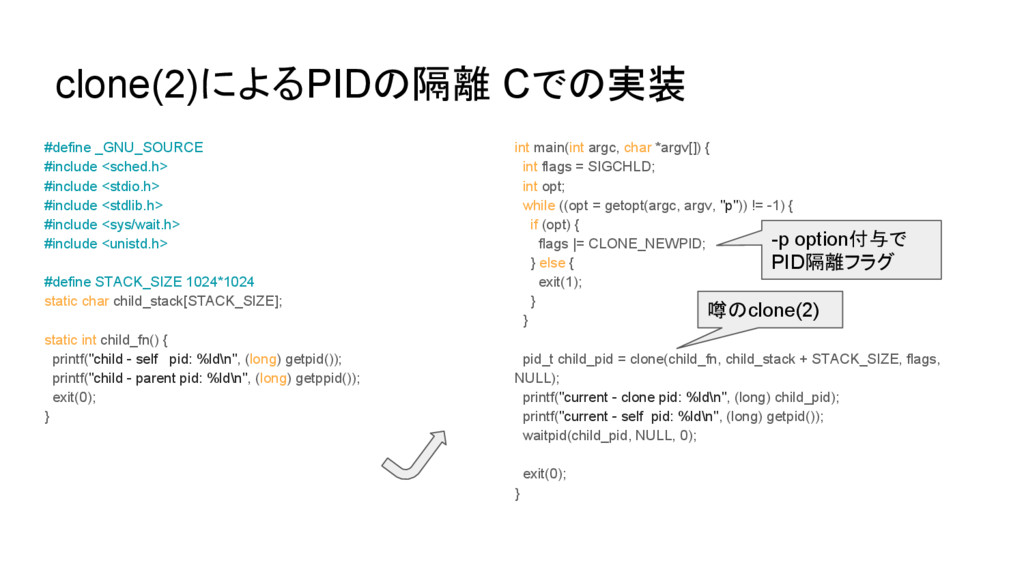
clone(2)によるPIDの隔離 Cでの実装 #define _GNU_SOURCE #include <sched.h> #include <stdio.h> #include <stdlib.h>
#include <sys/wait.h> #include <unistd.h> #define STACK_SIZE 1024*1024 static char child_stack[STACK_SIZE]; static int child_fn() { printf("child - self pid: %ld\n", (long) getpid()); printf("child - parent pid: %ld\n", (long) getppid()); exit(0); } int main(int argc, char *argv[]) { int flags = SIGCHLD; int opt; while ((opt = getopt(argc, argv, "p")) != -1) { if (opt) { flags |= CLONE_NEWPID; } else { exit(1); } } pid_t child_pid = clone(child_fn, child_stack + STACK_SIZE, flags, NULL); printf("current - clone pid: %ld\n", (long) child_pid); printf("current - self pid: %ld\n", (long) getpid()); waitpid(child_pid, NULL, 0); exit(0); } -p option付与で PID隔離フラグ 噂のclone(2)
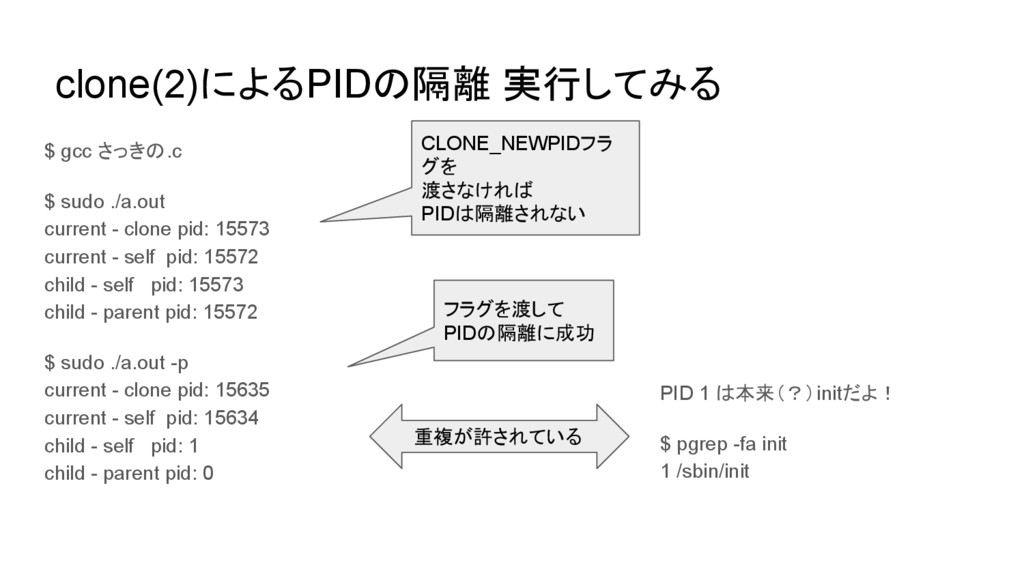
clone(2)によるPIDの隔離 実行してみる $ gcc さっきの.c $ sudo ./a.out current -
clone pid: 15573 current - self pid: 15572 child - self pid: 15573 child - parent pid: 15572 $ sudo ./a.out -p current - clone pid: 15635 current - self pid: 15634 child - self pid: 1 child - parent pid: 0 CLONE_NEWPIDフラ グを 渡さなければ PIDは隔離されない フラグを渡して PIDの隔離に成功 PID 1 は本来(?)initだよ! $ pgrep -fa init 1 /sbin/init 重複が許されている
Namespaceの情報ってどこにあるの? /proc/[pid]/ns にある 先ほどのプログラムを少し変更して、上記のパスを見てみる static int child_fn() { printf("child -
self pid: %ld\n", (long) getpid()); printf("child - parent pid: %ld\n", (long) getppid()); // この sleep を追記 (せっかくなのでC99スタイル) // ここで止まっている間に /proc/[pid]/ns を ls する作戦 (プログラム中で ls 呼べばいいとか言わないこと) sleep(100); exit(0); }
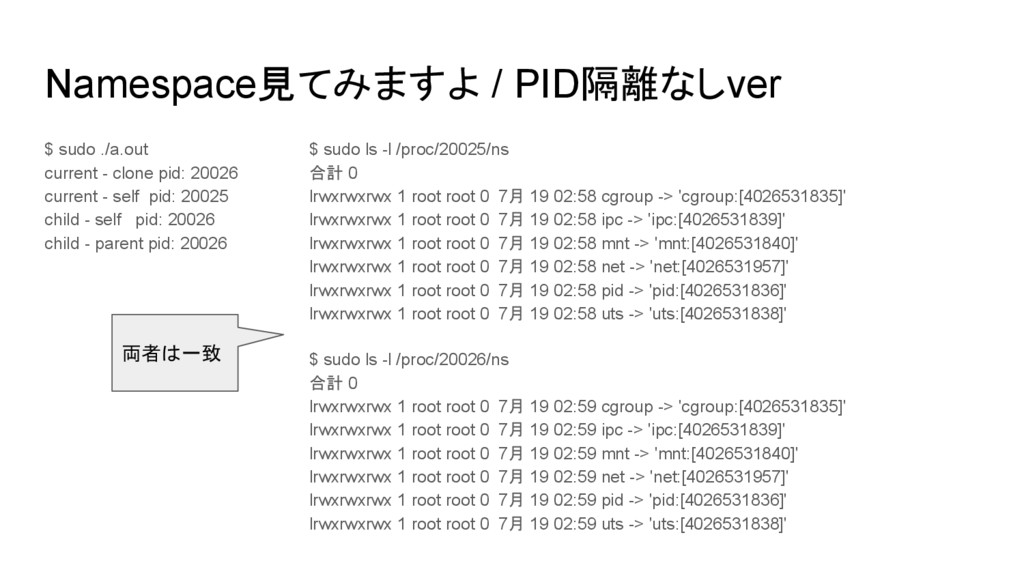
Namespace見てみますよ / PID隔離なしver $ sudo ./a.out current - clone pid:
20026 current - self pid: 20025 child - self pid: 20026 child - parent pid: 20026 $ sudo ls -l /proc/20025/ns 合計 0 lrwxrwxrwx 1 root root 0 7月 19 02:58 cgroup -> 'cgroup:[4026531835]' lrwxrwxrwx 1 root root 0 7月 19 02:58 ipc -> 'ipc:[4026531839]' lrwxrwxrwx 1 root root 0 7月 19 02:58 mnt -> 'mnt:[4026531840]' lrwxrwxrwx 1 root root 0 7月 19 02:58 net -> 'net:[4026531957]' lrwxrwxrwx 1 root root 0 7月 19 02:58 pid -> 'pid:[4026531836]' lrwxrwxrwx 1 root root 0 7月 19 02:58 uts -> 'uts:[4026531838]' $ sudo ls -l /proc/20026/ns 合計 0 lrwxrwxrwx 1 root root 0 7月 19 02:59 cgroup -> 'cgroup:[4026531835]' lrwxrwxrwx 1 root root 0 7月 19 02:59 ipc -> 'ipc:[4026531839]' lrwxrwxrwx 1 root root 0 7月 19 02:59 mnt -> 'mnt:[4026531840]' lrwxrwxrwx 1 root root 0 7月 19 02:59 net -> 'net:[4026531957]' lrwxrwxrwx 1 root root 0 7月 19 02:59 pid -> 'pid:[4026531836]' lrwxrwxrwx 1 root root 0 7月 19 02:59 uts -> 'uts:[4026531838]' 両者は一致
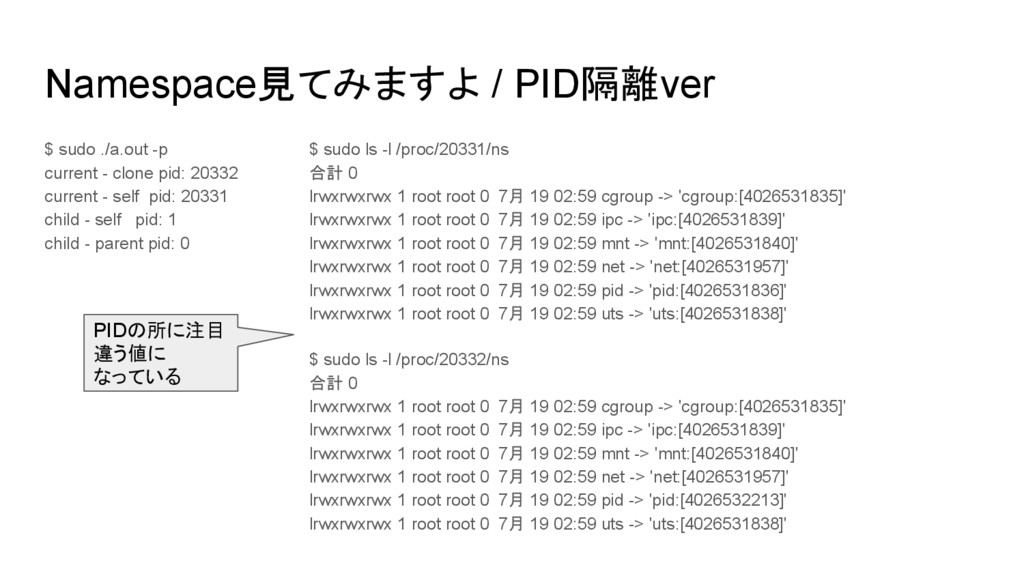
Namespace見てみますよ / PID隔離ver $ sudo ./a.out -p current - clone
pid: 20332 current - self pid: 20331 child - self pid: 1 child - parent pid: 0 $ sudo ls -l /proc/20331/ns 合計 0 lrwxrwxrwx 1 root root 0 7月 19 02:59 cgroup -> 'cgroup:[4026531835]' lrwxrwxrwx 1 root root 0 7月 19 02:59 ipc -> 'ipc:[4026531839]' lrwxrwxrwx 1 root root 0 7月 19 02:59 mnt -> 'mnt:[4026531840]' lrwxrwxrwx 1 root root 0 7月 19 02:59 net -> 'net:[4026531957]' lrwxrwxrwx 1 root root 0 7月 19 02:59 pid -> 'pid:[4026531836]' lrwxrwxrwx 1 root root 0 7月 19 02:59 uts -> 'uts:[4026531838]' $ sudo ls -l /proc/20332/ns 合計 0 lrwxrwxrwx 1 root root 0 7月 19 02:59 cgroup -> 'cgroup:[4026531835]' lrwxrwxrwx 1 root root 0 7月 19 02:59 ipc -> 'ipc:[4026531839]' lrwxrwxrwx 1 root root 0 7月 19 02:59 mnt -> 'mnt:[4026531840]' lrwxrwxrwx 1 root root 0 7月 19 02:59 net -> 'net:[4026531957]' lrwxrwxrwx 1 root root 0 7月 19 02:59 pid -> 'pid:[4026532213]' lrwxrwxrwx 1 root root 0 7月 19 02:59 uts -> 'uts:[4026531838]' PIDの所に注目 違う値に なっている
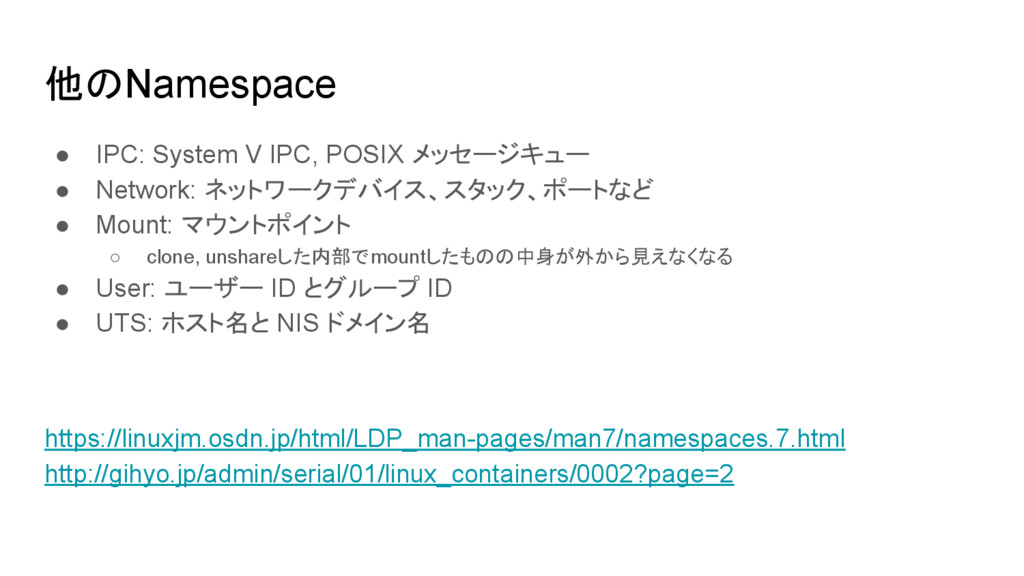
他のNamespace • IPC: System V IPC, POSIX メッセージキュー • Network:
ネットワークデバイス、スタック、ポートなど • Mount: マウントポイント ◦ clone, unshareした内部でmountしたものの中身が外から見えなくなる • User: ユーザー ID とグループ ID • UTS: ホスト名と NIS ドメイン名 https://linuxjm.osdn.jp/html/LDP_man-pages/man7/namespaces.7.html http://gihyo.jp/admin/serial/01/linux_containers/0002?page=2
とりあえず次、chroot
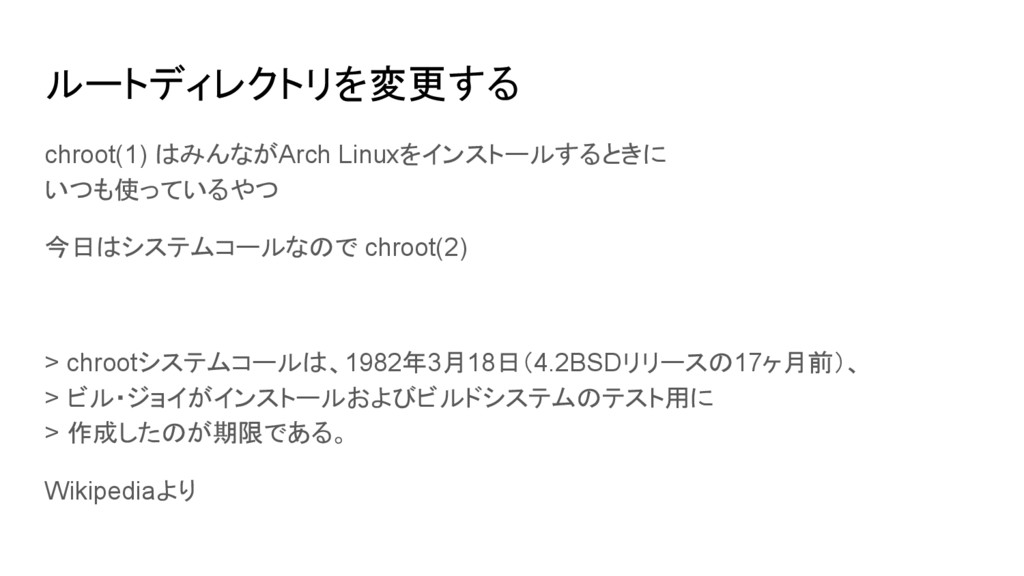
ルートディレクトリを変更する chroot(1) はみんながArch Linuxをインストールするときに いつも使っているやつ 今日はシステムコールなので chroot(2) > chrootシステムコールは、1982年3月18日(4.2BSDリリースの17ヶ月前)、 >
ビル・ジョイがインストールおよびビルドシステムのテスト用に > 作成したのが期限である。 Wikipediaより
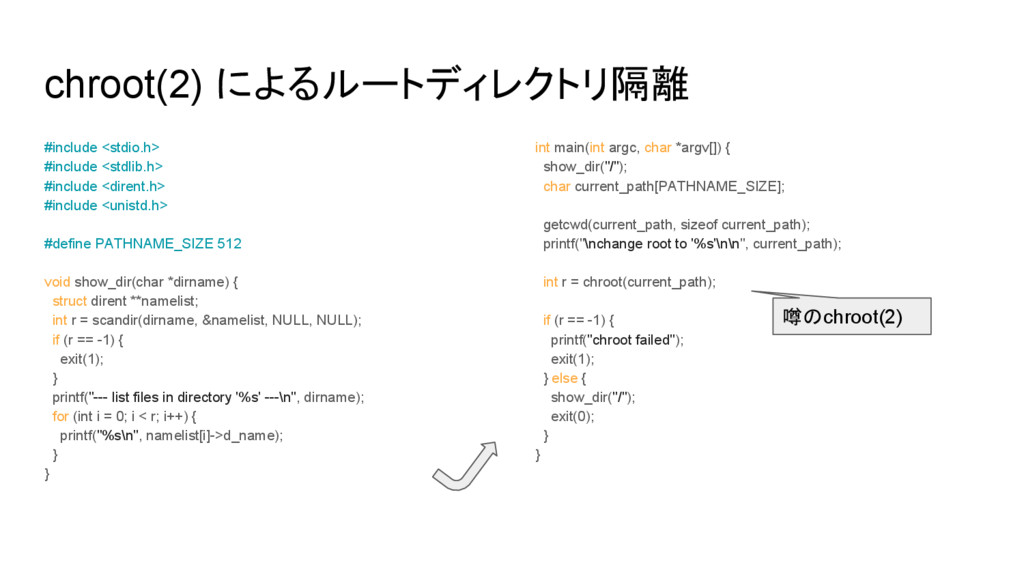
chroot(2) によるルートディレクトリ隔離 #include <stdio.h> #include <stdlib.h> #include <dirent.h> #include <unistd.h>
#define PATHNAME_SIZE 512 void show_dir(char *dirname) { struct dirent **namelist; int r = scandir(dirname, &namelist, NULL, NULL); if (r == -1) { exit(1); } printf("--- list files in directory '%s' ---\n", dirname); for (int i = 0; i < r; i++) { printf("%s\n", namelist[i]->d_name); } } int main(int argc, char *argv[]) { show_dir("/"); char current_path[PATHNAME_SIZE]; getcwd(current_path, sizeof current_path); printf("\nchange root to '%s'\n\n", current_path); int r = chroot(current_path); if (r == -1) { printf("chroot failed"); exit(1); } else { show_dir("/"); exit(0); } } 噂のchroot(2)
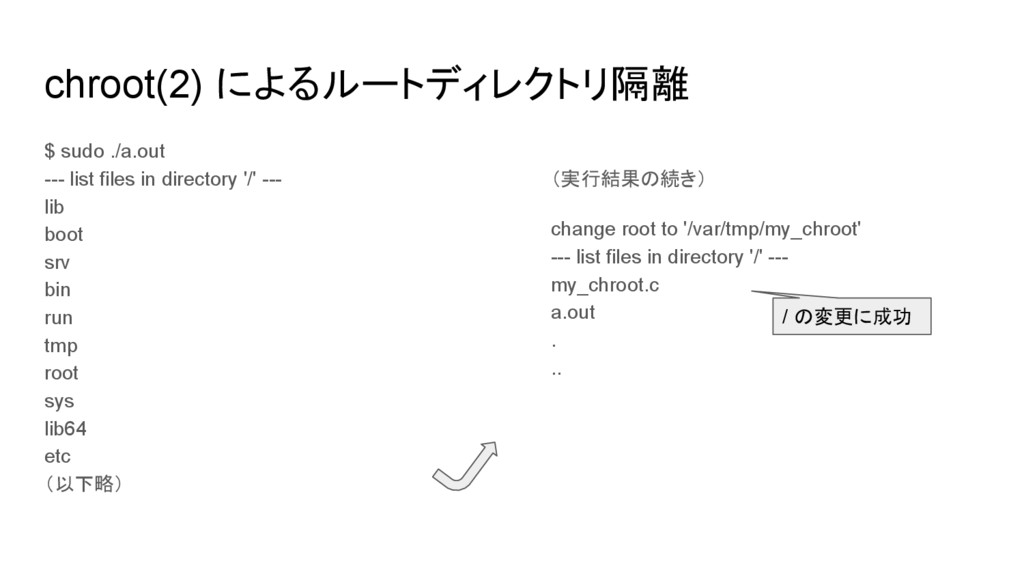
chroot(2) によるルートディレクトリ隔離 $ sudo ./a.out --- list files in directory
'/' --- lib boot srv bin run tmp root sys lib64 etc (以下略) (実行結果の続き) change root to '/var/tmp/my_chroot' --- list files in directory '/' --- my_chroot.c a.out . .. / の変更に成功
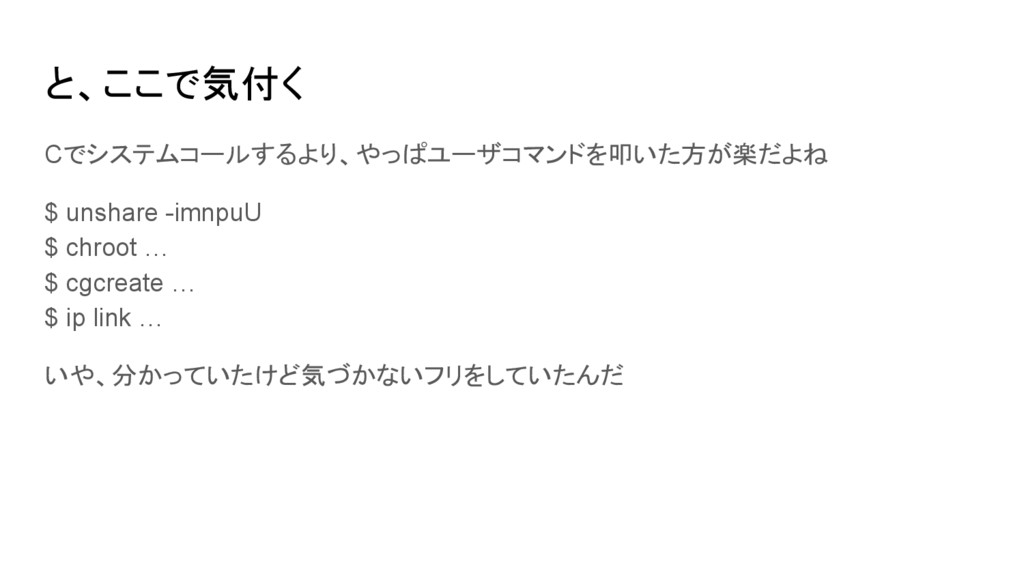
と、ここで気付く Cでシステムコールするより、やっぱユーザコマンドを叩いた方が楽だよね $ unshare -imnpuU $ chroot … $ cgcreate
… $ ip link … いや、分かっていたけど気づかないフリをしていたんだ
すごいぞユーザコマンド! コンテナを作るのが楽になる!!
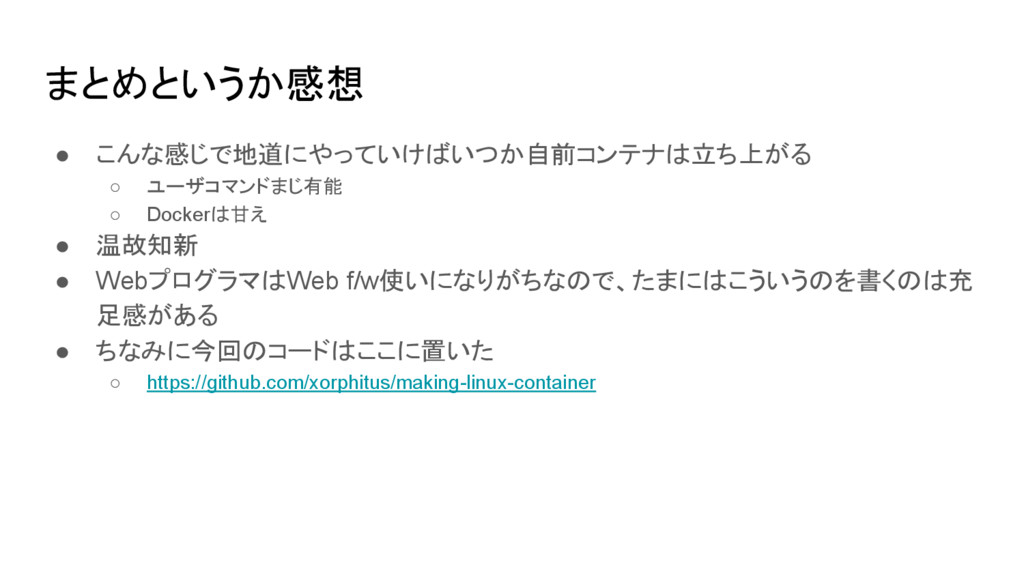
まとめというか感想 • こんな感じで地道にやっていけばいつか自前コンテナは立ち上がる ◦ ユーザコマンドまじ有能 ◦ Dockerは甘え • 温故知新 •
WebプログラマはWeb f/w使いになりがちなので、たまにはこういうのを書くのは充 足感がある • ちなみに今回のコードはここに置いた ◦ https://github.com/xorphitus/making-linux-container
![Namespaceの情報ってどこにあるの? /proc/[pid]/ns にある 先ほどのプログラムを少し変更して、上記のパスを見てみる static int child_fn() { printf("child -](https://files.speakerdeck.com/presentations/7c2f8dfaabeb4c00a44ce6ba369cae83/slide_11.jpg)