Upgrade to Pro — share decks privately, control downloads, hide ads and more …

Building a Python API for Raspberry Pi hardware

Ben Nuttall
September 12, 2015

Building a Python API for Raspberry Pi hardware

Creating a simple interface to Raspberry Pi hardware

Ben Nuttall

September 12, 2015
Tweet

More Decks by Ben Nuttall

Other Decks in Technology

Transcript

  1. Building a Python API Creating a simple interface to Raspberry

    Pi hardware Ben Nuttall Raspberry Pi Foundation UK Charity 1129409
  2. Ben Nuttall • Education Developer Advocate at the Raspberry Pi

    Foundation – Learning resources – Picademy – Outreach – events and conferences – Software development – Creative Technologists programme – raspberrypi.org • From the North • piweekly.net
  3. Pibrella Software import pibrella from time import sleep pibrella.light.green.on() sleep(1)

    pibrella.light.amber.on() sleep(1) pibrella.light.red.on()
  4. Sense HAT from sense_hat import SenseHat sense = SenseHat() temp

    = sense.temperature sense.show_message(“Temperature is %s ” % temp)
  5. Who should create the API? • The company who made

    the product – i.e. Their employed software developer • The mug who bought the product and found there was no API – i.e. You
  6. Why should we (the company) create the API? • Make

    it easy for users to make amazing things with your product • Show what your product is capable of • Share example code
  7. Why should I (the user) create the API? • First,

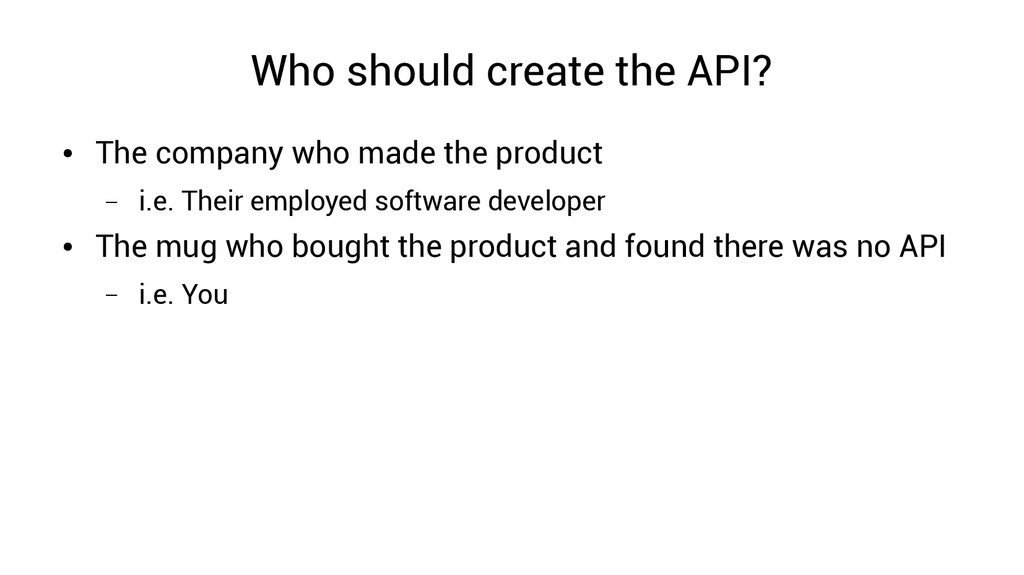
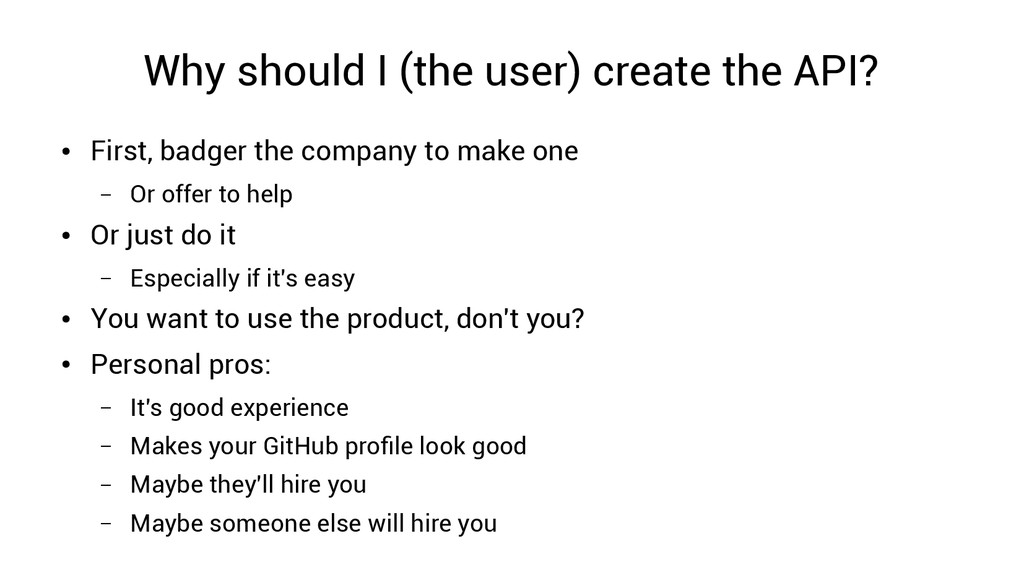
    badger the company to make one – Or offer to help • Or just do it – Especially if it's easy • You want to use the product, don't you? • Personal pros: – It's good experience – Makes your GitHub profile look good – Maybe they'll hire you – Maybe someone else will hire you
  8. Python 2 or Python 3? • Both • Python 3

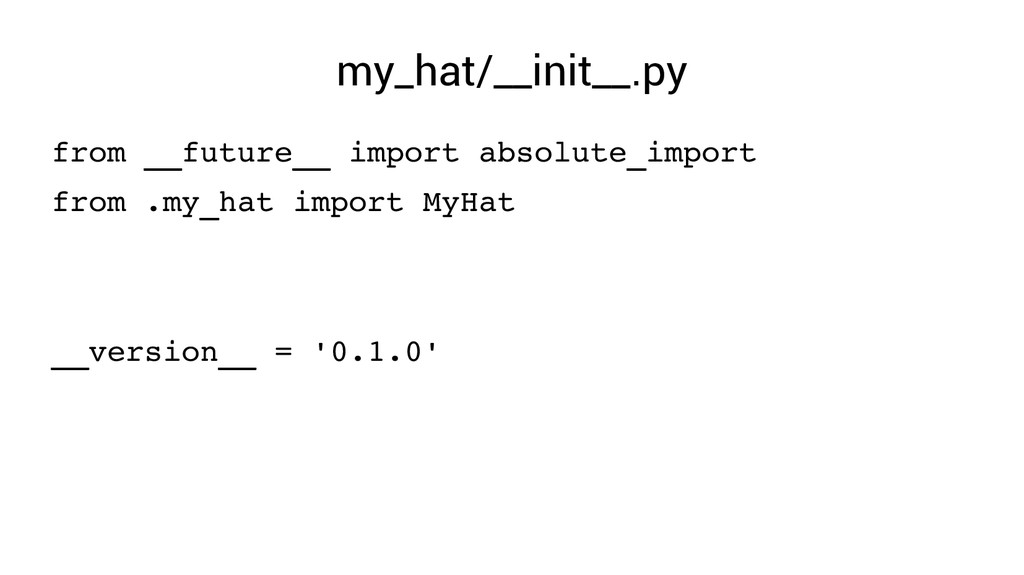
    is the present and future of the language • Python 2 is legacy, but easy to support along with Python 3 • Always start with Python 3 – It's easier to go backwards than forwards • If your package depends on a package which is Python 2 only – Request a Python 3 version – Make a Python 3 version and send a PR – Find an alternative package – Weep at the thought that your package doesn't work in Python 3 • All examples here are for supporting both Python 3 and Python 2
  9. How? 1. Write code to access your hardware 2. Design

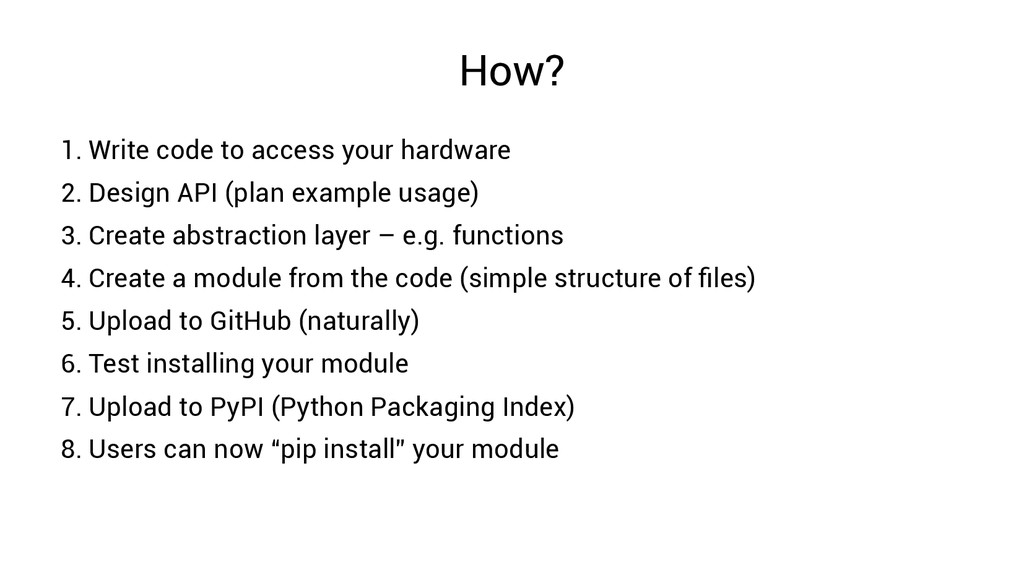
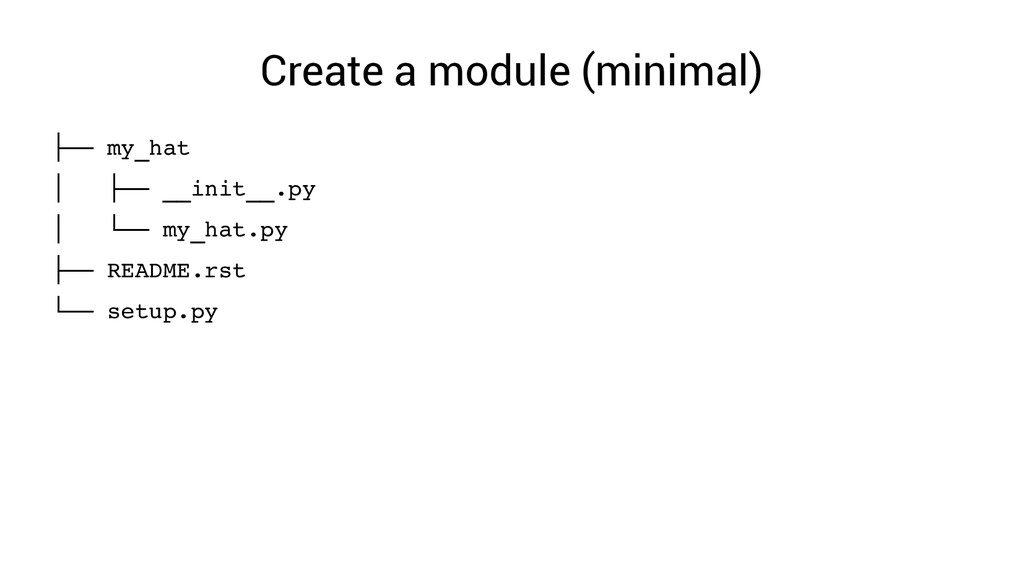
    API (plan example usage) 3. Create abstraction layer – e.g. functions 4. Create a module from the code (simple structure of files) 5. Upload to GitHub (naturally) 6. Test installing your module 7. Upload to PyPI (Python Packaging Index) 8. Users can now “pip install” your module
  10. Write some code • Think of an example use of

    the product – How do you do it the long way? e.g. using RPi.GPIO – Implement it • Repeat for some or all basic usage
  11. Design the API • What should users be able to

    do with the API? • How do you want to use the API? • Write example usage, e.g: hat = MyHat() hat.green.on() hat.red.on()
  12. Create abstraction layer • Combine the example code with the

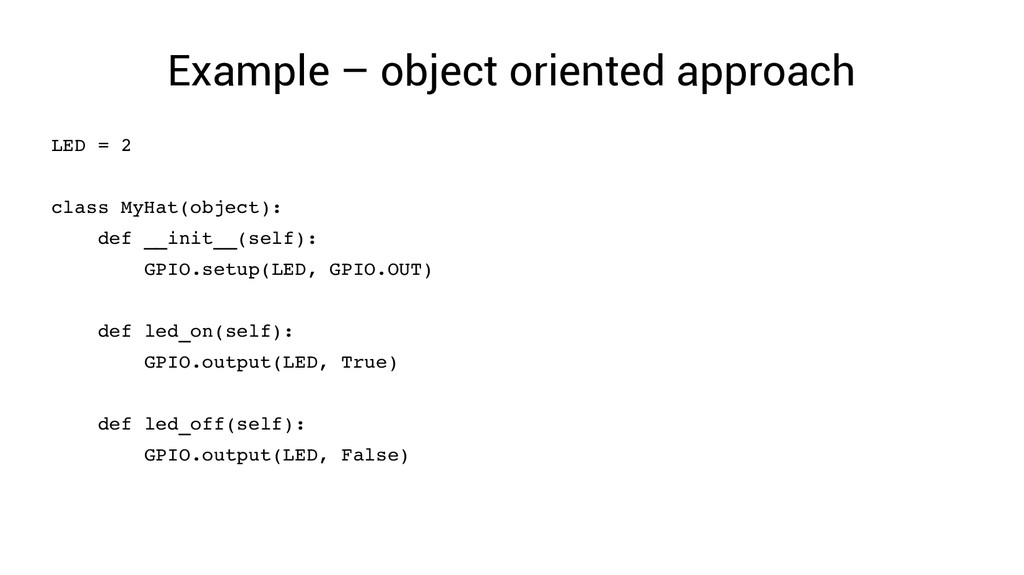
    API design • Consider code architecture (keep it as simple as possible) – Procedural approach – functions only – Object oriented approach – wrapper class around functions to maintain state – Break into multiple classes if necessary
  13. Example – procedural approach # imports + setup... LED =

    2 def turn_led_on(): GPIO.output(LED, True) def turn_led_off(): GPIO.output(LED, False)
  14. Example – object oriented approach LED = 2 class MyHat(object):

    def __init__(self): GPIO.setup(LED, GPIO.OUT) def led_on(self): GPIO.output(LED, True) def led_off(self): GPIO.output(LED, False)
  15. Example – advanced approach RED = 2 AMBER = 3

    GREEN = 4 class LED(object): def __init__(self, pin): self.pin = pin GPIO.setup(self.pin, GPIO.OUT) def on(self): GPIO.output(self.pin, True) def off(self): GPIO.output(self.pin, False) class MyHat(object): def __init__(self): self.red = LED(RED) self.amber = LED(AMBER) self.green = LED(GREEN)
  16. Create a module (minimal) ├── my_hat │ ├── __init__.py │

    └── my_hat.py ├── README.rst └── setup.py
  17. Create a module (expanded) ├── CONTRIBUTING.md ├── docs │ └──

    index.md ├── LICENCE.txt ├── MANIFEST.in ├── my_hat │ ├── __init__.py │ └── my_hat.py ├── README.rst ├── scripts │ └── my_script ├── setup.py └── tests └── test_my_hat.py
  18. setup.py from setuptools import setup, find_packages ... setup( name="my­hat", version="0.1.0",

    author="Ben Nuttall", description="Simple API to My HAT", license="BSD", url="https://github.com/bennuttall/my_hat", packages=find_packages(), long_description=read('README.rst'), install_requires=[ "pillow", "numpy" ], ... )
  19. Upload to GitHub • Sign up to github.com • Create

    a repository • add, commit, push, etc. (use git properly) • Include a licence (see choosealicense.com) • Include a contributing policy (CONTRIBUTING.md)
  20. Check it installed correctly • Test it's there – python3

    ­c “import my_hat” – python ­c “import my_hat” • Test it works – Python shell – Python file
  21. Test the module • Python file – Create a Python

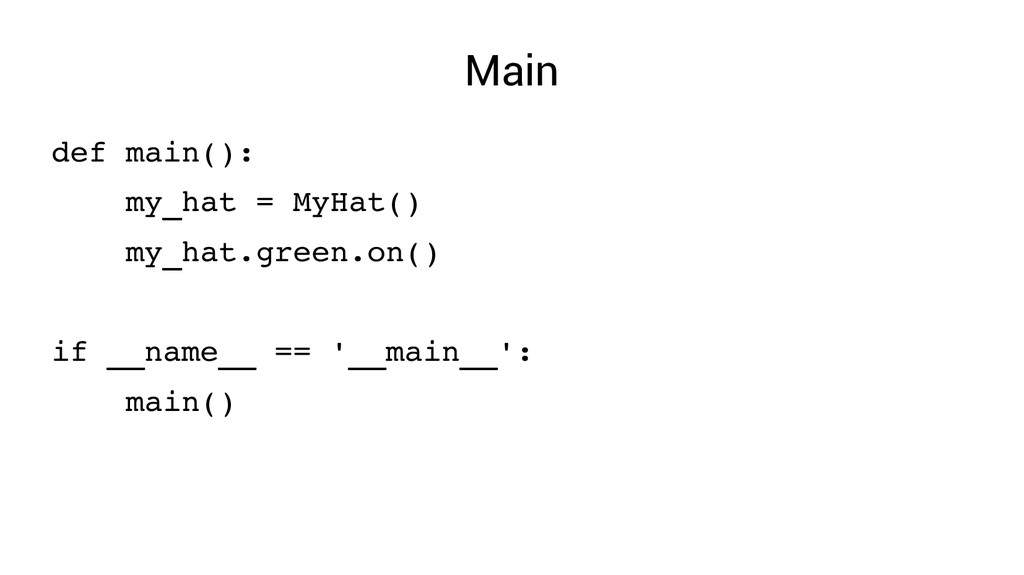
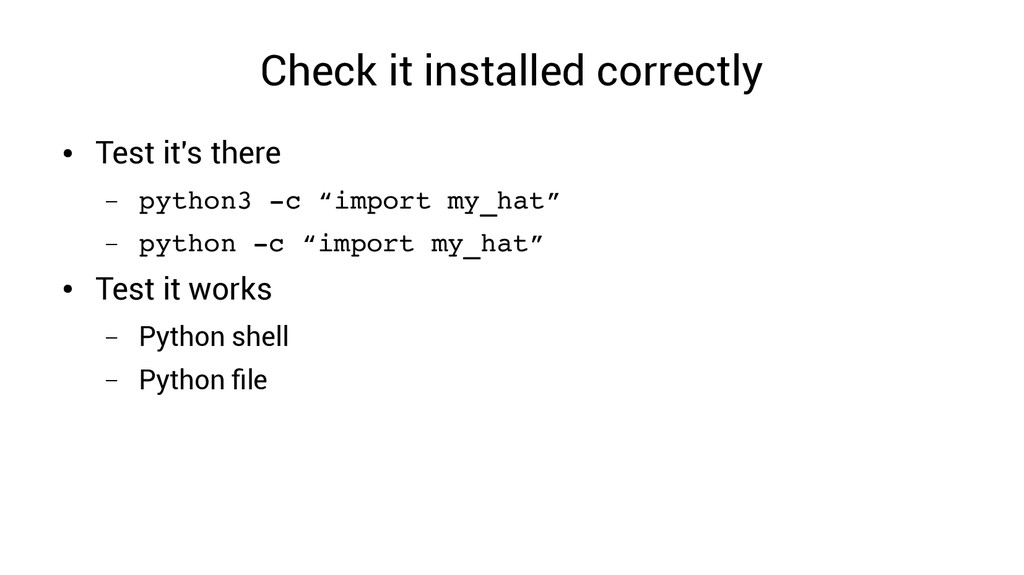
    file with your example usage – Start by importing your module – Test outside of your project folder! – Do not name this file the same as your module! – python3 myfile.py – python myfile.py • Python shell – Same guidelines apply
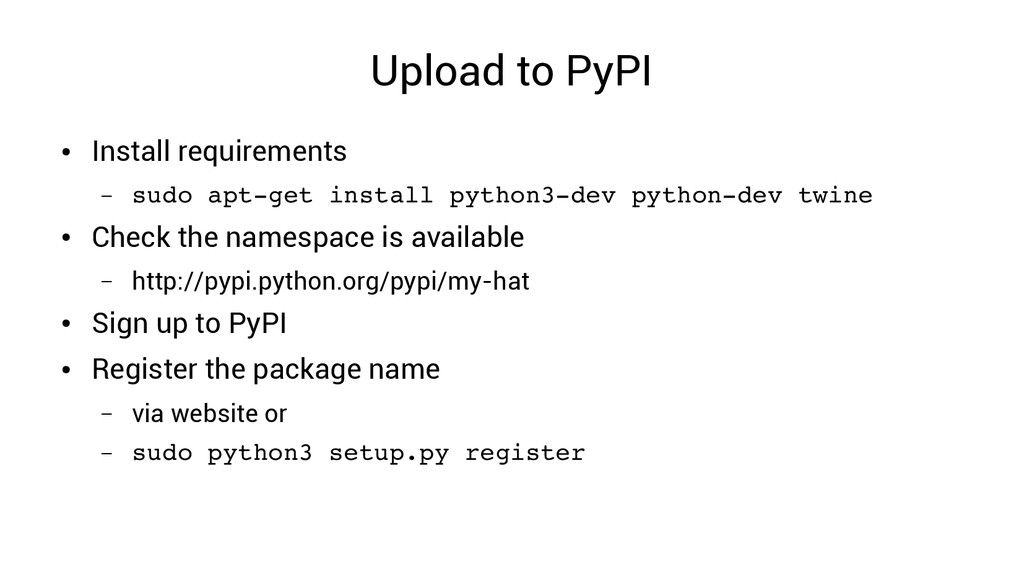
  22. Upload to PyPI • Install requirements – sudo apt­get install

    python3­dev python­dev twine • Check the namespace is available – http://pypi.python.org/pypi/my-hat • Sign up to PyPI • Register the package name – via website or – sudo python3 setup.py register
  23. Upload to PyPI • Create source distribution – python3 setup.py

    sdist • Create built distribution – python3 setup.py bdist [options] • Read up on Python Wheels • Likely you can use Universal Pure Python wheels: – python3 setup.py bdist_wheel --universal • Both in one go – python3 setup.py sdist bdist_wheel ­­universal
  24. Upload to PyPI • See what was created – ls

    dist • Built distribution (wheel) Source distribution • my­hat­0.1.0­py2.py3­none­any.whl my­hat­0.1.0.tar.gz • Upload! – twine upload dist/* • Look it up on PyPI – http://pypi.python.org/pypi/my-hat
  25. Check it installed correctly • Test it's there – python3

    ­c “import my_hat” – python ­c “import my_hat” • Test it works – Python shell – Python file
  26. Documentation • mkdocs - Documentation using markdown – See http://www.mkdocs.org/

    – Examples: • http://pyjok.es/ • http://www.pythonhosted.org/sense-hat/ • http://www.pythonhosted.org/energenie/ • http://www.pythonhosted.org/rpi-greenhouse/ – Upload to pythonhosted.com via PyPI – Upload to GitHub Pages • readthedocs - Documentation using ReStructured Text – See https://readthedocs.org/ – Example: https://picamera.readthedocs.org/
  27. Good Examples • Picamera – https://github.com/waveform80/picamera/ • Anything by Dave

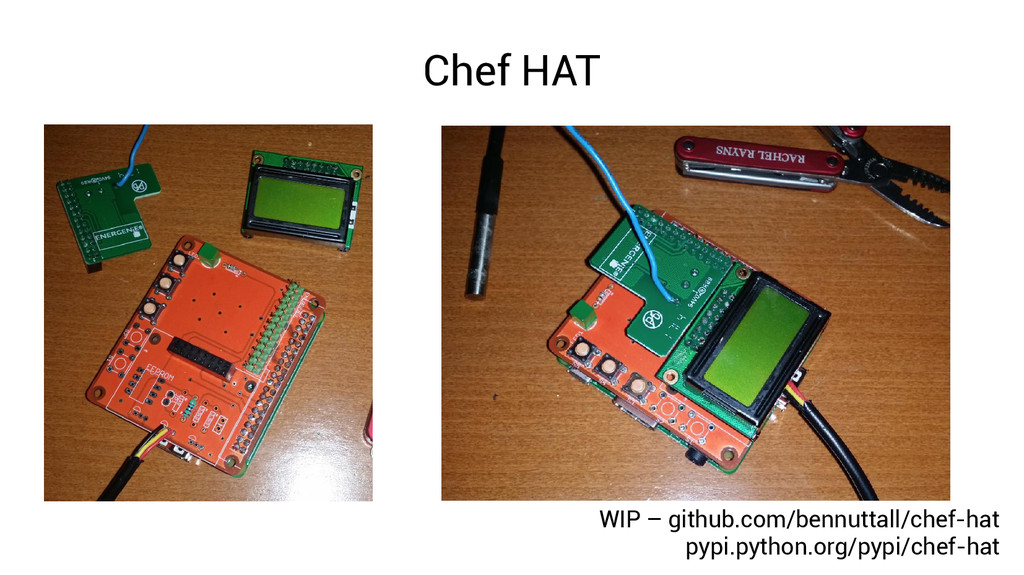
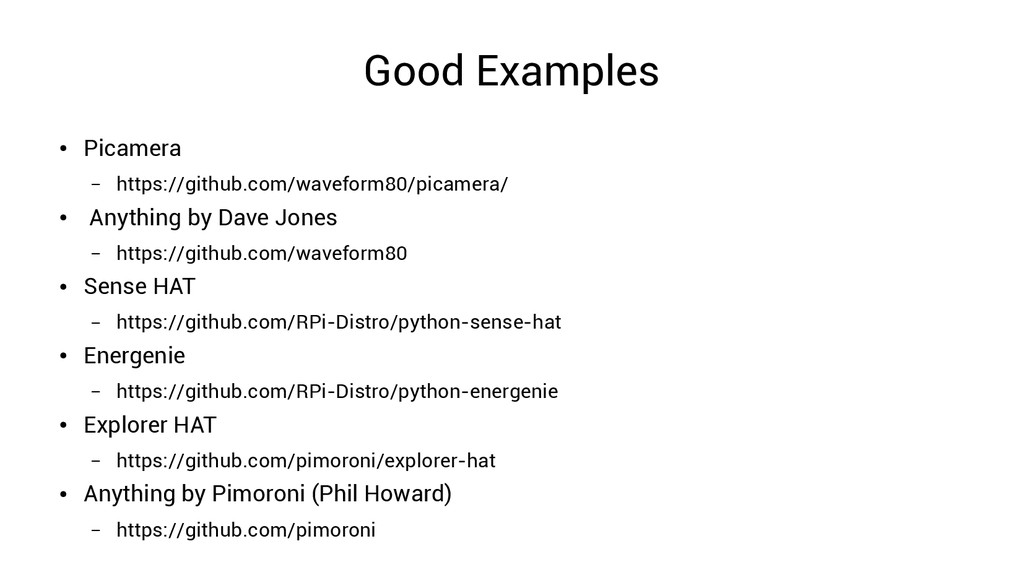
    Jones – https://github.com/waveform80 • Sense HAT – https://github.com/RPi-Distro/python-sense-hat • Energenie – https://github.com/RPi-Distro/python-energenie • Explorer HAT – https://github.com/pimoroni/explorer-hat • Anything by Pimoroni (Phil Howard) – https://github.com/pimoroni
  28. Tips & Further Reading • See “from future import X”

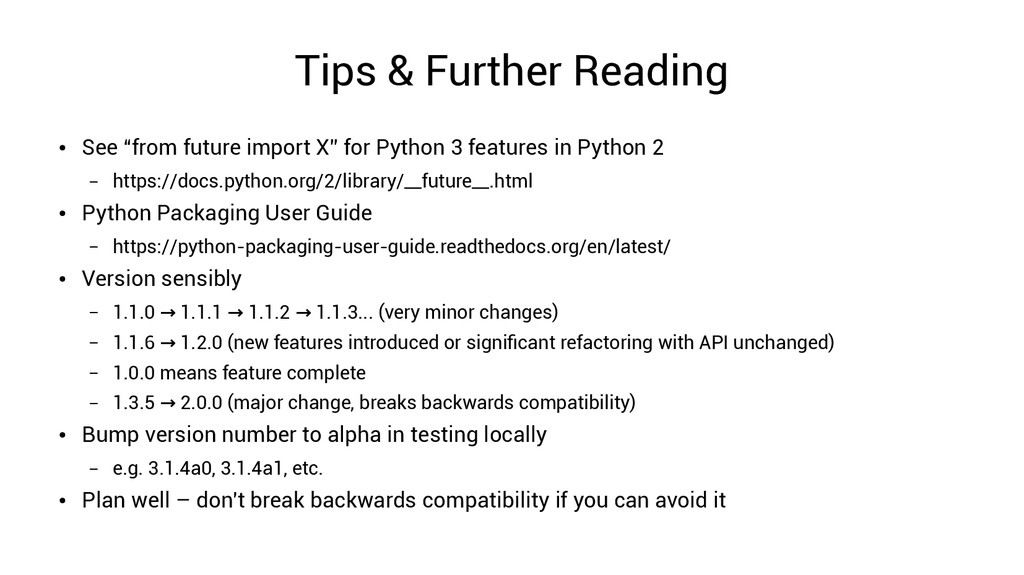
    for Python 3 features in Python 2 – https://docs.python.org/2/library/__future__.html • Python Packaging User Guide – https://python-packaging-user-guide.readthedocs.org/en/latest/ • Version sensibly – 1.1.0 1.1.1 1.1.2 1.1.3... (very minor changes) → → → – 1.1.6 1.2.0 (new features introduced or significant refactoring with API unchanged) → – 1.0.0 means feature complete – 1.3.5 2.0.0 (major change, breaks backwards compatibility) → • Bump version number to alpha in testing locally – e.g. 3.1.4a0, 3.1.4a1, etc. • Plan well – don't break backwards compatibility if you can avoid it
  29. apt-get install? • Packaging for Debian is hard work •

    Packaging for PyPI is a good start • See Debian packaging procedure – https://wiki.debian.org/Python/Packaging • Good luck
  30. Building a Python API Creating a simple interface to Raspberry

    Pi hardware Ben Nuttall Raspberry Pi Foundation UK Charity 1129409