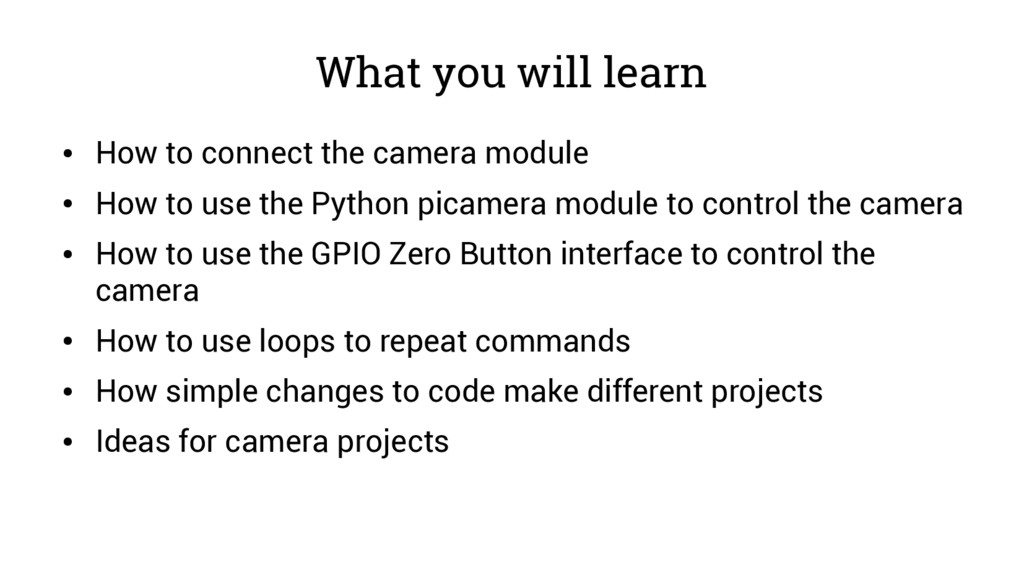
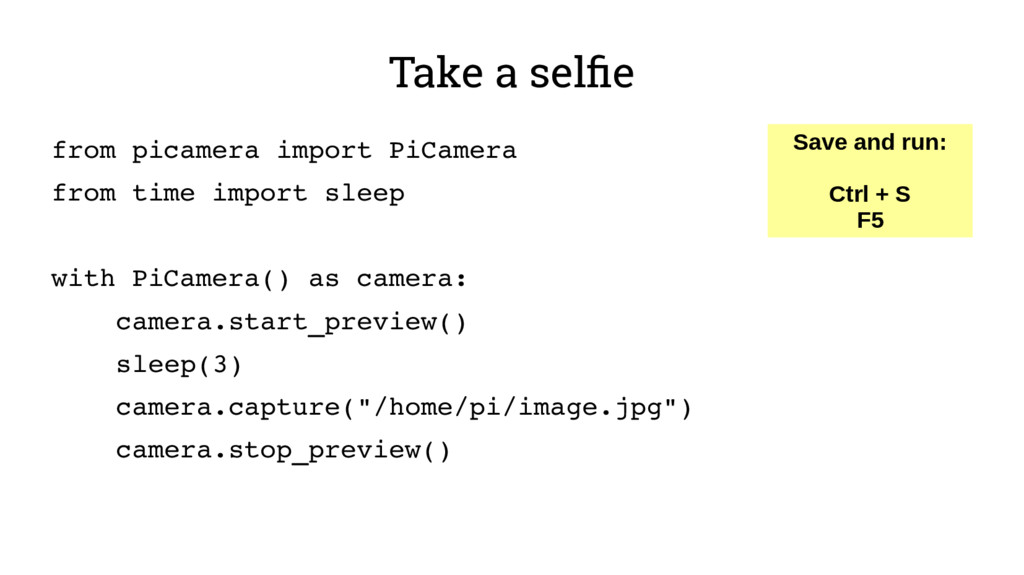
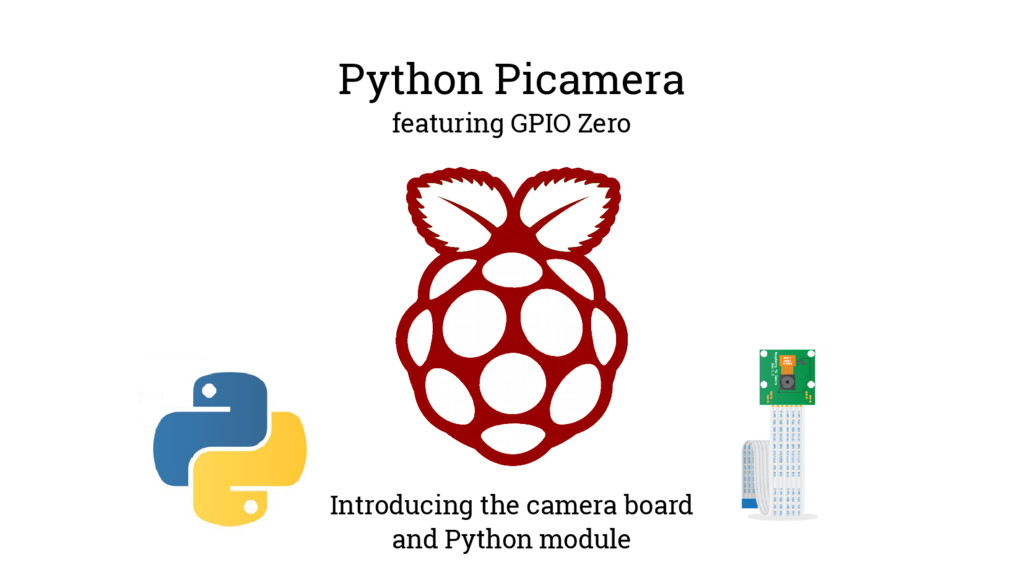
Upgrade to Pro — share decks privately, control downloads, hide ads and more …

Python Picamera with GPIO Zero - Picademy USA

Ben Nuttall
February 27, 2016

Python Picamera with GPIO Zero - Picademy USA

Python camera GPIO workshop given at Picademy USA, featuring picamera and GPIO Zero

Ben Nuttall

February 27, 2016
Tweet

More Decks by Ben Nuttall

Other Decks in Education

Transcript

  1. Python Picamera
    featuring GPIO Zero
    Introducing the camera board
    and Python module

    View Slide

  2. Who's this guy?
    Ben Nuttall
    Education Developer Advocate
    Raspberry Pi Foundation
    @ben_nuttall
    [email protected]
    github.com/bennuttall

    View Slide

  3. USA Tour 2014

    View Slide

  4. Raspberry Pi camera module
    - 5Mpx
    - Full HD
    - Photo & video
    - Command line
    - Python module
    - Infra-red camera

    View Slide

  5. What you will learn

    How to connect the camera module

    How to use the Python picamera module to control the camera

    How to use the GPIO Zero Button interface to control the
    camera

    How to use loops to repeat commands

    How simple changes to code make different projects

    Ideas for camera projects

    View Slide

  6. Connect the camera

    View Slide

  7. Add a GPIO Button

    View Slide

  8. Boot the Pi and open Python 3

    View Slide

  9. IDLE Python Shell
    >>> from picamera import PiCamera
    >>> from gpiozero import Button
    >>> camera = PiCamera()
    >>> button = Button(17)
    >>> button.when_pressed = camera.start_preview
    >>> button.when_released = camera.stop_preview

    View Slide

  10. GPIO Zero Button
    button.is_pressed
    button.wait_for_press()
    button.wait_for_release()
    button.when_pressed = some_function
    button.when_released = some_function

    View Slide

  11. GPIO Zero Button
    while True:
    if button.is_pressed:
    print("Pressed")
    while True:
    if not button.is_pressed:
    print("Not pressed")

    View Slide

  12. GPIO Zero Button
    while True:
    button.wait_for_press()
    print("Pressed")
    button.wait_for_release()
    print("Released")

    View Slide

  13. GPIO Zero Button
    led = LED(4)
    button = Button(17)
    button.when_pressed = led.on
    button.when_released = led.off

    View Slide

  14. GPIO Zero Button
    def hello():
    print("Pressed")
    button.when_pressed = hello

    View Slide

  15. Open a new file

    File > New File

    File > Save

    Save as camera.py

    View Slide

  16. Take a selfie
    from picamera import PiCamera
    from time import sleep
    with PiCamera() as camera:
    camera.start_preview()
    sleep(3)
    camera.capture("/home/pi/image.jpg")
    camera.stop_preview()
    Save and run:
    Ctrl + S
    F5

    View Slide

  17. Add GPIO Button code
    from picamera import PiCamera
    from gpiozero 
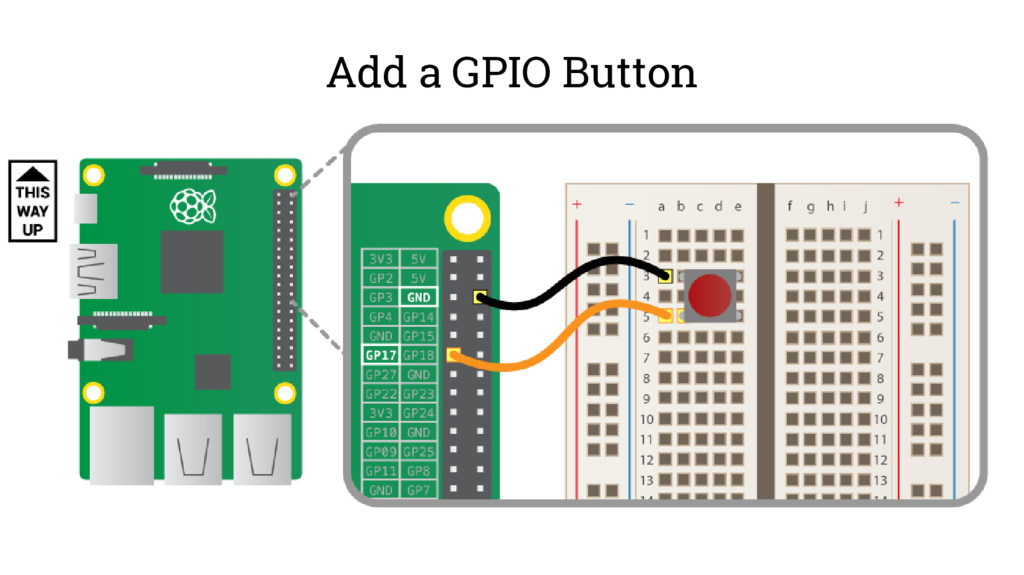
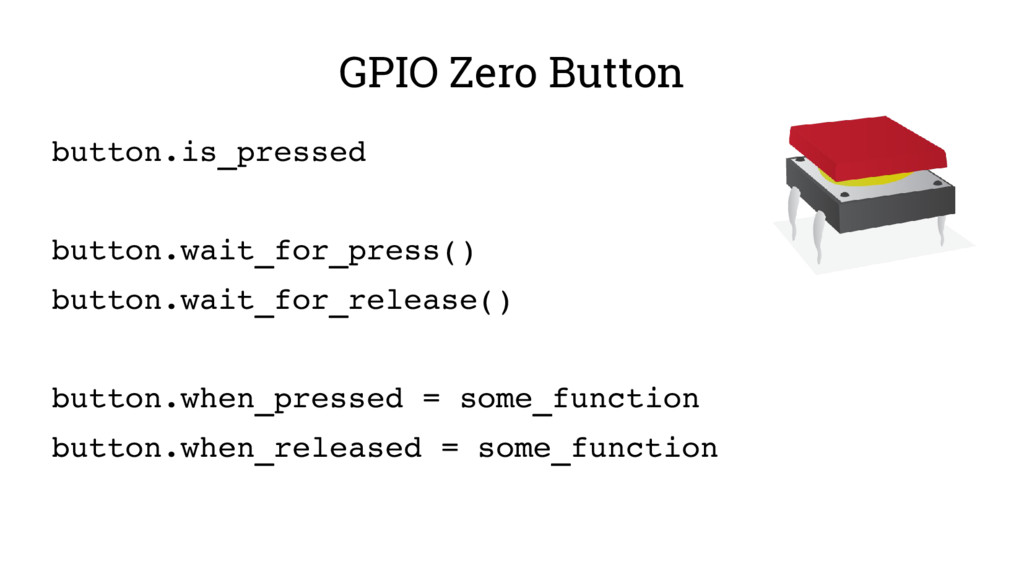
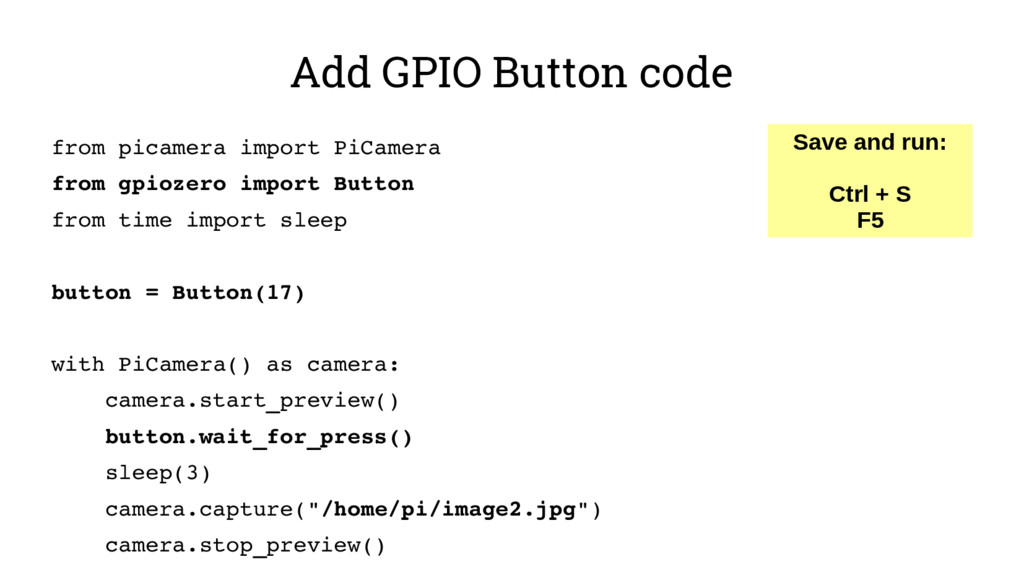
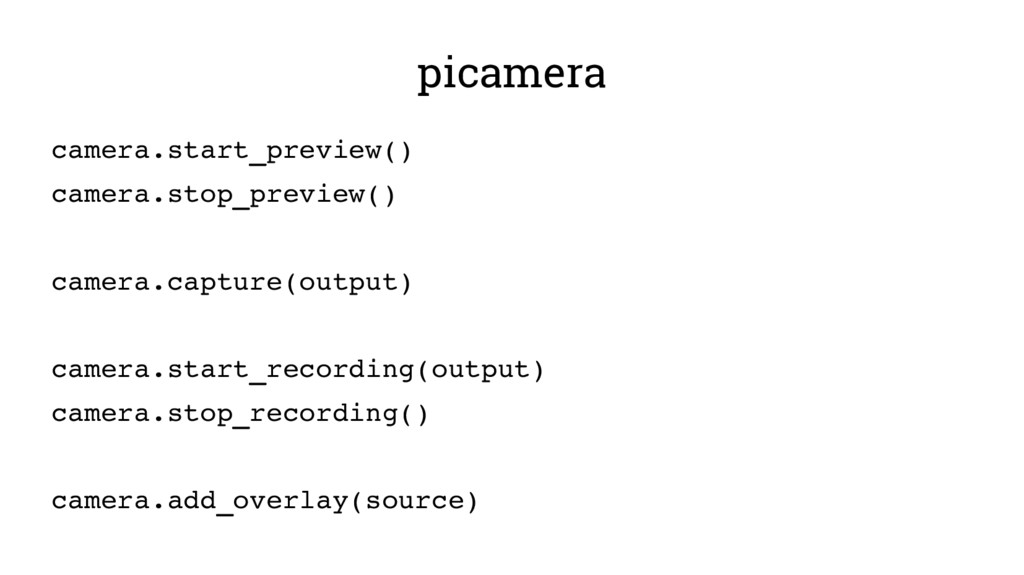
import Button
    from time import sleep
    button = Button(17)
    with PiCamera() as camera:
    camera.start_preview()
    button.wait_for_press()
    sleep(3)
    camera.capture("/home/pi/image2.jpg")
    camera.stop_preview()
    Save and run:
    Ctrl + S
    F5

    View Slide

  18. Add a loop
    with PiCamera() as camera:
    camera.start_preview()
    for i in range(5):
    button.wait_for_press()
    sleep(3)
    camera.capture("/home/pi/image%s.jpg" % i)
    camera.stop_preview()
    Save and run:
    Ctrl + S
    F5

    View Slide

  19. What's the difference?
    for i in range(5):
    button.wait_for_press()
    sleep(3)
    camera.capture("/home/pi/image%s.jpg" % i)
    button.wait_for_press()
    for i in range(5):
    sleep(3)
    camera.capture("/home/pi/image%s.jpg" % i)

    View Slide

  20. What next?

    Time-lapse

    Stop motion animation

    Wildlife camera

    View Slide

  21. What next?

    Sensor trigger

    Send to social media

    Robotics

    View Slide

  22. Two Buttons?
    left = Button(4)
    right = Button(14)
    left.when_pressed = camera.start_preview
    left.when_released = camera.stop_preview
    right.when_pressed = camera.capture

    Why wouldn't
    this work?

    View Slide

  23. Custom capture function
    def capture():
    camera.capture("/home/pi/image.jpg")
    right.when_pressed = capture

    View Slide

  24. Custom capture function
    i = 0
    def capture():
    global i
    camera.capture("/home/pi/image%s.jpg" % i)
    i += 1
    right.when_pressed = capture
    Alternatively,
    use the datetime
    module

    View Slide

  25. GPIO Zero Motion Sensor
    sensor = MotionSensor(14)
    sensor.is_motion
    sensor.wait_for_motion()
    sensor.wait_for_no_motion()
    sensor.when_motion = some_function
    sensor.when_no_motion = some_function

    View Slide

  26. picamera
    camera.start_preview()
    camera.stop_preview()
    camera.capture(output)
    camera.start_recording(output)
    camera.stop_recording()
    camera.add_overlay(source)

    View Slide

  27. picamera
    camera.resolution = (1280, 720)
    camera.rotation = 180
    camera.annotate_text = "Hello world"

    View Slide

  28. Documentation and help guides

    picamera.readthedocs.org

    gpiozero.readthedocs.org

    raspberrypi.org/resources

    raspberrypi.org/education/downloads

    View Slide

  29. Python Picamera
    featuring GPIO Zero
    Introducing the camera board
    and Python module

    View Slide