Apple Watch has been around for long enough that many people are familiar with the basics of building Apple Watch apps. However, most apps still require an iPhone be present for them to work well. In this talk we’ll discuss how standalone Apple Watch apps are easier to build with watchOS 4, and why building standalone apps are important for you and your users. We’ll also look at how CoreML enables never before seen standalone data processing capabilities on watchOS, and how to add Machine Learning to your Apple Watch app!
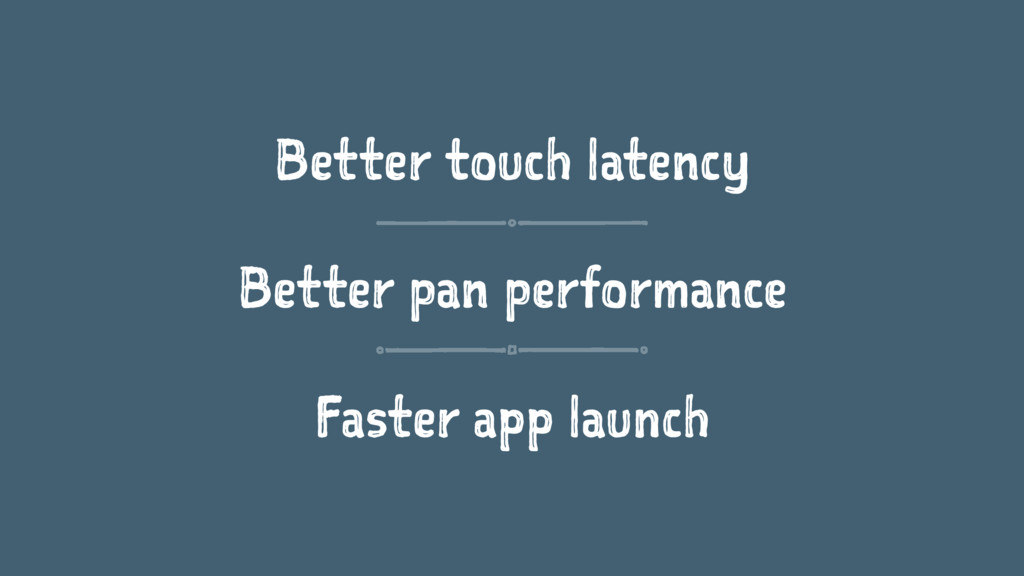
The key to successful third party apps is having a great use-case, and achieving great performance and reliability. The right use-case depends a lot on your product and what your users need from a watch app. But achieving great performance and reliability is entirely within your control. We’ll look at how watchOS 4 can help your watch app feel and load faster, and simplify the process of delivering a great experience for your users. If you’re just getting started with Apple Watch development, or are interested to learn more about the latest of developing for watchOS or adding Machine Learning to your Apple Watch app, come check out this talk and start planning your next watch app.
Conference description:
https://360idev.com/sessions/latest-developing-watchos/
Github Repo:
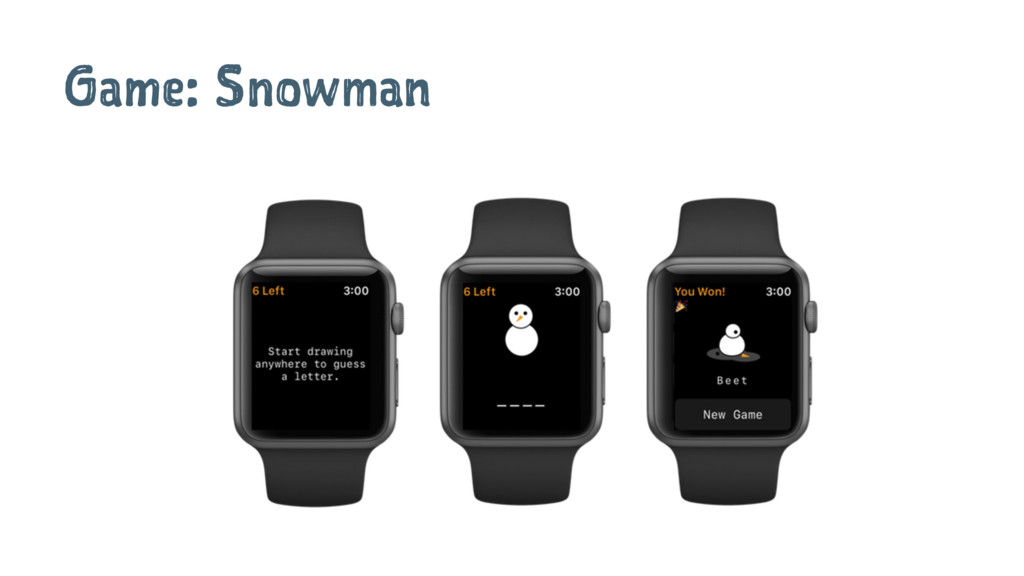
https://github.com/cnstoll/Snowman
![Store Routes in HealthKit self.routeBuilder = [[HKWorkoutRouteBuilder alloc] initWithHealthStore:healthStore device:device];](https://files.speakerdeck.com/presentations/57a6cd8f7ea14719b015682d92f87468/slide_51.jpg)
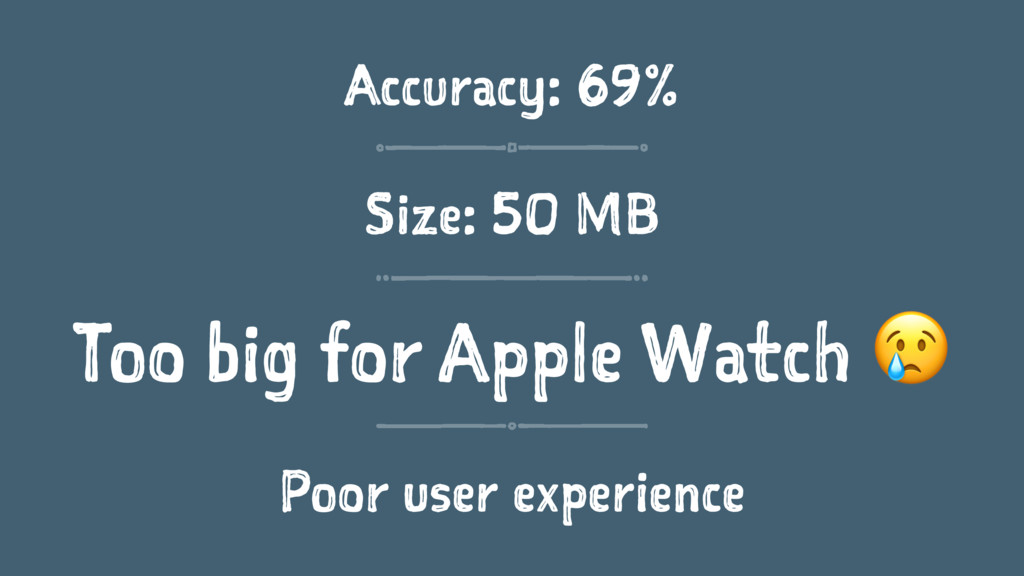
![Model 1 num_samples = 10000 images = all_images[0:num_samples] labels =](https://files.speakerdeck.com/presentations/57a6cd8f7ea14719b015682d92f87468/slide_99.jpg)
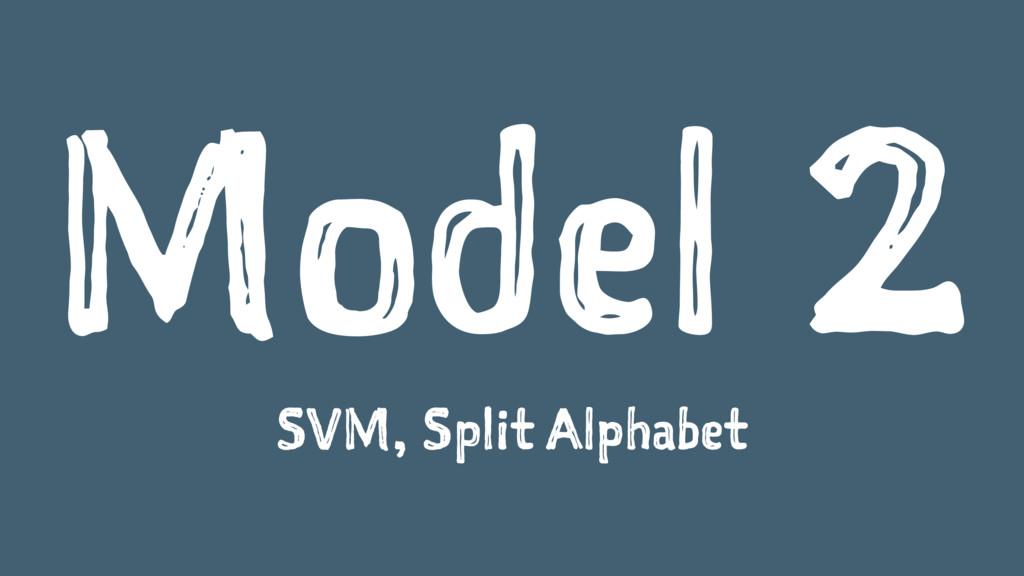
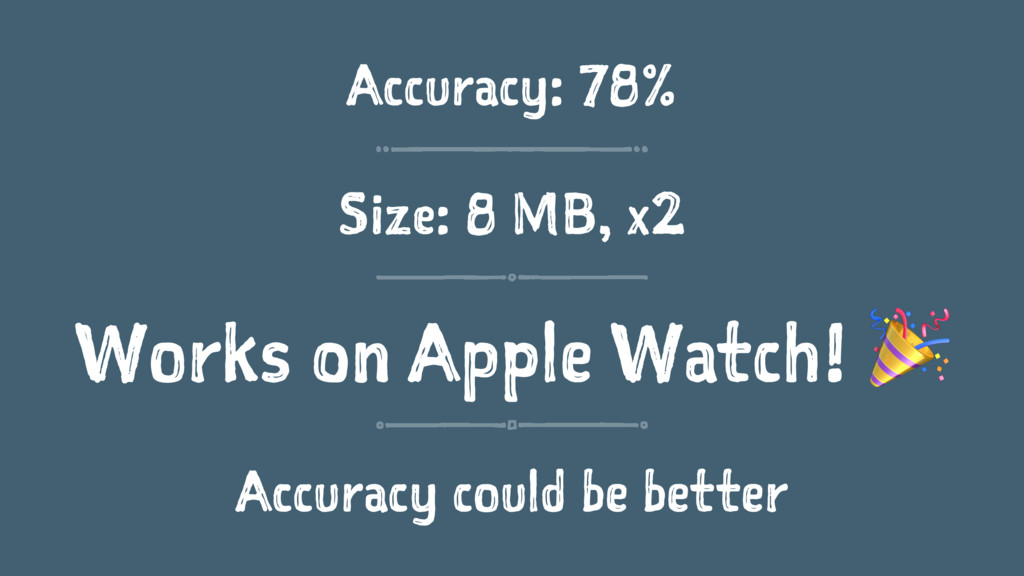
![Model 2 half_letters = [1,2,3,6,7,9,10,13,16,19,21,23,24] ind = [val in half_letters](https://files.speakerdeck.com/presentations/57a6cd8f7ea14719b015682d92f87468/slide_103.jpg)
![coremltools import coremltools coreml_model = coremltools.converters.keras.convert(model, input_names = ['imageAlpha'], output_names](https://files.speakerdeck.com/presentations/57a6cd8f7ea14719b015682d92f87468/slide_123.jpg)
![Matching Training and Input Data Structure let a = CGFloat(data[pixelInfo+3])](https://files.speakerdeck.com/presentations/57a6cd8f7ea14719b015682d92f87468/slide_138.jpg)