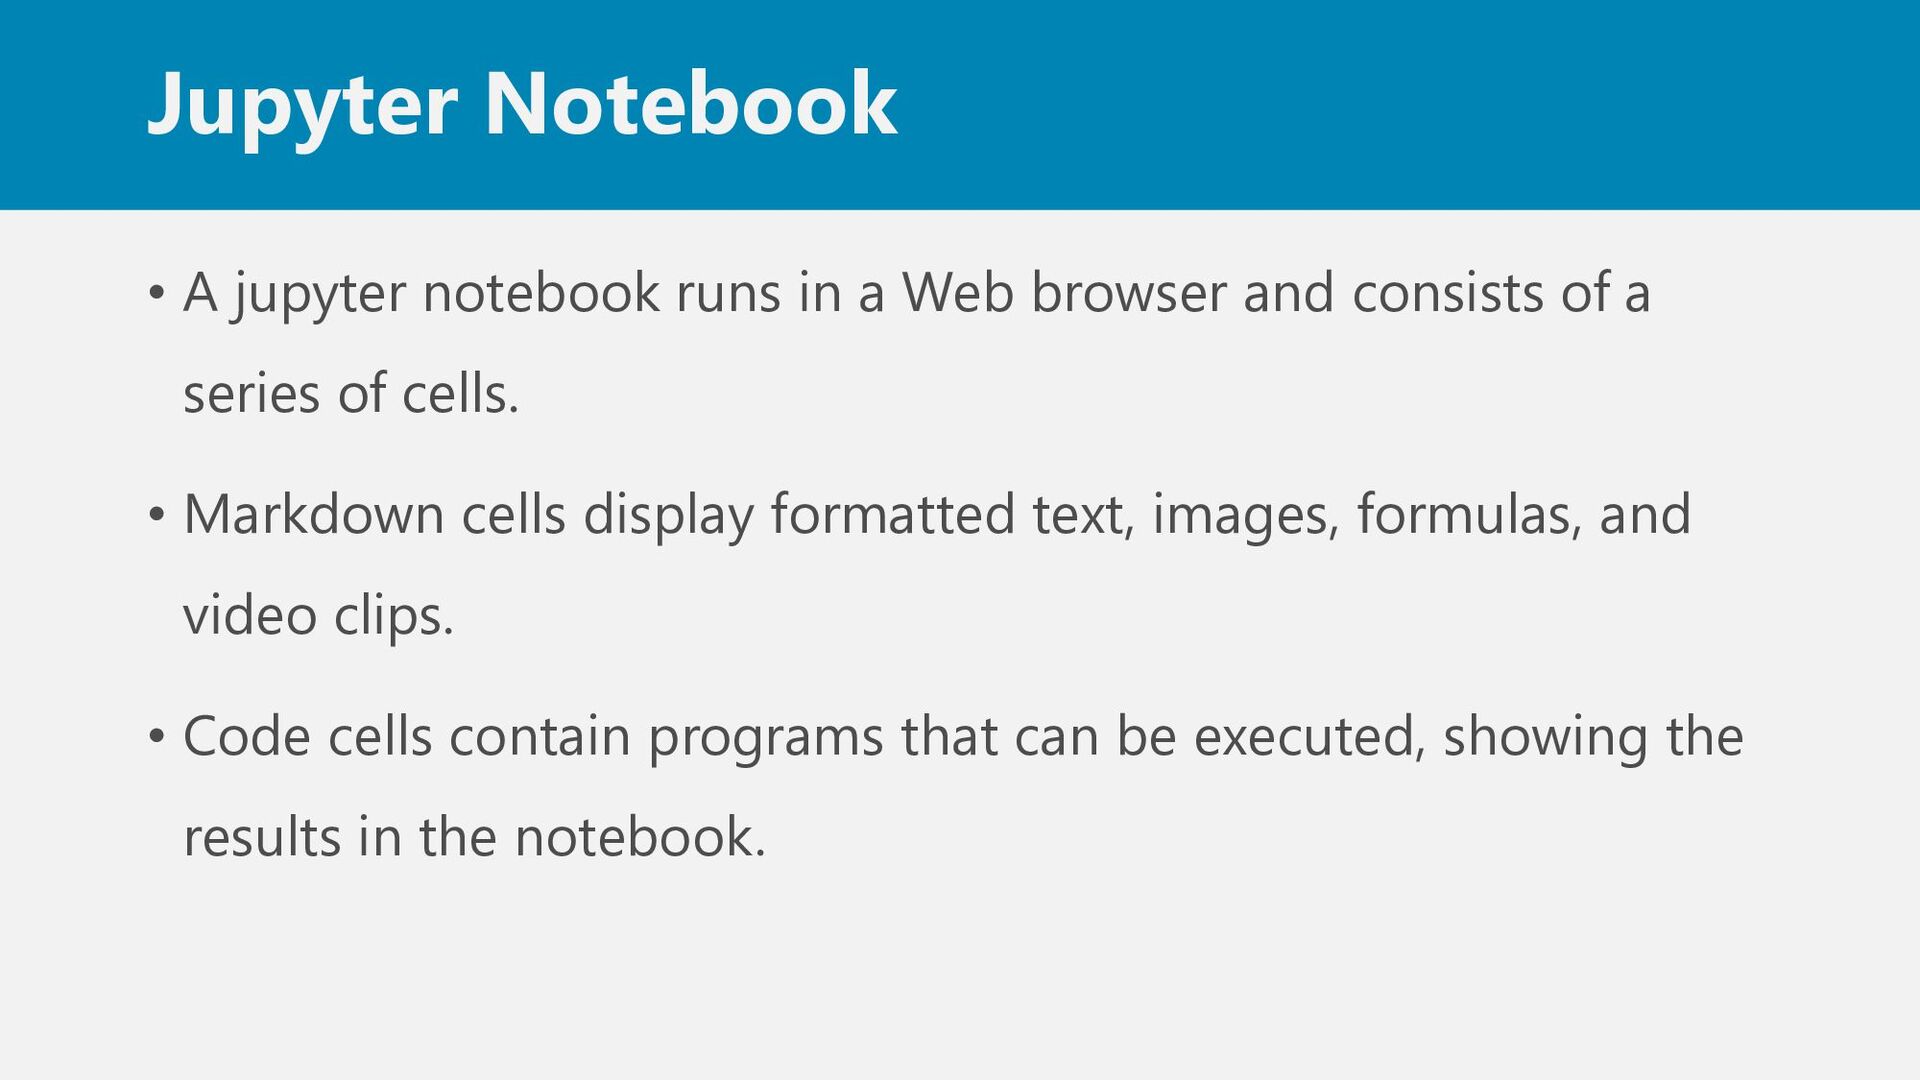
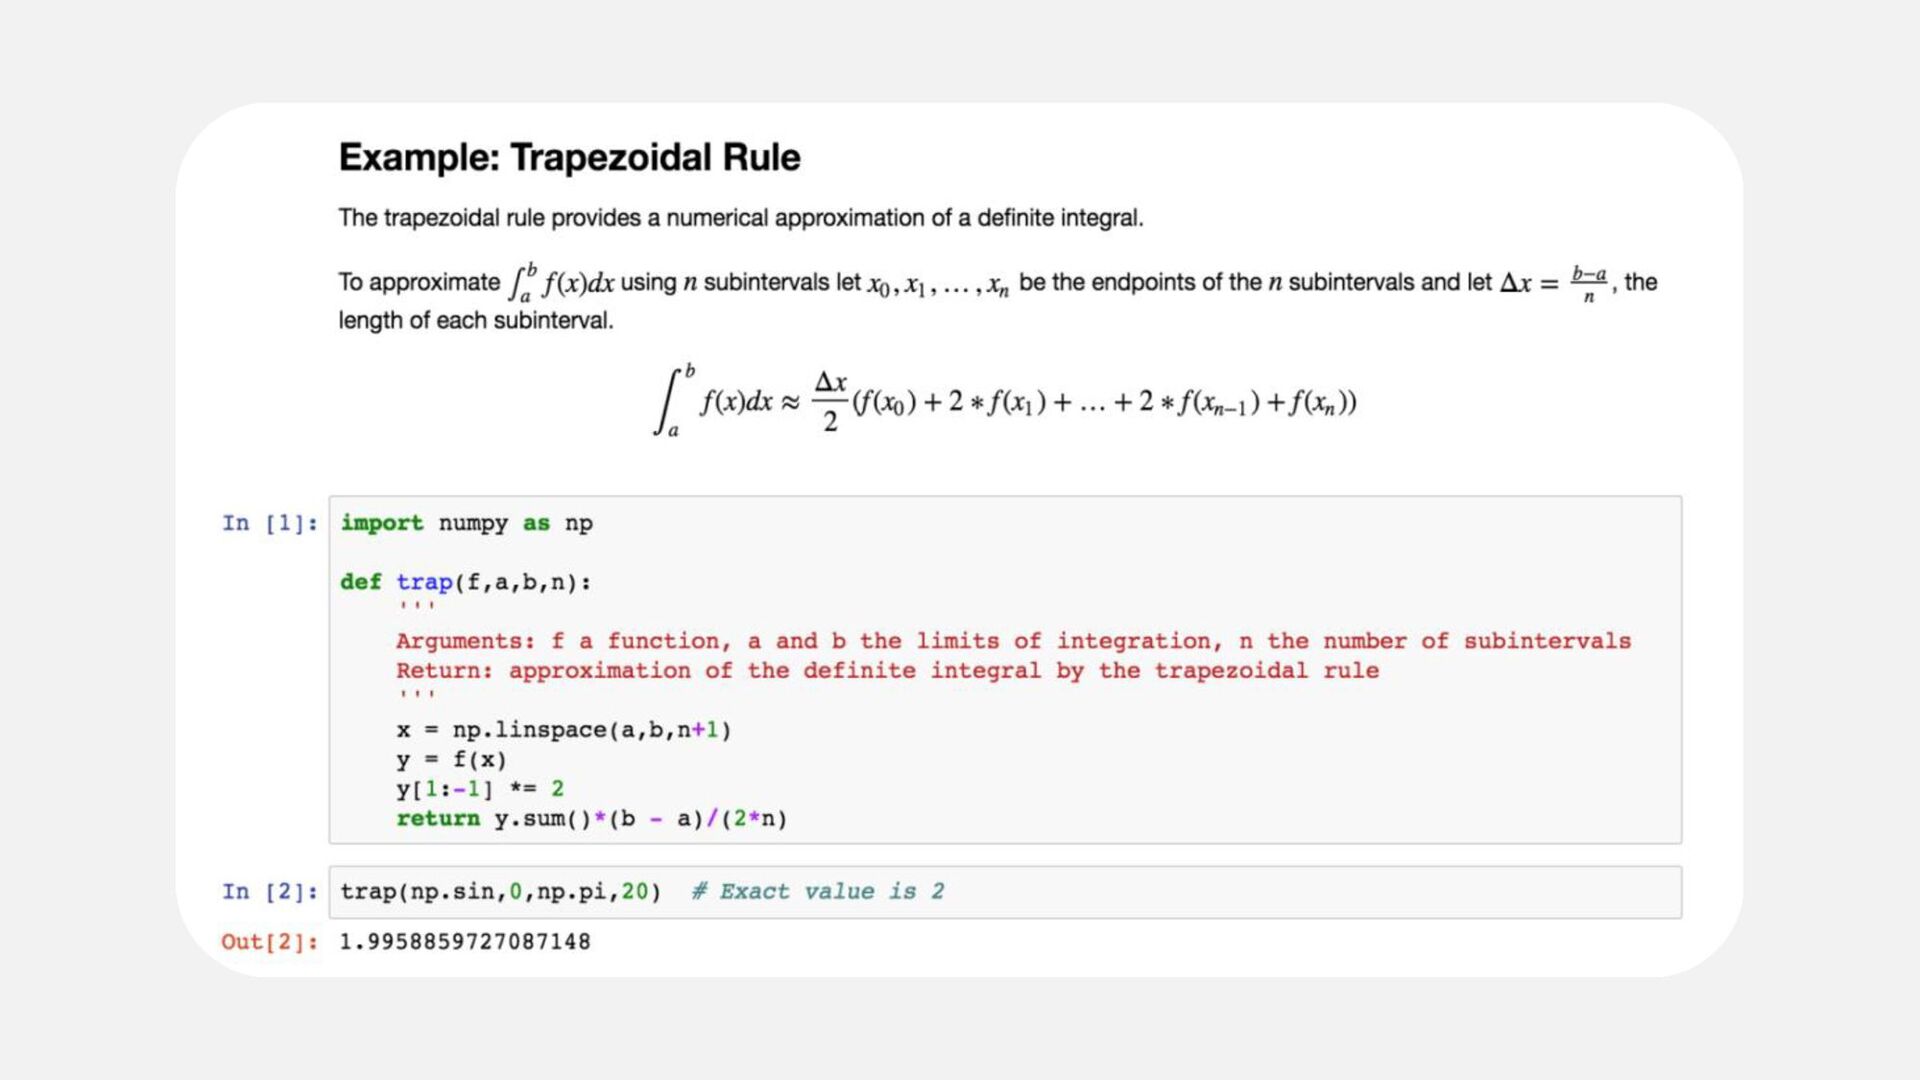
browser and consists of a series of cells. • Markdown cells display formatted text, images, formulas, and video clips. • Code cells contain programs that can be executed, showing the results in the notebook.
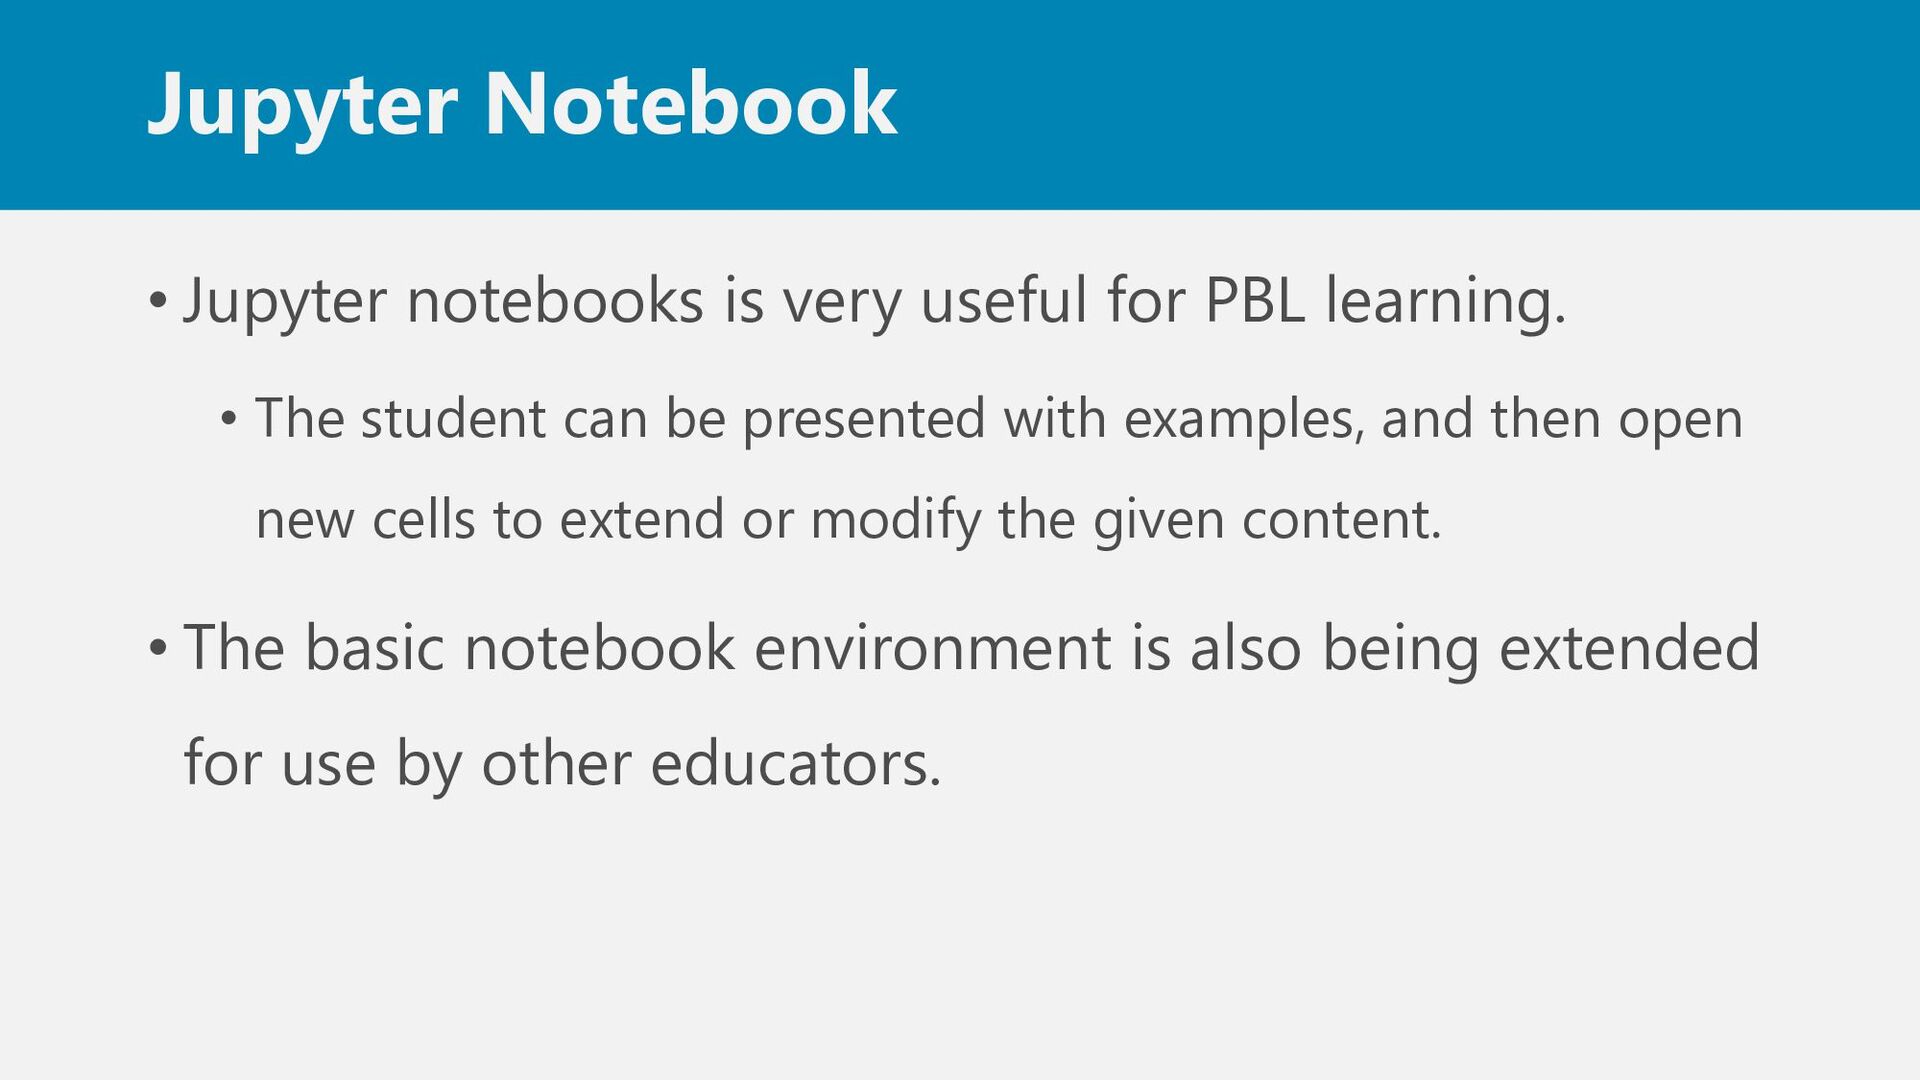
learning. • The student can be presented with examples, and then open new cells to extend or modify the given content. • The basic notebook environment is also being extended for use by other educators.
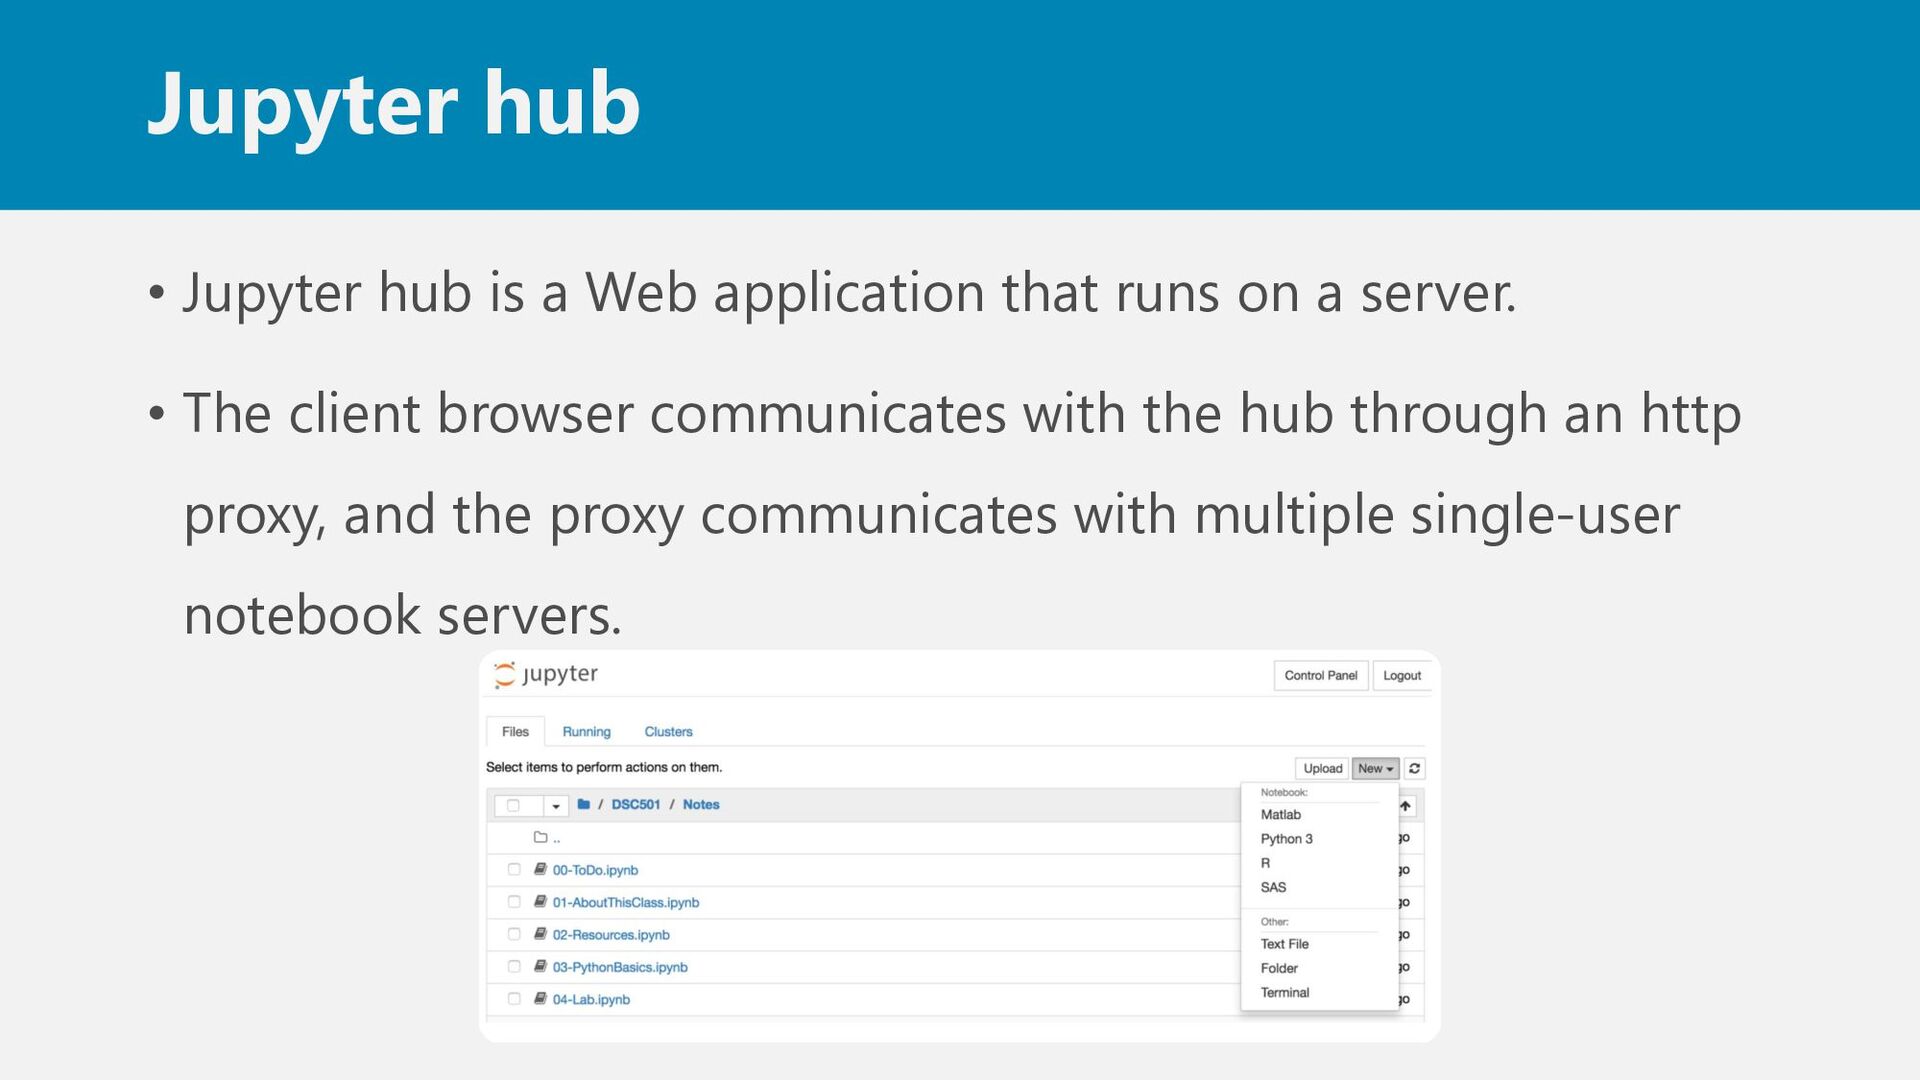
runs on a server. • The client browser communicates with the hub through an http proxy, and the proxy communicates with multiple single-user notebook servers.
setup on a server running CentOS 7.4.1708. • Installation will require the use of three different package managers. • yum: CentOS package manager • npm: a package manager that will be used to install the http proxy • pip: a python package manager to install the hub and notebook
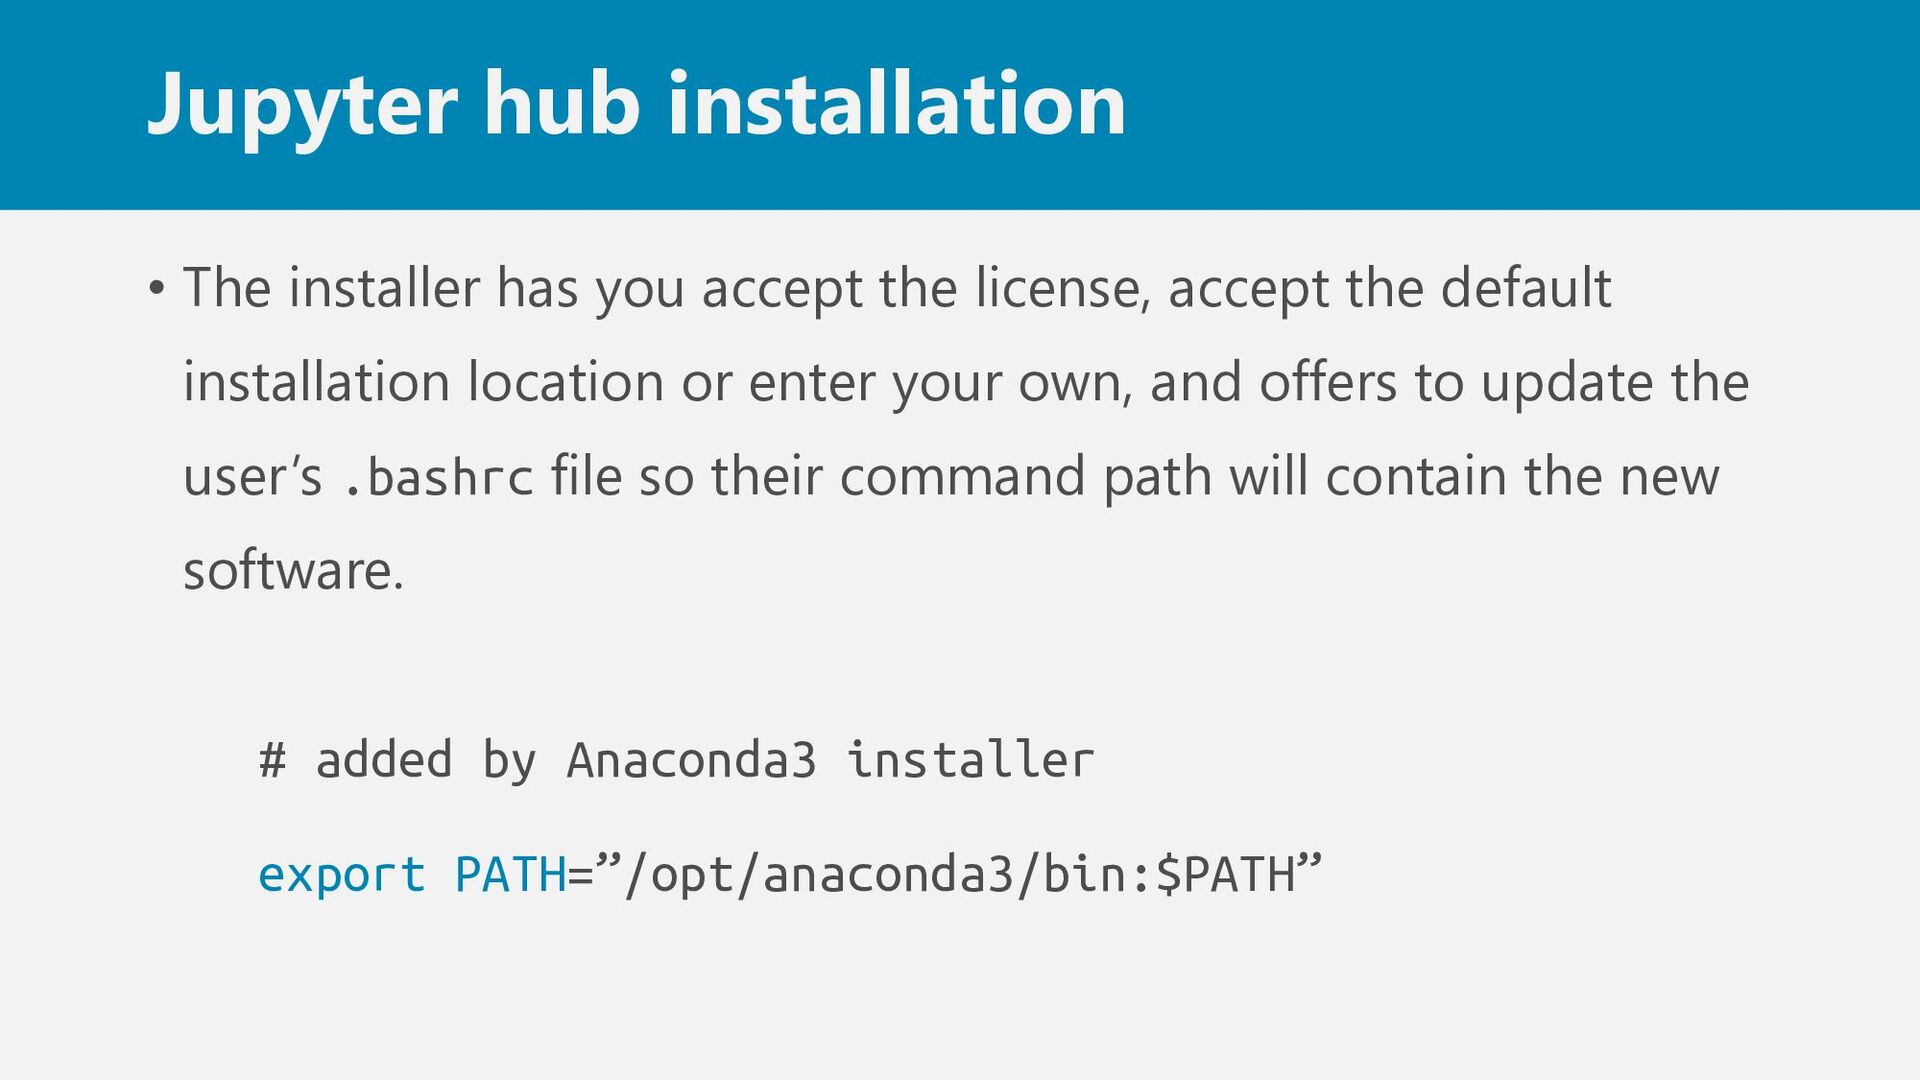
license, accept the default installation location or enter your own, and offers to update the user’s .bashrc file so their command path will contain the new software. # added by Anaconda3 installer export PATH=”/opt/anaconda3/bin:$PATH”
– epel in order to install node.js. sudo yum install epel-release sudo yum install nodejs • NodeJS includes the package manager npm and we use it to install the http proxy. sudo npm install --g configurable-http-proxy
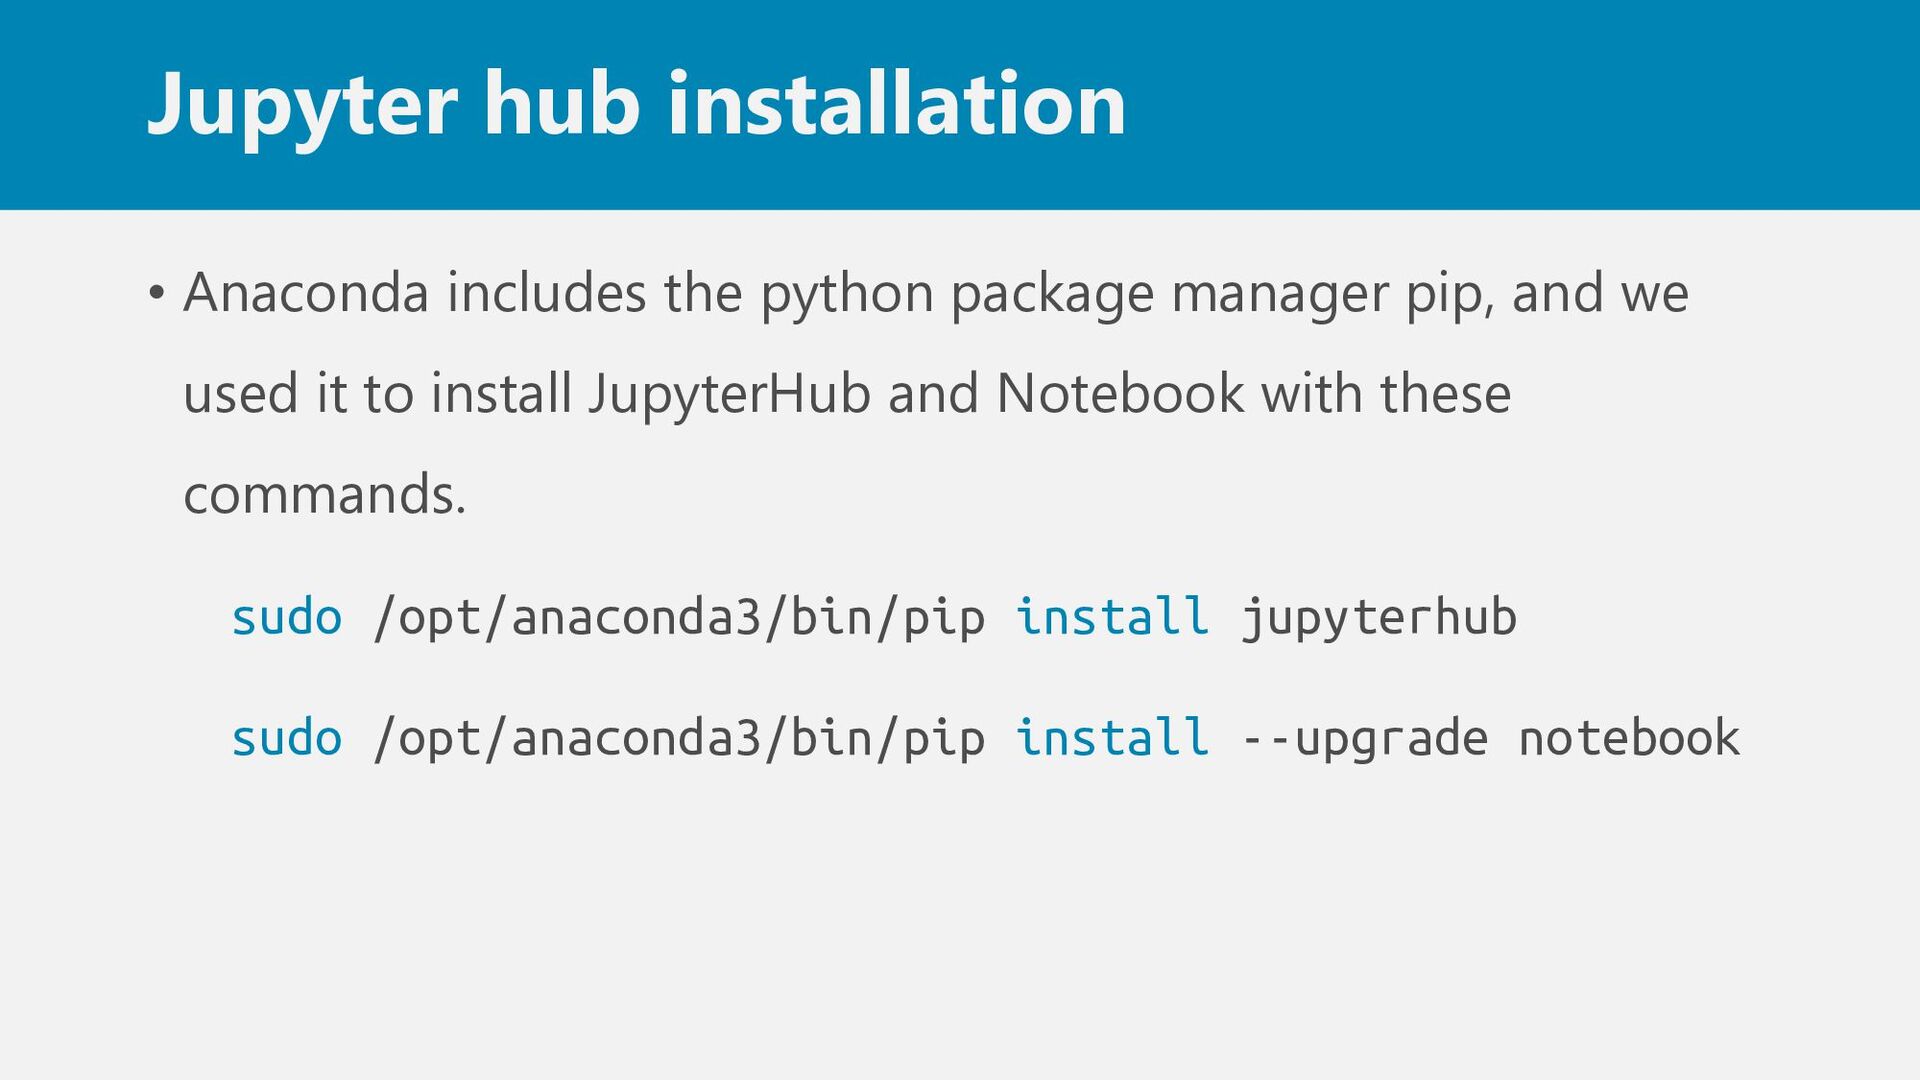
pip, and we used it to install JupyterHub and Notebook with these commands. sudo /opt/anaconda3/bin/pip install jupyterhub sudo /opt/anaconda3/bin/pip install --upgrade notebook
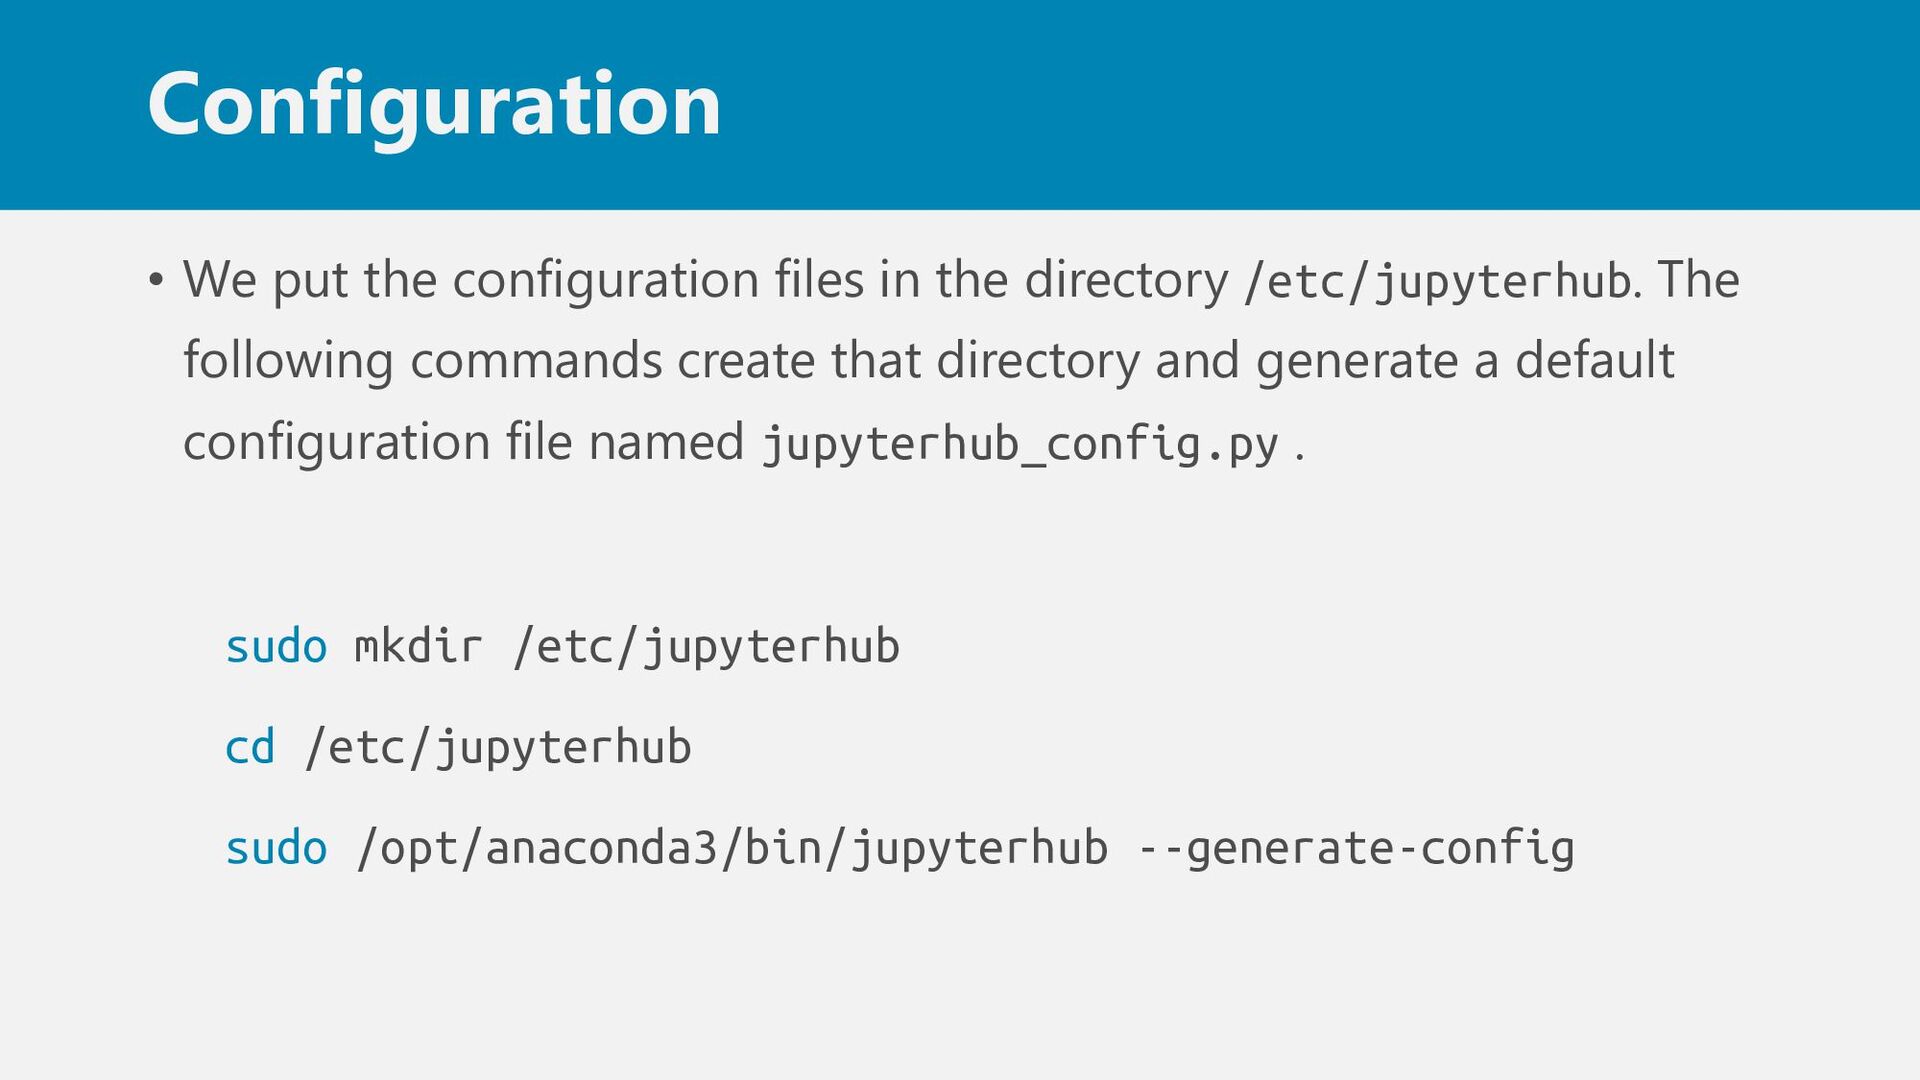
/etc/jupyterhub. The following commands create that directory and generate a default configuration file named jupyterhub_config.py . sudo mkdir /etc/jupyterhub cd /etc/jupyterhub sudo /opt/anaconda3/bin/jupyterhub --generate-config
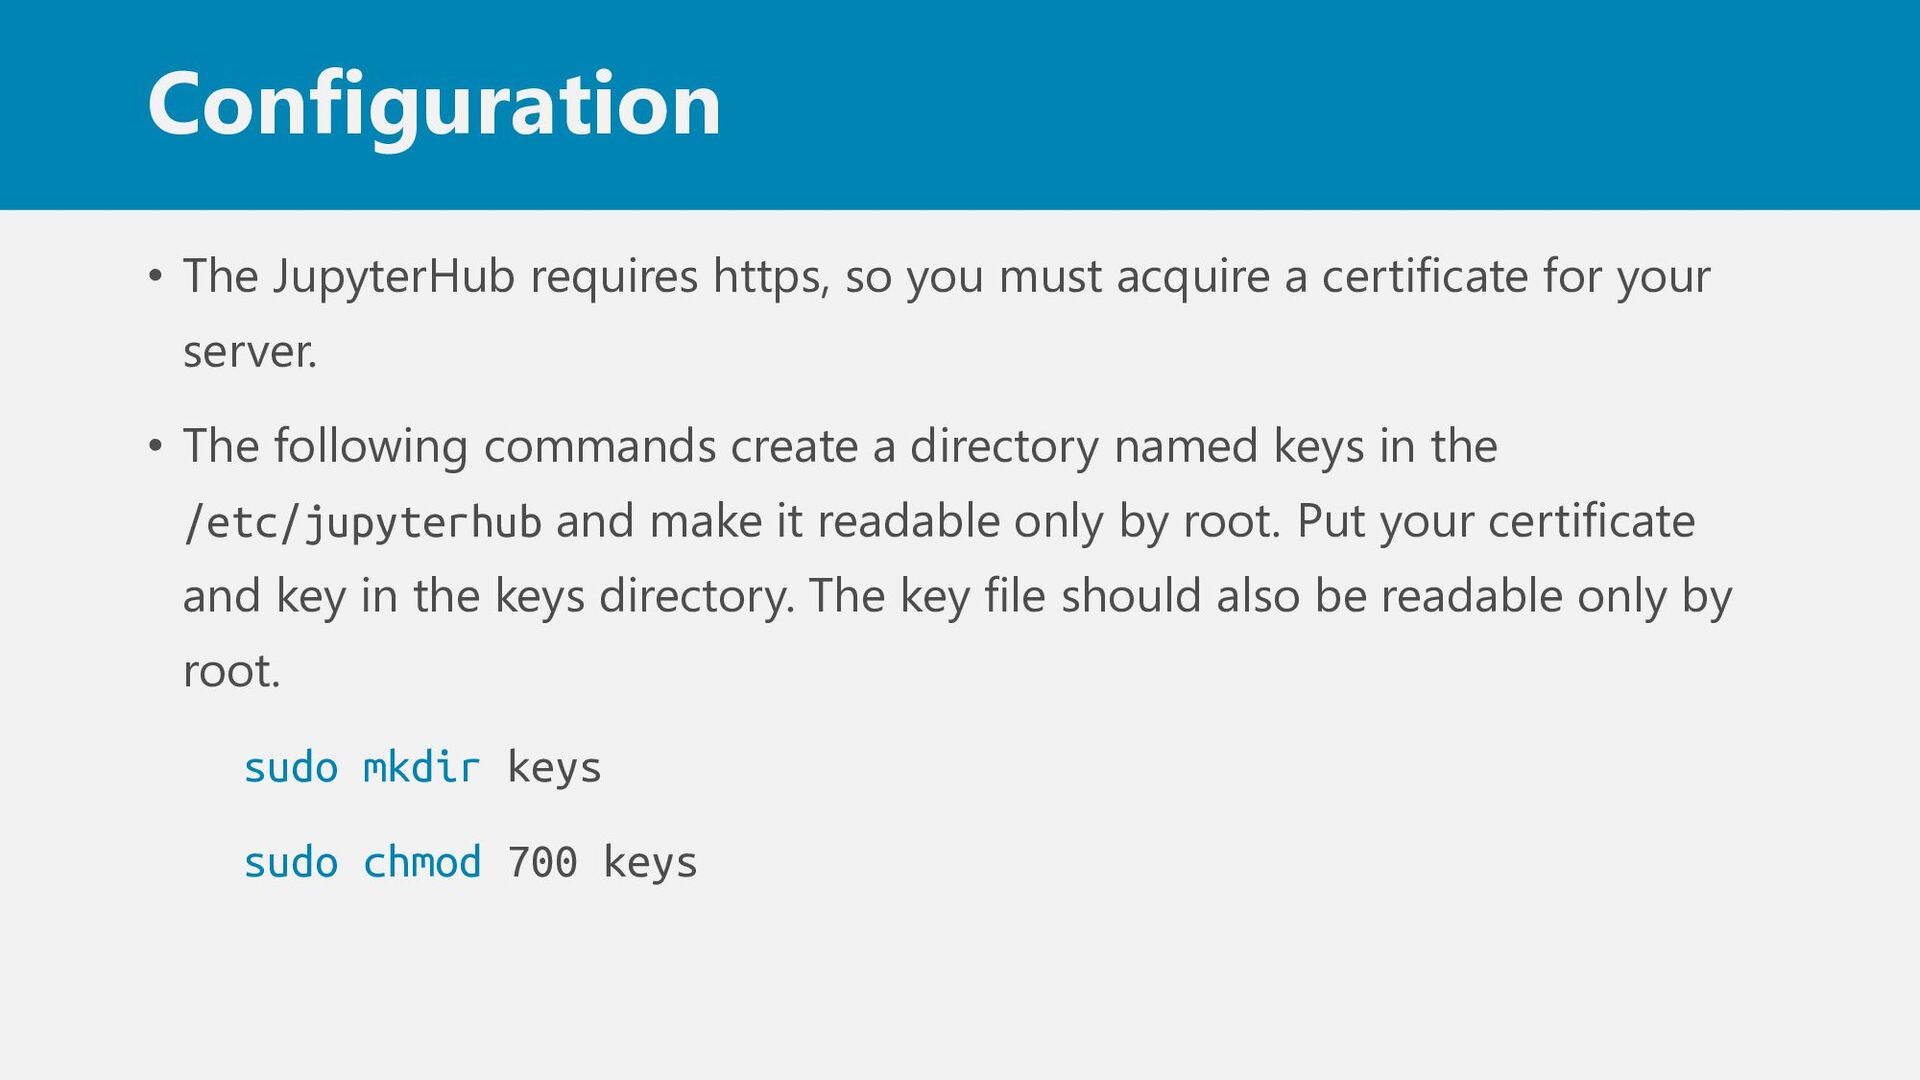
a certificate for your server. • The following commands create a directory named keys in the /etc/jupyterhub and make it readable only by root. Put your certificate and key in the keys directory. The key file should also be readable only by root. sudo mkdir keys sudo chmod 700 keys
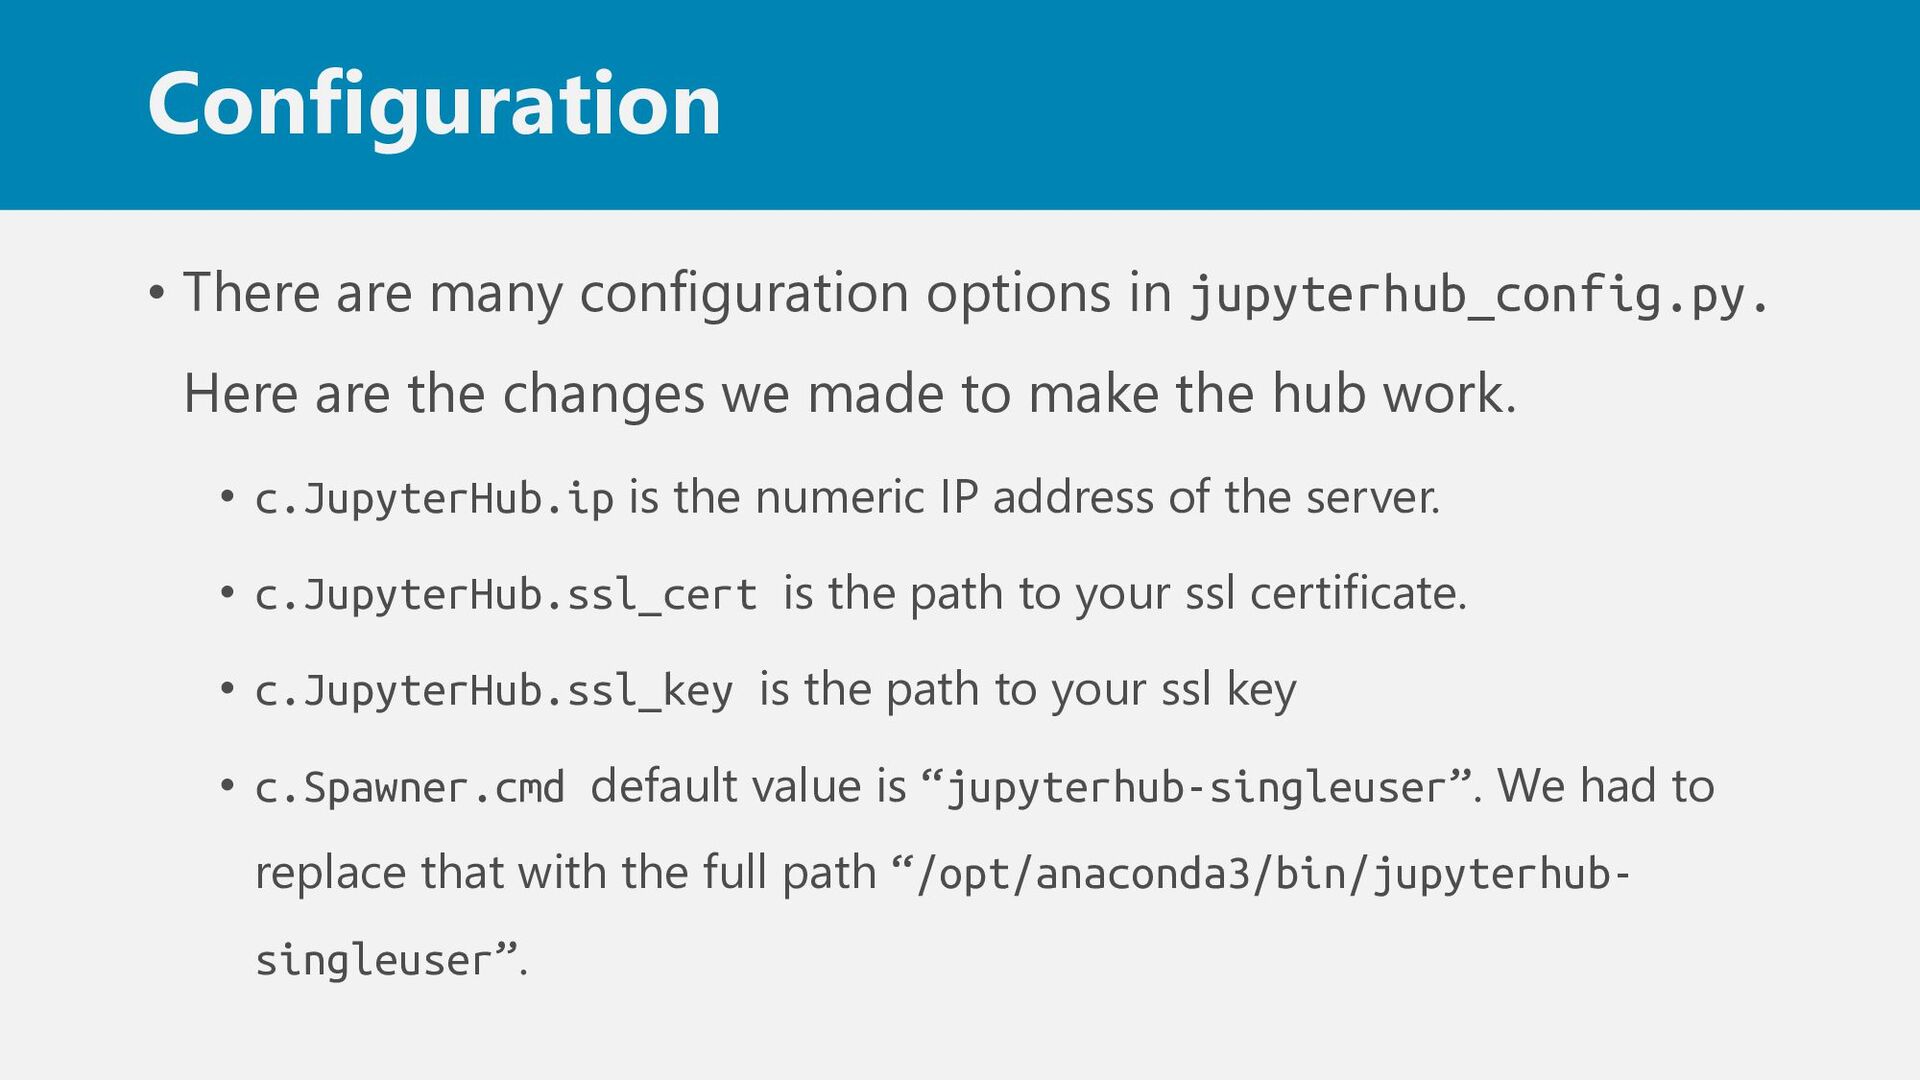
are the changes we made to make the hub work. • c.JupyterHub.ip is the numeric IP address of the server. • c.JupyterHub.ssl_cert is the path to your ssl certificate. • c.JupyterHub.ssl_key is the path to your ssl key • c.Spawner.cmd default value is “jupyterhub-singleuser”. We had to replace that with the full path “/opt/anaconda3/bin/jupyterhub- singleuser”.
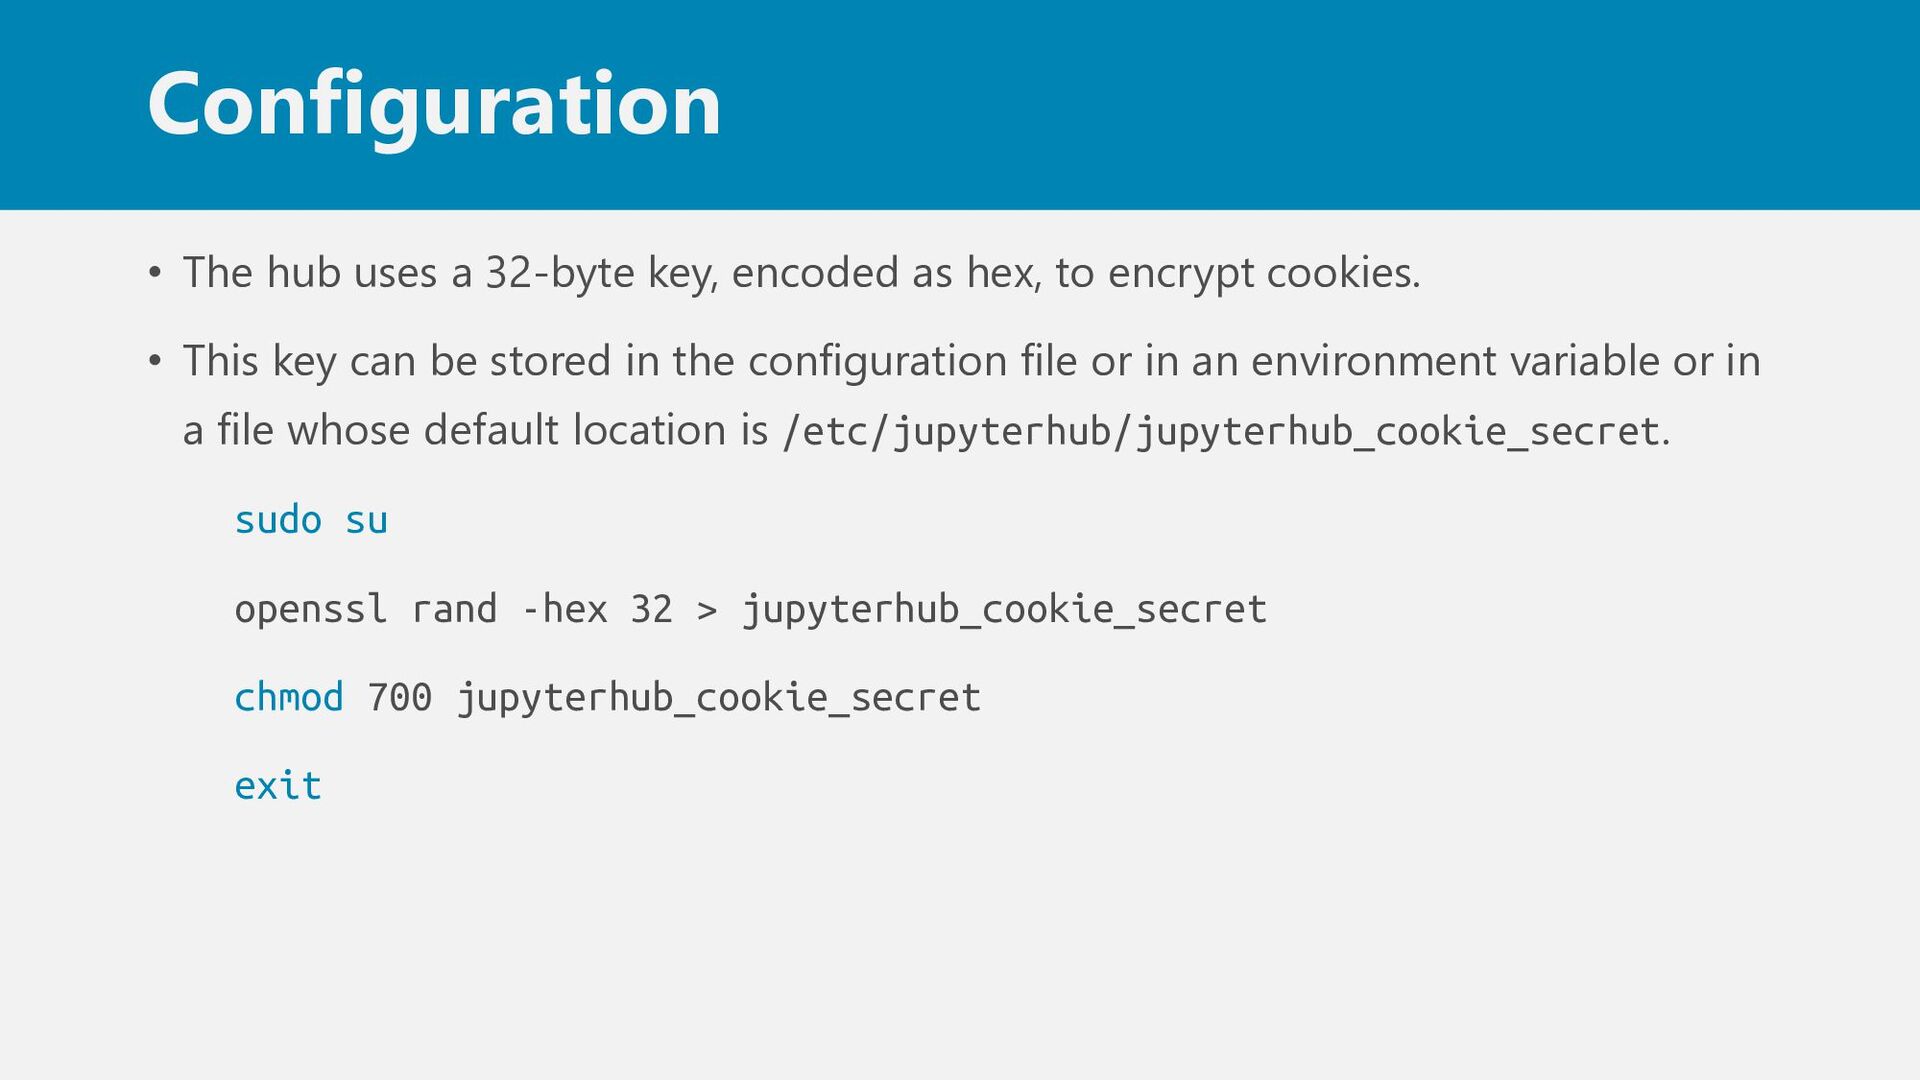
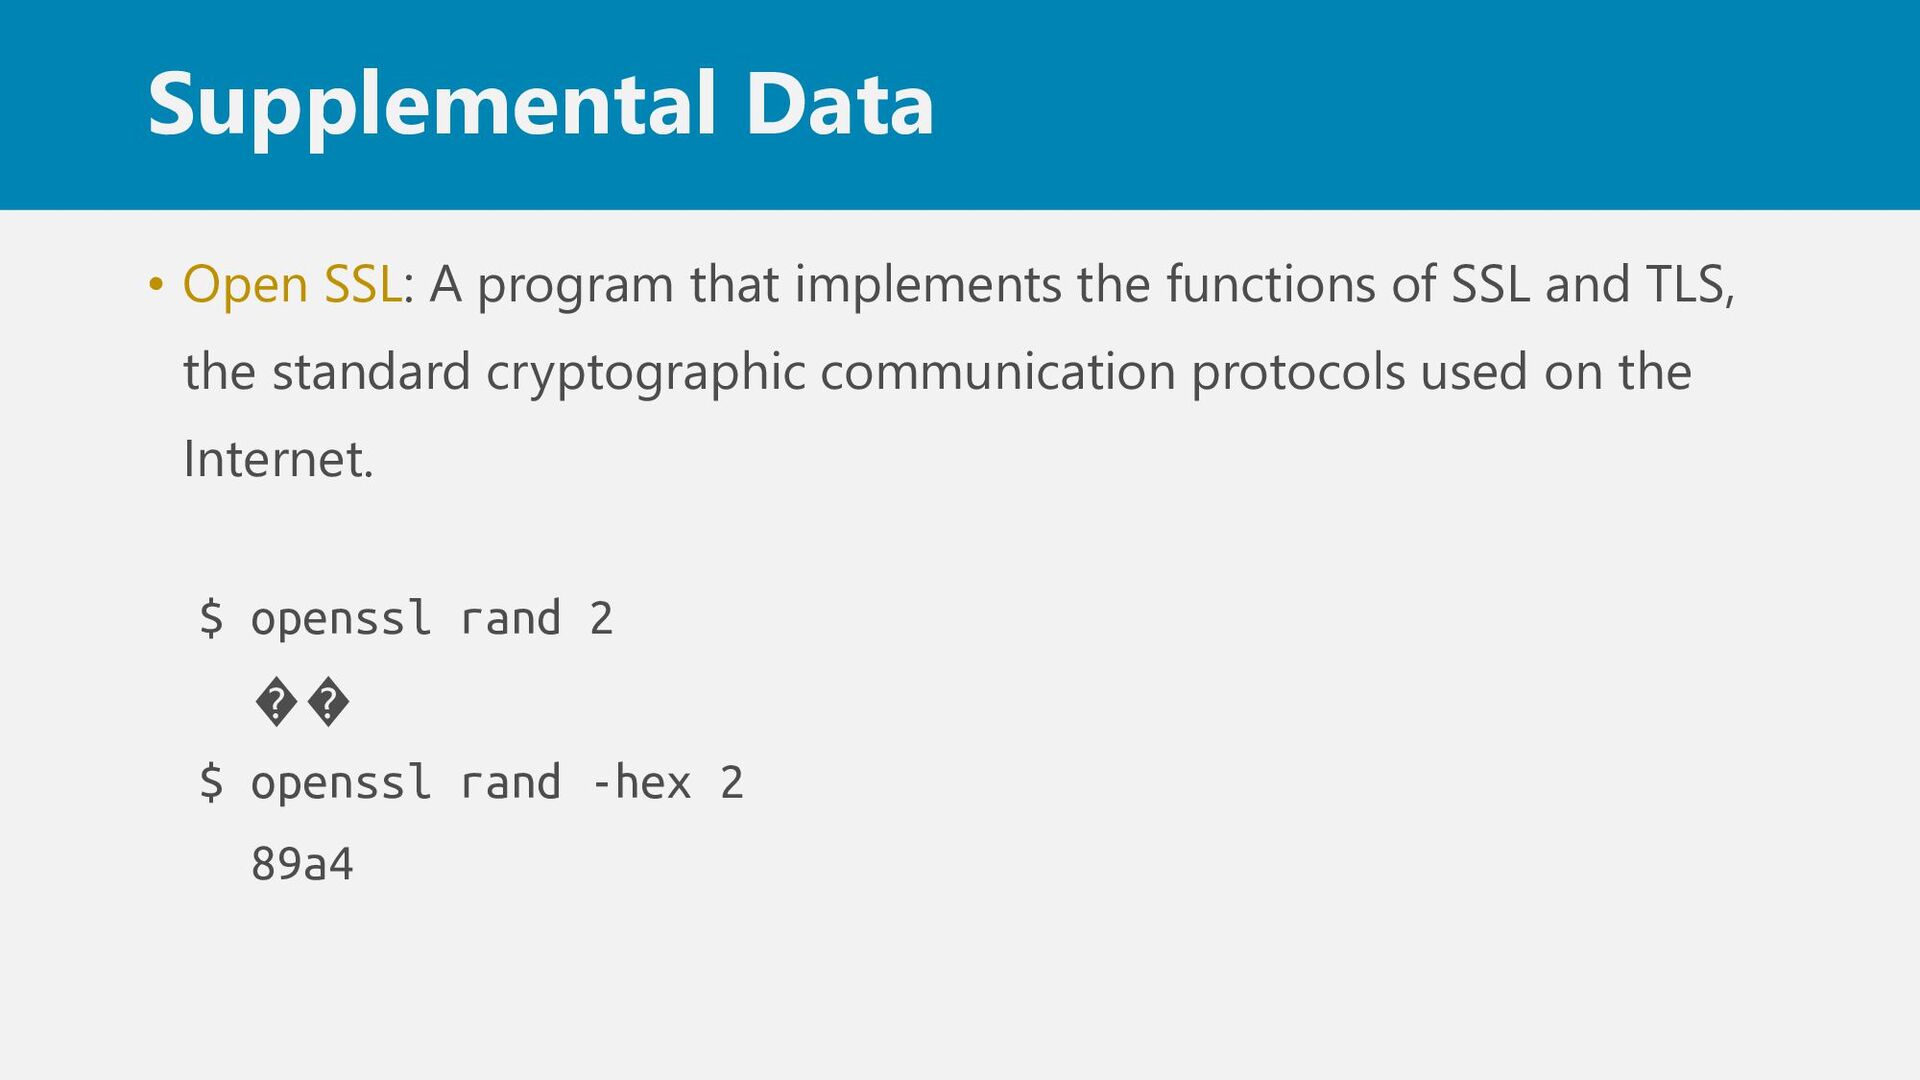
hex, to encrypt cookies. • This key can be stored in the configuration file or in an environment variable or in a file whose default location is /etc/jupyterhub/jupyterhub_cookie_secret. sudo su openssl rand -hex 32 > jupyterhub_cookie_secret chmod 700 jupyterhub_cookie_secret exit
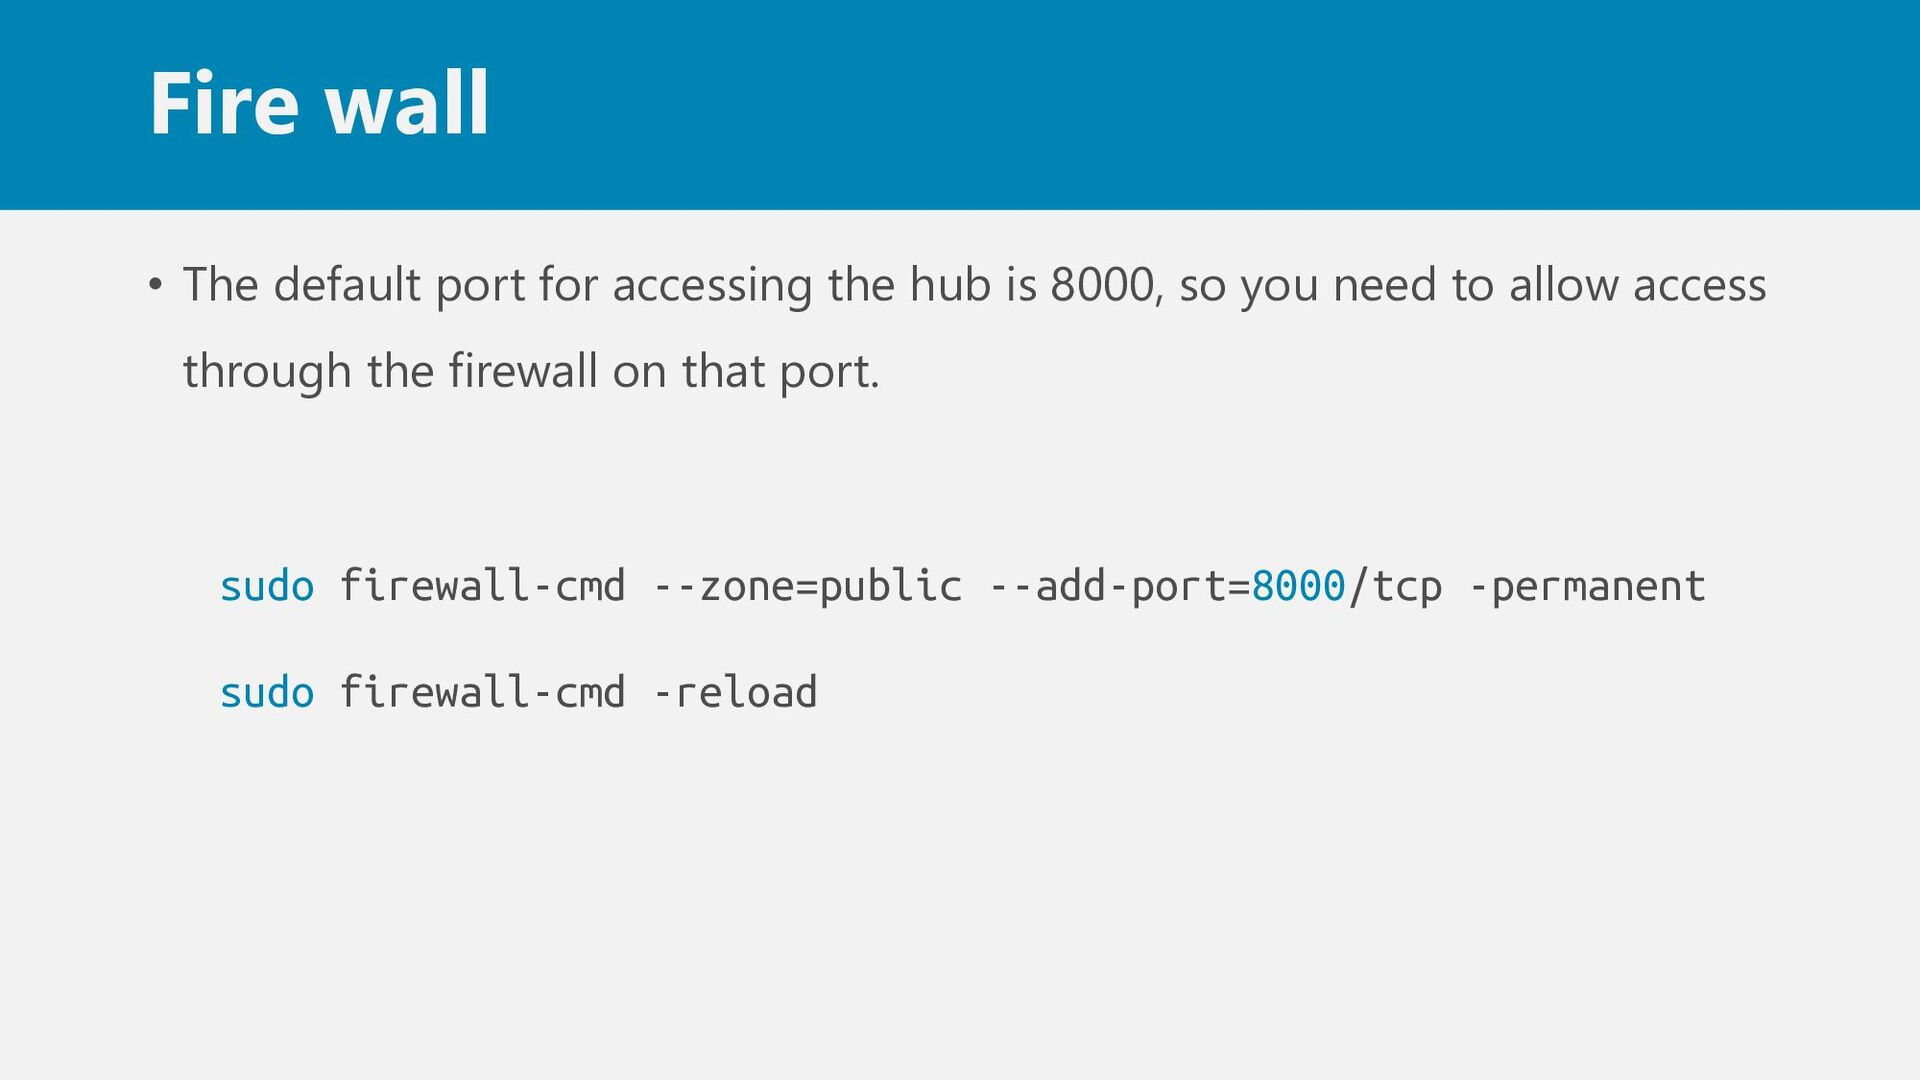
is 8000, so you need to allow access through the firewall on that port. sudo firewall-cmd --zone=public --add-port=8000/tcp -permanent sudo firewall-cmd -reload
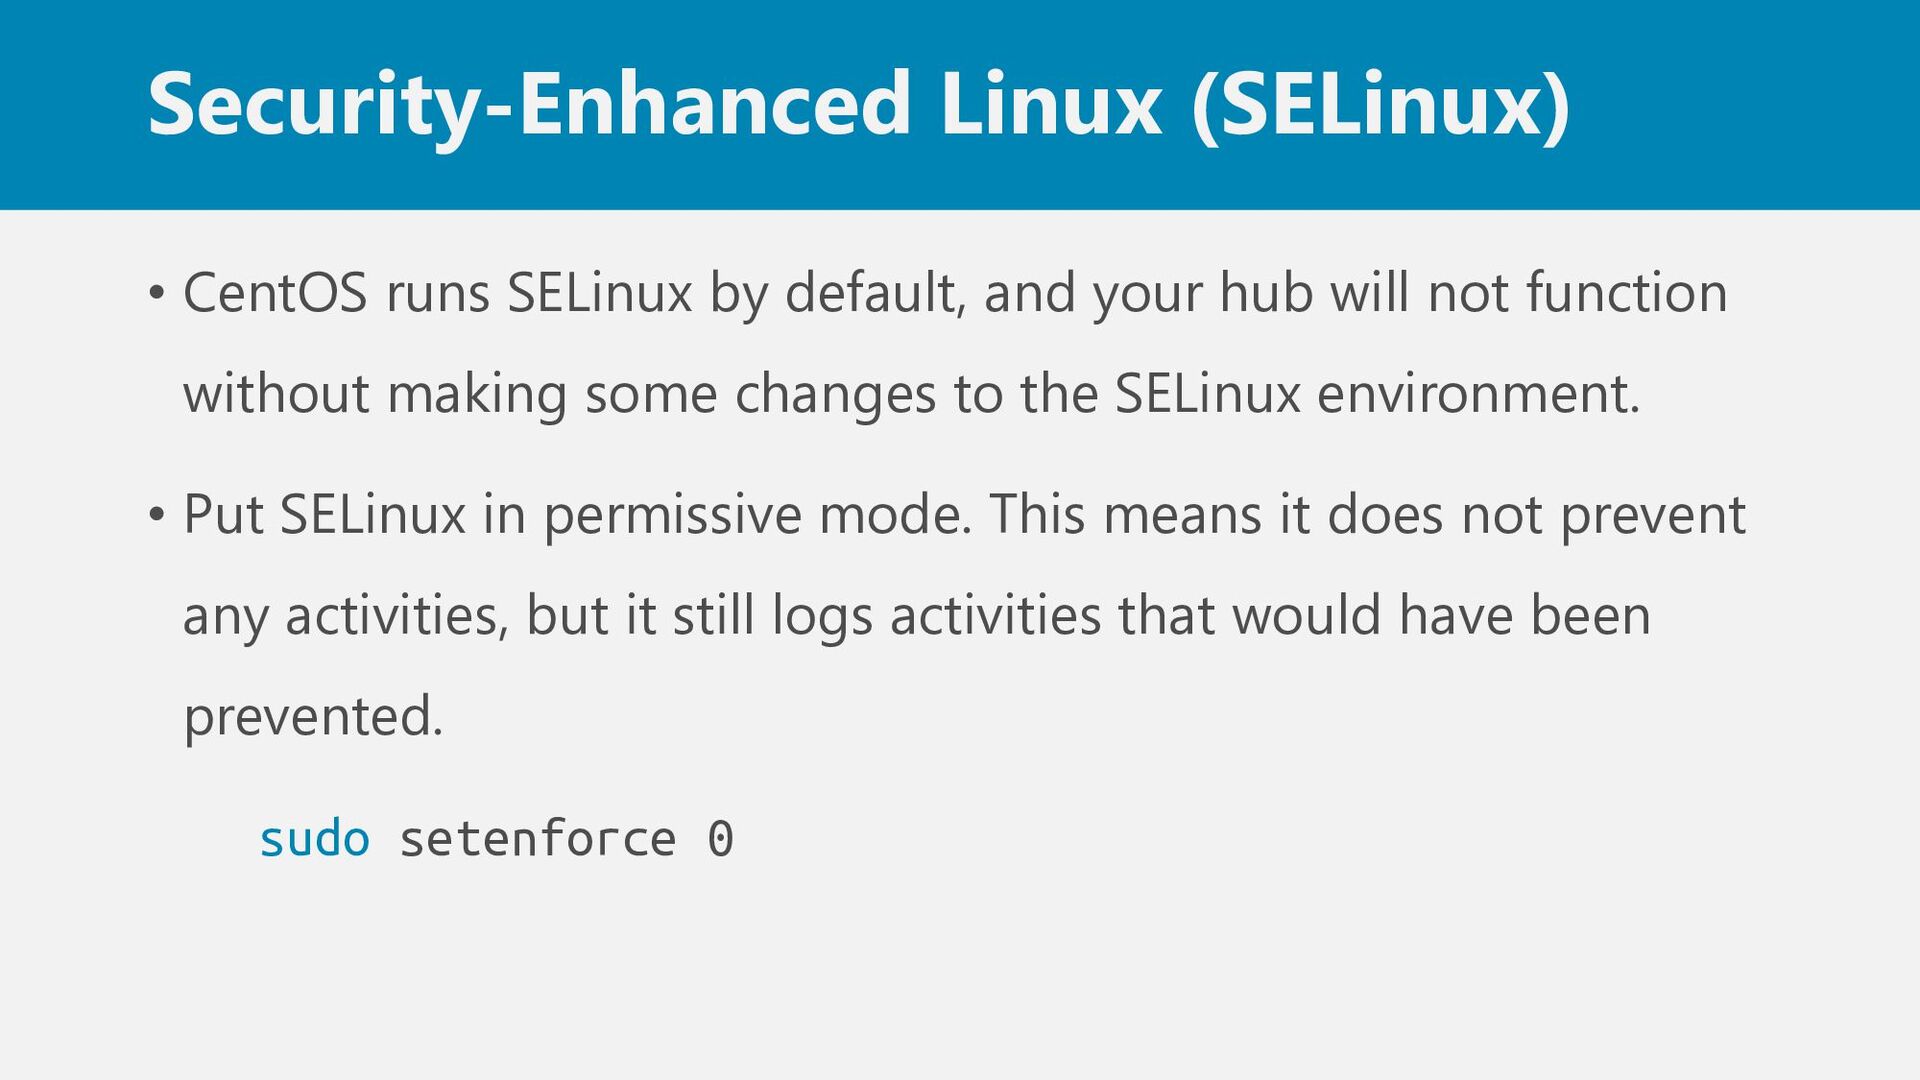
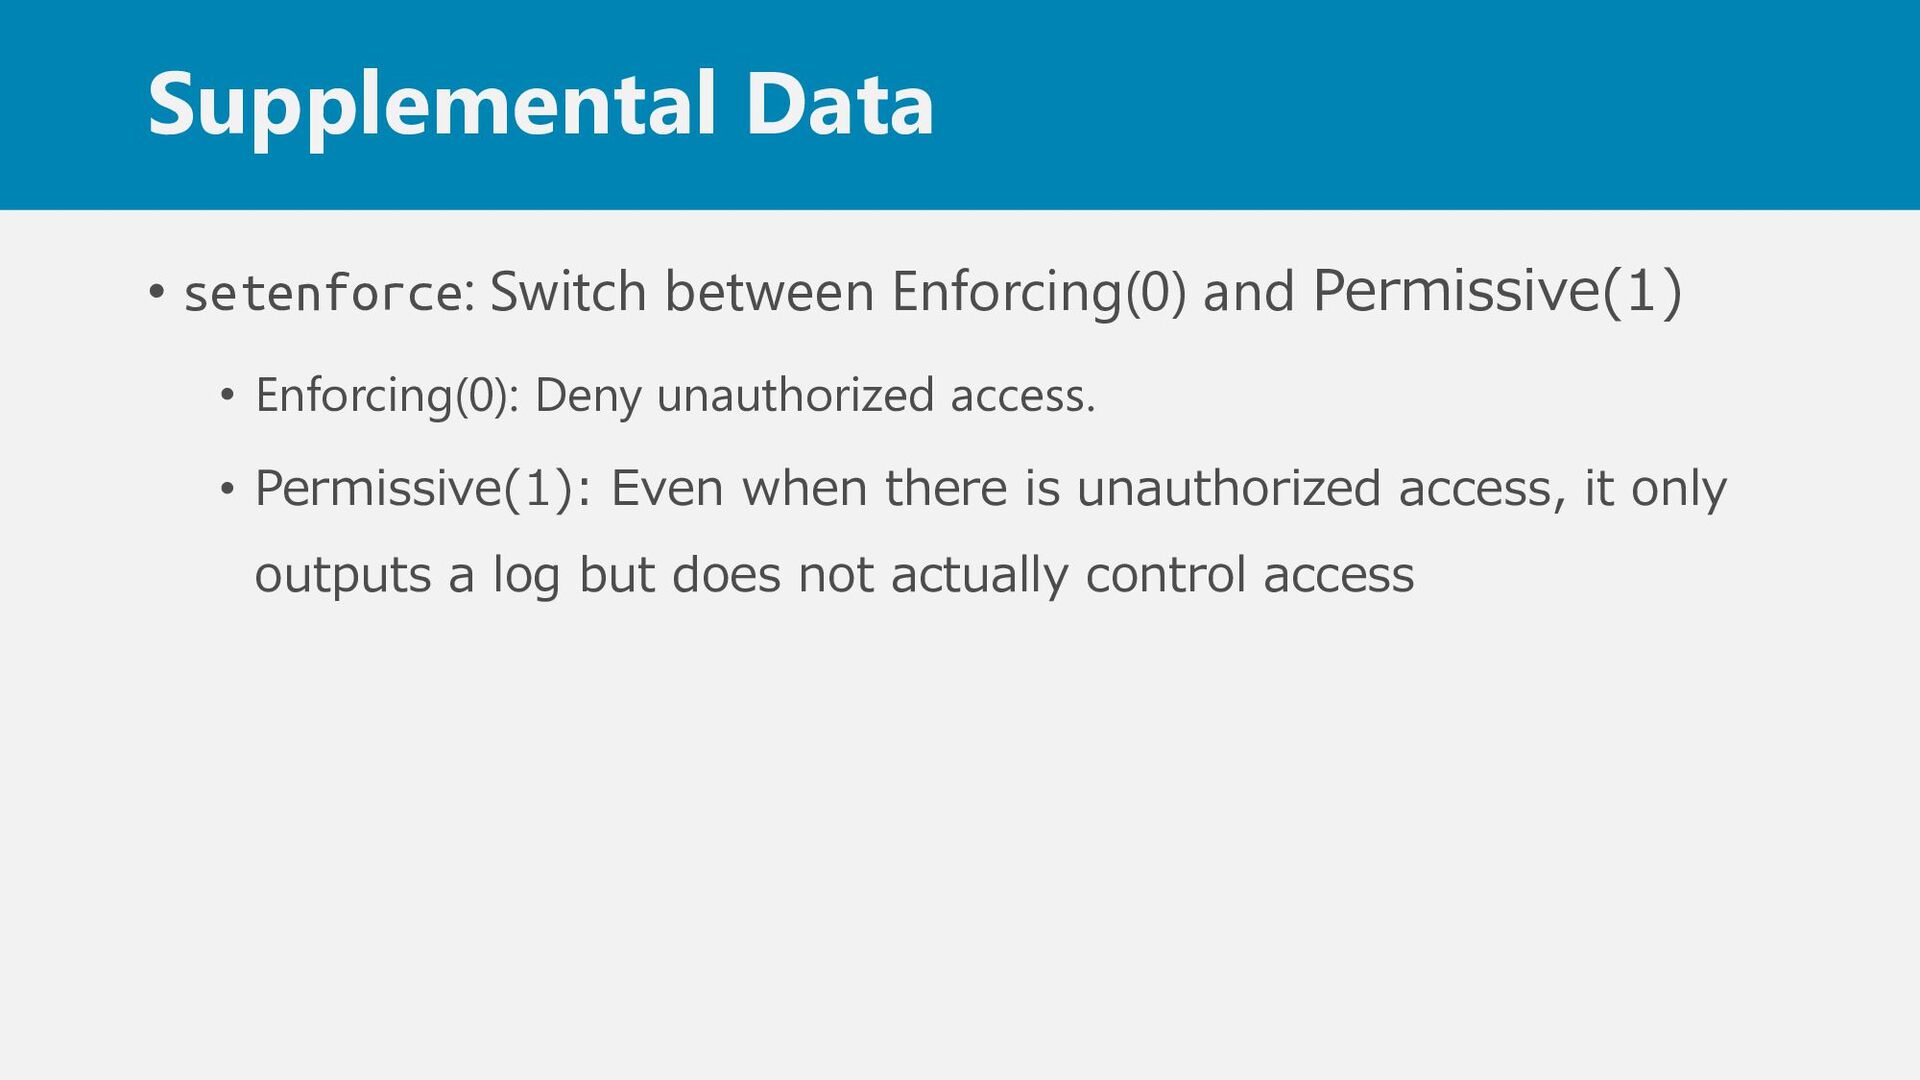
your hub will not function without making some changes to the SELinux environment. • Put SELinux in permissive mode. This means it does not prevent any activities, but it still logs activities that would have been prevented. sudo setenforce 0
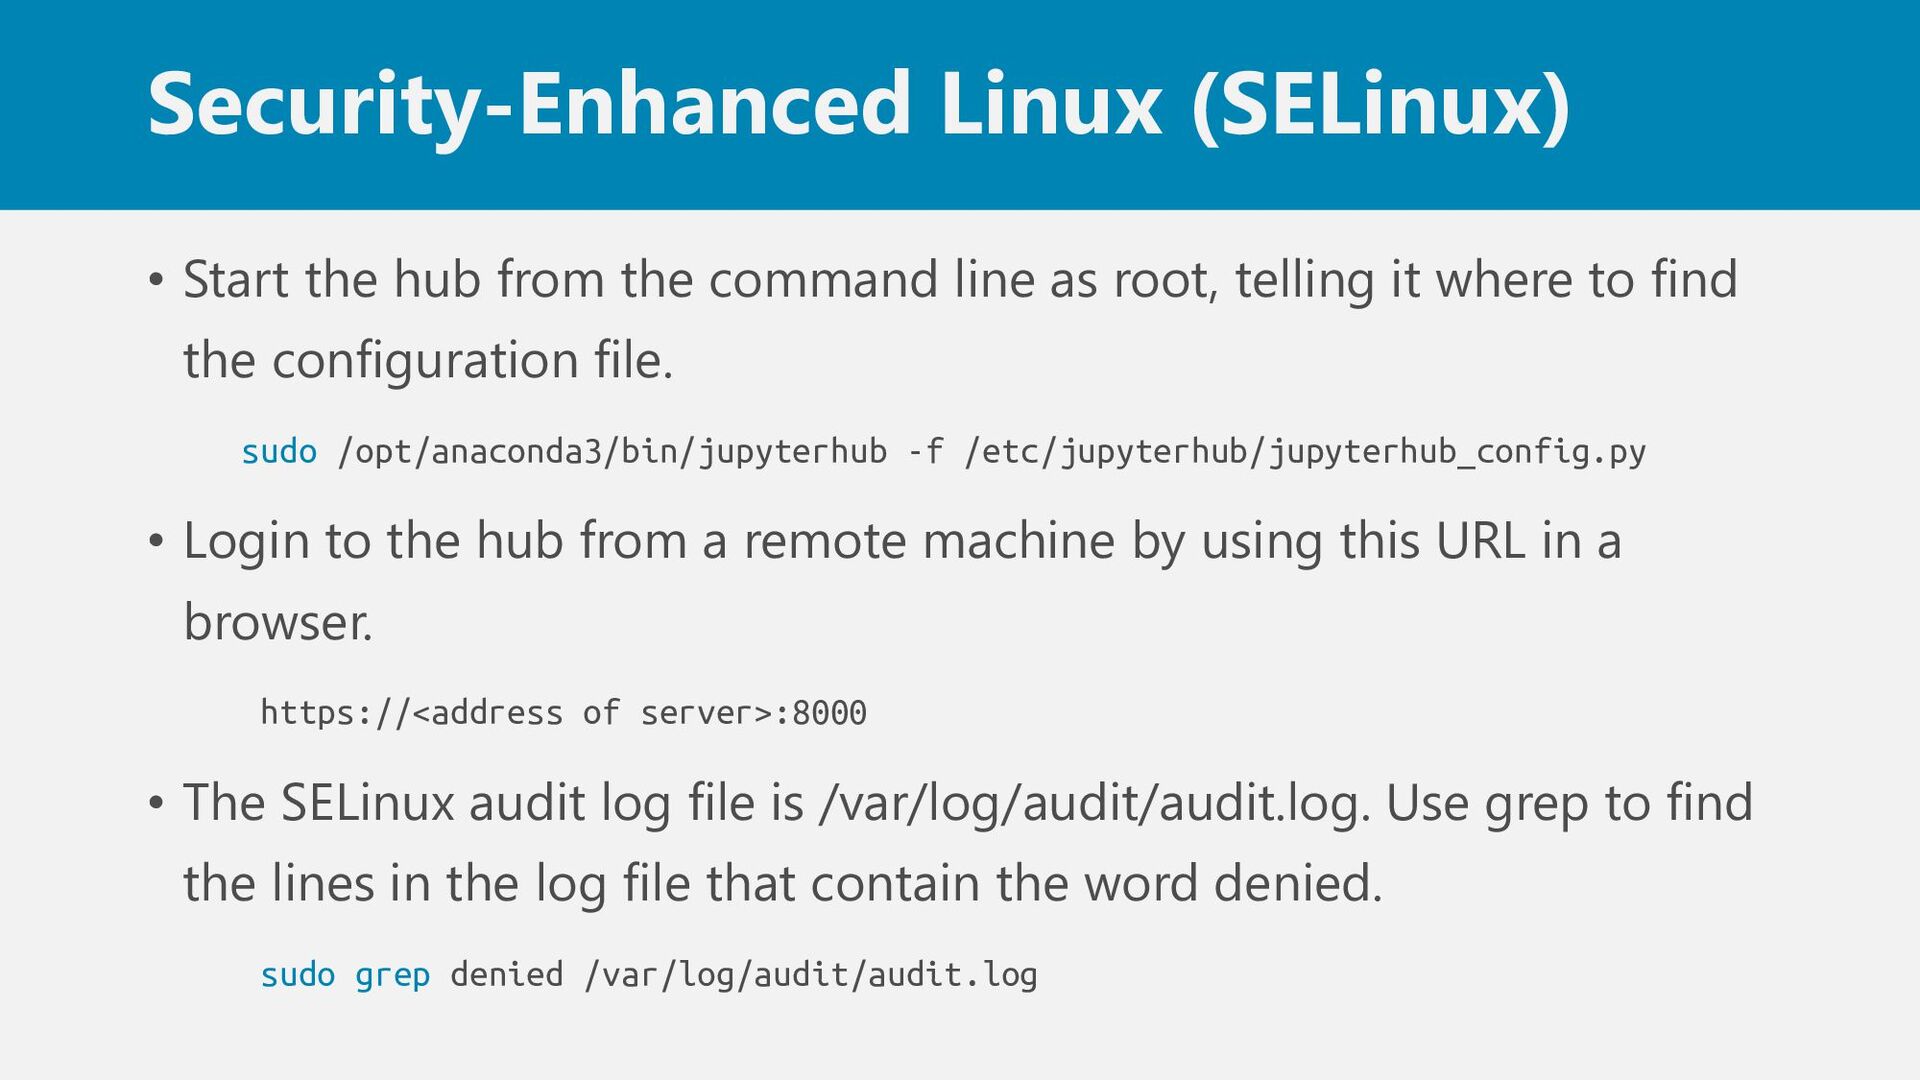
line as root, telling it where to find the configuration file. sudo /opt/anaconda3/bin/jupyterhub -f /etc/jupyterhub/jupyterhub_config.py • Login to the hub from a remote machine by using this URL in a browser. https://<address of server>:8000 • The SELinux audit log file is /var/log/audit/audit.log. Use grep to find the lines in the log file that contain the word denied. sudo grep denied /var/log/audit/audit.log
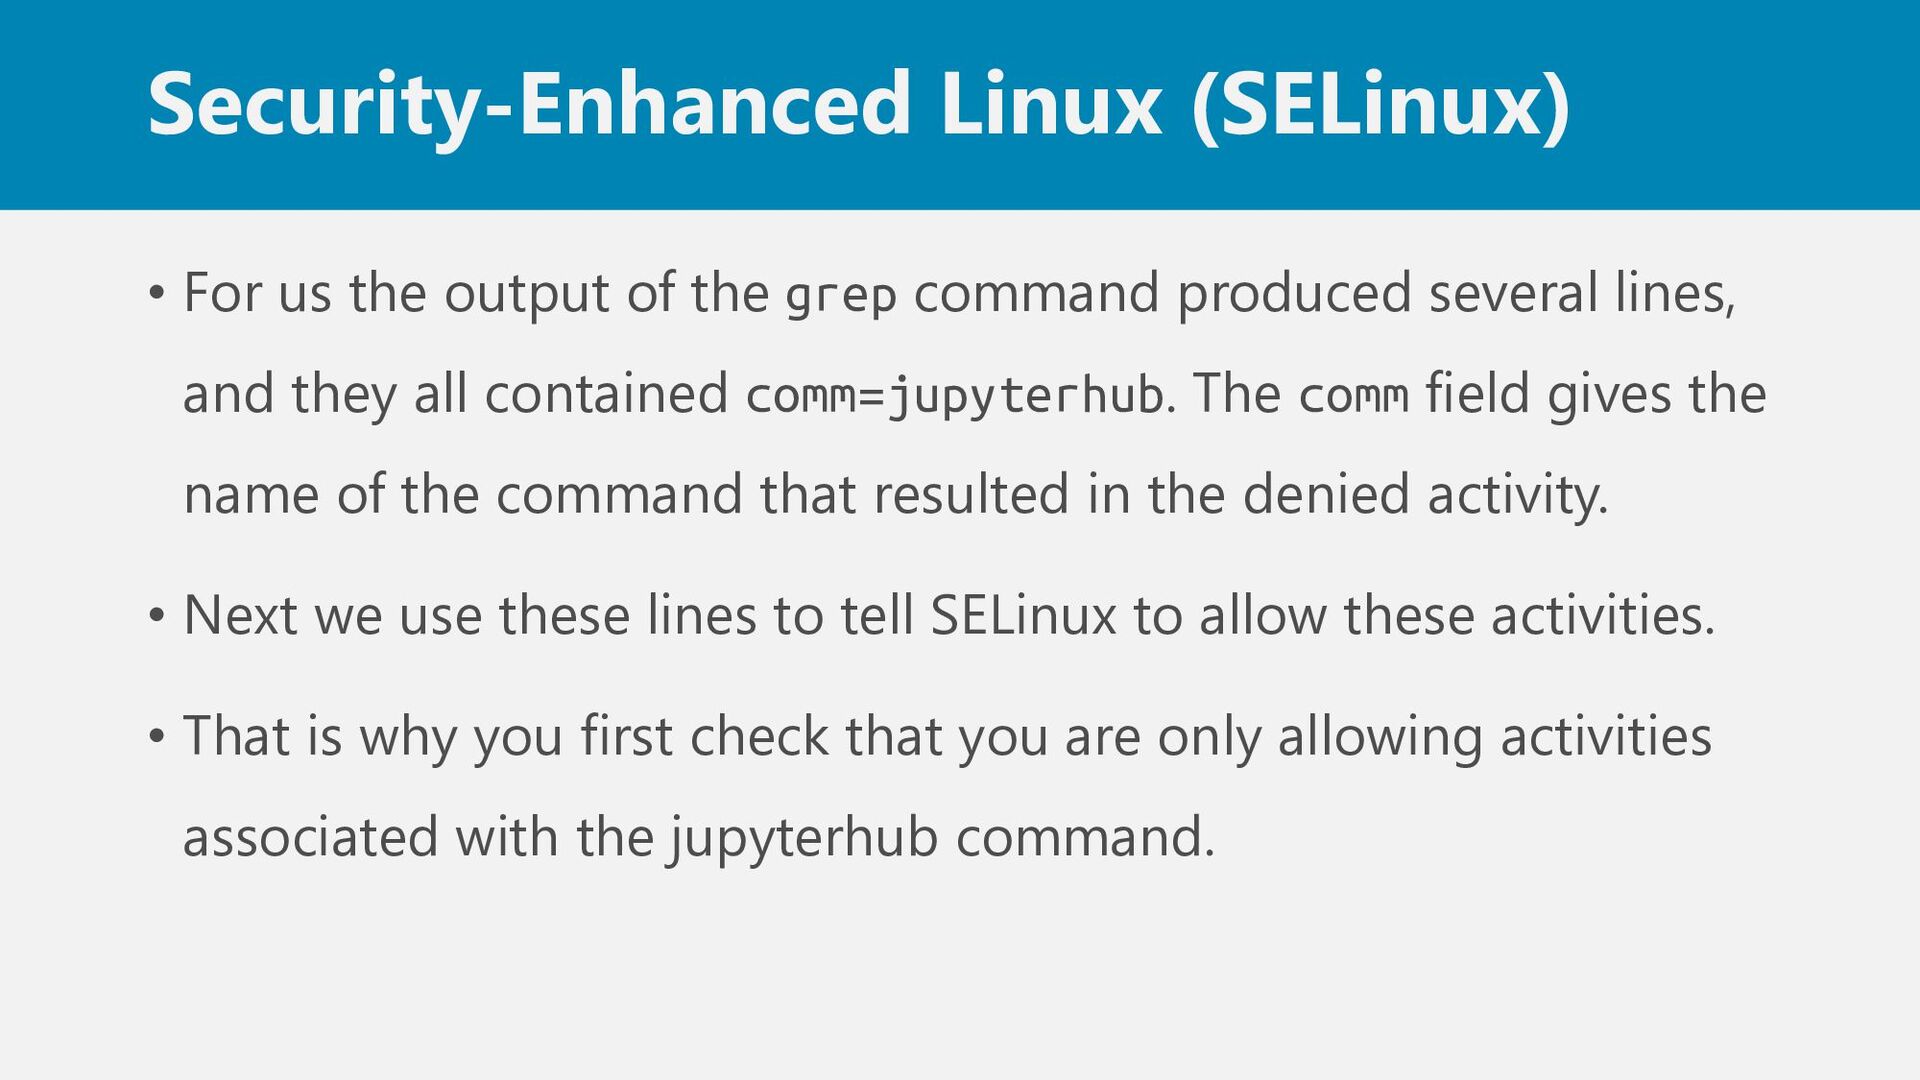
grep command produced several lines, and they all contained comm=jupyterhub. The comm field gives the name of the command that resulted in the denied activity. • Next we use these lines to tell SELinux to allow these activities. • That is why you first check that you are only allowing activities associated with the jupyterhub command.
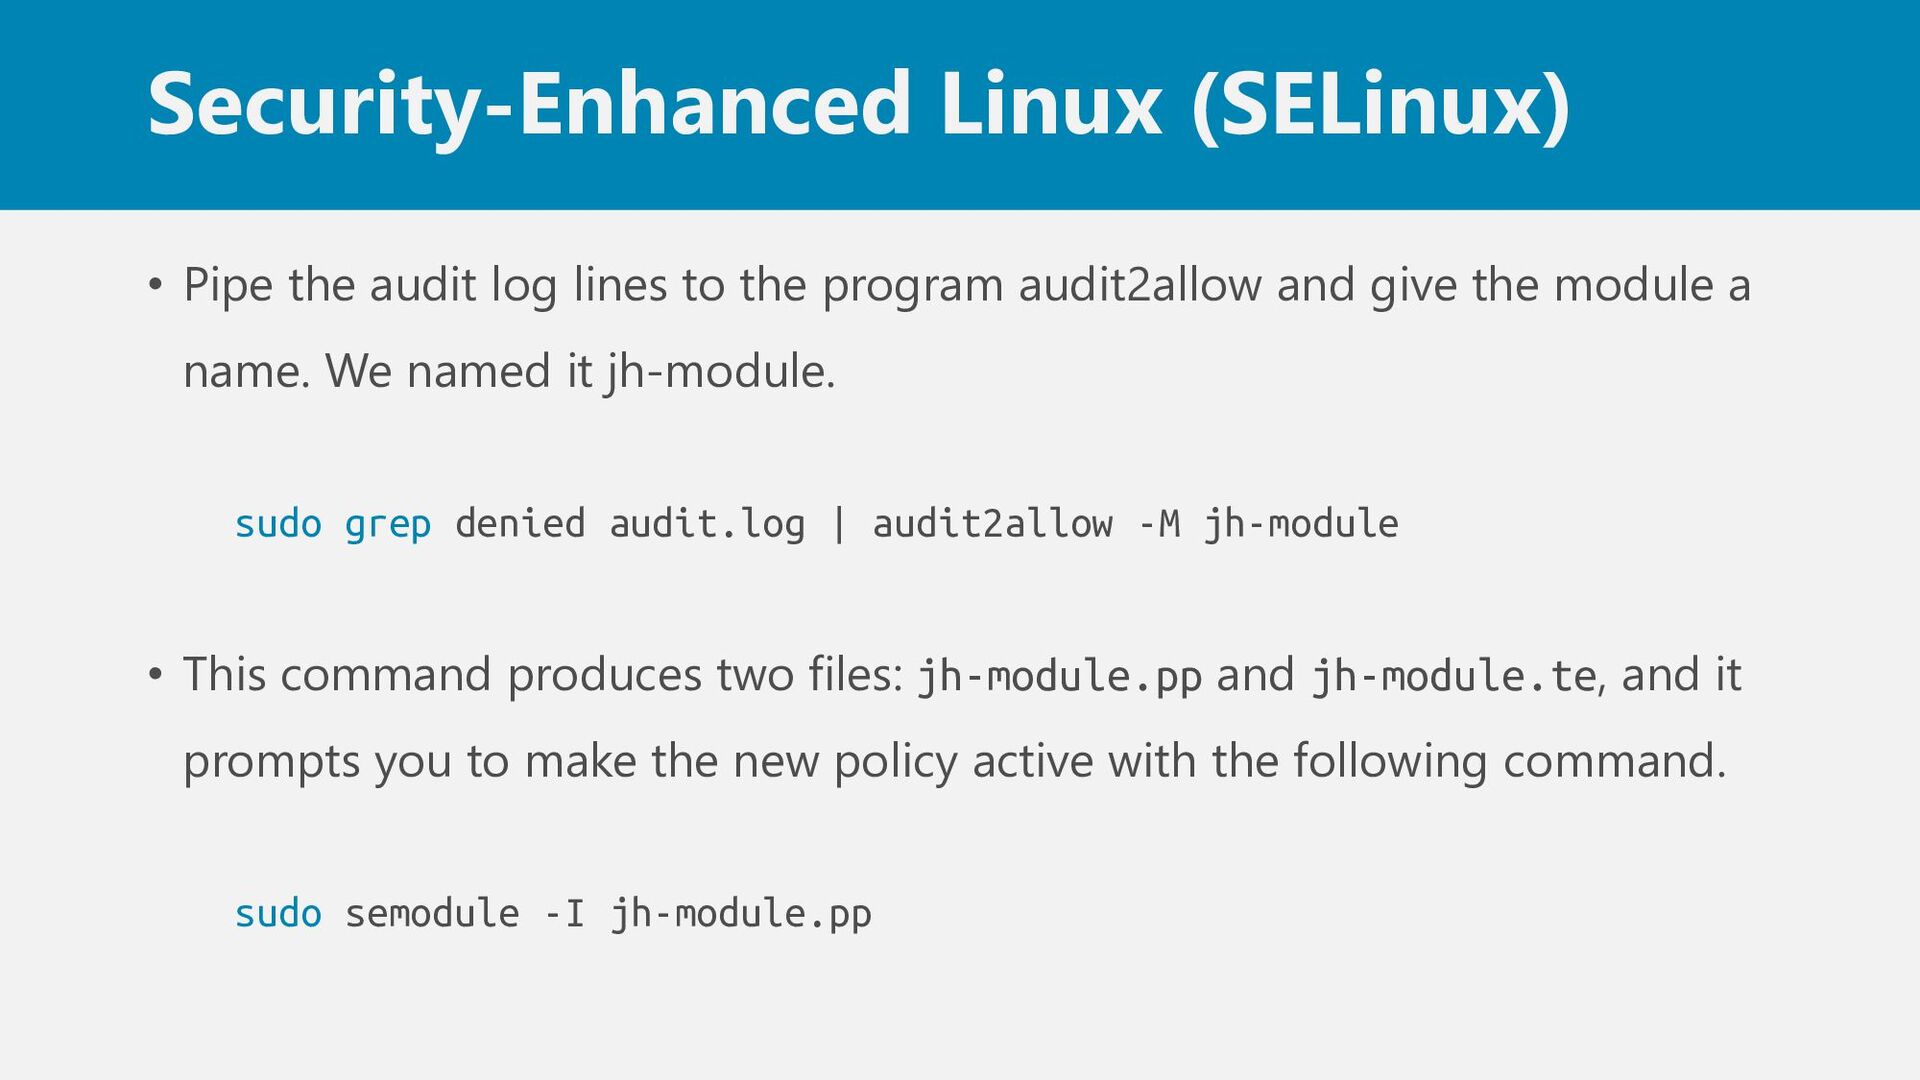
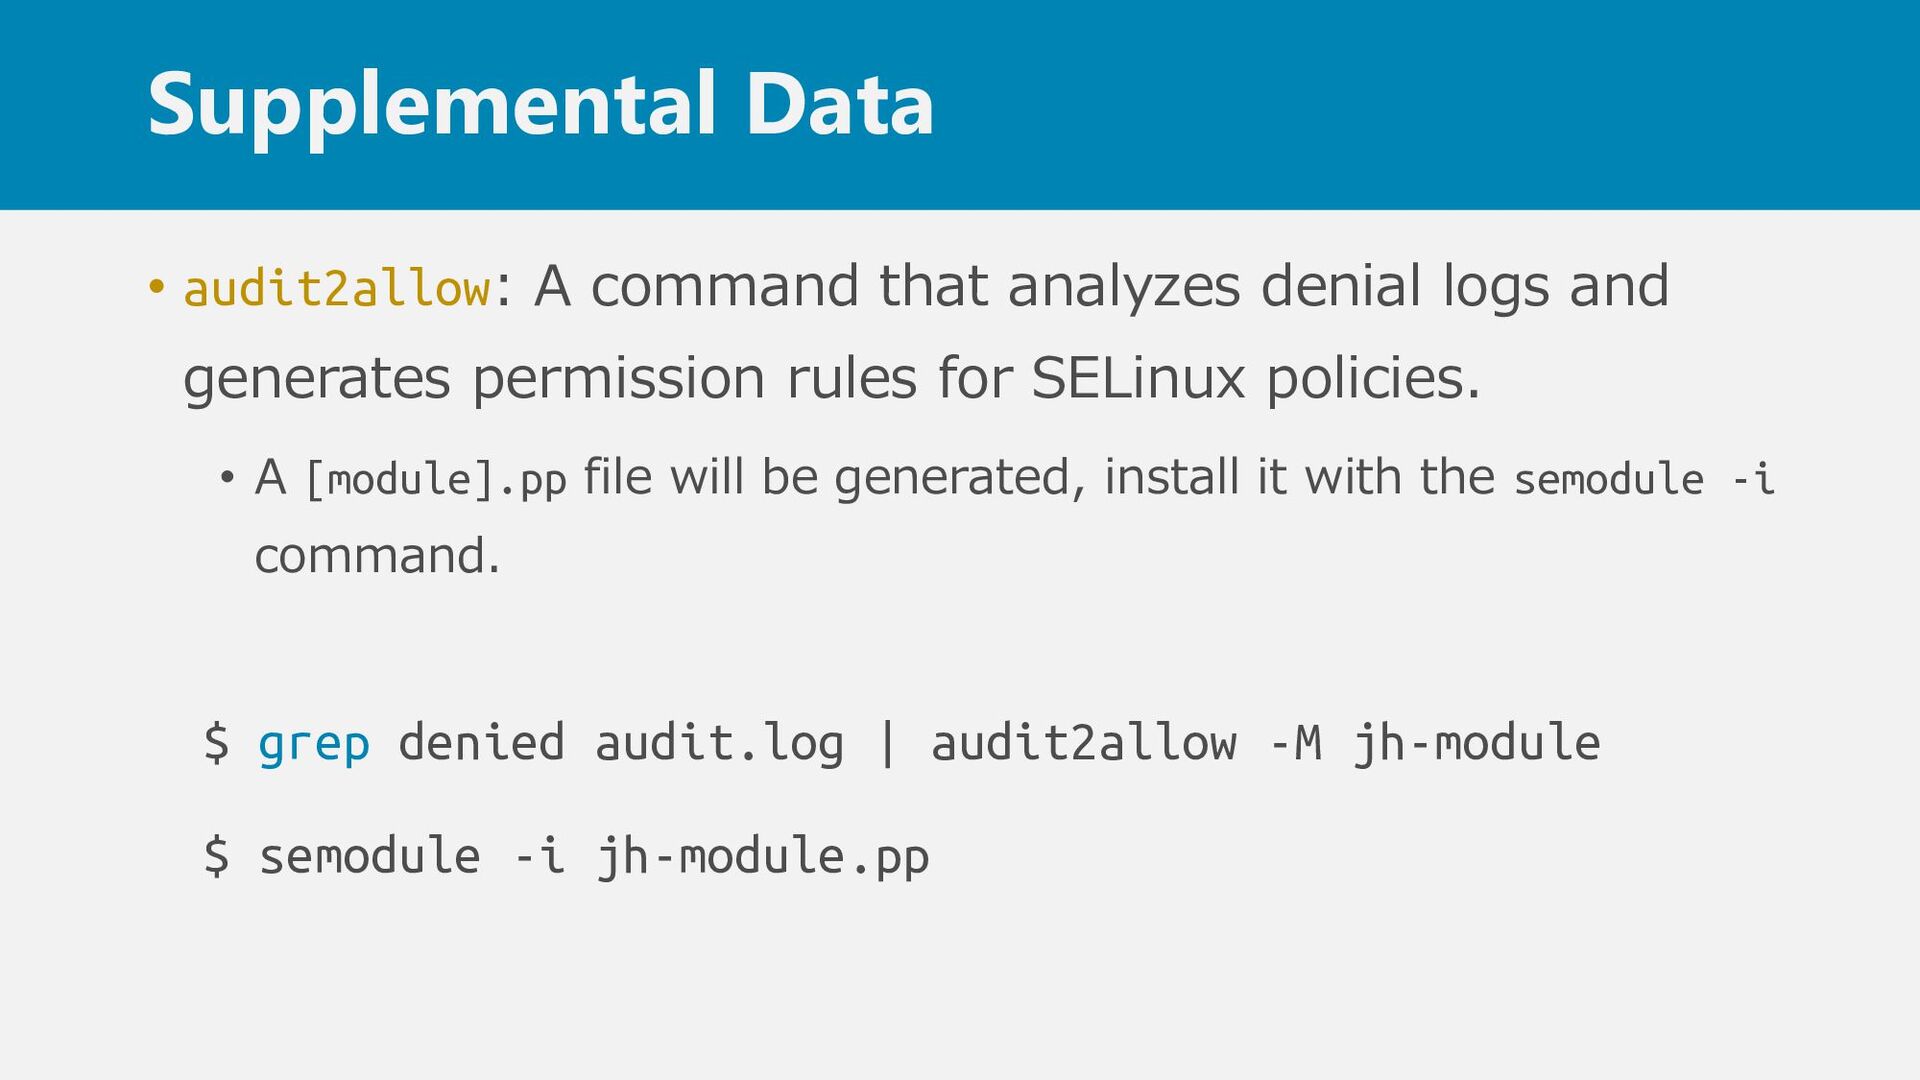
the program audit2allow and give the module a name. We named it jh-module. sudo grep denied audit.log | audit2allow -M jh-module • This command produces two files: jh-module.pp and jh-module.te, and it prompts you to make the new policy active with the following command. sudo semodule -I jh-module.pp
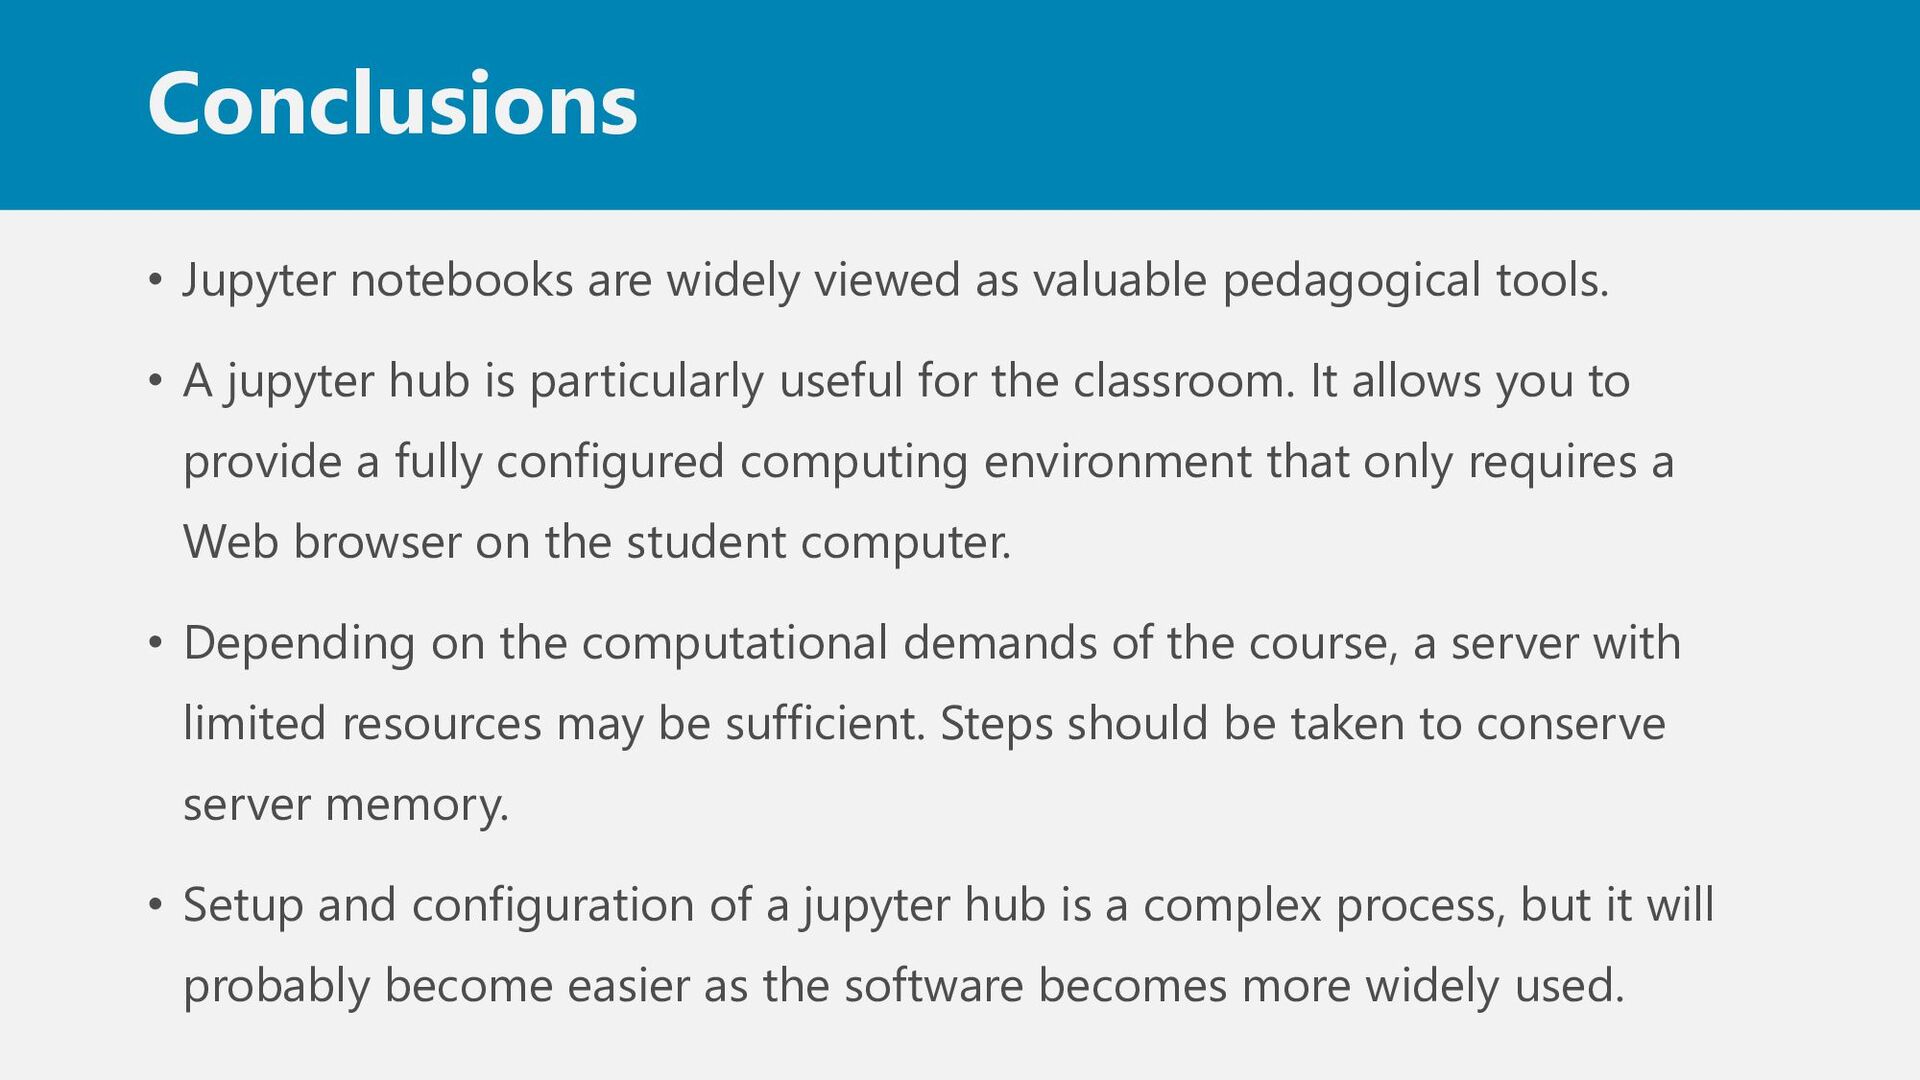
tools. • A jupyter hub is particularly useful for the classroom. It allows you to provide a fully configured computing environment that only requires a Web browser on the student computer. • Depending on the computational demands of the course, a server with limited resources may be sufficient. Steps should be taken to conserve server memory. • Setup and configuration of a jupyter hub is a complex process, but it will probably become easier as the software becomes more widely used.
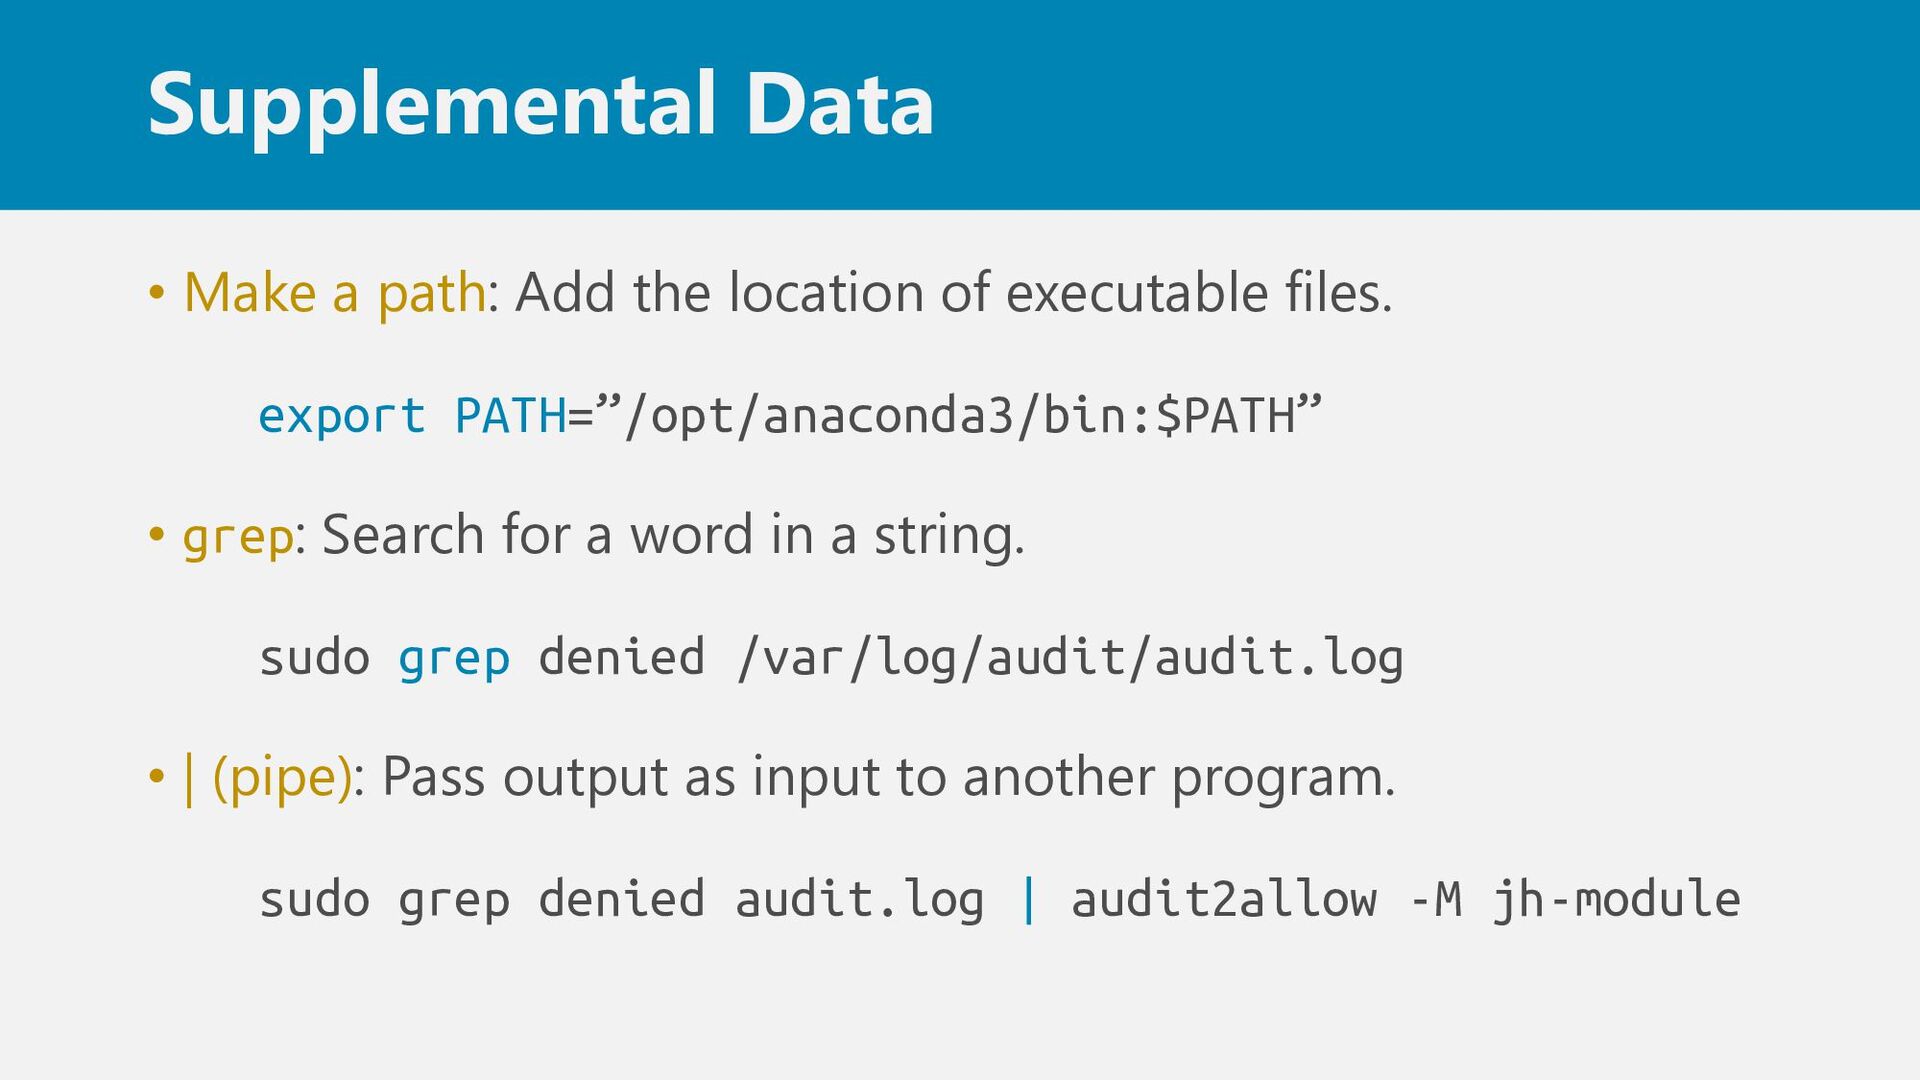
executable files. export PATH=”/opt/anaconda3/bin:$PATH” • grep: Search for a word in a string. sudo grep denied /var/log/audit/audit.log • | (pipe): Pass output as input to another program. sudo grep denied audit.log | audit2allow -M jh-module
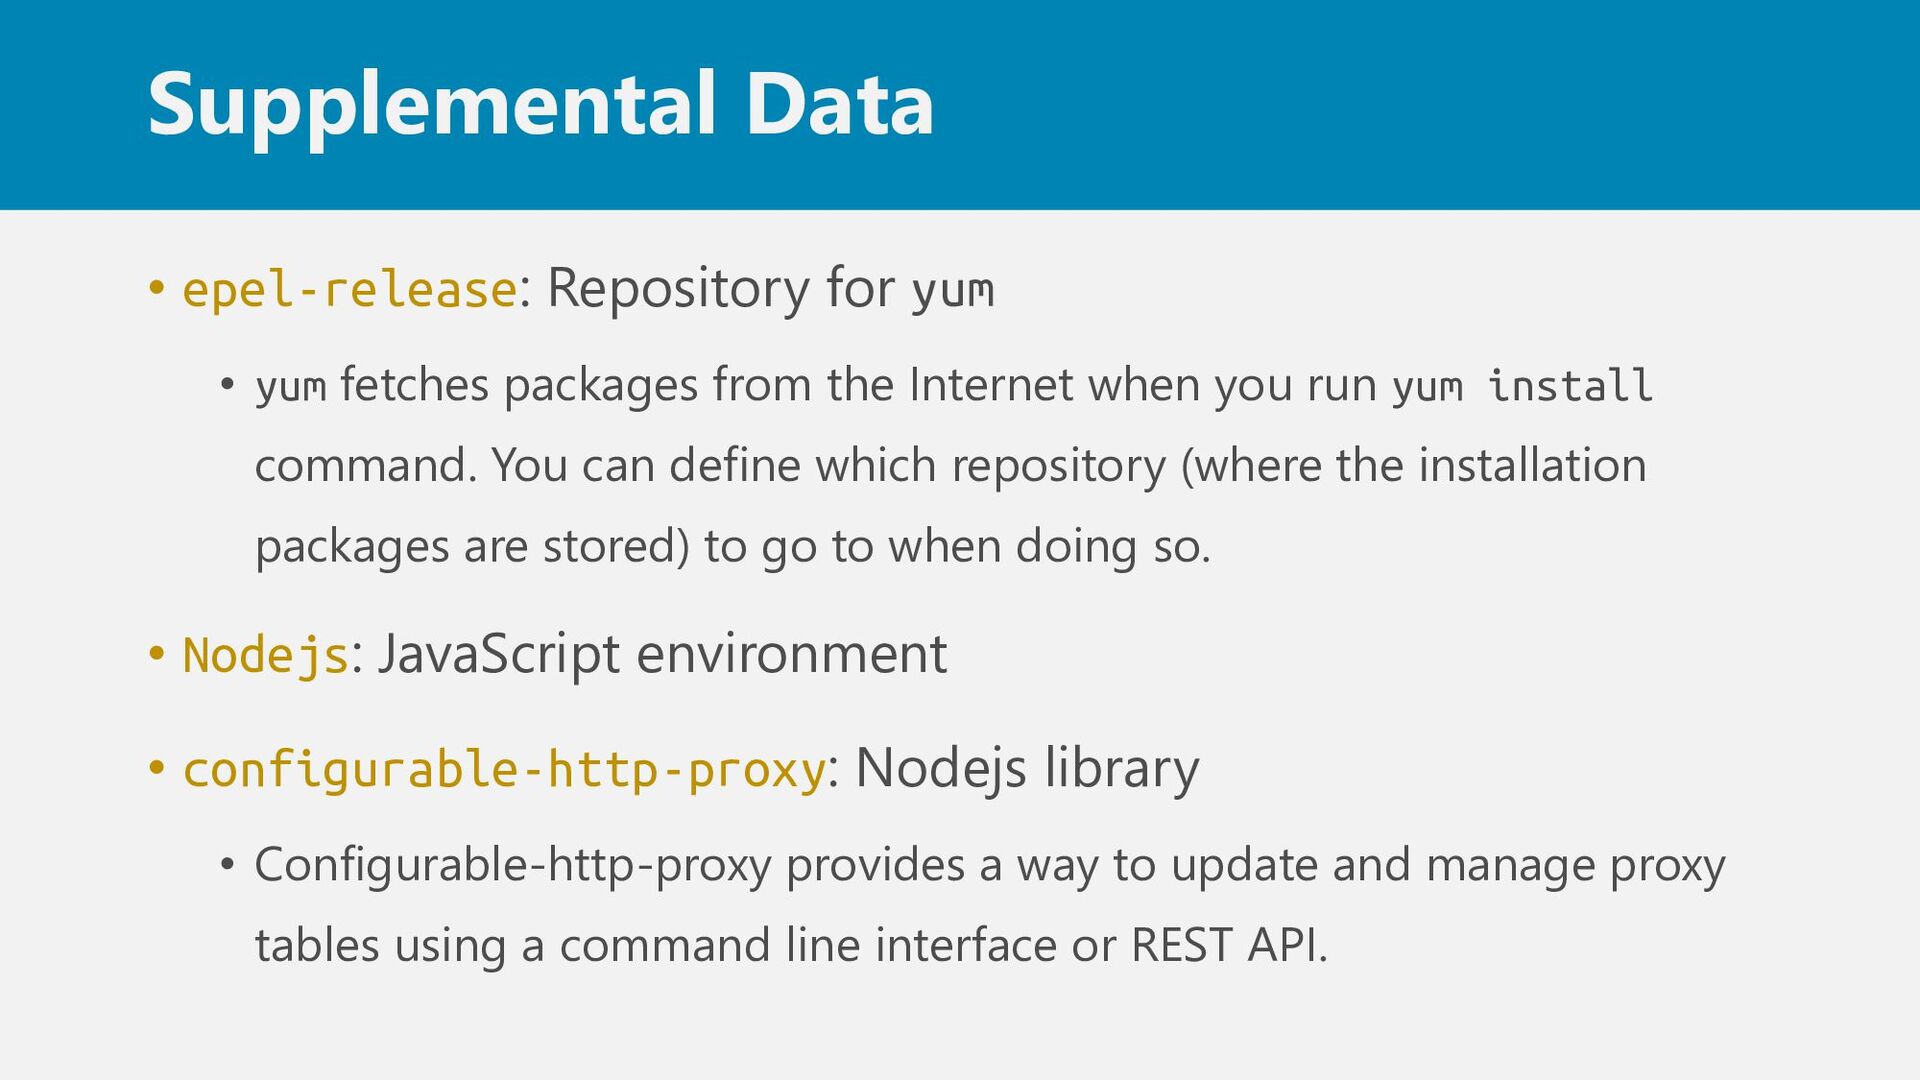
packages from the Internet when you run yum install command. You can define which repository (where the installation packages are stored) to go to when doing so. • Nodejs: JavaScript environment • configurable-http-proxy: Nodejs library • Configurable-http-proxy provides a way to update and manage proxy tables using a command line interface or REST API.
Enforcing(0): Deny unauthorized access. • Permissive(1): Even when there is unauthorized access, it only outputs a log but does not actually control access
and generates permission rules for SELinux policies. • A [module].pp file will be generated, install it with the semodule -i command. $ grep denied audit.log | audit2allow -M jh-module $ semodule -i jh-module.pp