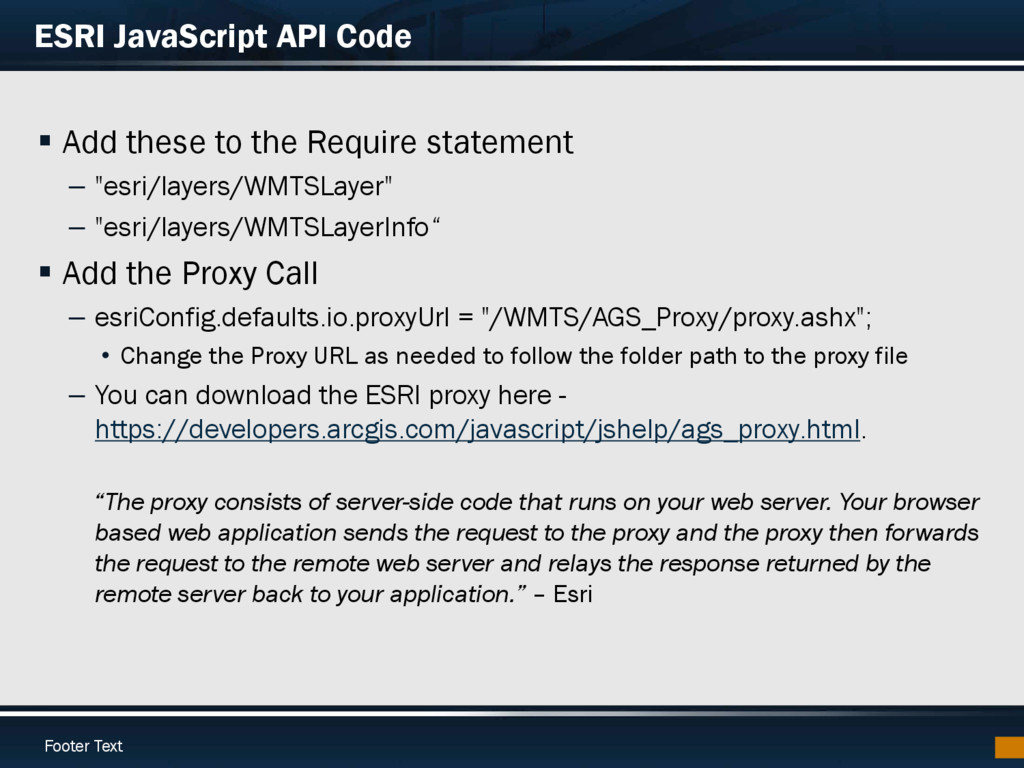
the Require statement – "esri/layers/WMTSLayer" – "esri/layers/WMTSLayerInfo“ Add the Proxy Call – esriConfig.defaults.io.proxyUrl = "/WMTS/AGS_Proxy/proxy.ashx"; • Change the Proxy URL as needed to follow the folder path to the proxy file – You can download the ESRI proxy here - https://developers.arcgis.com/javascript/jshelp/ags_proxy.html. “The proxy consists of server-side code that runs on your web server. Your browser based web application sends the request to the proxy and the proxy then forwards the request to the remote web server and relays the response returned by the remote server back to your application.” – Esri
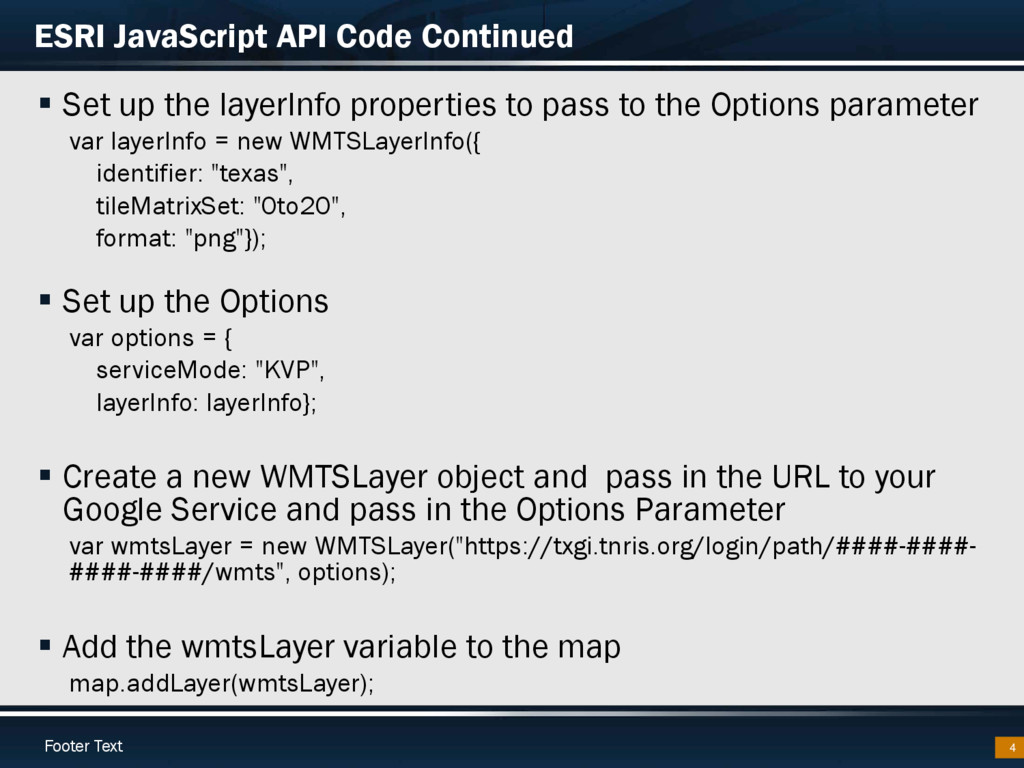
to the Options parameter var layerInfo = new WMTSLayerInfo({ identifier: "texas", tileMatrixSet: "0to20", format: "png"}); Set up the Options var options = { serviceMode: "KVP", layerInfo: layerInfo}; Create a new WMTSLayer object and pass in the URL to your Google Service and pass in the Options Parameter var wmtsLayer = new WMTSLayer("https://txgi.tnris.org/login/path/####-####- ####-####/wmts", options); Add the wmtsLayer variable to the map map.addLayer(wmtsLayer); ESRI JavaScript API Code Continued 4
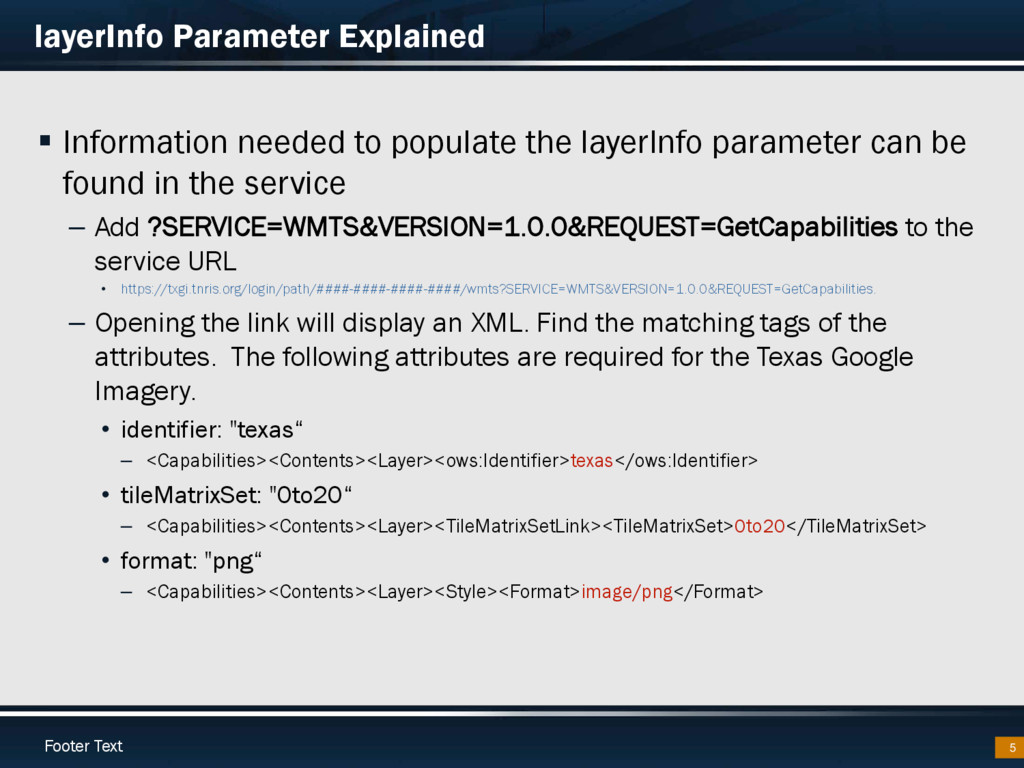
can be found in the service – Add ?SERVICE=WMTS&VERSION=1.0.0&REQUEST=GetCapabilities to the service URL • https://txgi.tnris.org/login/path/####-####-####-####/wmts?SERVICE=WMTS&VERSION=1.0.0&REQUEST=GetCapabilities. – Opening the link will display an XML. Find the matching tags of the attributes. The following attributes are required for the Texas Google Imagery. • identifier: "texas“ – <Capabilities><Contents><Layer><ows:Identifier>texas</ows:Identifier> • tileMatrixSet: "0to20“ – <Capabilities><Contents><Layer><TileMatrixSetLink><TileMatrixSet>0to20</TileMatrixSet> • format: "png“ – <Capabilities><Contents><Layer><Style><Format>image/png</Format> layerInfo Parameter Explained 5
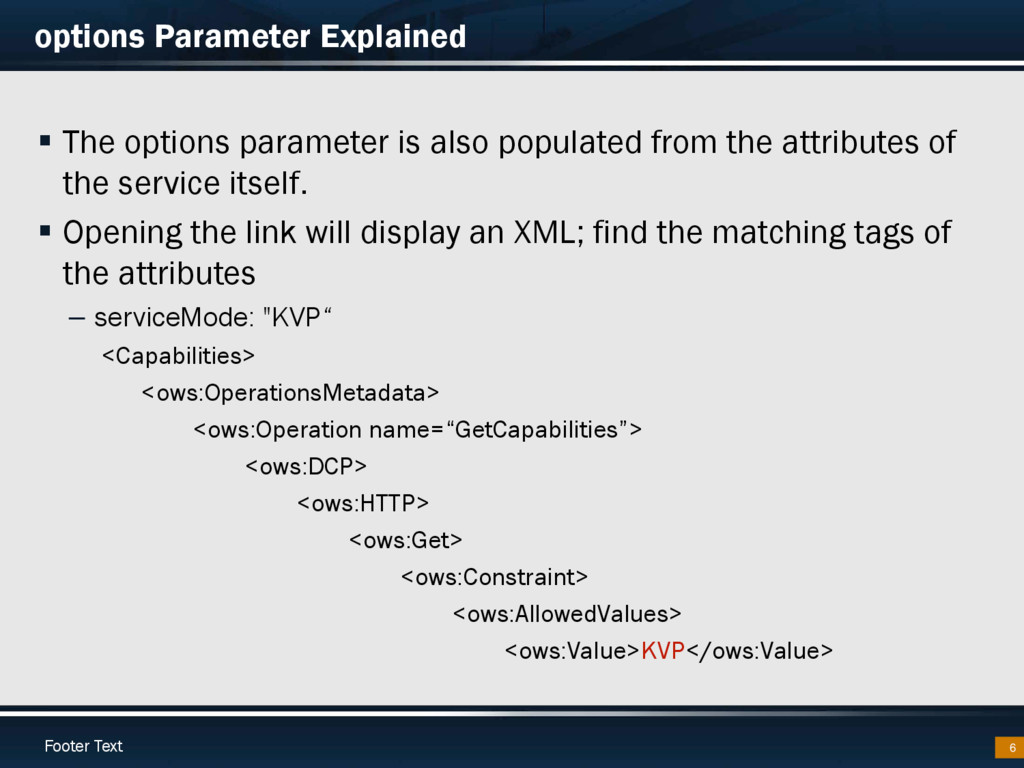
the attributes of the service itself. Opening the link will display an XML; find the matching tags of the attributes – serviceMode: "KVP“ <Capabilities> <ows:OperationsMetadata> <ows:Operation name=“GetCapabilities”> <ows:DCP> <ows:HTTP> <ows:Get> <ows:Constraint> <ows:AllowedValues> <ows:Value>KVP</ows:Value> options Parameter Explained 6
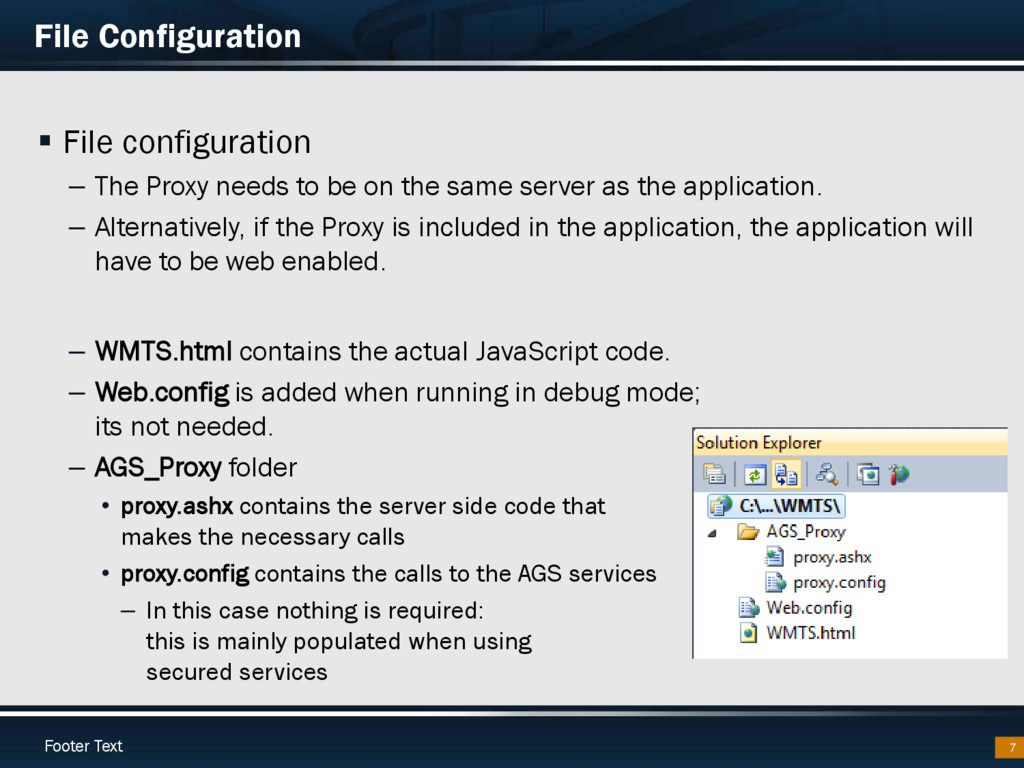
Proxy needs to be on the same server as the application. – Alternatively, if the Proxy is included in the application, the application will have to be web enabled. – WMTS.html contains the actual JavaScript code. – Web.config is added when running in debug mode; its not needed. – AGS_Proxy folder • proxy.ashx contains the server side code that makes the necessary calls • proxy.config contains the calls to the AGS services – In this case nothing is required: this is mainly populated when using secured services
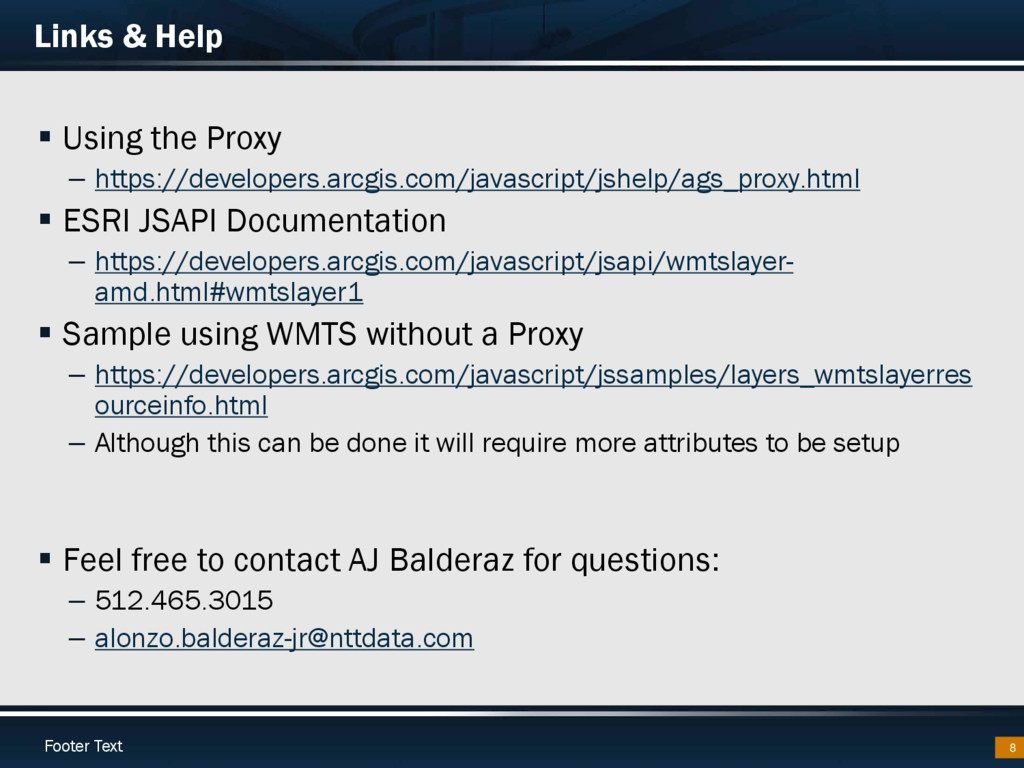
JSAPI Documentation – https://developers.arcgis.com/javascript/jsapi/wmtslayer- amd.html#wmtslayer1 Sample using WMTS without a Proxy – https://developers.arcgis.com/javascript/jssamples/layers_wmtslayerres ourceinfo.html – Although this can be done it will require more attributes to be setup Feel free to contact AJ Balderaz for questions: – 512.465.3015 – [email protected] Links & Help 8
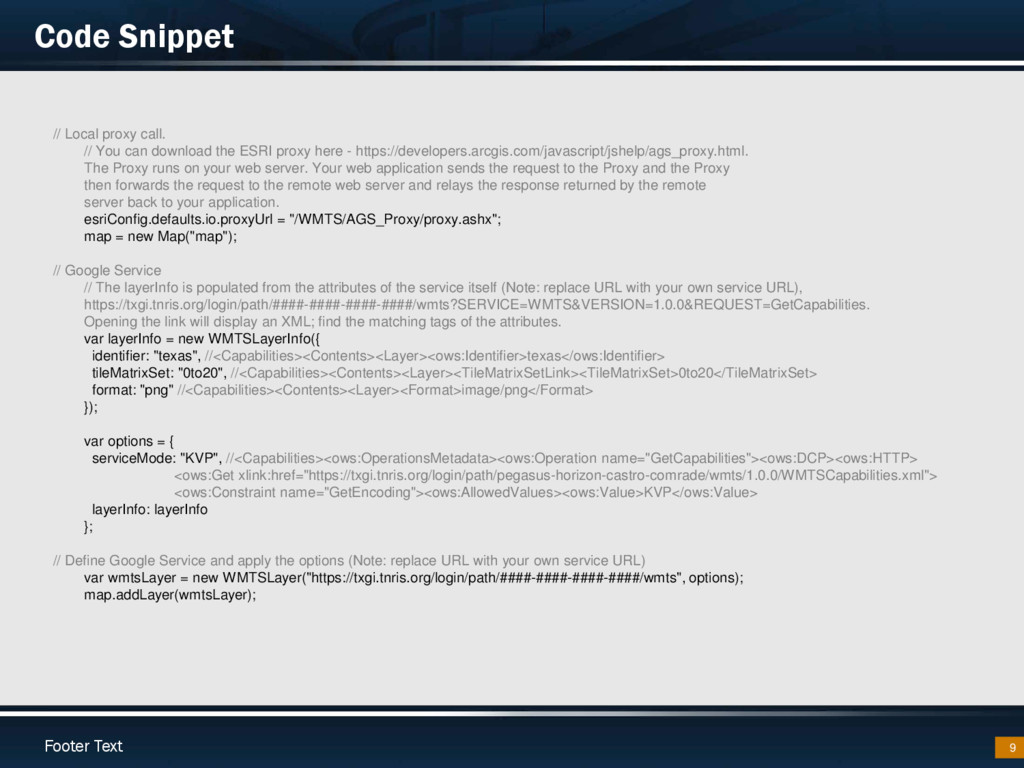
You can download the ESRI proxy here - https://developers.arcgis.com/javascript/jshelp/ags_proxy.html. The Proxy runs on your web server. Your web application sends the request to the Proxy and the Proxy then forwards the request to the remote web server and relays the response returned by the remote server back to your application. esriConfig.defaults.io.proxyUrl = "/WMTS/AGS_Proxy/proxy.ashx"; map = new Map("map"); // Google Service // The layerInfo is populated from the attributes of the service itself (Note: replace URL with your own service URL), https://txgi.tnris.org/login/path/####-####-####-####/wmts?SERVICE=WMTS&VERSION=1.0.0&REQUEST=GetCapabilities. Opening the link will display an XML; find the matching tags of the attributes. var layerInfo = new WMTSLayerInfo({ identifier: "texas", //<Capabilities><Contents><Layer><ows:Identifier>texas</ows:Identifier> tileMatrixSet: "0to20", //<Capabilities><Contents><Layer><TileMatrixSetLink><TileMatrixSet>0to20</TileMatrixSet> format: "png" //<Capabilities><Contents><Layer><Format>image/png</Format> }); var options = { serviceMode: "KVP", //<Capabilities><ows:OperationsMetadata><ows:Operation name="GetCapabilities"><ows:DCP><ows:HTTP> <ows:Get xlink:href="https://txgi.tnris.org/login/path/pegasus-horizon-castro-comrade/wmts/1.0.0/WMTSCapabilities.xml"> <ows:Constraint name="GetEncoding"><ows:AllowedValues><ows:Value>KVP</ows:Value> layerInfo: layerInfo }; // Define Google Service and apply the options (Note: replace URL with your own service URL) var wmtsLayer = new WMTSLayer("https://txgi.tnris.org/login/path/####-####-####-####/wmts", options); map.addLayer(wmtsLayer);