pages to, 221 Externalizable interface, 40 ExternalURLDisplayer class, 221 F factories, data objects, 97–98 fallback attribute, 79–82 FavoritesOperator class, 475 f.getChildren( ) method, 276 File class, 88–89 File System API, 14, 88 file types, 26–28 instance, 27–28 MP3, 497–498 shadow, 28 FileLocator class, 428 FileLock object, 89–90 FileObject class, 88–91 deleting, 89 monitoring changes, 90–91 reading and writing data, 90 removing, 90 renaming, 89 FileObject file, 271 FileObject parameter, 29 files, in layer file, 375–376 FileSystem class, 87, 89 filesystems, System, 30 FileUtil class, 90 FilterNode class, 158 Finalizer method, 460 find( ) method, 60, 99 findMode( ) method, 137 findObject( ) method, 200 findToolbar(String name) method, 117 findWidget( ) method, 201–202 Finish button, 420 finish( ) method, 151 finished( ) method, 209, 211 fireChangeEvent( ) method, 180–181 firePlayEvent( ) method, 509 firePropertyChange( ) method, 177, 449 folder elements, 26, 110 folders, in layer file, 375–376 forModule( ) method, 249, 428 Forms, with Swing GUI Builder tool, 443 ForwardKeyEventsAction action, 195 frameworks, 6 FreeMoveControlPointAction action, MoveControlPointAction action, OrthogonalMoveControlPointAction action and, 196 functional GUI tests, 471–476 checking test coverage, 476 implementing test case, 472–475 installing test environment, 471–472 functional tests, Maven projects, 477–478 G general tests, 459–464 GENERATED ALWAYS AS IDENTITY, 294–295 Genre class, 311, 317 Genre table, 310 GenreNode class, 255 GenreNodeFactory class, 255 GenrePropertyEditor class, 238 get( ) method, 211, 330, 332 getAction( ) method, 192–193 getActionMap( ) method, 80–81, 84 getActions( ) method, 132, 142, 159, 166 getAlbums( ) method, 319 getAll( ) method, 359 getAttribute( ) method, 42 getAvailableUpdates( ) method, 281 getBrokenDependencies( ) method, 281 getBundle( ) method, 372 getComponent( ) method, 178, 184, 231, 238 getConfig( ) method, 363–364 getConfiguration( ) method, 117 getConfigurations( ) method, 118 getConnection( ) method, 291–293, 295–296, 298–299, 523 getContentType( ) method, 232–233 getCookieSet( ) method.assign( ) method, 158 getDefault( ) method, 27, 72, 102, 147, 170, 226, 280, 506, 510, 512 getErr( ) method, 226 getExplorerManager( ) method, 166–167, 519 getGenres( ) method, 319 getHelp( ) method, 179 getHelpCtx( ) method, 222 getId( ) method, 316 getInplaceEditor( ) method, 238 getInputText( ) method, 172 getInstalled( ) method, 280–281, 284 getIO( ) method, 226 getItem( ) method, 264
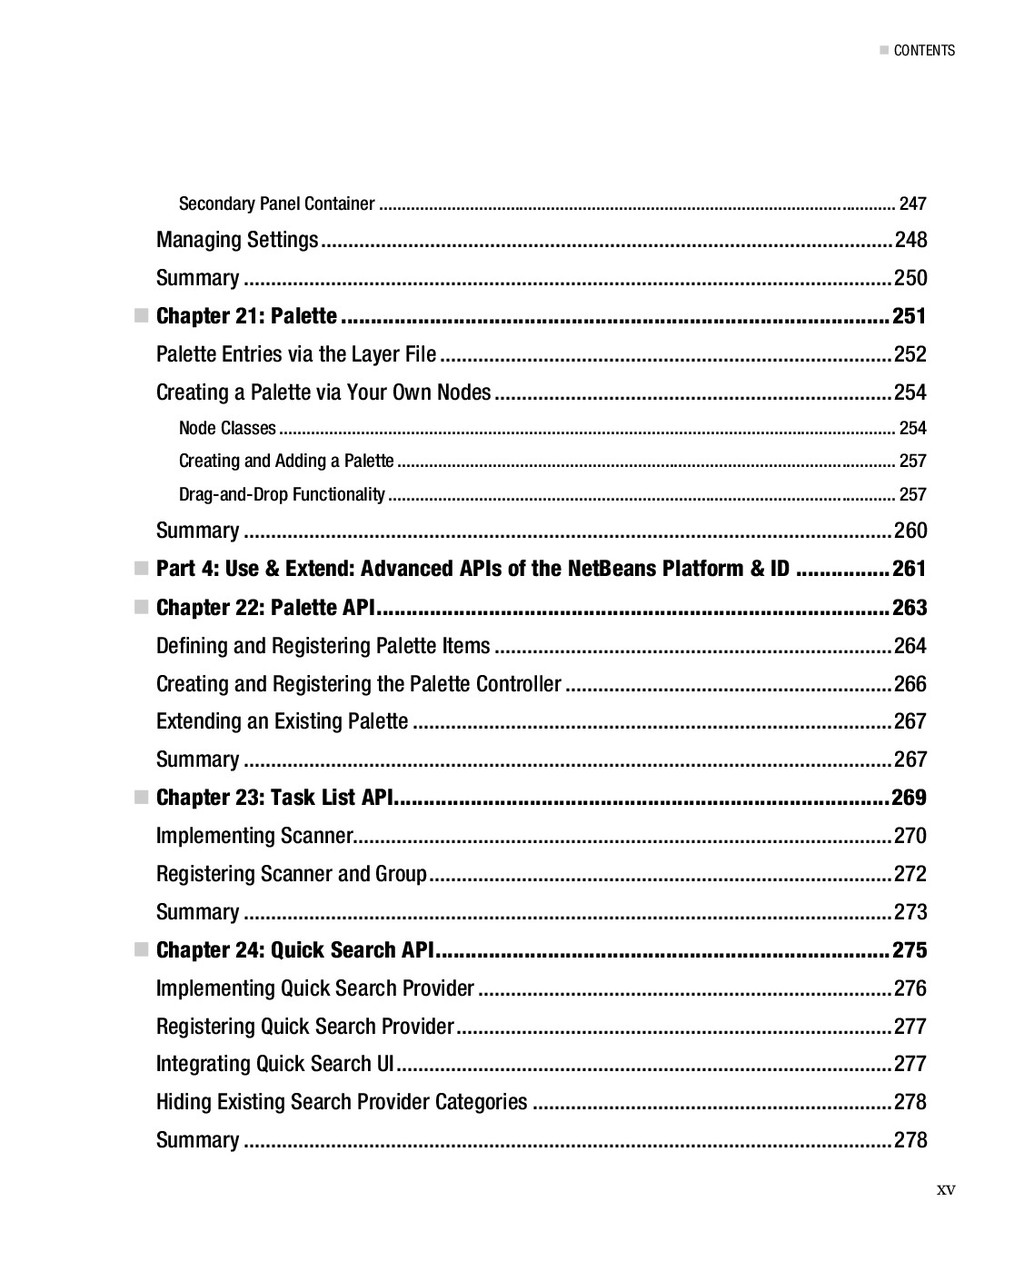
![CHAPTER 10 WINDOW SYSTEM 145 MultiViewDescription dsc[] = { new](https://files.speakerdeck.com/presentations/b9122bb5e1b34bd5af5019ef908ba078/slide_166.jpg)
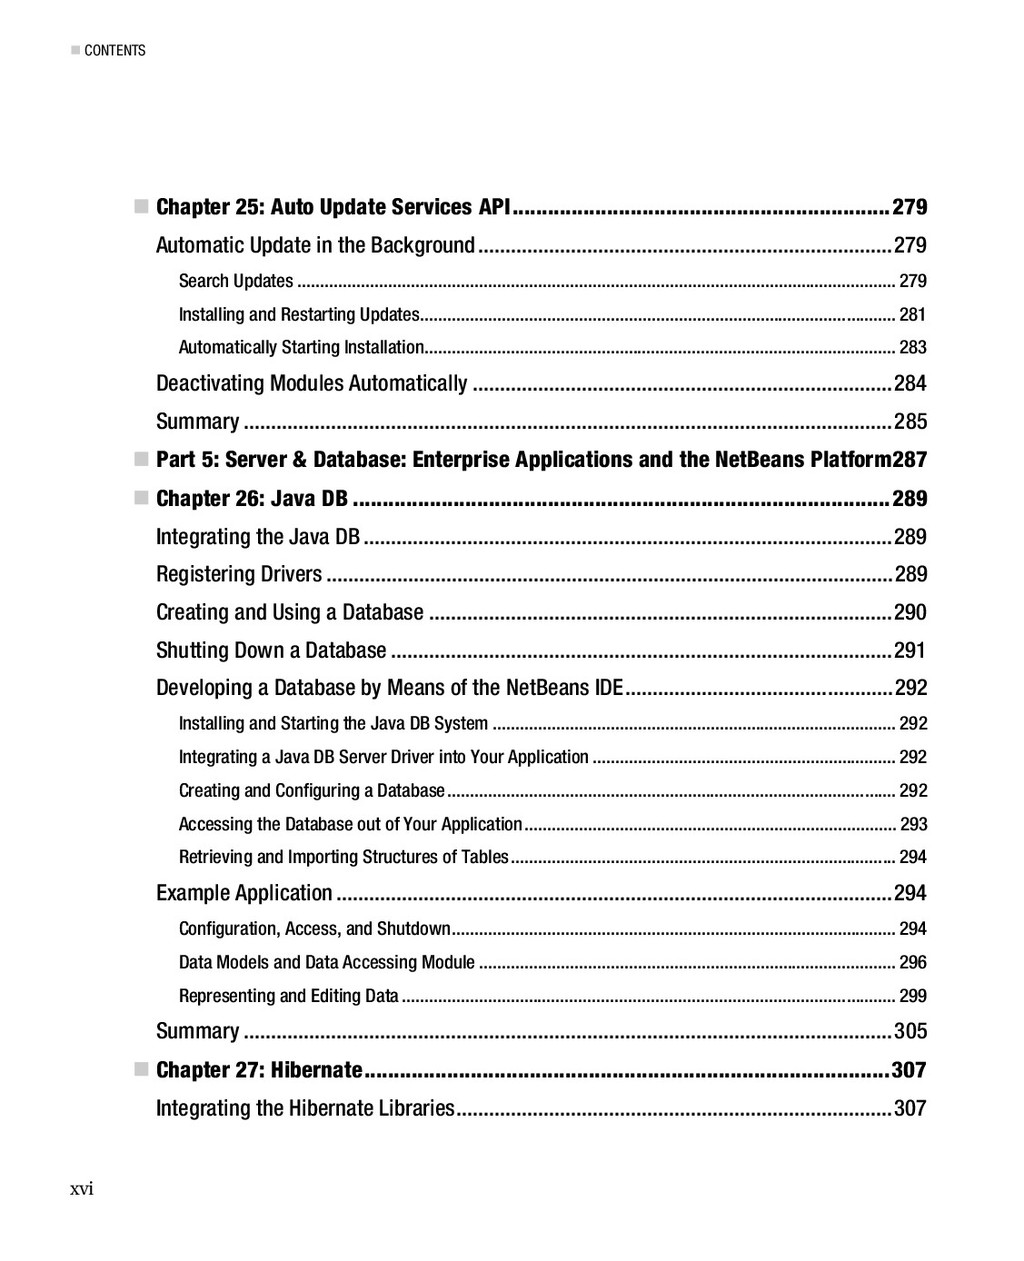
![CHAPTER 26 JAVA DB 301 private String[] columns = {"Title","Tracks","CDs","Year"};](https://files.speakerdeck.com/presentations/b9122bb5e1b34bd5af5019ef908ba078/slide_311.jpg)
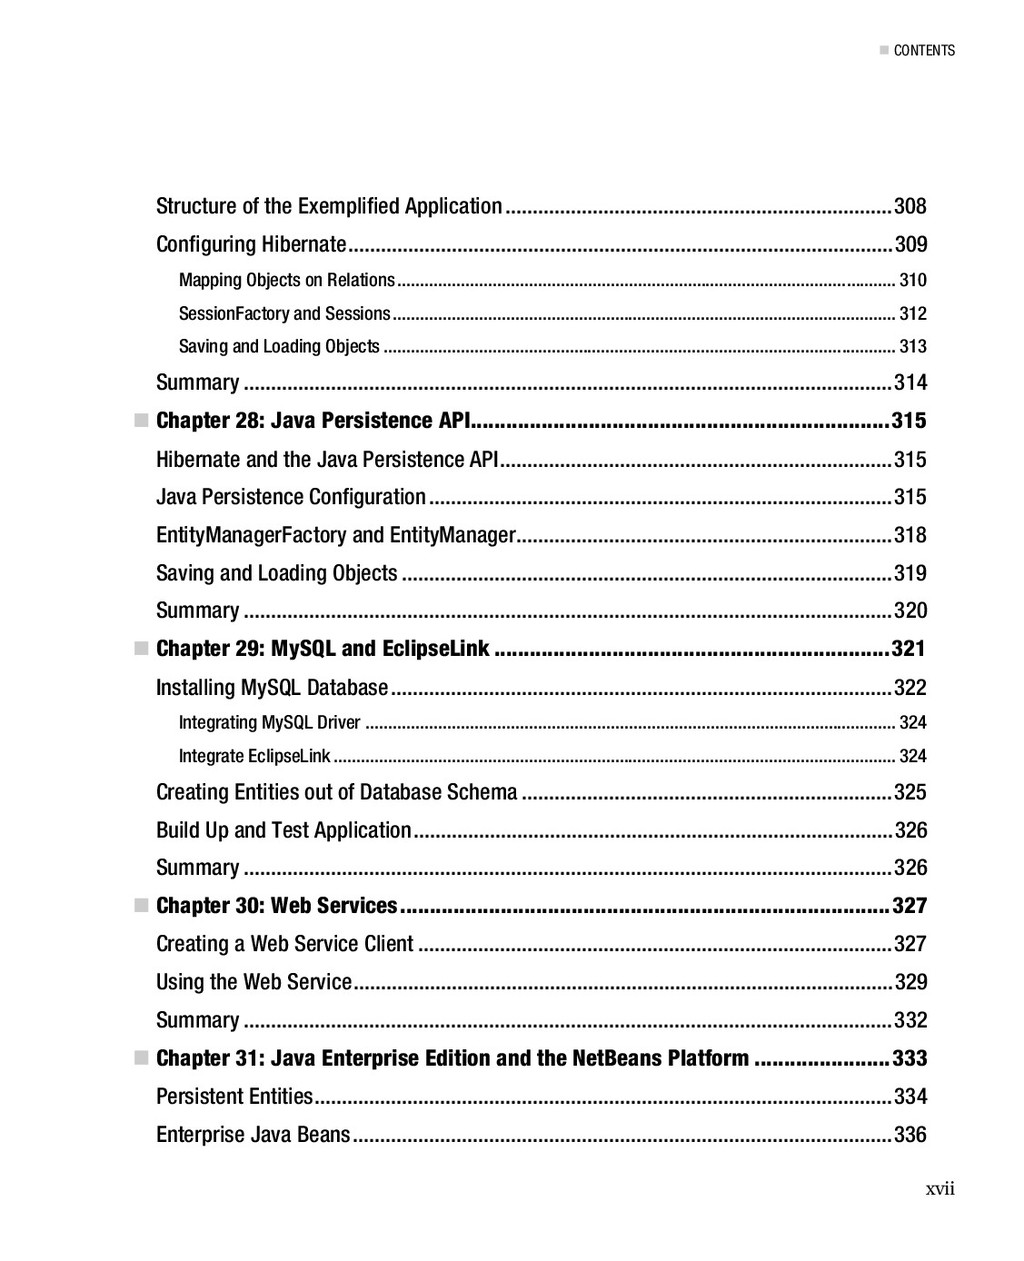
![CHAPTER 33 AUTHENTICATION AND MULTI-USER LOGIN 354 dialog.setClosingOptions(new Object[]{}); dialog.addPropertyChangeListener(new](https://files.speakerdeck.com/presentations/b9122bb5e1b34bd5af5019ef908ba078/slide_363.jpg)