Upgrade to Pro
— share decks privately, control downloads, hide ads and more …
Speaker Deck
Sign up for free
Menu
Search
Features
All features
Private URLs
Password Protection
Custom URLS
Scheduled publishing
Remove Branding
Restrict embedding
Deck Collections
Notes
Features
All features
Private URLs
Password Protection
Custom URLS
Scheduled publishing
Remove Branding
Restrict embedding
Deck Collections
Notes
Explore
Featured decks
Featured speakers
Programming
Technology
Storyboards
Explore
Featured decks
Featured speakers
Programming
Technology
Storyboards
Pricing
Search
Sign in
Sign up for free
Flutterハンズオン 4
Search
Aya Ebata
September 09, 2024
Technology
180
0
Share
Embed
Copy iframe code
Copy JS code
Copy link
Start on current slide
Flutterハンズオン 4
Aya Ebata
September 09, 2024
More Decks by Aya Ebata
See All by Aya Ebata
JEP 526: Lazy Constants
aya_ebata
0
98
Flutterハンズオン 5
aya_ebata
0
110
JEP 480: Structured Concurrency
aya_ebata
0
300
Flutterハンズオン 3
aya_ebata
0
120
Flutterハンズオン 2
aya_ebata
0
120
Flutterハンズオン 1
aya_ebata
0
150
あたらしい もじれつの かきかた
aya_ebata
0
160
社内勉強会vol.3@ごーふぁー荘
aya_ebata
0
810
社内勉強会vol.2@ごーふぁー荘
aya_ebata
1
830
Other Decks in Technology
See All in Technology
AWS DevOps Agent スキルをつかいこなそう / Master AWS DevOps Agent Skills
kinunori
2
650
大阪オフィスに Unitree Go2 がやってきたので Physical AI やってみた
dafujii
0
220
OSC2026on_the-world-is-waiting-for-your-voice.pdf
naruoga
0
180
Execution in the Kingdom of Agents: Reflections on Abstraction and Complexity
bcantrill
0
640
全社共通データ基盤をつくる。ソニーのDatabricks活用とデータガバナンス設計の裏側
sony
0
290
CI/CDではもう遅い - 人とAIが迂回しないDevSecOps Verify基盤の再設計 -
kintotechdev
1
630
ビジネスを止めない技術的負債の返済のための戦略とその手法 - 技術的負債と向き合う / Complexity and Simplicity
soudai
PRO
2
360
【データ横丁主催】AI Agentがコンテキストを使って仕事をした後、何が残るのか― 組織の経験を次の判断に引き継ぐ「Agent Memory」
shisyu_gaku
2
310
AWS FinOps Agent 結局何が得意なの?
siromi
0
230
HacobuにおけるFDEとは/登壇資料(戸井田 裕貴)
hacobu
PRO
1
700
生成AIと進める探索的データ分析(2026.10.03 第122回Tokyo.R勉強会)
tatamiya
1
670
行動するAIのためのオントロジー | DevRev — Encraft #26.pdf
dvrv_tknrszk
2
660
Featured
See All Featured
Performance Is Good for Brains [We Love Speed 2024]
tammyeverts
12
1.9k
The Limits of Empathy - UXLibs8
cassininazir
1
690
Winning Ecommerce Organic Search in an AI Era - #searchnstuff2025
aleyda
2
2.2k
Applied NLP in the Age of Generative AI
inesmontani
PRO
4
2.5k
The World Runs on Bad Software
bkeepers
PRO
72
12k
Taking LLMs out of the black box: A practical guide to human-in-the-loop distillation
inesmontani
PRO
3
2.4k
Practical Tips for Bootstrapping Information Extraction Pipelines
honnibal
25
2.1k
Documentation Writing (for coders)
carmenintech
77
5.6k
30 Presentation Tips
portentint
PRO
1
410
RailsConf & Balkan Ruby 2019: The Past, Present, and Future of Rails at GitHub
eileencodes
141
35k
Pawsitive SEO: Lessons from My Dog (and Many Mistakes) on Thriving as a Consultant in the Age of AI
davidcarrasco
0
250
SEO in 2025: How to Prepare for the Future of Search
ipullrank
3
3.9k
Transcript
Flutterハンズオン 4 2024/09/10 社内勉強会 えばた あや
今日話すこと 1. VSCodeでFlutterプロジェクトを開始する 2. Flutterの基礎
1. VSCodeでFlutterプロジェクトを 開始する
VSCodeでFlutterプロジェクトを開始する 0. VSCodeを開く - 以下のコマンドと同様なことをVSCodeでやっていきます $ flutter create [プロジェクト名]
VSCodeでFlutterプロジェクトを開始する 1. コマンドパレットを開き、[Flutter: New Project]を検索し選択する
VSCodeでFlutterプロジェクトを開始する 2. [Application]を選択し、プロジェクトを作成するフォルダを選択する
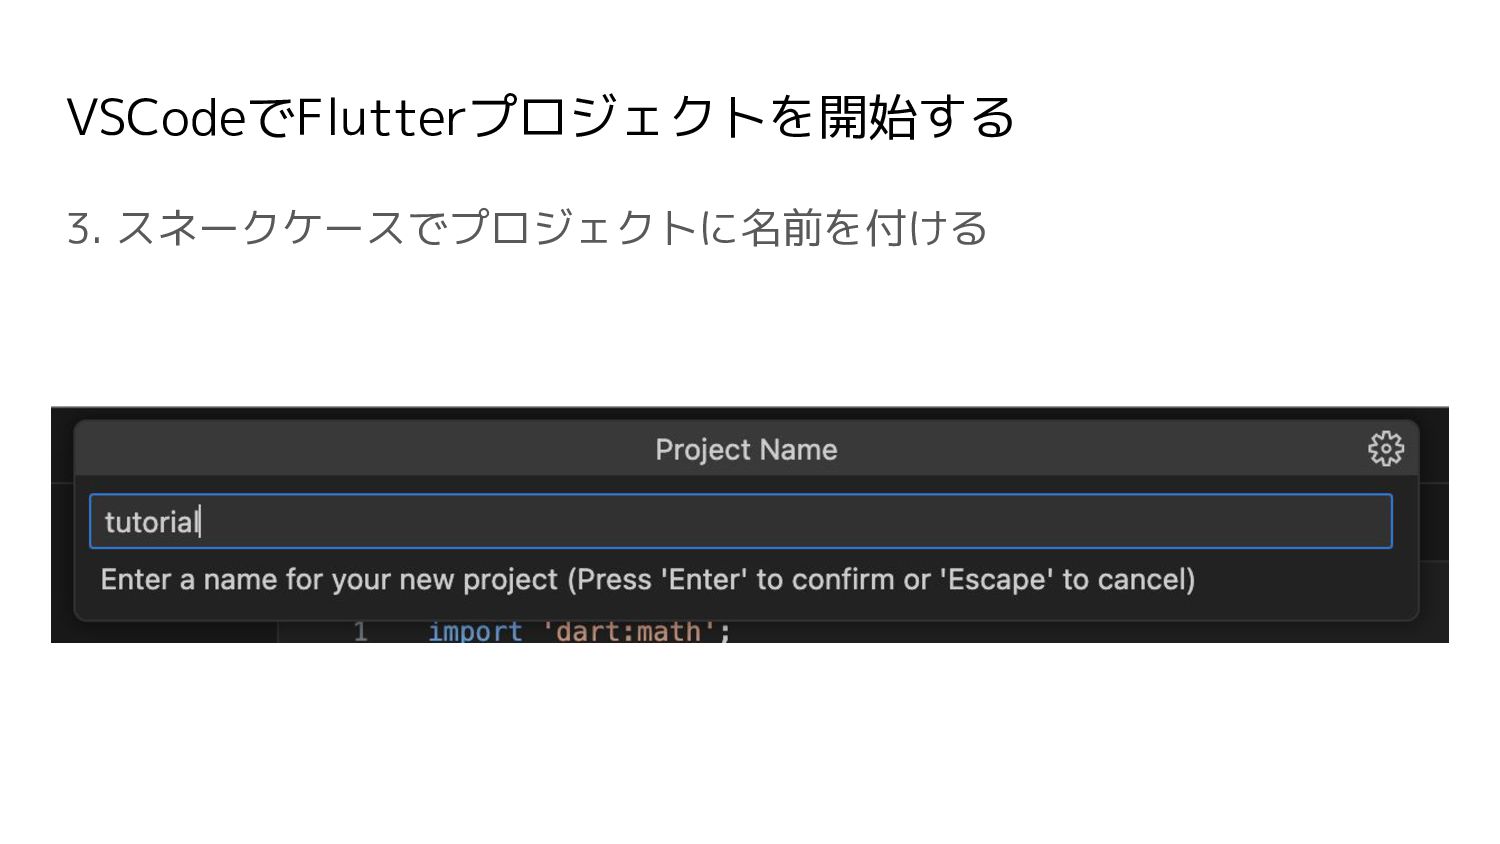
VSCodeでFlutterプロジェクトを開始する 3. スネークケースでプロジェクトに名前を付ける
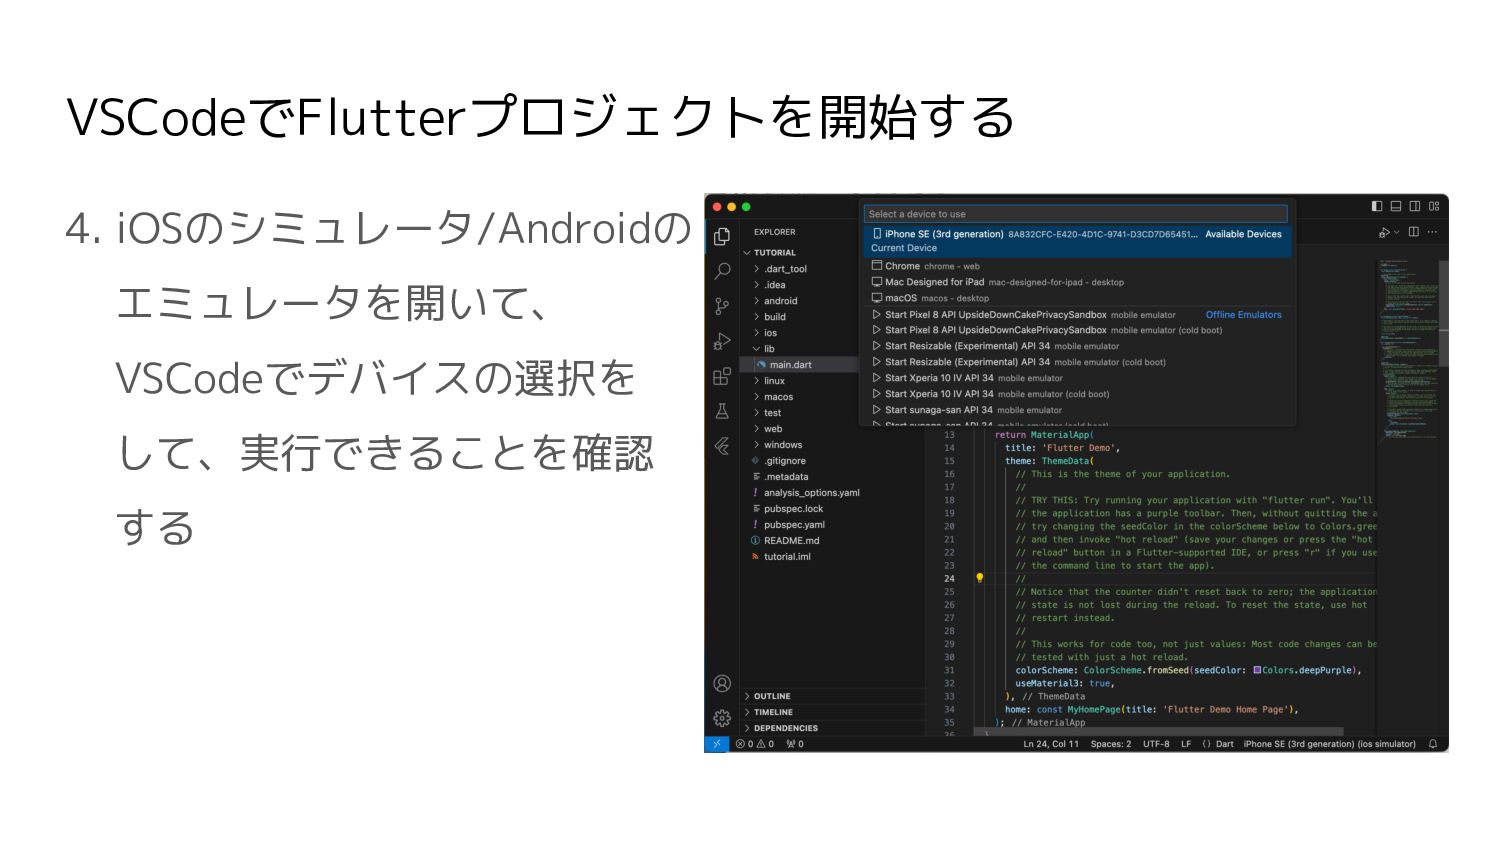
VSCodeでFlutterプロジェクトを開始する 4. iOSのシミュレータ/Androidの エミュレータを開いて、 VSCodeでデバイスの選択を して、実行できることを確認 する
VSCodeでFlutterプロジェクトを開始する ※ たまにデバイスの選択が反映されないことがあるので、その場合は コマンドパレットで[Developer: Reload Window]を実行
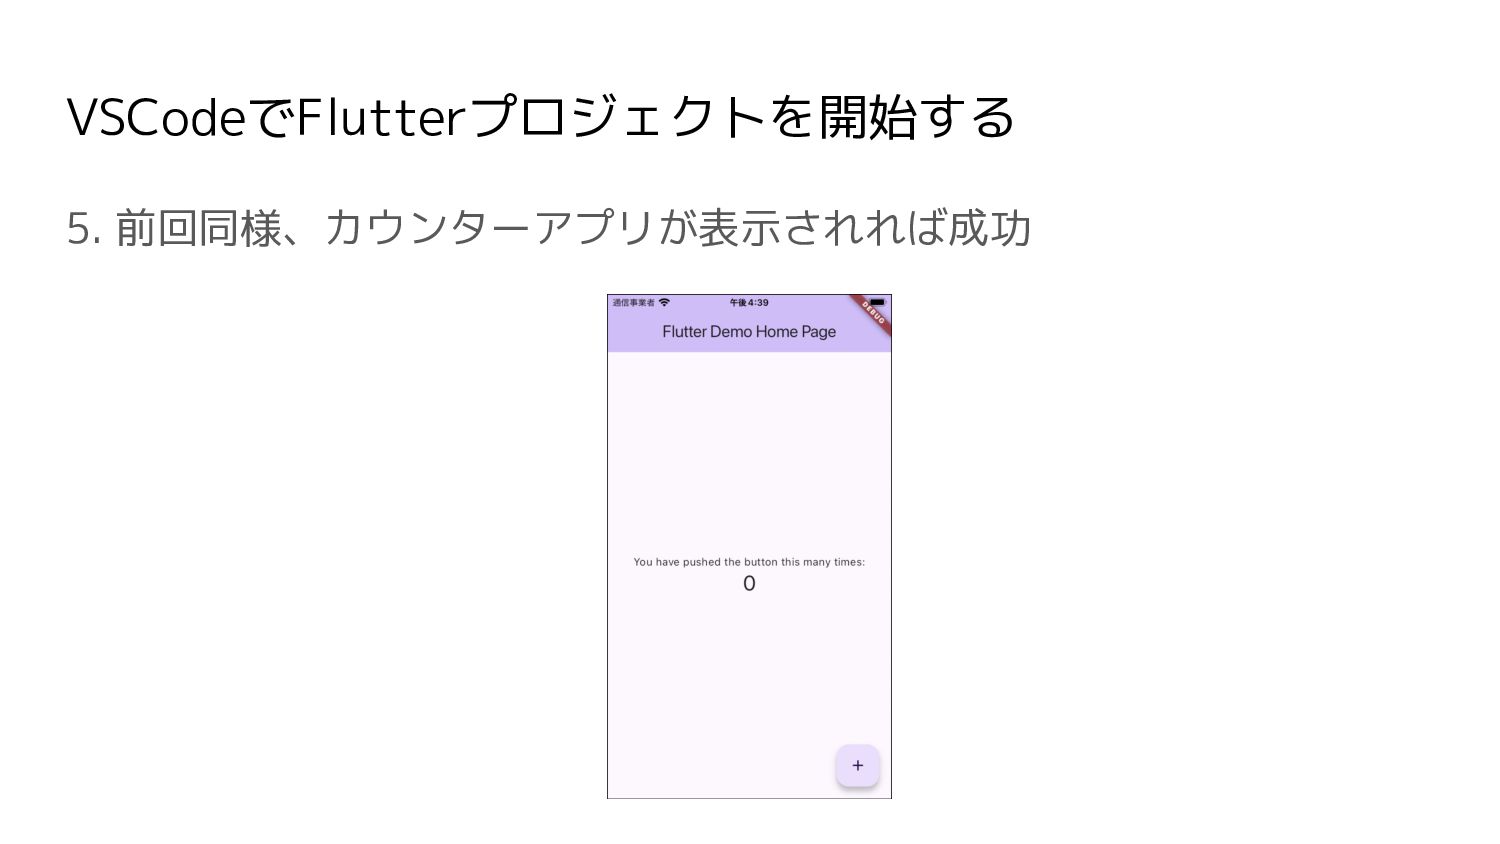
VSCodeでFlutterプロジェクトを開始する 5. 前回同様、カウンターアプリが表示されれば成功
2. Flutterの基礎
Flutterの基礎 本日はこちらを元にやっていきます! https://docs.flutter.dev/ui
Hello World!を出力する 1. カウンターアプリの実装を削除する - MyAppクラスのbuild()メソッドの中身を全部削除する - その下にあるクラスも消しちゃってOK
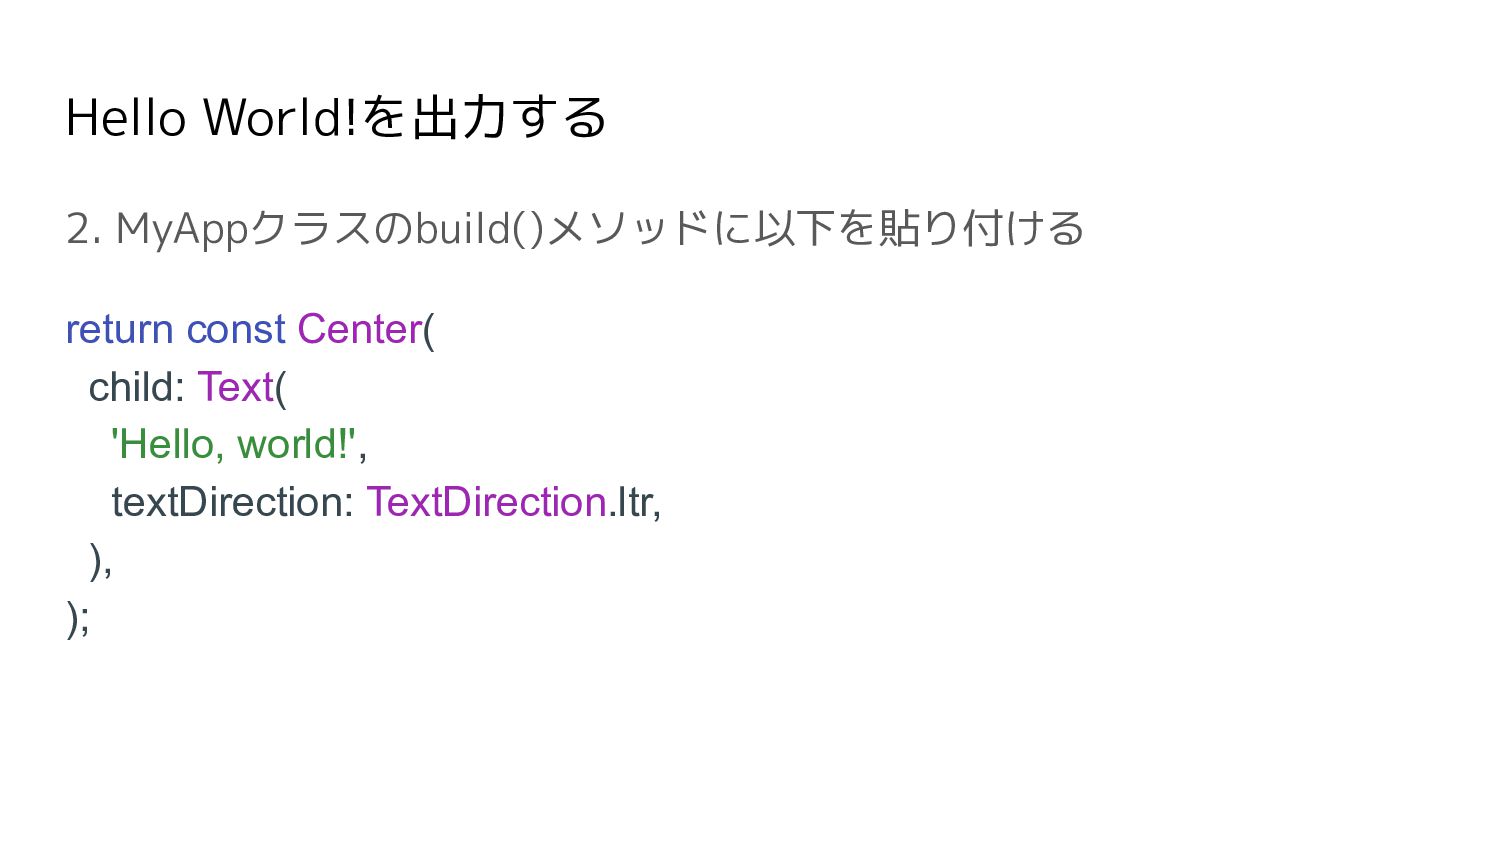
Hello World!を出力する 2. MyAppクラスのbuild()メソッドに以下を貼り付ける return const Center( child: Text( 'Hello,
world!', textDirection: TextDirection.ltr, ), );
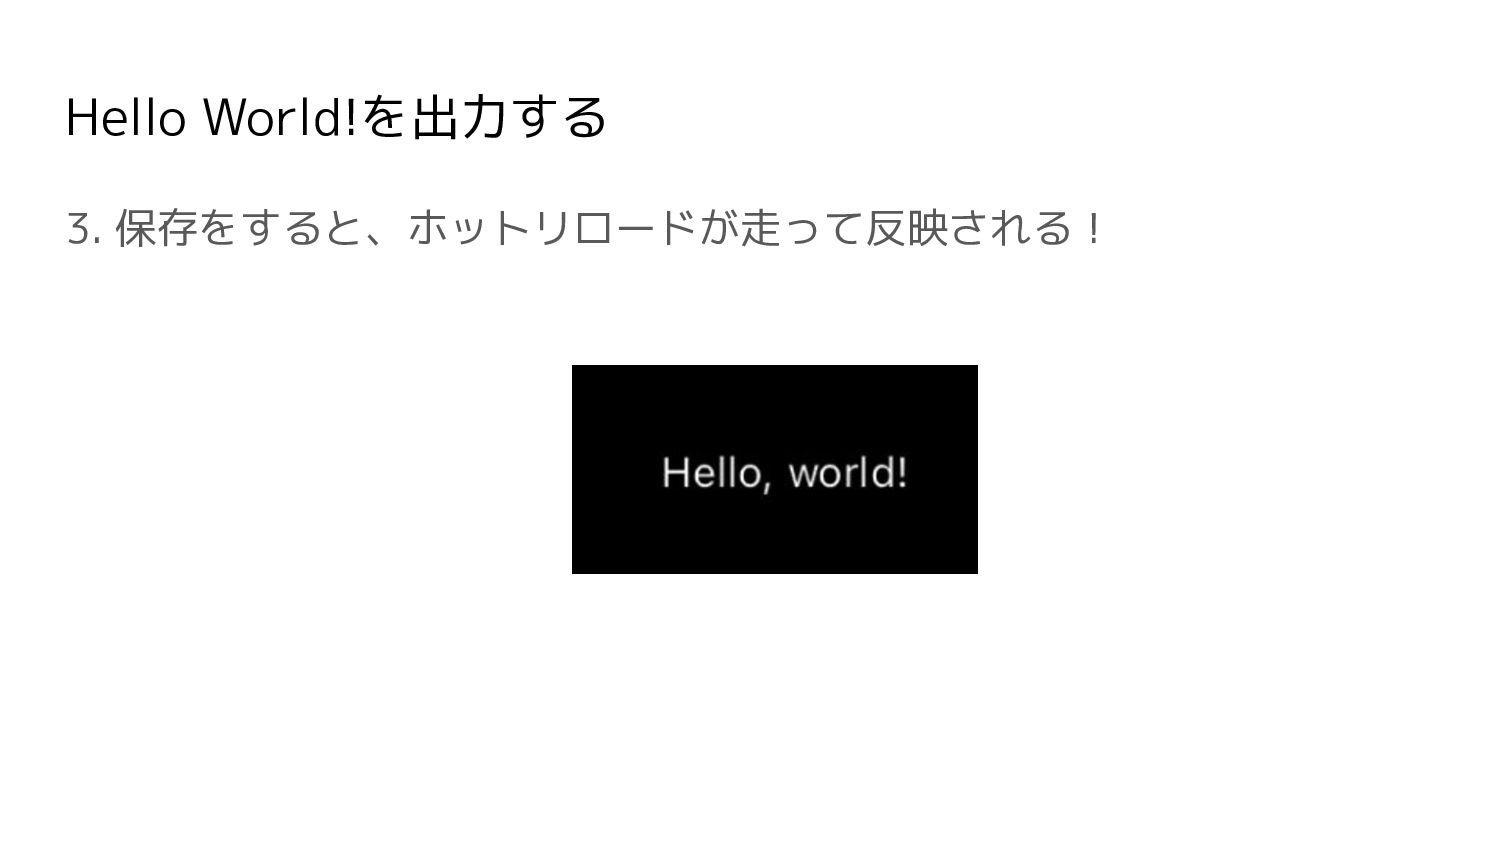
Hello World!を出力する 3. 保存をすると、ホットリロードが走って反映される!
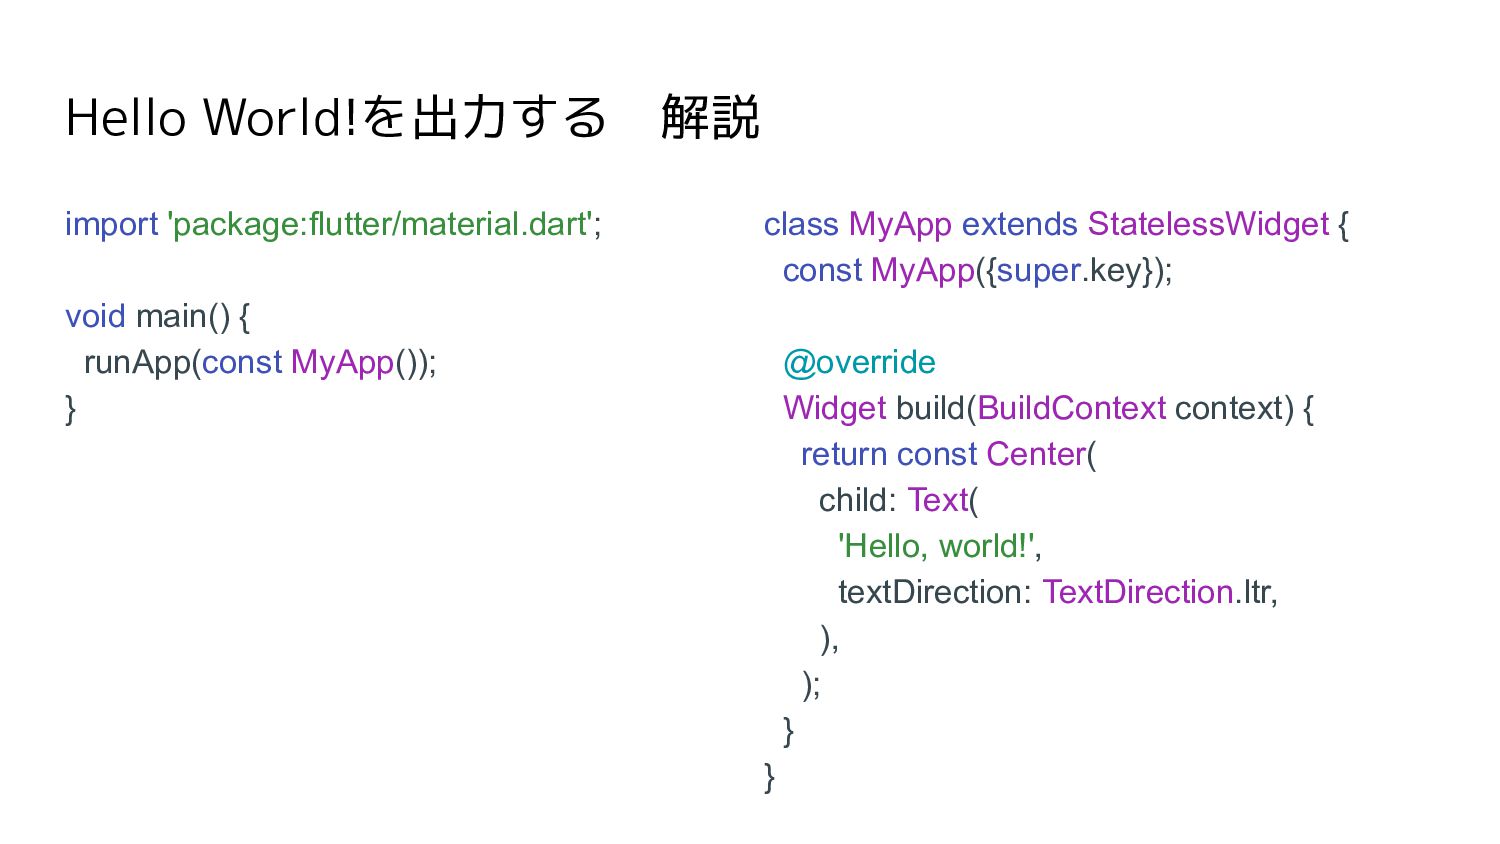
Hello World!を出力する 解説 import 'package:flutter/material.dart'; void main() { runApp(const MyApp()); }
class MyApp extends StatelessWidget { const MyApp({super.key}); @override Widget build(BuildContext context) { return const Center( child: Text( 'Hello, world!', textDirection: TextDirection.ltr, ), ); } }
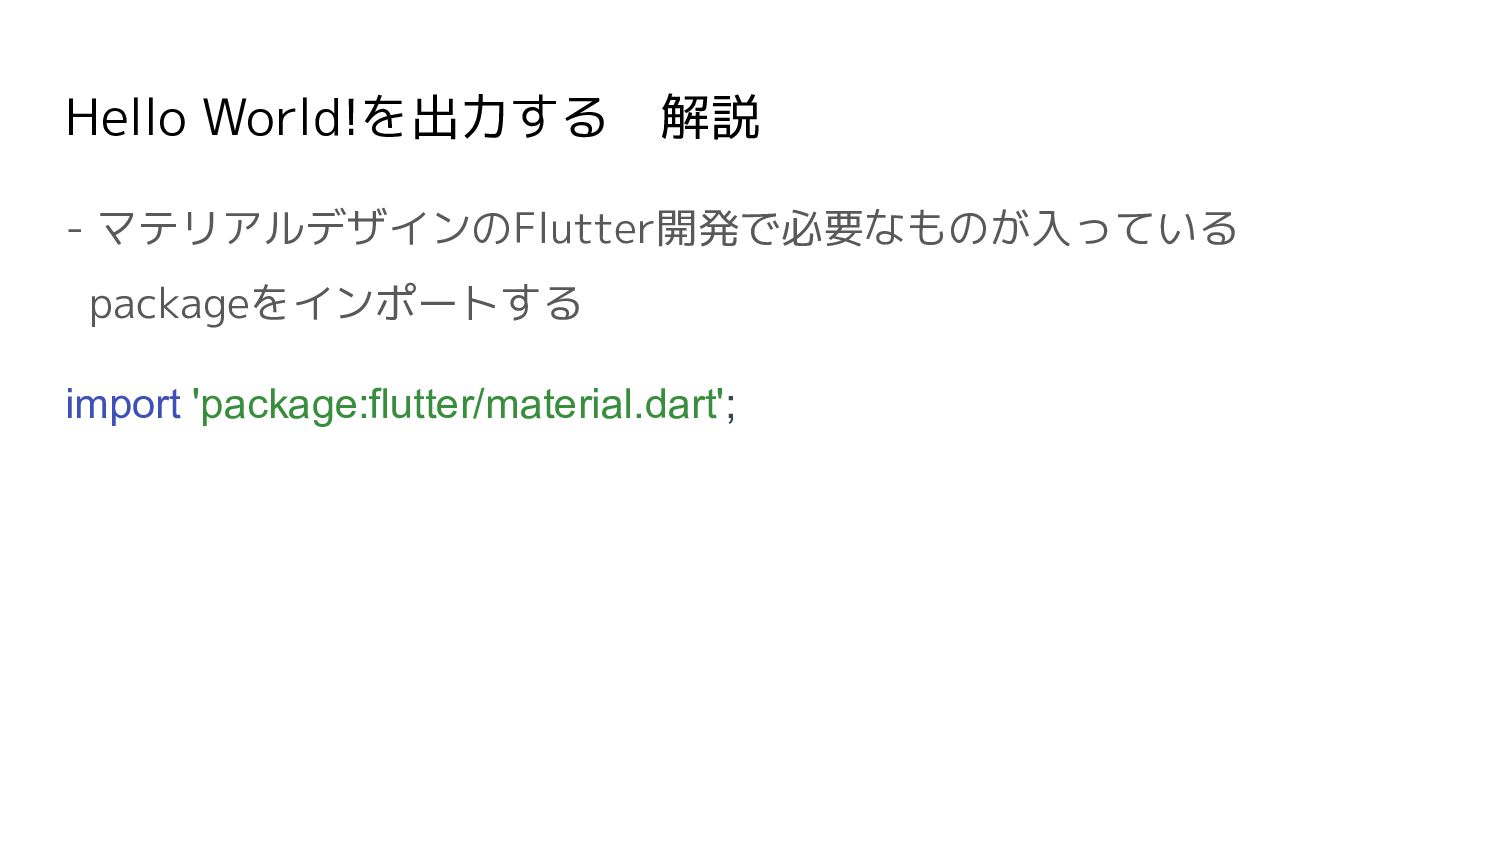
Hello World!を出力する 解説 - マテリアルデザインのFlutter開発で必要なものが入っている packageをインポートする import 'package:flutter/material.dart';
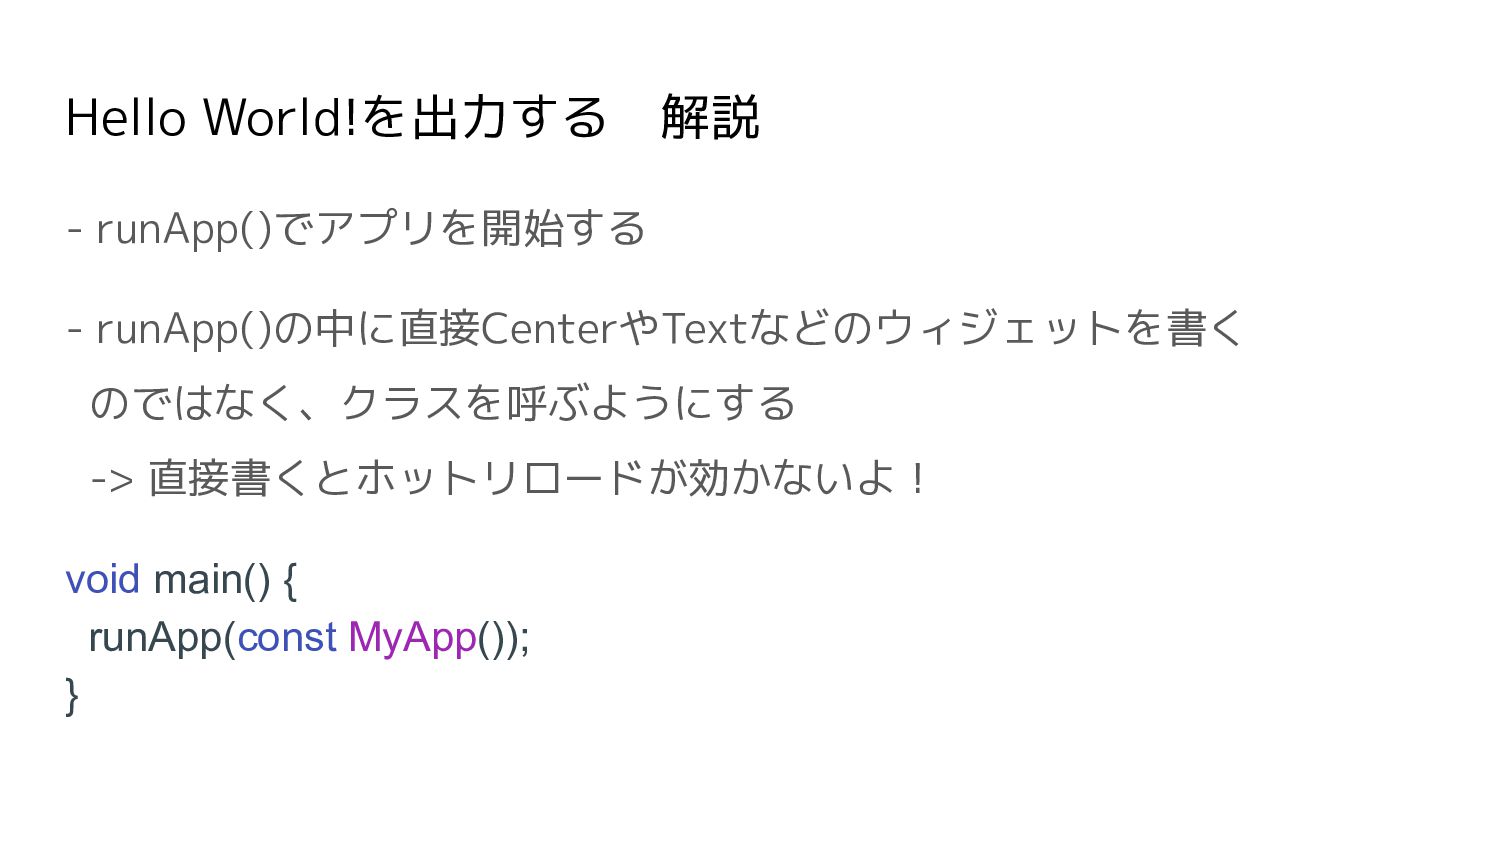
Hello World!を出力する 解説 - runApp()でアプリを開始する - runApp()の中に直接CenterやTextなどのウィジェットを書く のではなく、クラスを呼ぶようにする -> 直接書くとホットリロードが効かないよ! void
main() { runApp(const MyApp()); }
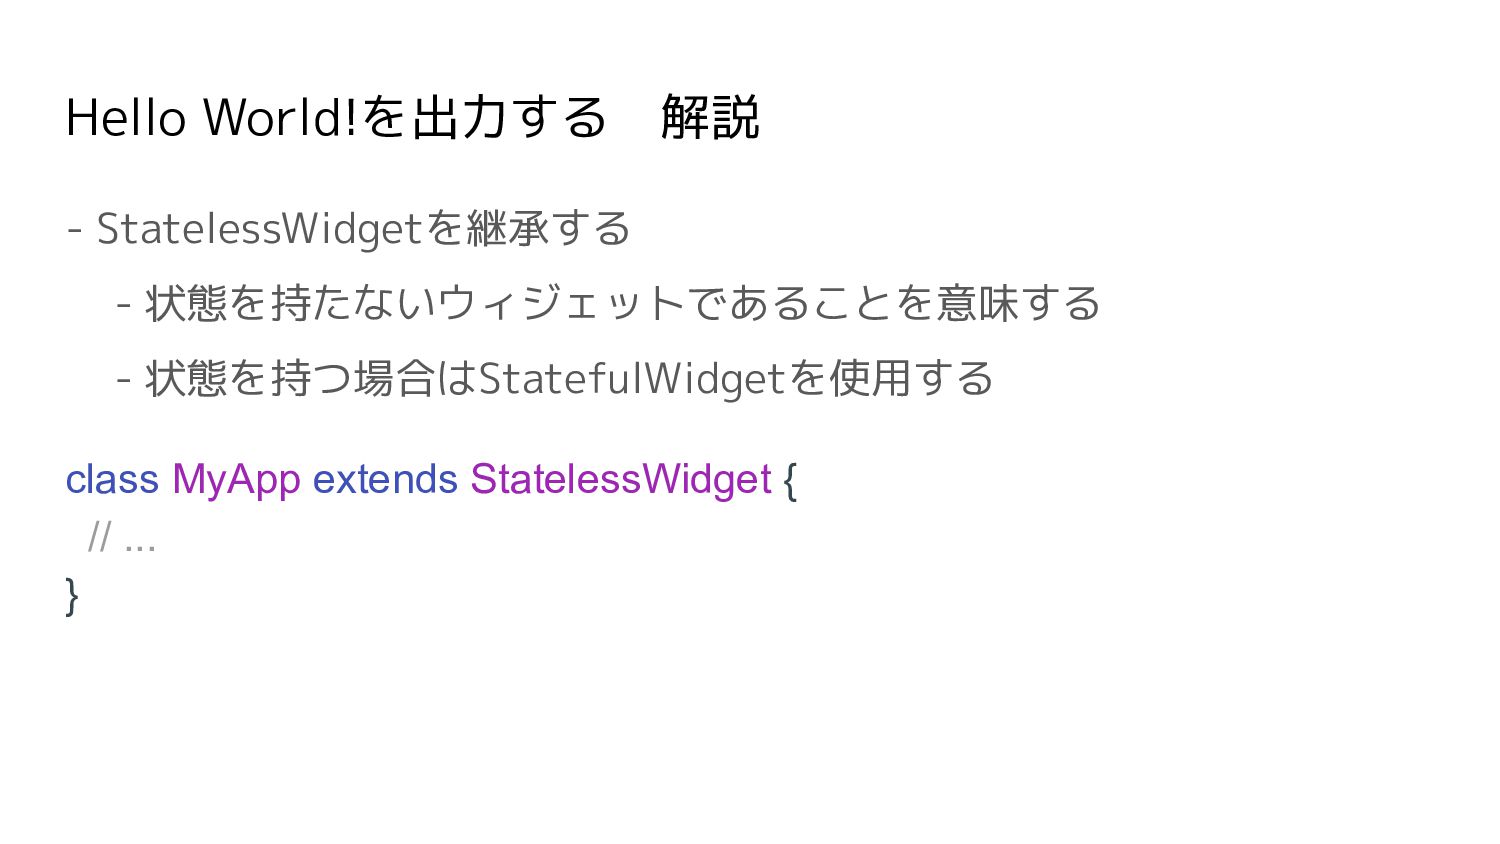
Hello World!を出力する 解説 - StatelessWidgetを継承する - 状態を持たないウィジェットであることを意味する - 状態を持つ場合はStatefulWidgetを使用する class MyApp
extends StatelessWidget { // ... }
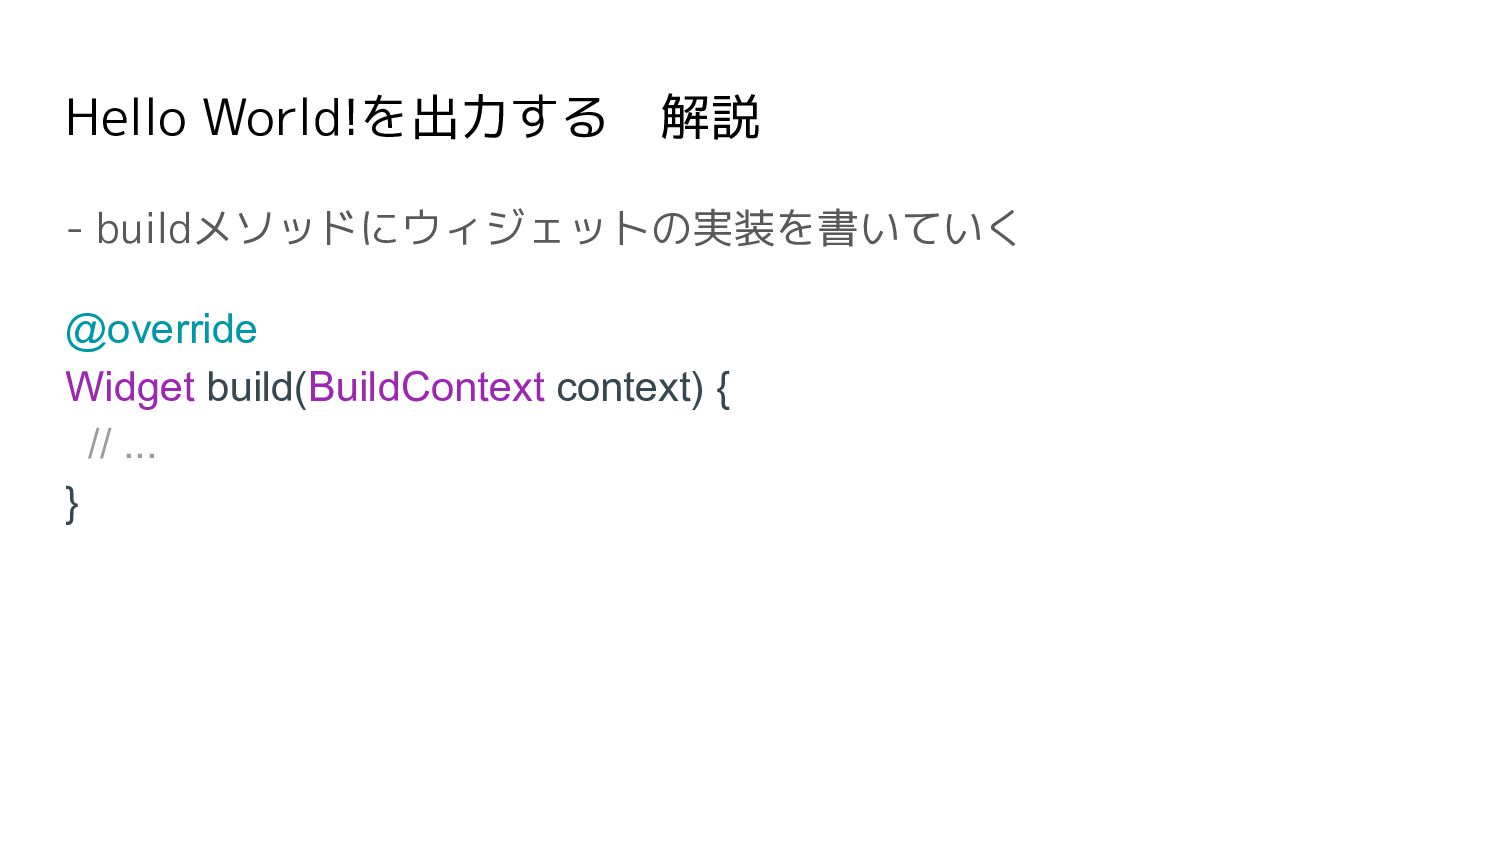
Hello World!を出力する 解説 - buildメソッドにウィジェットの実装を書いていく @override Widget build(BuildContext context) { //
... }
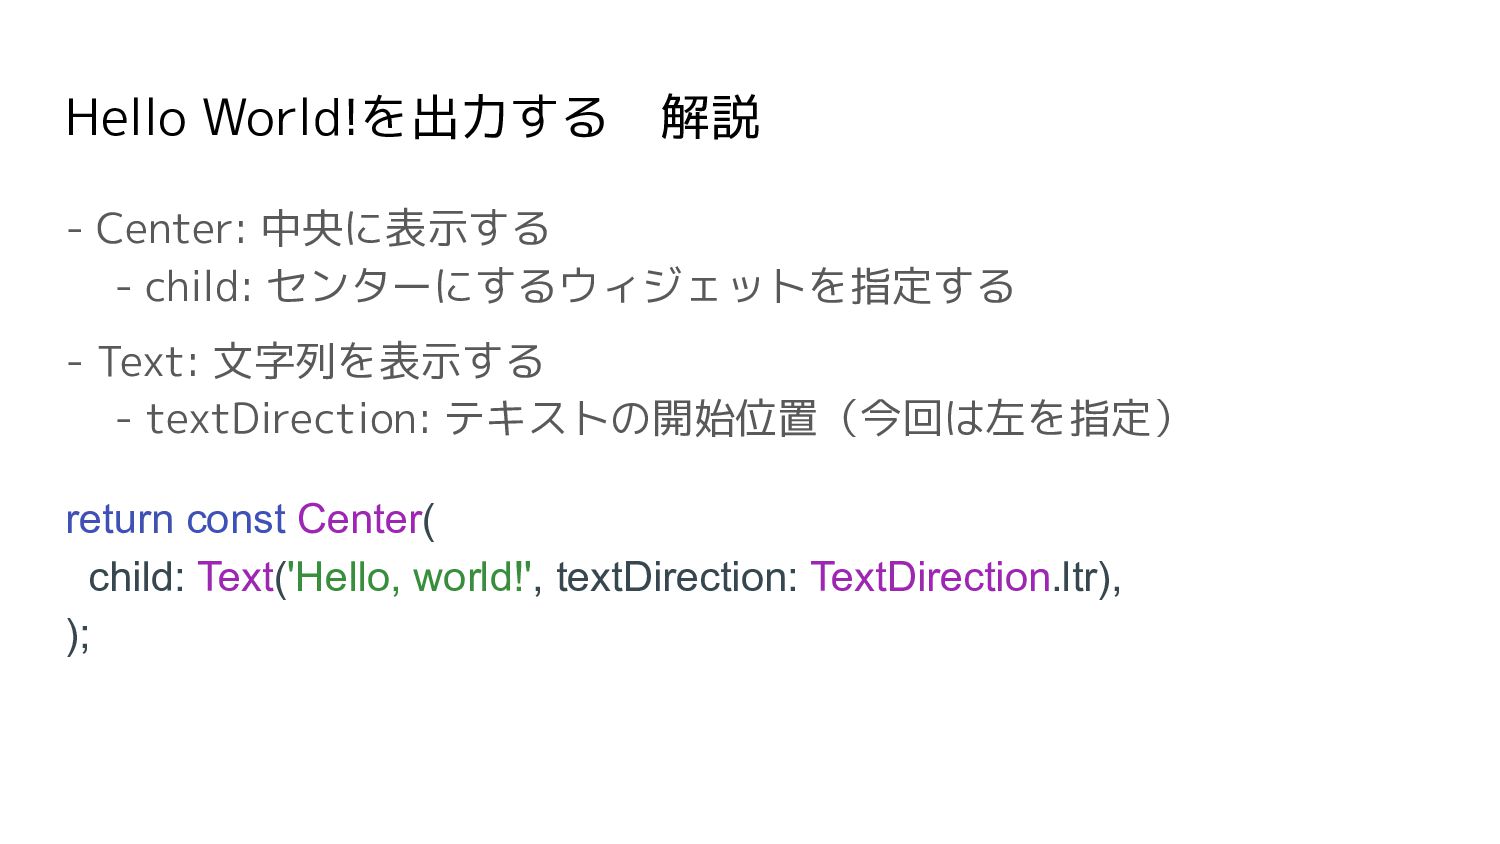
Hello World!を出力する 解説 - Center: 中央に表示する - child: センターにするウィジェットを指定する - Text:
文字列を表示する - textDirection: テキストの開始位置(今回は左を指定) return const Center( child: Text('Hello, world!', textDirection: TextDirection.ltr), );
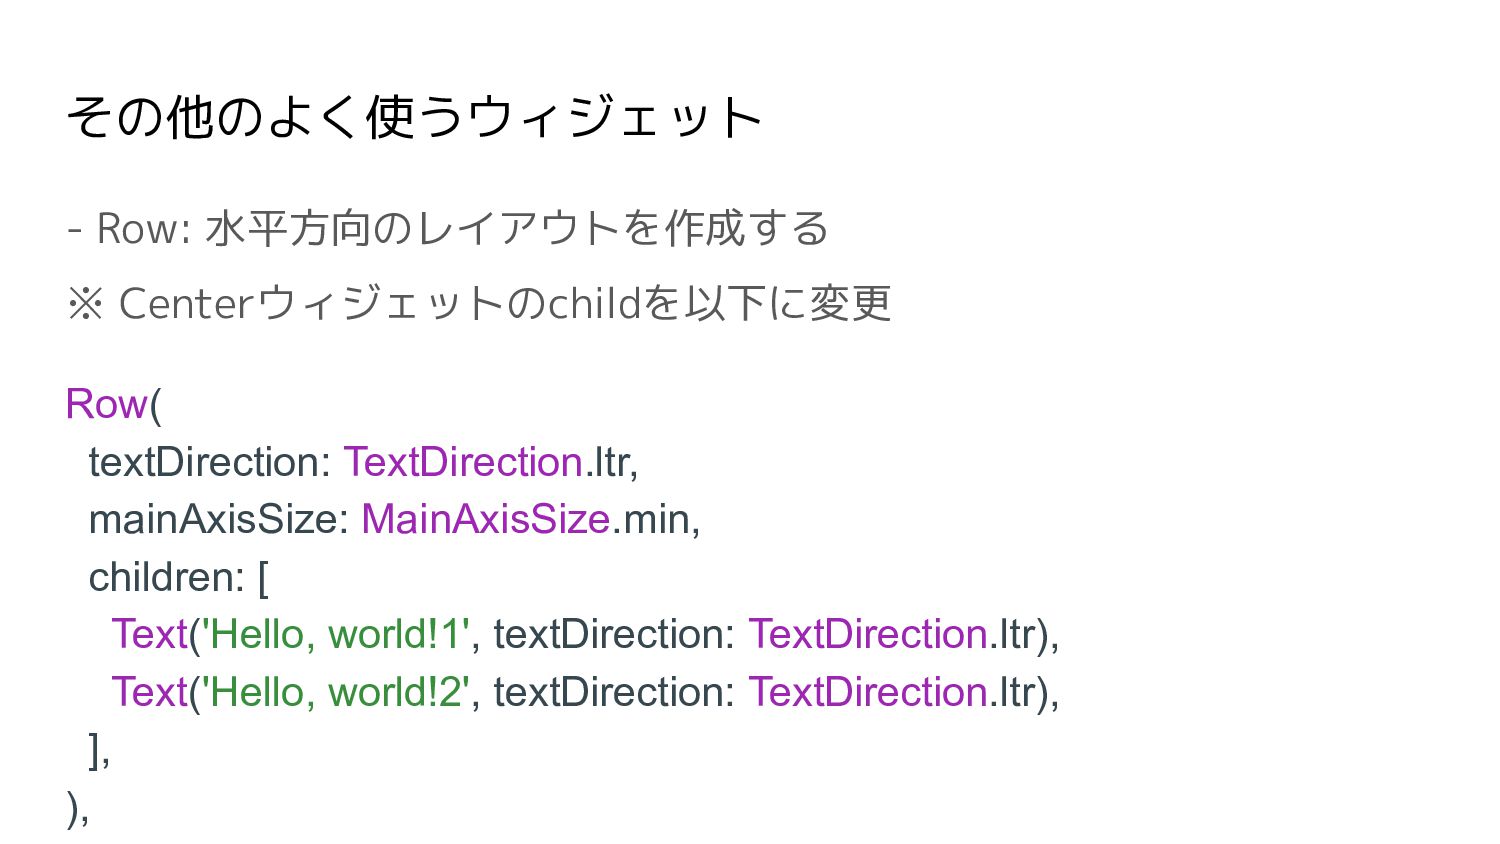
その他のよく使うウィジェット - Row: 水平方向のレイアウトを作成する ※ Centerウィジェットのchildを以下に変更 Row( textDirection: TextDirection.ltr, mainAxisSize:
MainAxisSize.min, children: [ Text('Hello, world!1', textDirection: TextDirection.ltr), Text('Hello, world!2', textDirection: TextDirection.ltr), ], ),
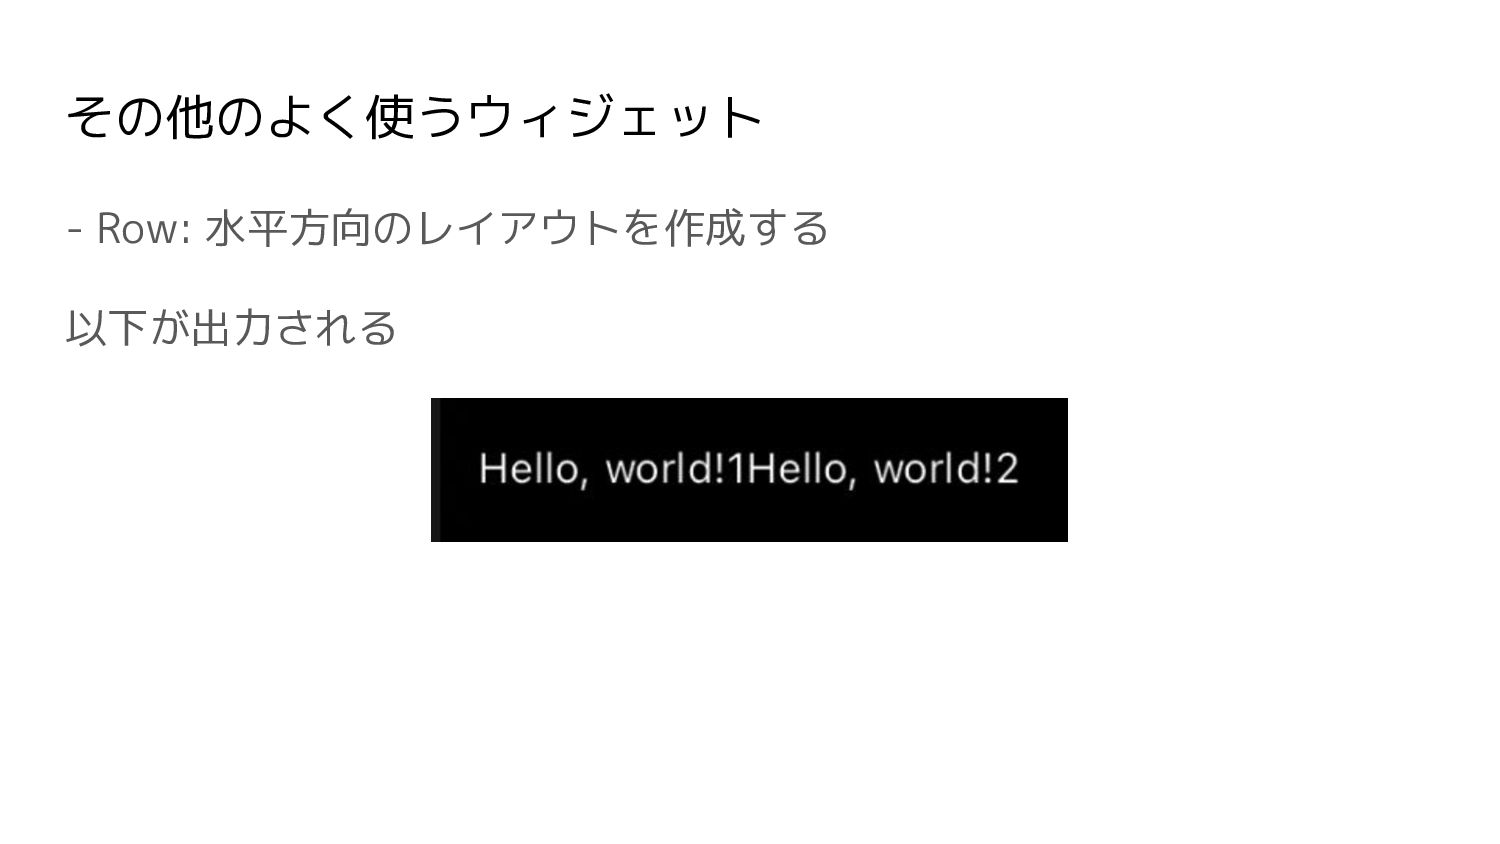
その他のよく使うウィジェット - Row: 水平方向のレイアウトを作成する 以下が出力される
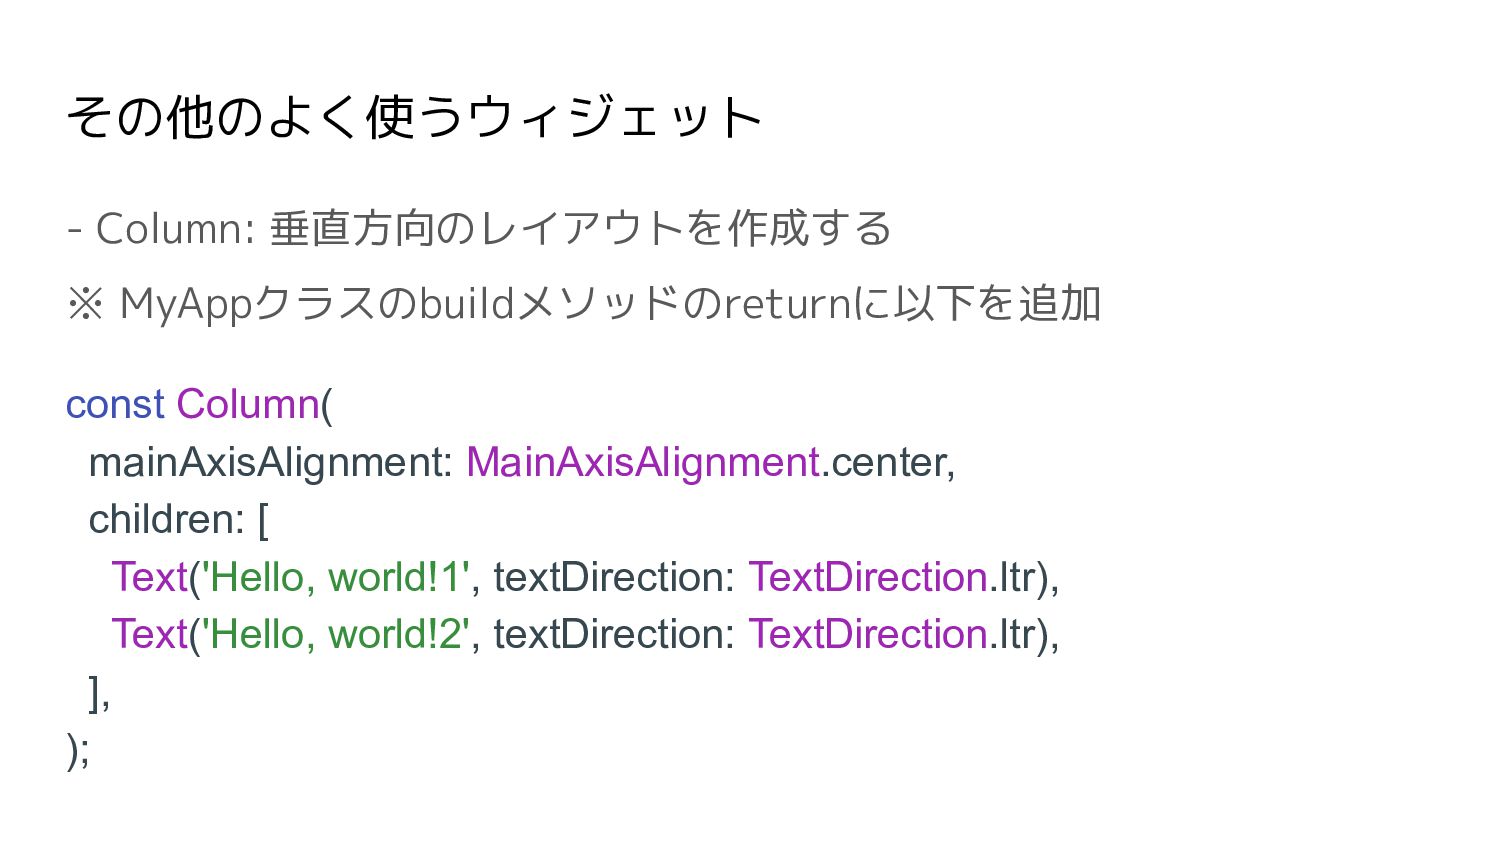
その他のよく使うウィジェット - Column: 垂直方向のレイアウトを作成する ※ MyAppクラスのbuildメソッドのreturnに以下を追加 const Column( mainAxisAlignment: MainAxisAlignment.center,
children: [ Text('Hello, world!1', textDirection: TextDirection.ltr), Text('Hello, world!2', textDirection: TextDirection.ltr), ], );
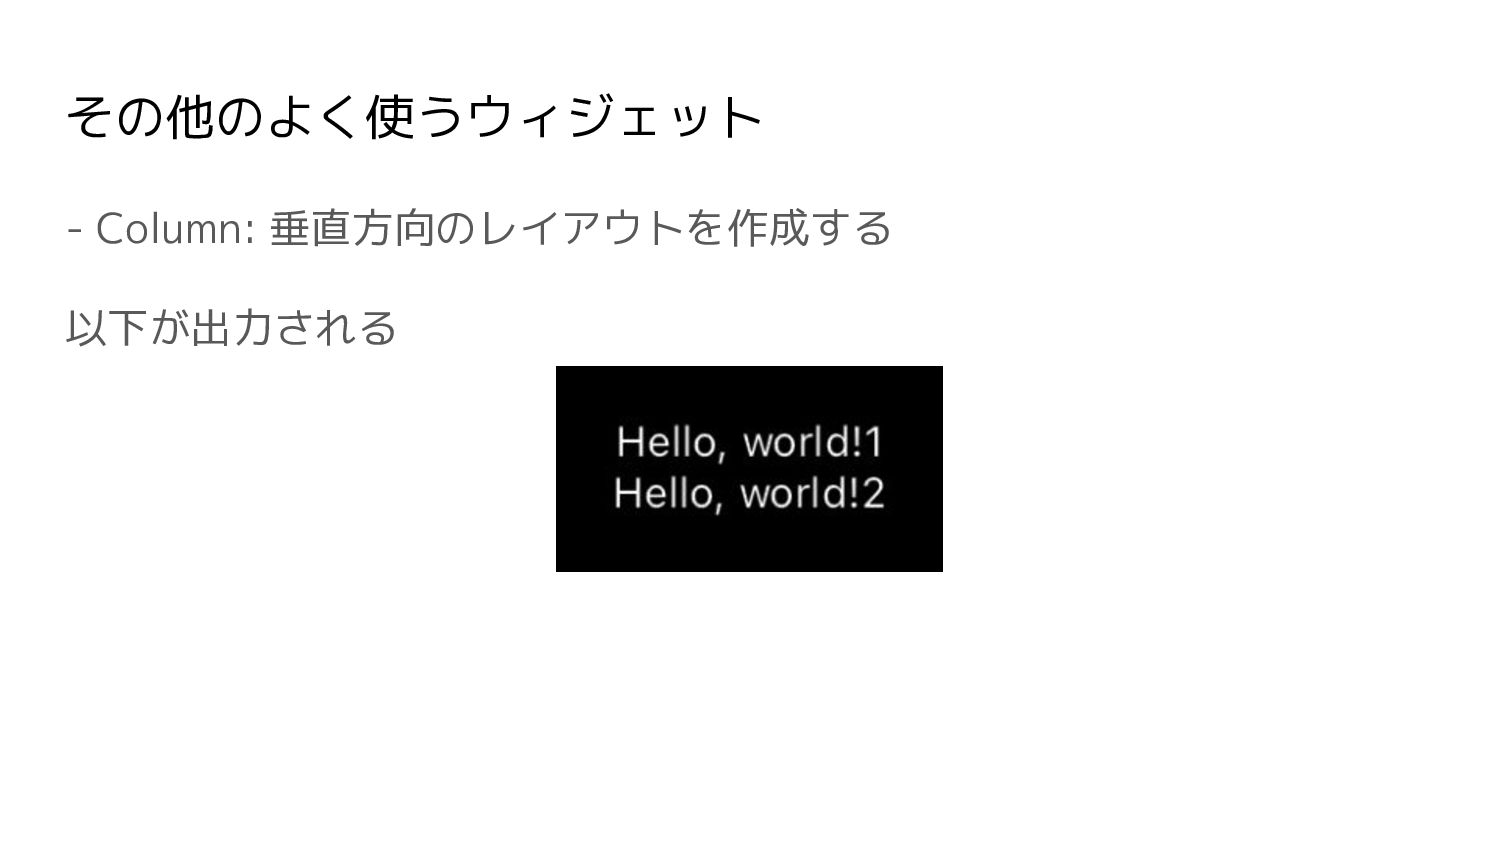
その他のよく使うウィジェット - Column: 垂直方向のレイアウトを作成する 以下が出力される
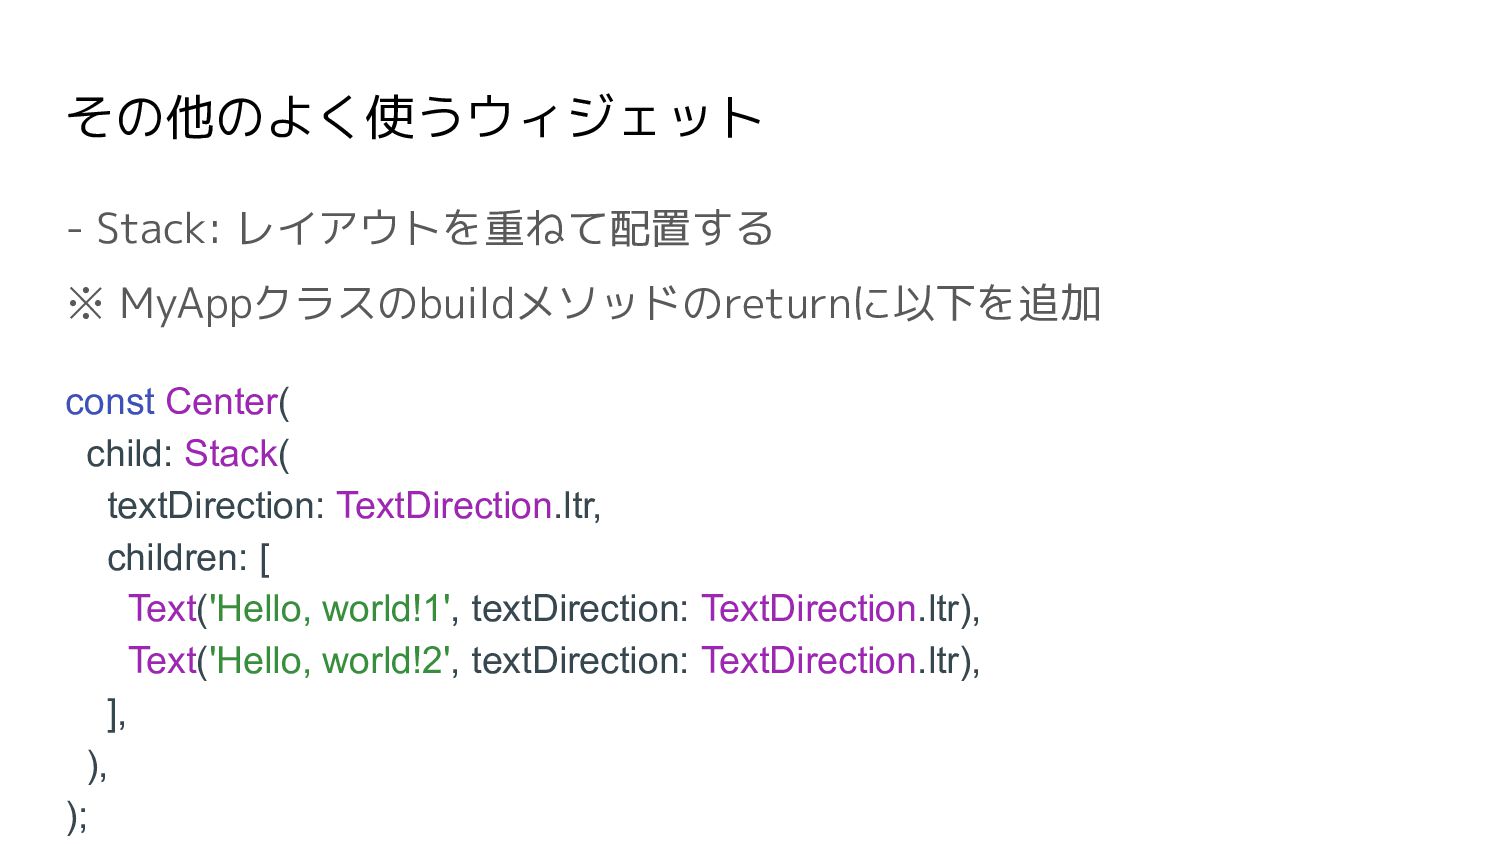
その他のよく使うウィジェット - Stack: レイアウトを重ねて配置する ※ MyAppクラスのbuildメソッドのreturnに以下を追加 const Center( child: Stack(
textDirection: TextDirection.ltr, children: [ Text('Hello, world!1', textDirection: TextDirection.ltr), Text('Hello, world!2', textDirection: TextDirection.ltr), ], ), );
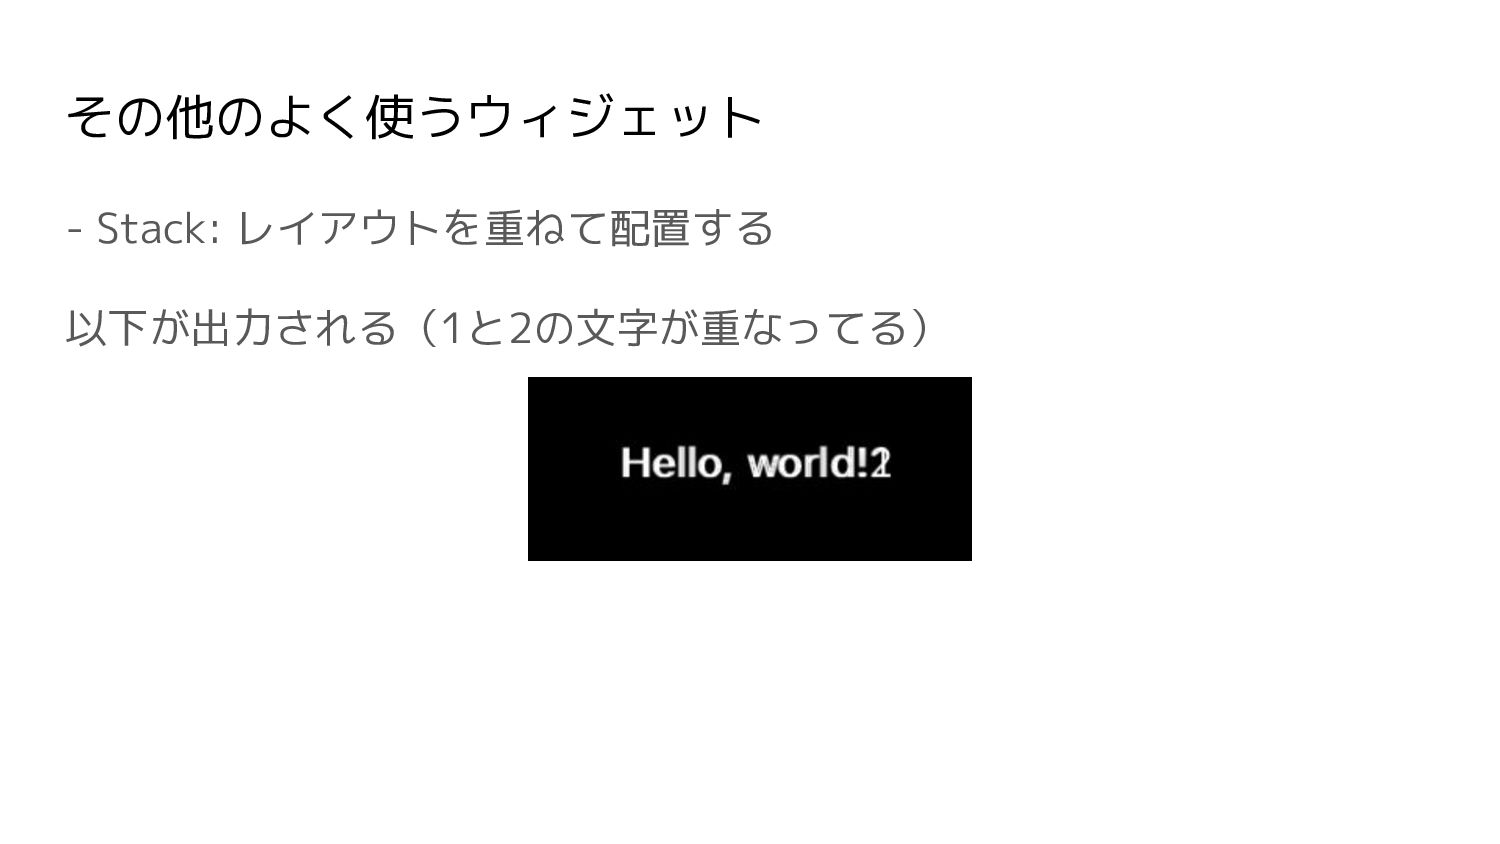
その他のよく使うウィジェット - Stack: レイアウトを重ねて配置する 以下が出力される(1と2の文字が重なってる)
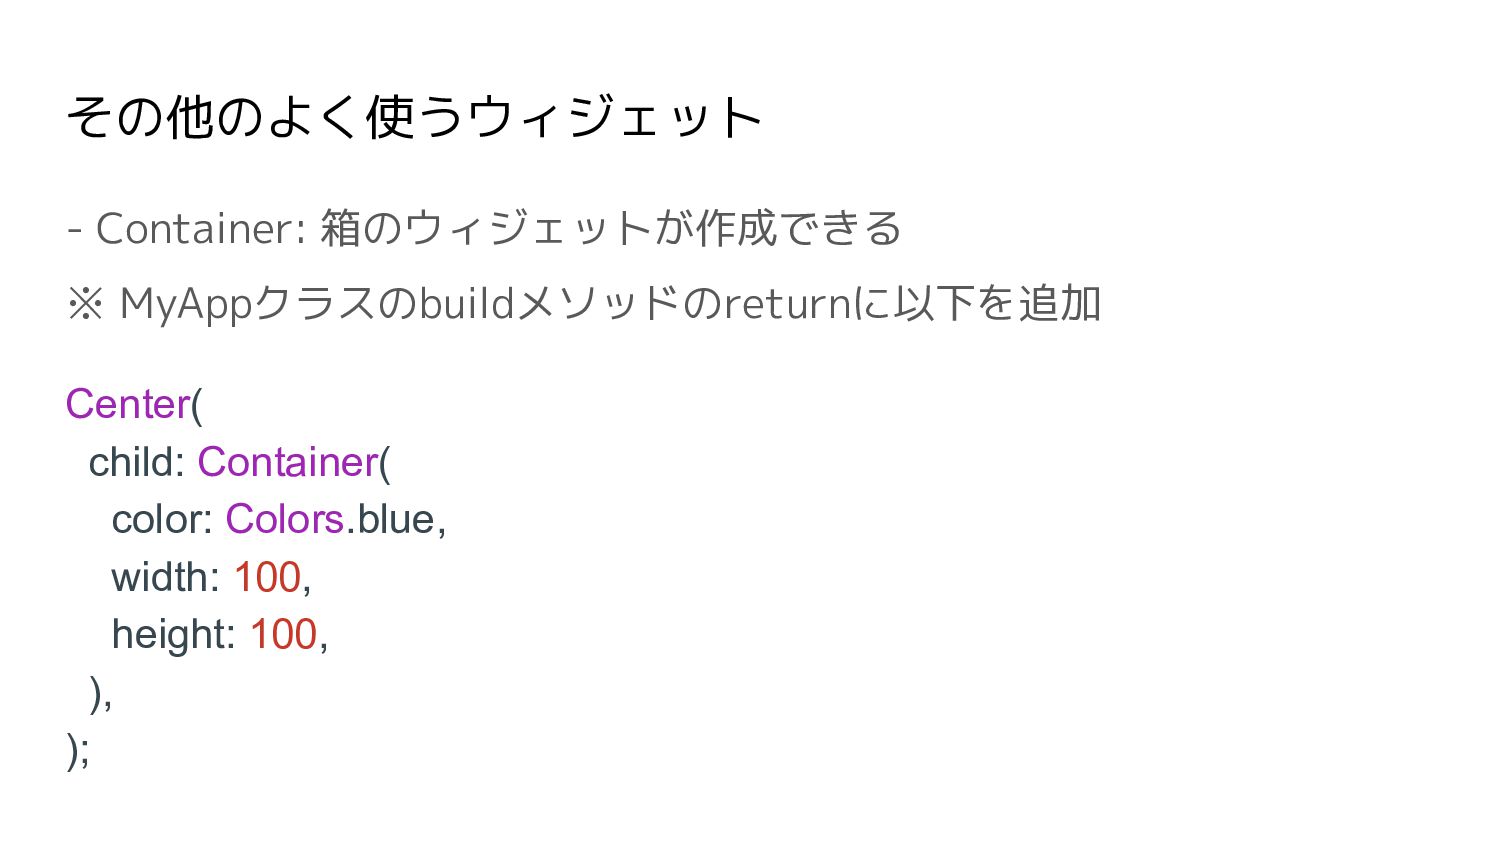
その他のよく使うウィジェット - Container: 箱のウィジェットが作成できる ※ MyAppクラスのbuildメソッドのreturnに以下を追加 Center( child: Container( color:
Colors.blue, width: 100, height: 100, ), );
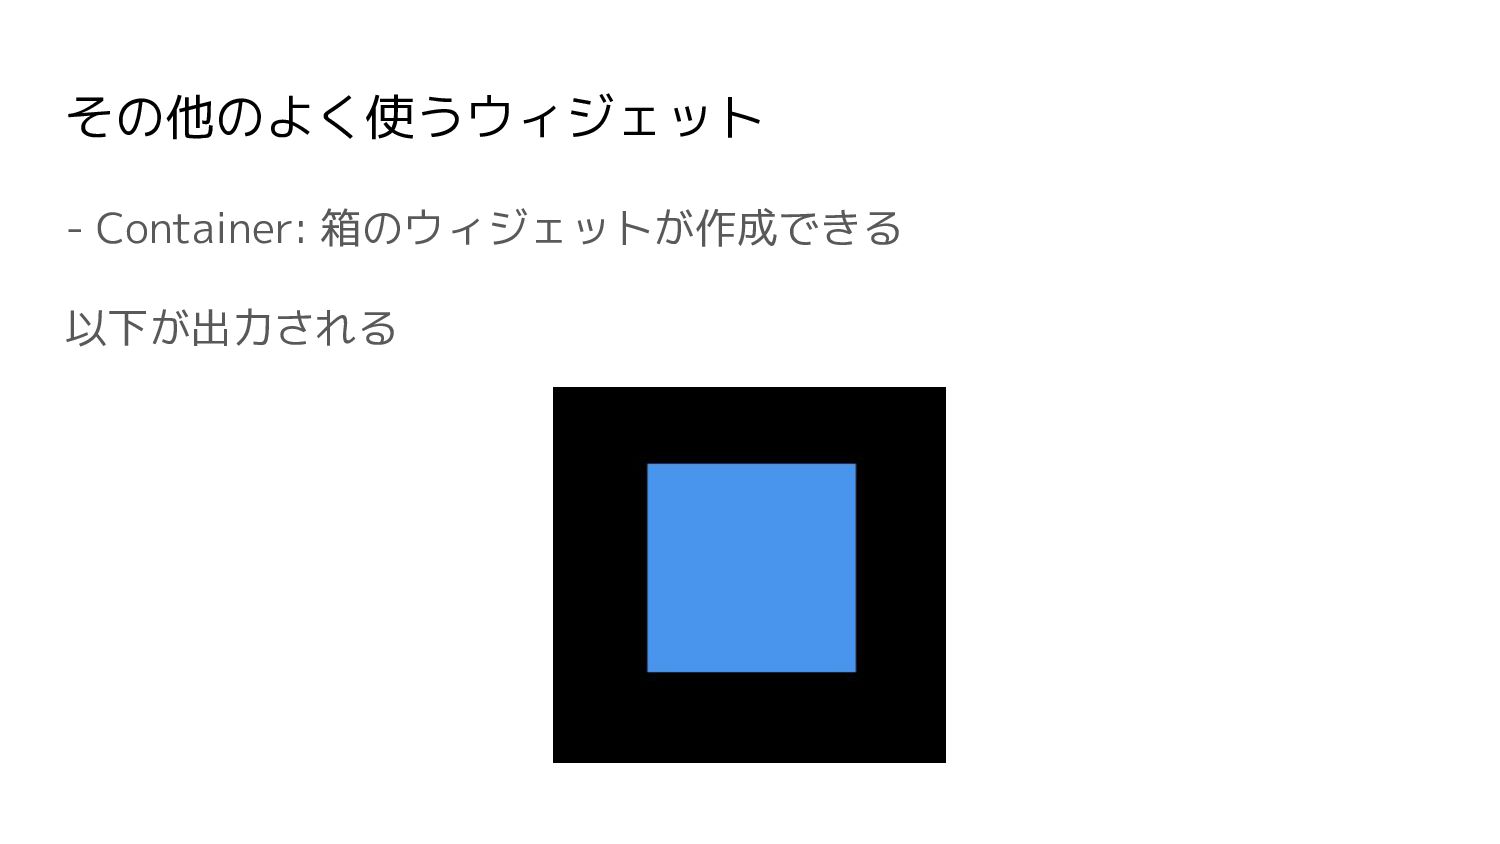
その他のよく使うウィジェット - Container: 箱のウィジェットが作成できる 以下が出力される
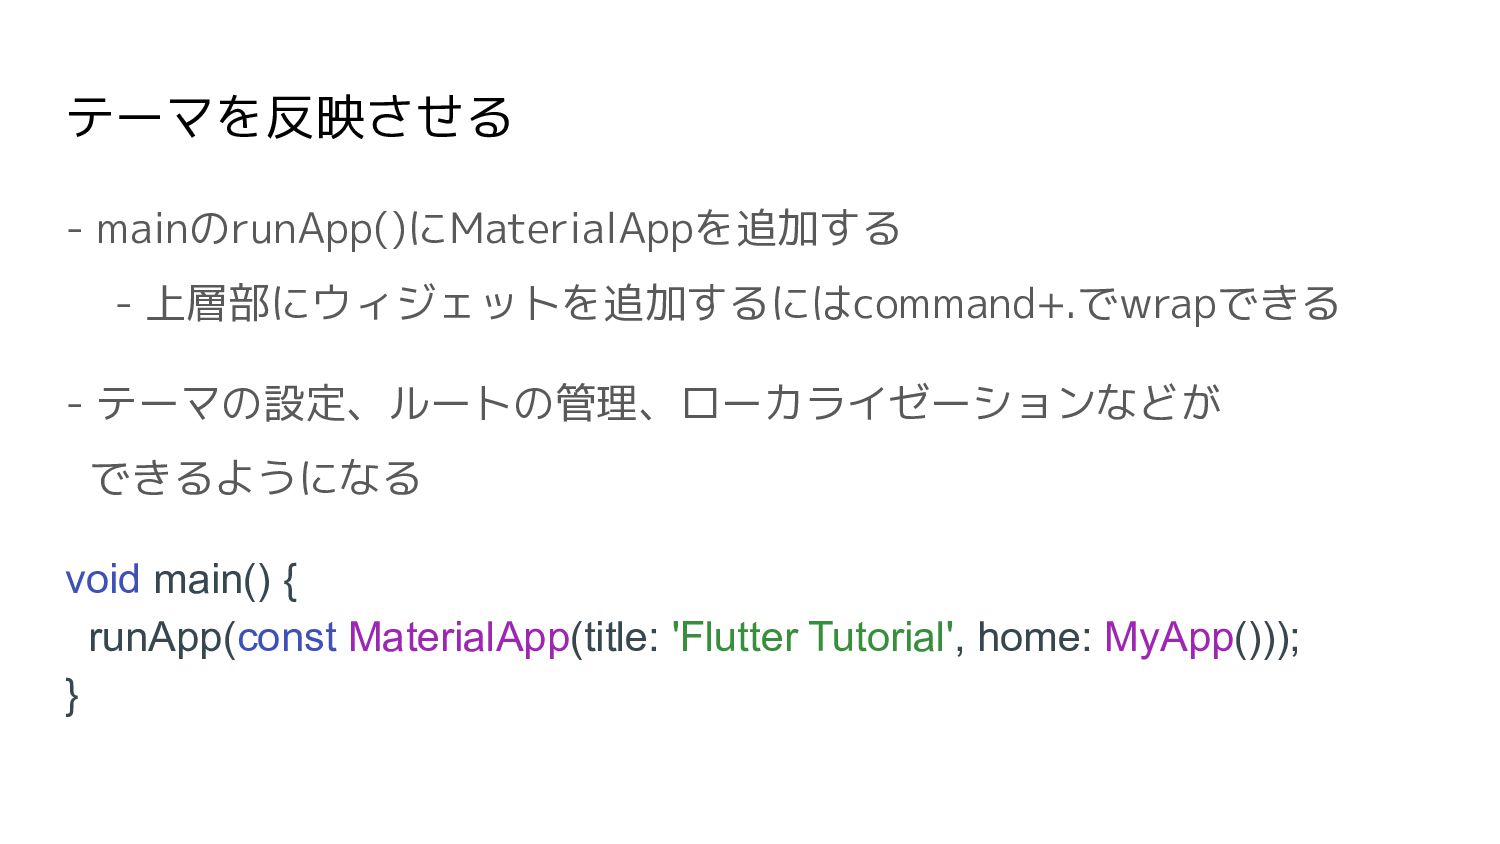
テーマを反映させる - mainのrunApp()にMaterialAppを追加する - 上層部にウィジェットを追加するにはcommand+.でwrapできる - テーマの設定、ルートの管理、ローカライゼーションなどが できるようになる void main()
{ runApp(const MaterialApp(title: 'Flutter Tutorial', home: MyApp())); }
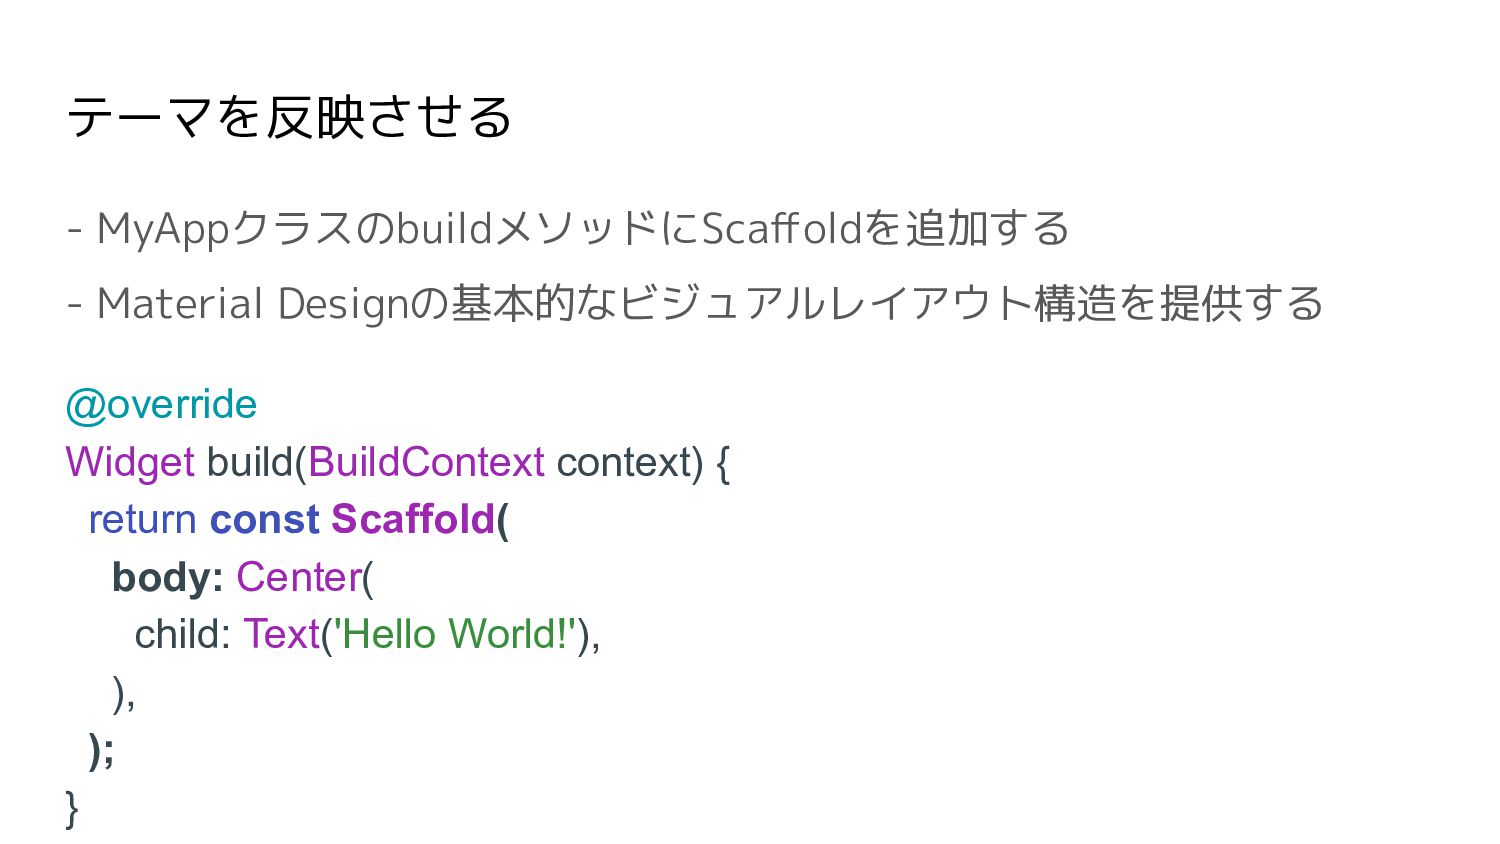
テーマを反映させる - MyAppクラスのbuildメソッドにScaffoldを追加する - Material Designの基本的なビジュアルレイアウト構造を提供する @override Widget build(BuildContext context)
{ return const Scaffold( body: Center( child: Text('Hello World!'), ), ); }
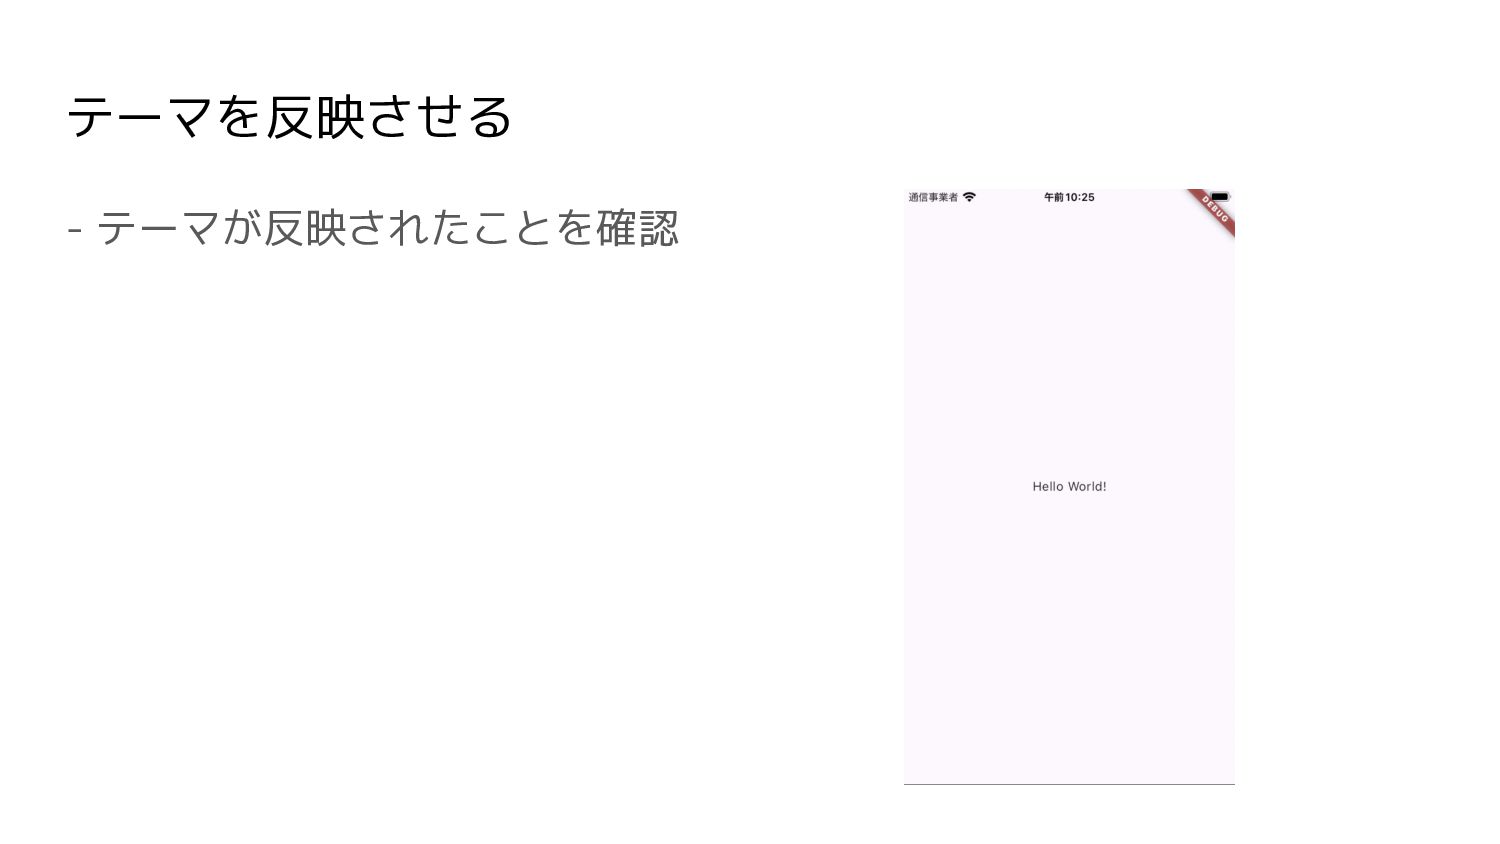
テーマを反映させる - テーマが反映されたことを確認
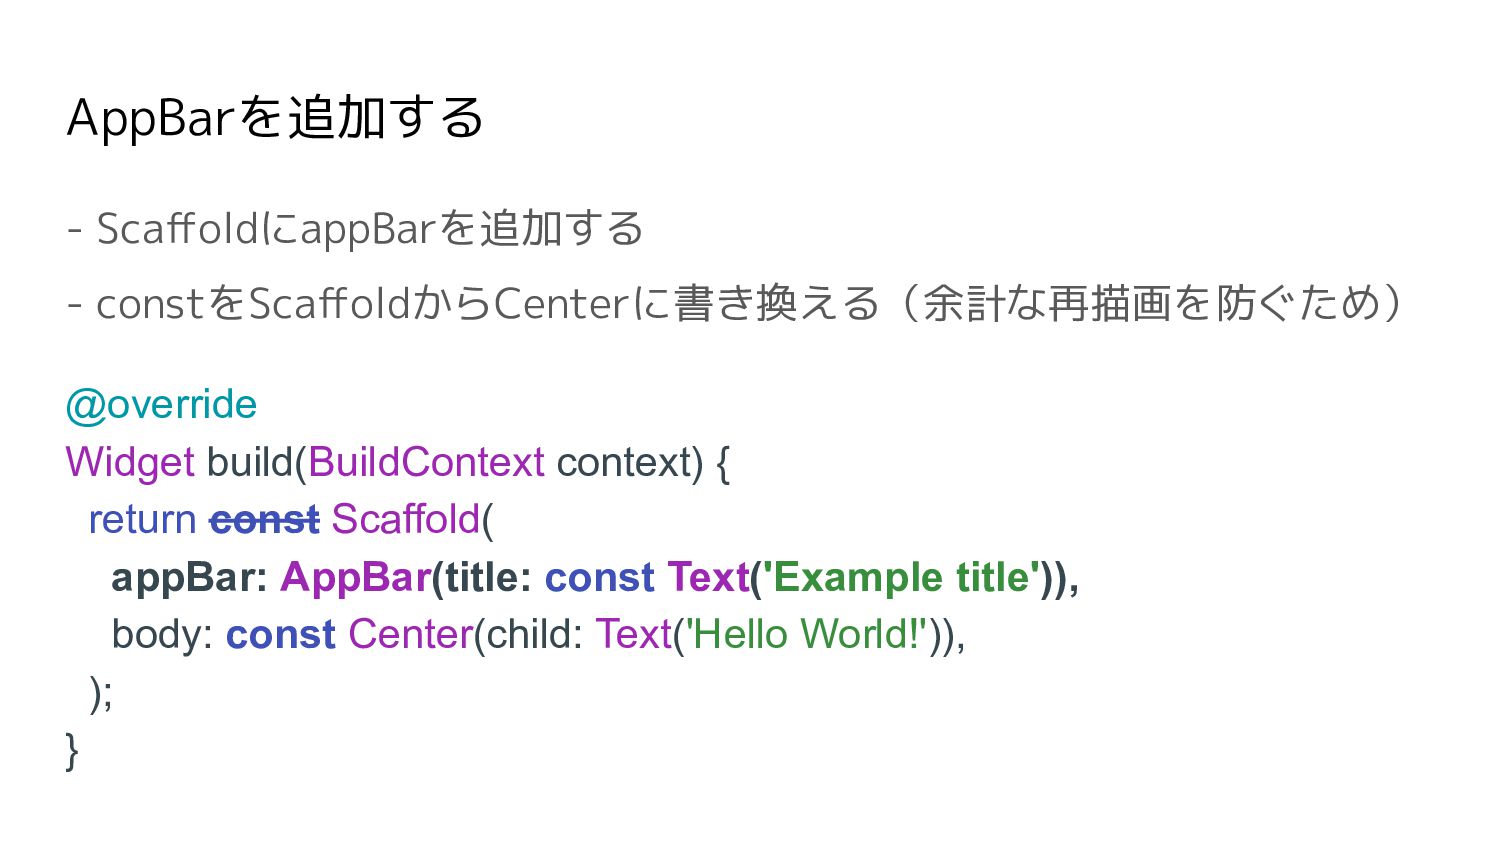
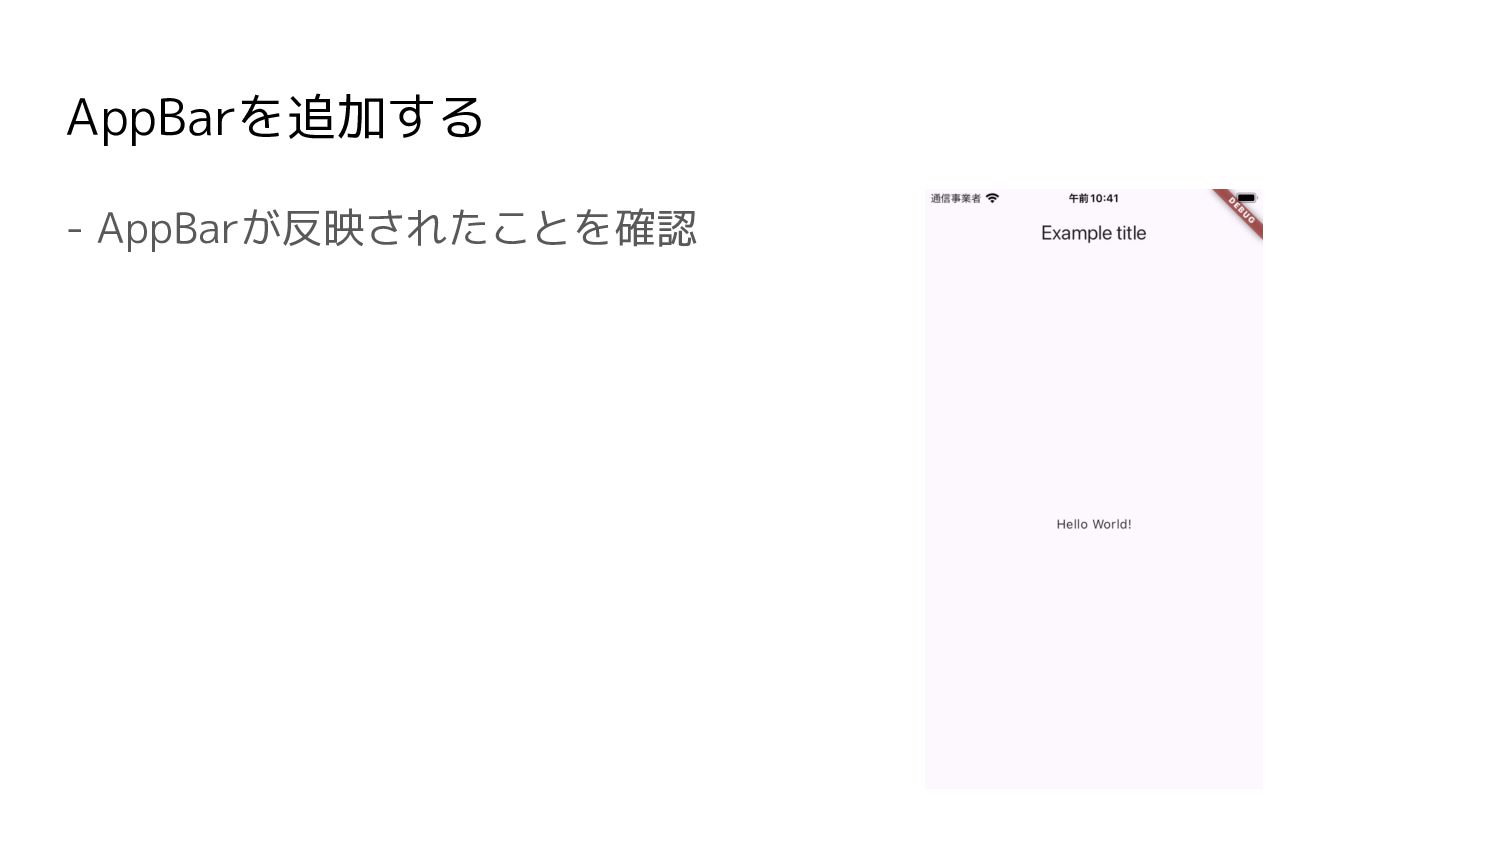
AppBarを追加する - ScaffoldにappBarを追加する - constをScaffoldからCenterに書き換える(余計な再描画を防ぐため) @override Widget build(BuildContext context) {
return const Scaffold( appBar: AppBar(title: const Text('Example title')), body: const Center(child: Text('Hello World!')), ); }
AppBarを追加する - AppBarが反映されたことを確認
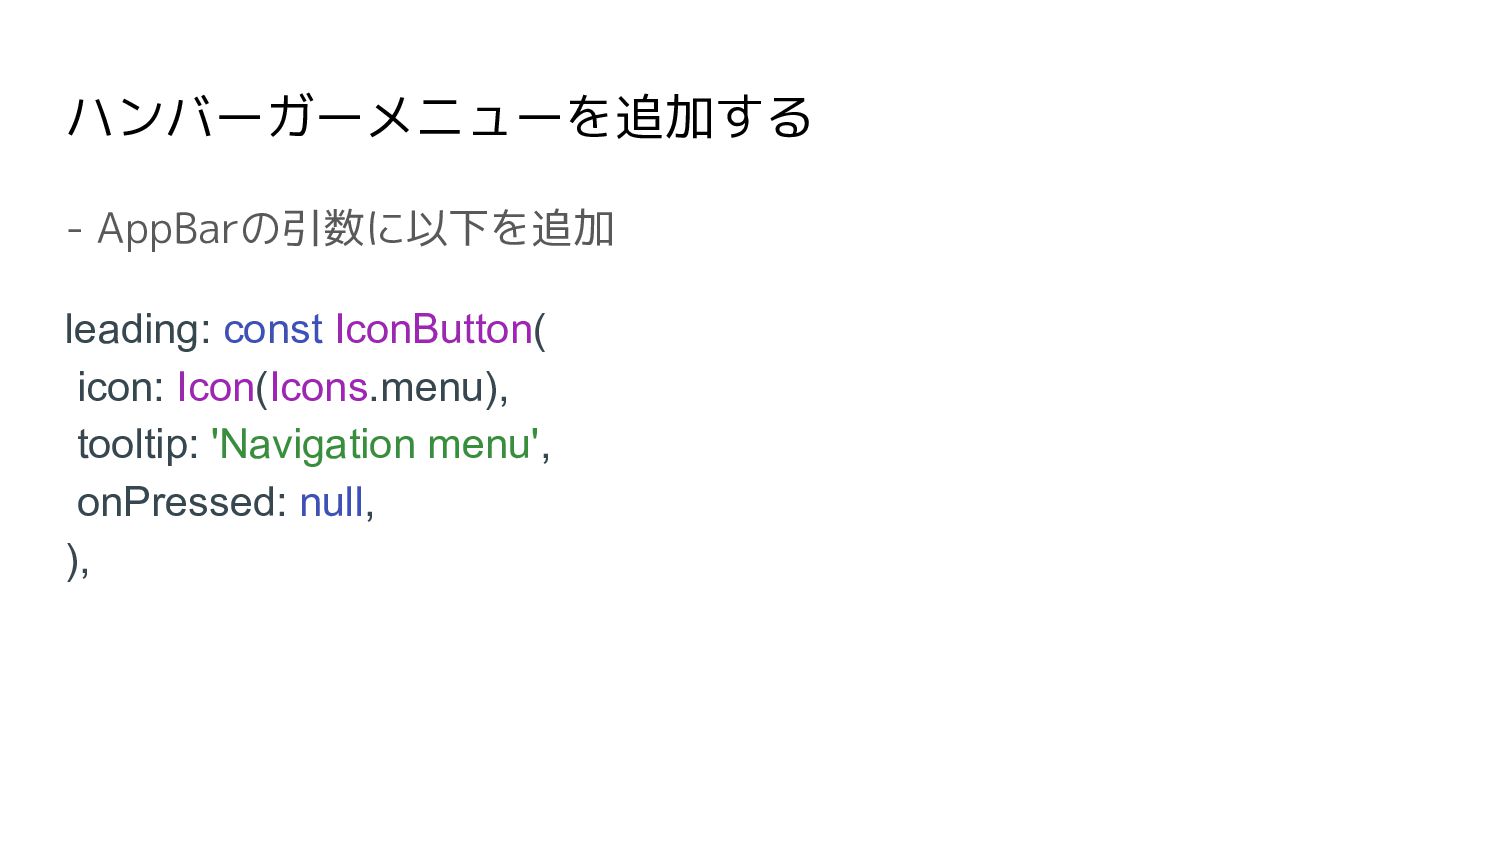
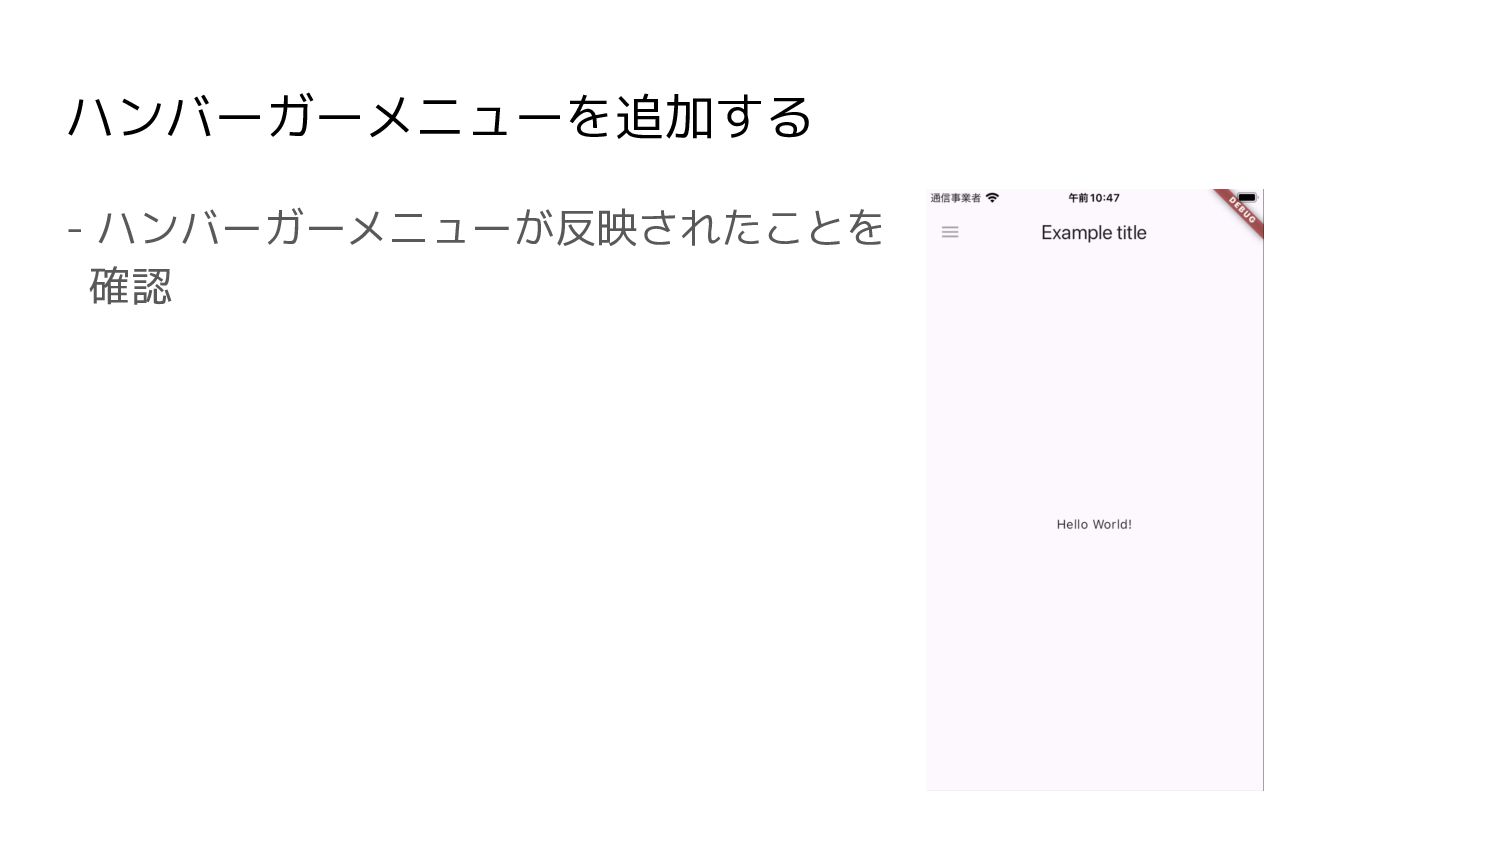
ハンバーガーメニューを追加する - AppBarの引数に以下を追加 leading: const IconButton( icon: Icon(Icons.menu), tooltip: 'Navigation
menu', onPressed: null, ),
ハンバーガーメニューを追加する - ハンバーガーメニューが反映されたことを 確認
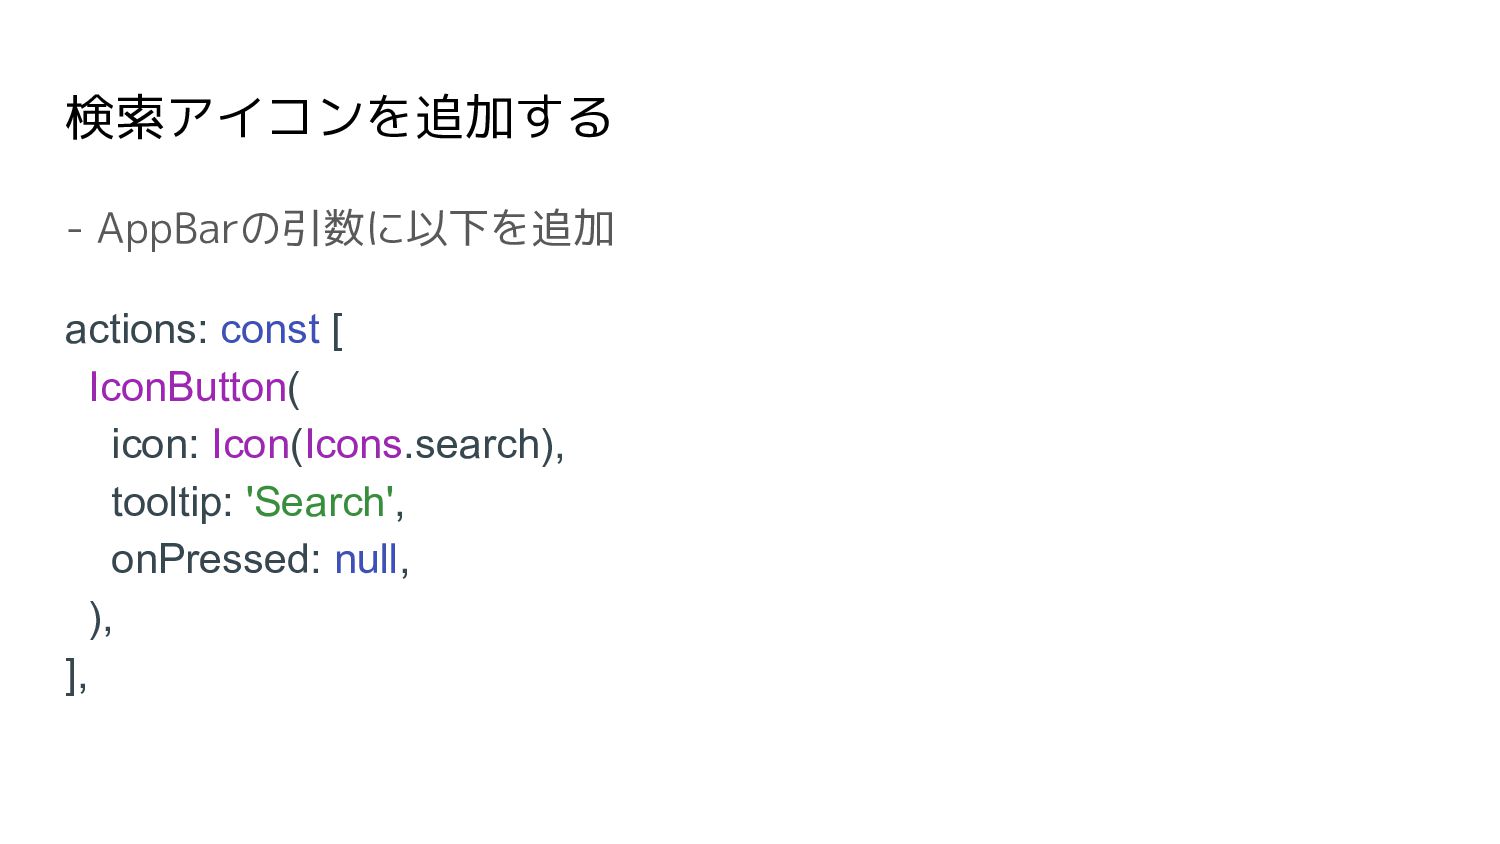
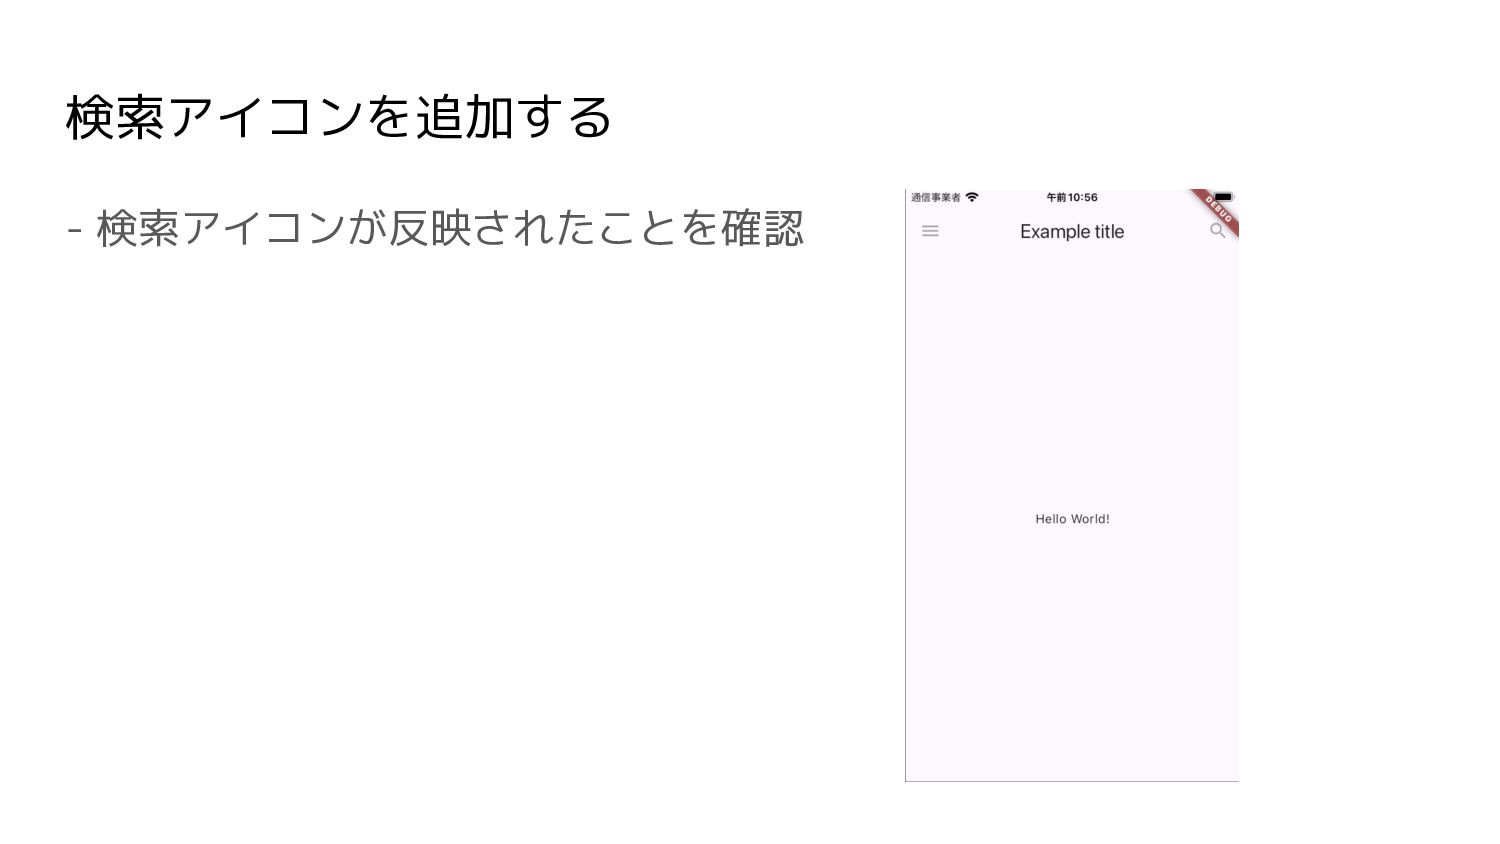
検索アイコンを追加する - AppBarの引数に以下を追加 actions: const [ IconButton( icon: Icon(Icons.search), tooltip:
'Search', onPressed: null, ), ],
検索アイコンを追加する - 検索アイコンが反映されたことを確認
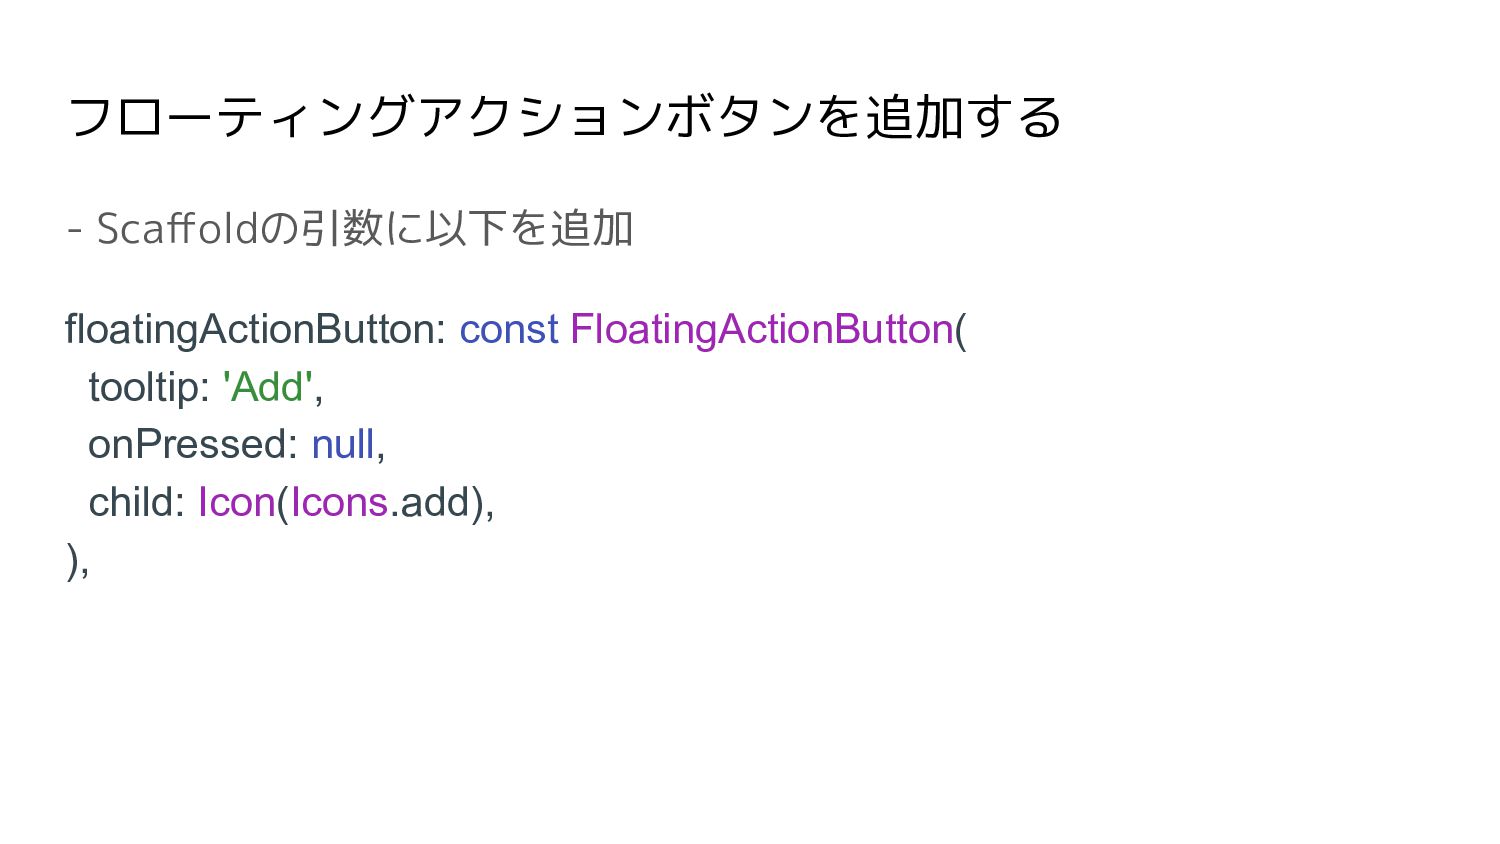
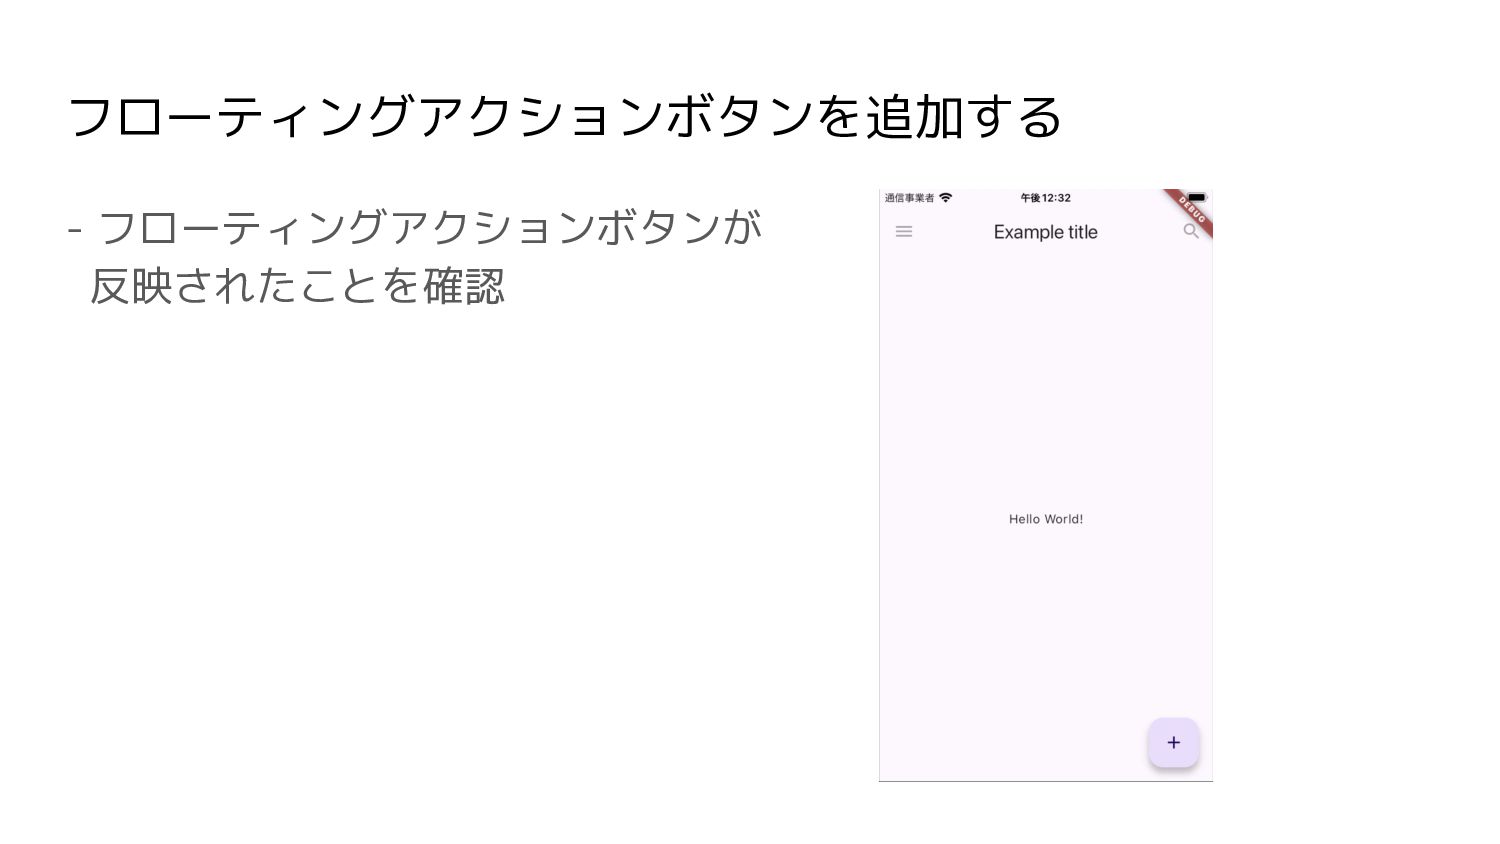
フローティングアクションボタンを追加する - Scaffoldの引数に以下を追加 floatingActionButton: const FloatingActionButton( tooltip: 'Add', onPressed: null,
child: Icon(Icons.add), ),
フローティングアクションボタンを追加する - フローティングアクションボタンが 反映されたことを確認
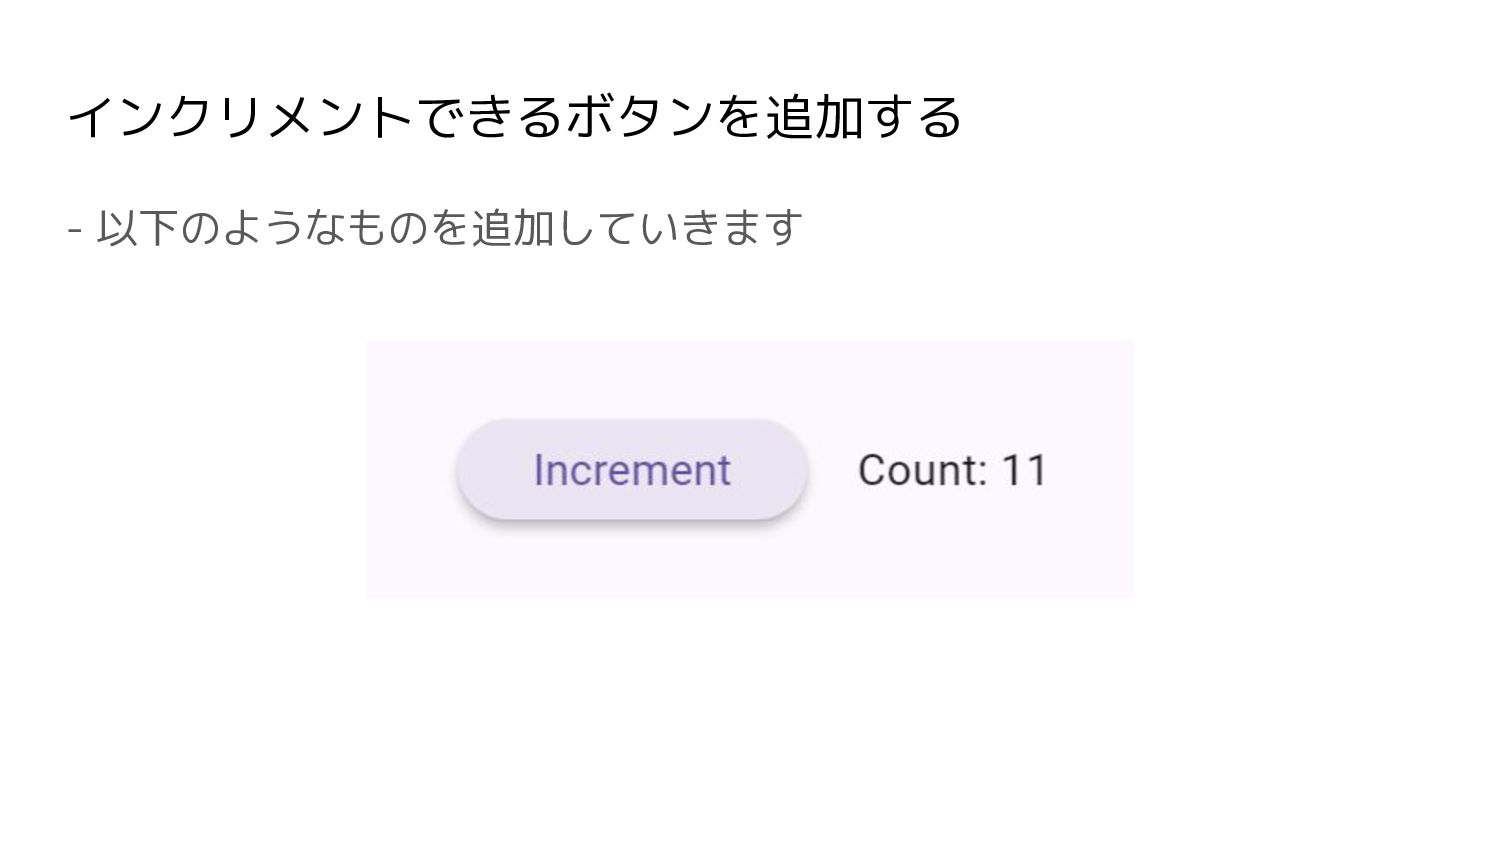
インクリメントできるボタンを追加する - 以下のようなものを追加していきます
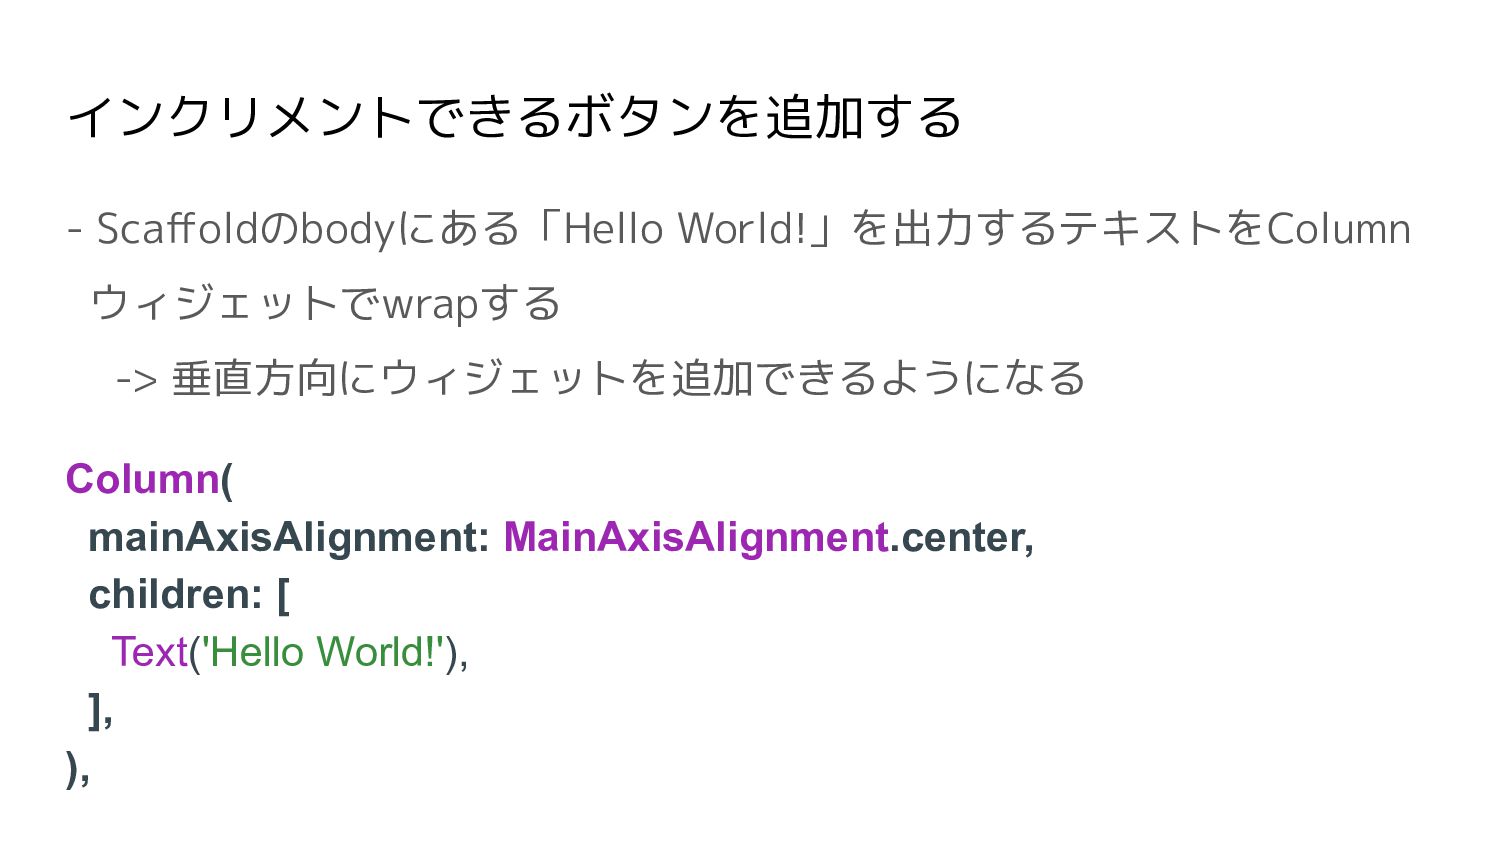
インクリメントできるボタンを追加する - Scaffoldのbodyにある「Hello World!」を出力するテキストをColumn ウィジェットでwrapする -> 垂直方向にウィジェットを追加できるようになる Column( mainAxisAlignment: MainAxisAlignment.center,
children: [ Text('Hello World!'), ], ),
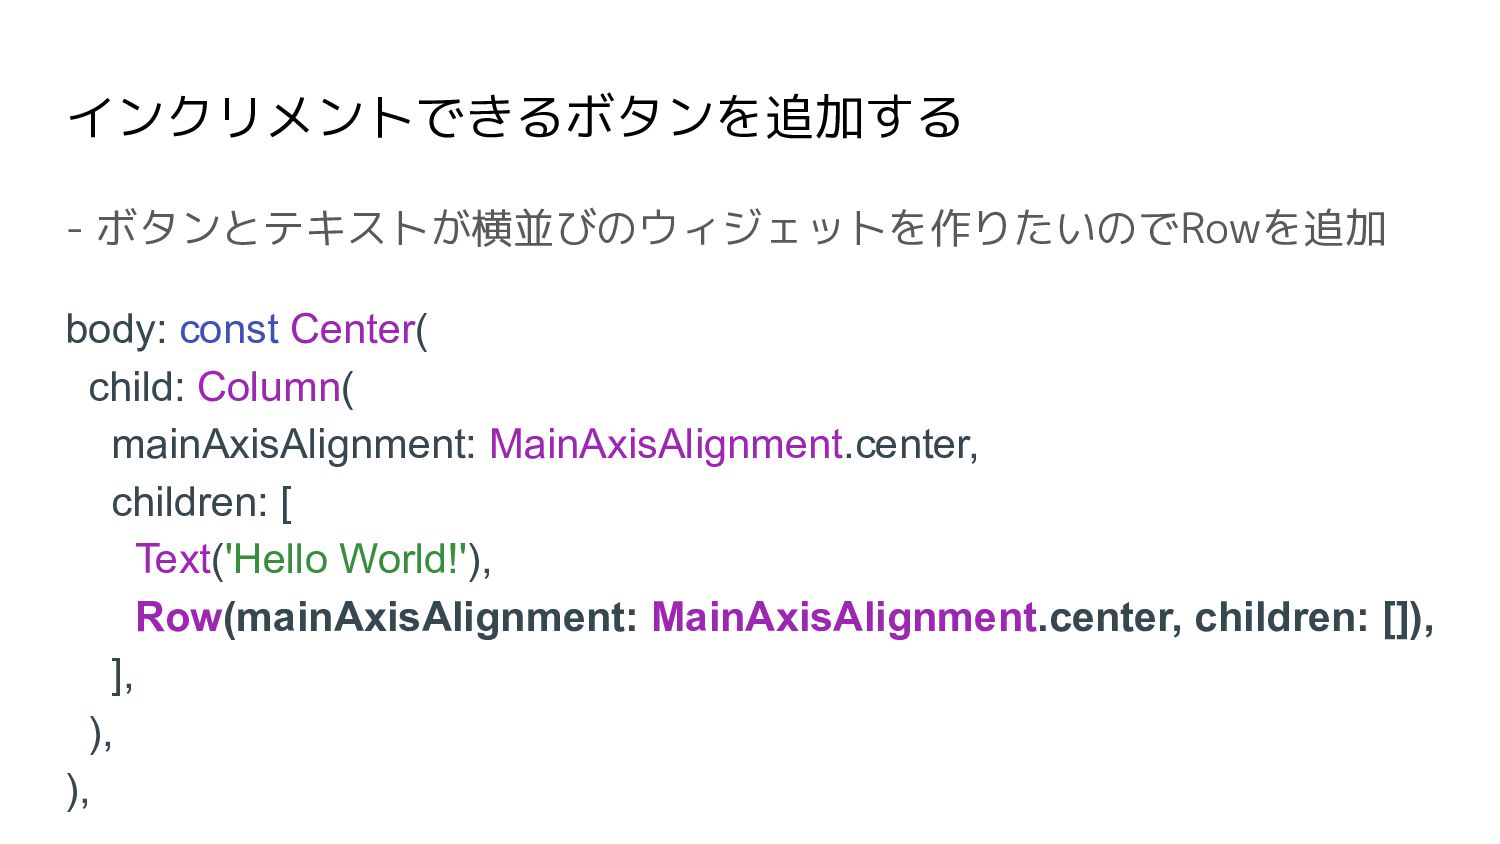
インクリメントできるボタンを追加する - ボタンとテキストが横並びのウィジェットを作りたいのでRowを追加 body: const Center( child: Column( mainAxisAlignment: MainAxisAlignment.center,
children: [ Text('Hello World!'), Row(mainAxisAlignment: MainAxisAlignment.center, children: []), ], ), ),
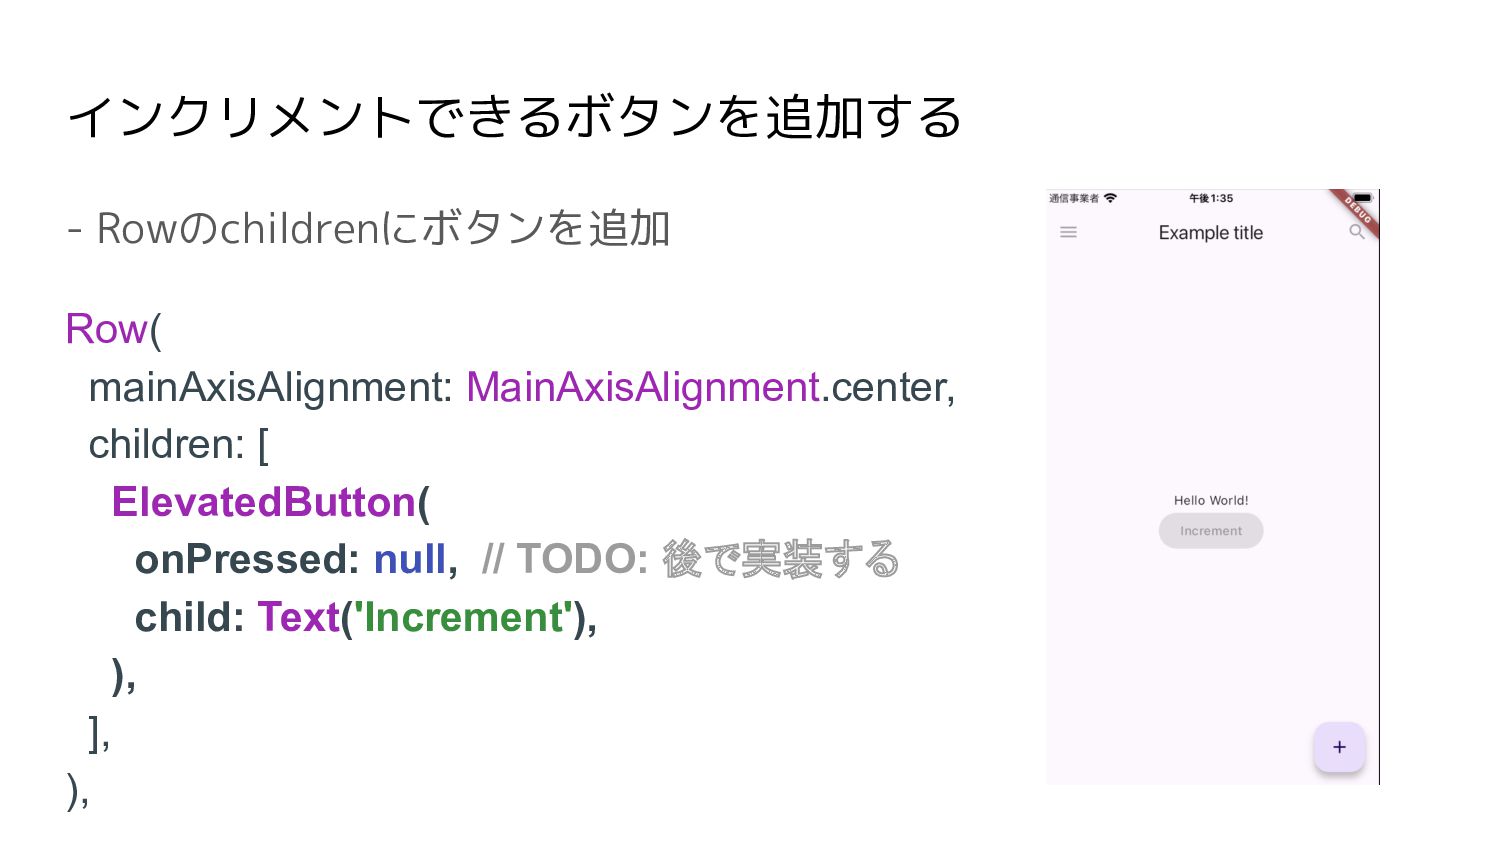
インクリメントできるボタンを追加する - Rowのchildrenにボタンを追加 Row( mainAxisAlignment: MainAxisAlignment.center, children: [ ElevatedButton( onPressed:
null, // TODO: 後で実装する child: Text('Increment'), ), ], ),
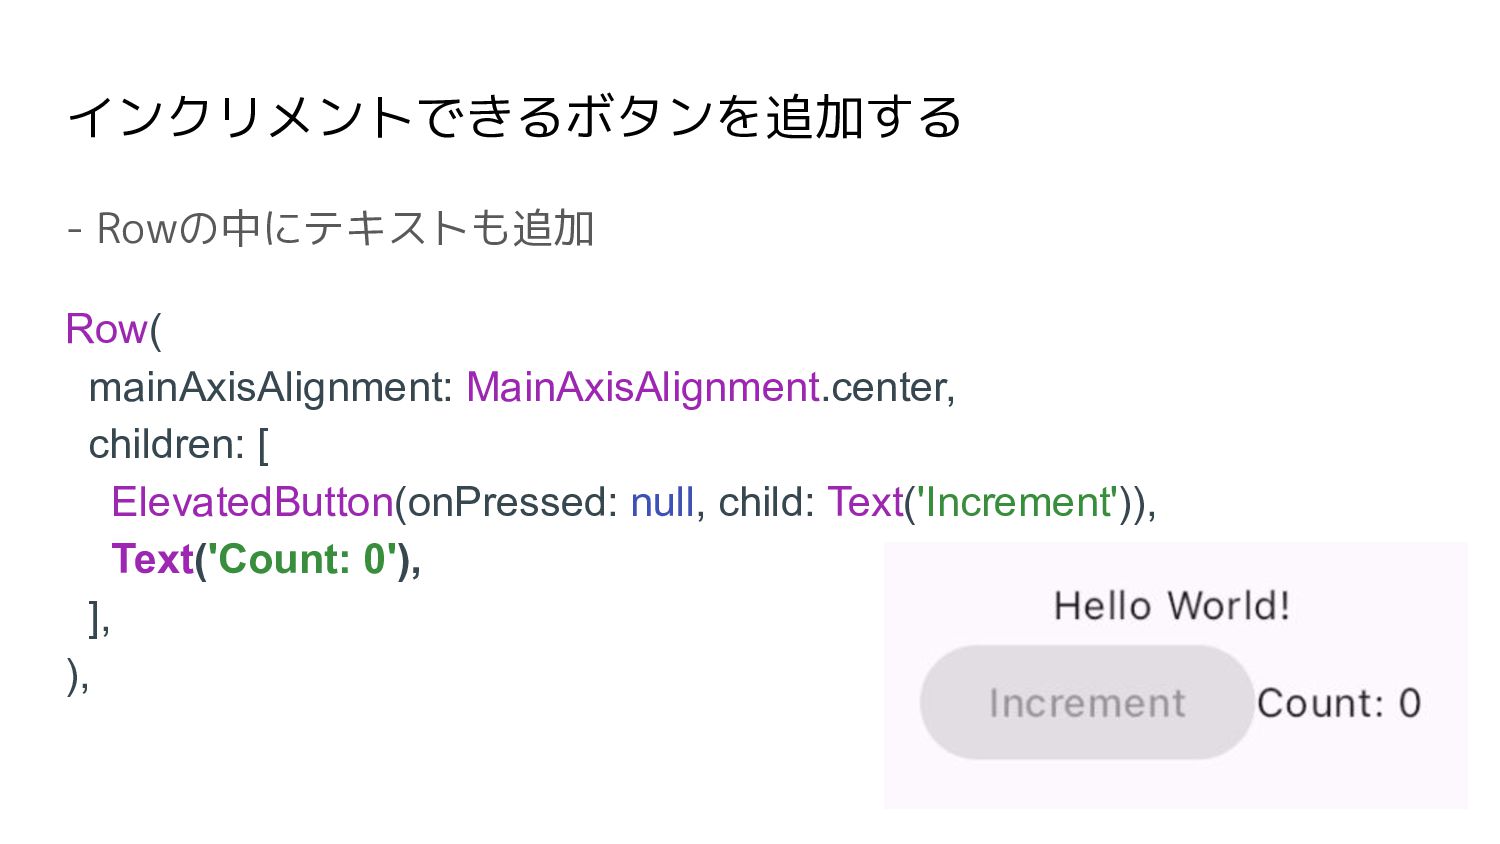
インクリメントできるボタンを追加する - Rowの中にテキストも追加 Row( mainAxisAlignment: MainAxisAlignment.center, children: [ ElevatedButton(onPressed: null,
child: Text('Increment')), Text('Count: 0'), ], ),
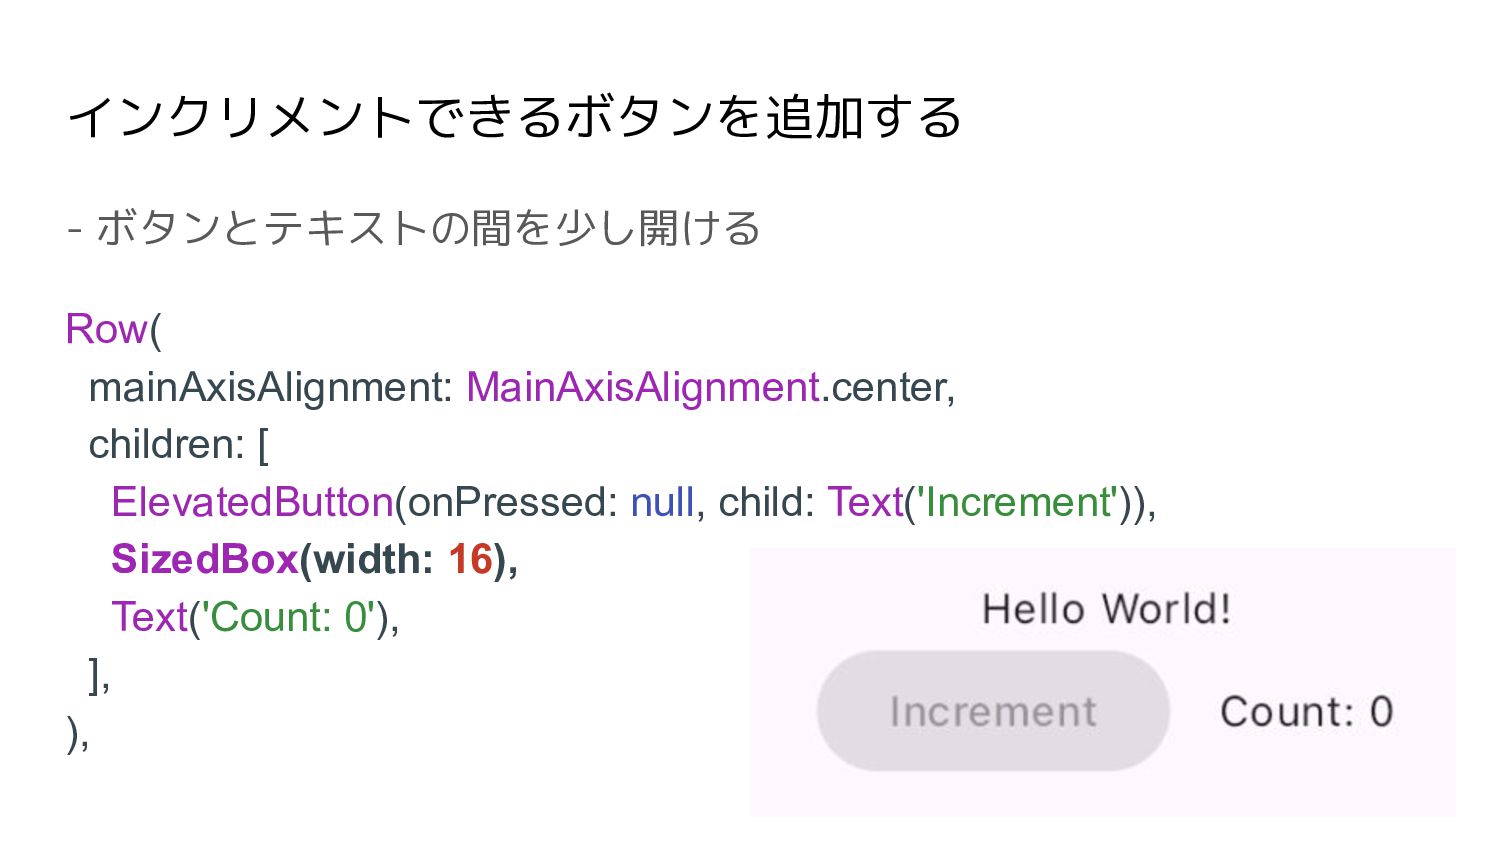
インクリメントできるボタンを追加する - ボタンとテキストの間を少し開ける Row( mainAxisAlignment: MainAxisAlignment.center, children: [ ElevatedButton(onPressed: null,
child: Text('Increment')), SizedBox(width: 16), Text('Count: 0'), ], ),
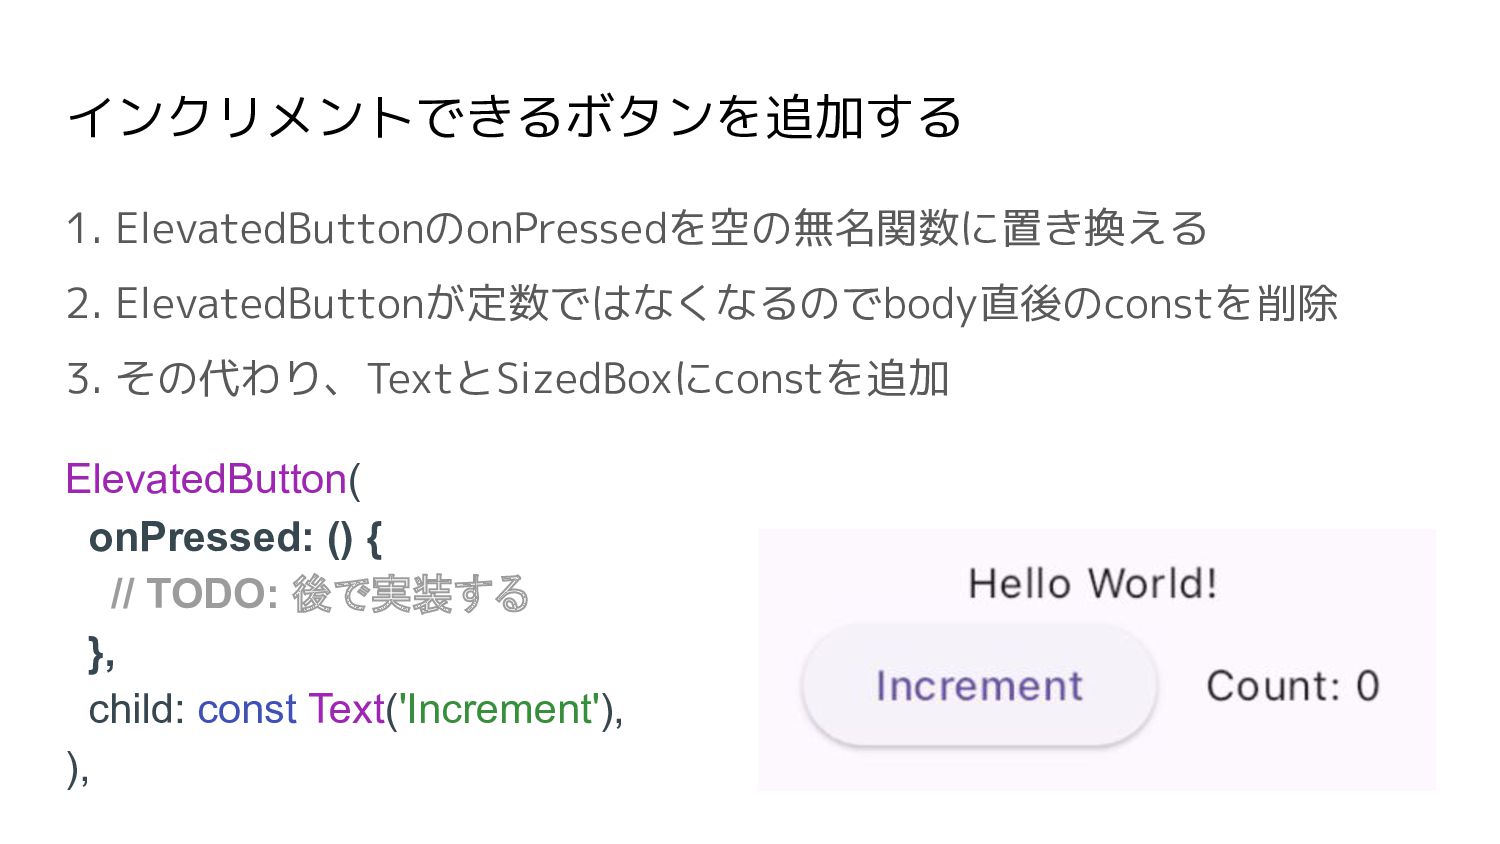
インクリメントできるボタンを追加する 1. ElevatedButtonのonPressedを空の無名関数に置き換える 2. ElevatedButtonが定数ではなくなるのでbody直後のconstを削除 3. その代わり、TextとSizedBoxにconstを追加 ElevatedButton( onPressed: ()
{ // TODO: 後で実装する }, child: const Text('Increment'), ),
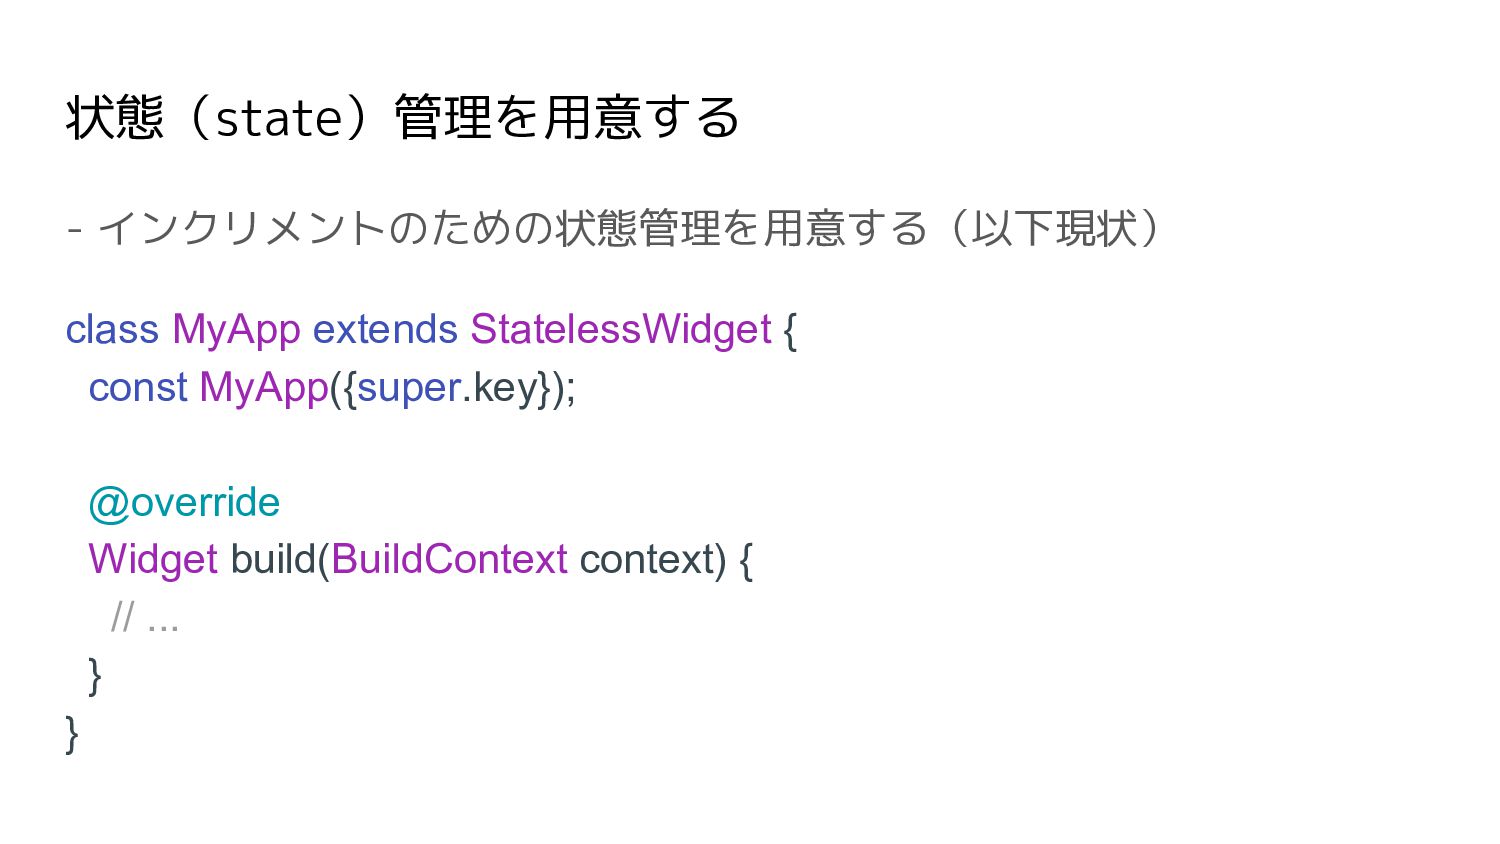
状態(state)管理を用意する - インクリメントのための状態管理を用意する(以下現状) class MyApp extends StatelessWidget { const MyApp({super.key});
@override Widget build(BuildContext context) { // ... } }
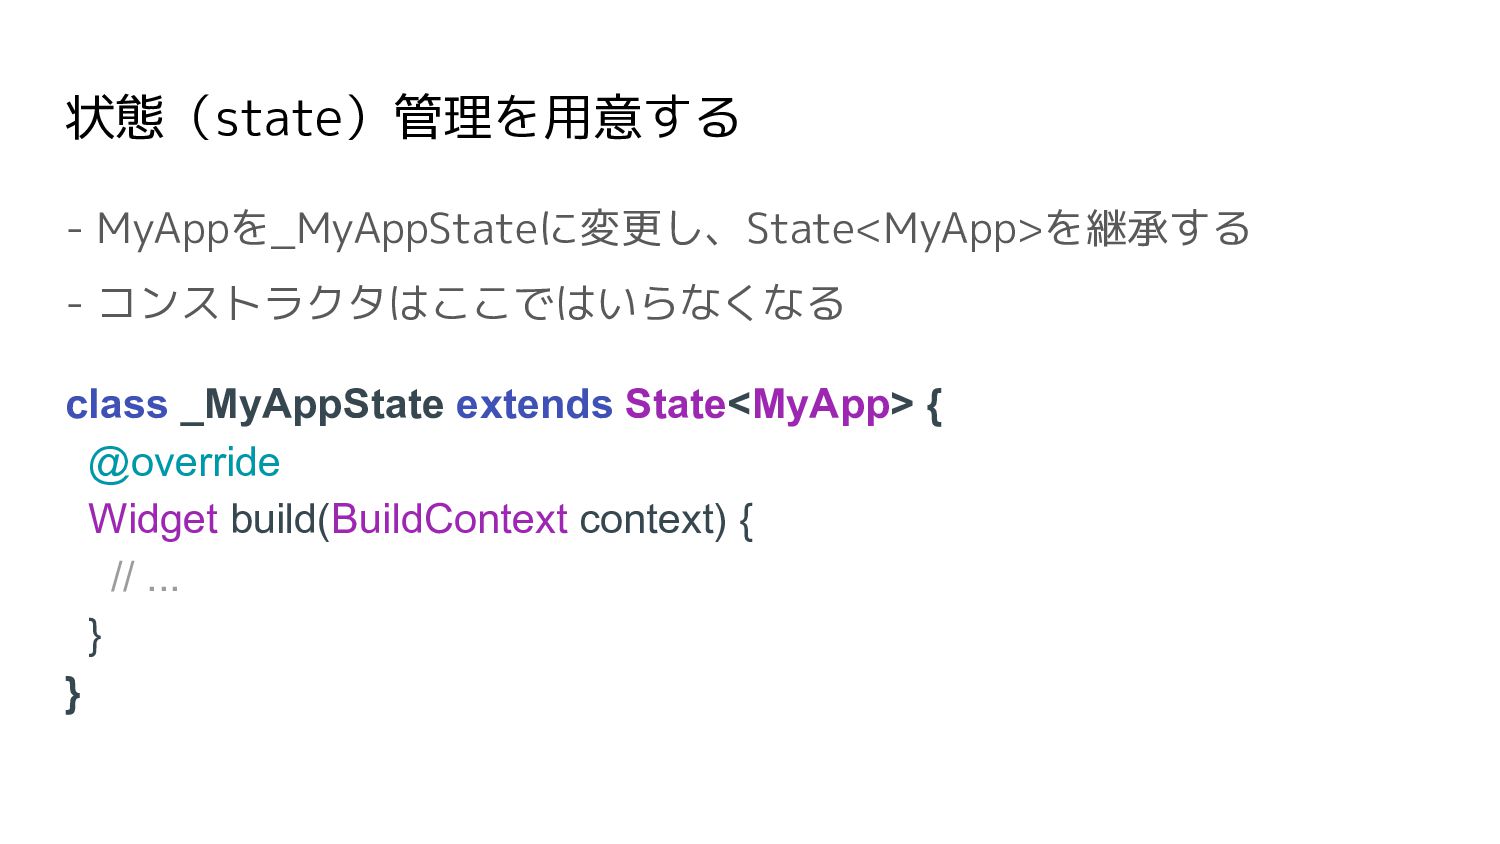
状態(state)管理を用意する - MyAppを_MyAppStateに変更し、State<MyApp>を継承する - コンストラクタはここではいらなくなる class _MyAppState extends State<MyApp> {
@override Widget build(BuildContext context) { // ... } }
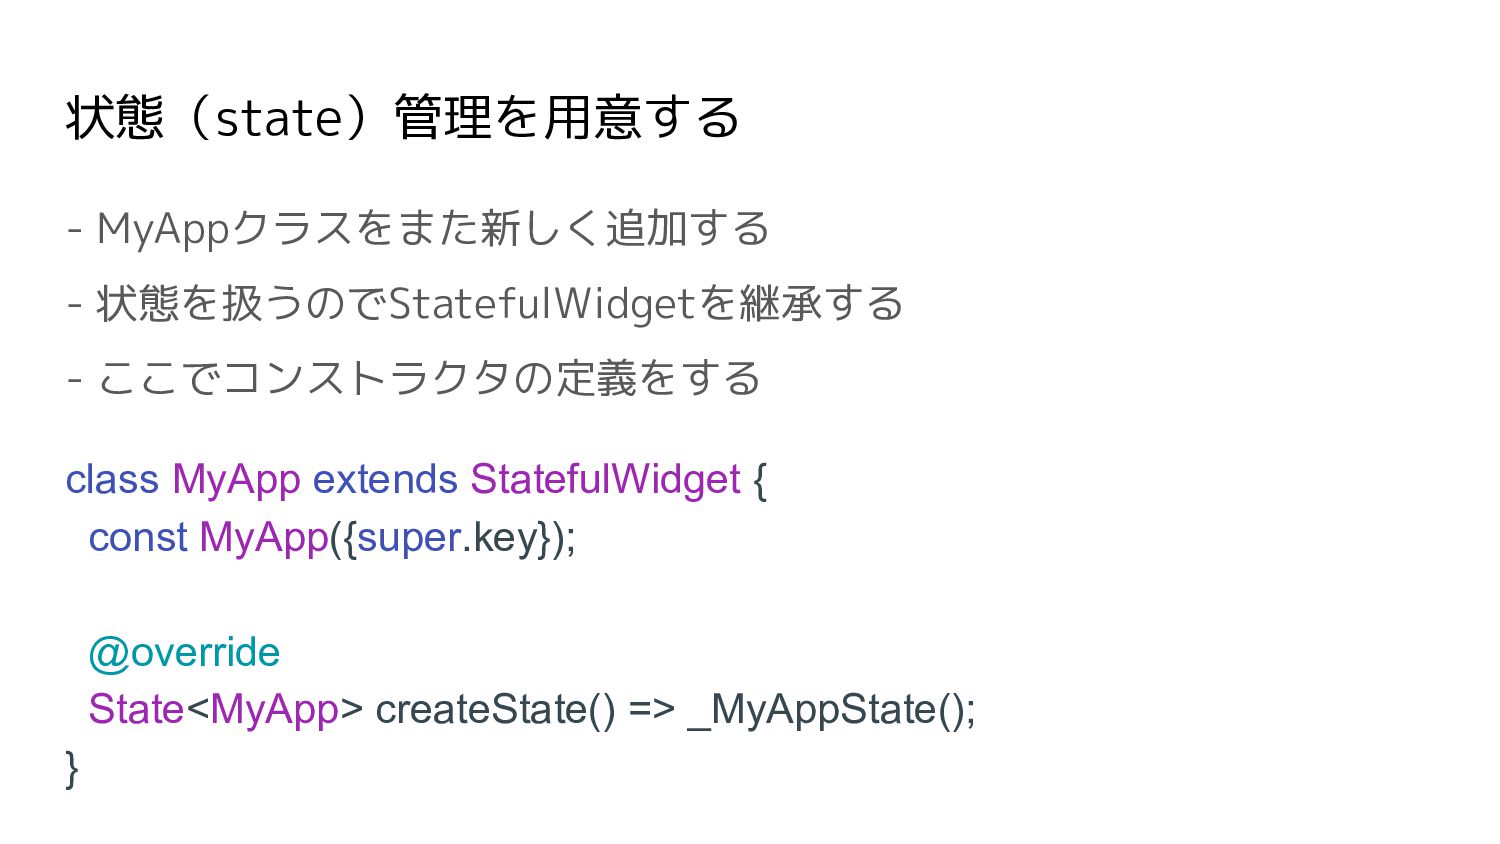
状態(state)管理を用意する - MyAppクラスをまた新しく追加する - 状態を扱うのでStatefulWidgetを継承する - ここでコンストラクタの定義をする class MyApp extends
StatefulWidget { const MyApp({super.key}); @override State<MyApp> createState() => _MyAppState(); }
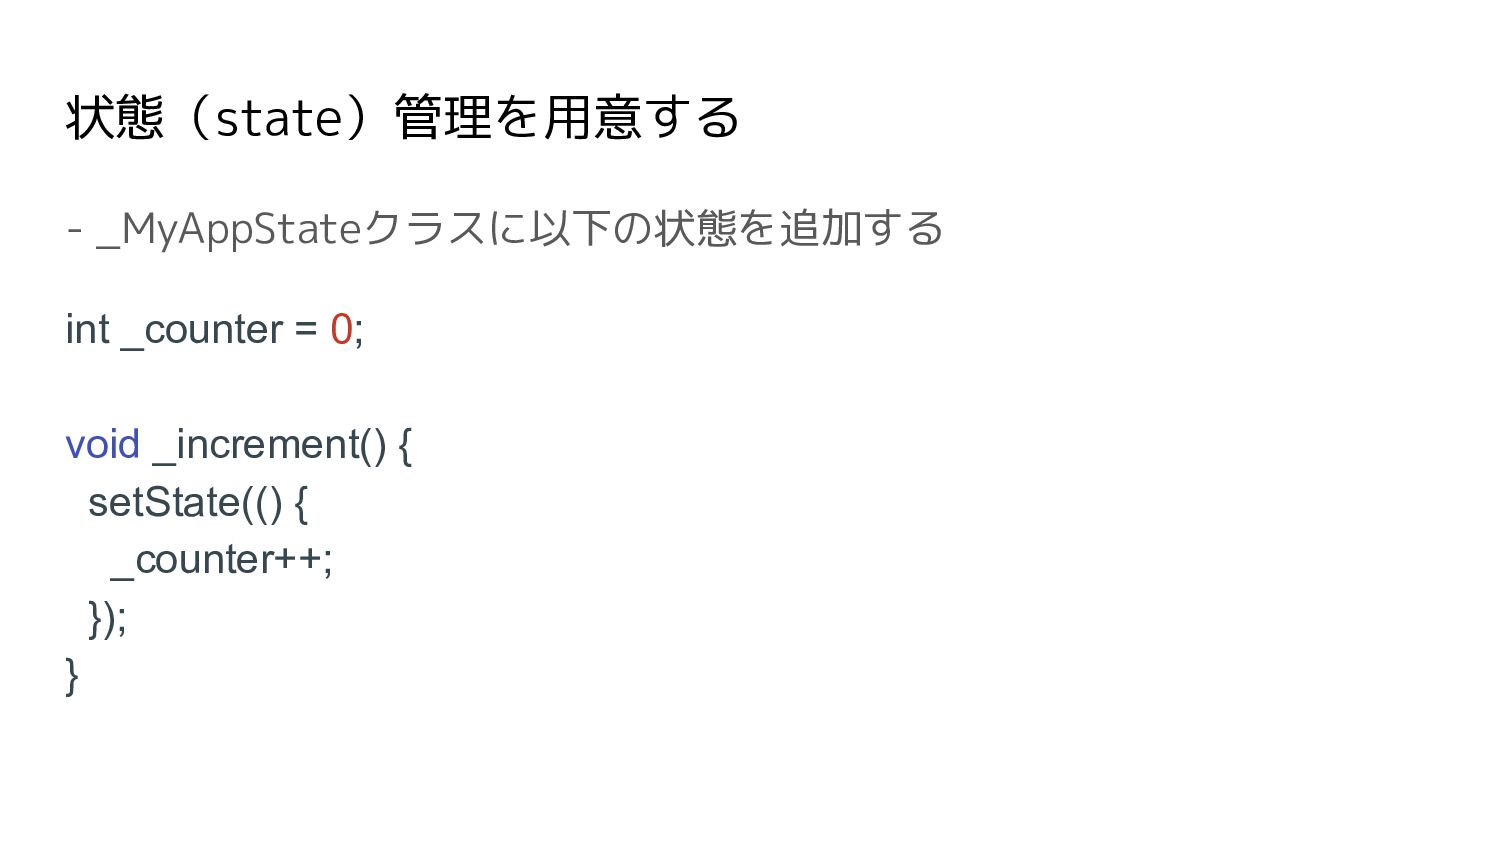
状態(state)管理を用意する - _MyAppStateクラスに以下の状態を追加する int _counter = 0; void _increment() {
setState(() { _counter++; }); }
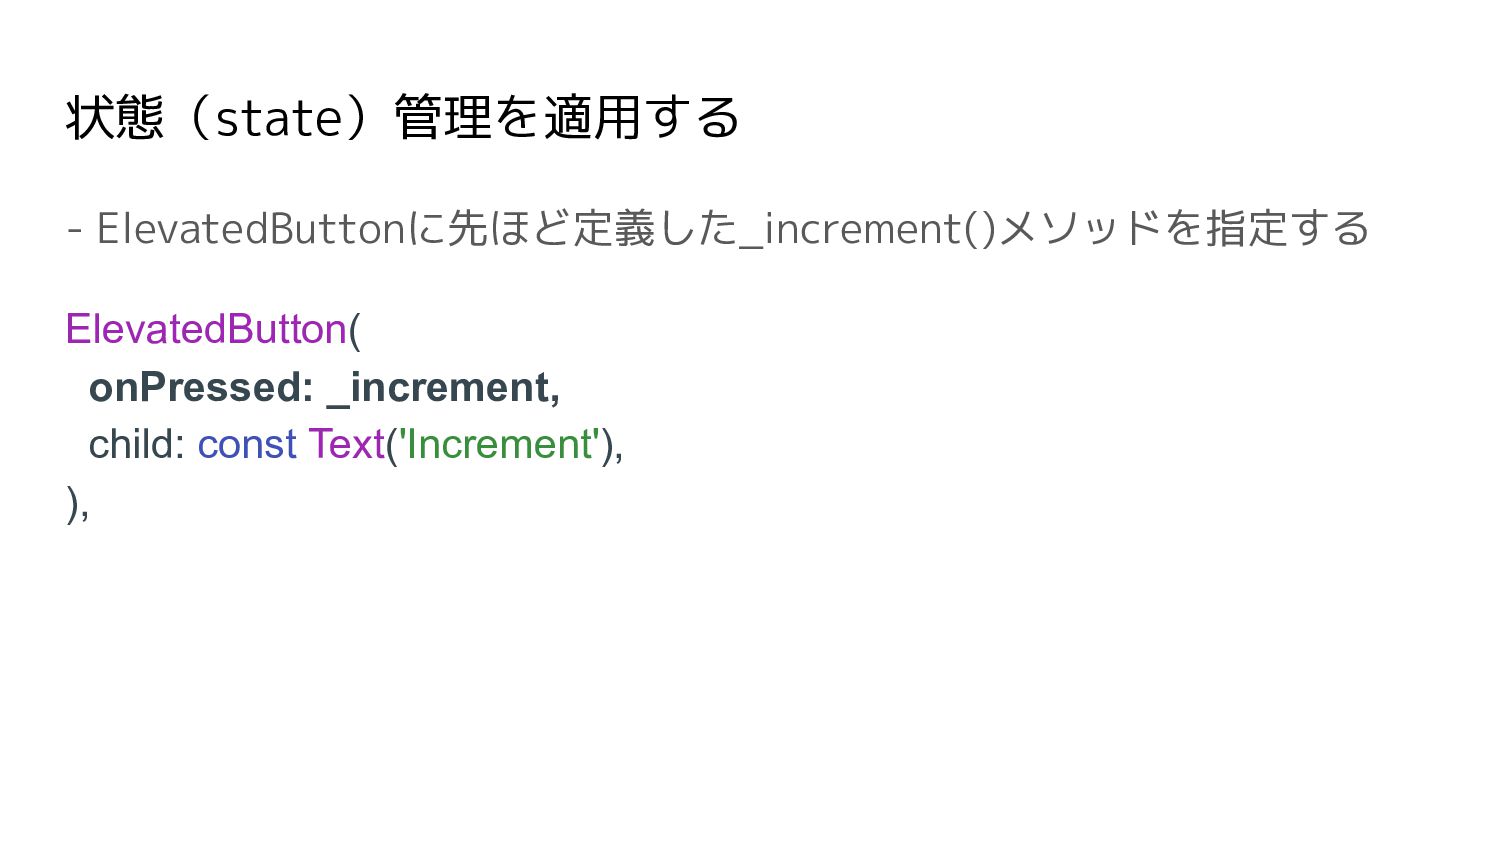
状態(state)管理を適用する - ElevatedButtonに先ほど定義した_increment()メソッドを指定する ElevatedButton( onPressed: _increment, child: const Text('Increment'), ),
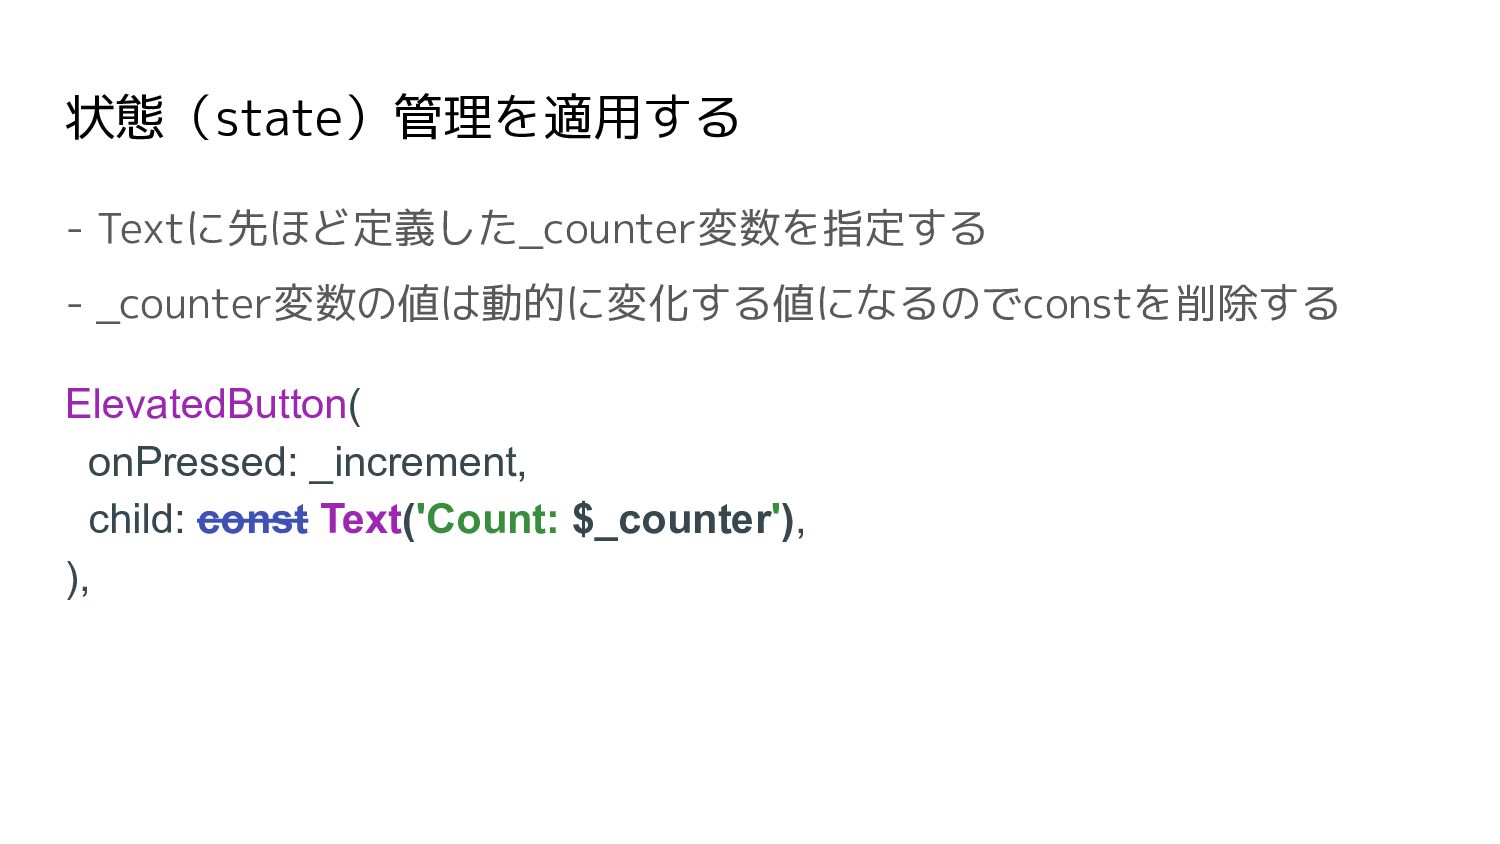
状態(state)管理を適用する - Textに先ほど定義した_counter変数を指定する - _counter変数の値は動的に変化する値になるのでconstを削除する ElevatedButton( onPressed: _increment, child: const
Text('Count: $_counter'), ),
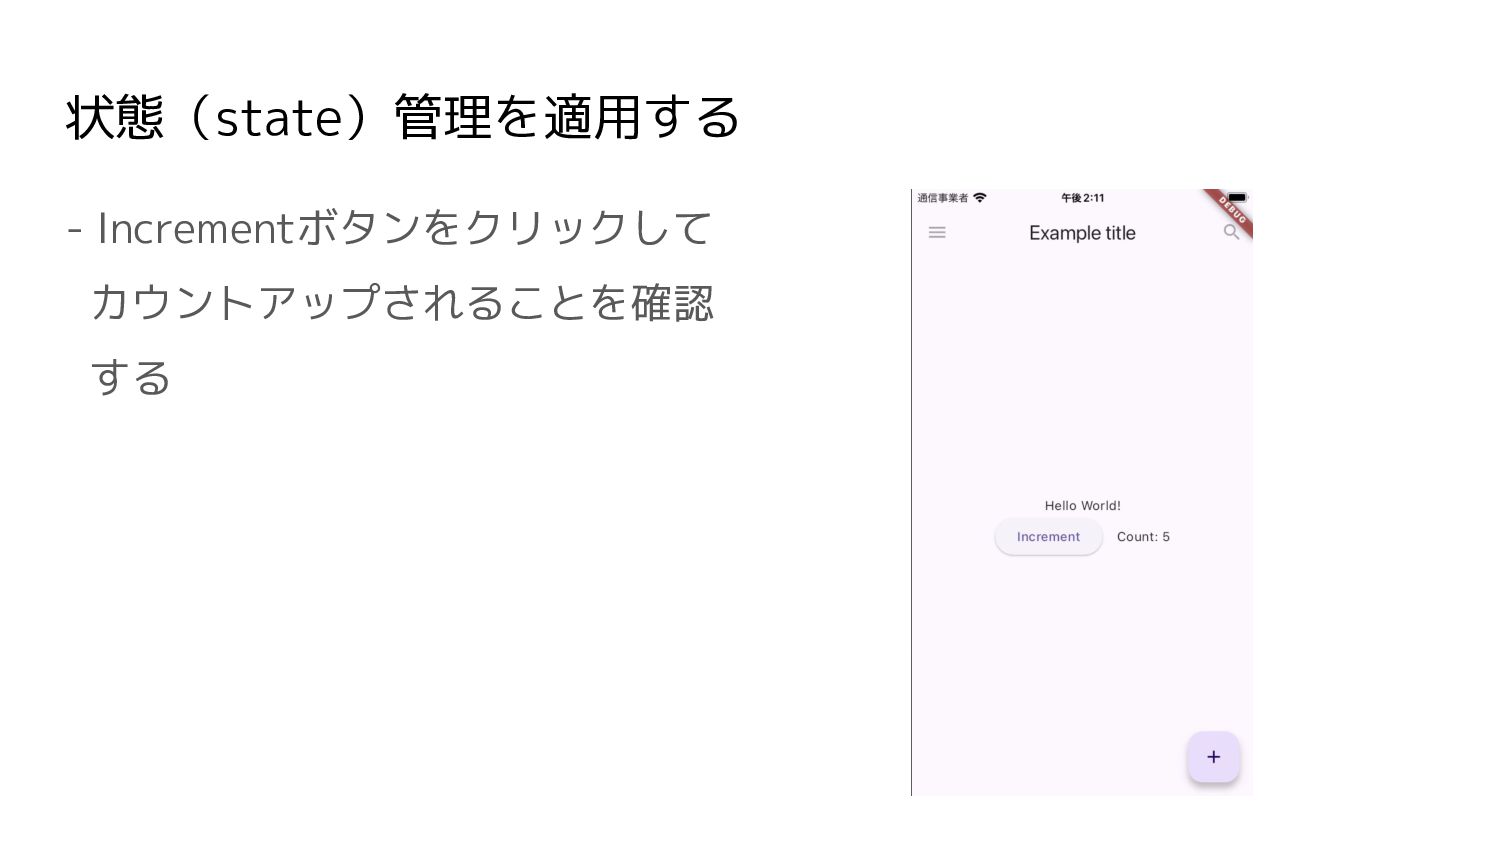
状態(state)管理を適用する - Incrementボタンをクリックして カウントアップされることを確認 する
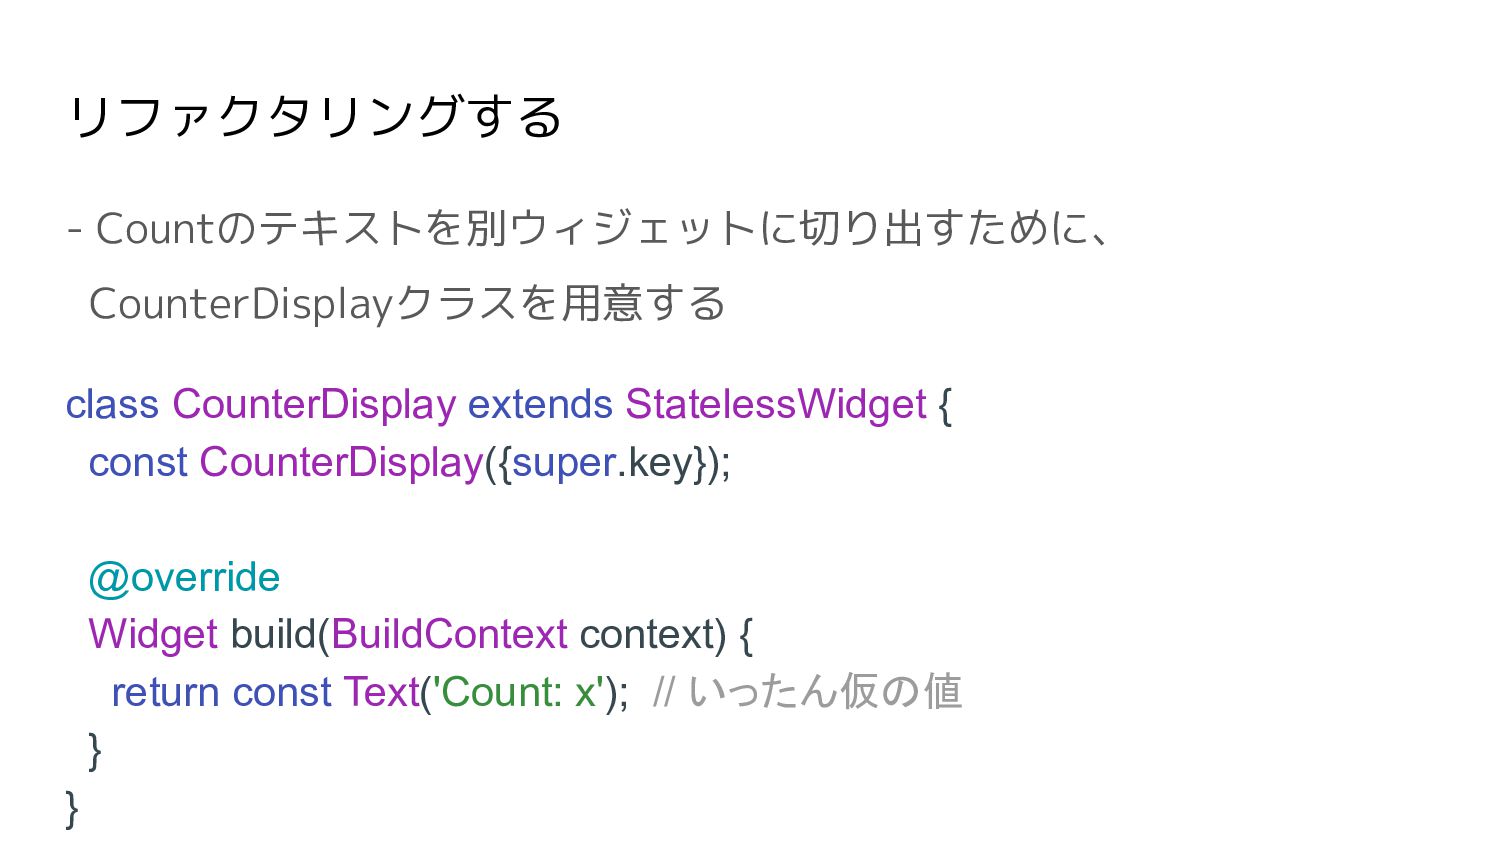
リファクタリングする - Countのテキストを別ウィジェットに切り出すために、 CounterDisplayクラスを用意する class CounterDisplay extends StatelessWidget { const
CounterDisplay({super.key}); @override Widget build(BuildContext context) { return const Text('Count: x'); // いったん仮の値 } }
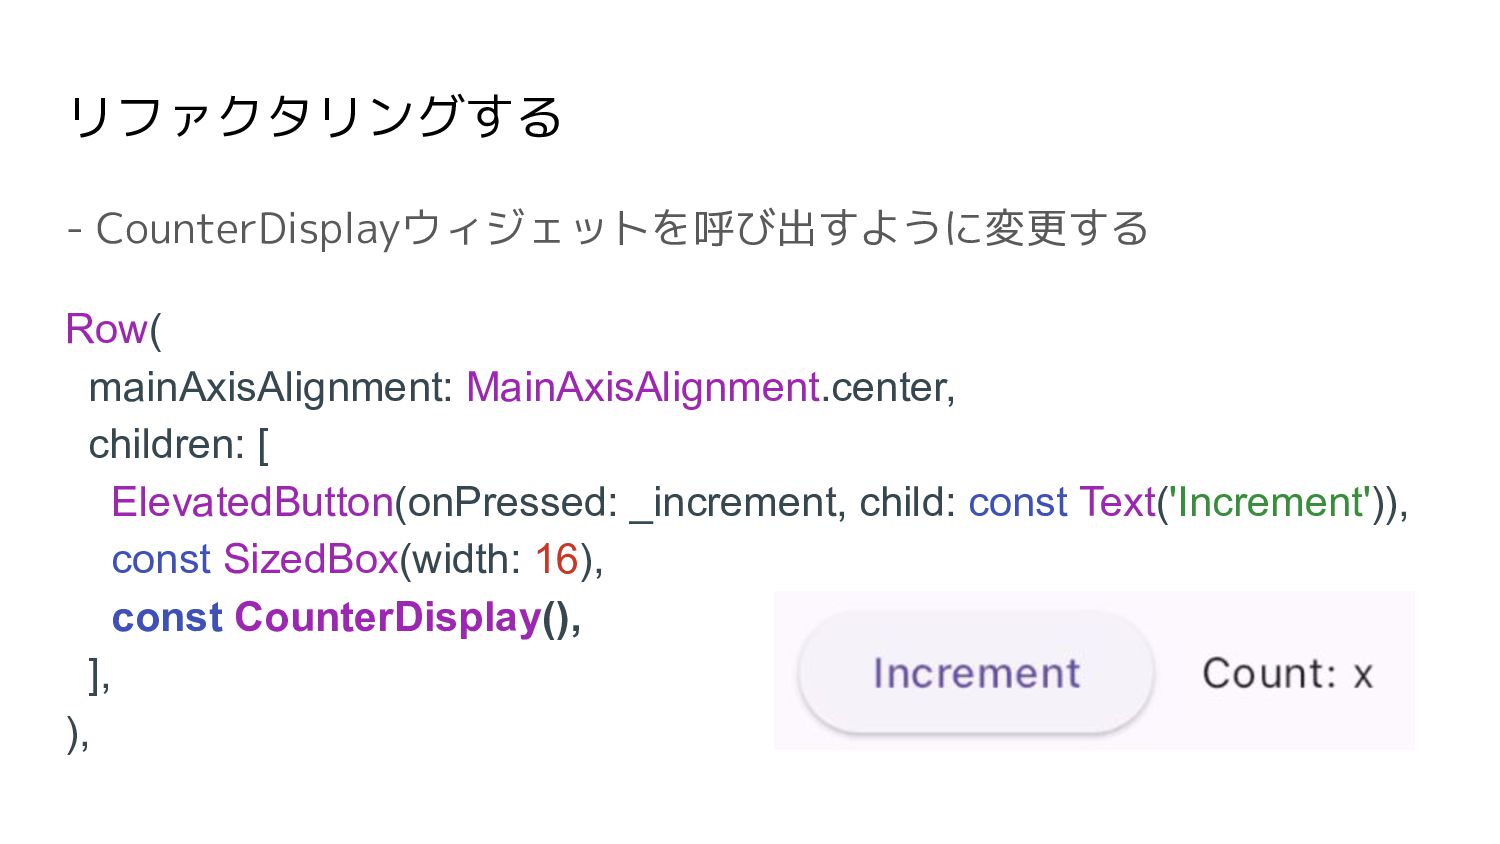
リファクタリングする - CounterDisplayウィジェットを呼び出すように変更する Row( mainAxisAlignment: MainAxisAlignment.center, children: [ ElevatedButton(onPressed: _increment,
child: const Text('Increment')), const SizedBox(width: 16), const CounterDisplay(), ], ),
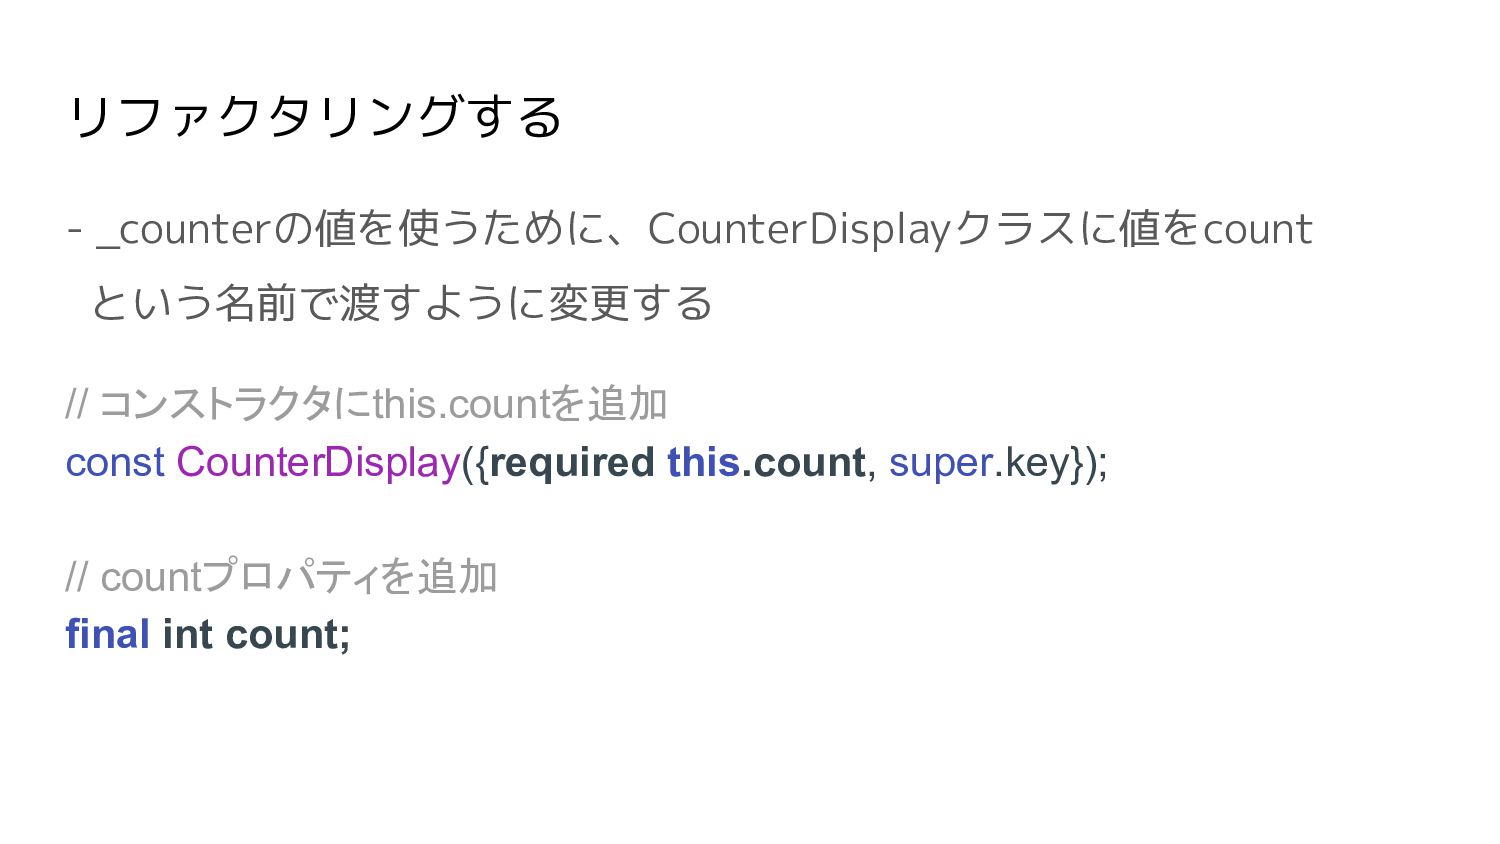
リファクタリングする - _counterの値を使うために、CounterDisplayクラスに値をcount という名前で渡すように変更する // コンストラクタにthis.countを追加 const CounterDisplay({required this.count, super.key});
// countプロパティを追加 final int count;
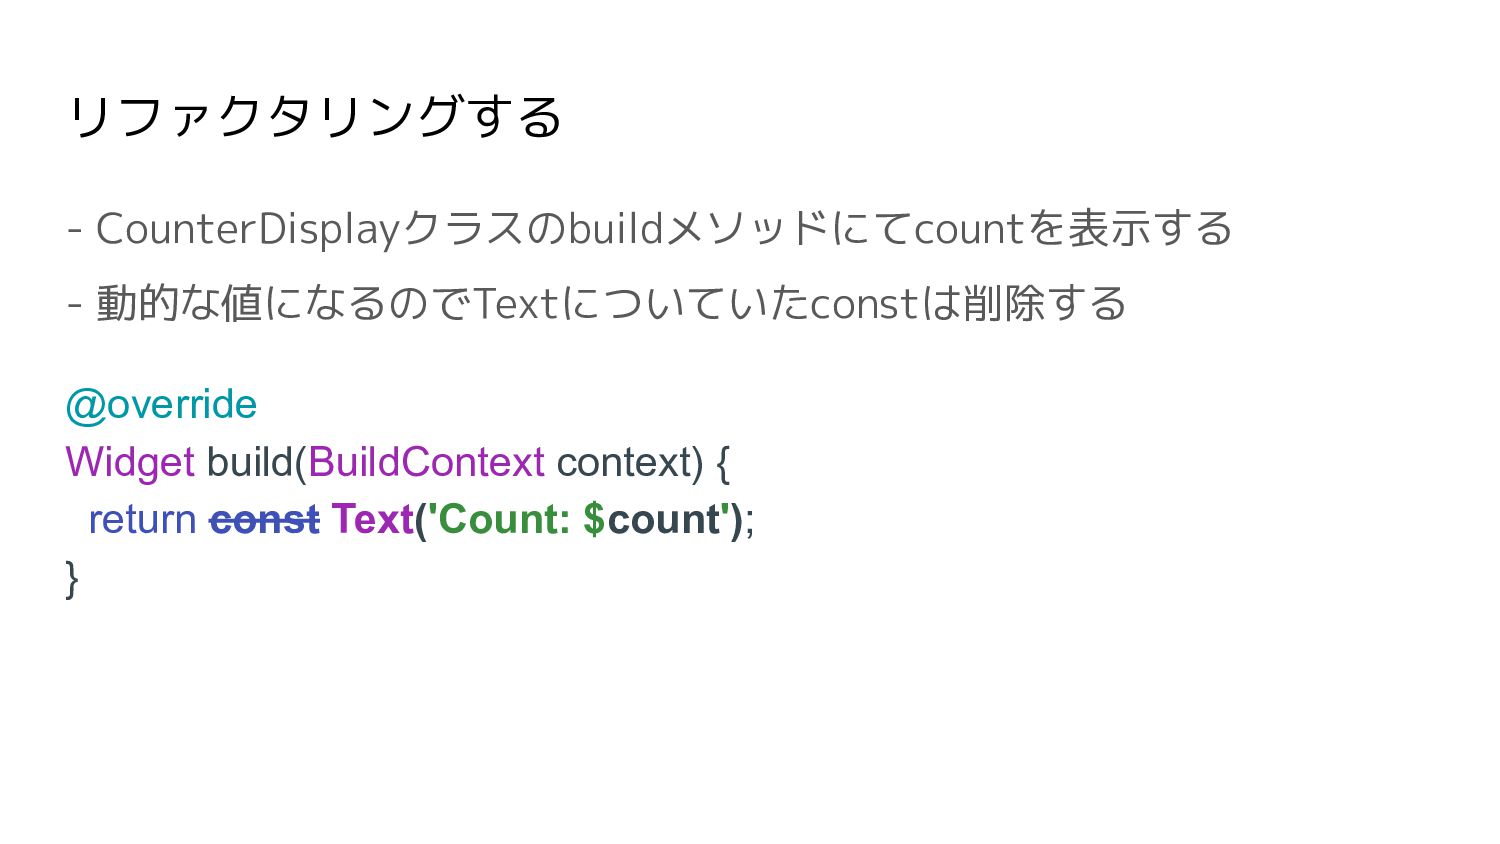
リファクタリングする - CounterDisplayクラスのbuildメソッドにてcountを表示する - 動的な値になるのでTextについていたconstは削除する @override Widget build(BuildContext context) {
return const Text('Count: $count'); }
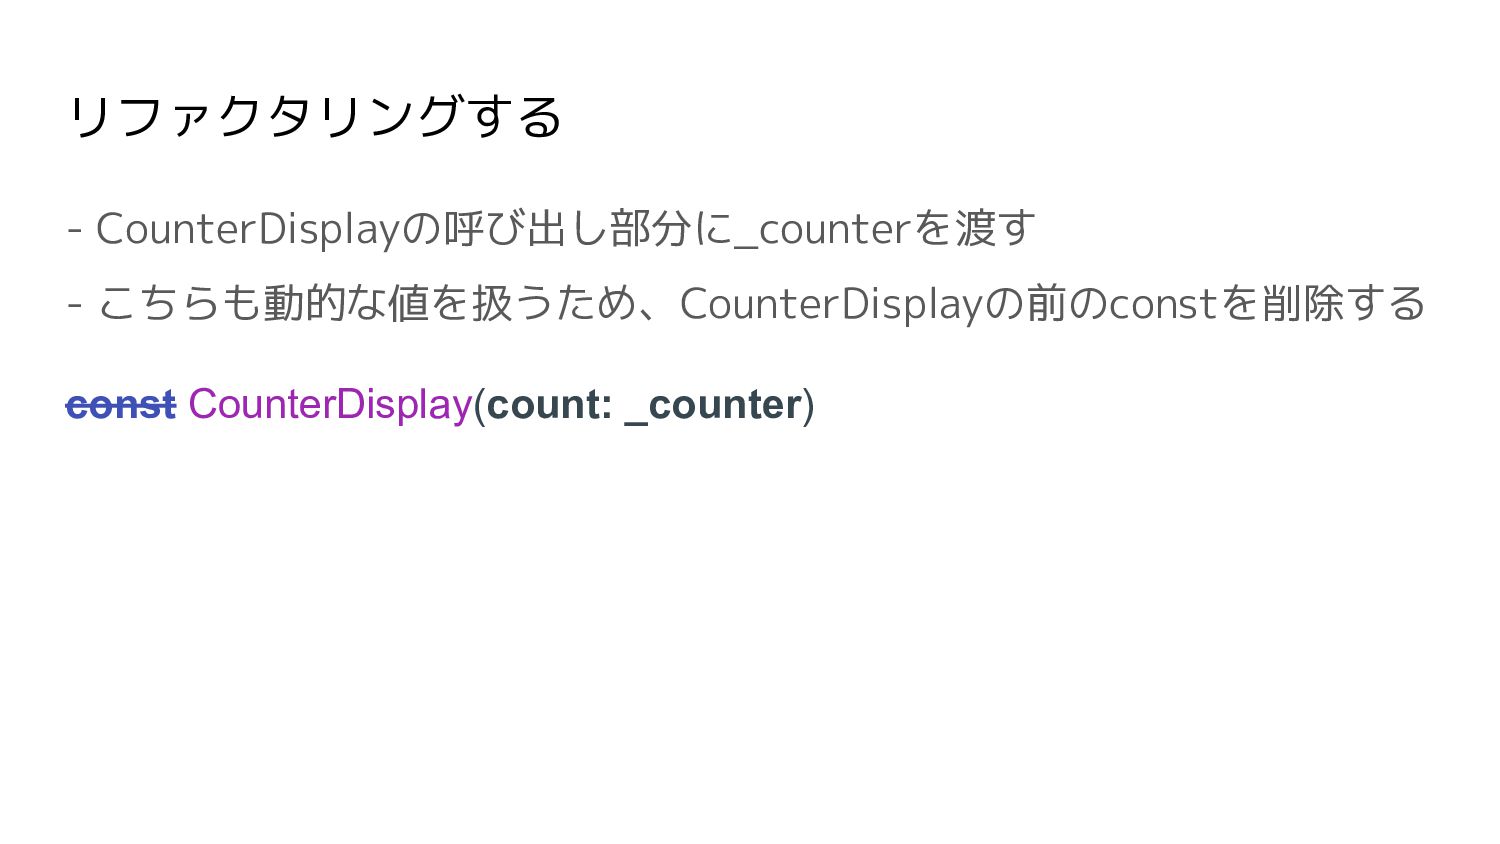
リファクタリングする - CounterDisplayの呼び出し部分に_counterを渡す - こちらも動的な値を扱うため、CounterDisplayの前のconstを削除する const CounterDisplay(count: _counter)
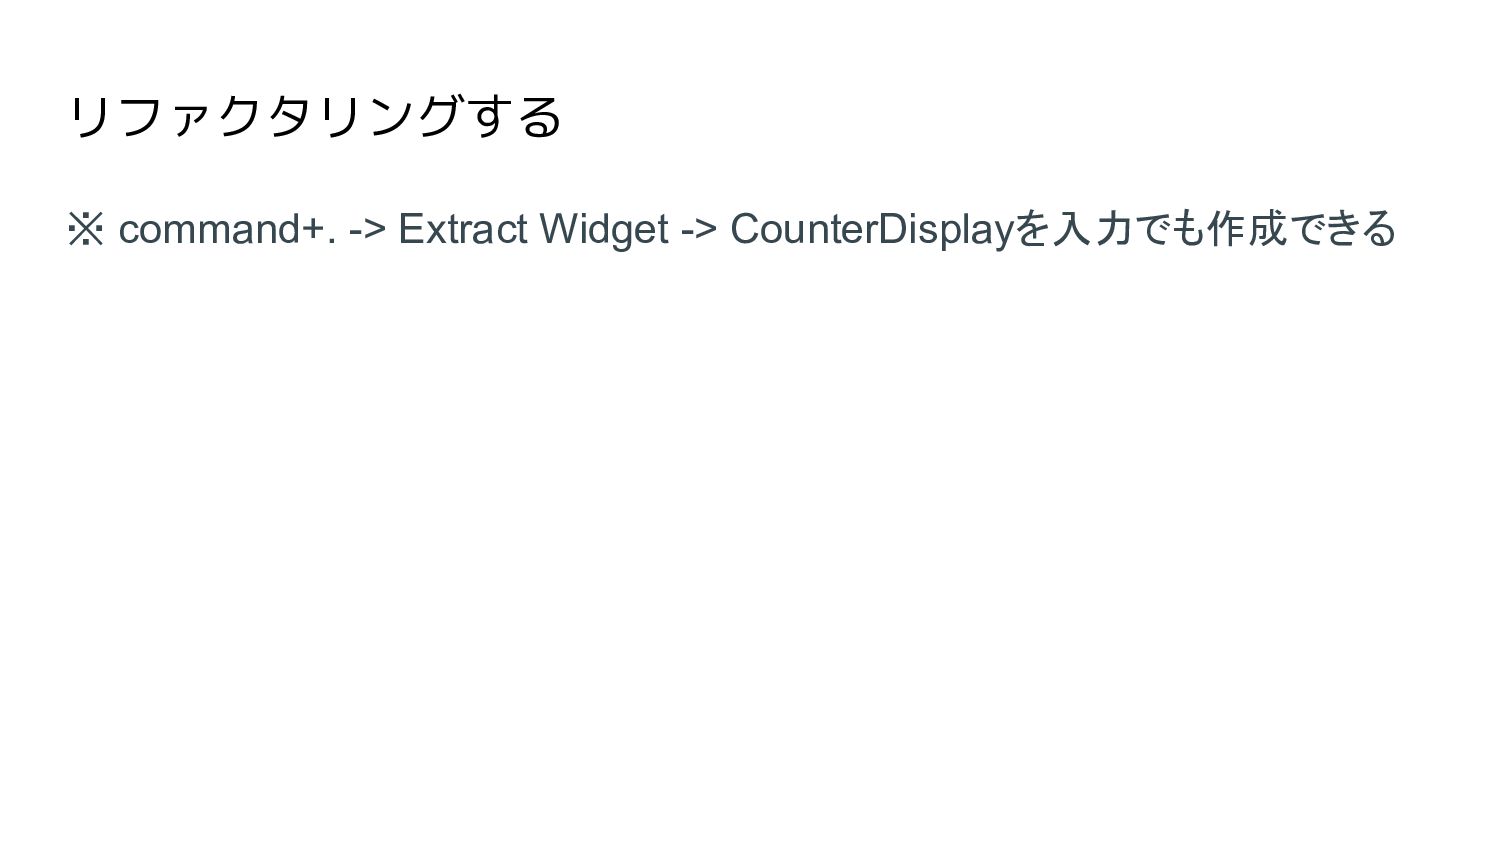
リファクタリングする ※ command+. -> Extract Widget -> CounterDisplayを入力でも作成できる
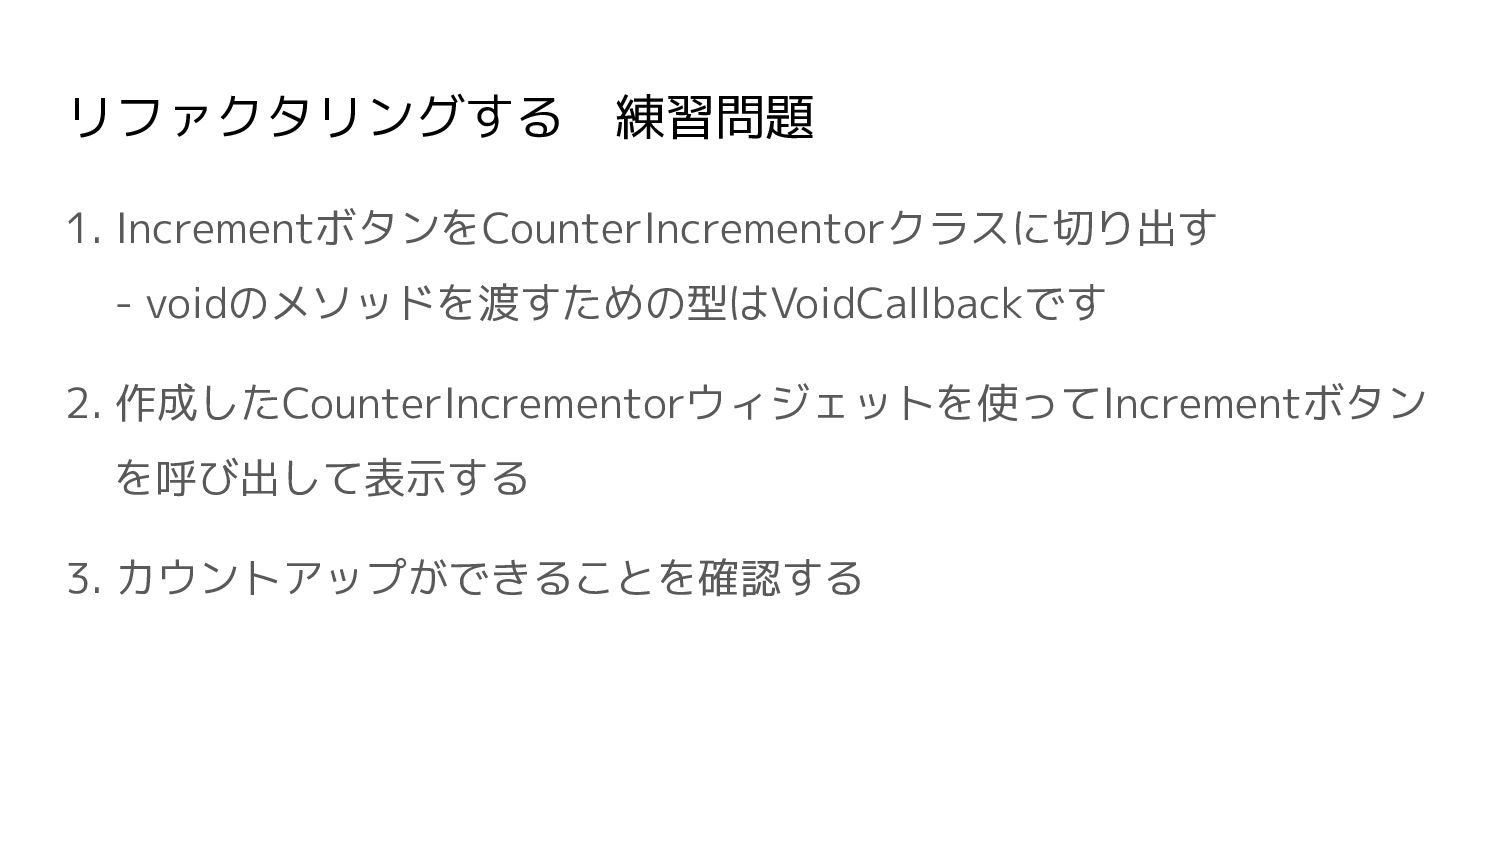
リファクタリングする 練習問題 1. IncrementボタンをCounterIncrementorクラスに切り出す - voidのメソッドを渡すための型はVoidCallbackです 2. 作成したCounterIncrementorウィジェットを使ってIncrementボタン を呼び出して表示する 3. カウントアップができることを確認する
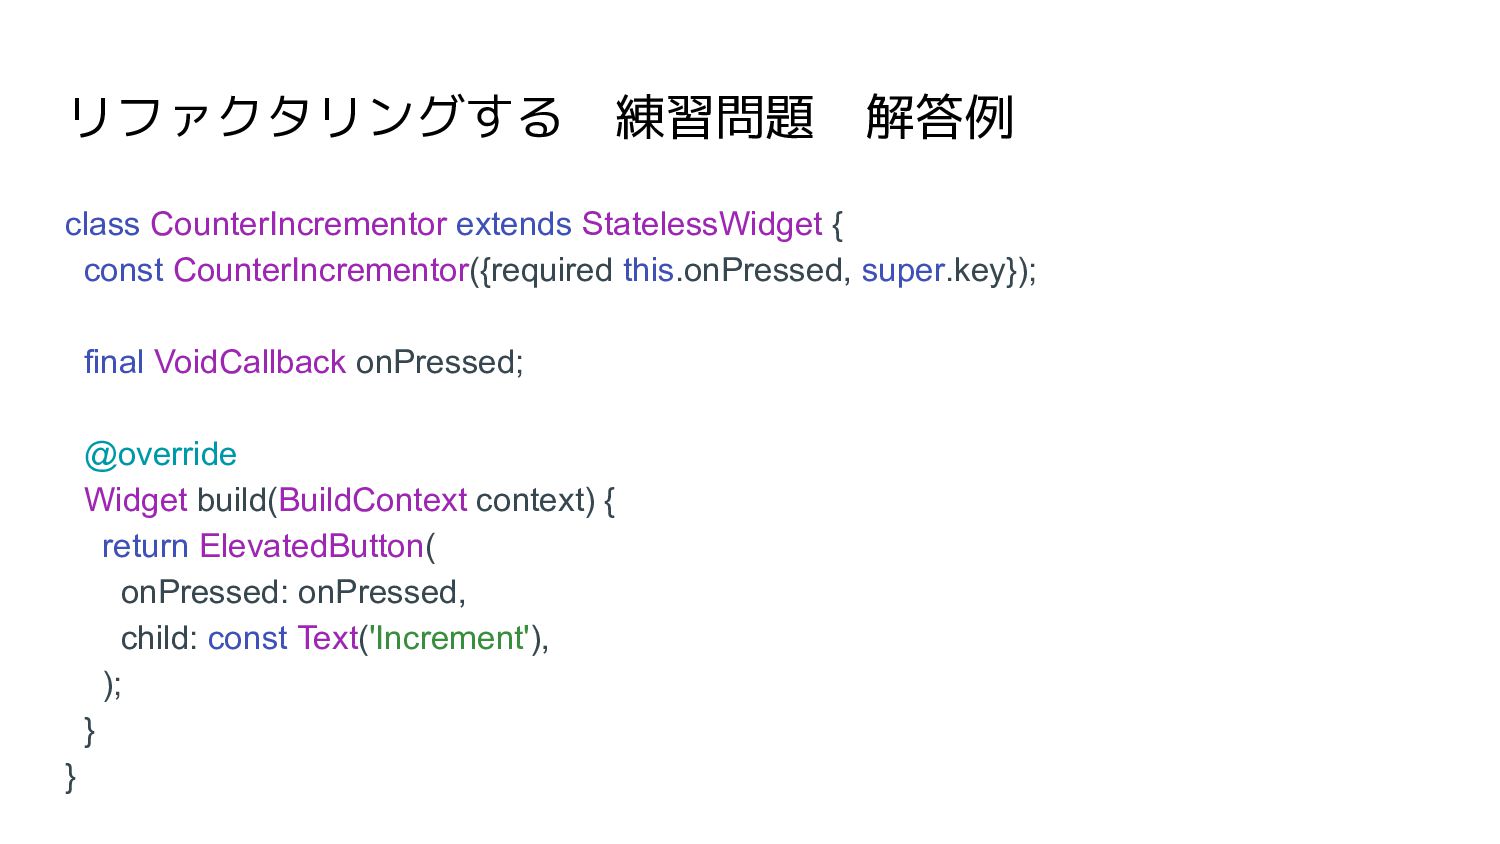
リファクタリングする 練習問題 解答例 class CounterIncrementor extends StatelessWidget { const CounterIncrementor({required this.onPressed, super.key});
final VoidCallback onPressed; @override Widget build(BuildContext context) { return ElevatedButton( onPressed: onPressed, child: const Text('Increment'), ); } }
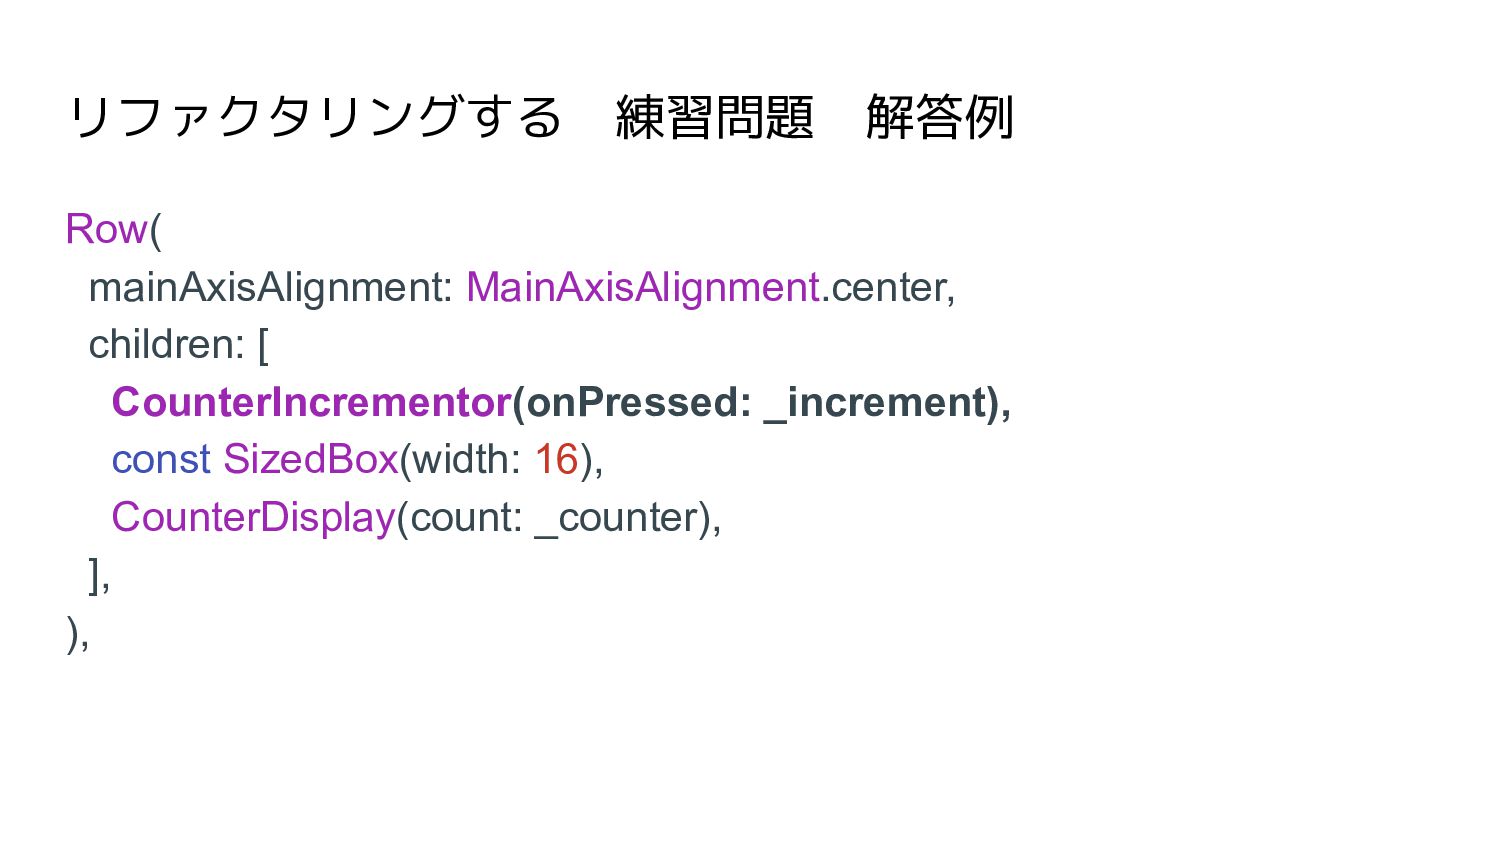
リファクタリングする 練習問題 解答例 Row( mainAxisAlignment: MainAxisAlignment.center, children: [ CounterIncrementor(onPressed: _increment), const SizedBox(width:
16), CounterDisplay(count: _counter), ], ),
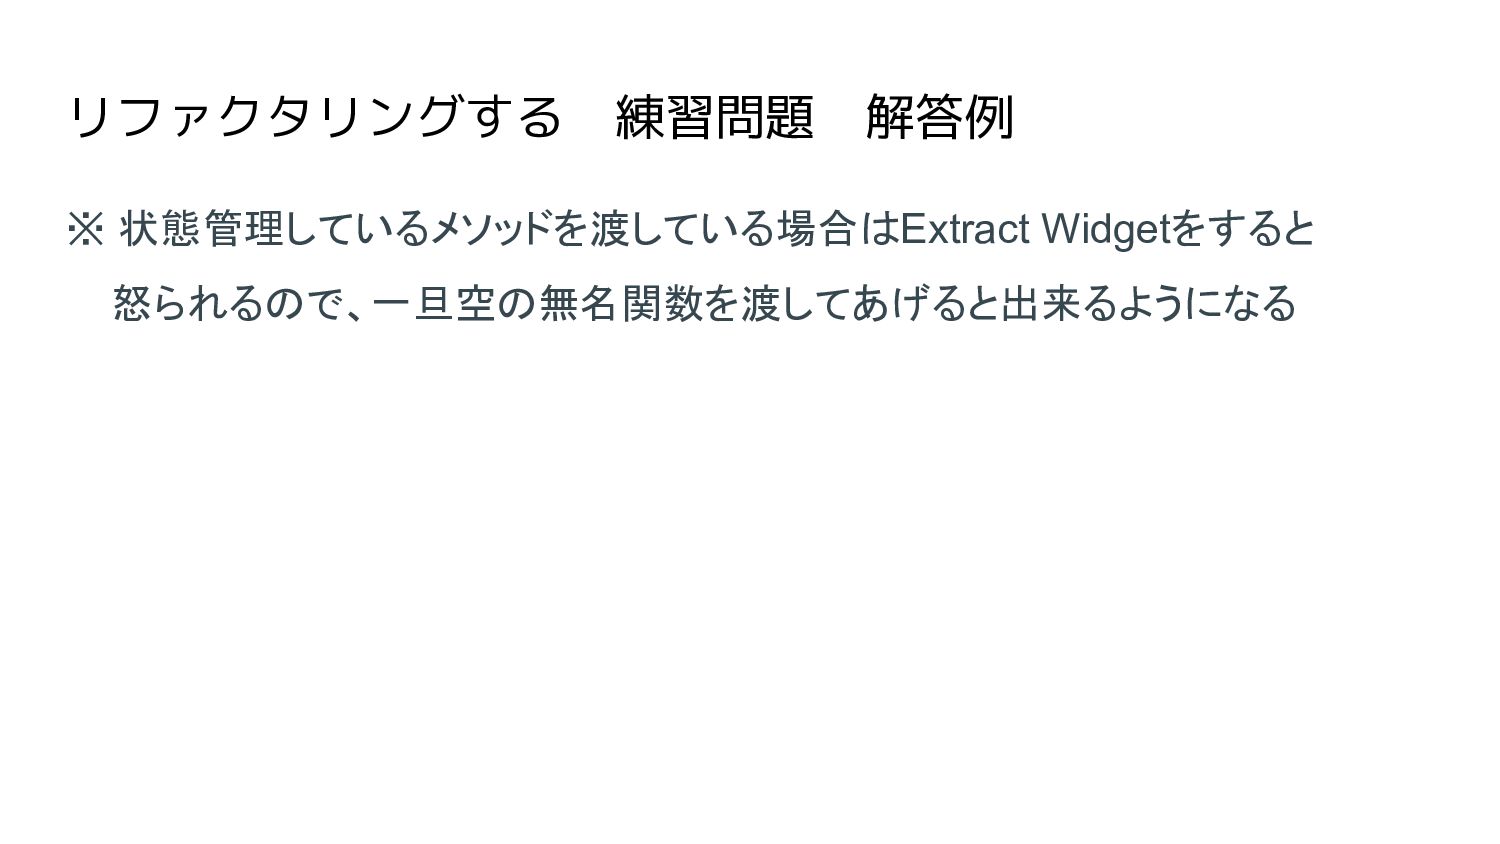
リファクタリングする 練習問題 解答例 ※ 状態管理しているメソッドを渡している場合はExtract Widgetをすると 怒られるので、一旦空の無名関数を渡してあげると出来るようになる
まとめ - VSCodeでFlutterアプリを新規作成する方法を学んだ - Flutterで簡単なアプリを作成した


 aya_ebata
 kinunori
 dafujii
 naruoga
 bcantrill
 sony
sony
 kintotechdev
 soudai
 shisyu_gaku
 siromi
 hacobu
 tatamiya
 dvrv_tknrszk
 tammyeverts
 cassininazir
 aleyda
 inesmontani
 bkeepers
 honnibal
 carmenintech
 portentint
 eileencodes
 davidcarrasco
 ipullrank
![VSCodeでFlutterプロジェクトを開始する 0. VSCodeを開く - 以下のコマンドと同様なことをVSCodeでやっていきます $ flutter create [プロジェクト名]](https://files.speakerdeck.com/presentations/d8b07a8e74ee412e820631aec3a8be7d/slide_3.jpg)
![VSCodeでFlutterプロジェクトを開始する 1. コマンドパレットを開き、[Flutter: New Project]を検索し選択する](https://files.speakerdeck.com/presentations/d8b07a8e74ee412e820631aec3a8be7d/slide_4.jpg)
![VSCodeでFlutterプロジェクトを開始する 2. [Application]を選択し、プロジェクトを作成するフォルダを選択する](https://files.speakerdeck.com/presentations/d8b07a8e74ee412e820631aec3a8be7d/slide_5.jpg)
![VSCodeでFlutterプロジェクトを開始する ※ たまにデバイスの選択が反映されないことがあるので、その場合は コマンドパレットで[Developer: Reload Window]を実行](https://files.speakerdeck.com/presentations/d8b07a8e74ee412e820631aec3a8be7d/slide_8.jpg)