This presentation gives the reader an introduction to GIT as a version control system. It starts from the fundamentals of version control and leads the reader up to more advanced terms and concepts used in GIT.
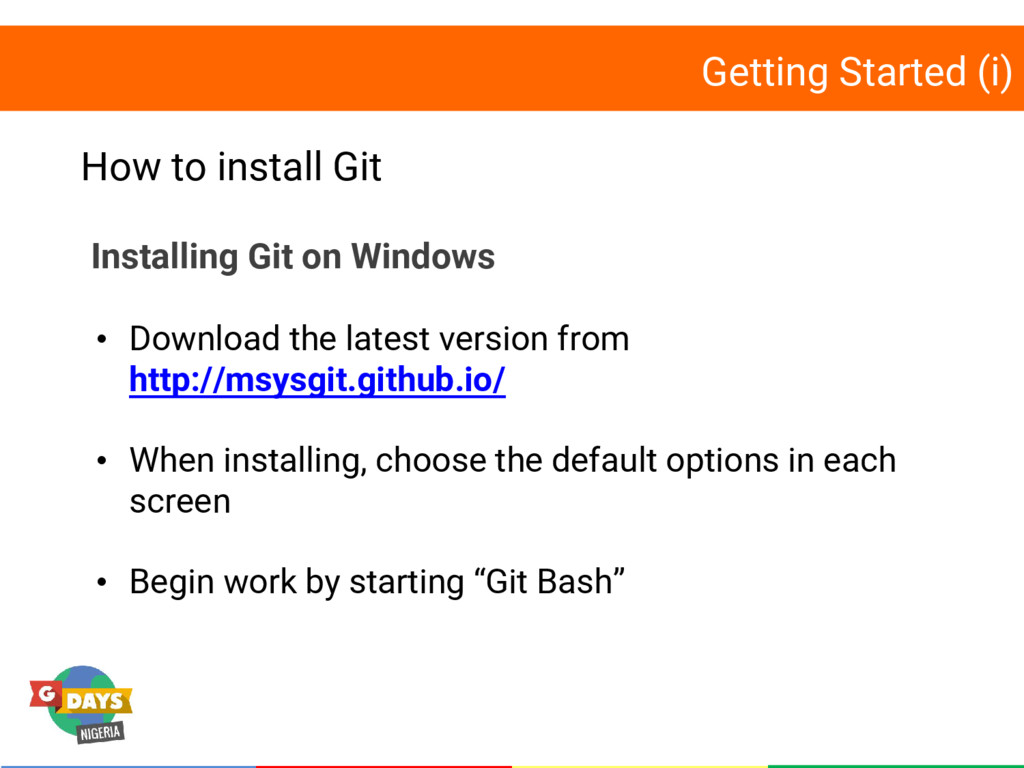
Windows • Download the latest version from http://msysgit.github.io/ • When installing, choose the default options in each screen • Begin work by starting “Git Bash”
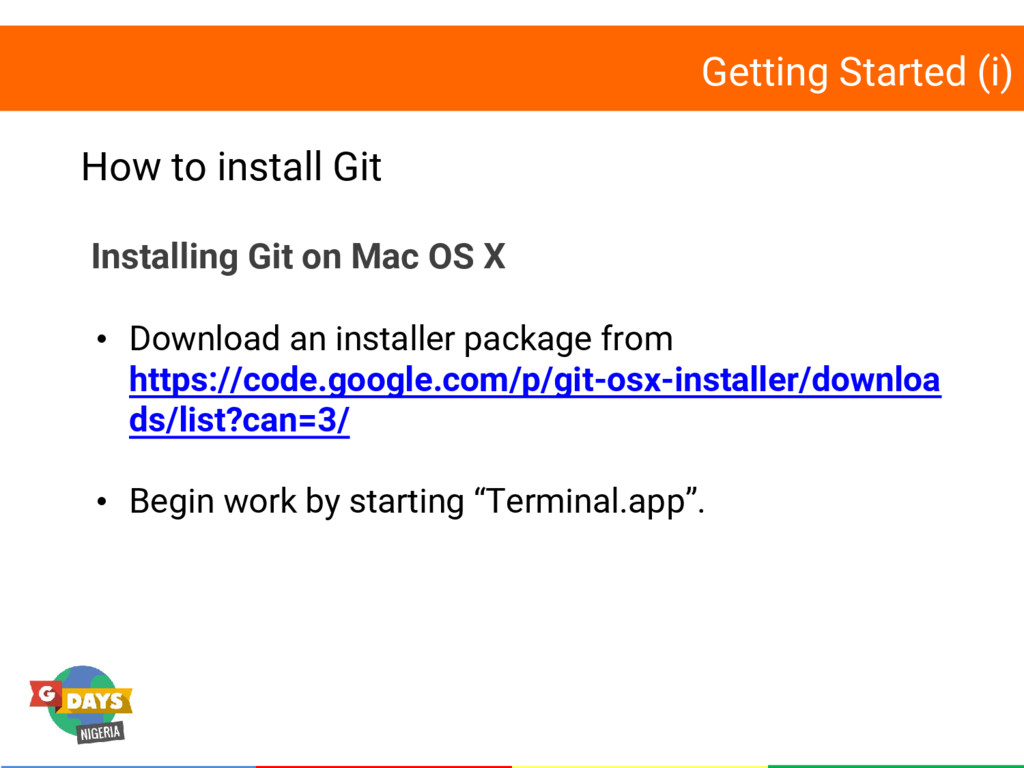
Mac OS X • Download an installer package from https://code.google.com/p/git-osx-installer/downloa ds/list?can=3/ • Begin work by starting “Terminal.app”.
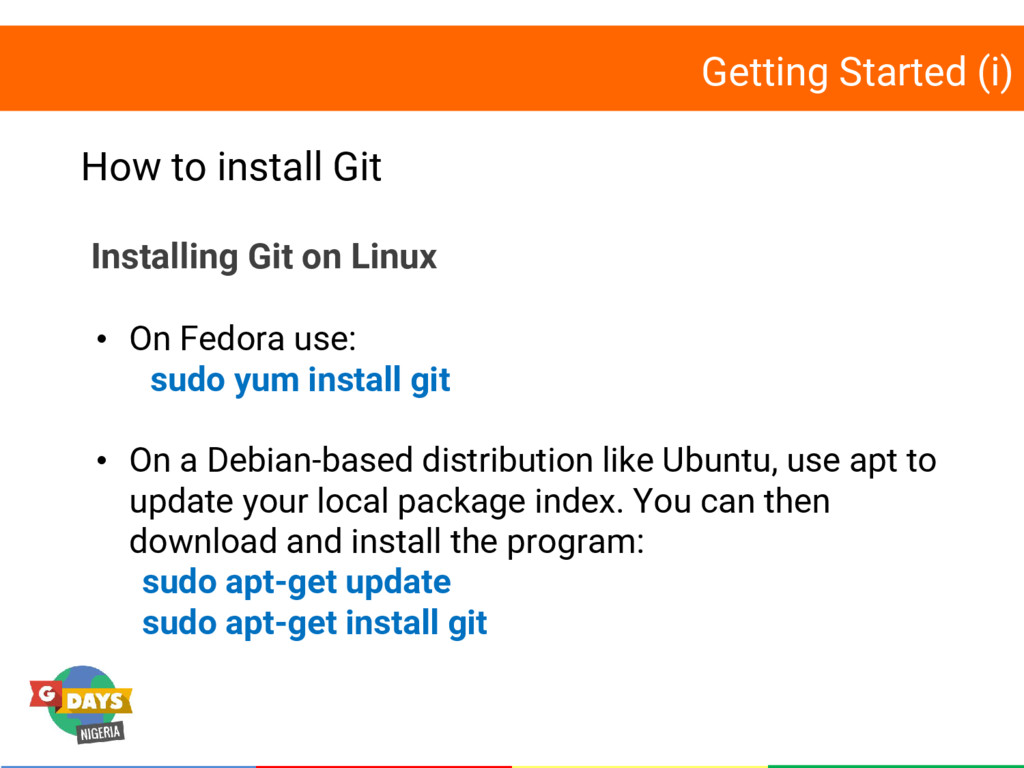
Linux • On Fedora use: sudo yum install git • On a Debian-based distribution like Ubuntu, use apt to update your local package index. You can then download and install the program: sudo apt-get update sudo apt-get install git
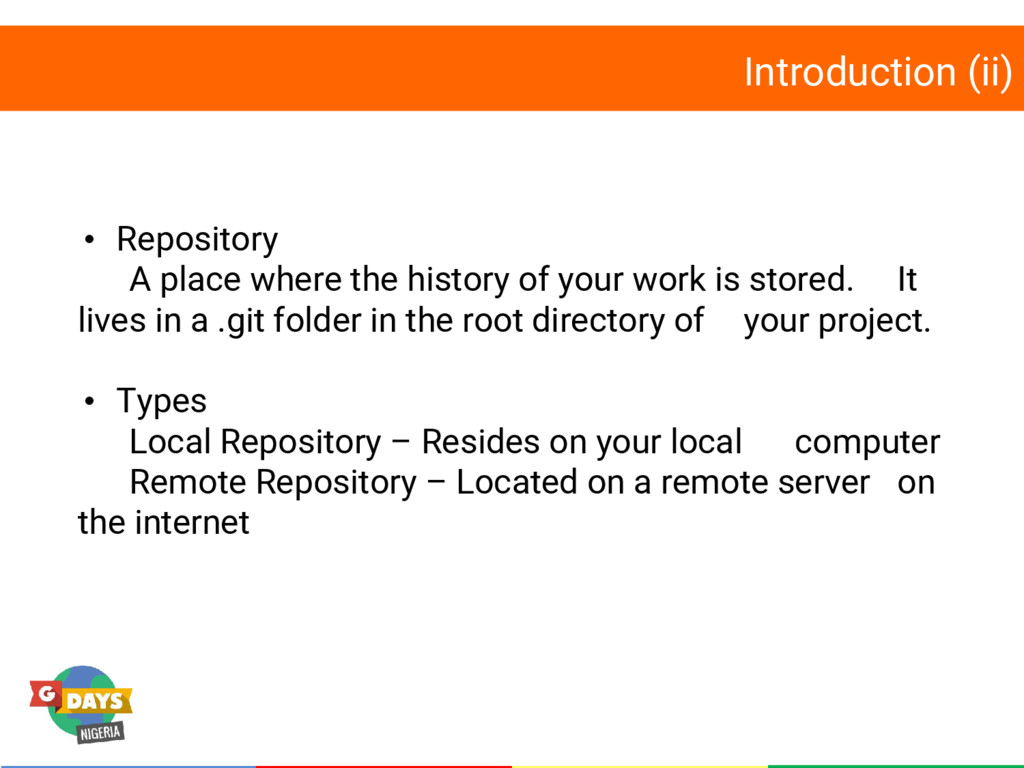
your work is stored. It lives in a .git folder in the root directory of your project. • Types Local Repository – Resides on your local computer Remote Repository – Located on a remote server on the internet
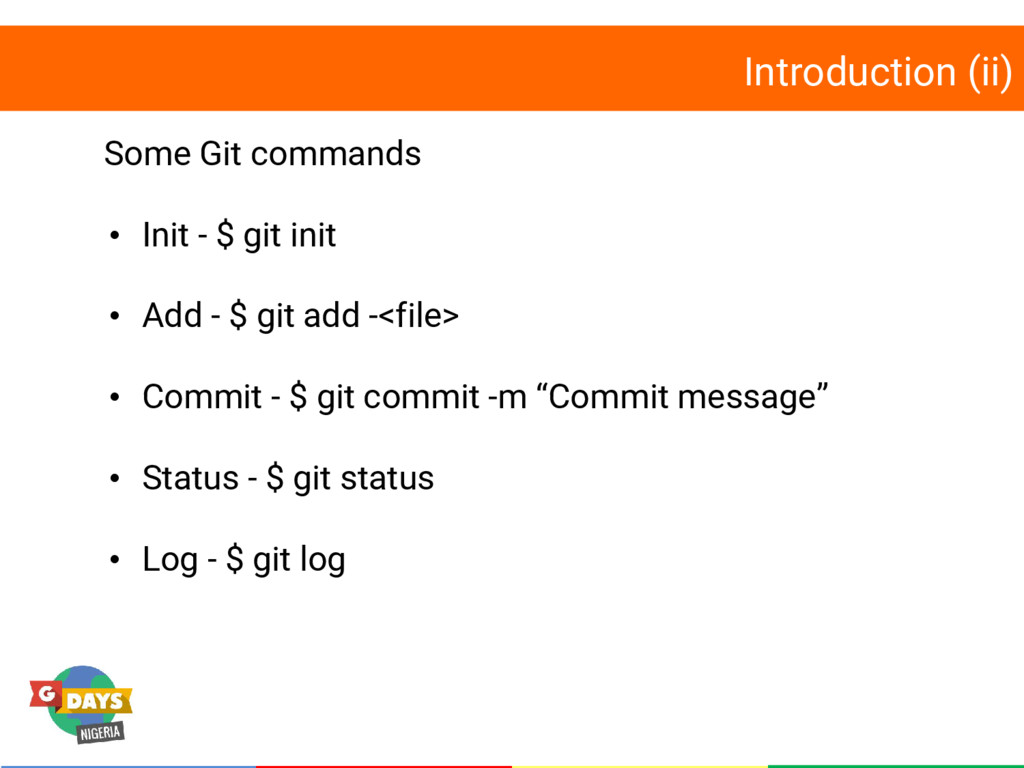
into the project’s root folder on the command line. $ cd path/to/project • Use the “git init” command to version the project. $ git init Notice the .git subdirectory? To help you understand what’s going on, check the status of your repo ($ git status) after typing any command.
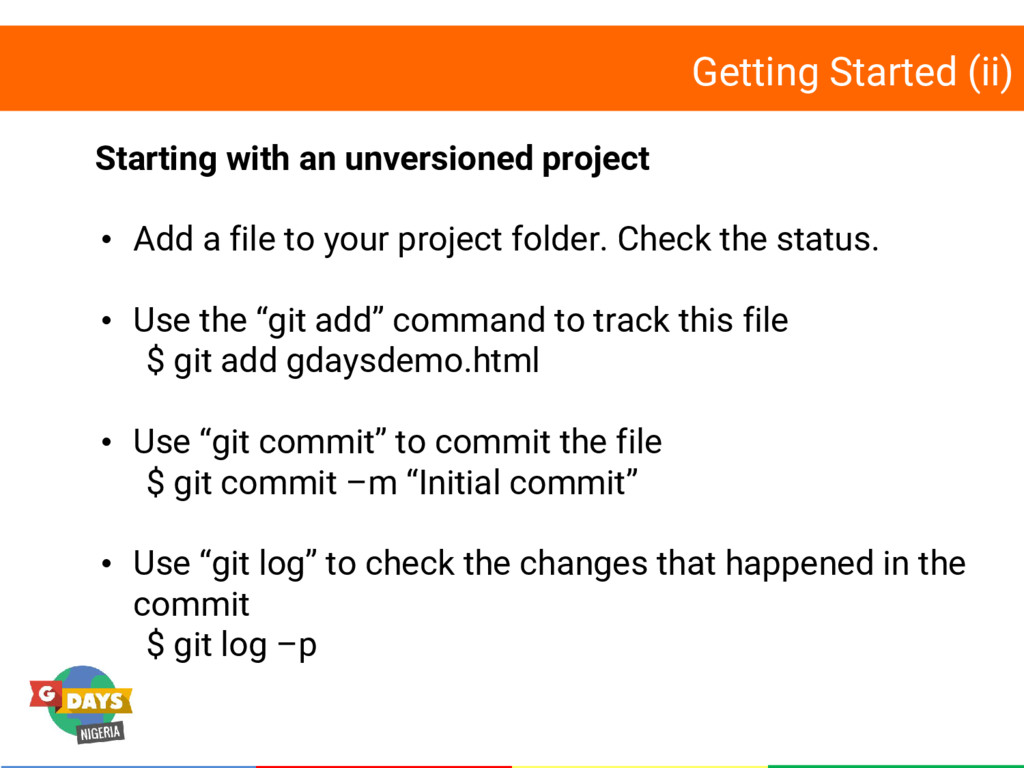
a file to your project folder. Check the status. • Use the “git add” command to track this file $ git add gdaysdemo.html • Use “git commit” to commit the file $ git commit –m “Initial commit” • Use “git log” to check the changes that happened in the commit $ git log –p
Login/Signup to GitHub to create a repo. • Add remote origin in your local project folder (the same as the last one used) $ git remote add origin https://github.com/<username>/<projectname>.git • Push to GitHub $ git push –u origin master
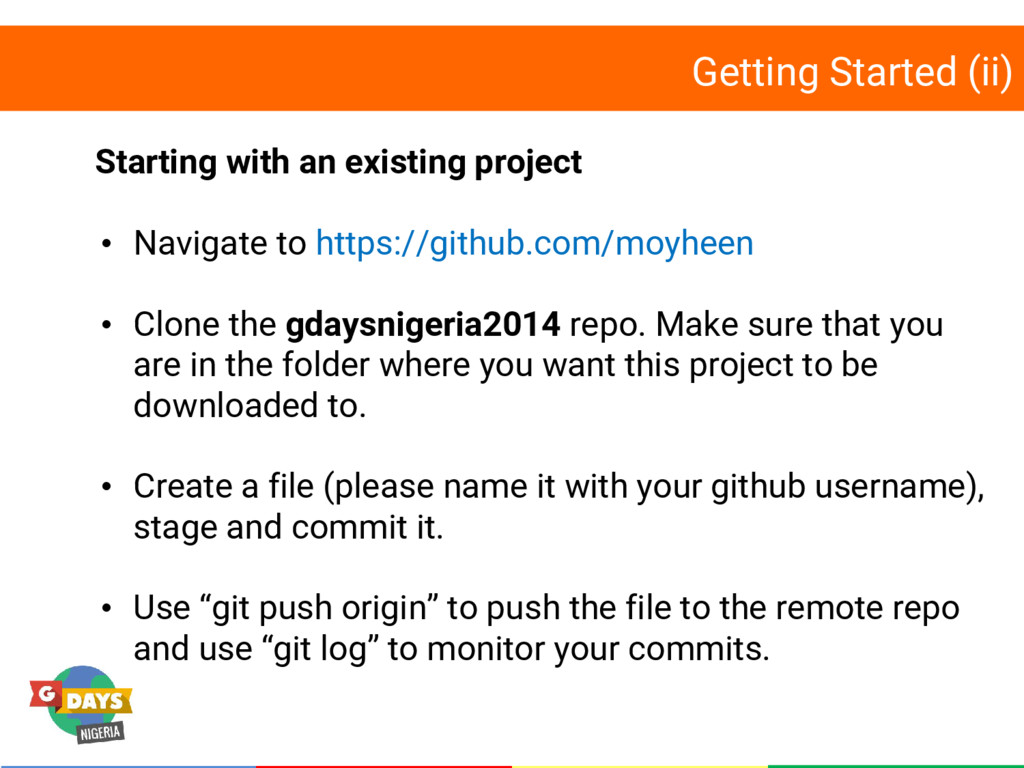
to https://github.com/moyheen • Clone the gdaysnigeria2014 repo. Make sure that you are in the folder where you want this project to be downloaded to. • Create a file (please name it with your github username), stage and commit it. • Use “git push origin” to push the file to the remote repo and use “git log” to monitor your commits.
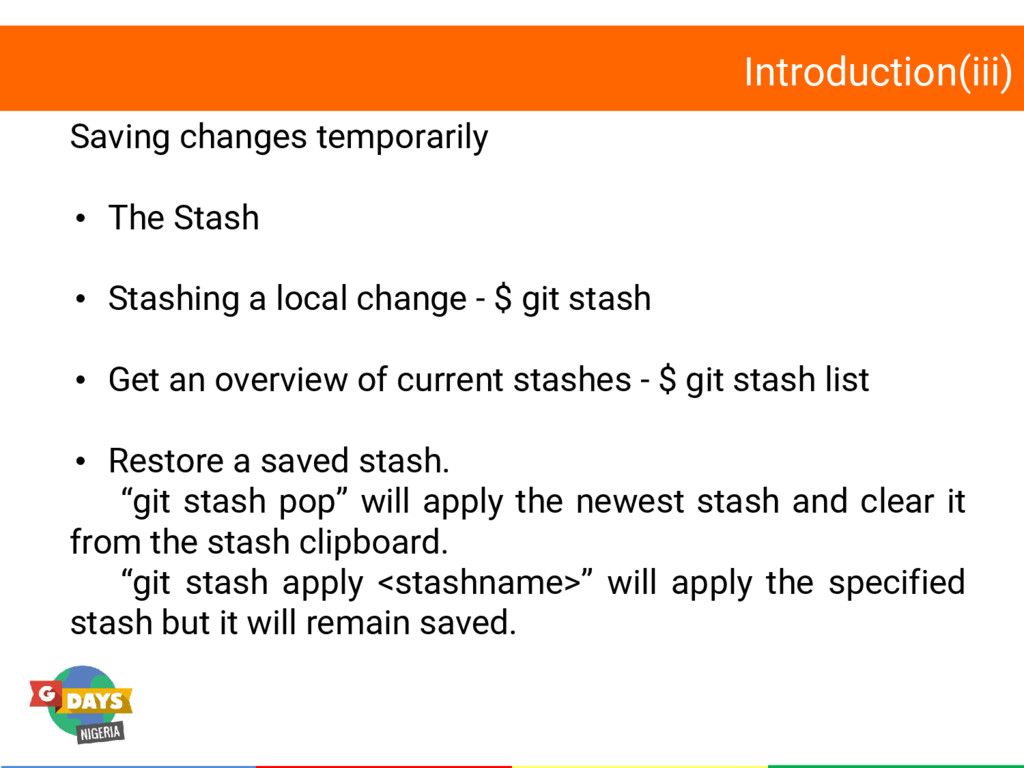
local change - $ git stash • Get an overview of current stashes - $ git stash list • Restore a saved stash. “git stash pop” will apply the newest stash and clear it from the stash clipboard. “git stash apply <stashname>” will apply the specified stash but it will remain saved.
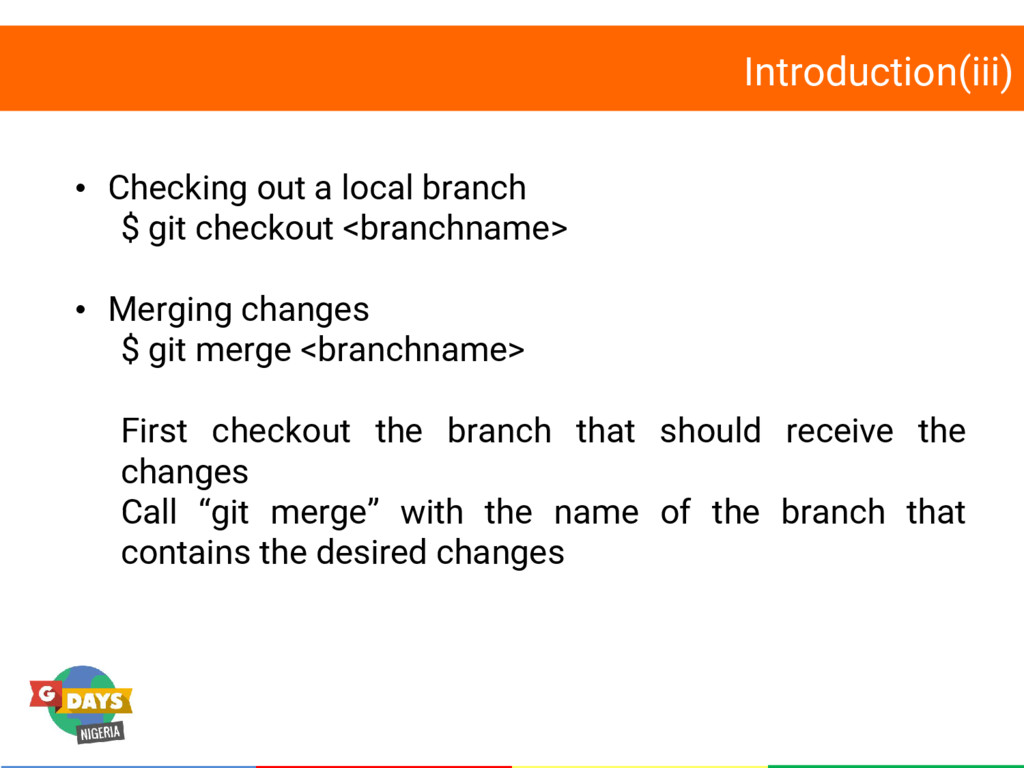
<branchname> • Merging changes $ git merge <branchname> First checkout the branch that should receive the changes Call “git merge” with the name of the branch that contains the desired changes
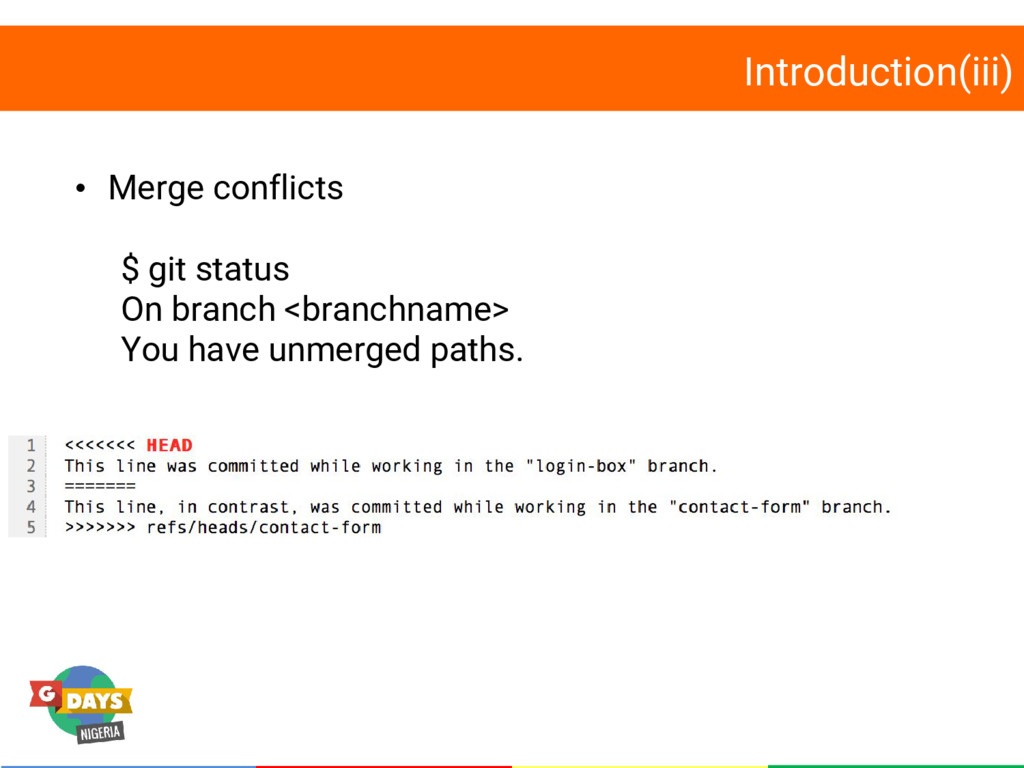
be concluded by a “git add” (if merge is done by hand and not with a merge tool) and a regular commit. Undoing a Merge with “git merge --abort” Use “git reset --hard” to roll back to the commit before the merge happened.
![Thank You Moyinoluwa Adeyemi Obafemi Awolowo University [email protected]](https://files.speakerdeck.com/presentations/efd234bc750d43db9c6c988e63e43af8/slide_36.jpg)