Upgrade to Pro — share decks privately, control downloads, hide ads and more …

Getting Started with Puppet and Vagrant

Getting Started with Puppet and Vagrant

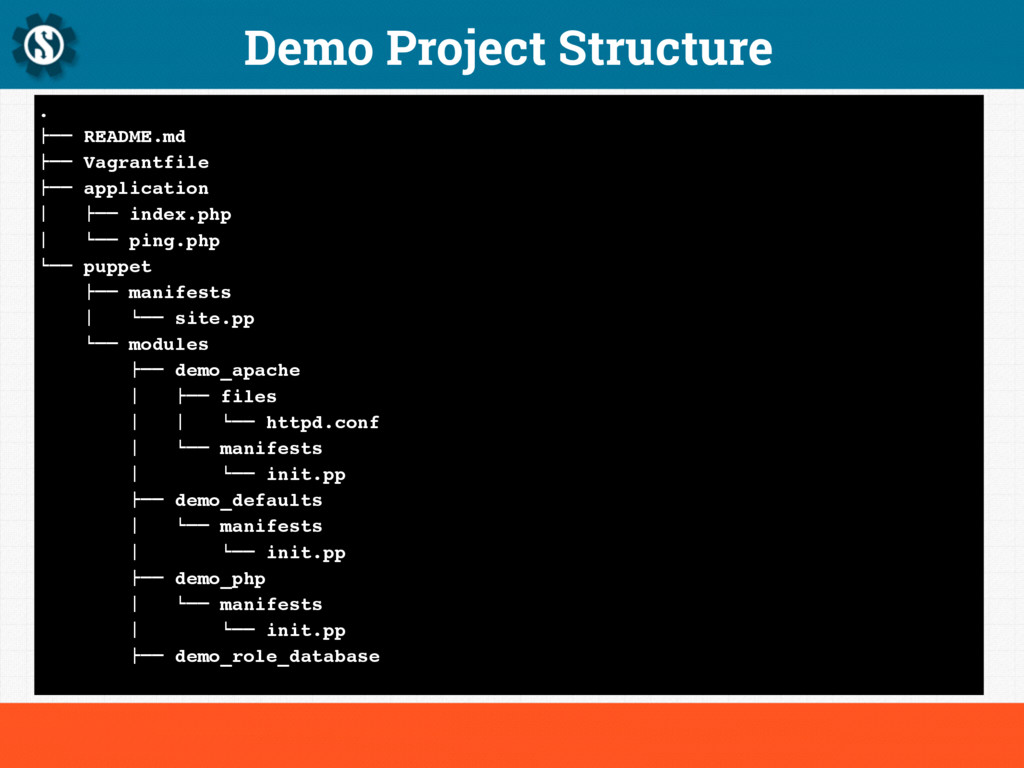
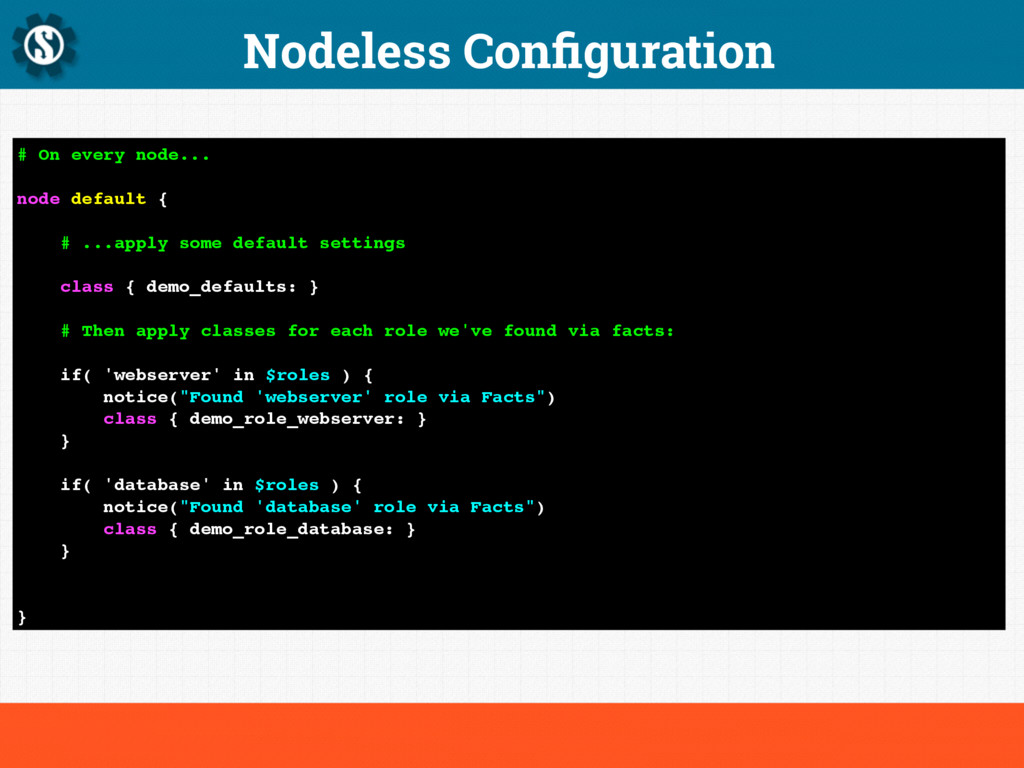
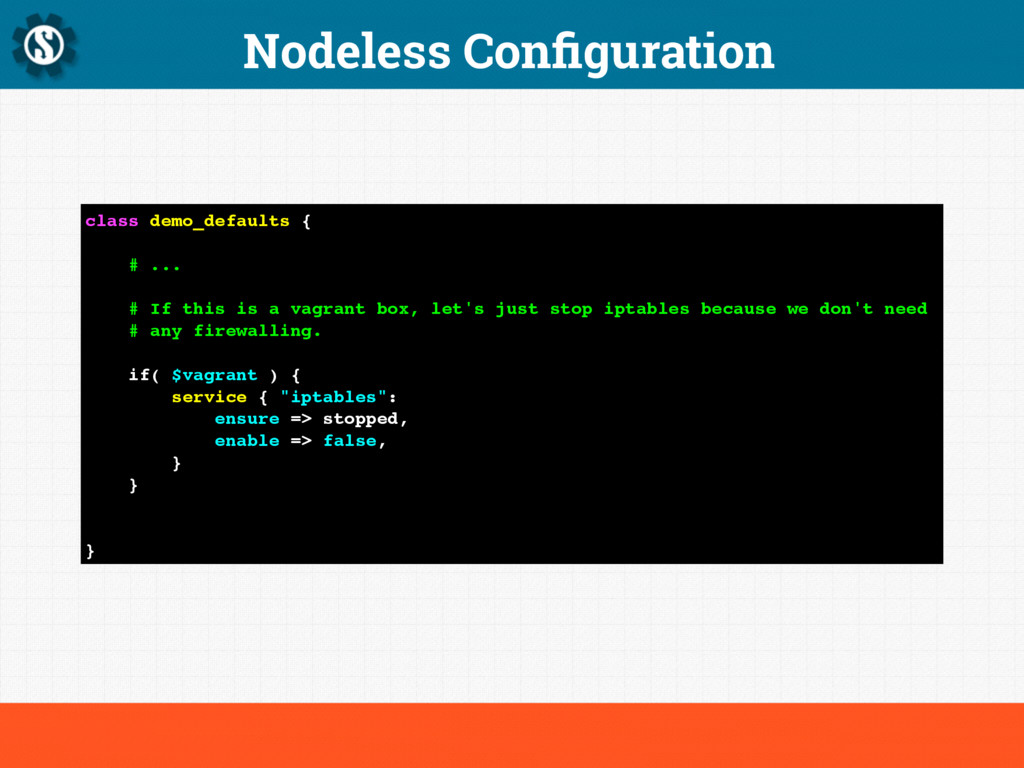
At PuppetCamp in autumn 2014 @jtopper gave a live demo on how to use Puppet and Vagrant. You can watch the live recording, and follow along by checking out the Git repository. (You'll need to install Vagrant to try the demo yourself).

https://www.youtube.com/watch?v=SualB5oNVYc
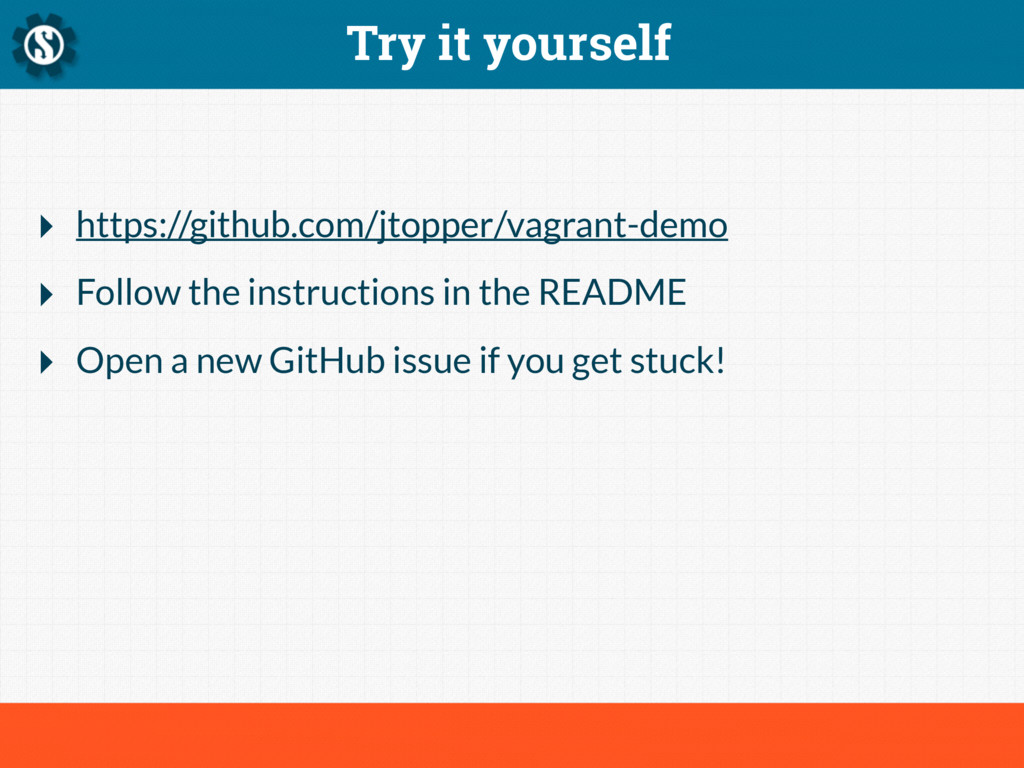
https://github.com/jtopper/vagrant-demo
https://vagrantup.com/

The Scale Factory

November 17, 2014
Tweet

More Decks by The Scale Factory

Other Decks in Technology

Transcript

  1. Hardware Approach Set up test environment Make change Did change

    work? Commit Yes No ‣ Walk to server room ‣ Plug in keyboard/monitor ‣ Reboot Server (~2m) ‣ Wait for Kickstart install (~30m) ‣ Upload automation bash scripts ‣ Run them (~15m) ‣ Assess success
  2. Virtualisation Set up test environment Make change Did change work?

    Commit Yes No ‣ Use Kickstart to create base image (~30m) ‣ Roll back to VM snapshot ‣ Upload automation bash scripts ‣ Run them (~15m) ‣ Assess success
  3. What is Vagrant? ‣ Command line tool ‣ Supports Linux,

    Mac, Windows ‣ Supports multiple hypervisors ‣ Folder sharing ‣ As portable as your laptop
  4. What is Vagrant? ‣ Import pre-defined “base boxes” from remote

    servers ‣ Describe box configuration in Vagrantfile ‣ Share both with other people ‣ “vagrant up” starts a clean, new environment ‣ “vagrant destroy” throws it away.
  5. What is Vagrant? Operating System Webserver Text editor Browser Database

    Messenger Music Twitter Photoshop Guest O/S Filesystem
  6. Puppet ‣ Describe desired system state ‣ “What”, rather than

    “How” ‣ Puppet moves system from current, to desired state
  7. Demo Project Structure . !"" README.md !"" Vagrantfile !"" application

    # !"" index.php # $"" ping.php $"" puppet !"" manifests # $"" site.pp $"" modules !"" demo_apache # !"" files # # $"" httpd.conf # $"" manifests # $"" init.pp !"" demo_defaults # $"" manifests # $"" init.pp !"" demo_php # $"" manifests # $"" init.pp !"" demo_role_database
  8. Vagrantfile Vagrant.configure("2") do |config| # Set up some box defaults.

    We're going to use the Puppet Labs # CentOS 6.5 x86_64 base box, and give it 1GB RAM config.vm.box = 'puppetlabs/centos-6.5-64-puppet' # … # Set up some Puppet "facts". These will be available to the # puppet manifests when they run. puppet_facts = { "vagrant" => “1”, "roles" => [ 'webserver', 'database' ] } # Provision the Vagrant box using Puppet. config.vm.provision "puppet" do |puppet| puppet.manifests_path = "puppet/manifests" puppet.manifest_file = "site.pp" puppet.module_path = "puppet/modules" puppet.facter = puppet_facts end end
  9. Nodeless Configuration # On every node... node default { #

    ...apply some default settings class { demo_defaults: } # Then apply classes for each role we've found via facts: if( 'webserver' in $roles ) { notice("Found 'webserver' role via Facts") class { demo_role_webserver: } } if( 'database' in $roles ) { notice("Found 'database' role via Facts") class { demo_role_database: } } }
  10. Nodeless Configuration class demo_defaults { # ... # If this

    is a vagrant box, let's just stop iptables because we don't need # any firewalling. if( $vagrant ) { service { "iptables": ensure => stopped, enable => false, } } }
  11. Benefits ‣ Short cycle time ‣ No copying files around

    ‣ Share box & manifests with development teams ‣ Easy to try existing config on new operating systems
  12. Advanced Usage ‣ Multiple box environments with private networking ‣

    “vagrant share” features of Vagrant Cloud ‣ Build production images with the same tools ‣ Build fully automated test suites