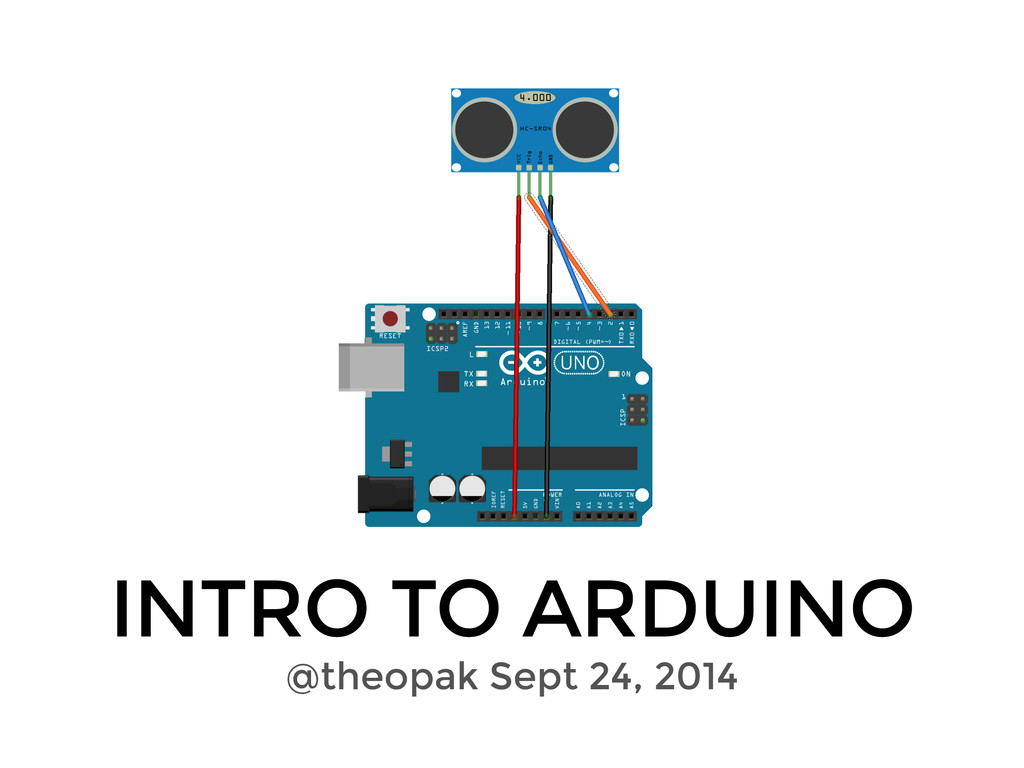
Upgrade to Pro — share decks privately, control downloads, hide ads and more …

Arduino: Why, Which, and How

Theo Pak
September 24, 2014

Arduino: Why, Which, and How

Intro to Arduino
============

Presented by request for MANE-4220 "Inventor's Studio" (Prof. Swersey) with the support of RPI Embedded Hardware Club.

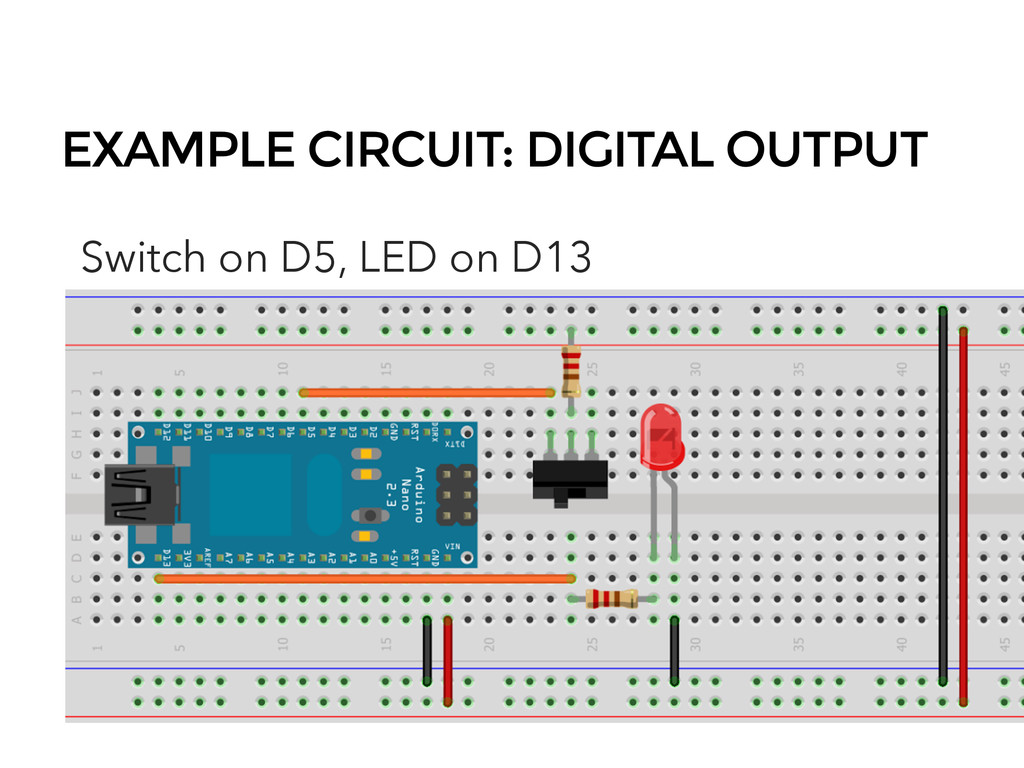
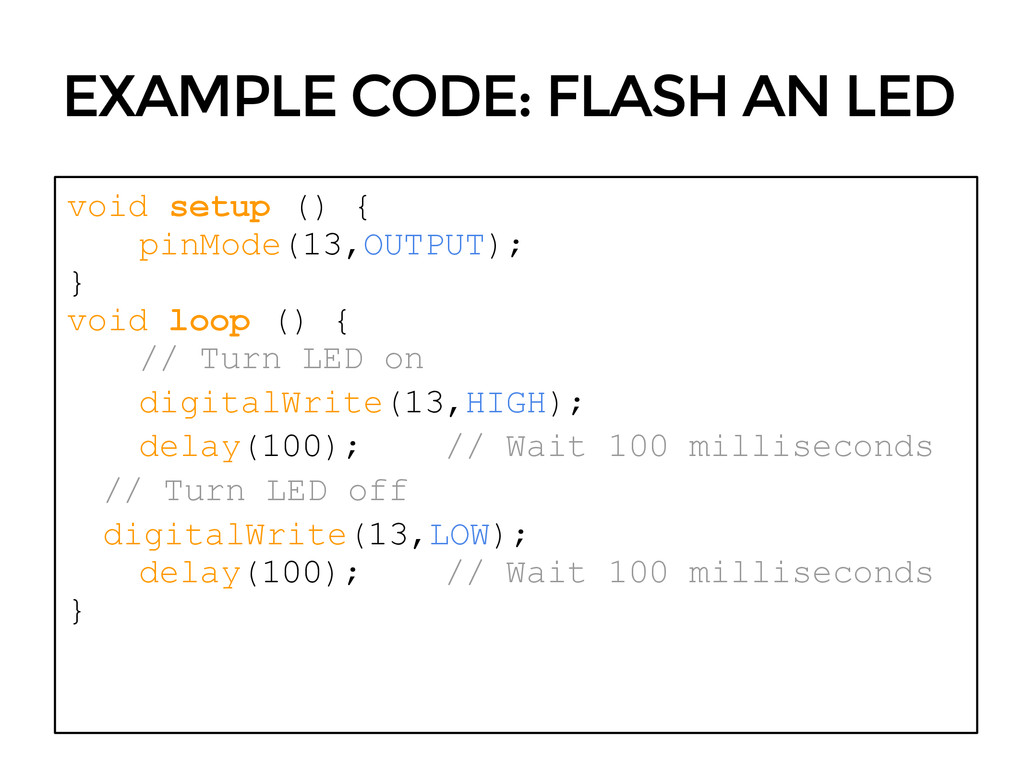
"What's an Arduino?"

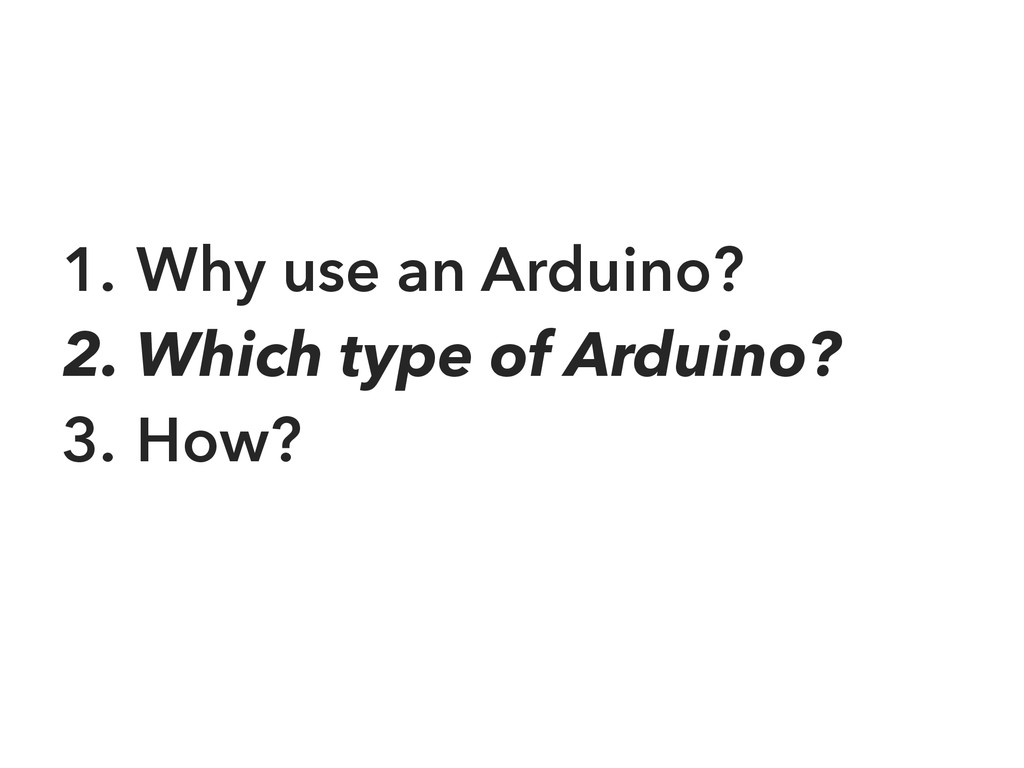
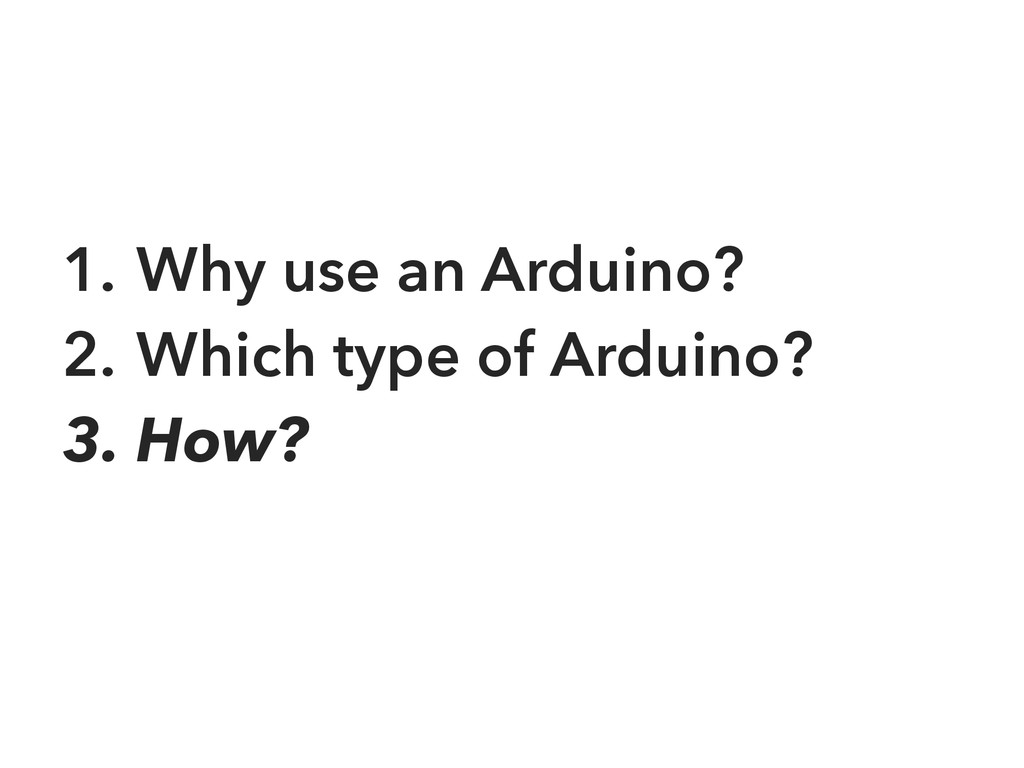
1. Why use an Arduino?
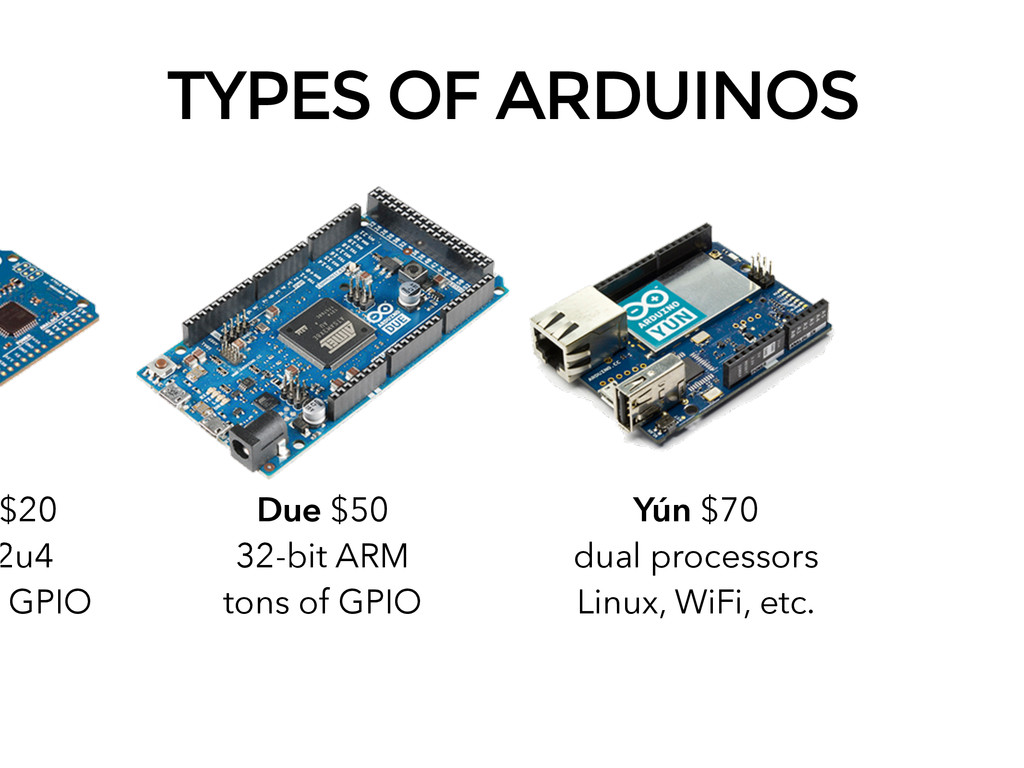
2. Which type of Arduino?
3. How?

Join the Embedded Hardware Club mailing list to get info about upcoming workshops and events. Check us out at http://facebook.com/rpiEHC and http://rpiEHC.org.

- Theo Pak
- [email protected]
- facebook.com/rpiEHC

Theo Pak

September 24, 2014
Tweet

More Decks by Theo Pak

Other Decks in How-to & DIY

Transcript

  1. ARDUINO • Microcontroller platform • Open source • You can

    make cool stuff with it • You program it with the Arduino language 
 using the Arduino software (Mac, PC, or linux)
  2. CASE STUDY: HACKATHON WINNERS • Silicon Chef (Nov 2012) •

    4 people • 6 hours • Engineering professors hated it • Engineering professors awarded first place
  3. WHY USE AN ARDUINO? • Easier to learn than alternatives.

    • Widely available for cheap! • Tons of code already exists. • Generally appropriate for real-time. • Not always the best choice, especially because: • Other options have better specs. • Other options use lower power.
  4. TYPES OF ARDUINOS Due $50 32-bit ARM tons of GPIO

    Yún $70 dual processors Linux, WiFi, etc. $20 2u4 GPIO
  5. EXAMPLE CODE: FLASH AN LED void setup () { pinMode(13,OUTPUT);

    } void loop () { // Turn LED on digitalWrite(13,HIGH); delay(100); // Wait 100 milliseconds // Turn LED off digitalWrite(13,LOW); delay(100); // Wait 100 milliseconds }
  6. EXAMPLE CODE: BUTTON INPUT void setup () { pinMode(13,OUTPUT); //

    Configure Pin13 as output pinMode(5,INPUT); // Configure Pin5 as input } void loop () { // If the button is pressed... if (digitalRead(5)) { // ...then turn LED on digitalWrite(13,HIGH); } else { // ...if not, the turn LED off digitalWrite(13,LOW); } }
  7. EXAMPLE CODE: SERVO MOTOR #include <Servo.h> Servo myservo; //create servo

    object to control a servo motor void setup () { myservo.attach(9); //attach pin 9 to the servo object } void loop () { for (int i = 0; i < 255; i ++) { // set the servo position myservo.write(i); // generate PPM signal // wait for the servo to get there delay(15); } }