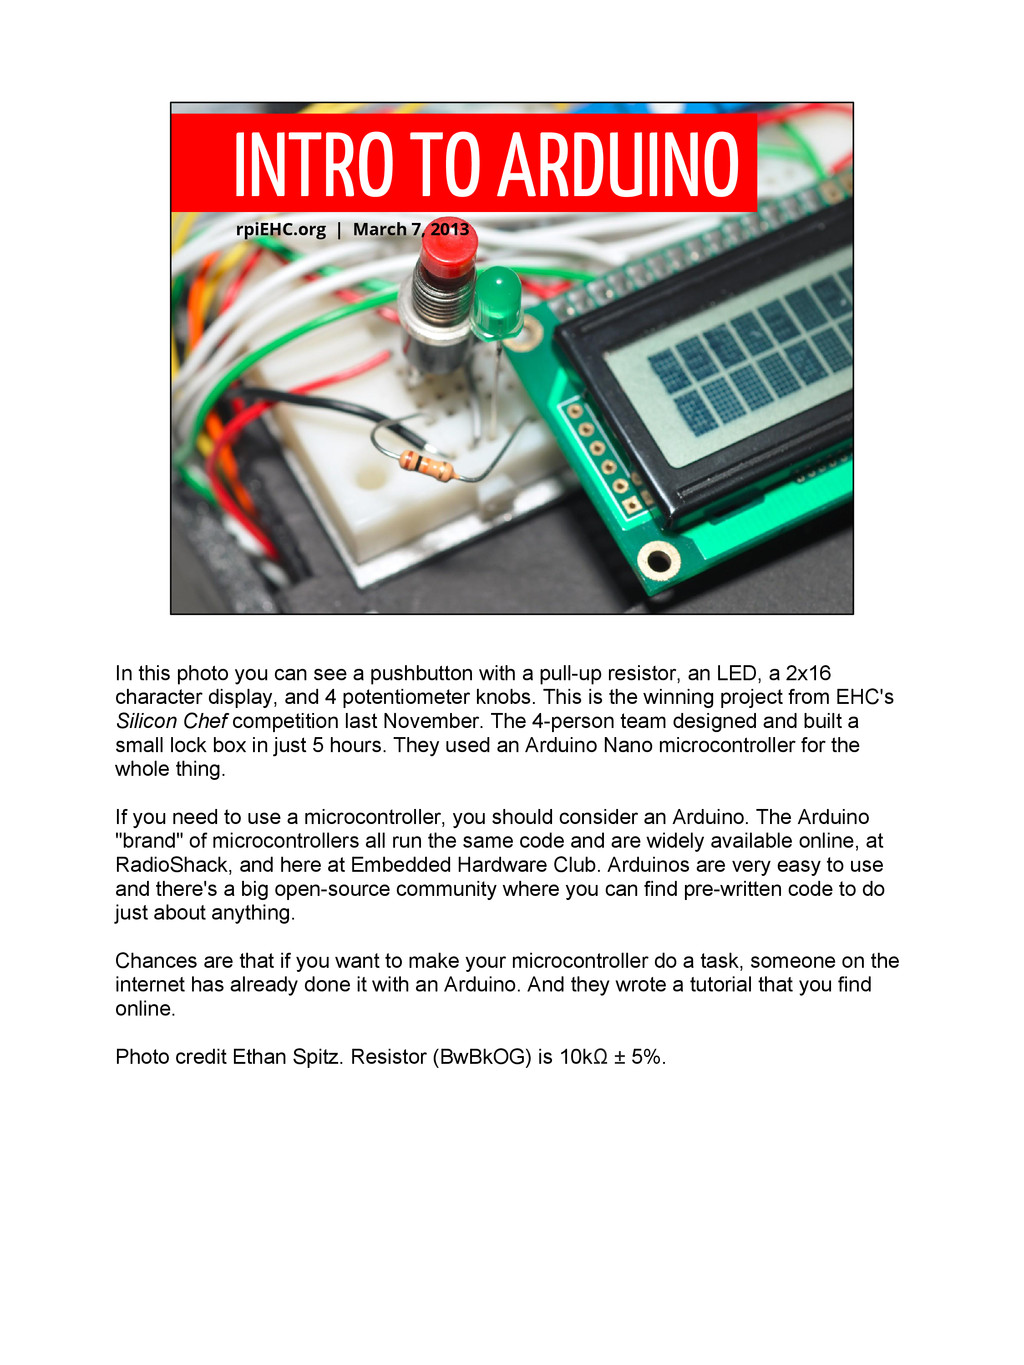
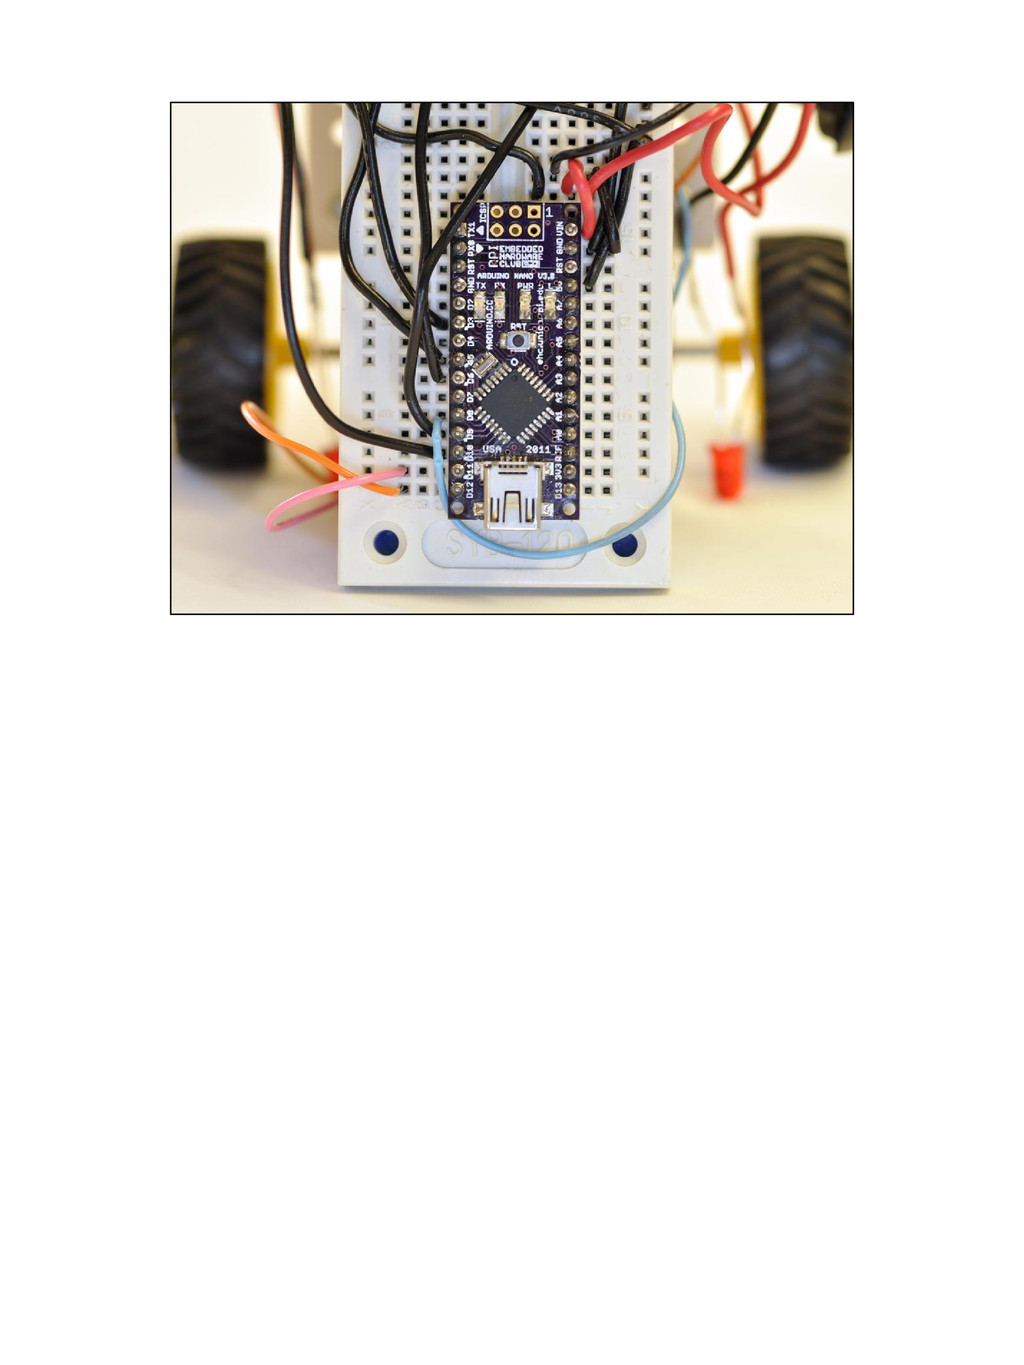
photo you can see a pushbutton with a pull-up resistor, an LED, a 2x16 character display, and 4 potentiometer knobs. This is the winning project from EHC's Silicon Chef competition last November. The 4-person team designed and built a small lock box in just 5 hours. They used an Arduino Nano microcontroller for the whole thing. If you need to use a microcontroller, you should consider an Arduino. The Arduino "brand" of microcontrollers all run the same code and are widely available online, at RadioShack, and here at Embedded Hardware Club. Arduinos are very easy to use and there's a big open-source community where you can find pre-written code to do just about anything. Chances are that if you want to make your microcontroller do a task, someone on the internet has already done it with an Arduino. And they wrote a tutorial that you find online. Photo credit Ethan Spitz. Resistor (BwBkOG) is 10kΩ ± 5%.
CSYS/CSCI [email protected] RPI Embedded Hardware Club http://rpiEHC.org Intro to Arduino Workshop Held March 7, 2013 @ 7-9pm in Sage 2202 Open to campus Contact Theo Pak [email protected]
cheap. • Tons of code already exists. • Generally appropriate for real-time. • They're not the most powerful. • Other options use less electricity. WHY USE AN ARDUINO? The Arduino platform is a great candidate. Weigh the pros and cons of using one to meet your needs. But they're not the best for everything -- you may find that you need an ultra-low- power solution or something with a more beefy processor. Maybe you need tons of memory. Maybe you're a sadist and you don't like the convenience of open-source platforms. Whatever your needs are, Embedded Hardware Club can help you find a solution. Today I'll talk about Arduinos.
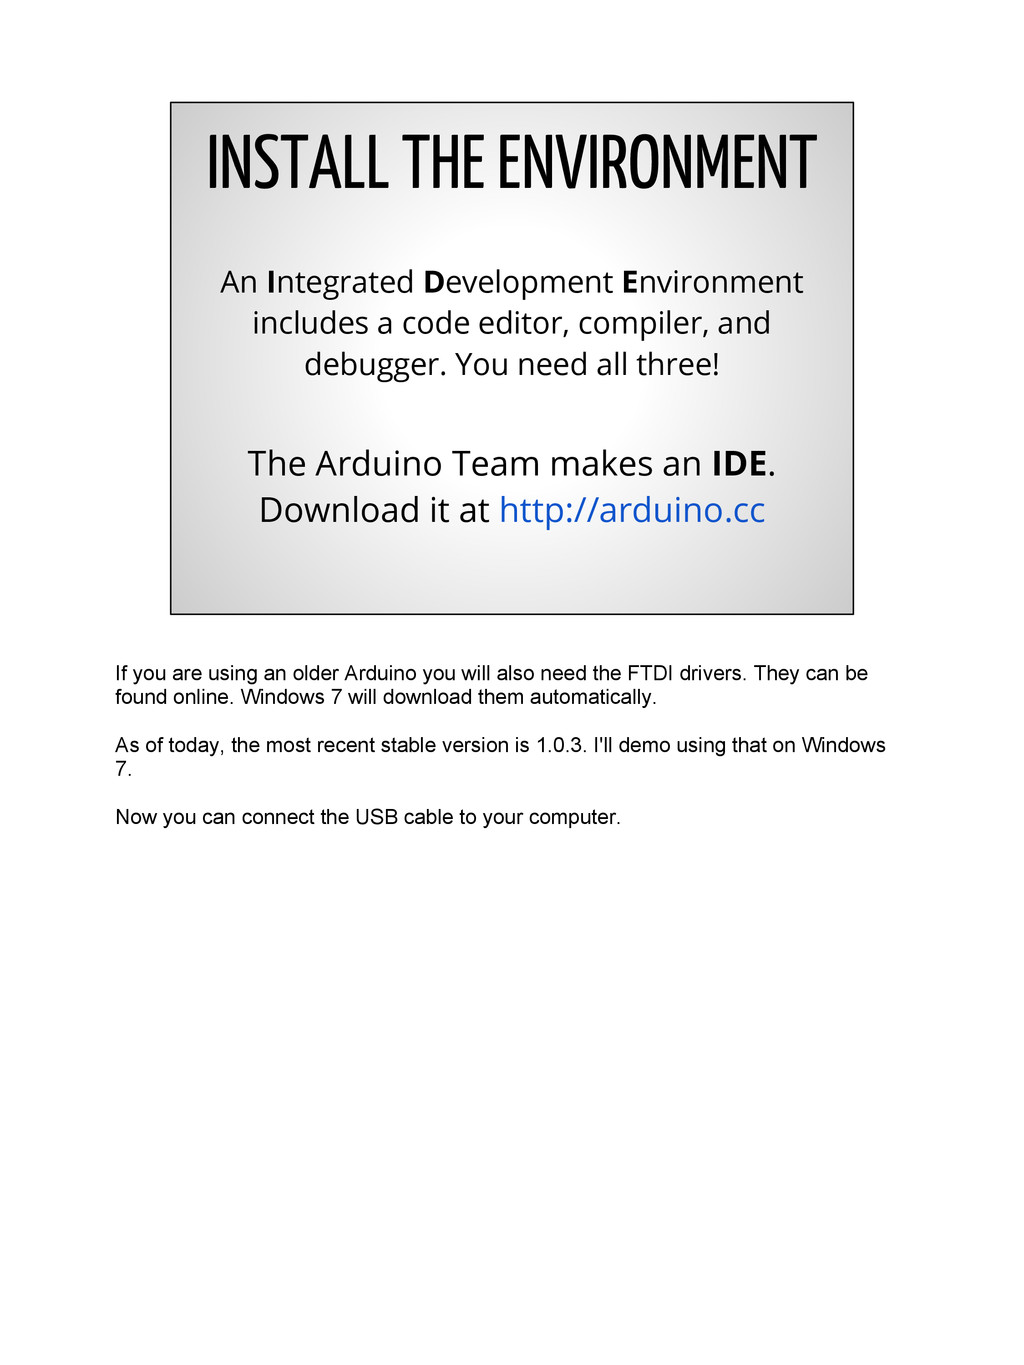
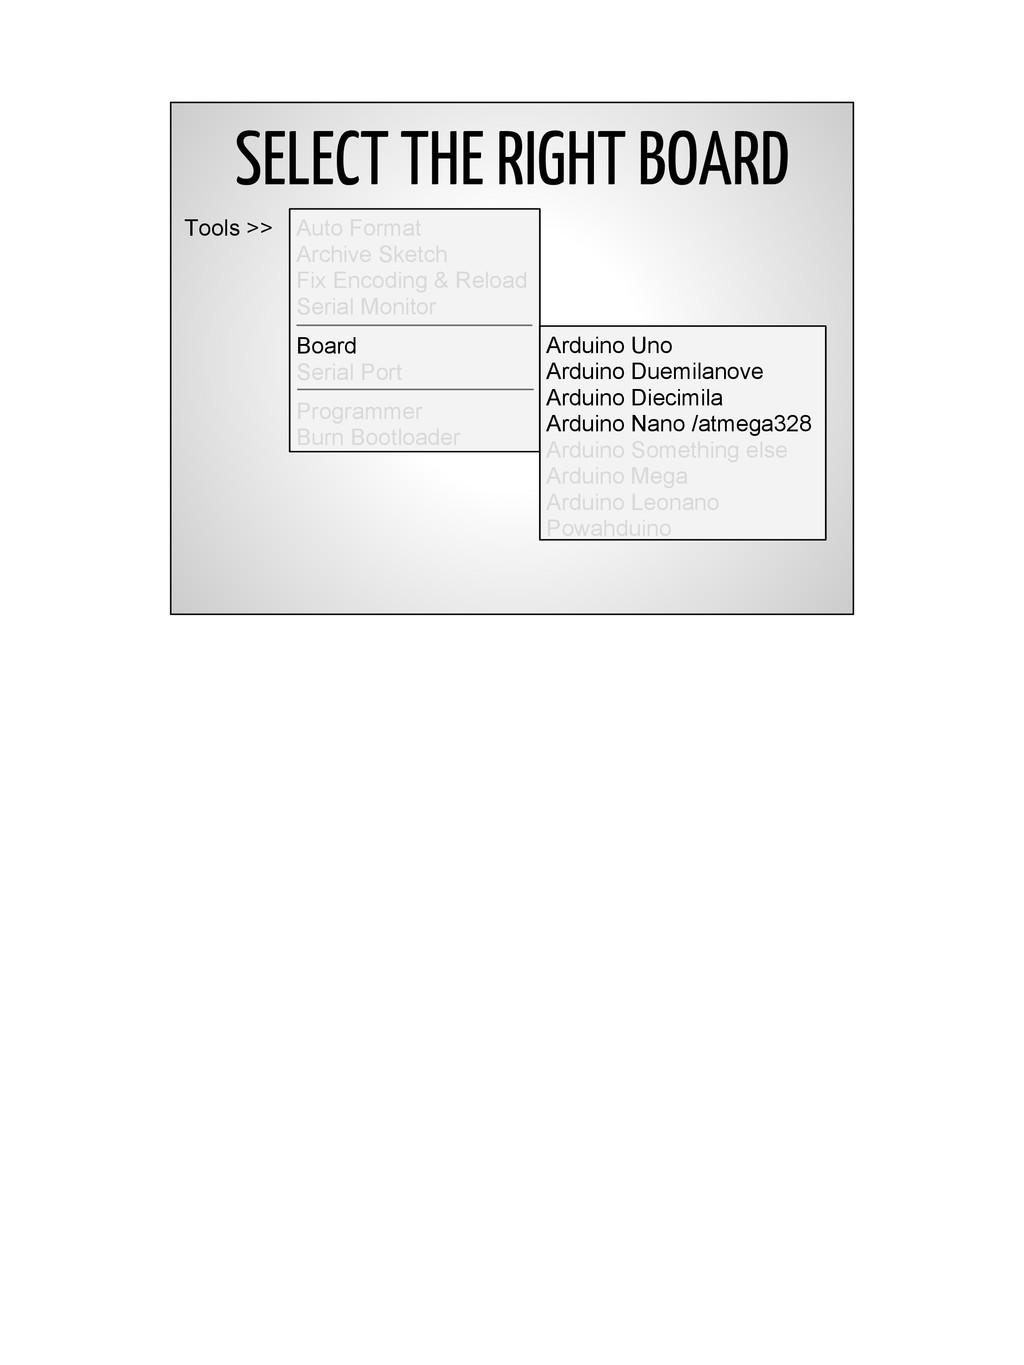
editor, compiler, and debugger. You need all three! The Arduino Team makes an IDE. Download it at http://arduino.cc If you are using an older Arduino you will also need the FTDI drivers. They can be found online. Windows 7 will download them automatically. As of today, the most recent stable version is 1.0.3. I'll demo using that on Windows 7. Now you can connect the USB cable to your computer.
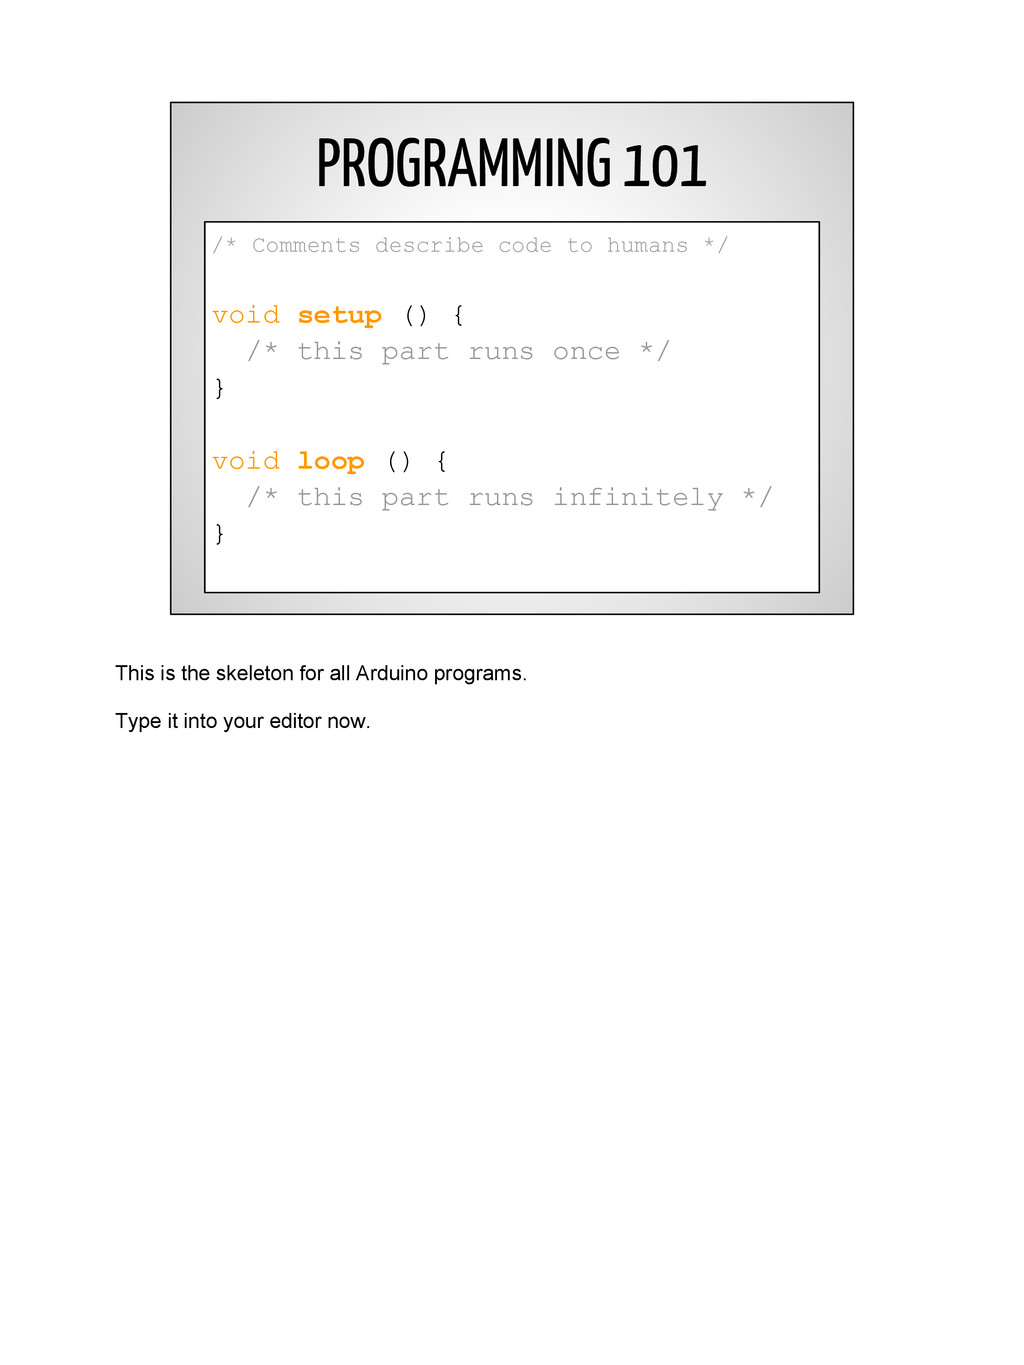
setup () { /* this part runs once */ } void loop () { /* this part runs infinitely */ } This is the skeleton for all Arduino programs. Type it into your editor now.
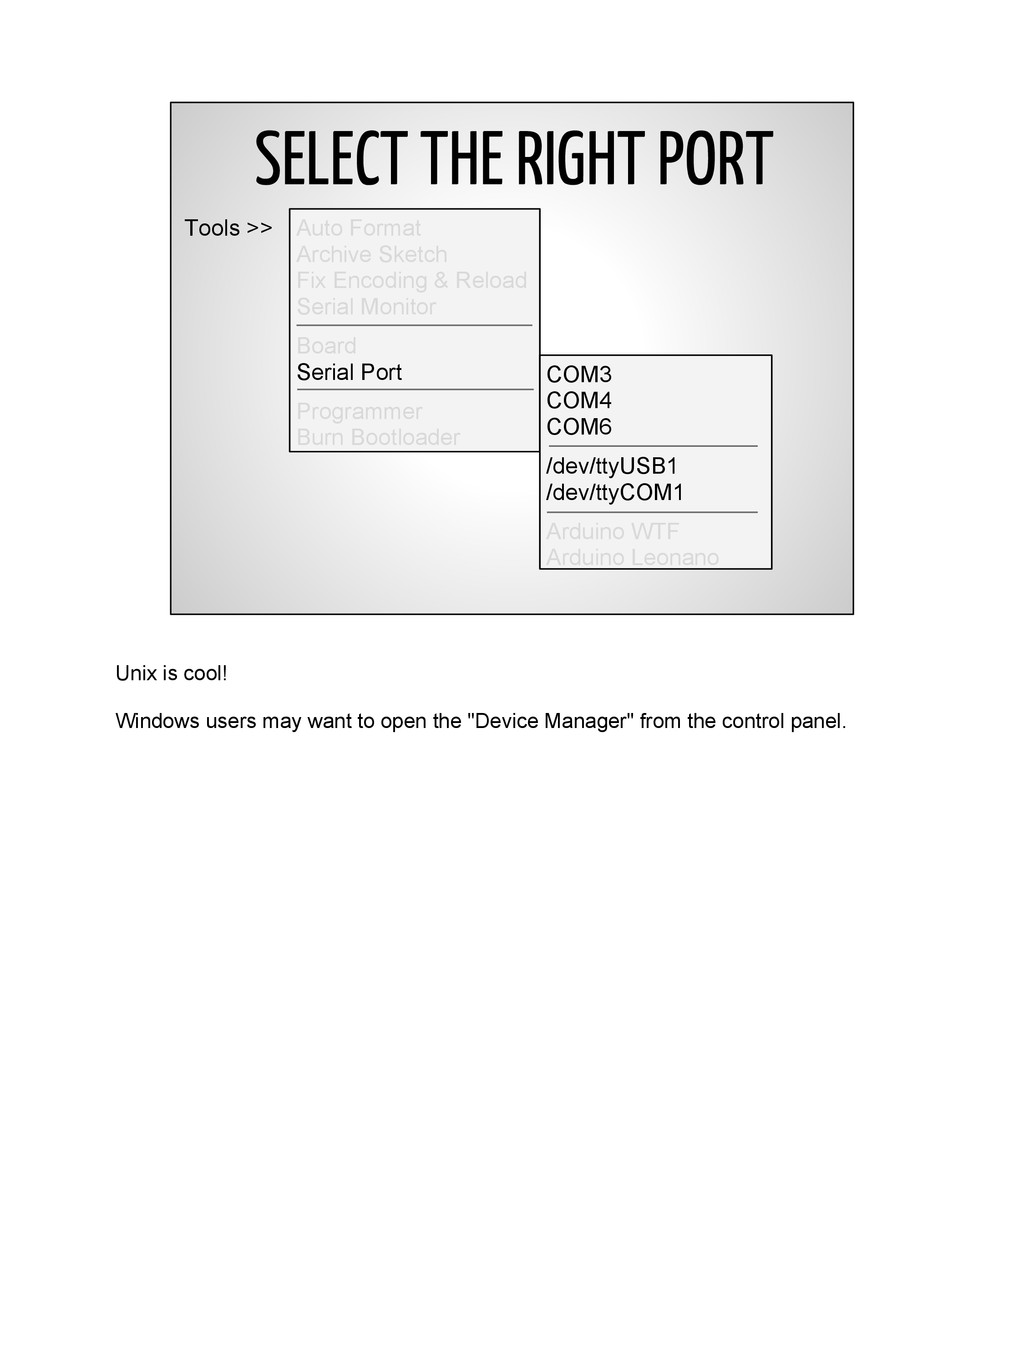
Fix Encoding & Reload Serial Monitor Board Serial Port Programmer Burn Bootloader COM3 COM4 COM6 /dev/ttyUSB1 /dev/ttyCOM1 Arduino WTF Arduino Leonano Unix is cool! Windows users may want to open the "Device Manager" from the control panel.
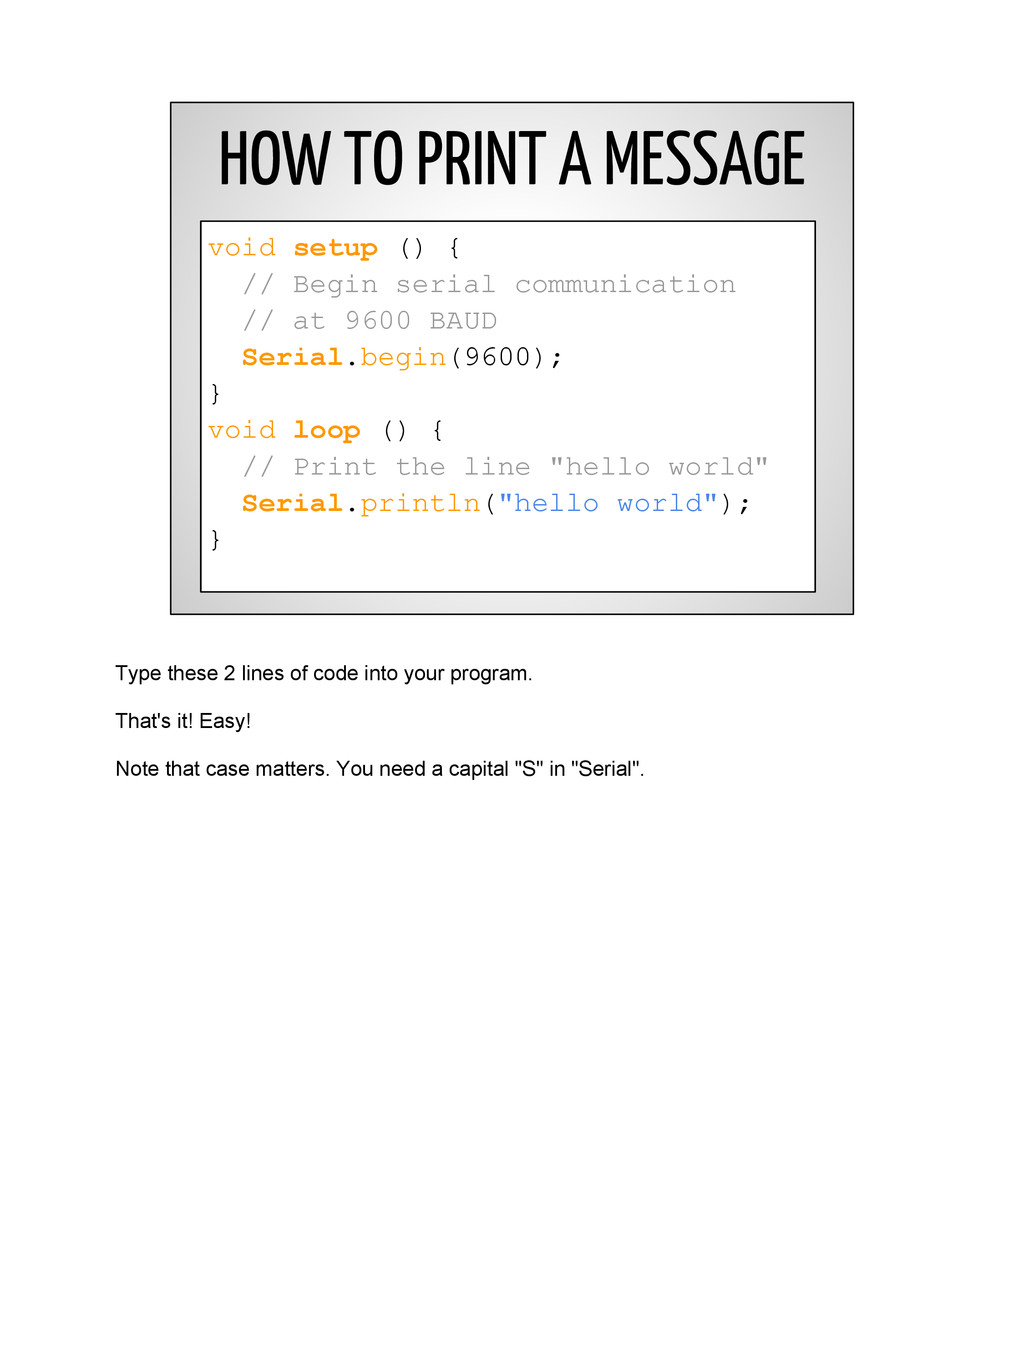
Begin serial communication // at 9600 BAUD Serial.begin(9600); } void loop () { // Print the line "hello world" Serial.println("hello world"); } Type these 2 lines of code into your program. That's it! Easy! Note that case matters. You need a capital "S" in "Serial".
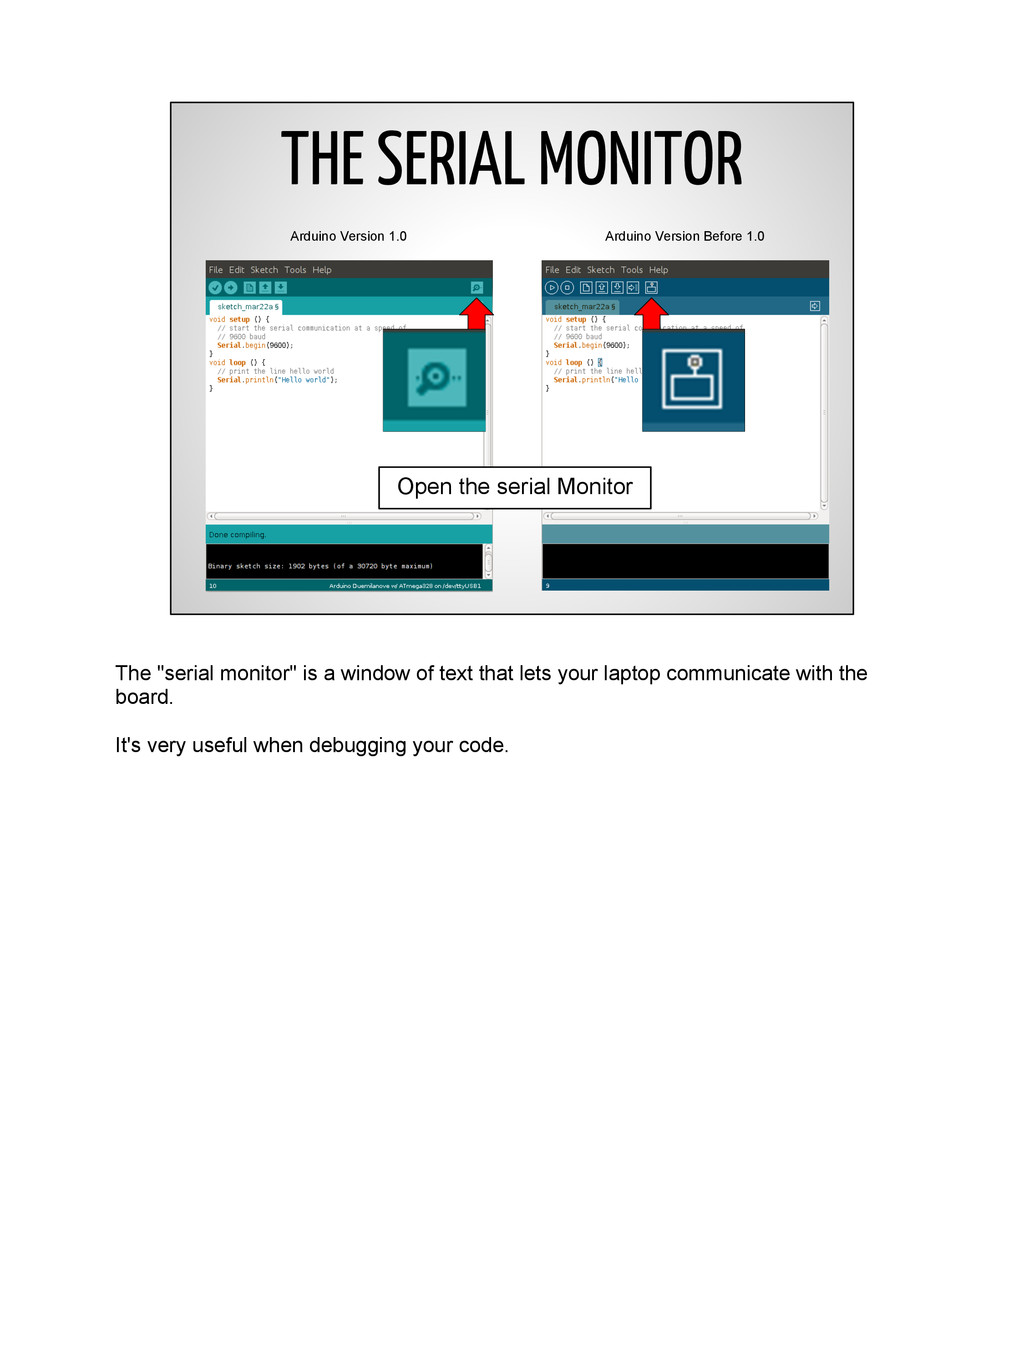
Open the serial Monitor The "serial monitor" is a window of text that lets your laptop communicate with the board. It's very useful when debugging your code.
ANALOG I/O What does "digital" mean? Digital means that the signal is one of two states: either HIGH or LOW. There's only ones and zeros! Nothing else exists. Contrast digital values with analog values, which are real. For example, an analog signal could be 2.4V or 7V. A digital signal can only be TRUE or FALSE.
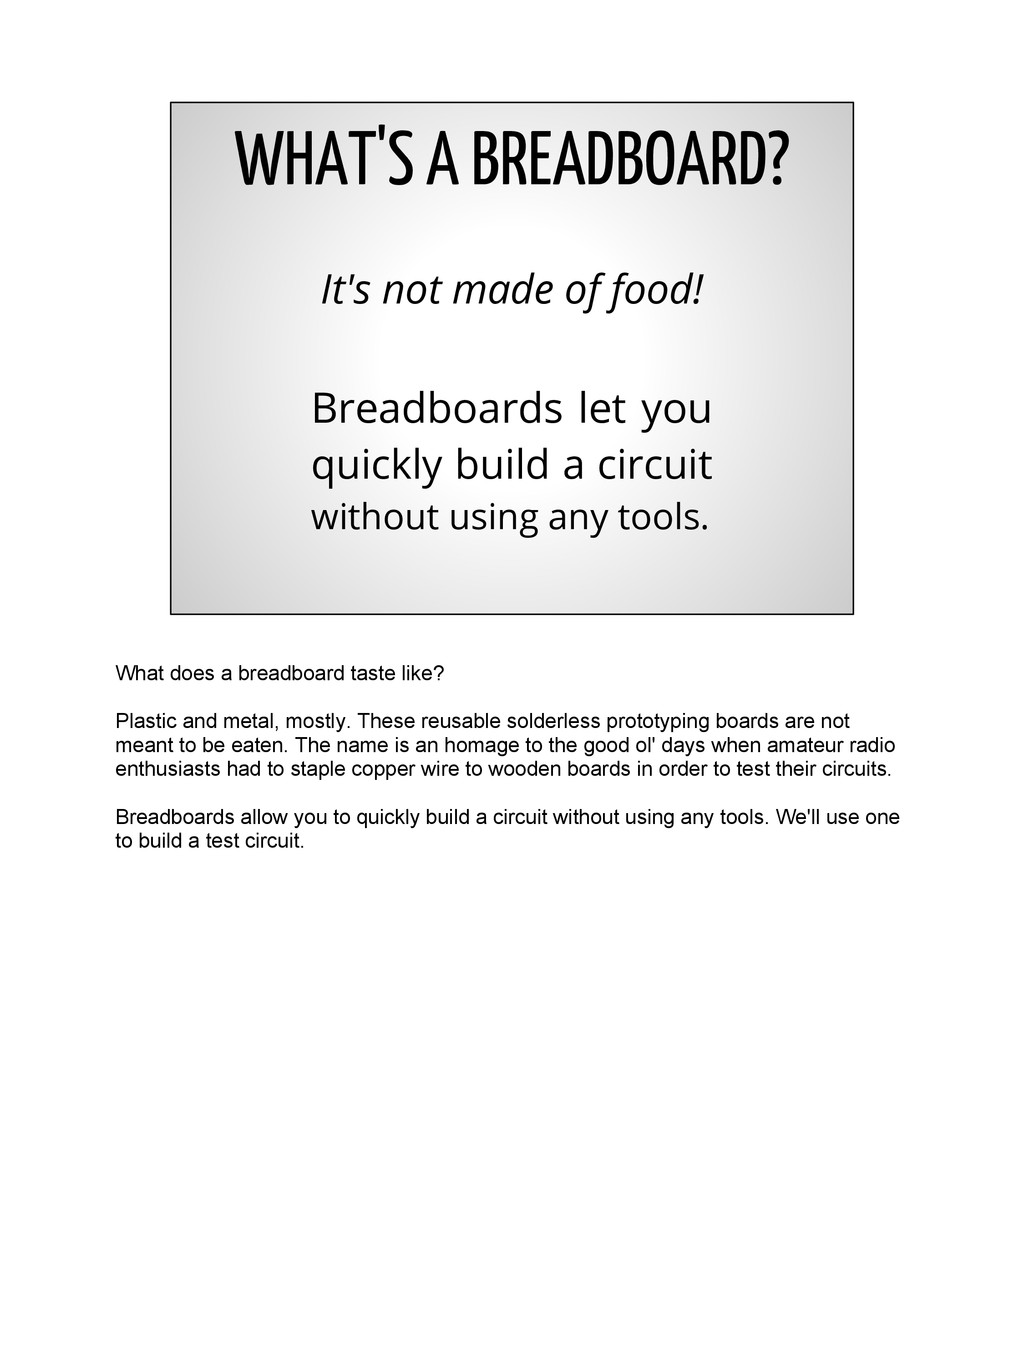
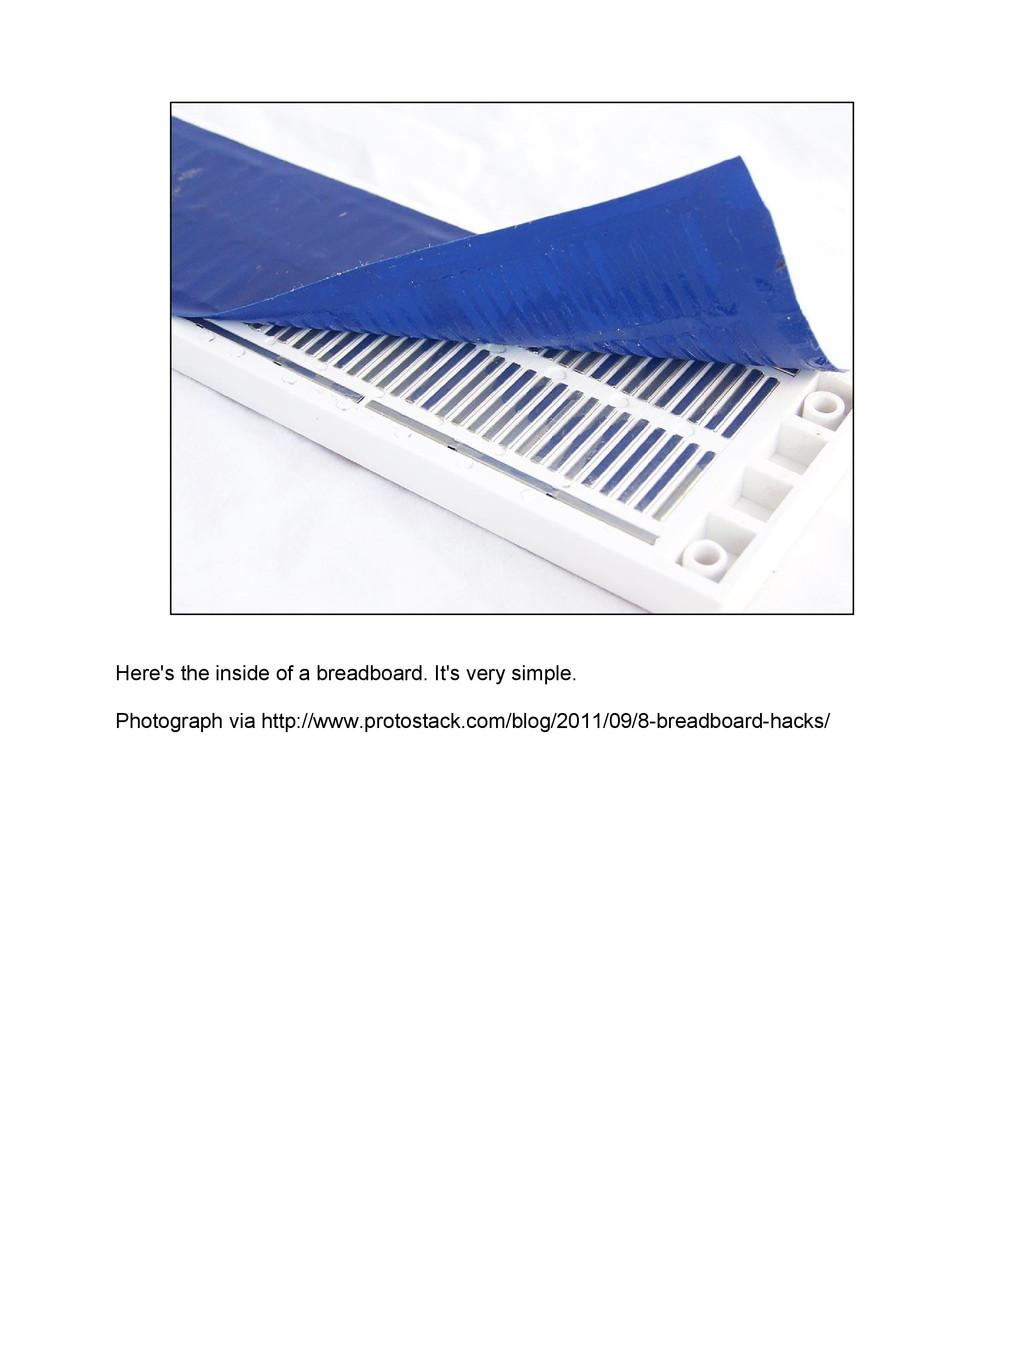
a circuit without using any tools. WHAT'S A BREADBOARD? What does a breadboard taste like? Plastic and metal, mostly. These reusable solderless prototyping boards are not meant to be eaten. The name is an homage to the good ol' days when amateur radio enthusiasts had to staple copper wire to wooden boards in order to test their circuits. Breadboards allow you to quickly build a circuit without using any tools. We'll use one to build a test circuit.
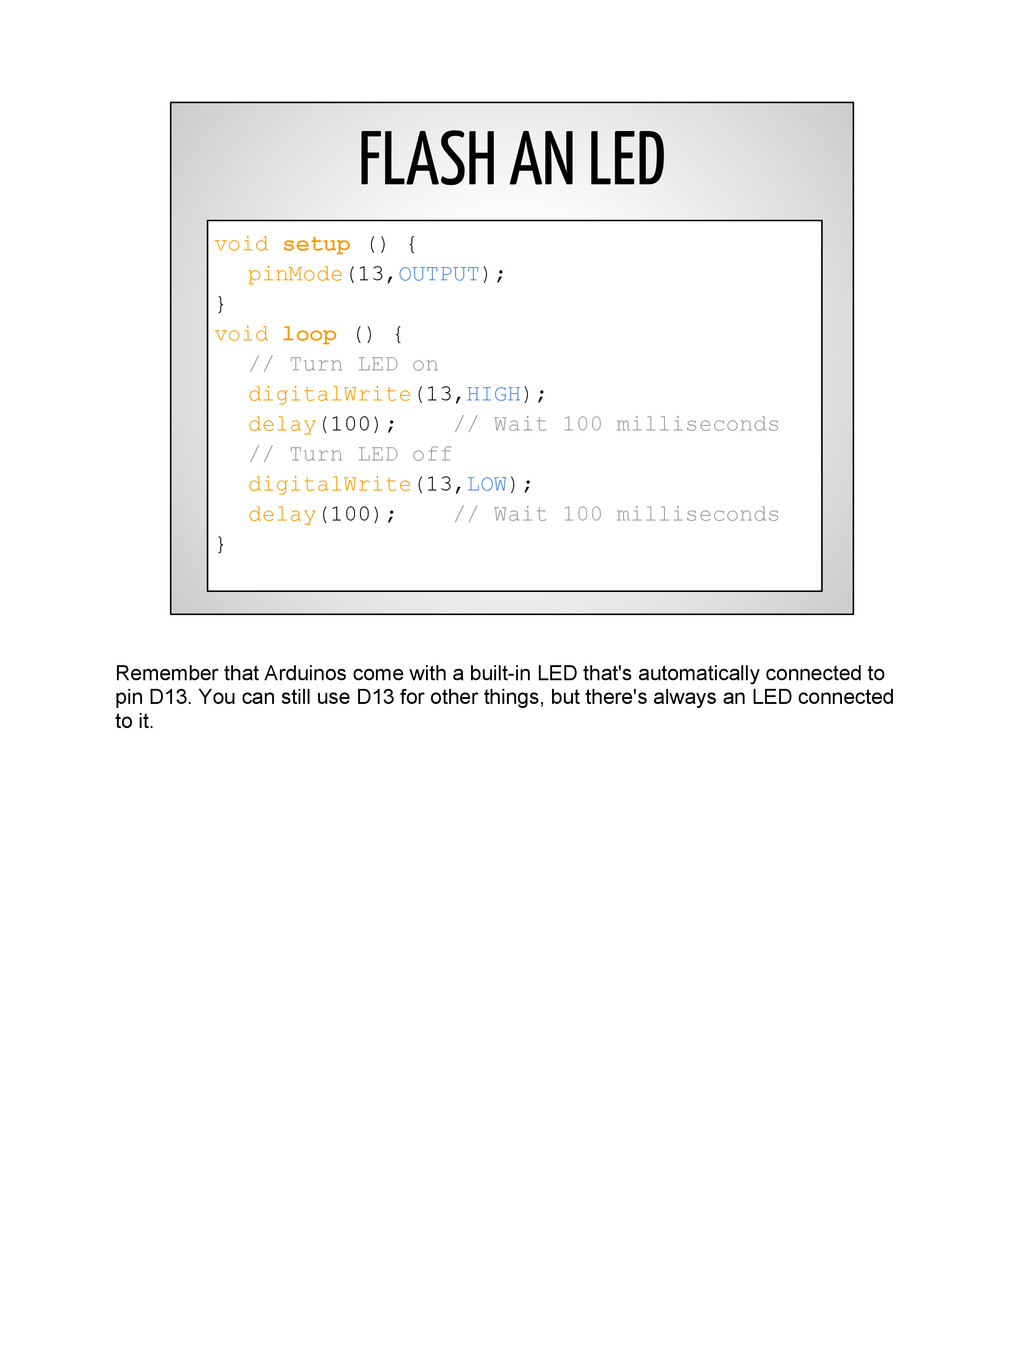
loop () { // Turn LED on digitalWrite(13,HIGH); delay(100); // Wait 100 milliseconds // Turn LED off digitalWrite(13,LOW); delay(100); // Wait 100 milliseconds } Remember that Arduinos come with a built-in LED that's automatically connected to pin D13. You can still use D13 for other things, but there's always an LED connected to it.
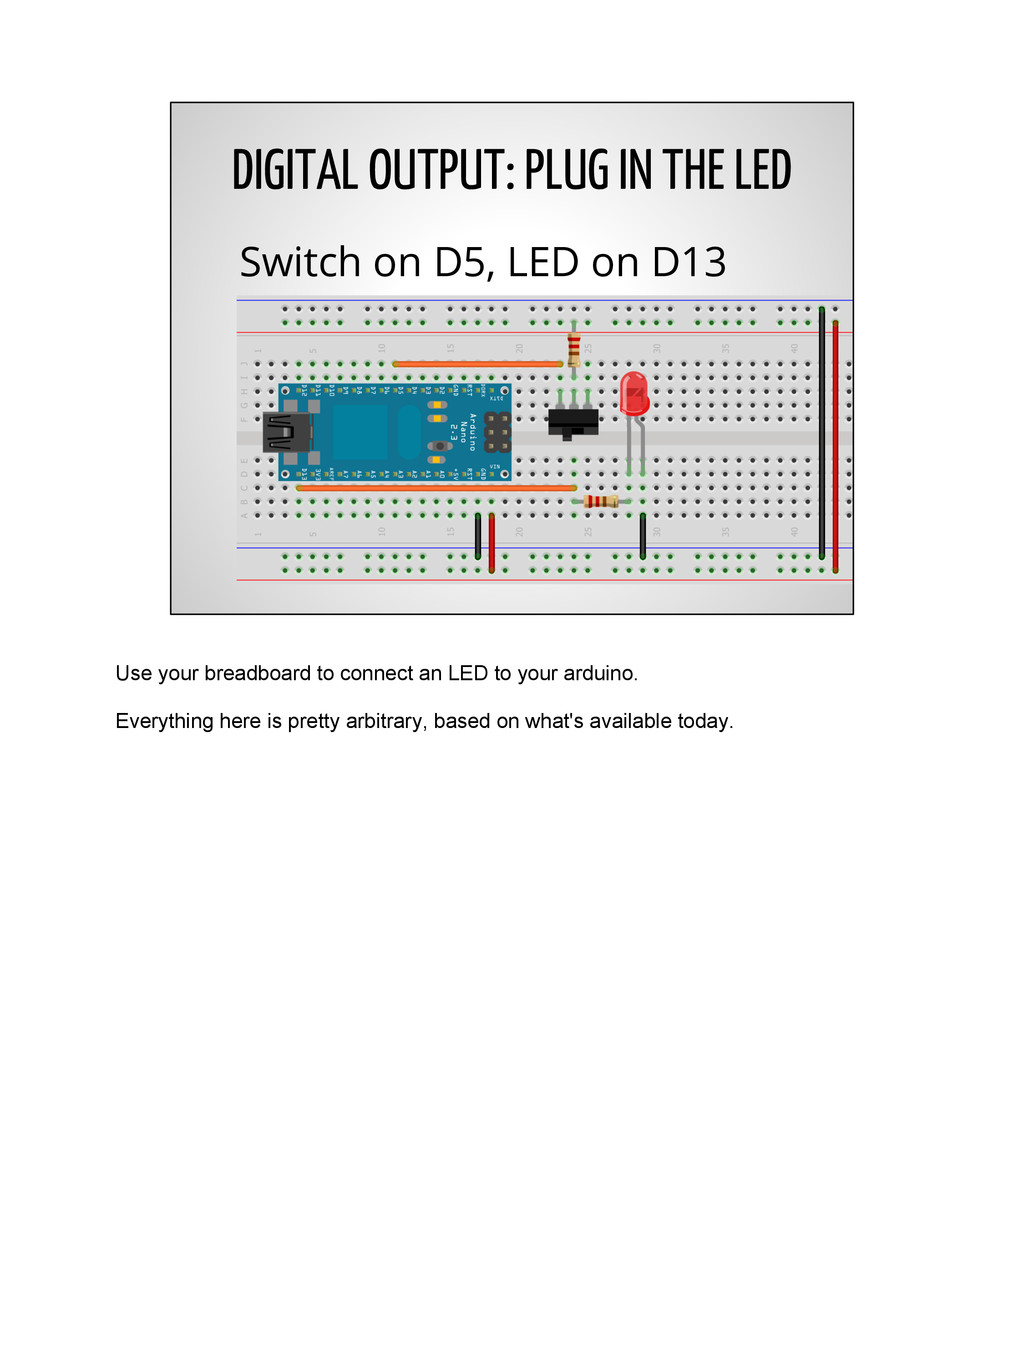
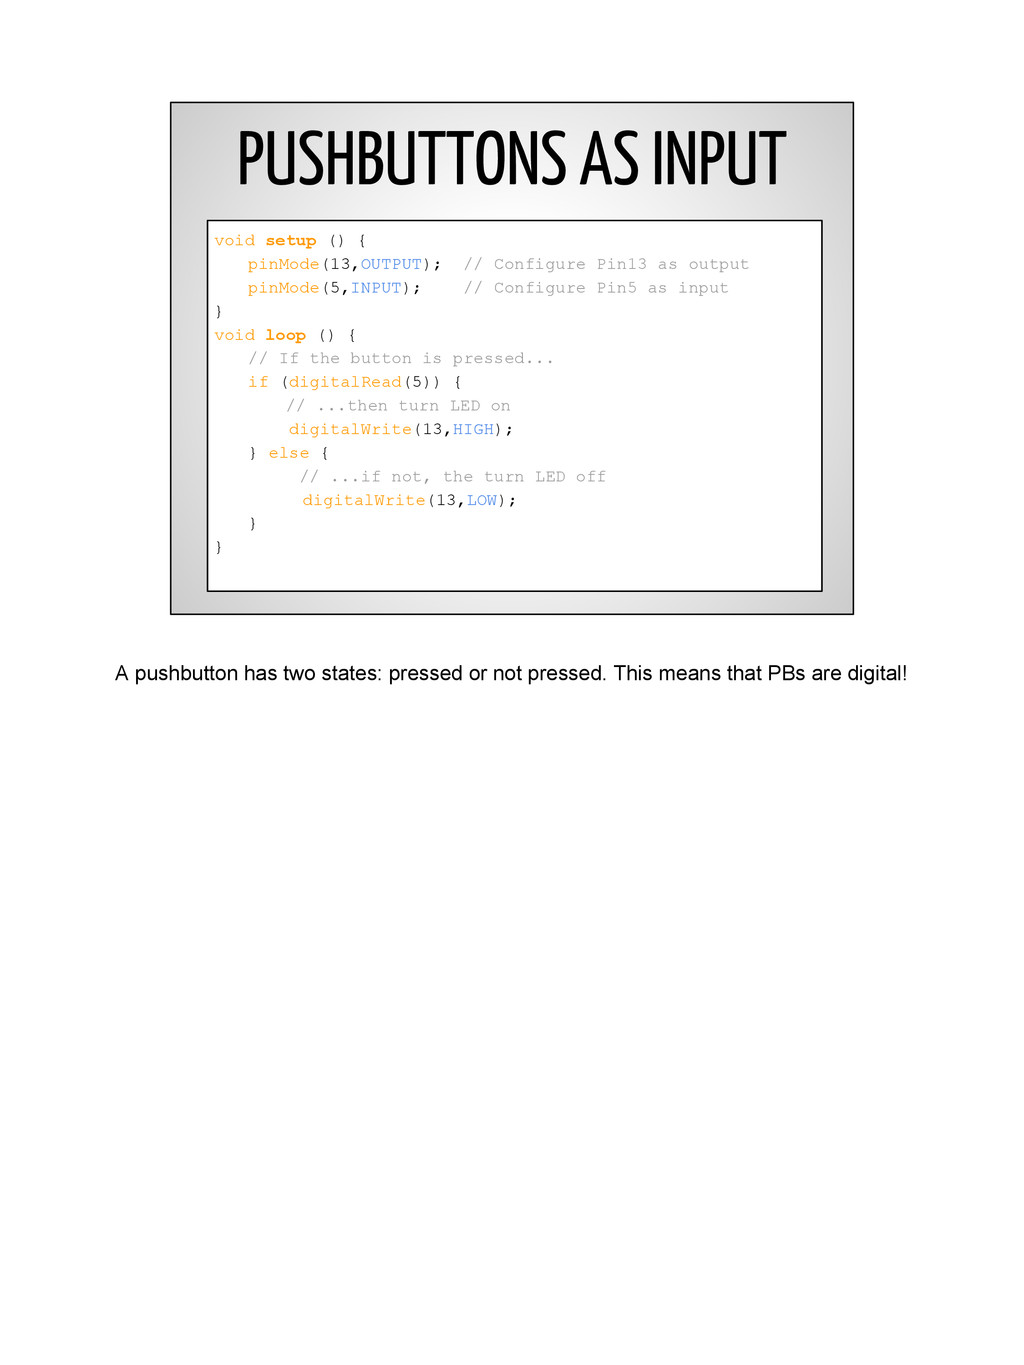
Pin13 as output pinMode(5,INPUT); // Configure Pin5 as input } void loop () { // If the button is pressed... if (digitalRead(5)) { // ...then turn LED on digitalWrite(13,HIGH); } else { // ...if not, the turn LED off digitalWrite(13,LOW); } } A pushbutton has two states: pressed or not pressed. This means that PBs are digital!
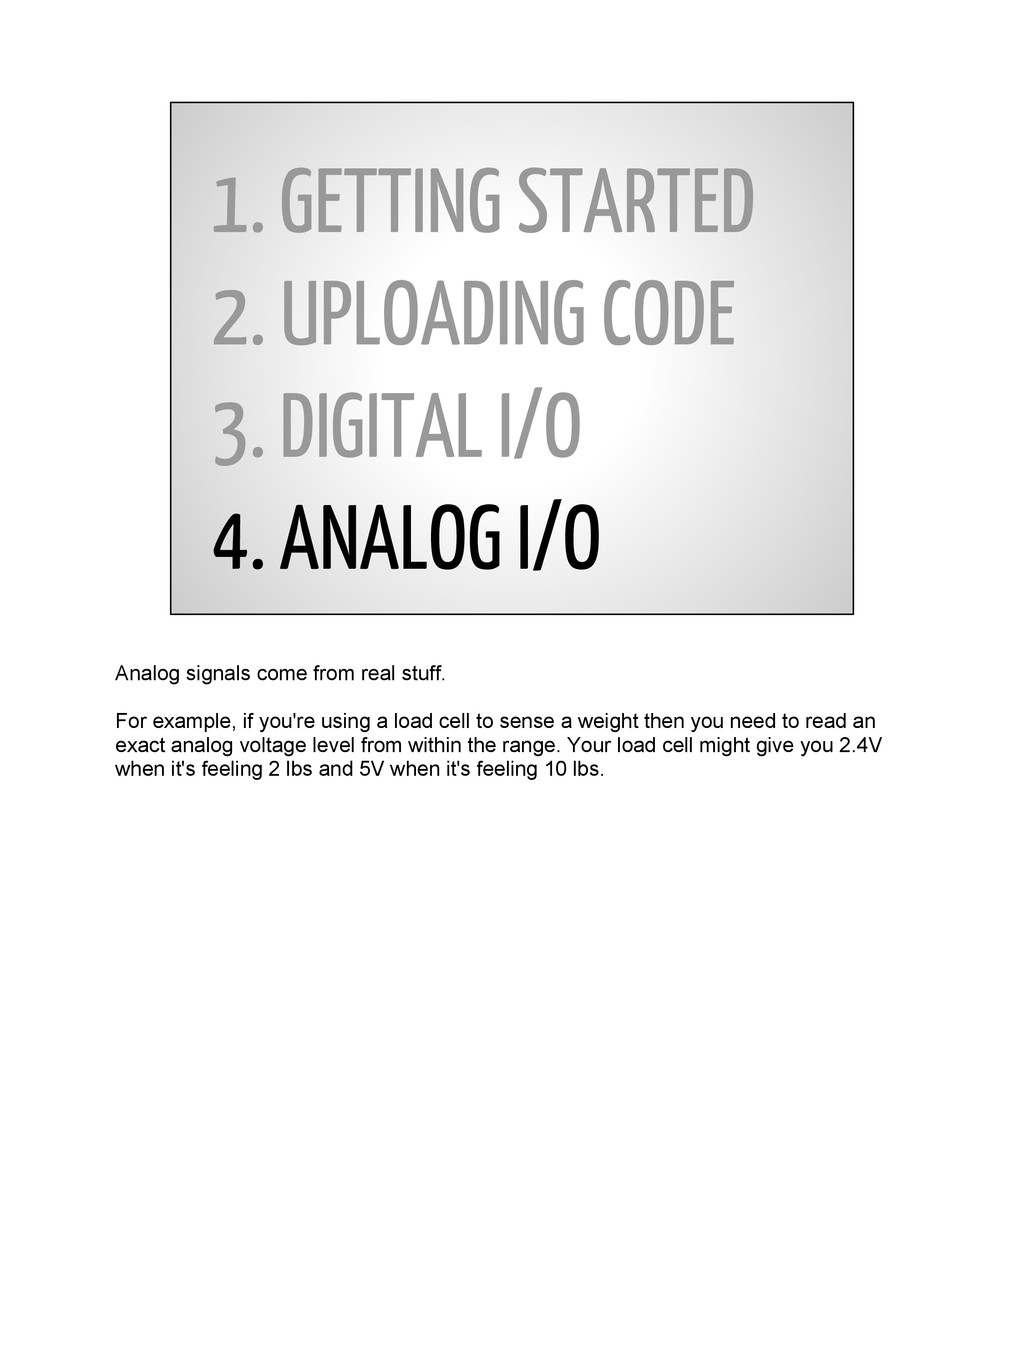
ANALOG I/O Analog signals come from real stuff. For example, if you're using a load cell to sense a weight then you need to read an exact analog voltage level from within the range. Your load cell might give you 2.4V when it's feeling 2 lbs and 5V when it's feeling 10 lbs.
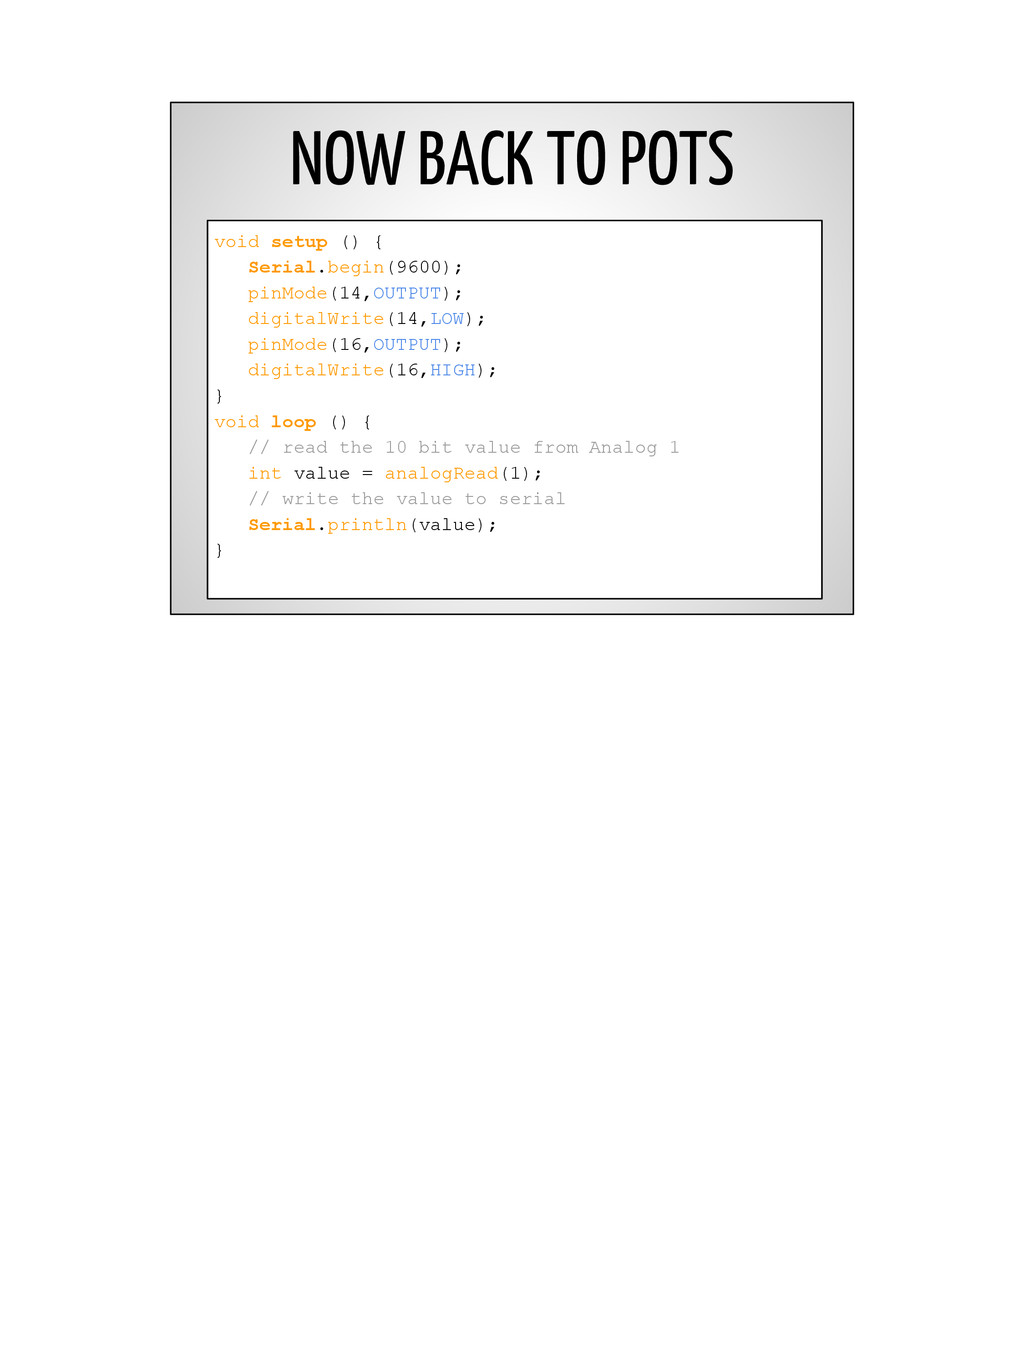
serial monitor Serial.begin(9600); // We'll use the default settings for Analog1 } void loop () { // read the 10 bit value from Analog1 int value = analogRead(1); // write the value to serial Serial.println(value); } A potentiometer is a variable resistor. They turn like a little knob. Because potentiometers have variable resistance, they can be used to vary voltage. This is how pots can be used to give analog input. You might use a potentiometer like a knob to be an input on your system. Alternatively, consider a rotary encoder.
Begin serial communication pinMode(14,OUTPUT); // Pin14 is... digitalWrite(14,LOW); // Start Pin14 LOW pinMode(16,OUTPUT); // Pin16 is... digitalWrite(16,HIGH); // Start Pin16 HIGH } Analog pins 0-5 can be used as digital pins, if configured. Add 14 to the analog pin number and it acts like a digital pin This trick makes hooking up the pot easier in this example You can use Arduino analog pins for digital I/O, but you can't use digital pins for analog I/O.
digitalWrite(14,LOW); pinMode(16,OUTPUT); digitalWrite(16,HIGH); } void loop () { // read the 10 bit value from Analog 1 int value = analogRead(1); // write the value to serial Serial.println(value); }
servo position. What if you need to send an analog signal out? That's not how microcontrollers work! But you can approximate an analog signal with techniques like pulse-width modulation. All digital electronics use these kinds of signals when you want to approximate an analog waveform by using only ones and zeros. For example, you can send a PWM signal to a motor controller in order to "tell it" a specific position. An audio signal can be represented as a series of pulses where faster sample rates have more pulses per period. Image via http://www.servocity.com/html/how_do_servos_work_.html
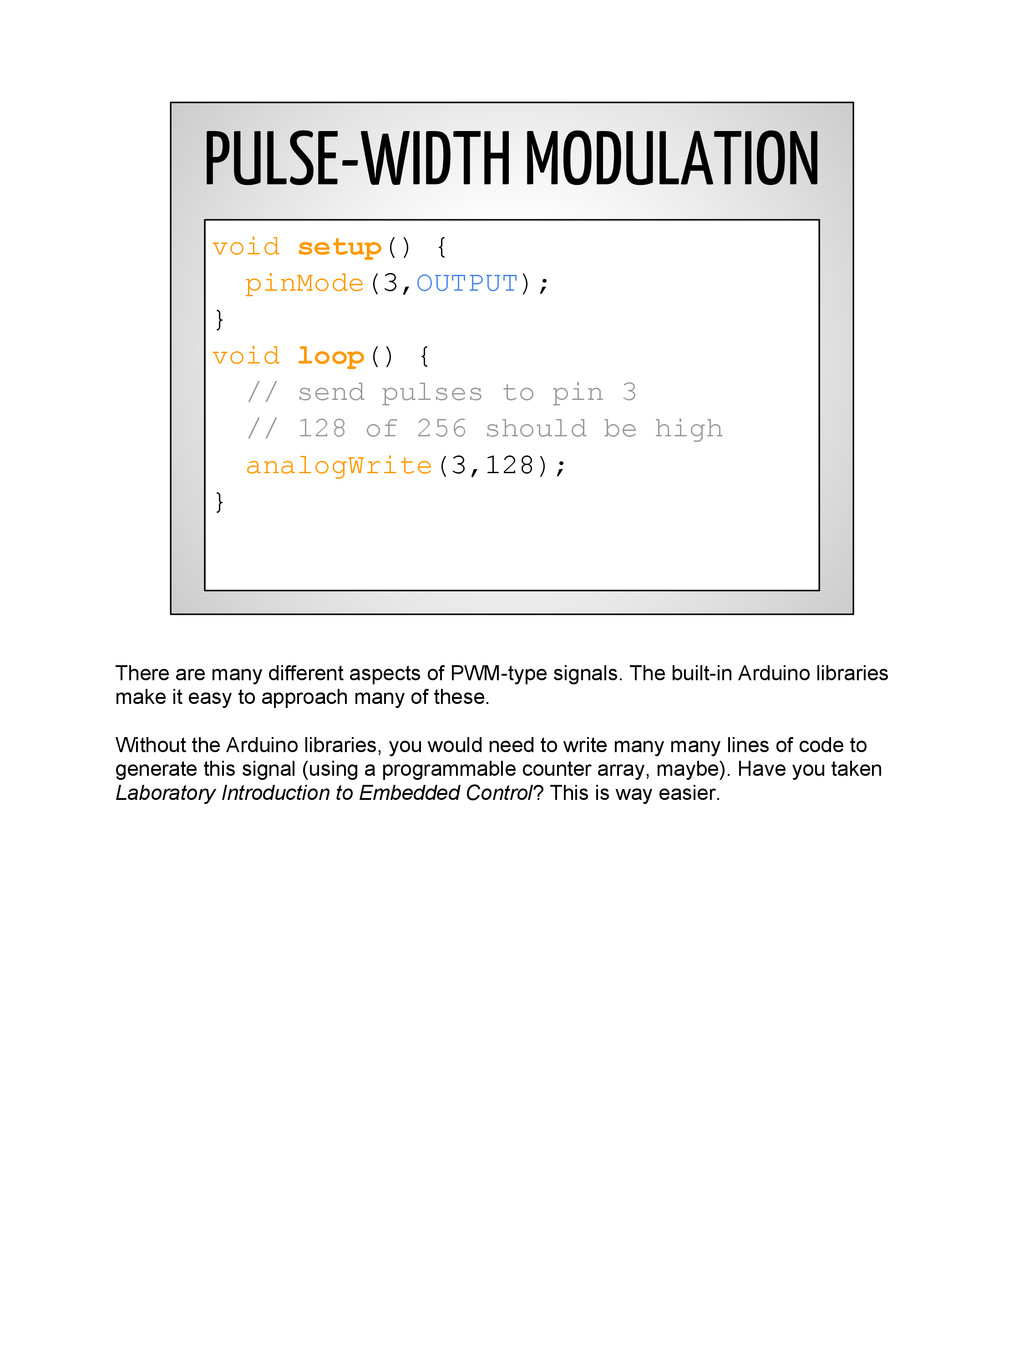
// send pulses to pin 3 // 128 of 256 should be high analogWrite(3,128); } There are many different aspects of PWM-type signals. The built-in Arduino libraries make it easy to approach many of these. Without the Arduino libraries, you would need to write many many lines of code to generate this signal (using a programmable counter array, maybe). Have you taken Laboratory Introduction to Embedded Control? This is way easier.
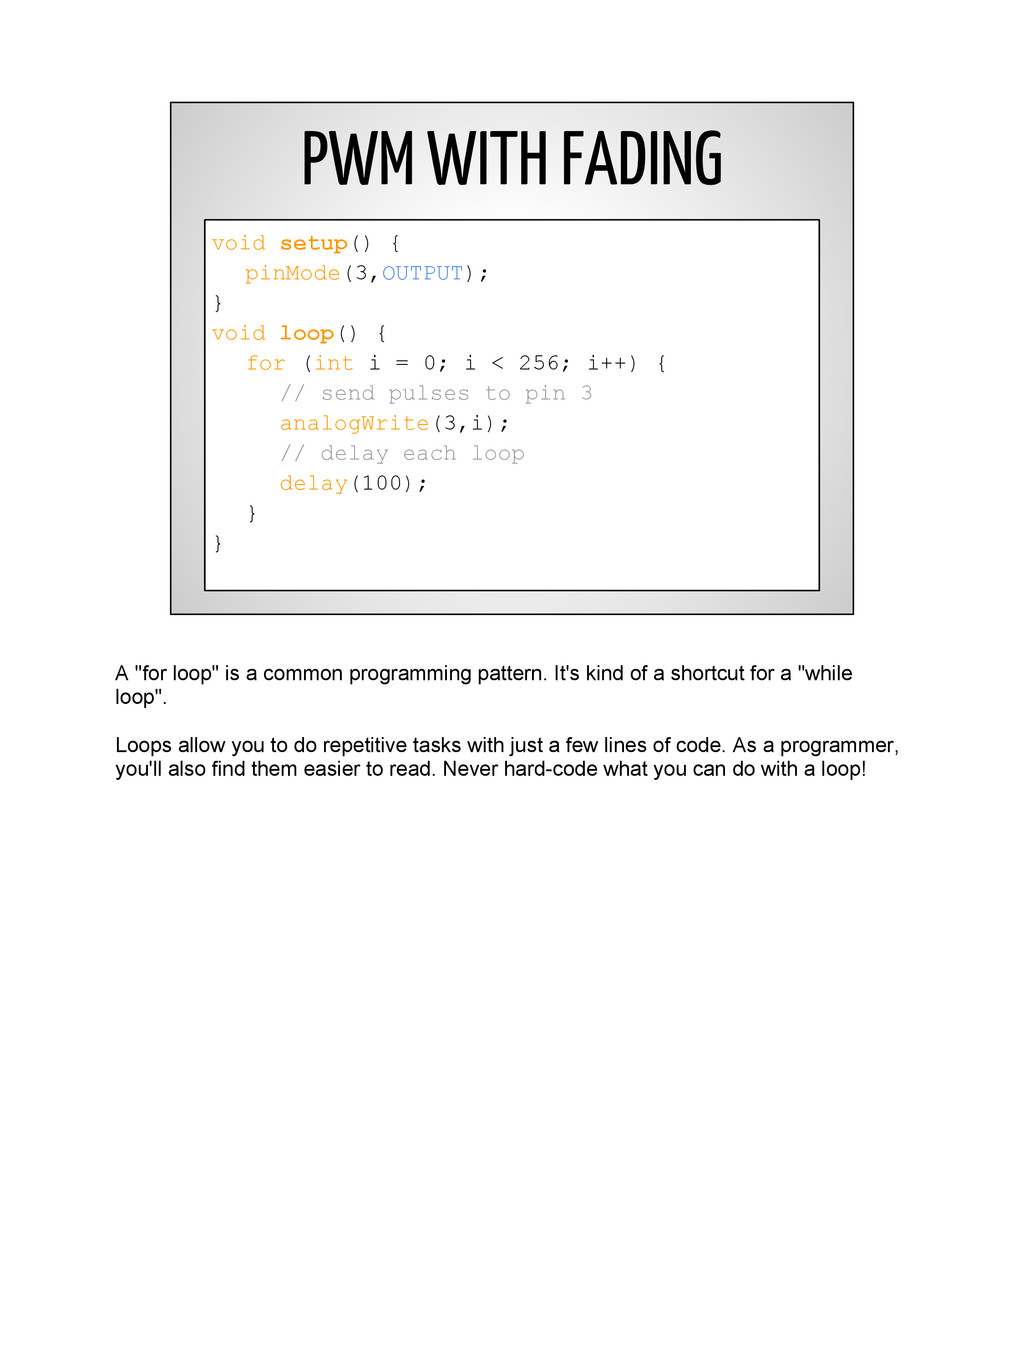
{ for (int i = 0; i < 256; i++) { // send pulses to pin 3 analogWrite(3,i); // delay each loop delay(100); } } A "for loop" is a common programming pattern. It's kind of a shortcut for a "while loop". Loops allow you to do repetitive tasks with just a few lines of code. As a programmer, you'll also find them easier to read. Never hard-code what you can do with a loop!
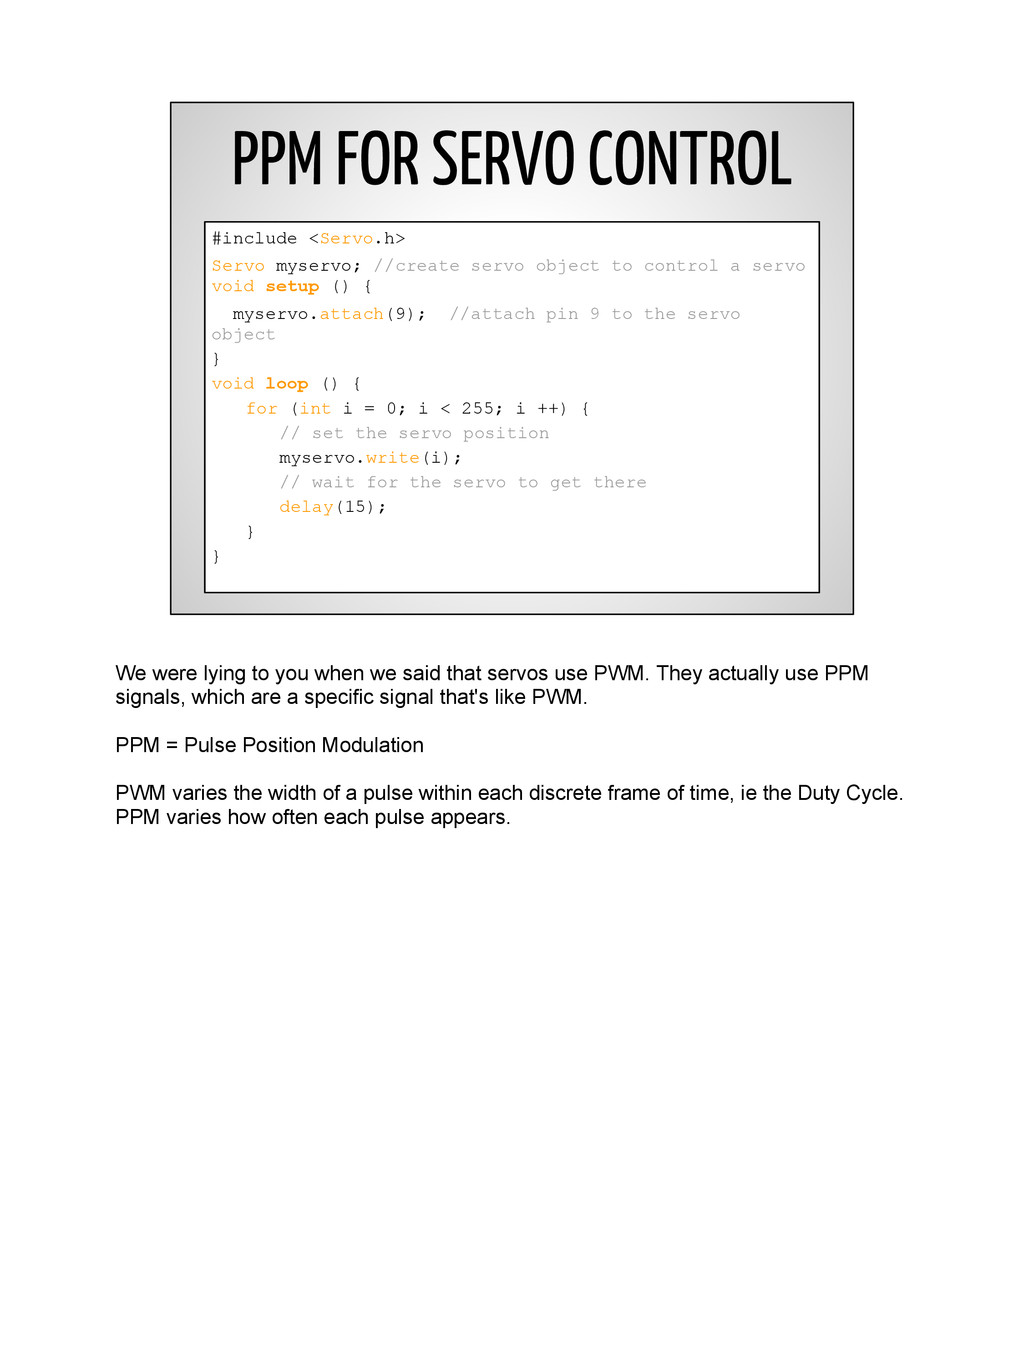
object to control a servo void setup () { myservo.attach(9); //attach pin 9 to the servo object } void loop () { for (int i = 0; i < 255; i ++) { // set the servo position myservo.write(i); // wait for the servo to get there delay(15); } } We were lying to you when we said that servos use PWM. They actually use PPM signals, which are a specific signal that's like PWM. PPM = Pulse Position Modulation PWM varies the width of a pulse within each discrete frame of time, ie the Duty Cycle. PPM varies how often each pulse appears.
is generally confusing enough without this much detail... PPM = Pulse Position Modulation PWM varies the width of a pulse within each discrete frame of time, ie the Duty Cycle. PPM varies how often each pulse appears. Basically, it gives more powah! Images via http://www.endurance-rc.com/ppmtut.php
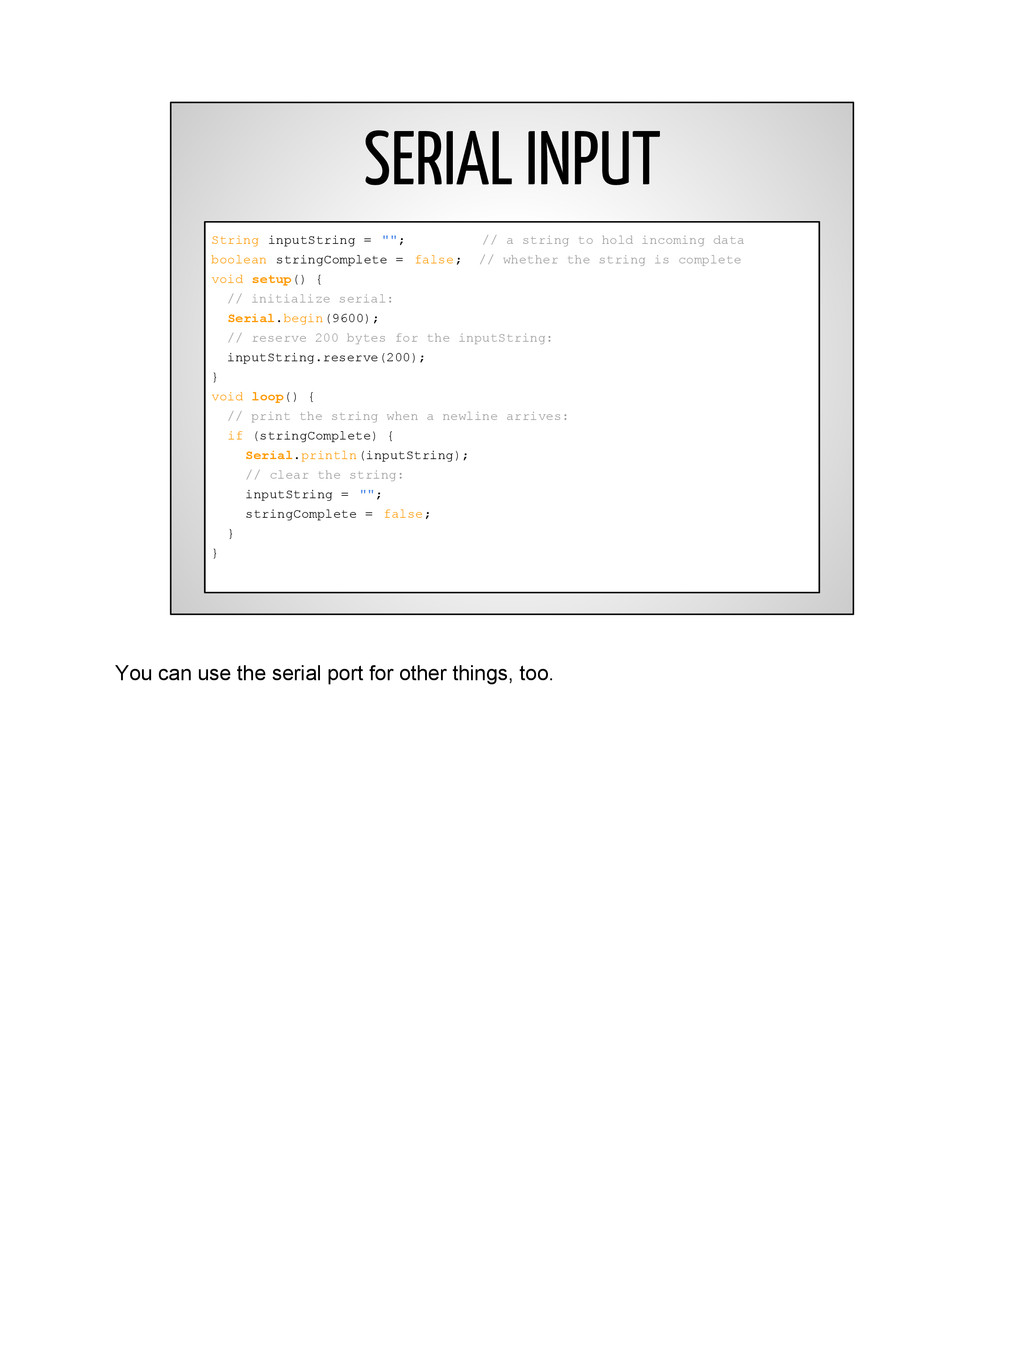
hold incoming data boolean stringComplete = false; // whether the string is complete void setup() { // initialize serial: Serial.begin(9600); // reserve 200 bytes for the inputString: inputString.reserve(200); } void loop() { // print the string when a newline arrives: if (stringComplete) { Serial.println(inputString); // clear the string: inputString = ""; stringComplete = false; } } You can use the serial port for other things, too.
the new byte: char inChar = (char)Serial.read(); // add it to the inputString: inputString += inChar; // if the incoming character is a newline, set a flag // so the main loop can do something about it: if (inChar == '\n') { stringComplete = true; } } } This is awesome! Here's an example case: https://sites.google. com/site/caribouvending/