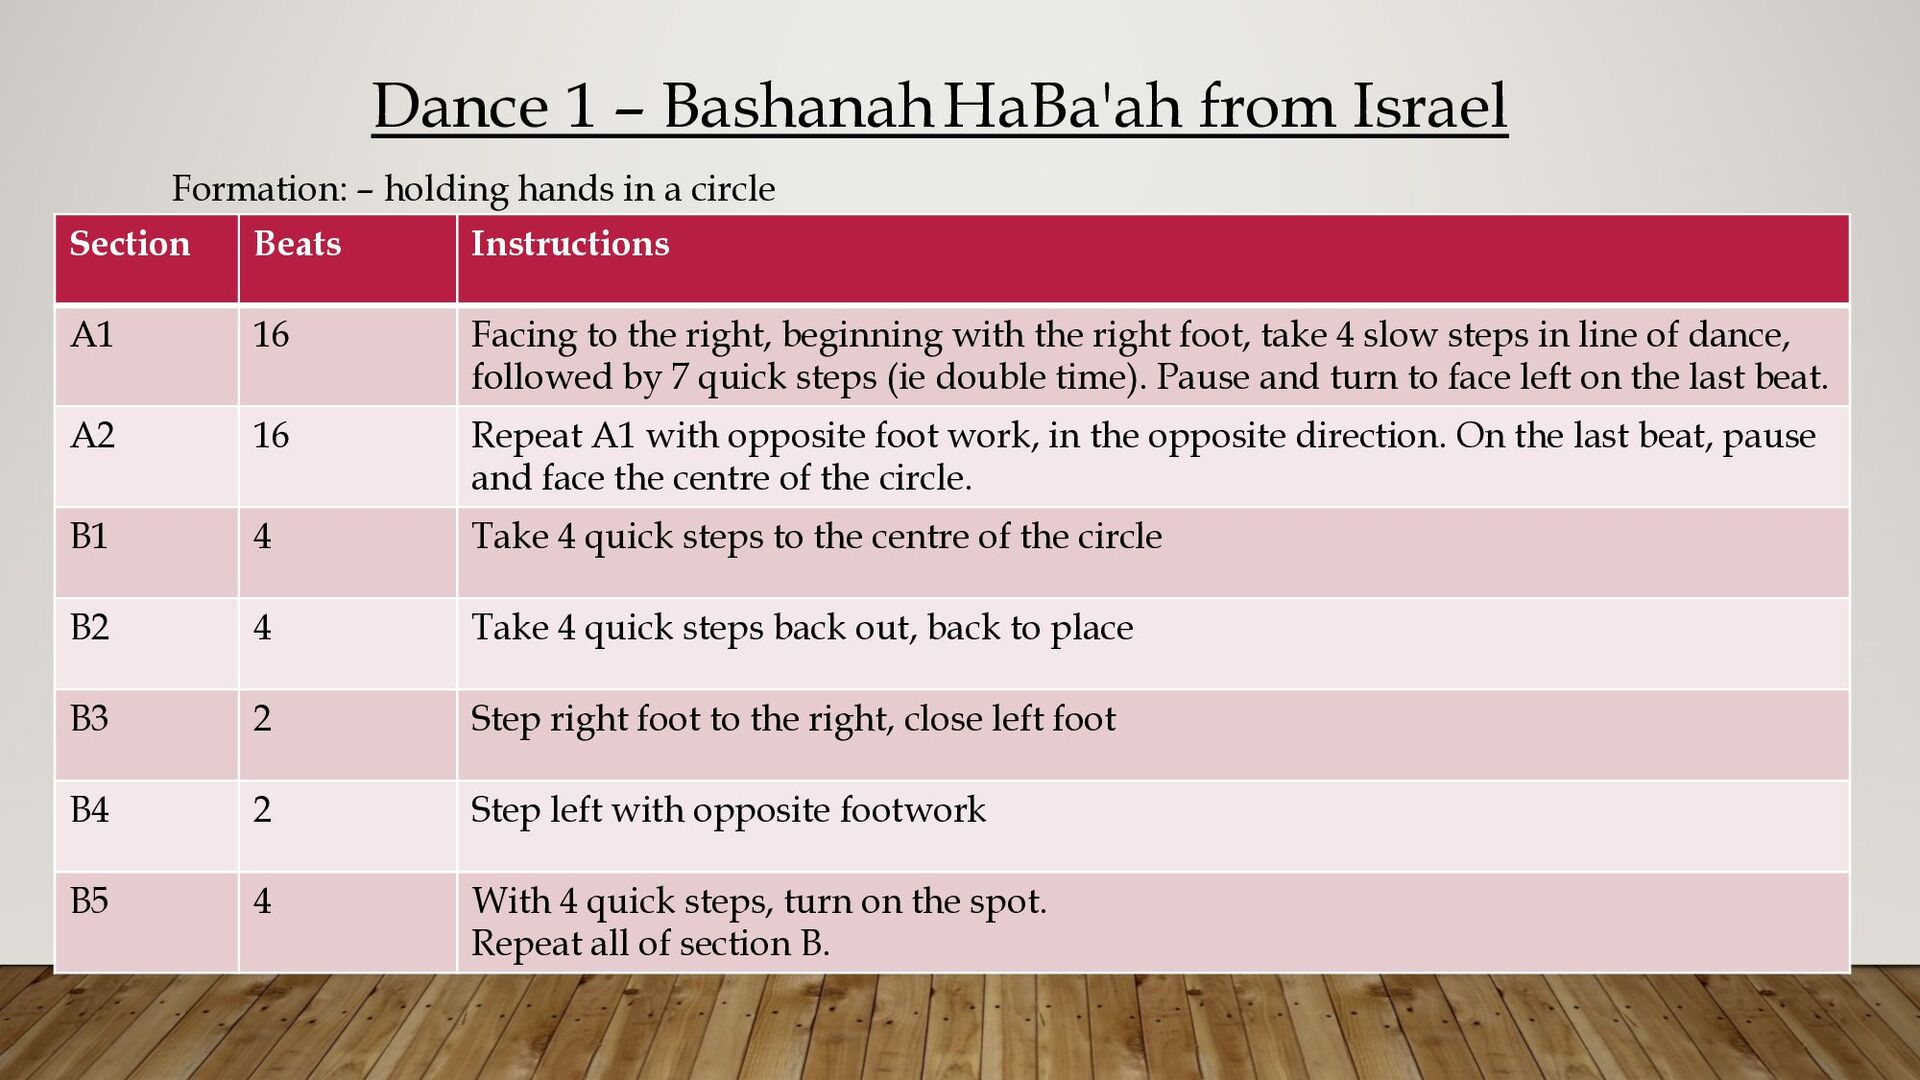
in a circle Section Beats Instructions A1 16 Facing to the right, beginning with the right foot, take 4 slow steps in line of dance, followed by 7 quick steps (ie double time). Pause and turn to face left on the last beat. A2 16 Repeat A1 with opposite foot work, in the opposite direction. On the last beat, pause and face the centre of the circle. B1 4 Take 4 quick steps to the centre of the circle B2 4 Take 4 quick steps back out, back to place B3 2 Step right foot to the right, close left foot B4 2 Step left with opposite footwork B5 4 With 4 quick steps, turn on the spot. Repeat all of section B.
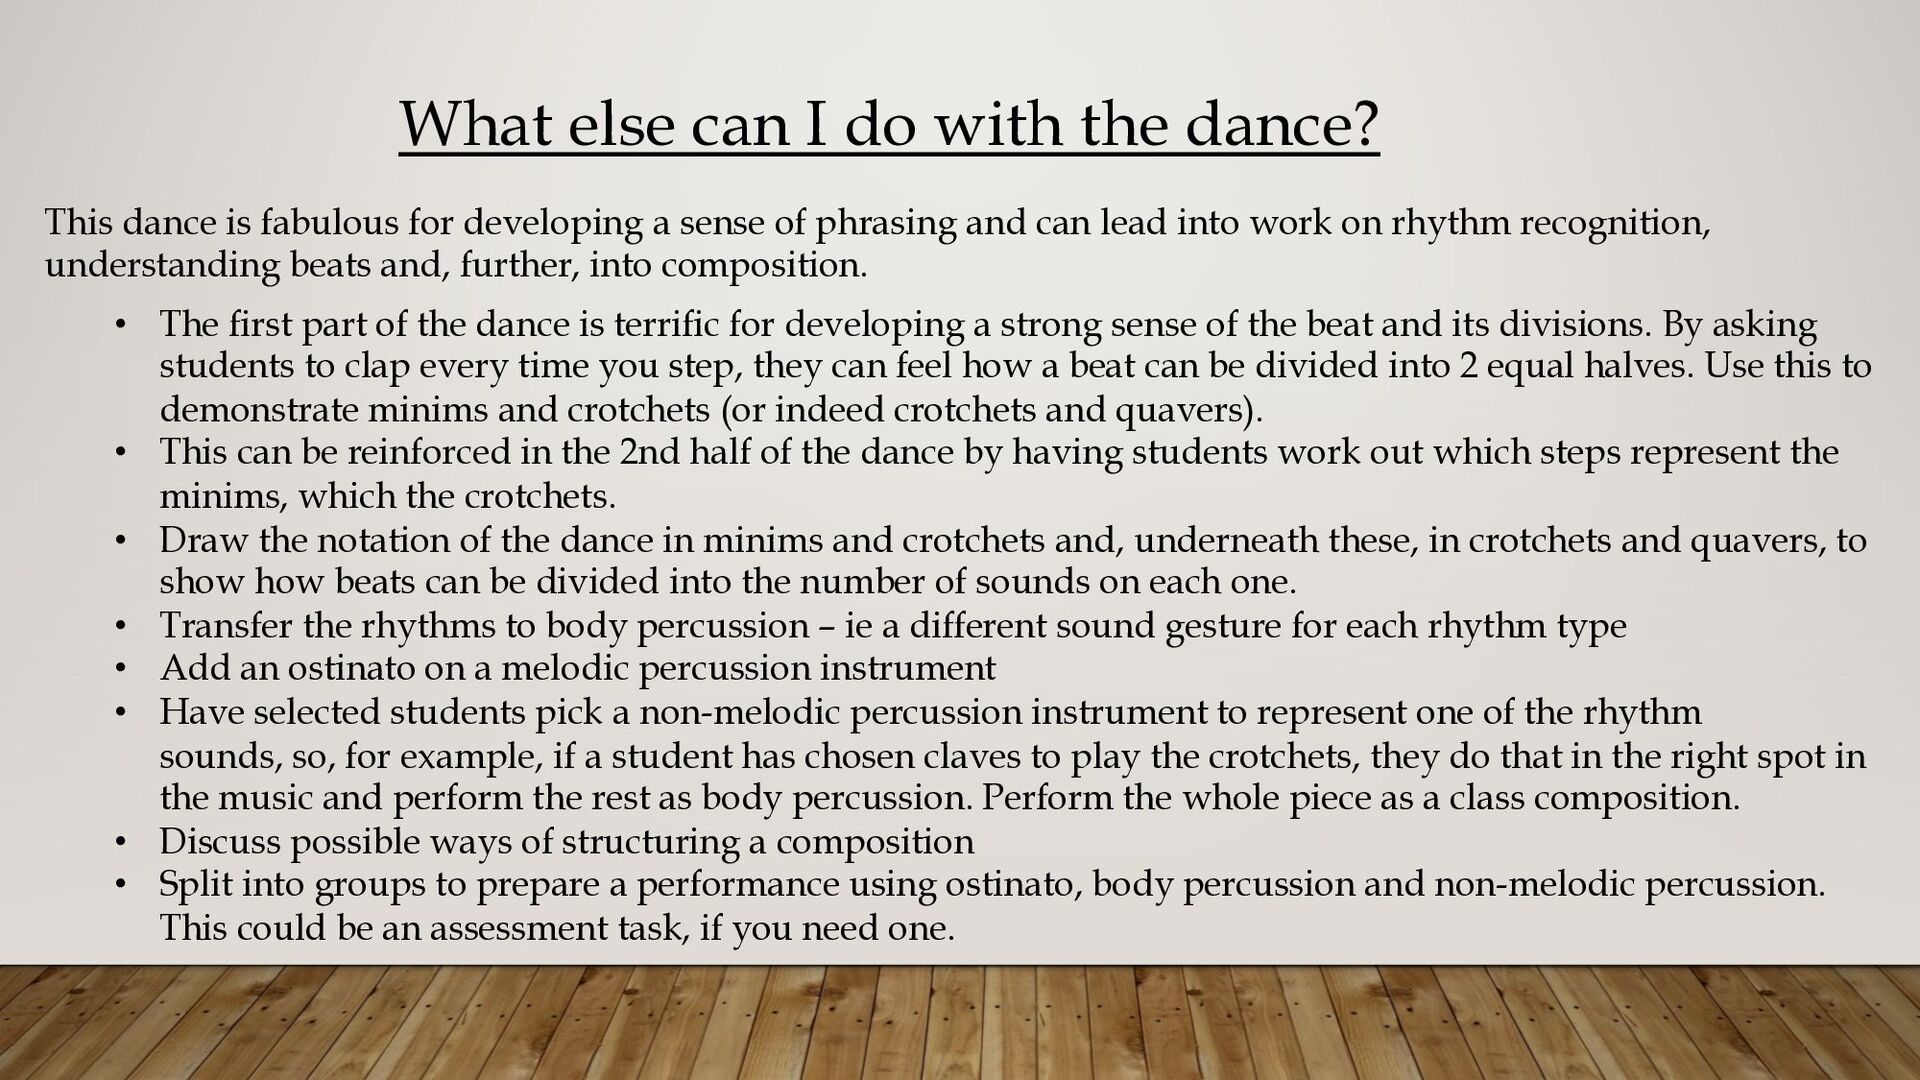
is fabulous for developing a sense of phrasing and can lead into work on rhythm recognition, understanding beats and, further, into composition. • The first part of the dance is terrific for developing a strong sense of the beat and its divisions. By asking students to clap every time you step, they can feel how a beat can be divided into 2 equal halves. Use this to demonstrate minims and crotchets (or indeed crotchets and quavers). • This can be reinforced in the 2nd half of the dance by having students work out which steps represent the minims, which the crotchets. • Draw the notation of the dance in minims and crotchets and, underneath these, in crotchets and quavers, to show how beats can be divided into the number of sounds on each one. • Transfer the rhythms to body percussion – ie a different sound gesture for each rhythm type • Add an ostinato on a melodic percussion instrument • Have selected students pick a non-melodic percussion instrument to represent one of the rhythm sounds, so, for example, if a student has chosen claves to play the crotchets, they do that in the right spot in the music and perform the rest as body percussion. Perform the whole piece as a class composition. • Discuss possible ways of structuring a composition • Split into groups to prepare a performance using ostinato, body percussion and non-melodic percussion. This could be an assessment task, if you need one.
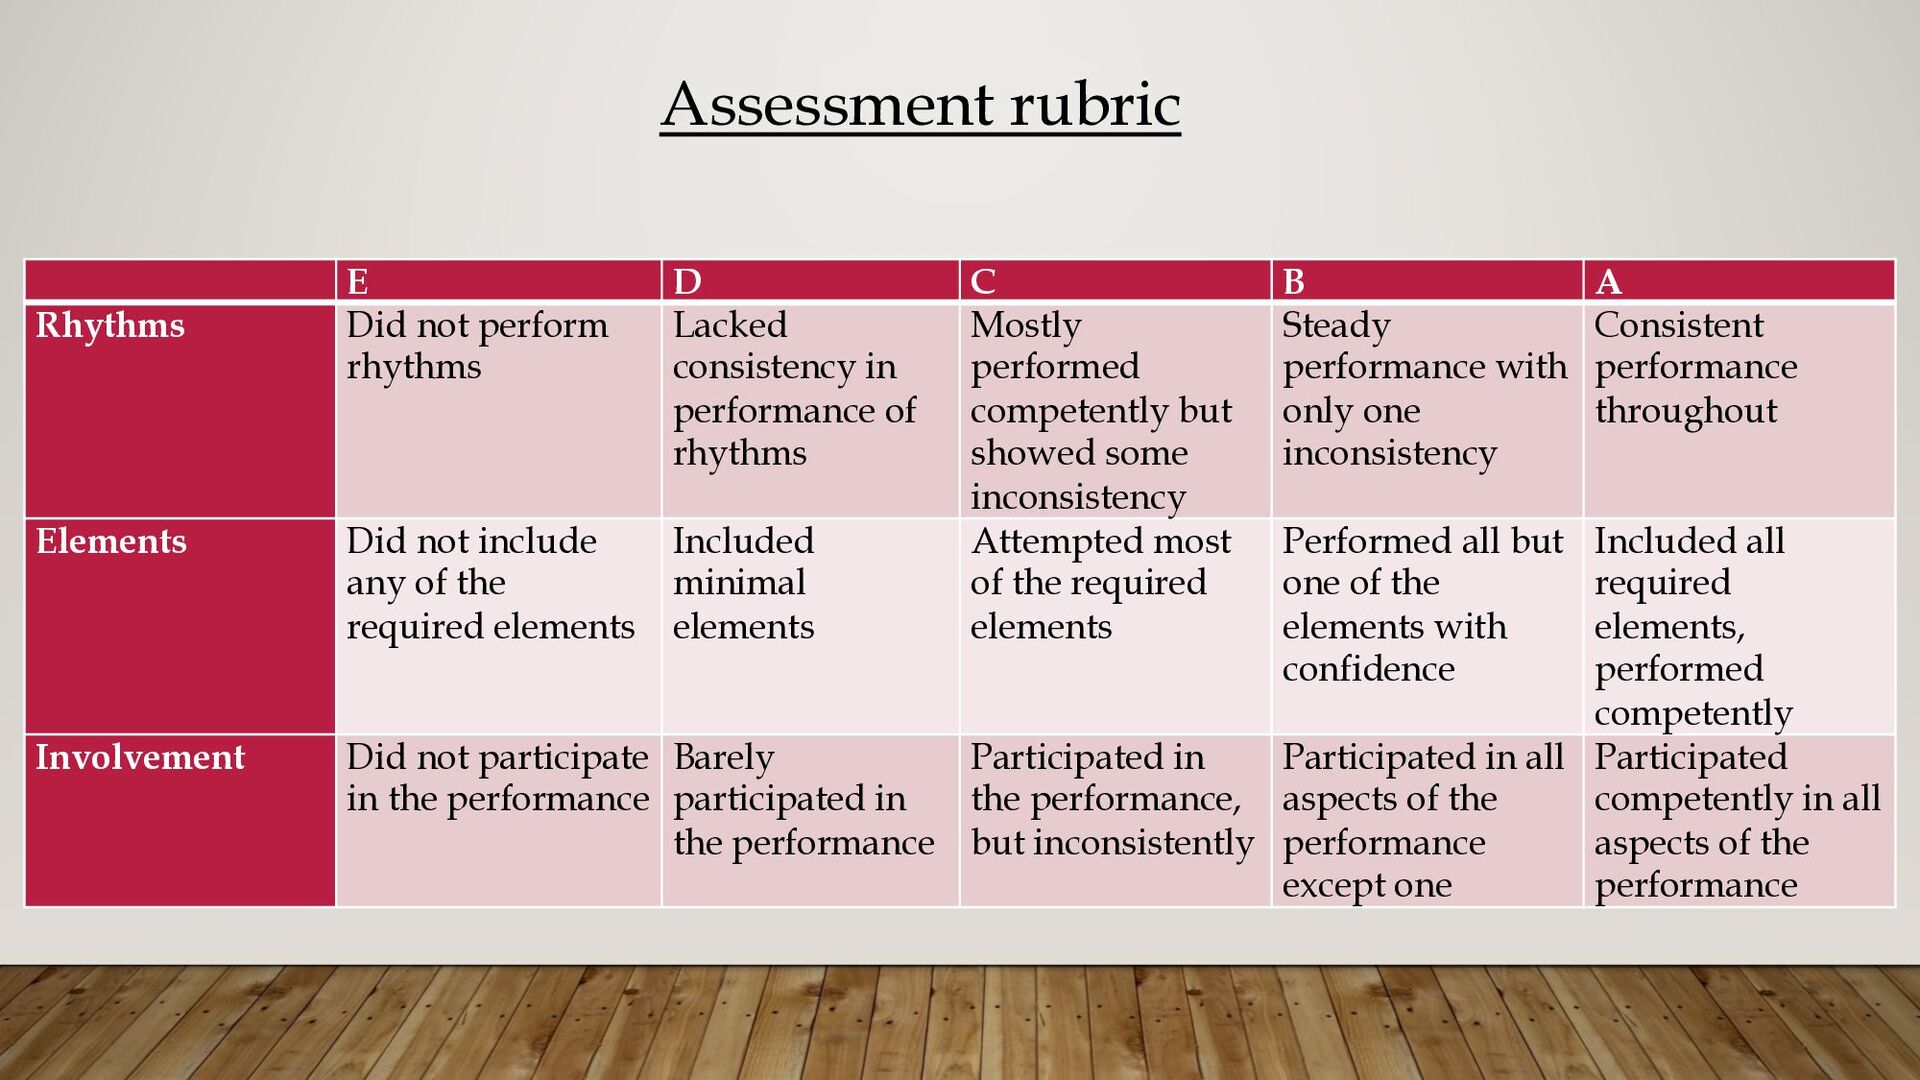
Lacked consistency in performance of rhythms Mostly performed competently but showed some inconsistency Steady performance with only one inconsistency Consistent performance throughout Elements Did not include any of the required elements Included minimal elements Attempted most of the required elements Performed all but one of the elements with confidence Included all required elements, performed competently Involvement Did not participate in the performance Barely participated in the performance Participated in the performance, but inconsistently Participated in all aspects of the performance except one Participated competently in all aspects of the performance Assessment rubric
A1 16 Facing to the right, walk for 15 beats, starting with the right foot. On the last beat, pivot to face the opposite direction. A2 16 Repeat part A1, but moving to the left. On the last beat, pivot to face the centre of the circle. B1 4 Walk to the centre of the circle for 3 beats, starting with the right foot. On the last beat, lift the left foot slightly and pause. B2 4 Walk back out for 3 beats, starting with the left foot. On the last beat, pause and lift the right foot. Do all of part B 3 more times. Formation: – holding hands in a circle Variation: - In Part B1, squeal in a very high pitch the sound "eeeyah" and in B2, in a low voice, call out "oh – pah). These represent traditional male and female calls.
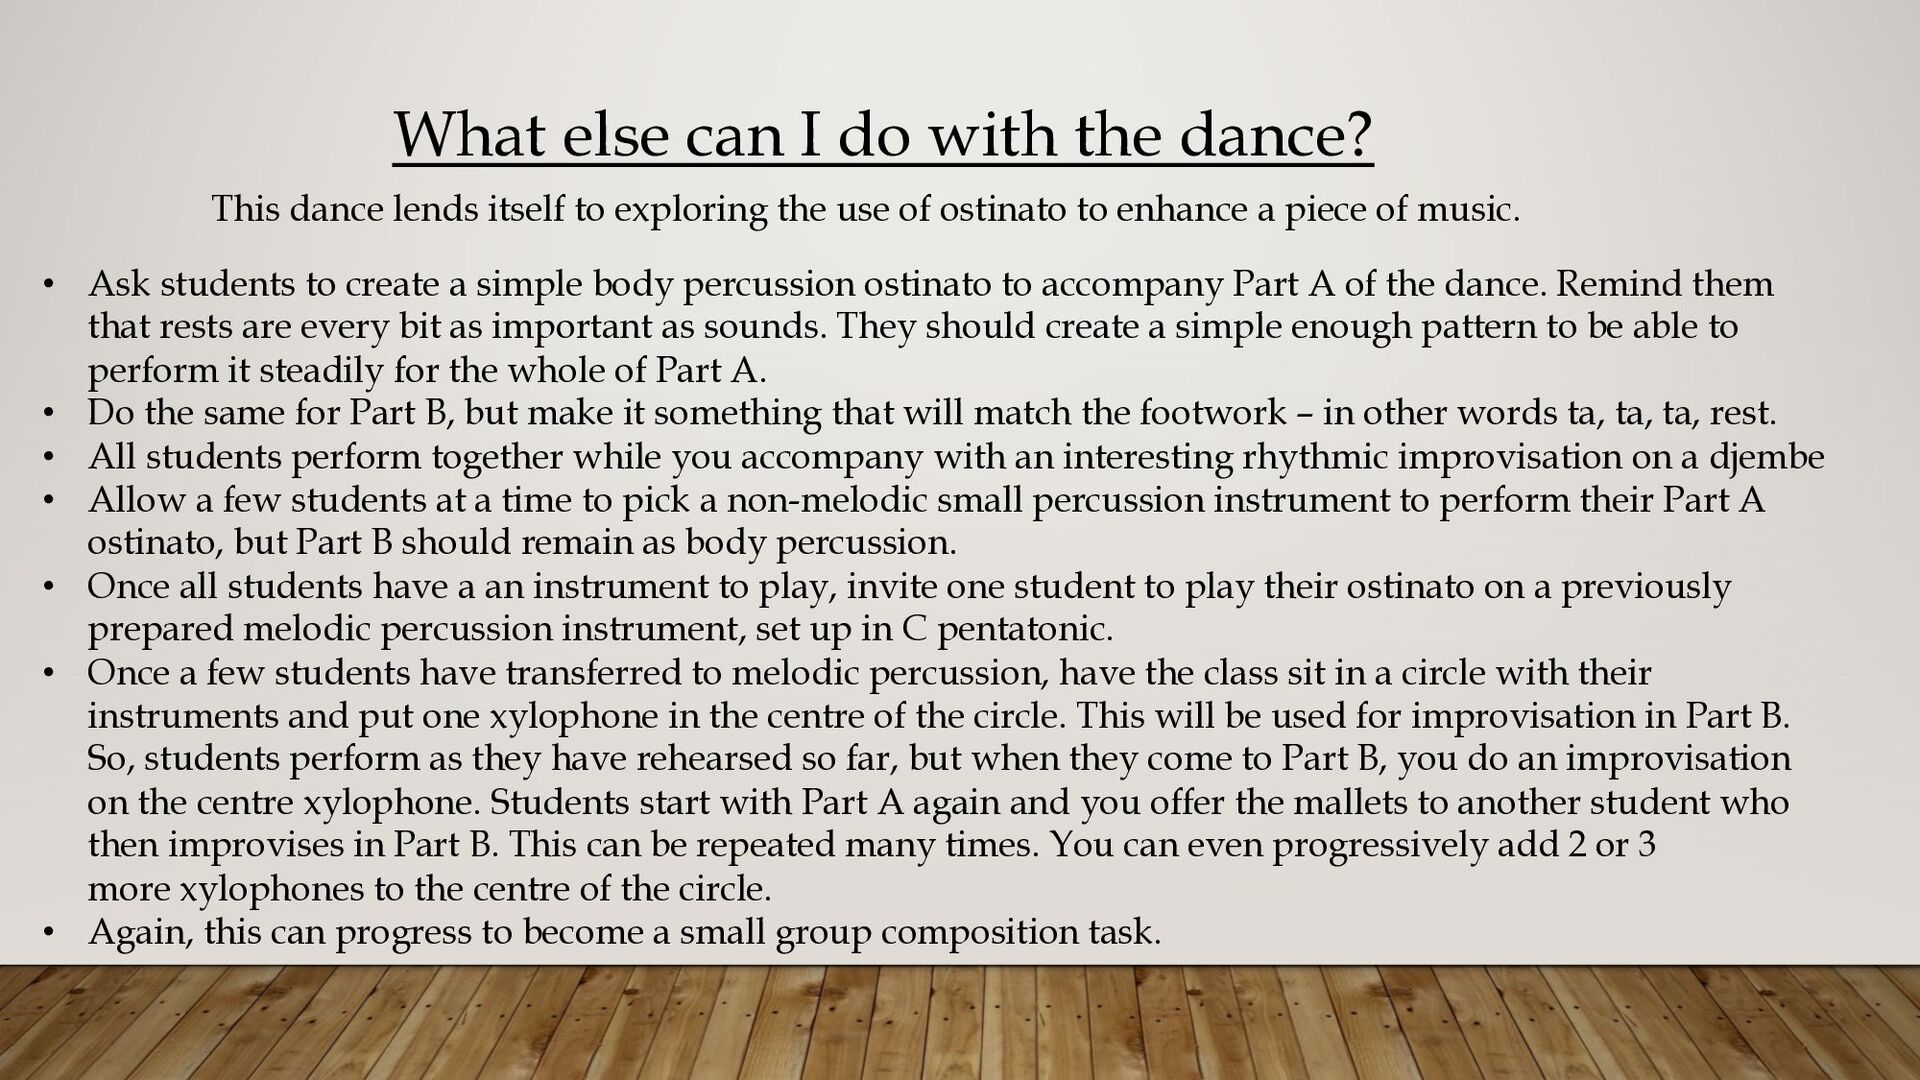
lends itself to exploring the use of ostinato to enhance a piece of music. • Ask students to create a simple body percussion ostinato to accompany Part A of the dance. Remind them that rests are every bit as important as sounds. They should create a simple enough pattern to be able to perform it steadily for the whole of Part A. • Do the same for Part B, but make it something that will match the footwork – in other words ta, ta, ta, rest. • All students perform together while you accompany with an interesting rhythmic improvisation on a djembe • Allow a few students at a time to pick a non-melodic small percussion instrument to perform their Part A ostinato, but Part B should remain as body percussion. • Once all students have a an instrument to play, invite one student to play their ostinato on a previously prepared melodic percussion instrument, set up in C pentatonic. • Once a few students have transferred to melodic percussion, have the class sit in a circle with their instruments and put one xylophone in the centre of the circle. This will be used for improvisation in Part B. So, students perform as they have rehearsed so far, but when they come to Part B, you do an improvisation on the centre xylophone. Students start with Part A again and you offer the mallets to another student who then improvises in Part B. This can be repeated many times. You can even progressively add 2 or 3 more xylophones to the centre of the circle. • Again, this can progress to become a small group composition task.
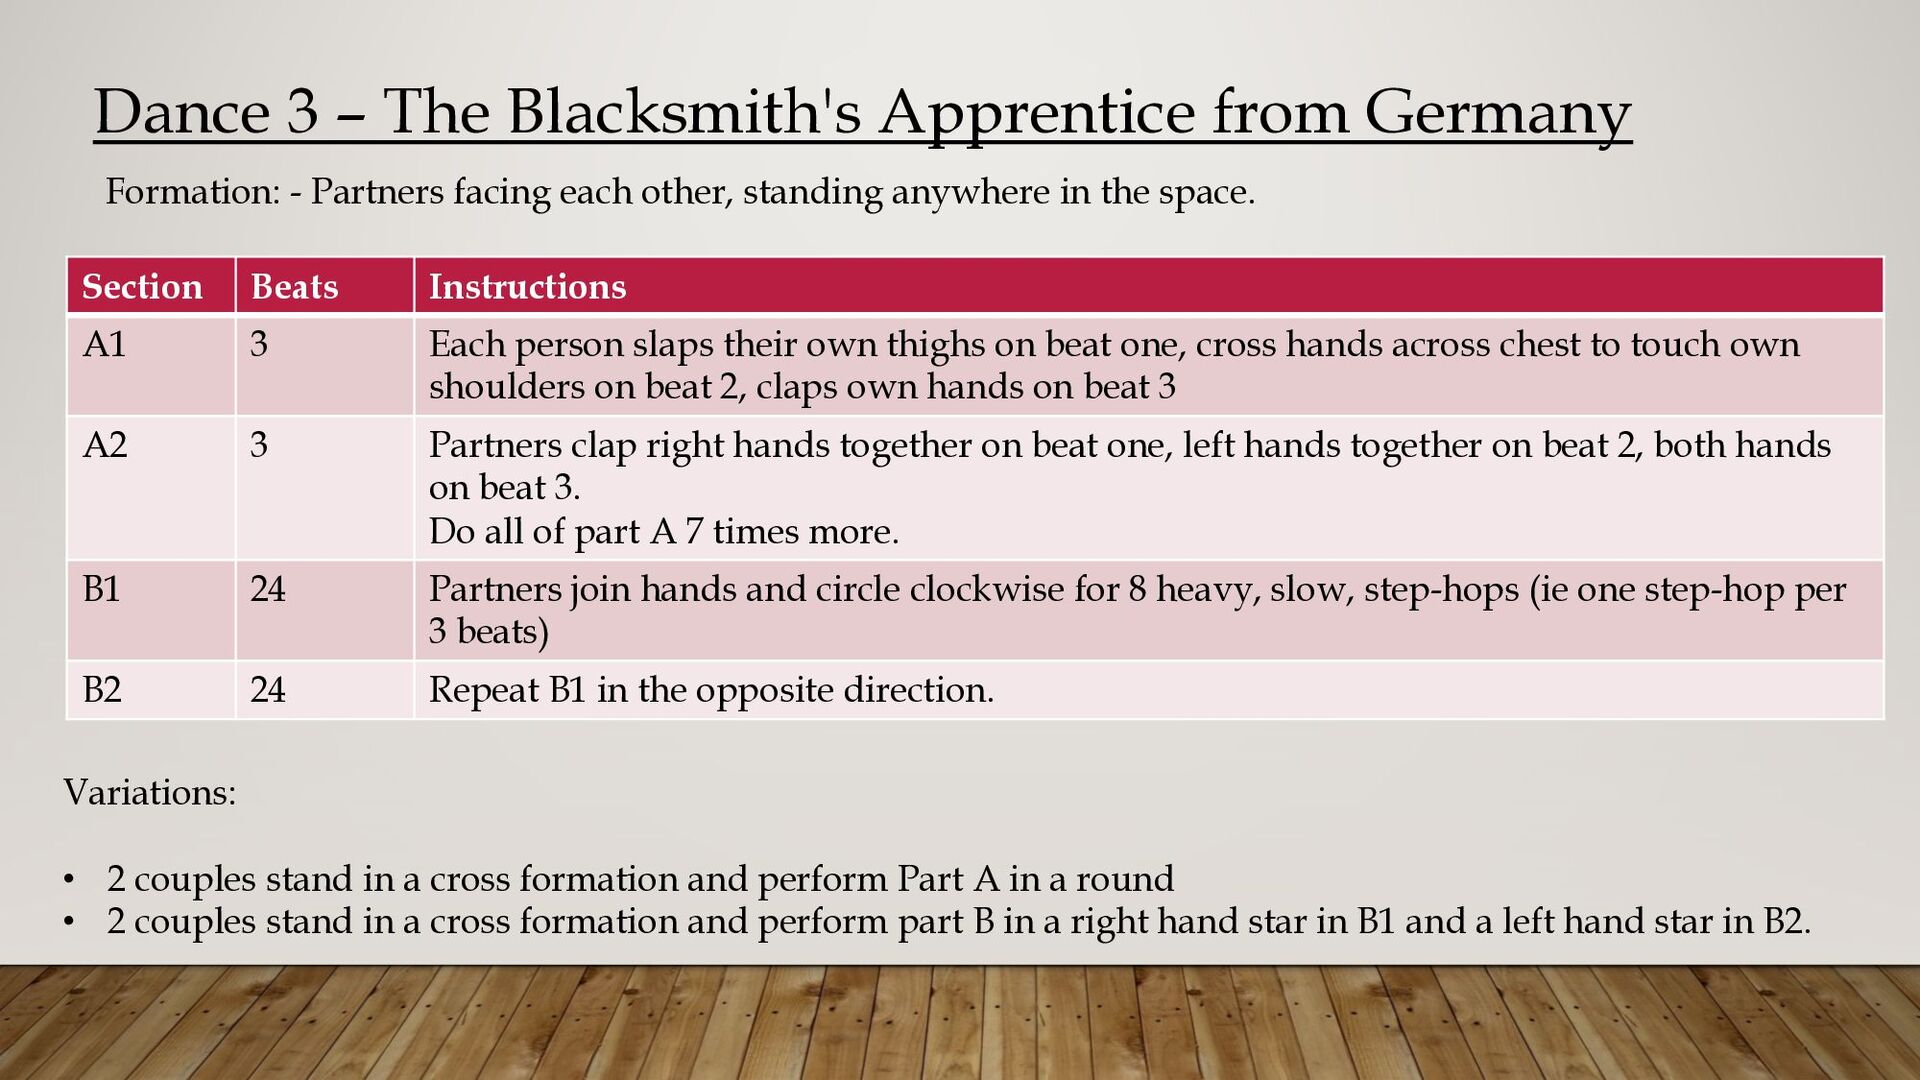
Partners facing each other, standing anywhere in the space. Section Beats Instructions A1 3 Each person slaps their own thighs on beat one, cross hands across chest to touch own shoulders on beat 2, claps own hands on beat 3 A2 3 Partners clap right hands together on beat one, left hands together on beat 2, both hands on beat 3. Do all of part A 7 times more. B1 24 Partners join hands and circle clockwise for 8 heavy, slow, step-hops (ie one step-hop per 3 beats) B2 24 Repeat B1 in the opposite direction. Variations: • 2 couples stand in a cross formation and perform Part A in a round • 2 couples stand in a cross formation and perform part B in a right hand star in B1 and a left hand star in B2.
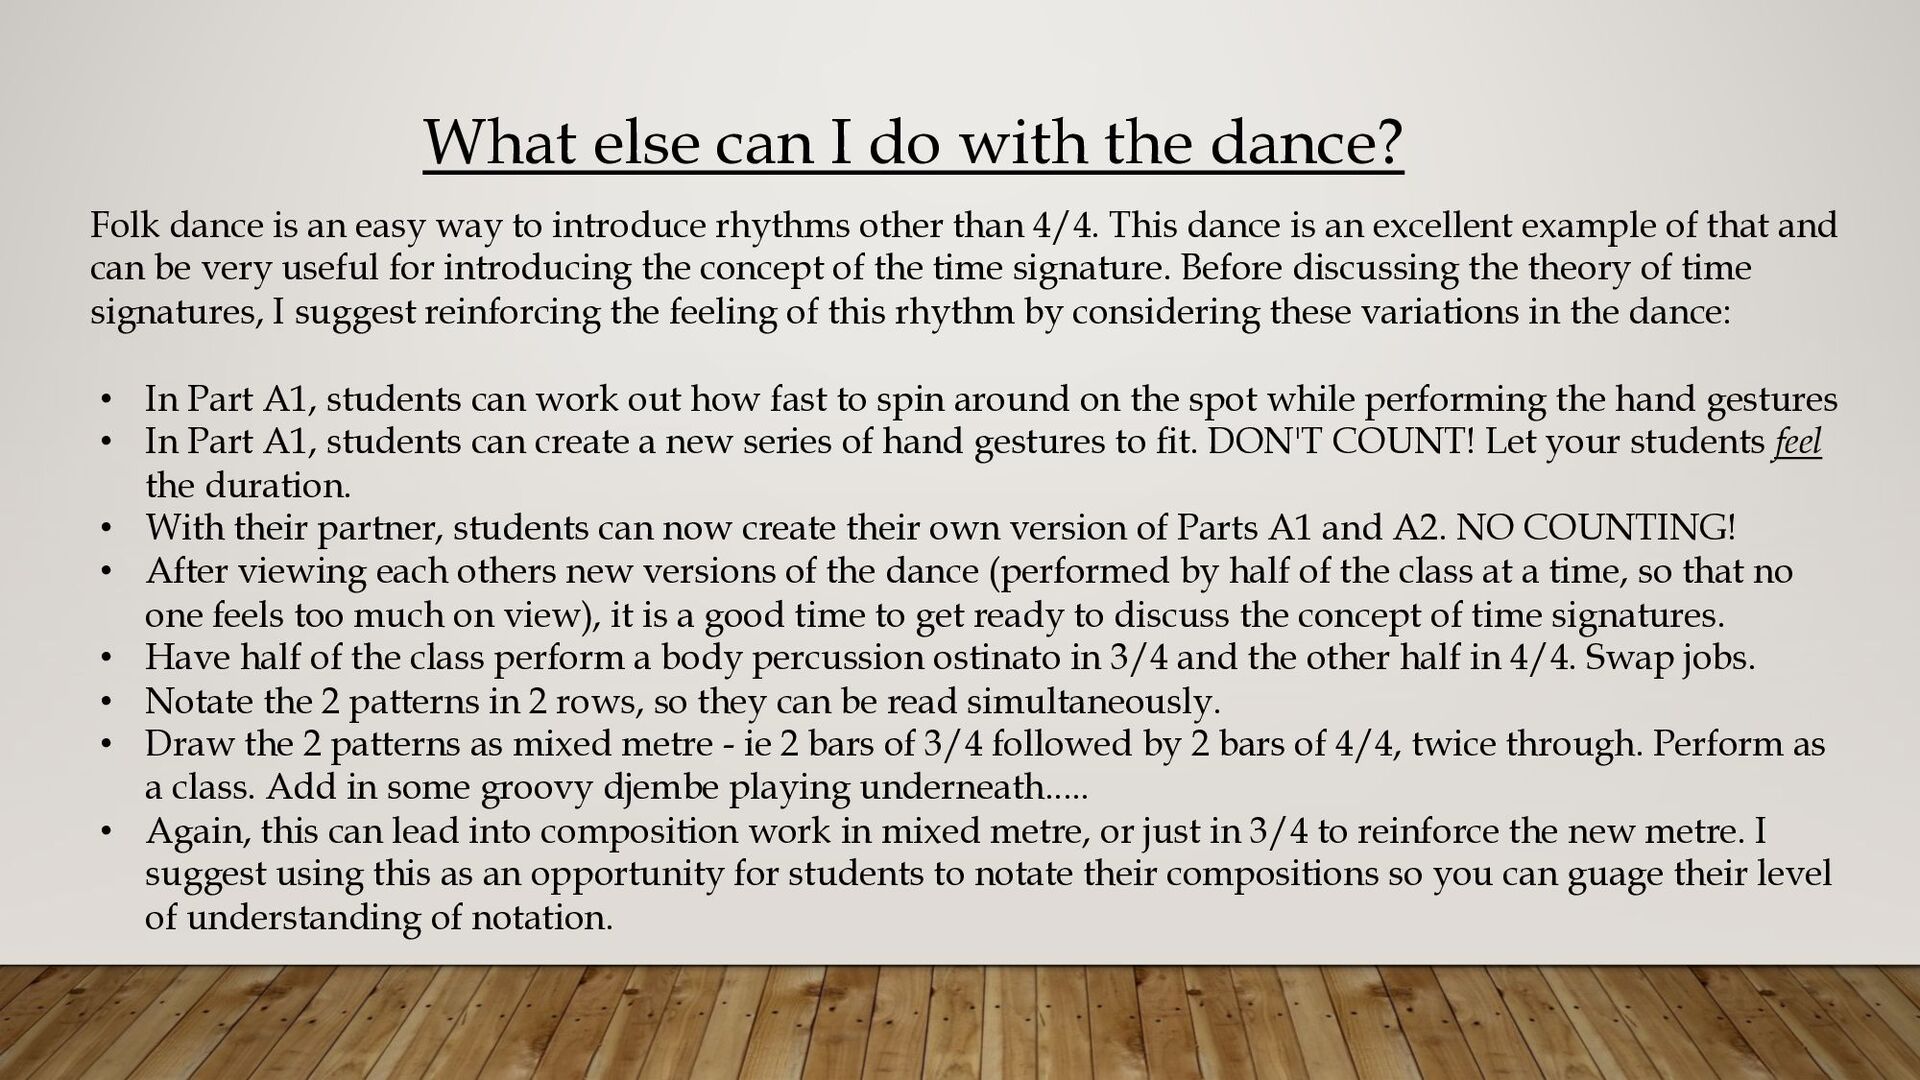
is an easy way to introduce rhythms other than 4/4. This dance is an excellent example of that and can be very useful for introducing the concept of the time signature. Before discussing the theory of time signatures, I suggest reinforcing the feeling of this rhythm by considering these variations in the dance: • In Part A1, students can work out how fast to spin around on the spot while performing the hand gestures • In Part A1, students can create a new series of hand gestures to fit. DON'T COUNT! Let your students feel the duration. • With their partner, students can now create their own version of Parts A1 and A2. NO COUNTING! • After viewing each others new versions of the dance (performed by half of the class at a time, so that no one feels too much on view), it is a good time to get ready to discuss the concept of time signatures. • Have half of the class perform a body percussion ostinato in 3/4 and the other half in 4/4. Swap jobs. • Notate the 2 patterns in 2 rows, so they can be read simultaneously. • Draw the 2 patterns as mixed metre - ie 2 bars of 3/4 followed by 2 bars of 4/4, twice through. Perform as a class. Add in some groovy djembe playing underneath..... • Again, this can lead into composition work in mixed metre, or just in 3/4 to reinforce the new metre. I suggest using this as an opportunity for students to notate their compositions so you can guage their level of understanding of notation.
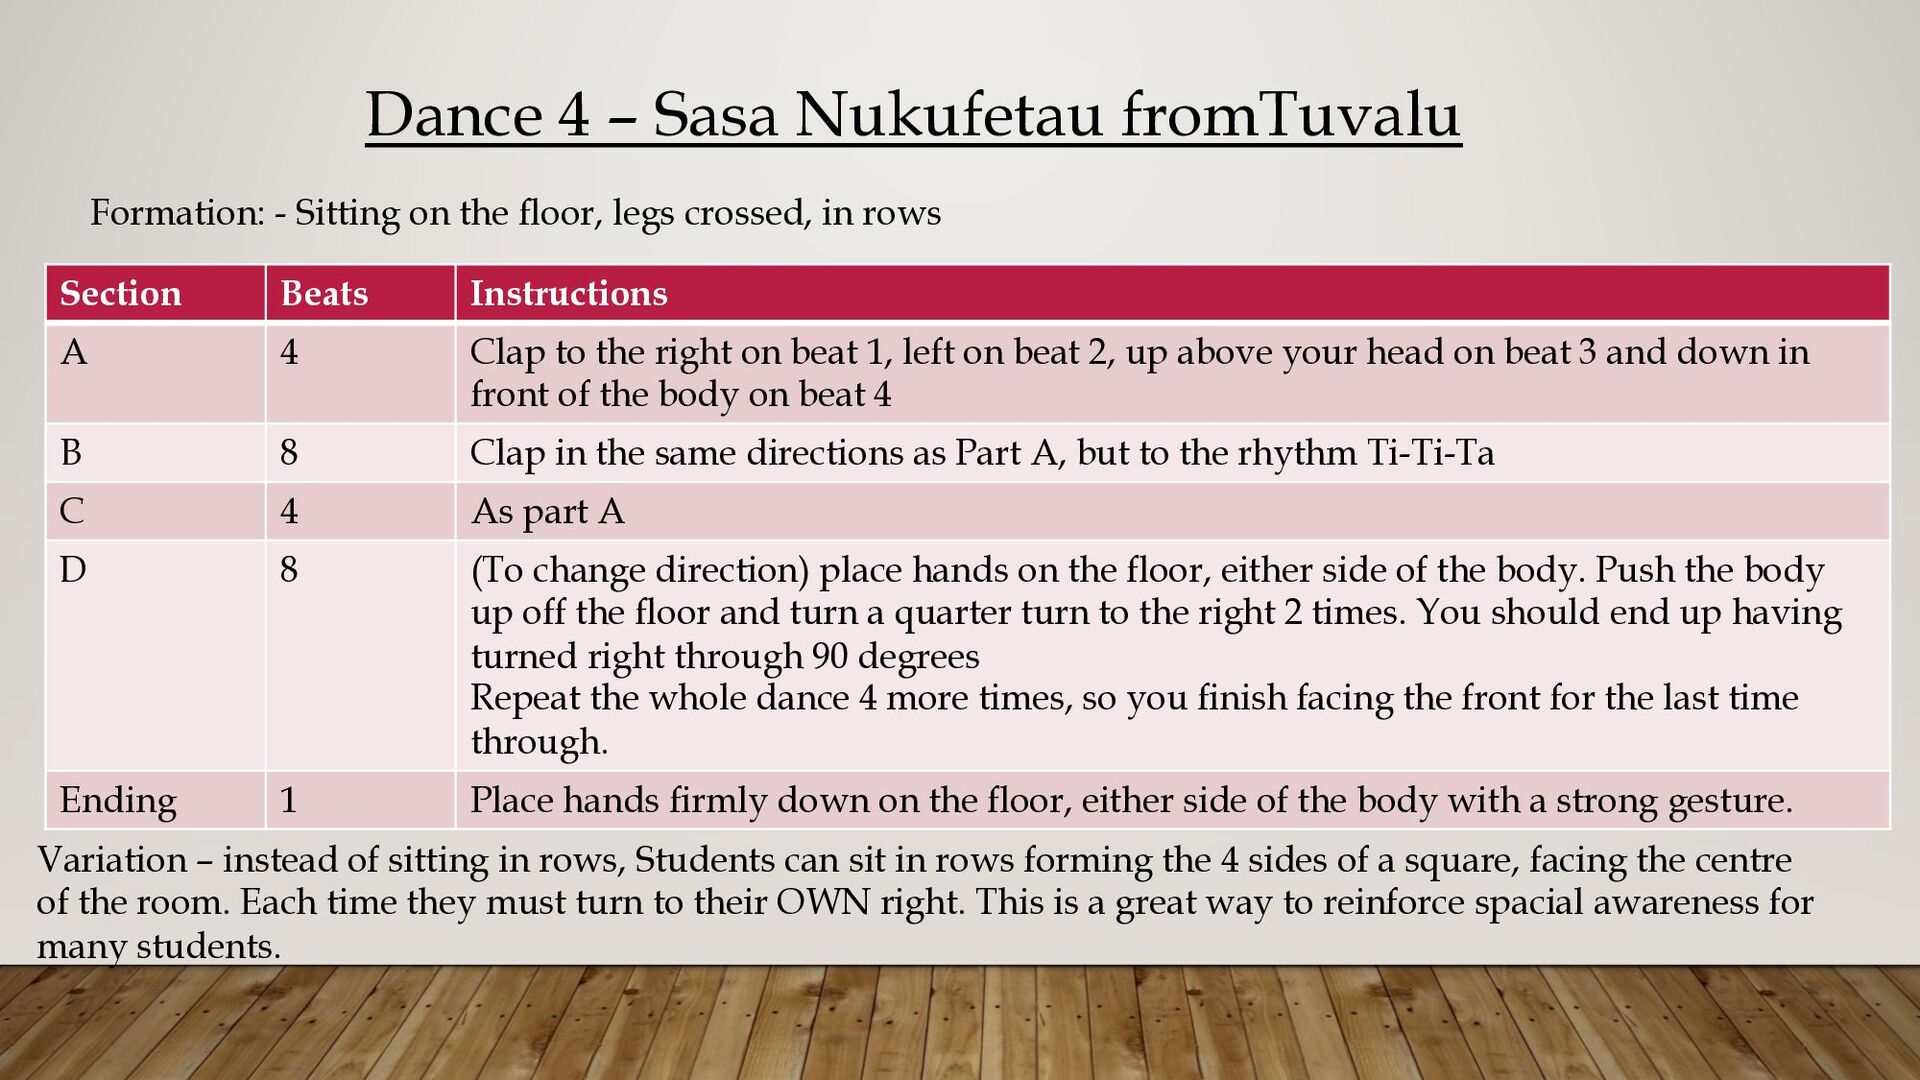
the floor, legs crossed, in rows Section Beats Instructions A 4 Clap to the right on beat 1, left on beat 2, up above your head on beat 3 and down in front of the body on beat 4 B 8 Clap in the same directions as Part A, but to the rhythm Ti-Ti-Ta C 4 As part A D 8 (To change direction) place hands on the floor, either side of the body. Push the body up off the floor and turn a quarter turn to the right 2 times. You should end up having turned right through 90 degrees Repeat the whole dance 4 more times, so you finish facing the front for the last time through. Ending 1 Place hands firmly down on the floor, either side of the body with a strong gesture. Variation – instead of sitting in rows, Students can sit in rows forming the 4 sides of a square, facing the centre of the room. Each time they must turn to their OWN right. This is a great way to reinforce spacial awareness for many students.
a lovely dance to use to introduce the rhythm ti-tika as that is the rhythmic ostinato that accompanies the entire dance up to section D. In Section D, you simply keep the beat. • Demonstrate the fundamental rhythm of the dance – ti-tika. Use those rhythm words as you tap this rhythm on different parts of your body. • Once the rhythm is secure, choose a few drummers to play this rhythm on whatever you have available. Tambors, tambourines, djembes, bongos..... The rest of the class can perform the dance while "the band" plays for them. Swap around a few times so that many students get a chance to play. • After putting away the instruments, show the students what the notated rhythm looks like. • Create a few "rhythm sentences" incorporating this new rhythm. Students use body percussion to perform these. Then invite a few students to have a go at creating "a sentence" for the class to perform. • Work out, together, a new "rhythm sentence" for each of sections A,B and C of the dance (ie students need to work out how many beats they need for each part). All students rehearse it. Check that it is correct by half of the class performing the new rhythms while the other half do the dance. In Part D, musicians only keep the beat. • Finally, have each student notate their own "rhythm sentences". Pair up with another student. Rehearse their partner's sentence and perform it. They can check by each performing the dance once while their partner performs their new version of the rhythms they have created, to make sure it fits the dance.