Upgrade to Pro
— share decks privately, control downloads, hide ads and more …
Speaker Deck
Features
Speaker Deck
PRO
Sign in
Sign up for free
Search
Search
How to Install Windows 8.1 on a Virtual Machine
Search
8terabytes8
July 26, 2013
How-to & DIY
91
0
Share
Embed
Copy iframe code
Copy JS code
Copy link
Start on current slide
How to Install Windows 8.1 on a Virtual Machine
View the original YouTube video here:
http://youtu.be/sgcD7ZbmPzk
8terabytes8
July 26, 2013
More Decks by 8terabytes8
See All by 8terabytes8
How to Install Linux Through Windows
8terabytes8
0
94
How to Create a Virtual Machine
8terabytes8
0
90
How to Create a Form that Accepts Payment
8terabytes8
0
93
How to Create an Online Form
8terabytes8
0
63
How to Forward Gmail to Another Email
8terabytes8
0
69
How to Block Ads
8terabytes8
0
66
How to Get Spotify Online
8terabytes8
0
100
How to Play Pokemon Online, Free, With Friends
8terabytes8
0
540
How to Get Windows 8 as an ISO File
8terabytes8
0
490
Other Decks in How-to & DIY
See All in How-to & DIY
从机器人竞赛到软件系统实践:日本创客文化对技术创新的启
takasumasakazu
0
110
JAWS-UG横浜100回記念 私のAWS ジャーニーと日本からみた横浜支部
awsjcpm
0
440
JAWS-UG/AWS Community Update
awsjcpm
0
290
Node-REDで制御できるエッジカメラのreCameraを触る #iotlt #JLCPCB #recamera
n0bisuke2
0
190
「変えること」「変わること」を楽しむ力で"敵わない存在"と向き合う
subroh0508
2
1.7k
JAWS-UG 福岡 in 北九州 | JAWS-UG/AWSコミュニティ プログラムのご紹介
awsjcpm
1
240
生成AIは 『コードを書く』だけじゃない アーキテクチャ設計から環境構築まで——社内データ活用DXの全貌
punipuni_mint
0
210
スタックチャンはカワイイの夢を見るか?
syumme01
0
130
JAWS-UG 山梨 第10回 勉強会 Community Update
awsjcpm
0
1.1k
放っておくと怖い睡眠負債について/fjordbootcamp-251122
yuukago
3
320
OpenClawハンズオンでのトラブルとデバイス向けなんちゃらクロー #IoTLT vol133
n0bisuke2
0
270
フィールドエンジニア at 多摩川 / Field Engineer at Tamagawa
aokiplayer
0
340
Featured
See All Featured
16th Malabo Montpellier Forum Presentation
akademiya2063
PRO
0
220
4 Signs Your Business is Dying
shpigford
187
22k
Marketing Yourself as an Engineer | Alaka | Gurzu
gurzu
0
260
How to Ace a Technical Interview
jacobian
281
24k
AI: The stuff that nobody shows you
jnunemaker
PRO
8
830
Test your architecture with Archunit
thirion
1
2.3k
Breaking role norms: Why Content Design is so much more than writing copy - Taylor Woolridge
uxyall
0
340
Evolving SEO for Evolving Search Engines
ryanjones
0
240
コードの90%をAIが書く世界で何が待っているのか / What awaits us in a world where 90% of the code is written by AI
rkaga
62
45k
Deep Space Network (abreviated)
tonyrice
0
230
New Earth Scene 8
popppiees
3
2.4k
Dominate Local Search Results - an insider guide to GBP, reviews, and Local SEO
greggifford
PRO
0
210
Transcript
How to Install Windows 8.1 By 8terabytes8 *This tutorial will
go really fast. Feel free to pause.
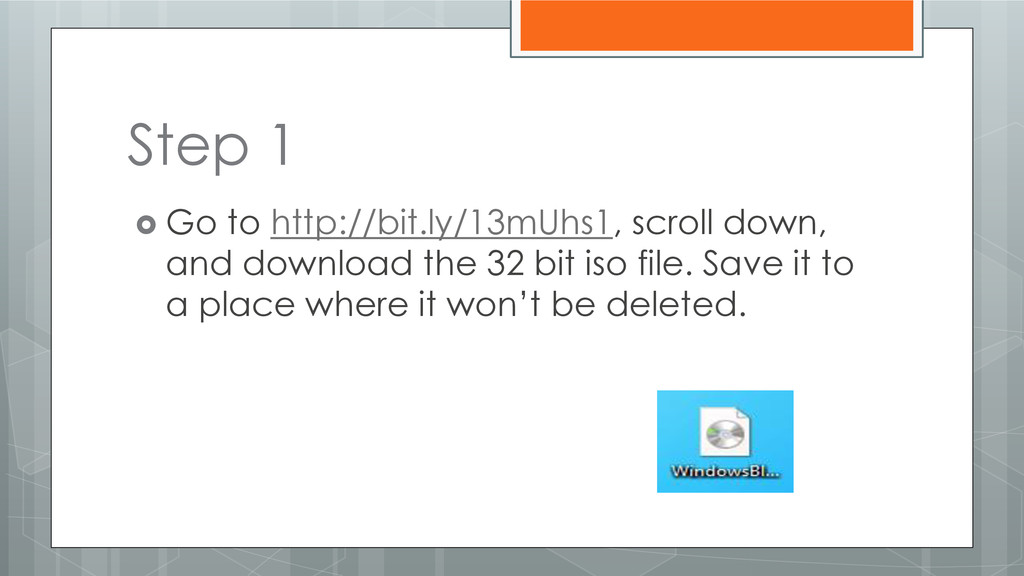
Step 1 Go to http://bit.ly/13mUhs1, scroll down, and download
the 32 bit iso file. Save it to a place where it won’t be deleted.
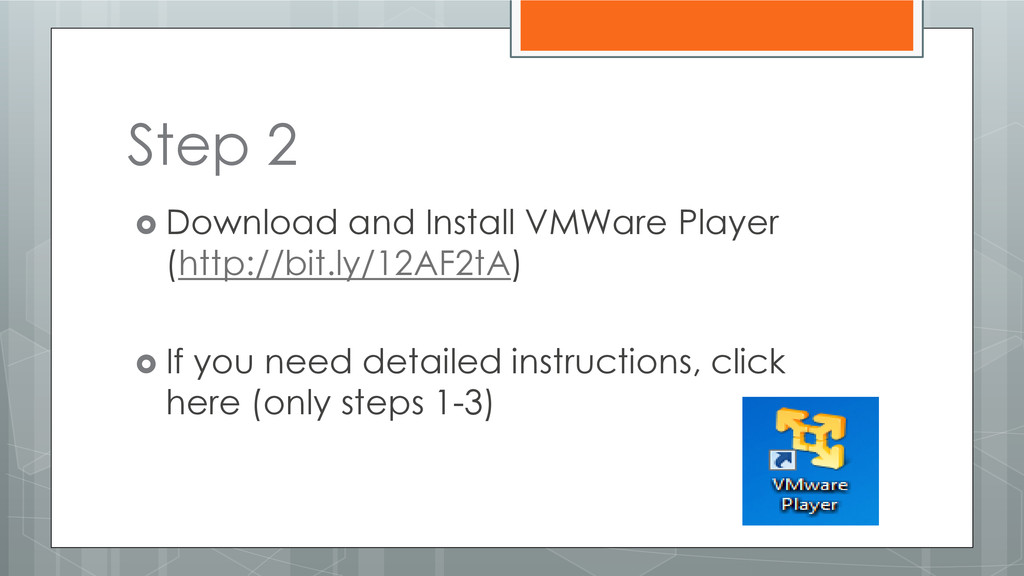
Step 2 Download and Install VMWare Player (http://bit.ly/12AF2tA)
If you need detailed instructions, click here (only steps 1-3)
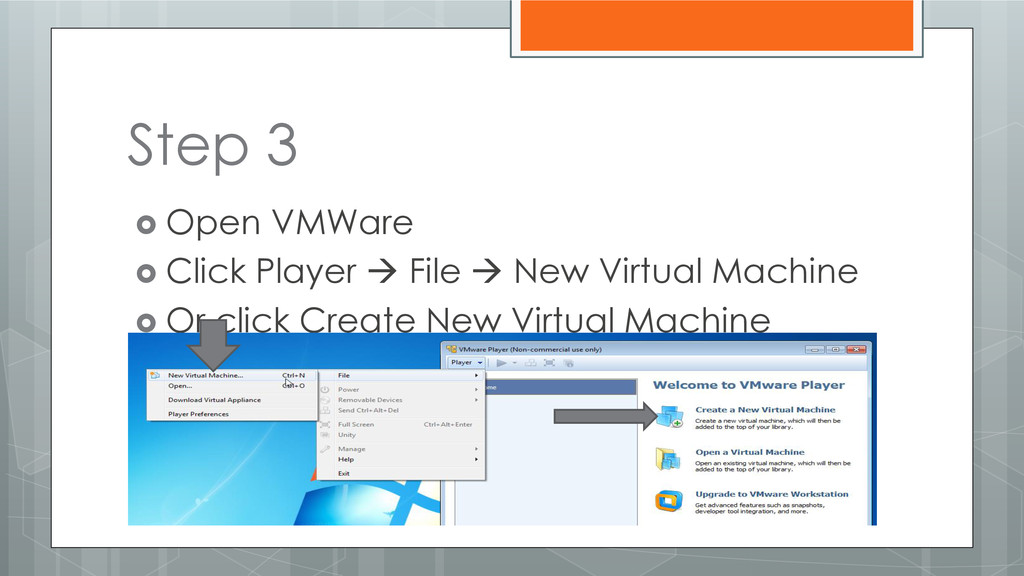
Step 3 Open VMWare Click Player File
New Virtual Machine Or click Create New Virtual Machine
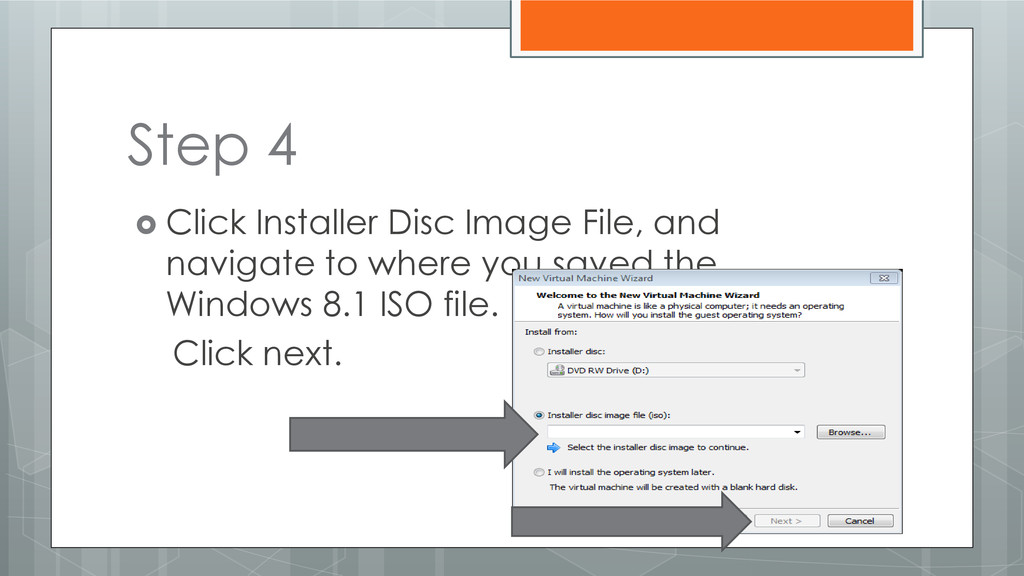
Step 4 Click Installer Disc Image File, and navigate
to where you saved the Windows 8.1 ISO file. Click next.
Step 5 Make sure Microsoft Windows is selected, and
change the version to Windows 8. Click Next.
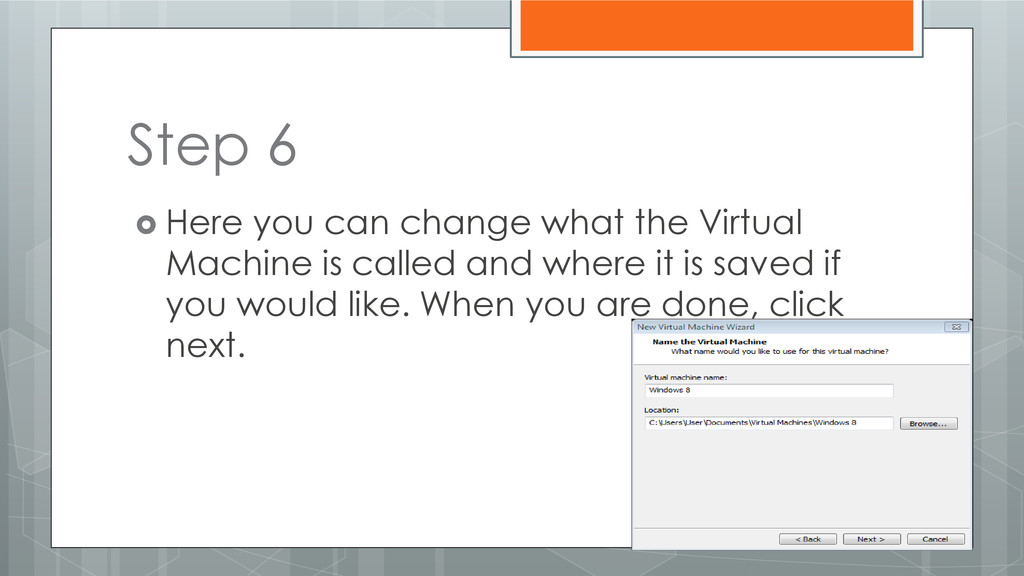
Step 6 Here you can change what the Virtual
Machine is called and where it is saved if you would like. When you are done, click next.
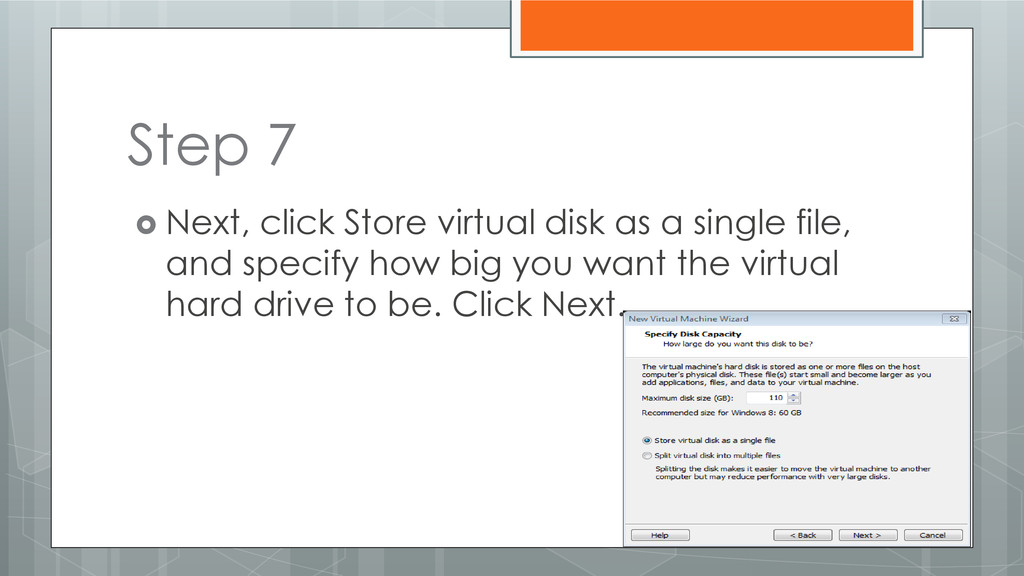
Step 7 Next, click Store virtual disk as a
single file, and specify how big you want the virtual hard drive to be. Click Next.
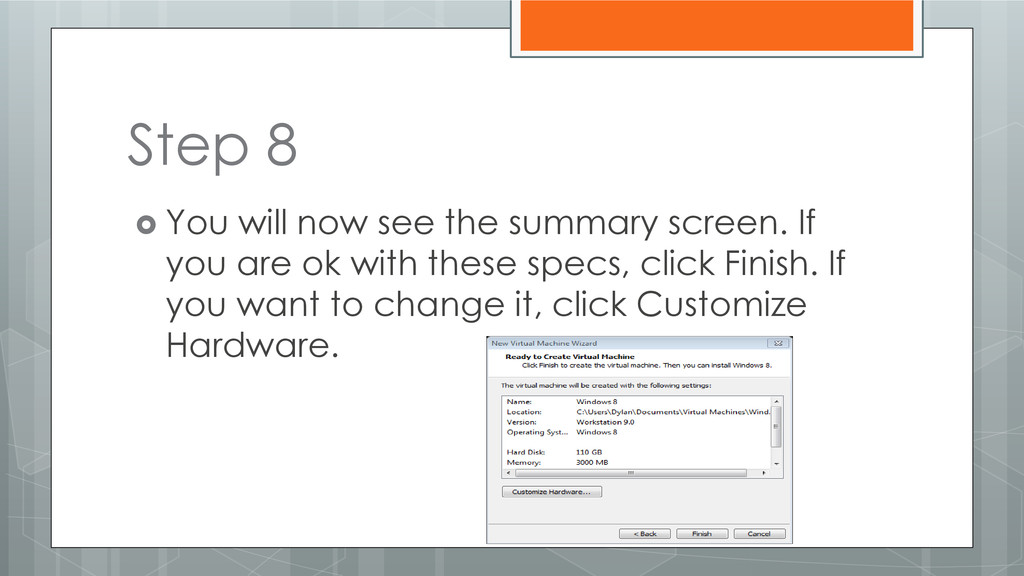
Step 8 You will now see the summary screen.
If you are ok with these specs, click Finish. If you want to change it, click Customize Hardware.
Step 9 Make sure Windows 8.1 is selected, and
click the play button.
Step 10 Allow Windows 8.1 to load
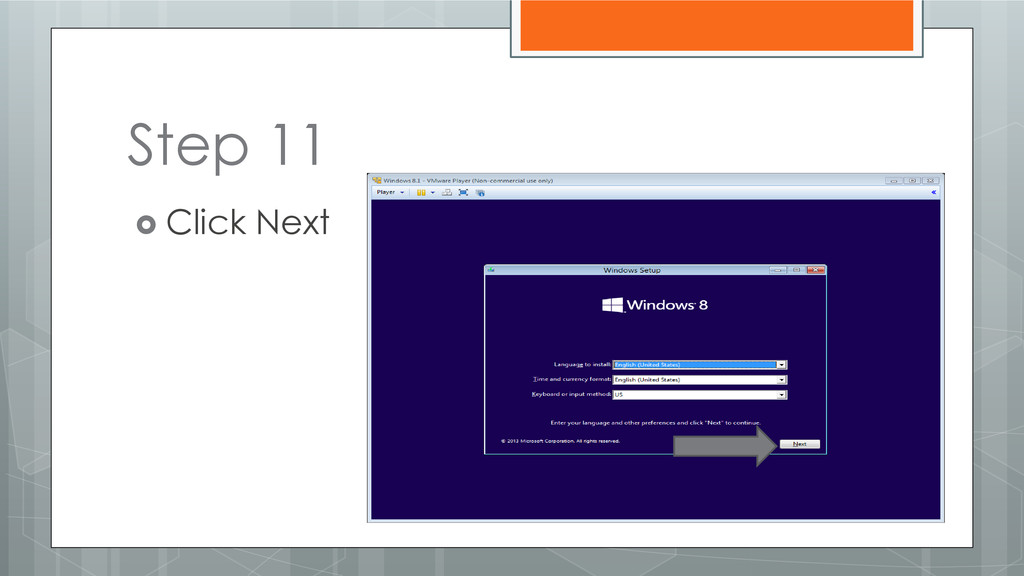
Step 11 Click Next
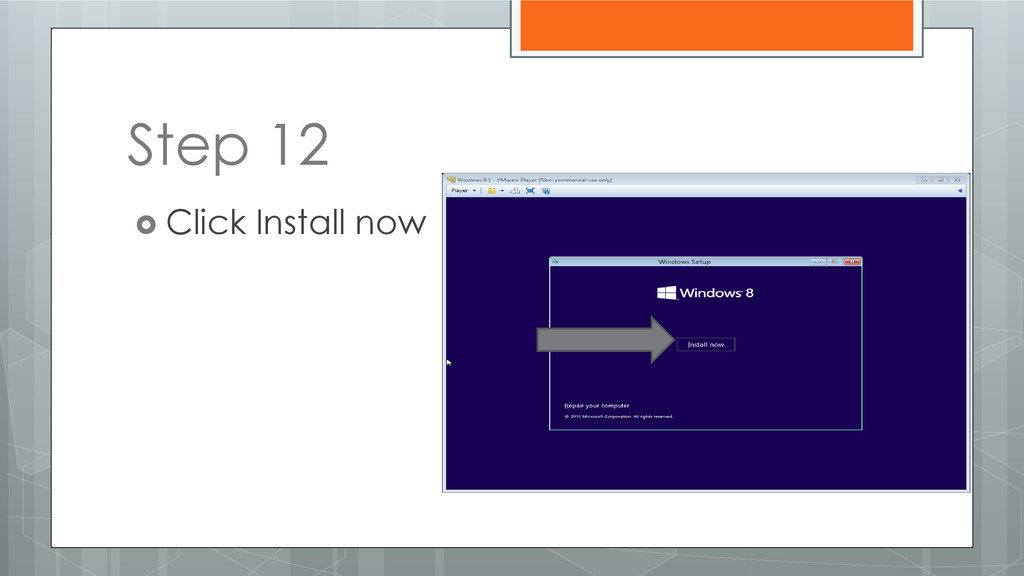
Step 12 Click Install now
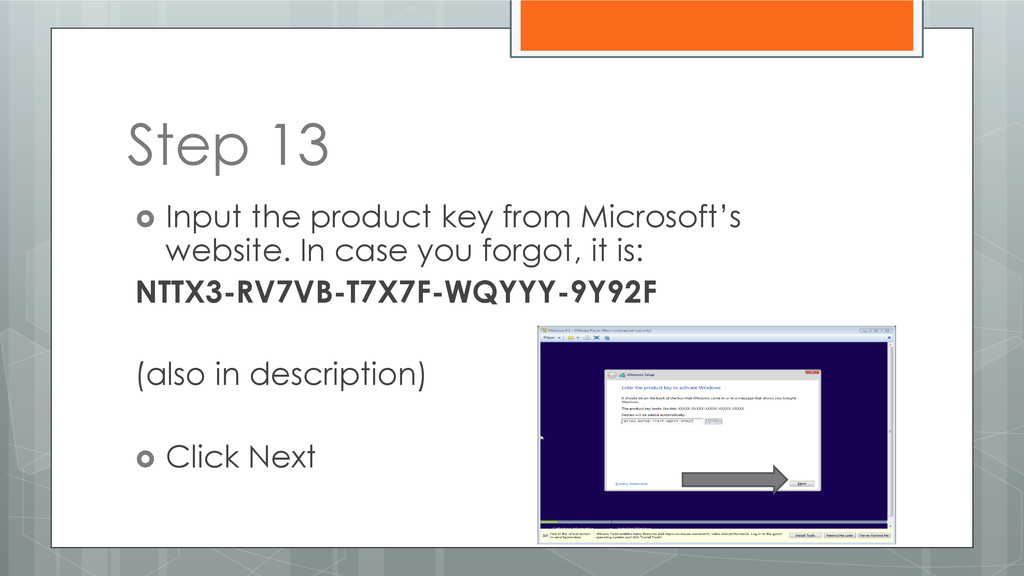
Step 13 Input the product key from Microsoft’s website.
In case you forgot, it is: NTTX3-RV7VB-T7X7F-WQYYY-9Y92F (also in description) Click Next
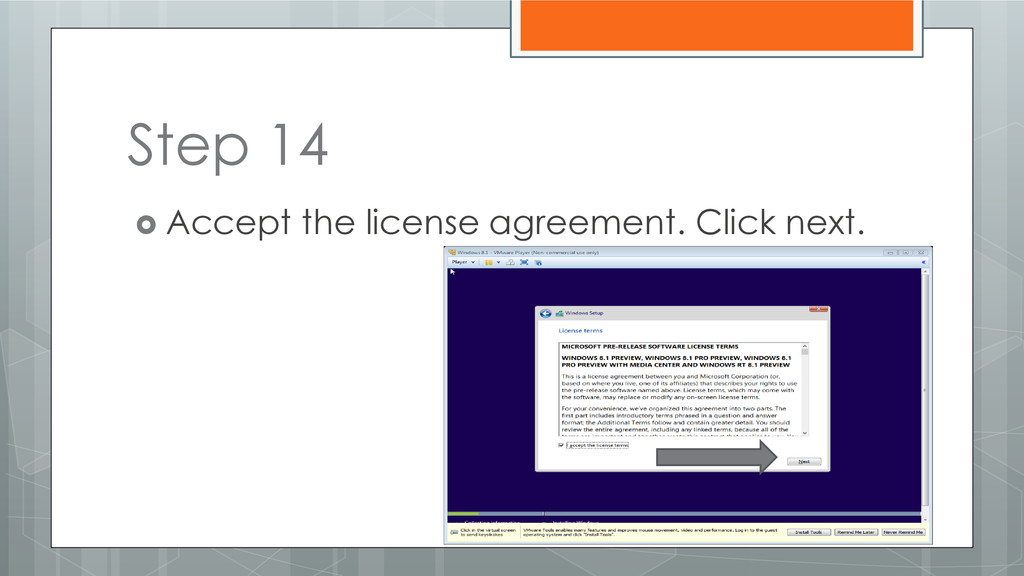
Step 14 Accept the license agreement. Click next.
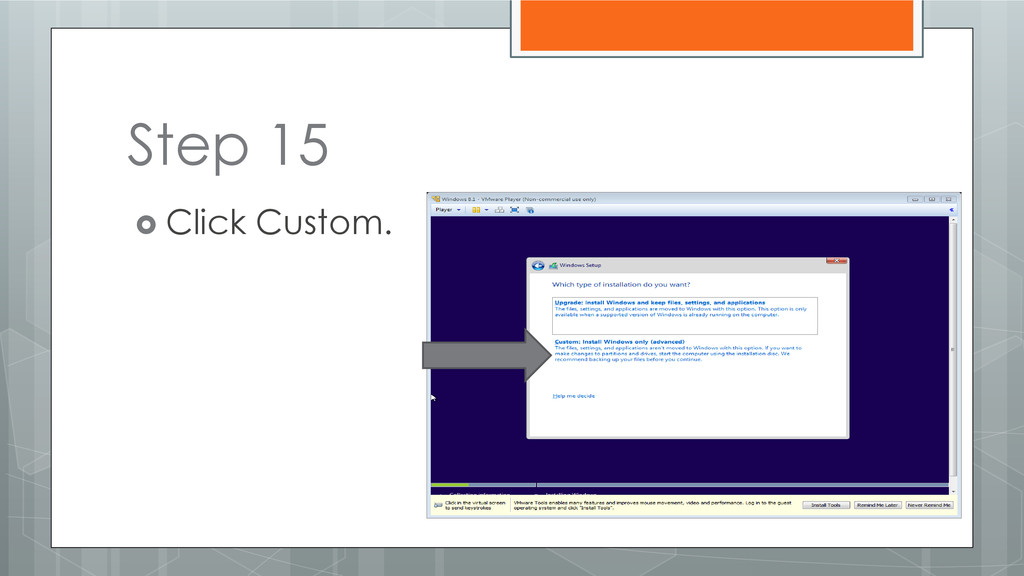
Step 15 Click Custom.
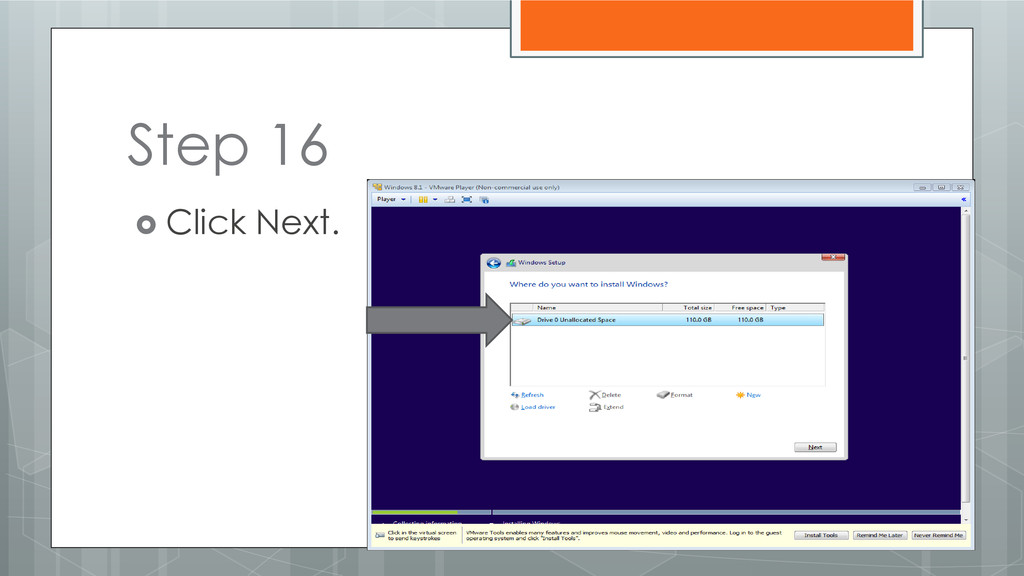
Step 16 Click Next.
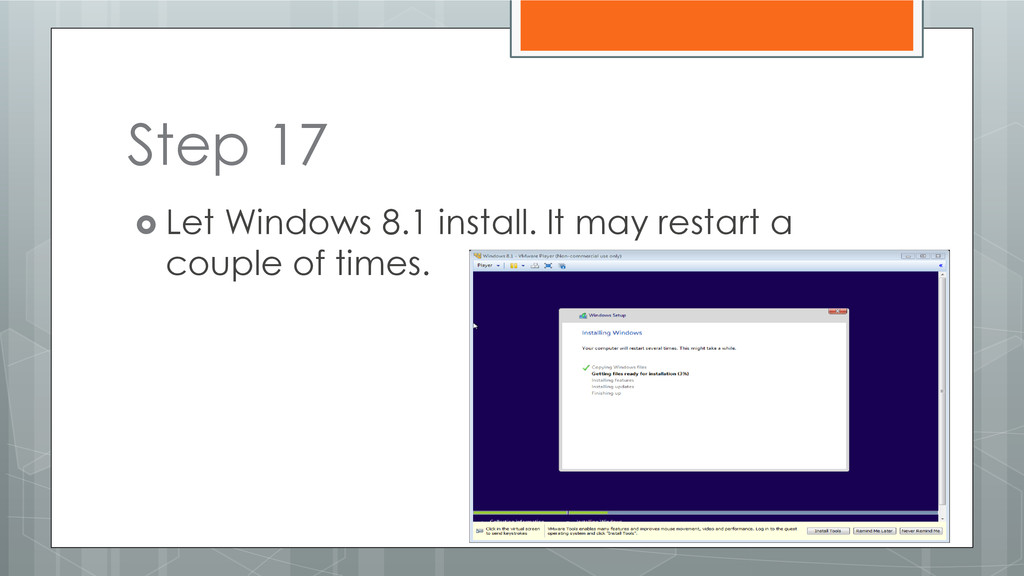
Step 17 Let Windows 8.1 install. It may restart
a couple of times.
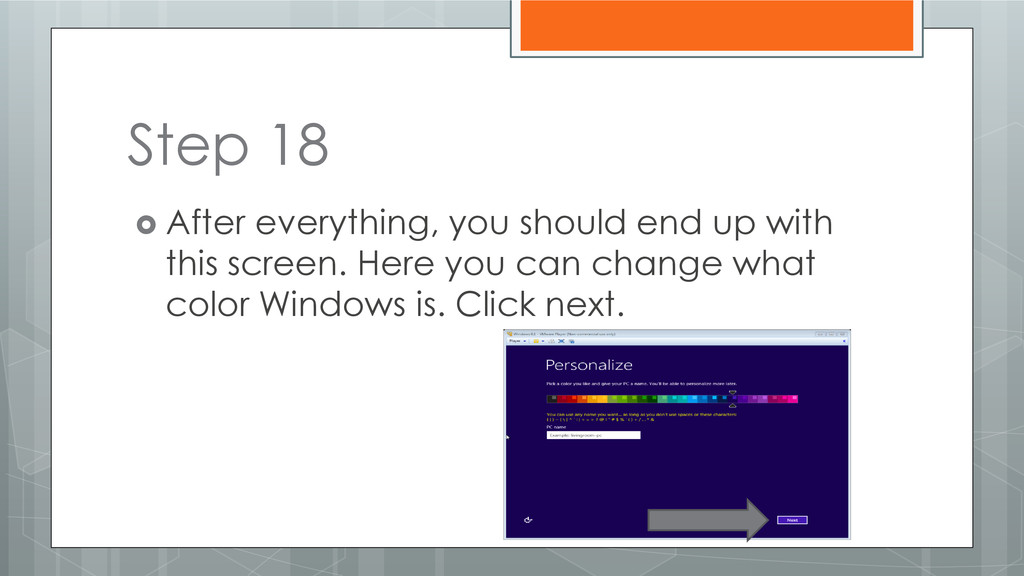
Step 18 After everything, you should end up with
this screen. Here you can change what color Windows is. Click next.
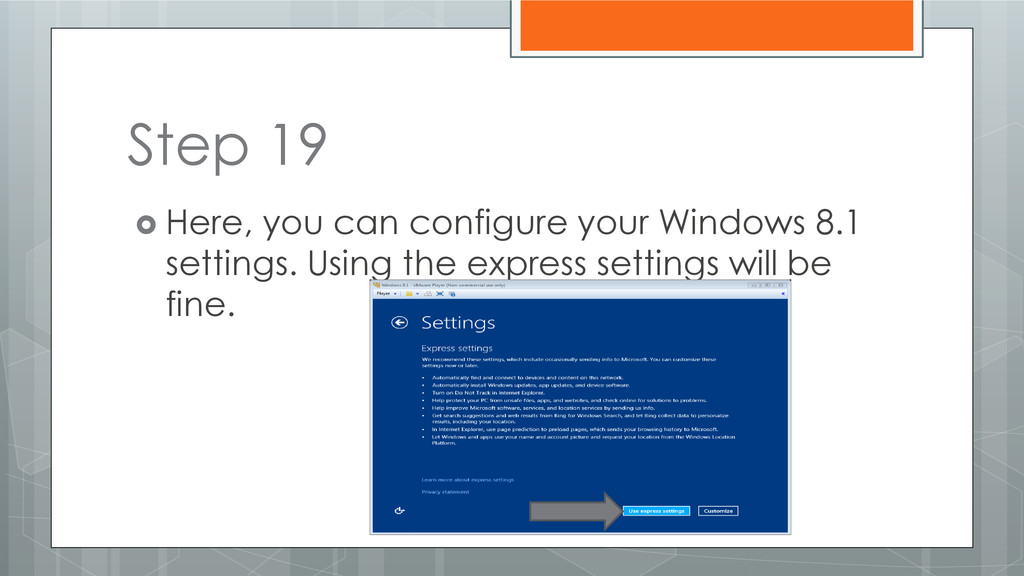
Step 19 Here, you can configure your Windows 8.1
settings. Using the express settings will be fine.
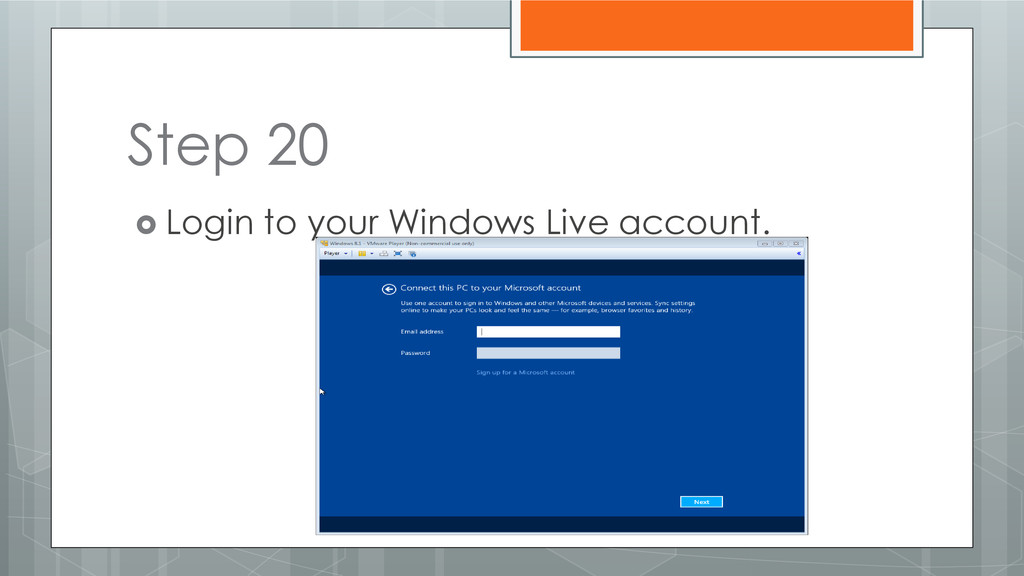
Step 20 Login to your Windows Live account.
Step 21 It may ask you to verify your
account by sending a code to your cell phone. You can skip this for now.
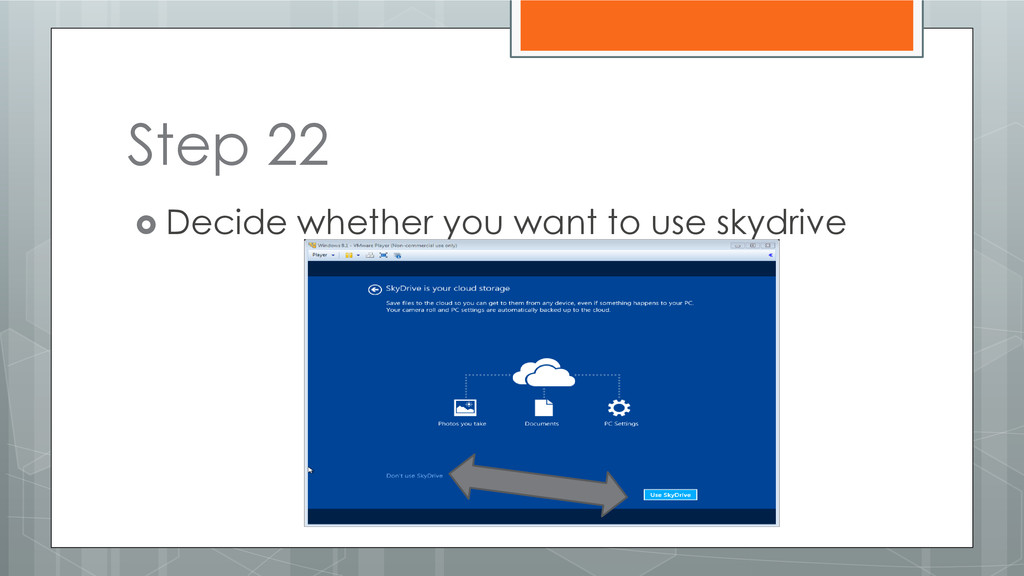
Step 22 Decide whether you want to use skydrive
Step 23 Wait for Windows 8.1 to configure itself.
It may restart a couple times
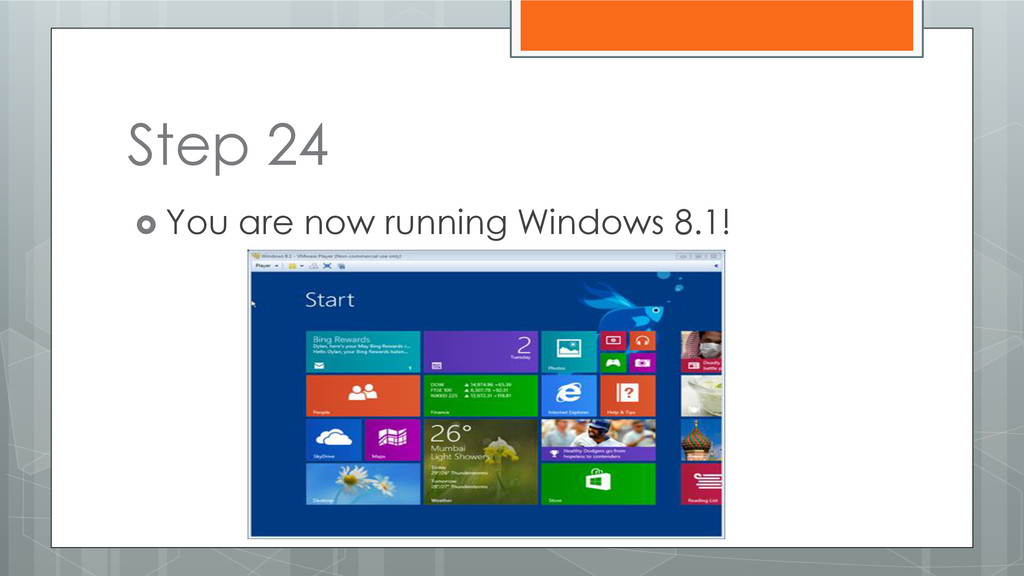
Step 24 You are now running Windows 8.1!
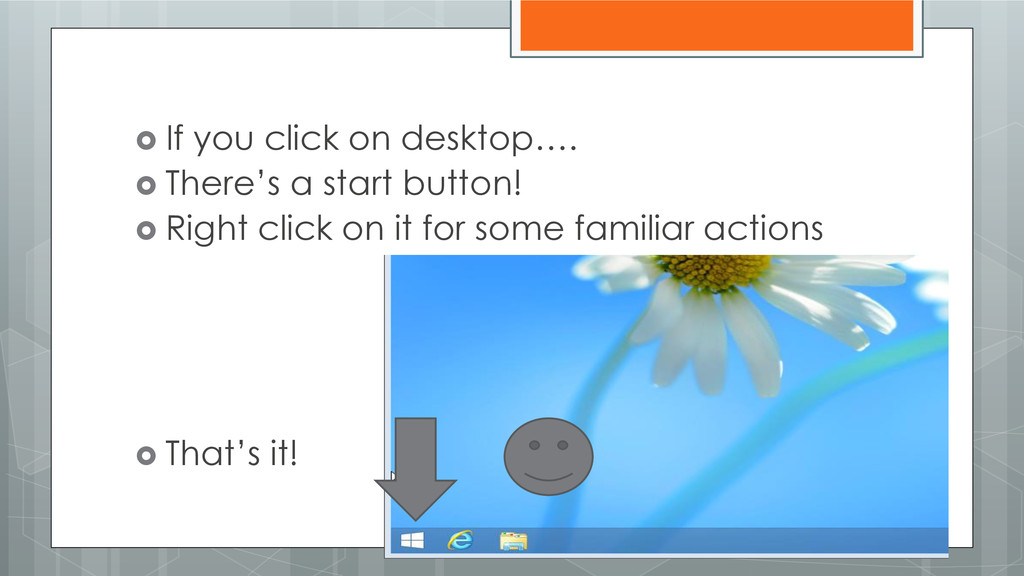
If you click on desktop…. There’s a start
button! Right click on it for some familiar actions That’s it!