《特色》
1. 四小時工作坊,手把手教學,附完整範例程式。
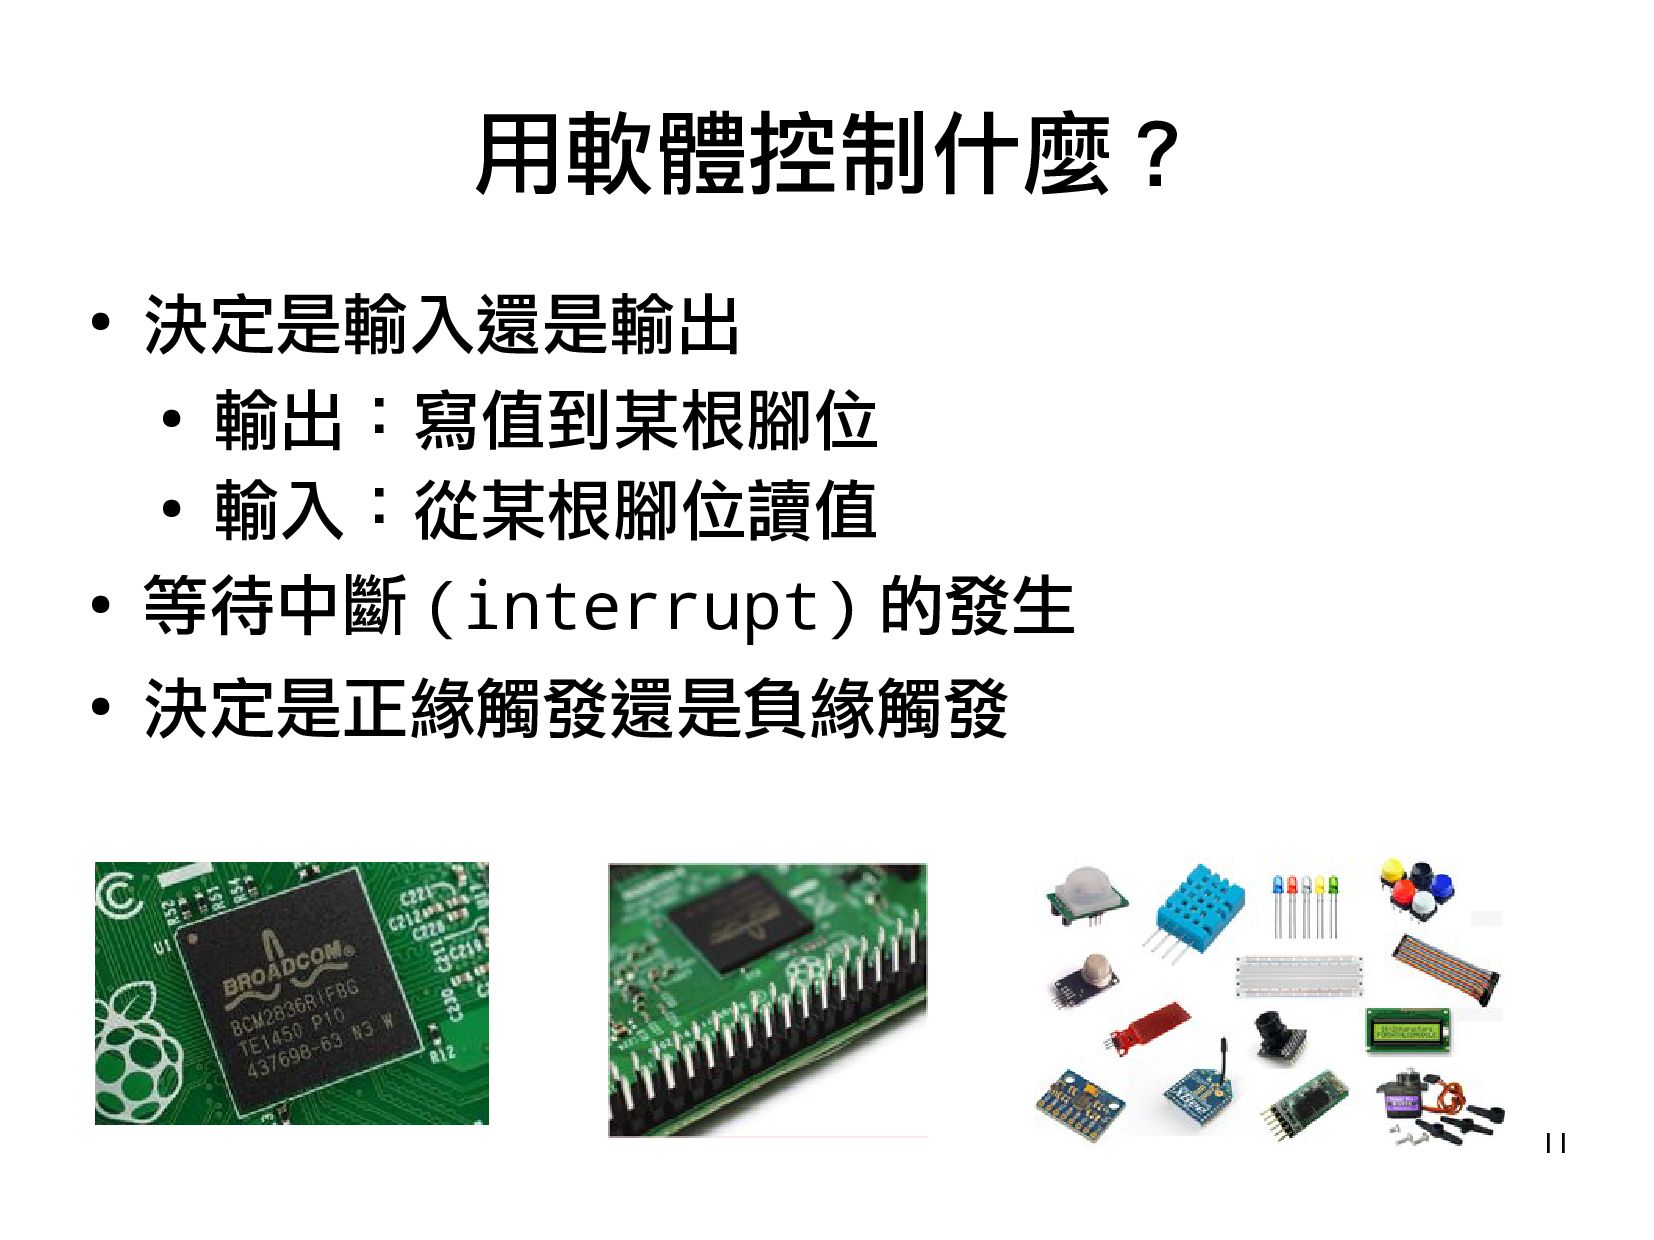
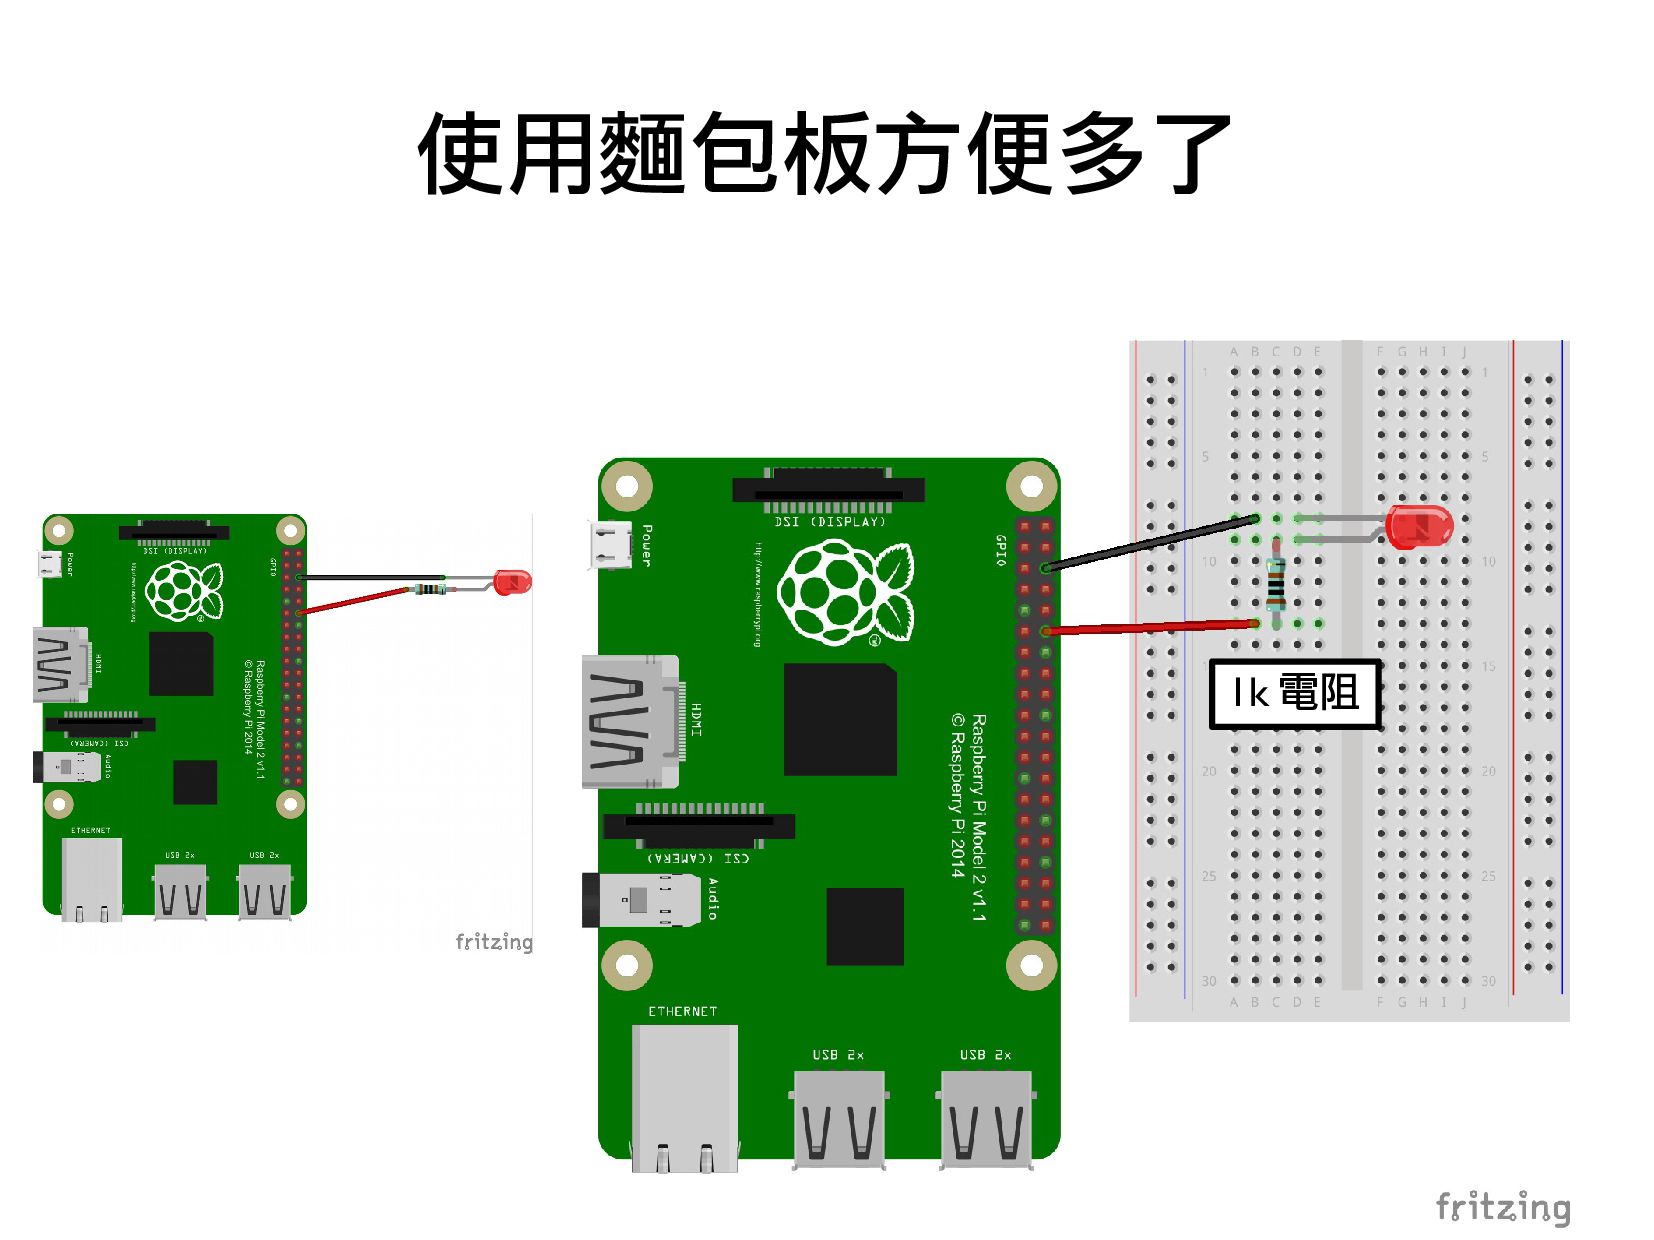
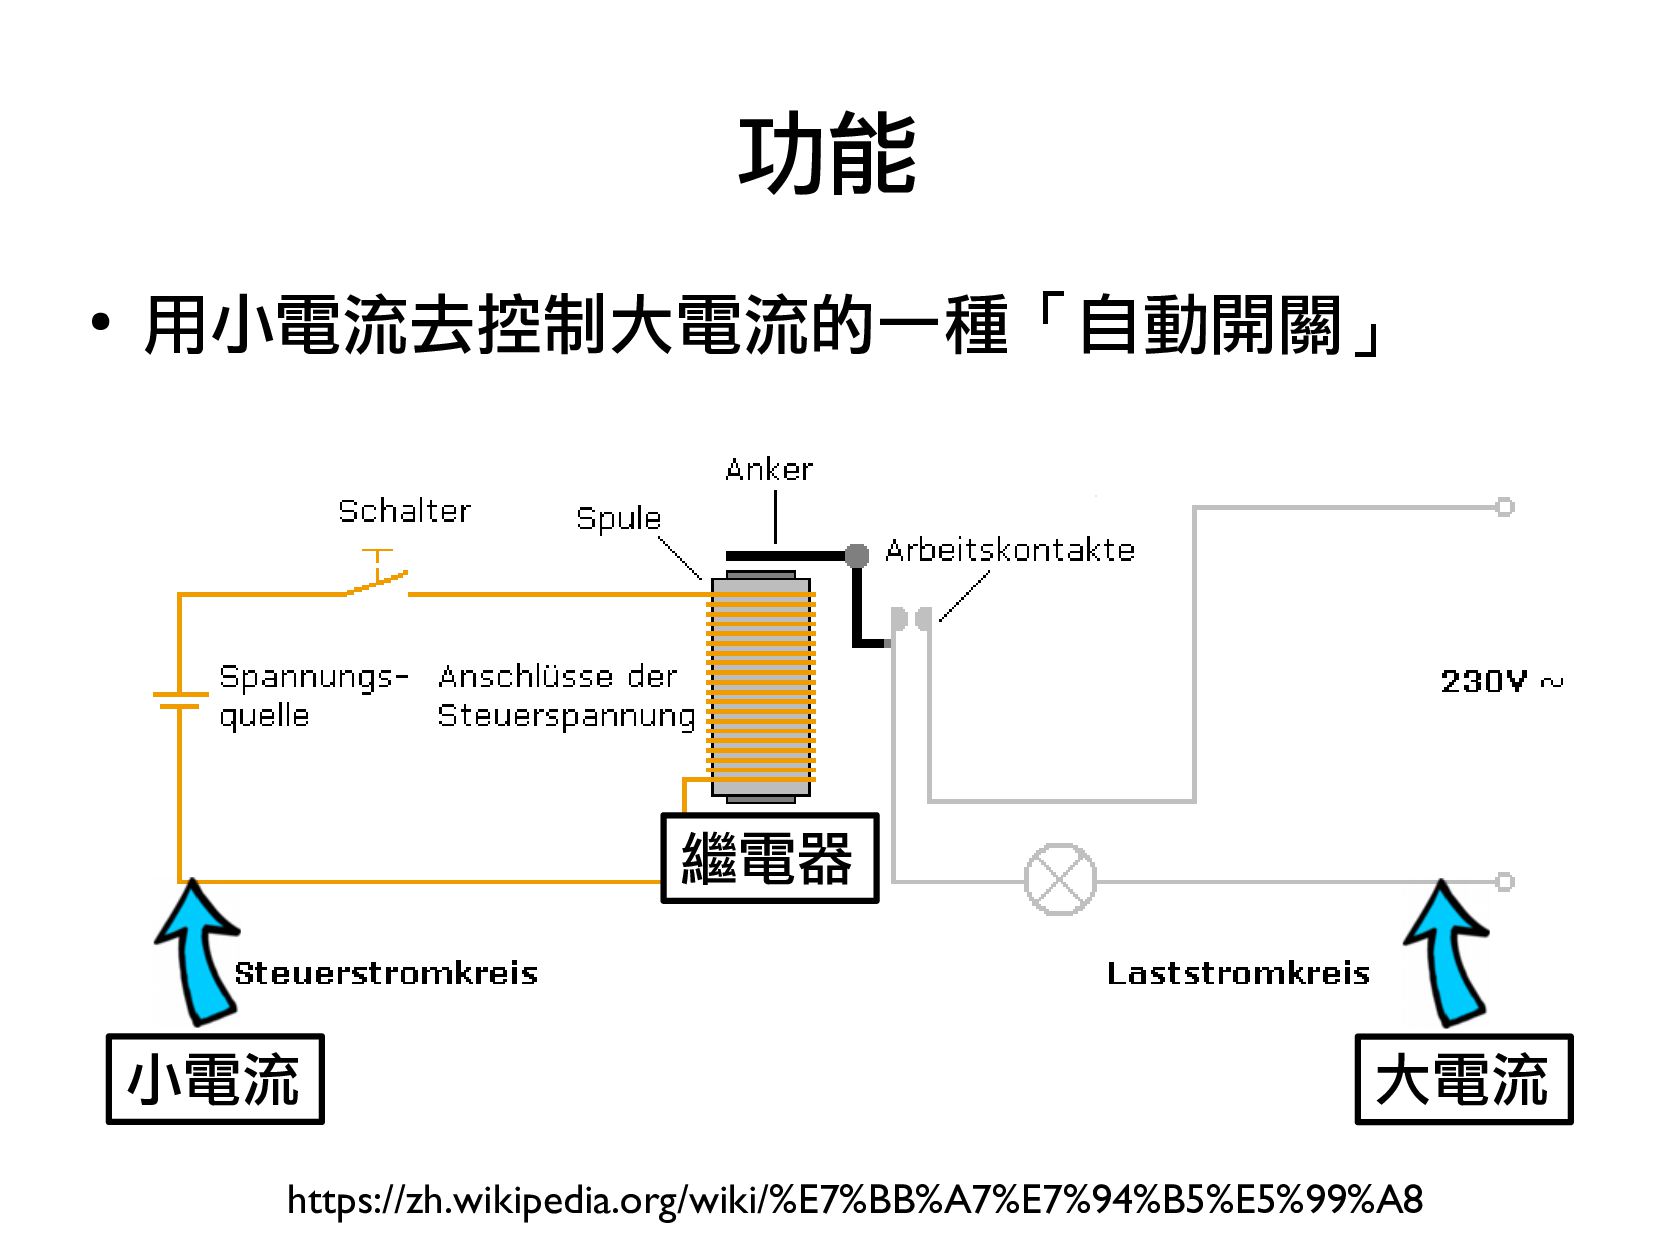
2. 從 GPIO 控制 LED 到控制 110V 家用電器。
3. 全系列 Pi 都可以使用。
《內容》
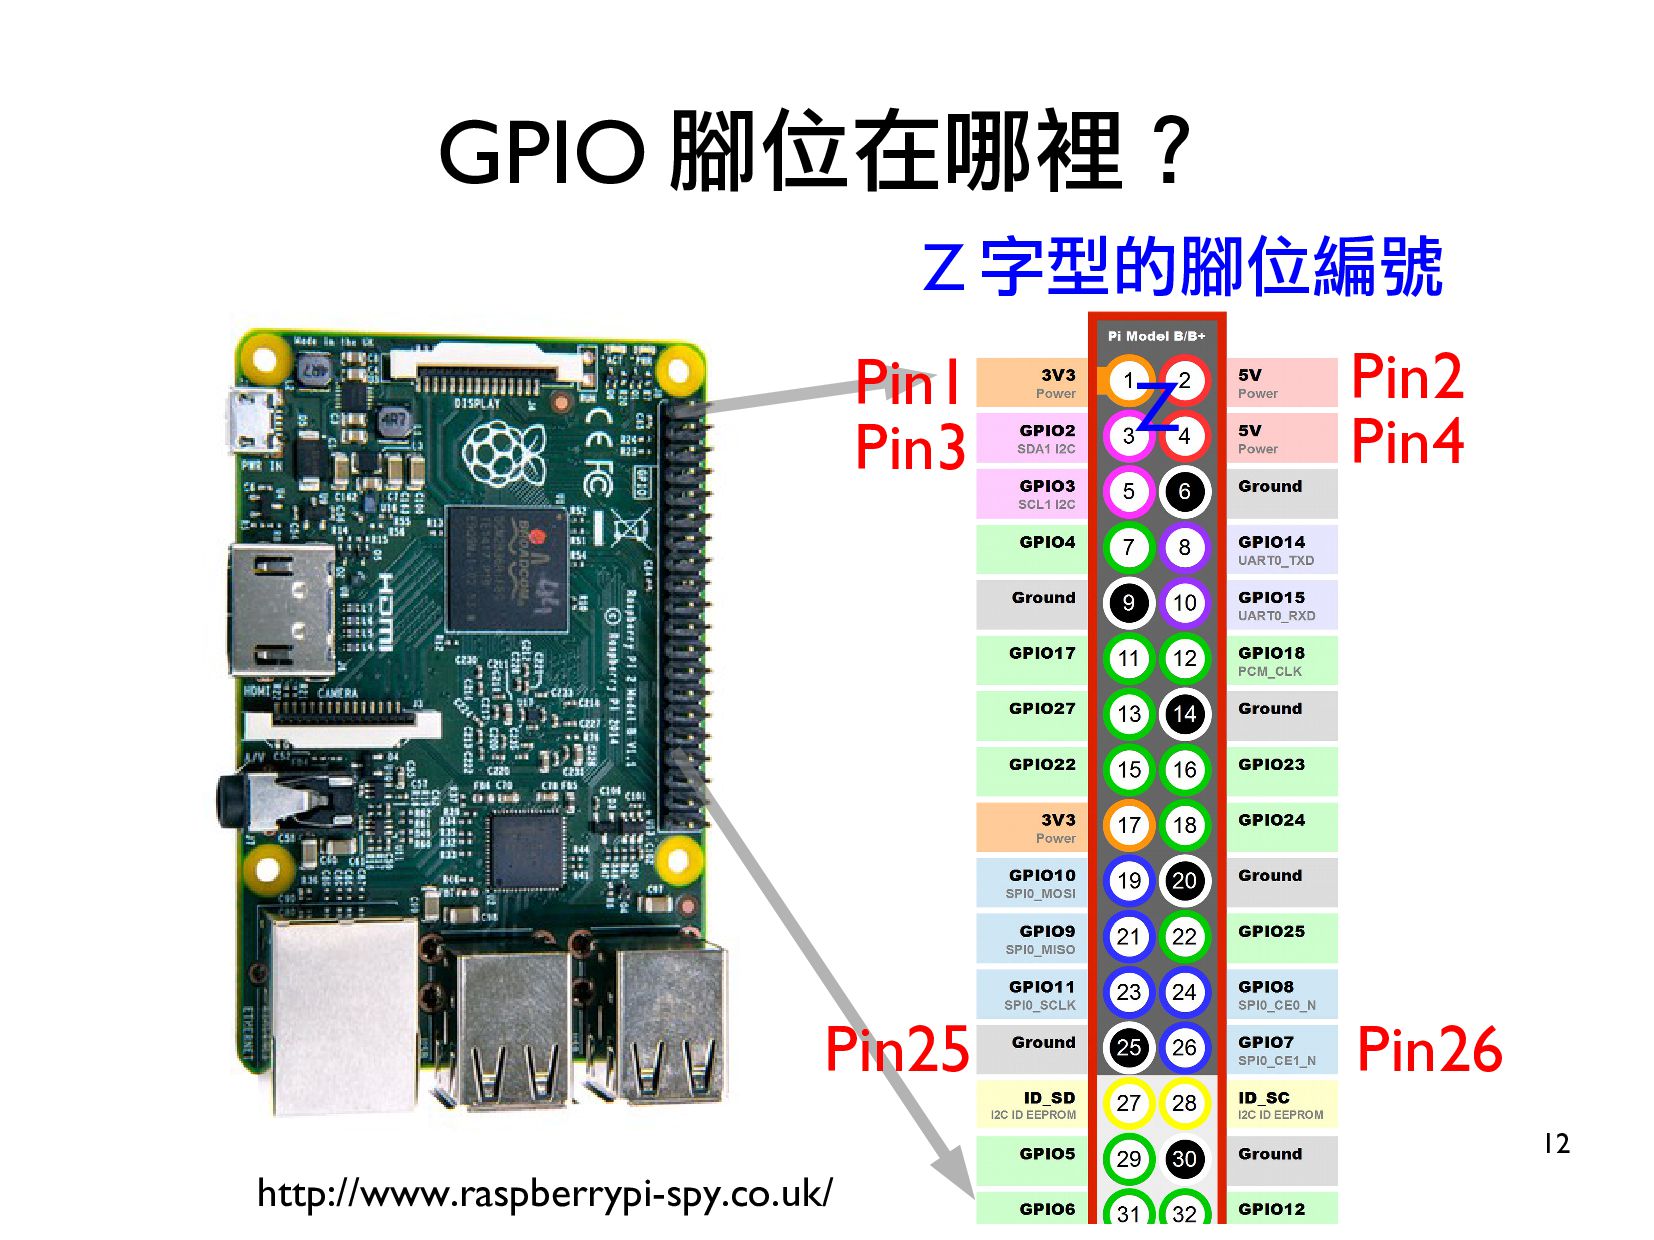
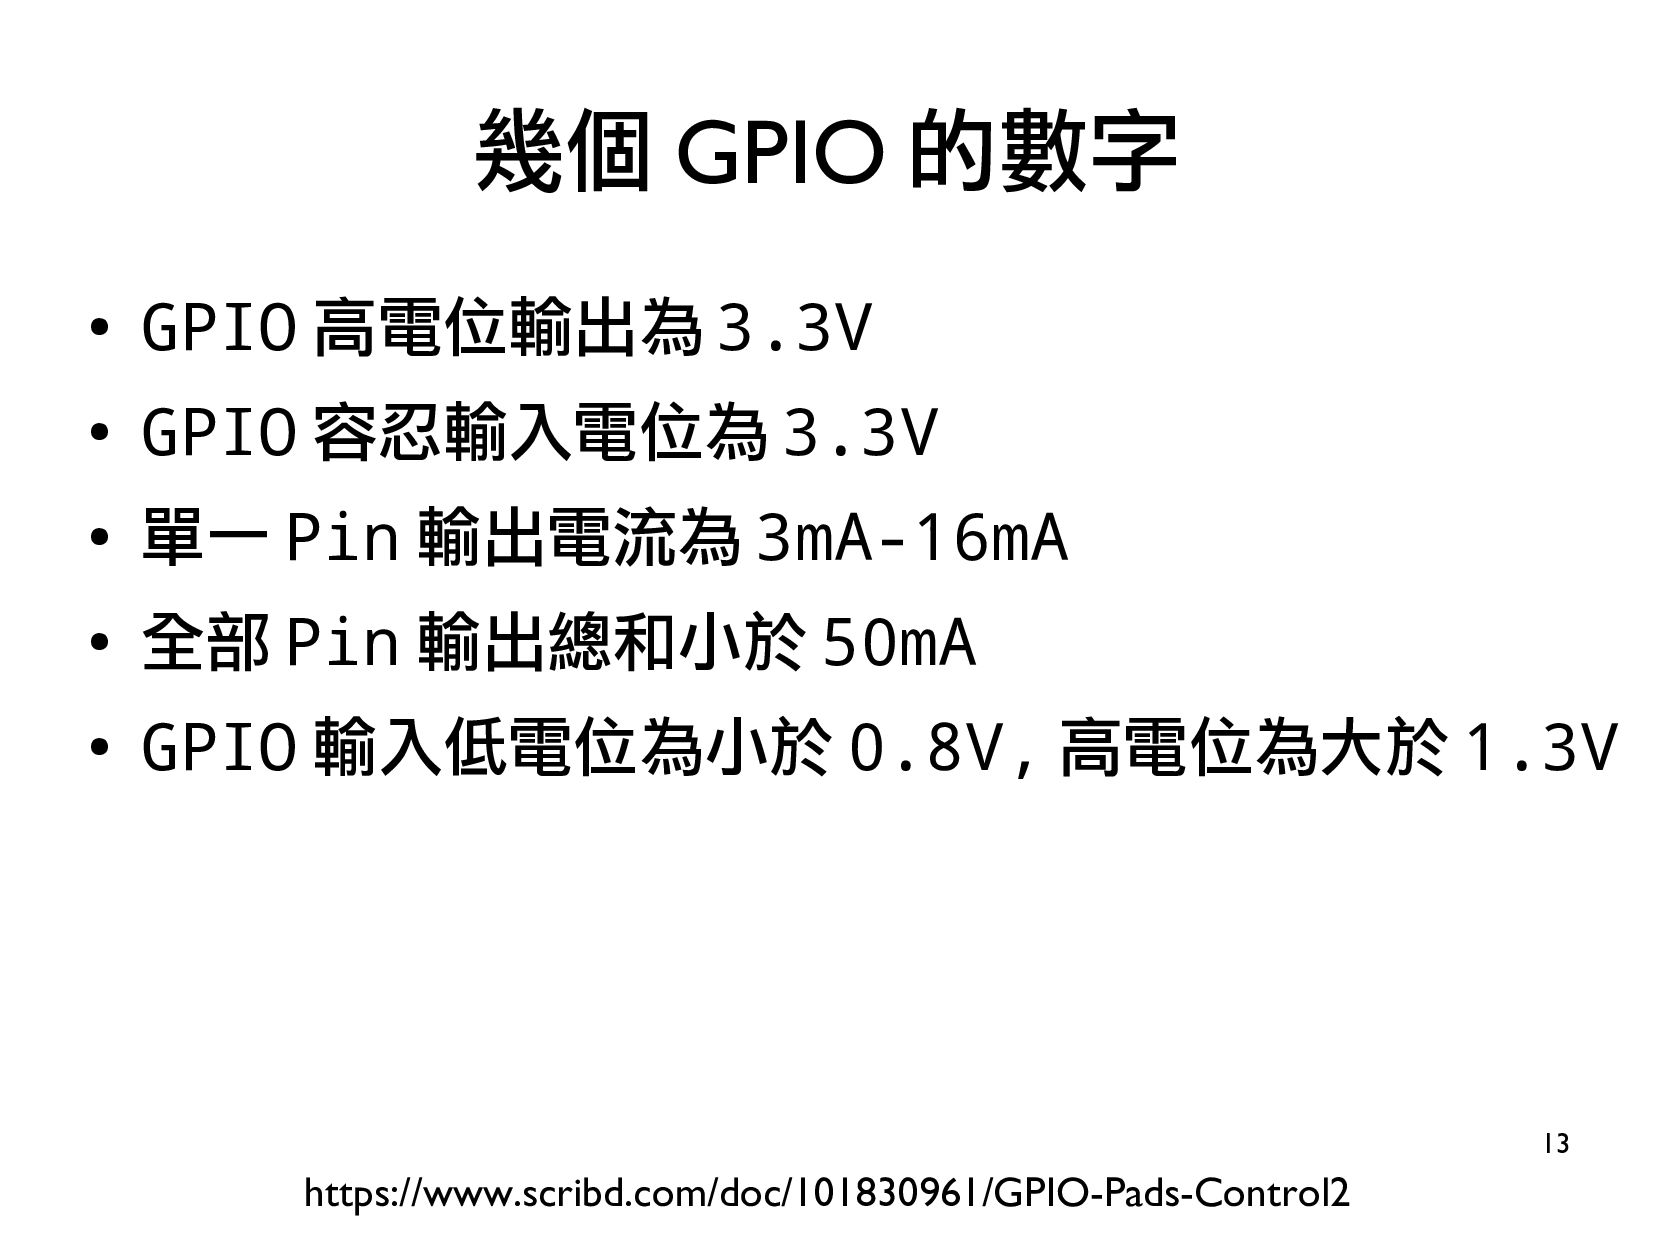
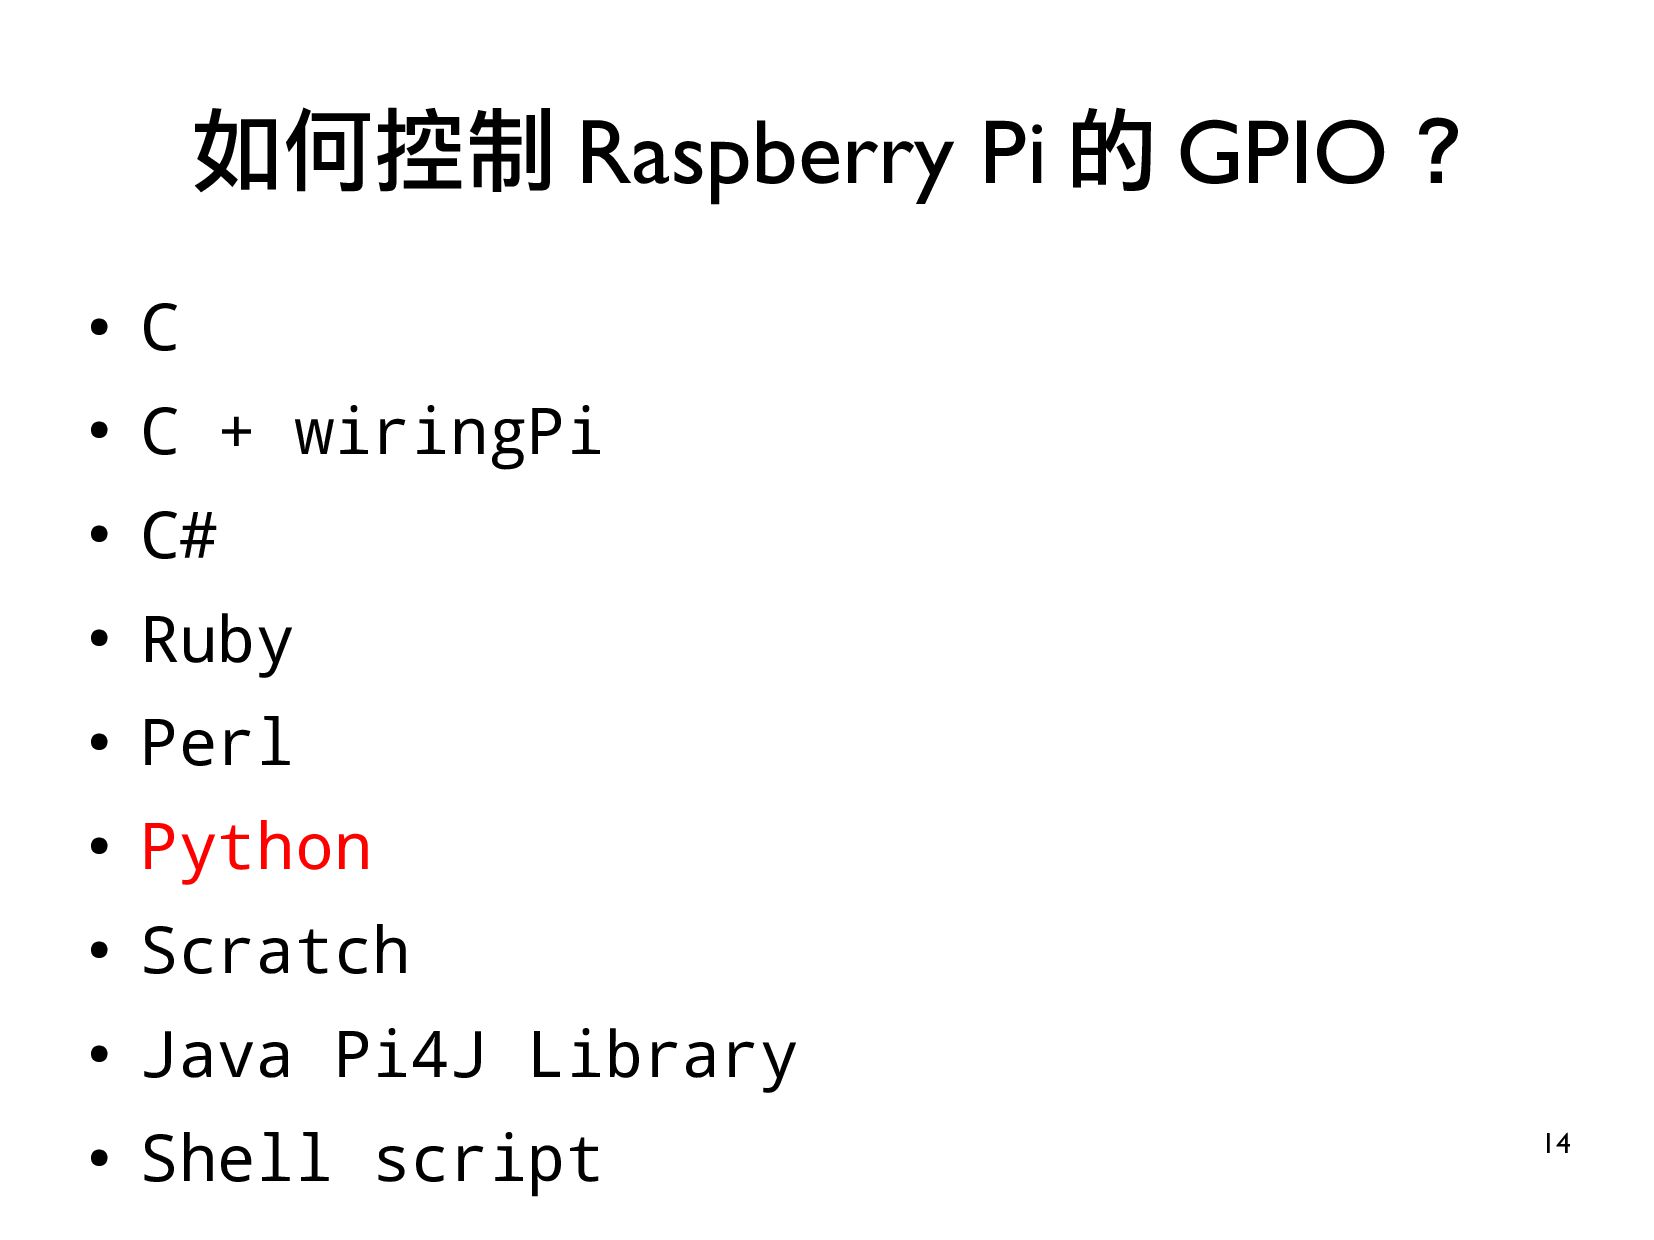
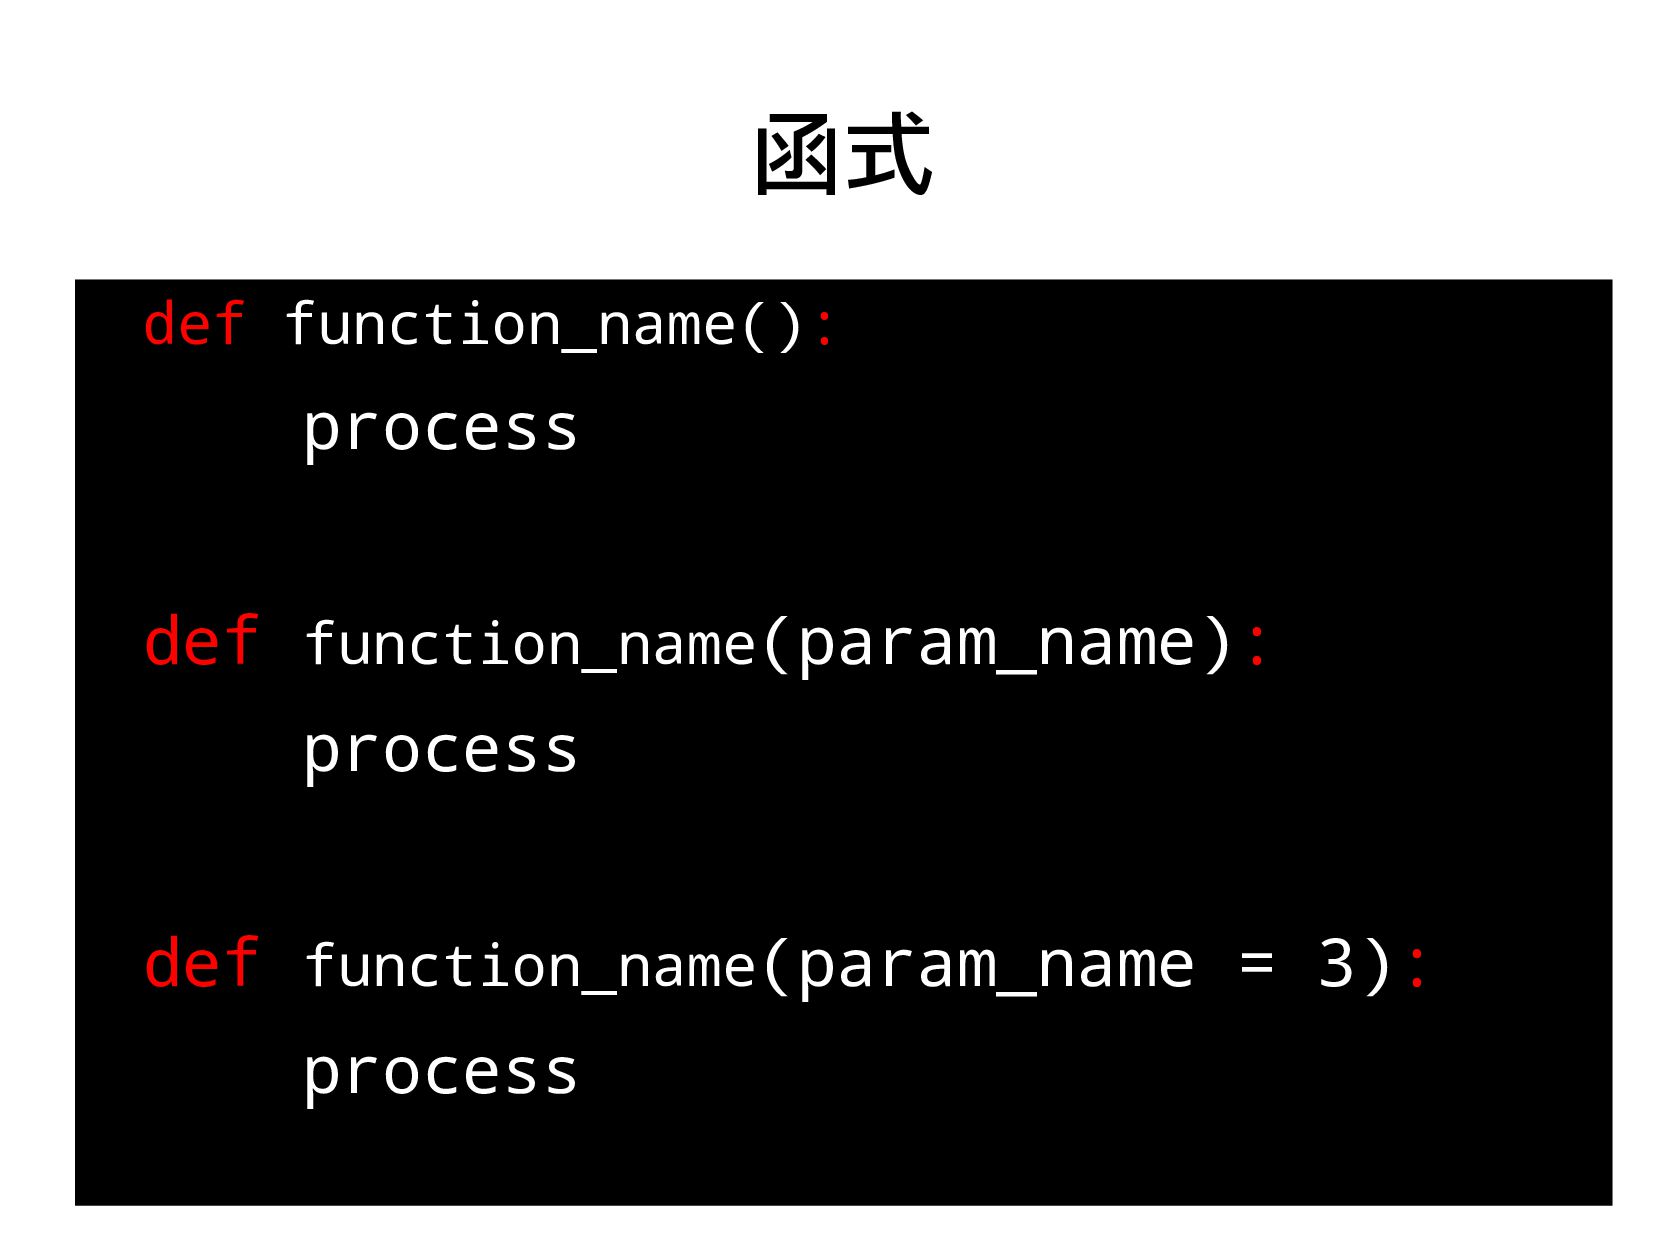
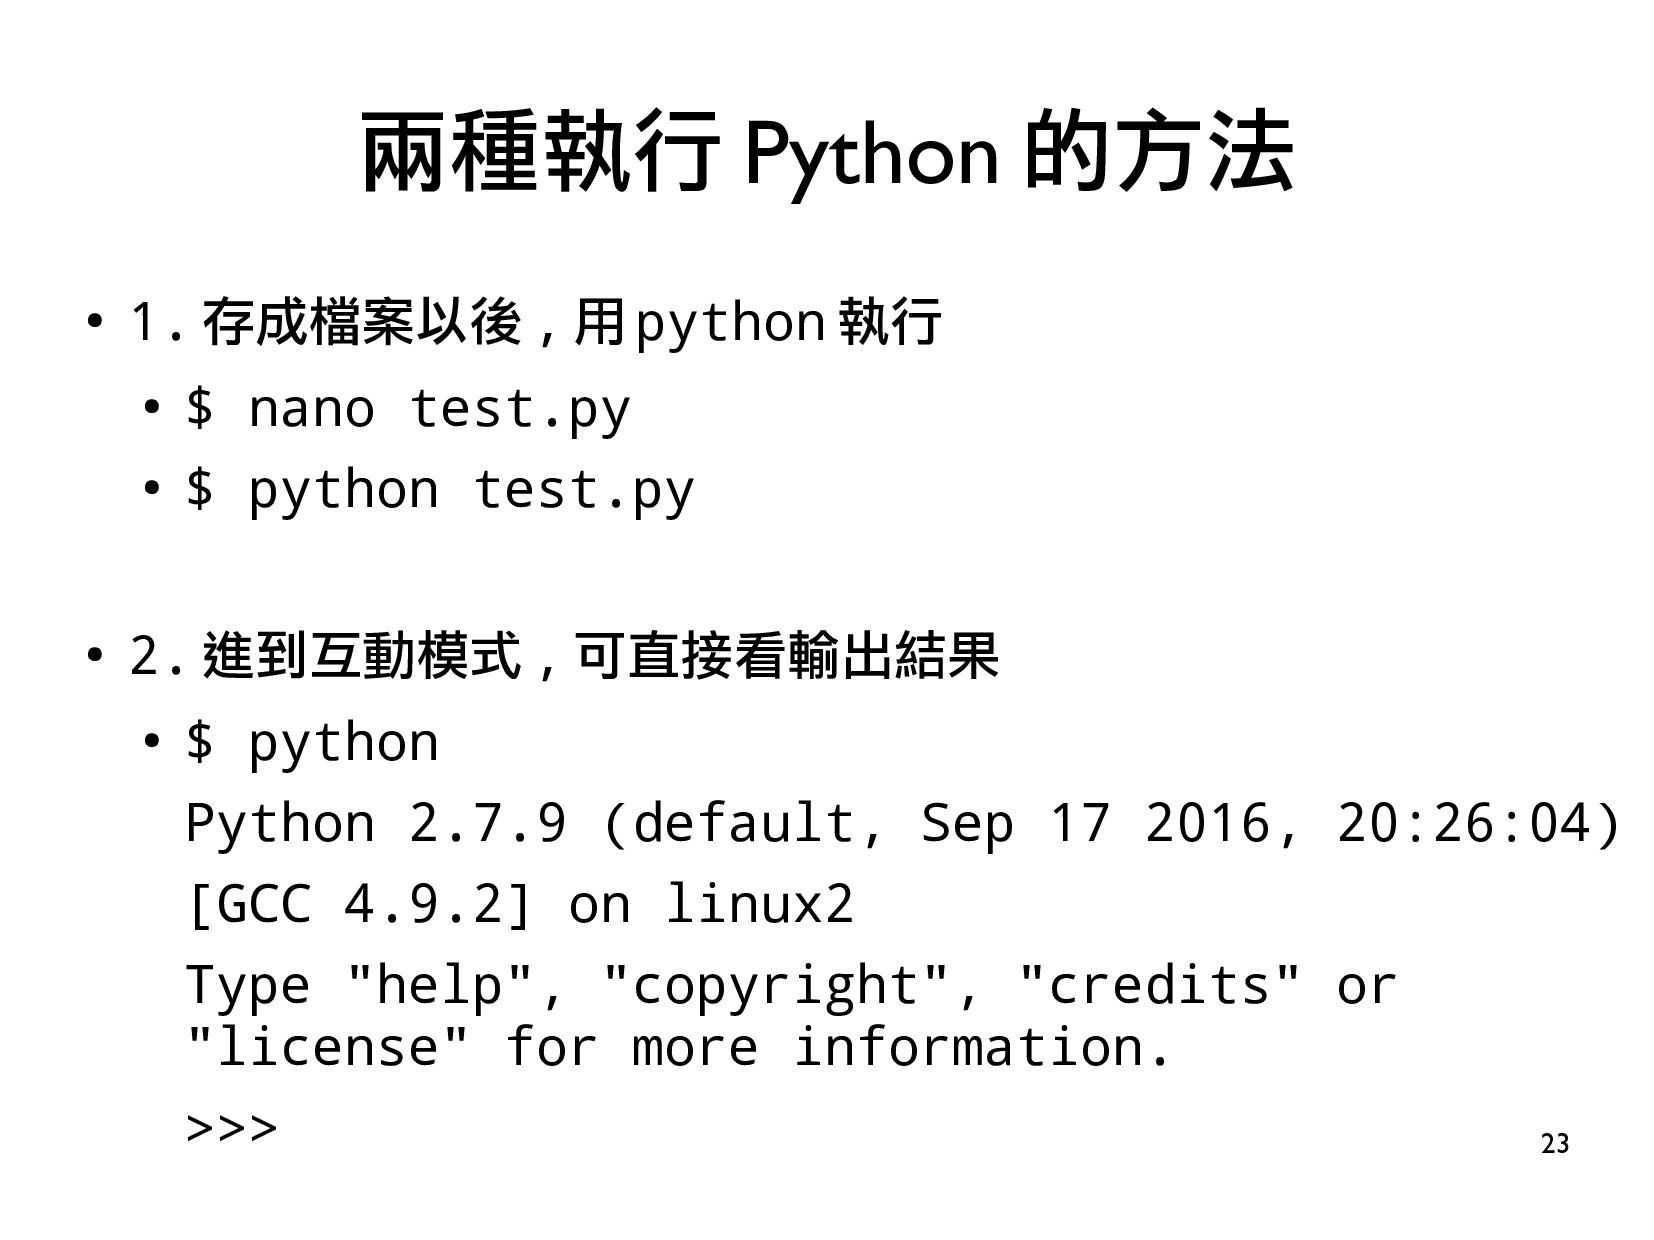
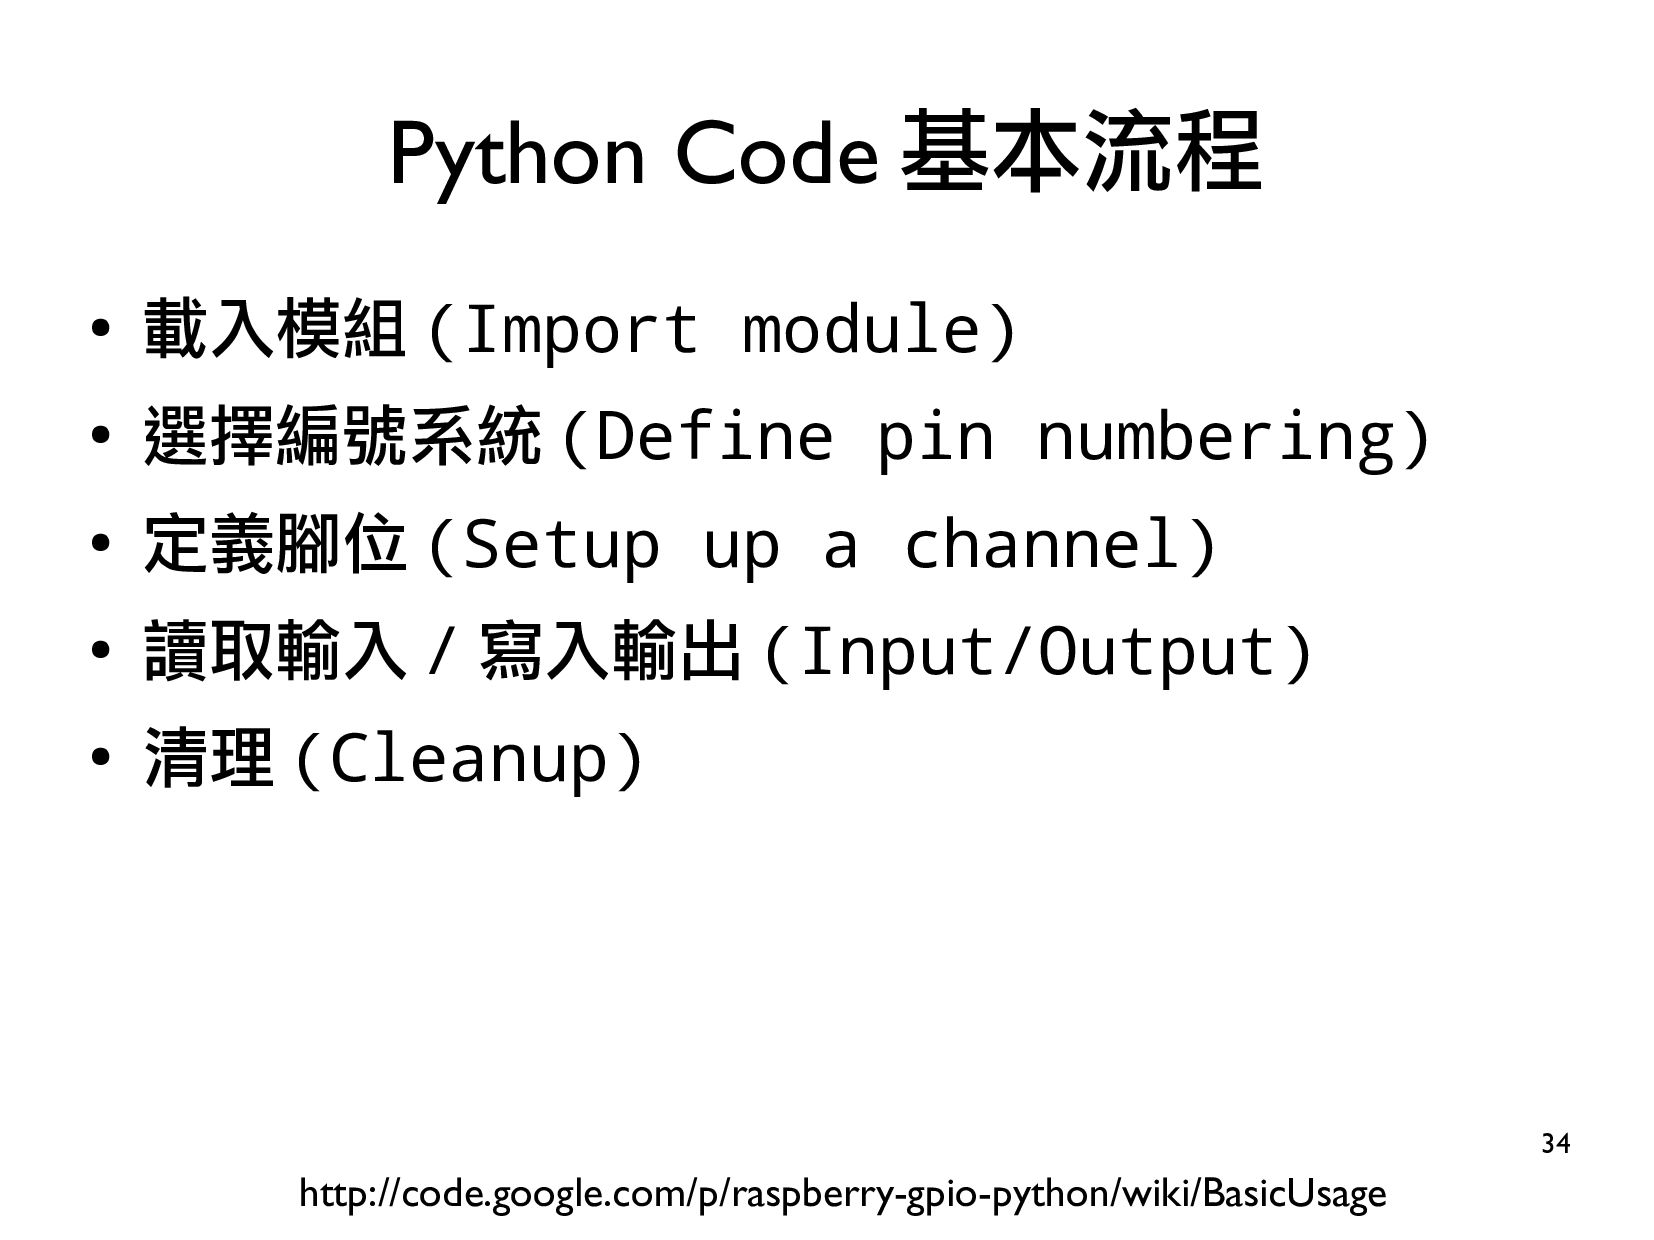
1.GPIO + Python介紹(1 小時)
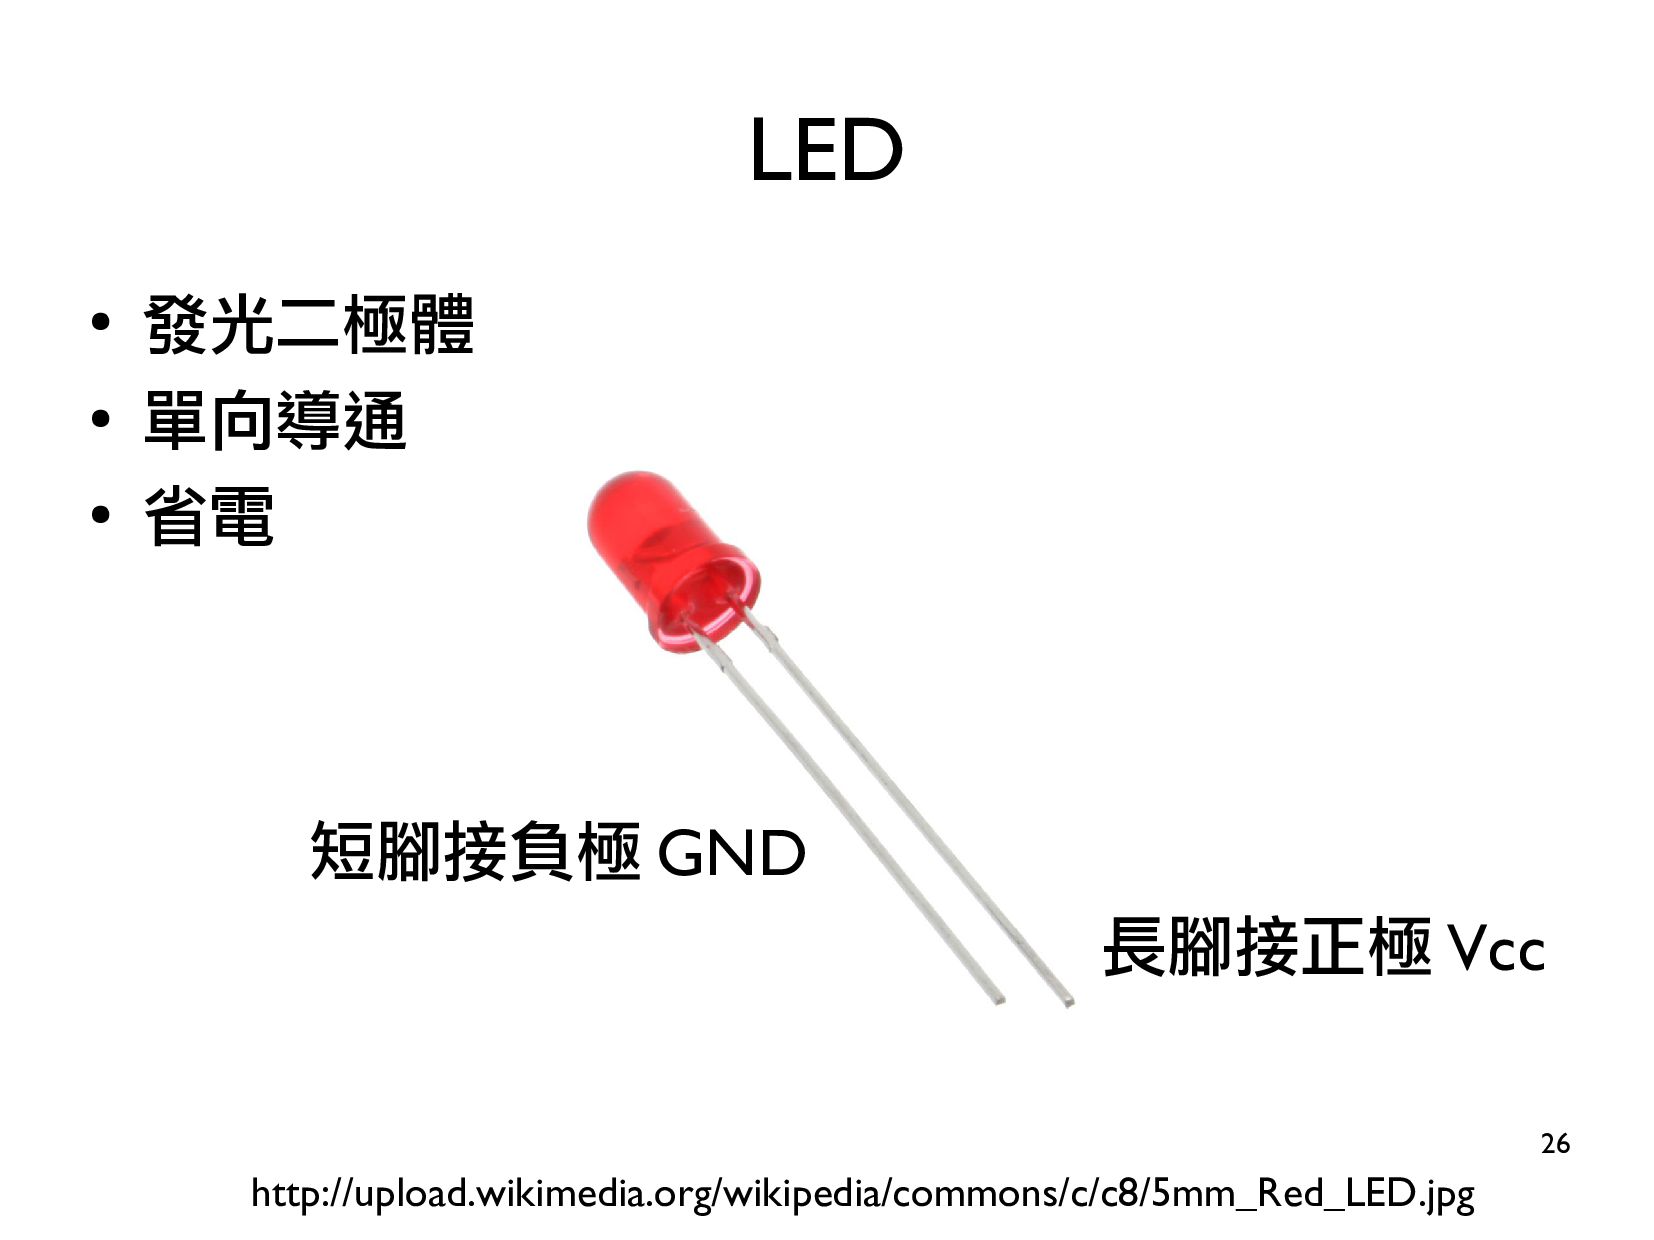
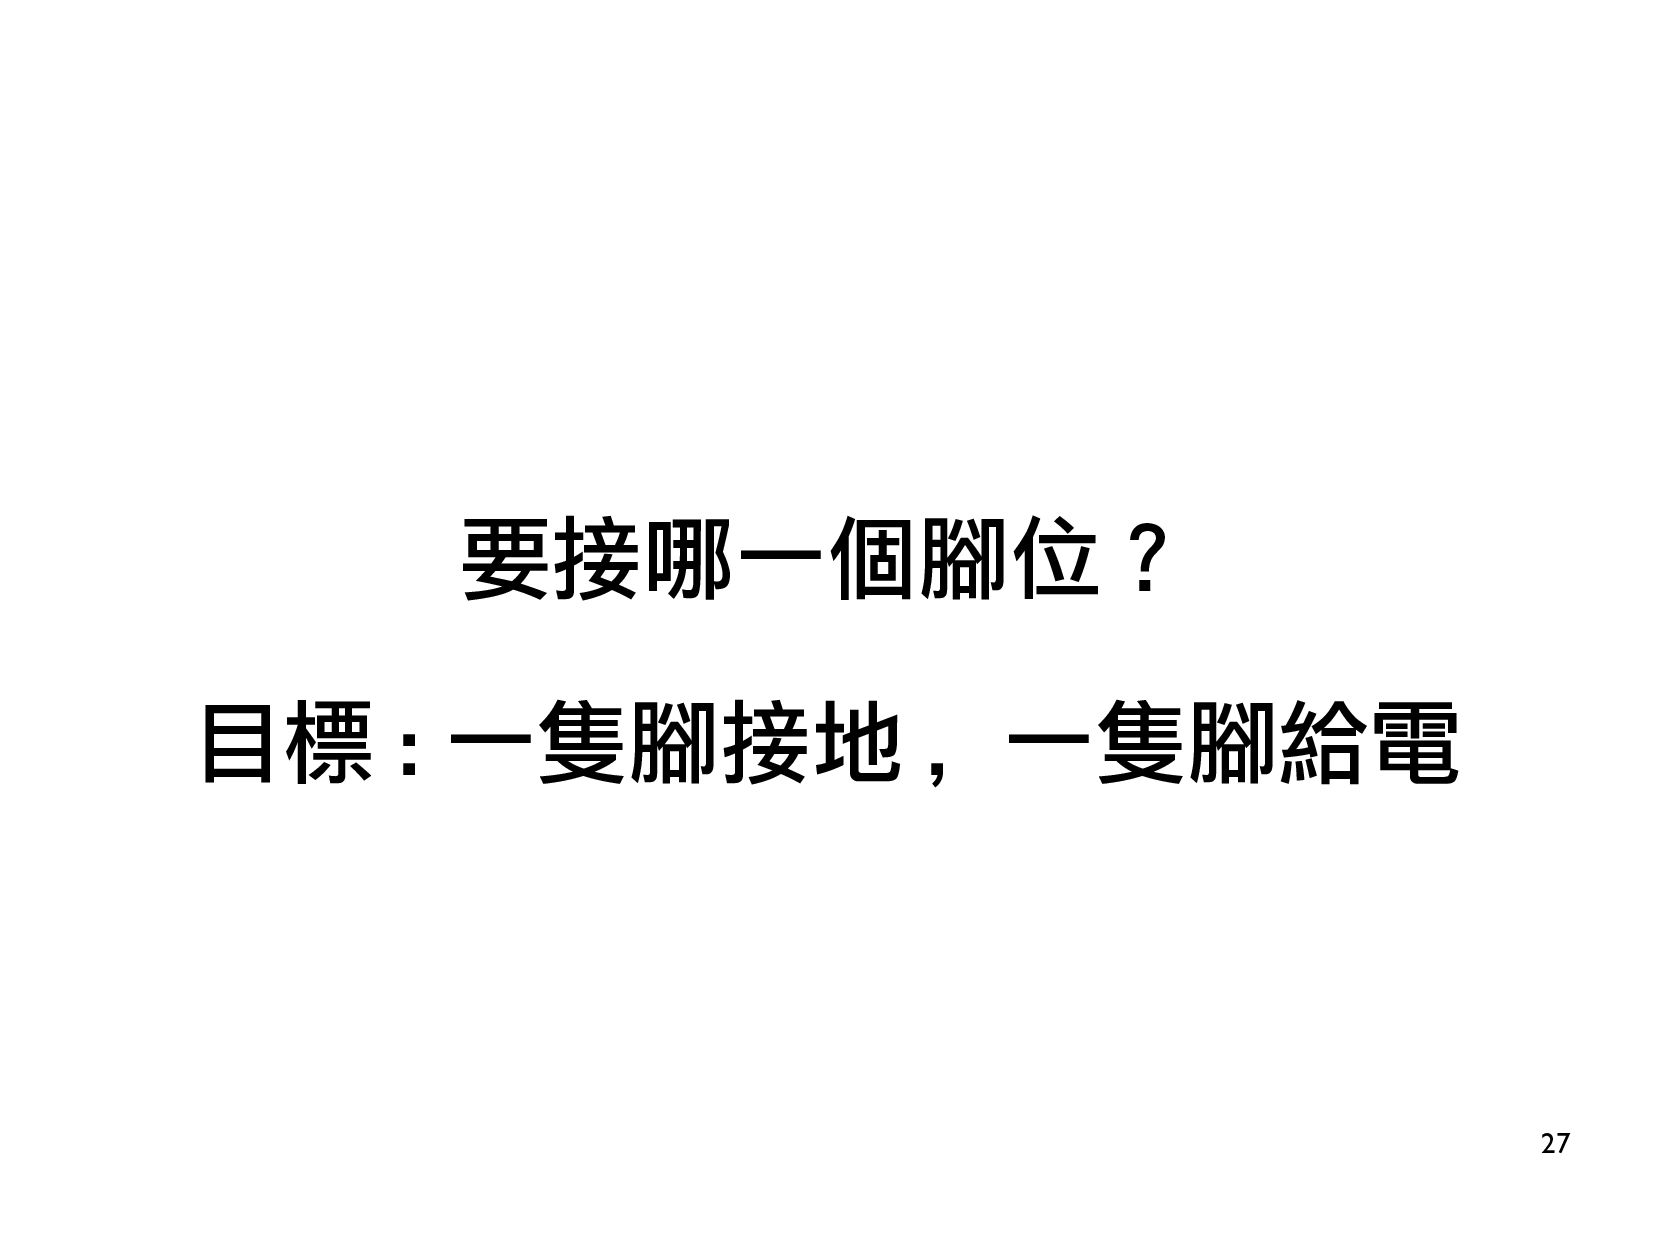
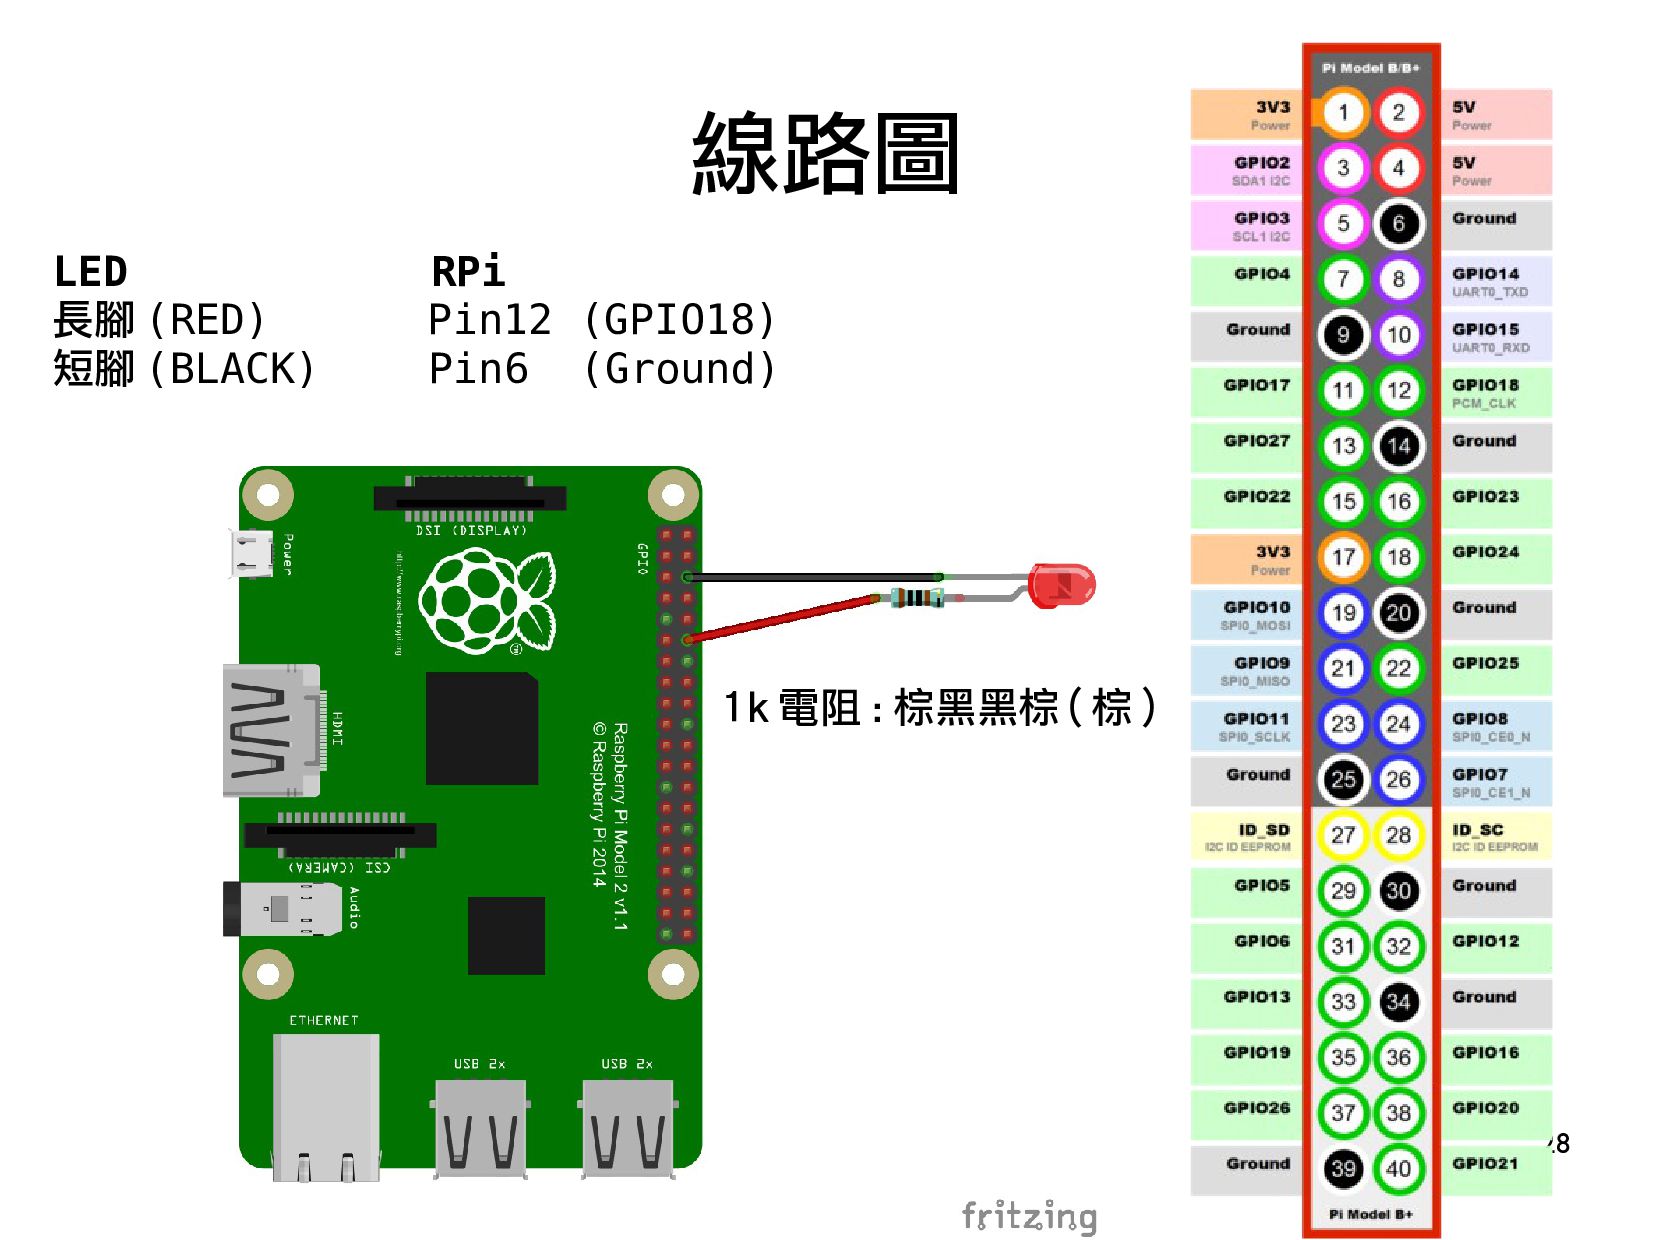
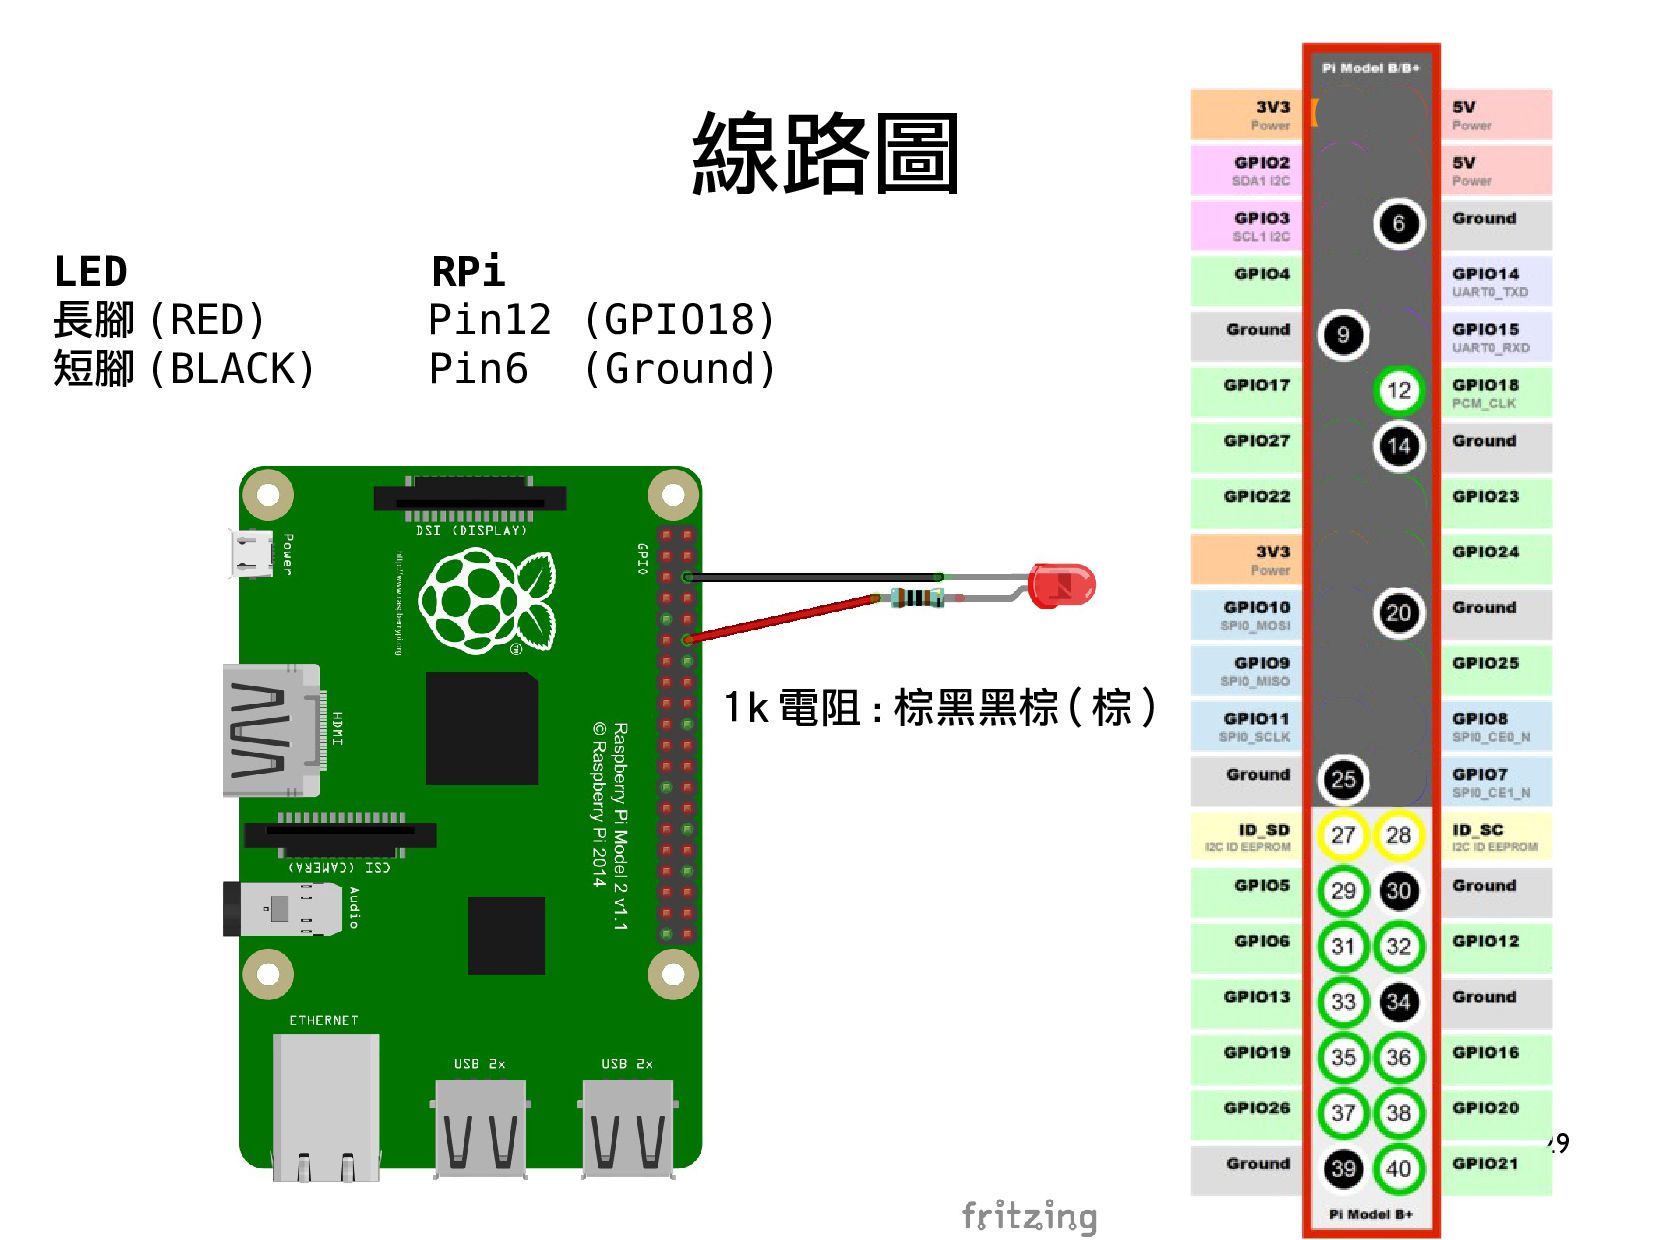
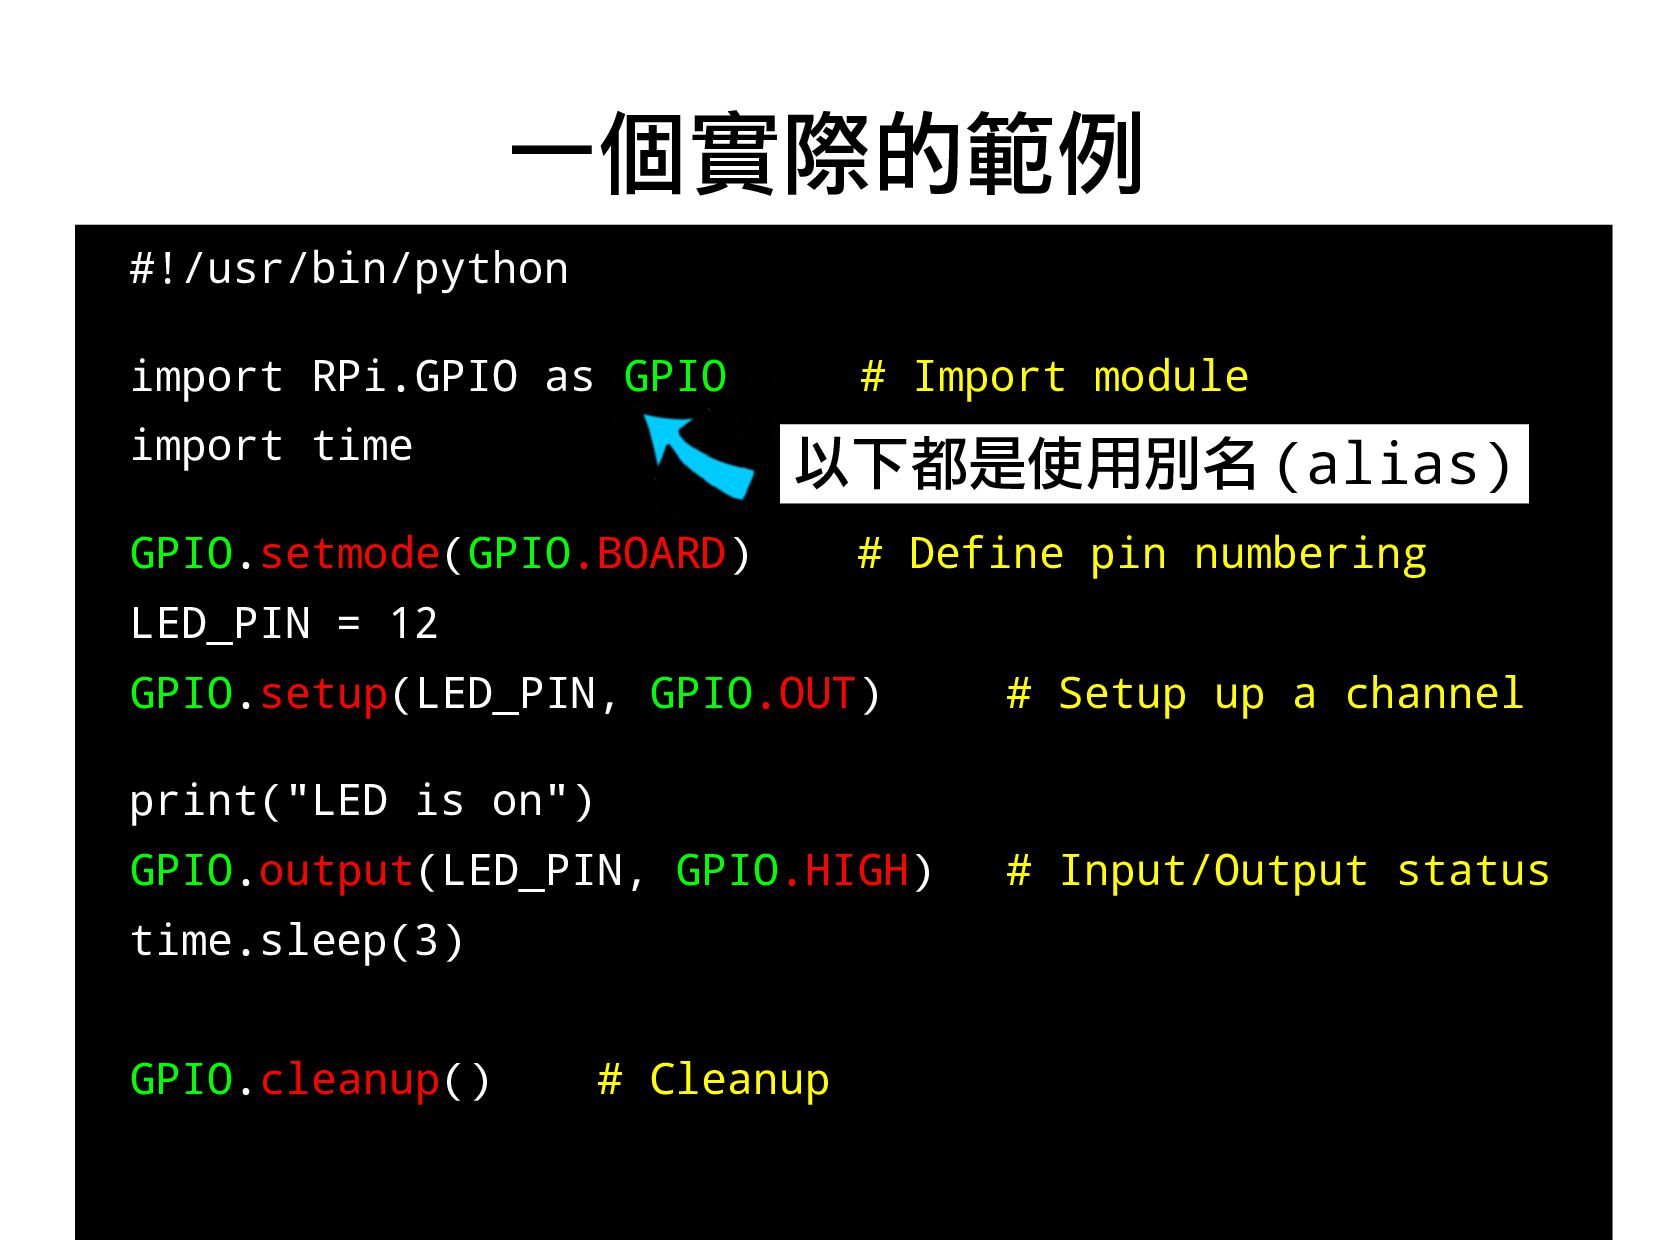
2.數位輸出,使用 Python 控制 LED(1 小時)
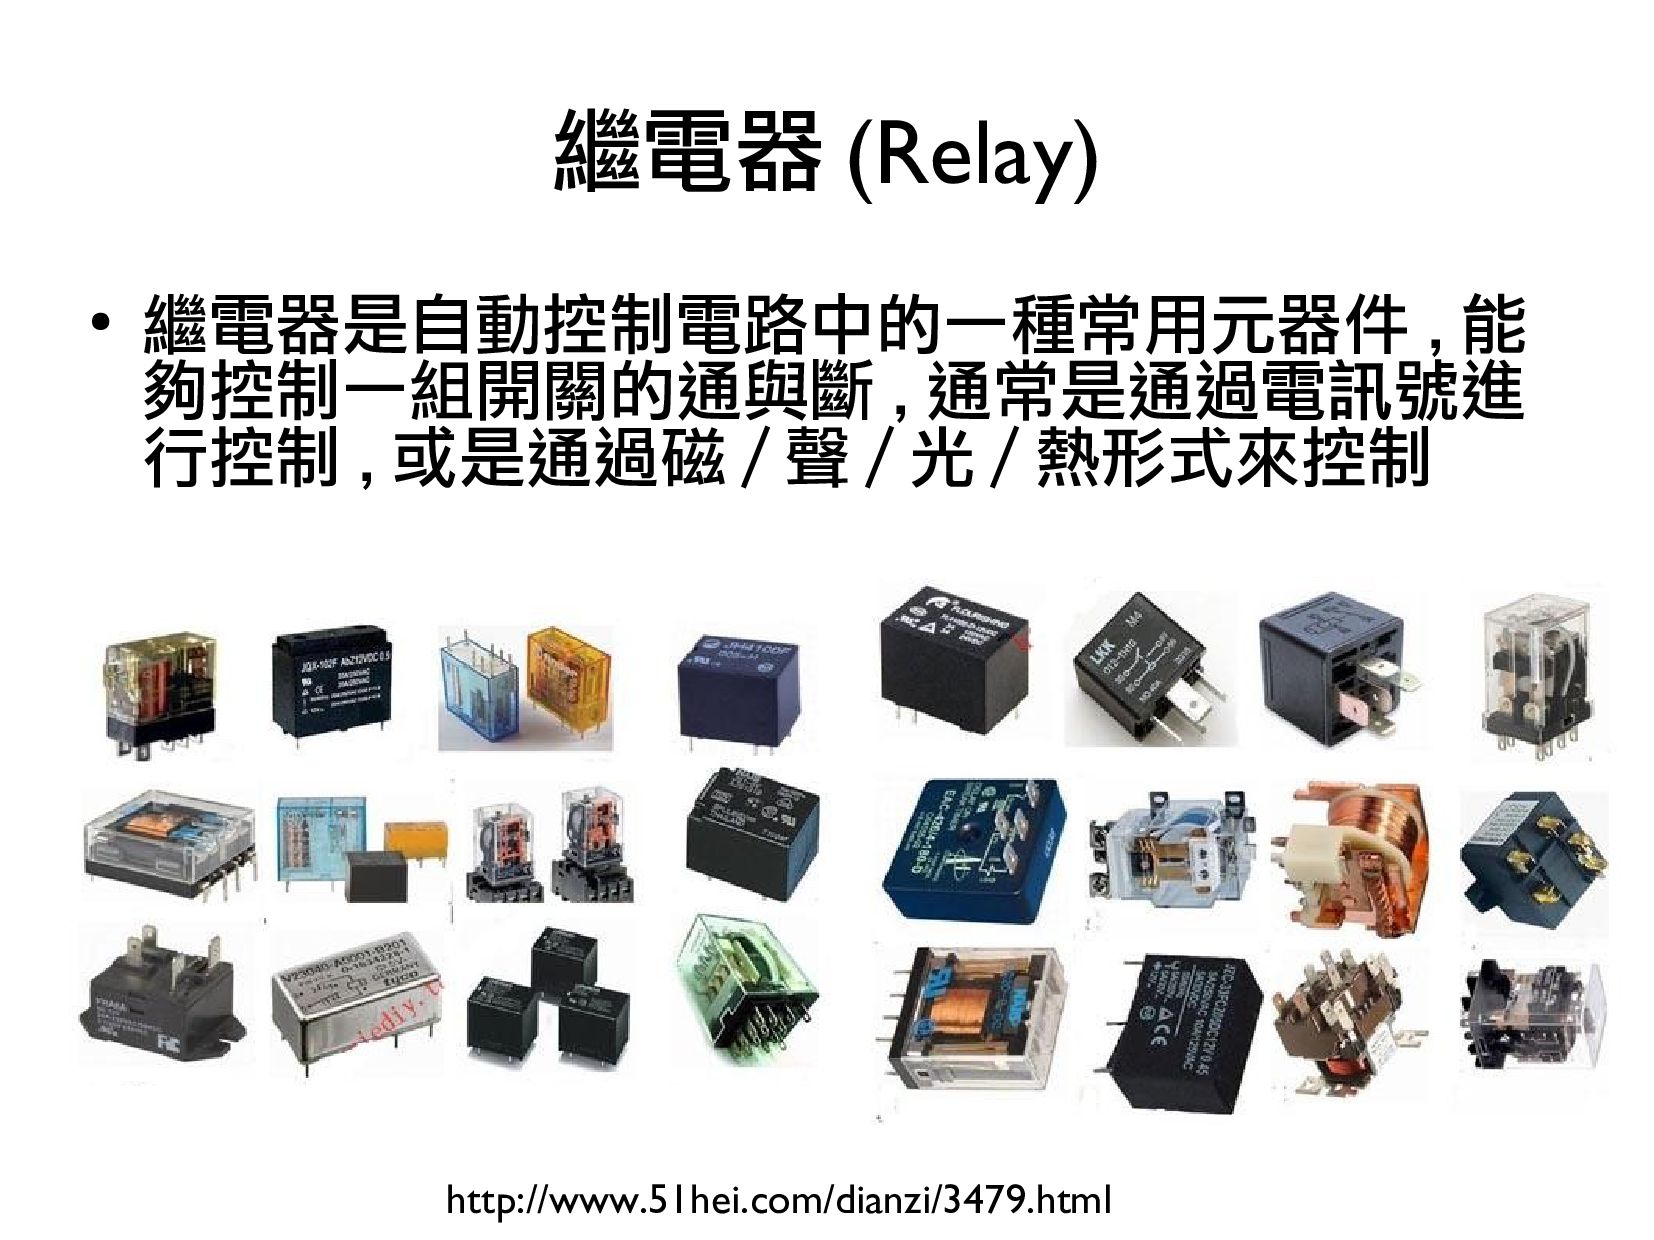
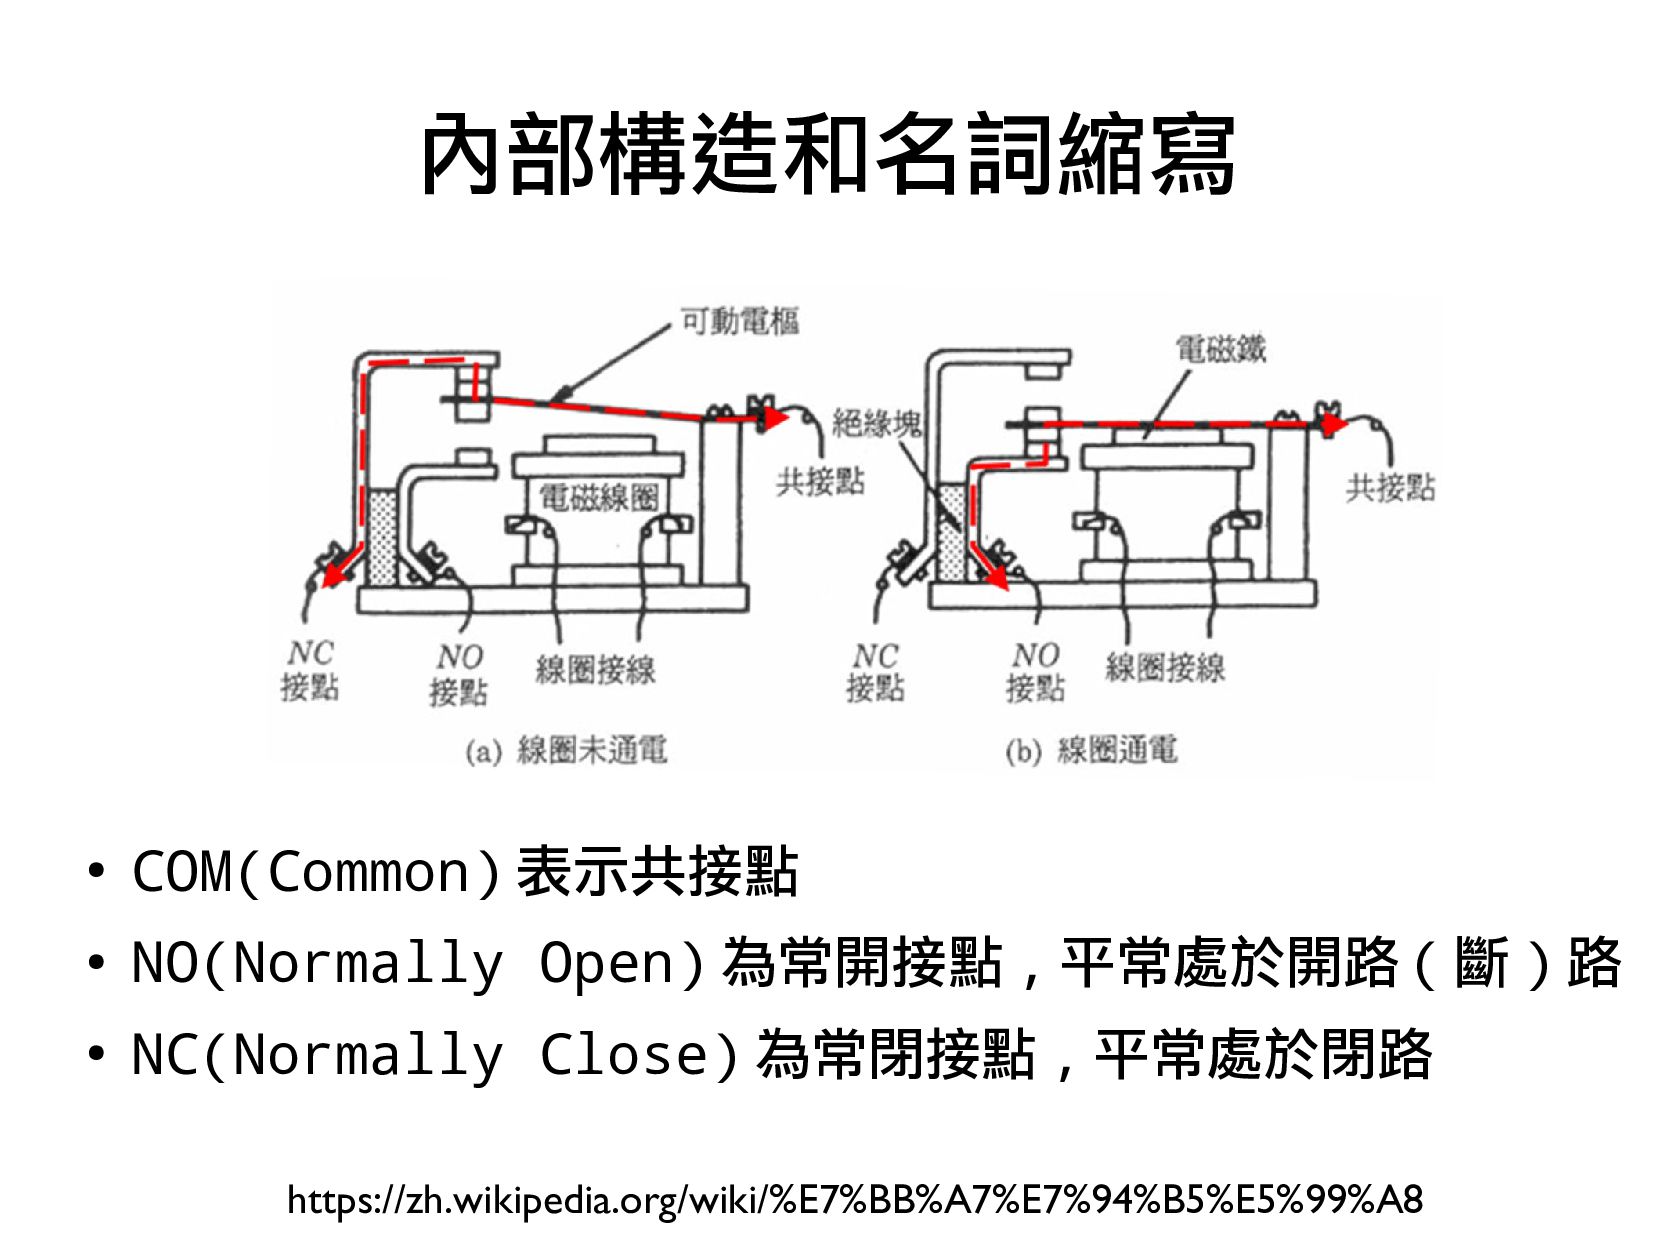
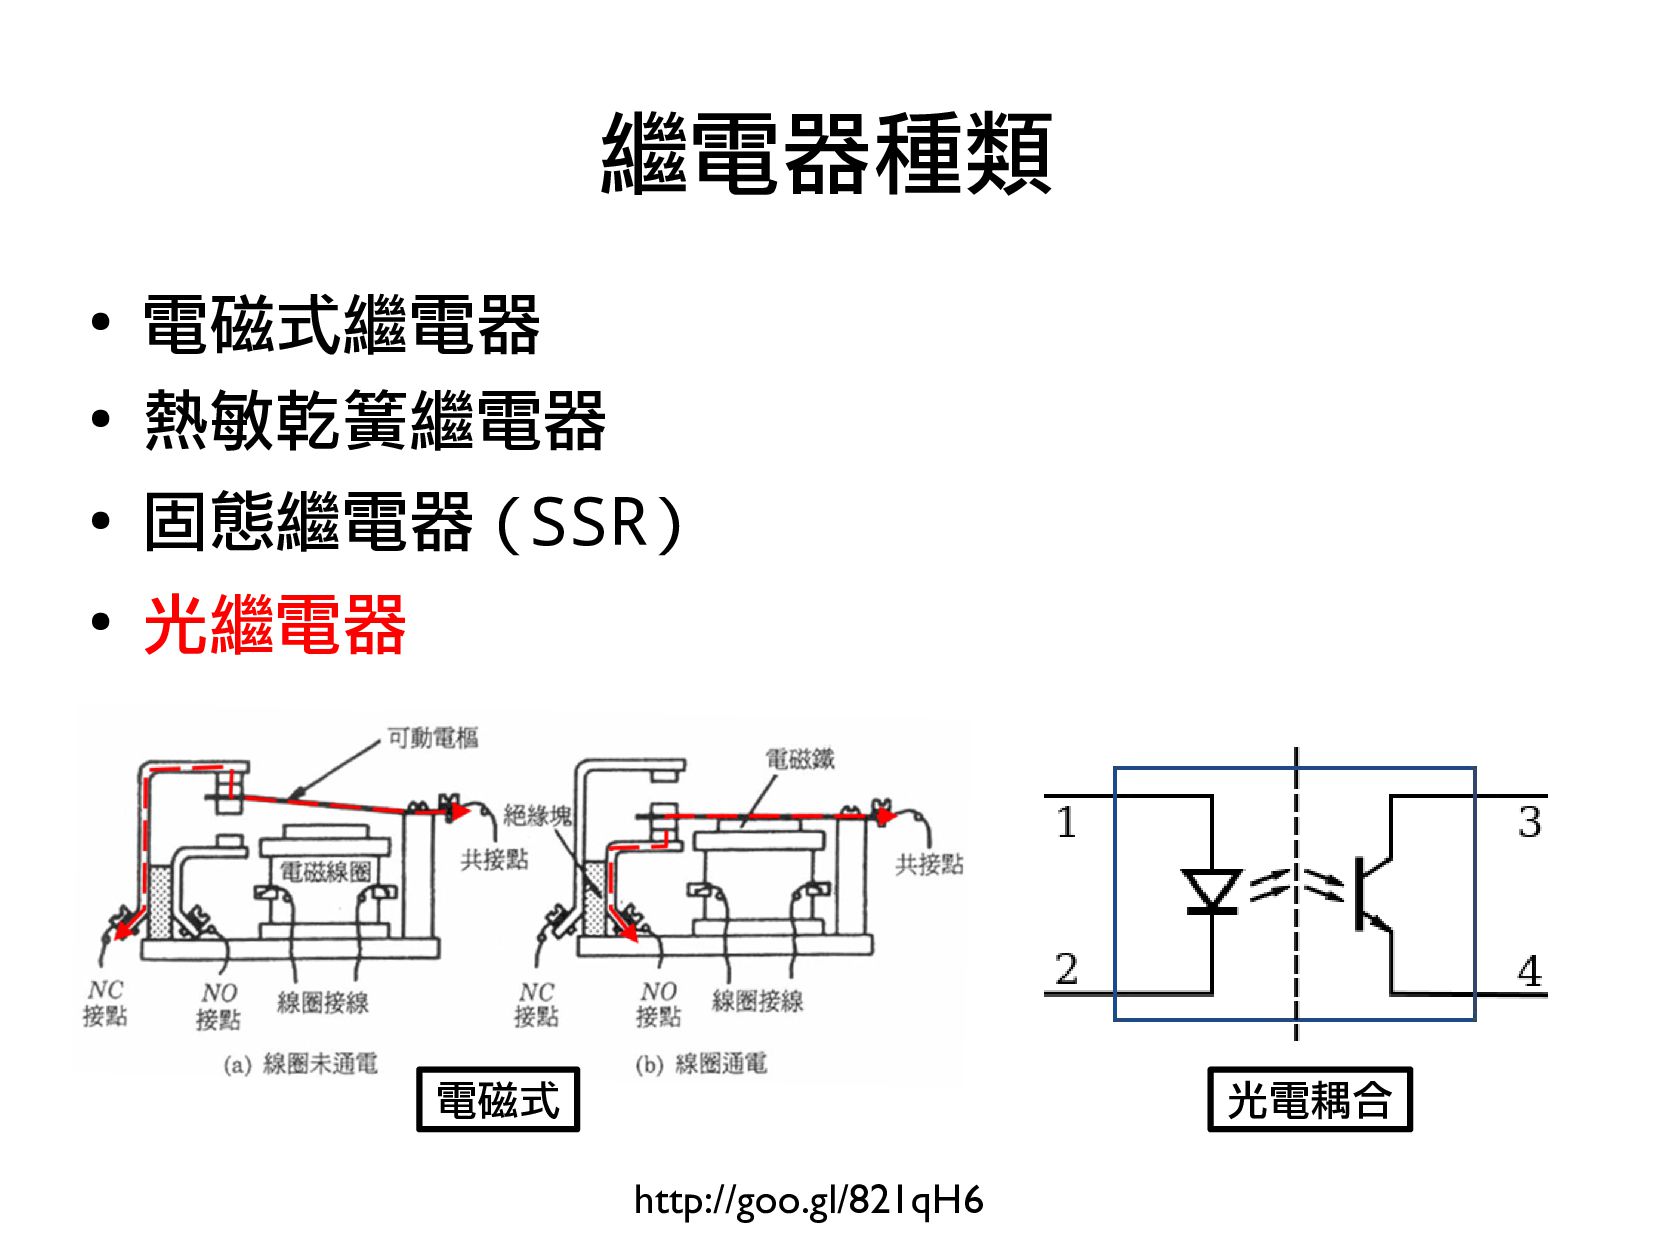
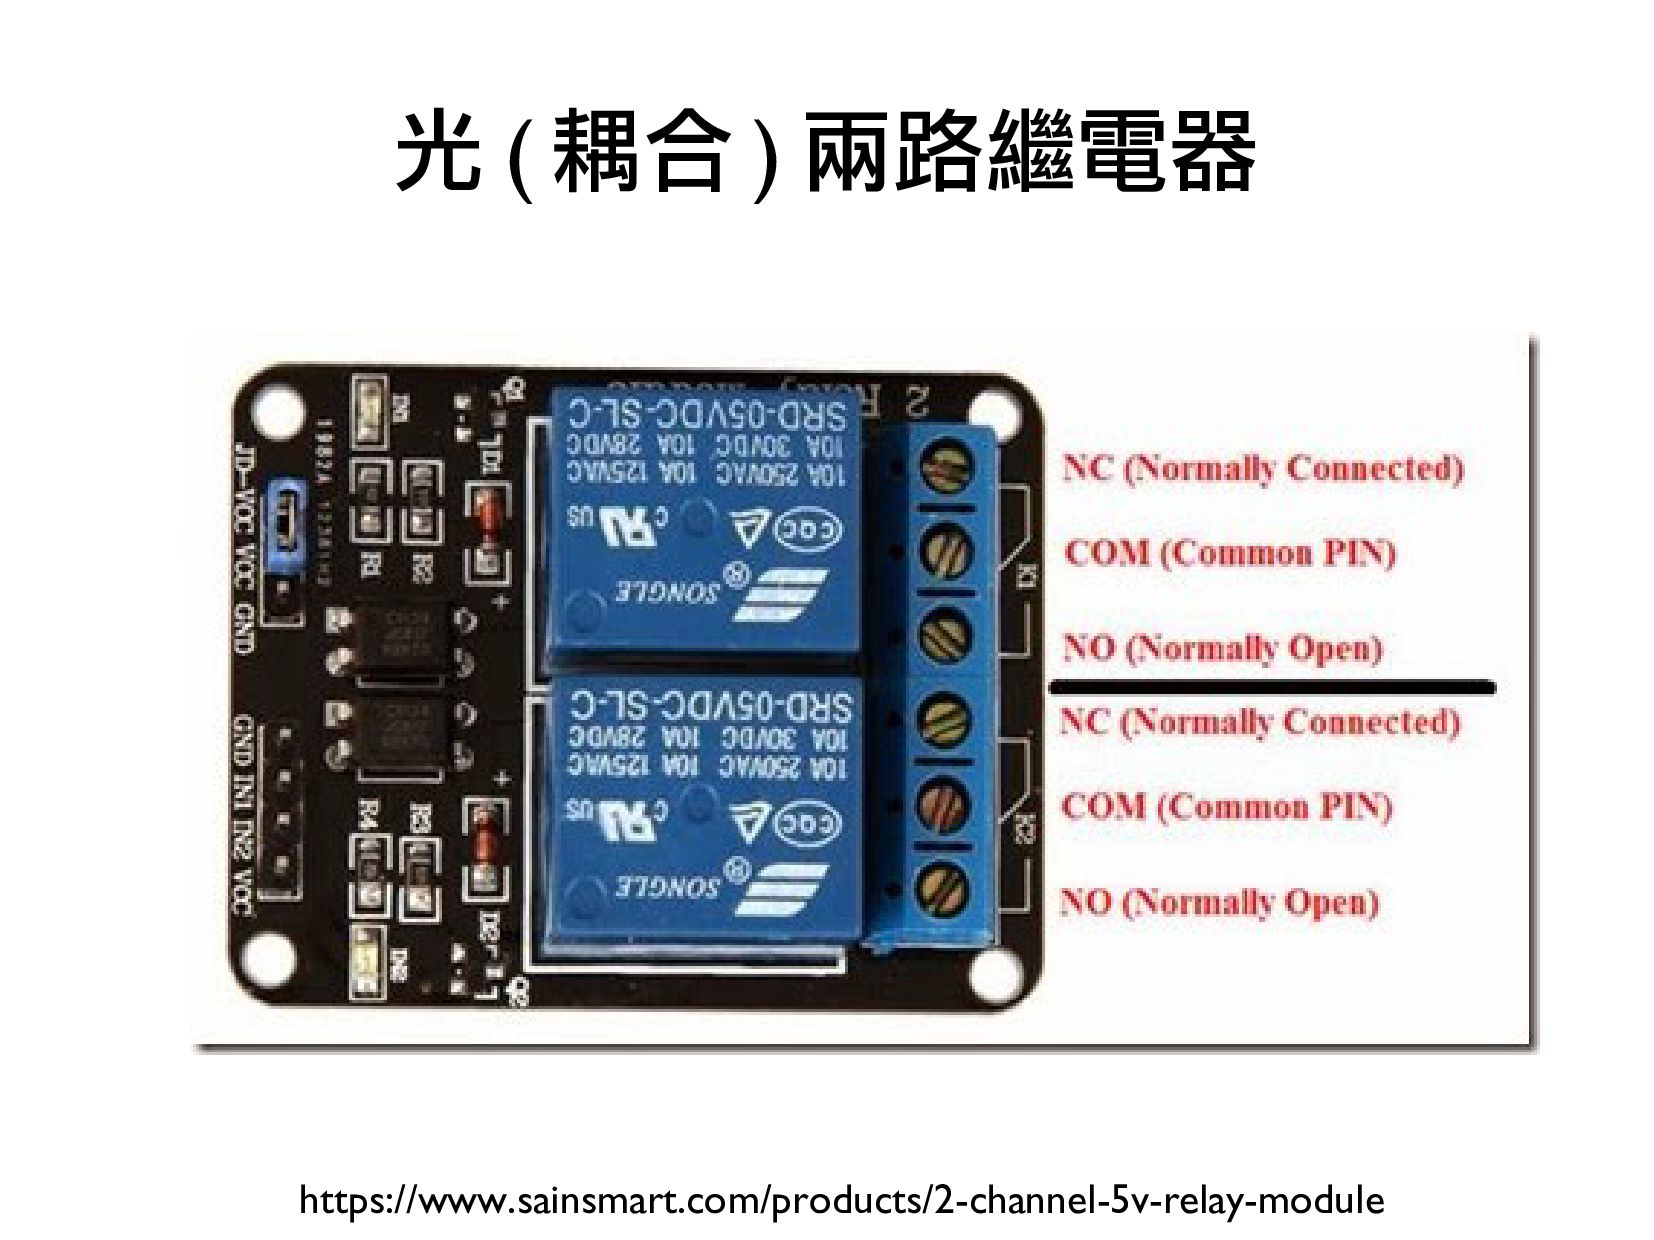
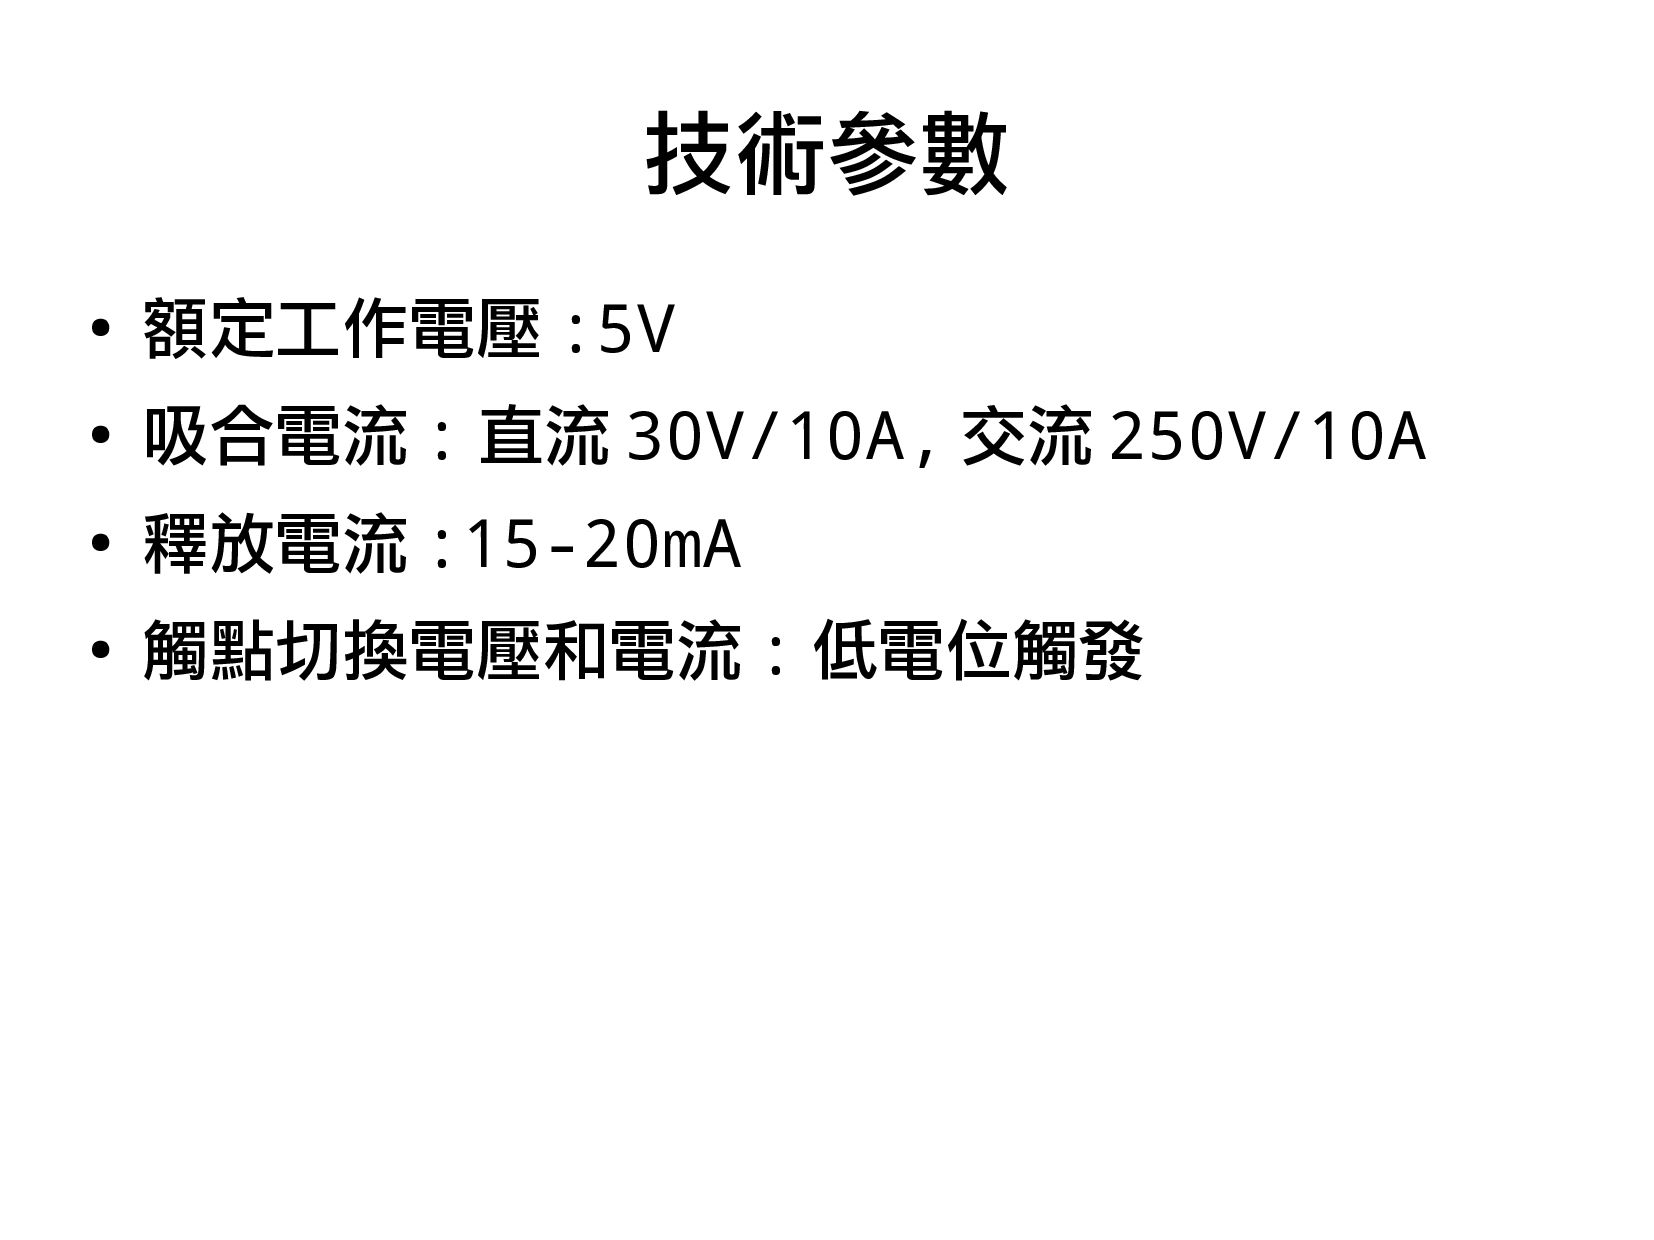
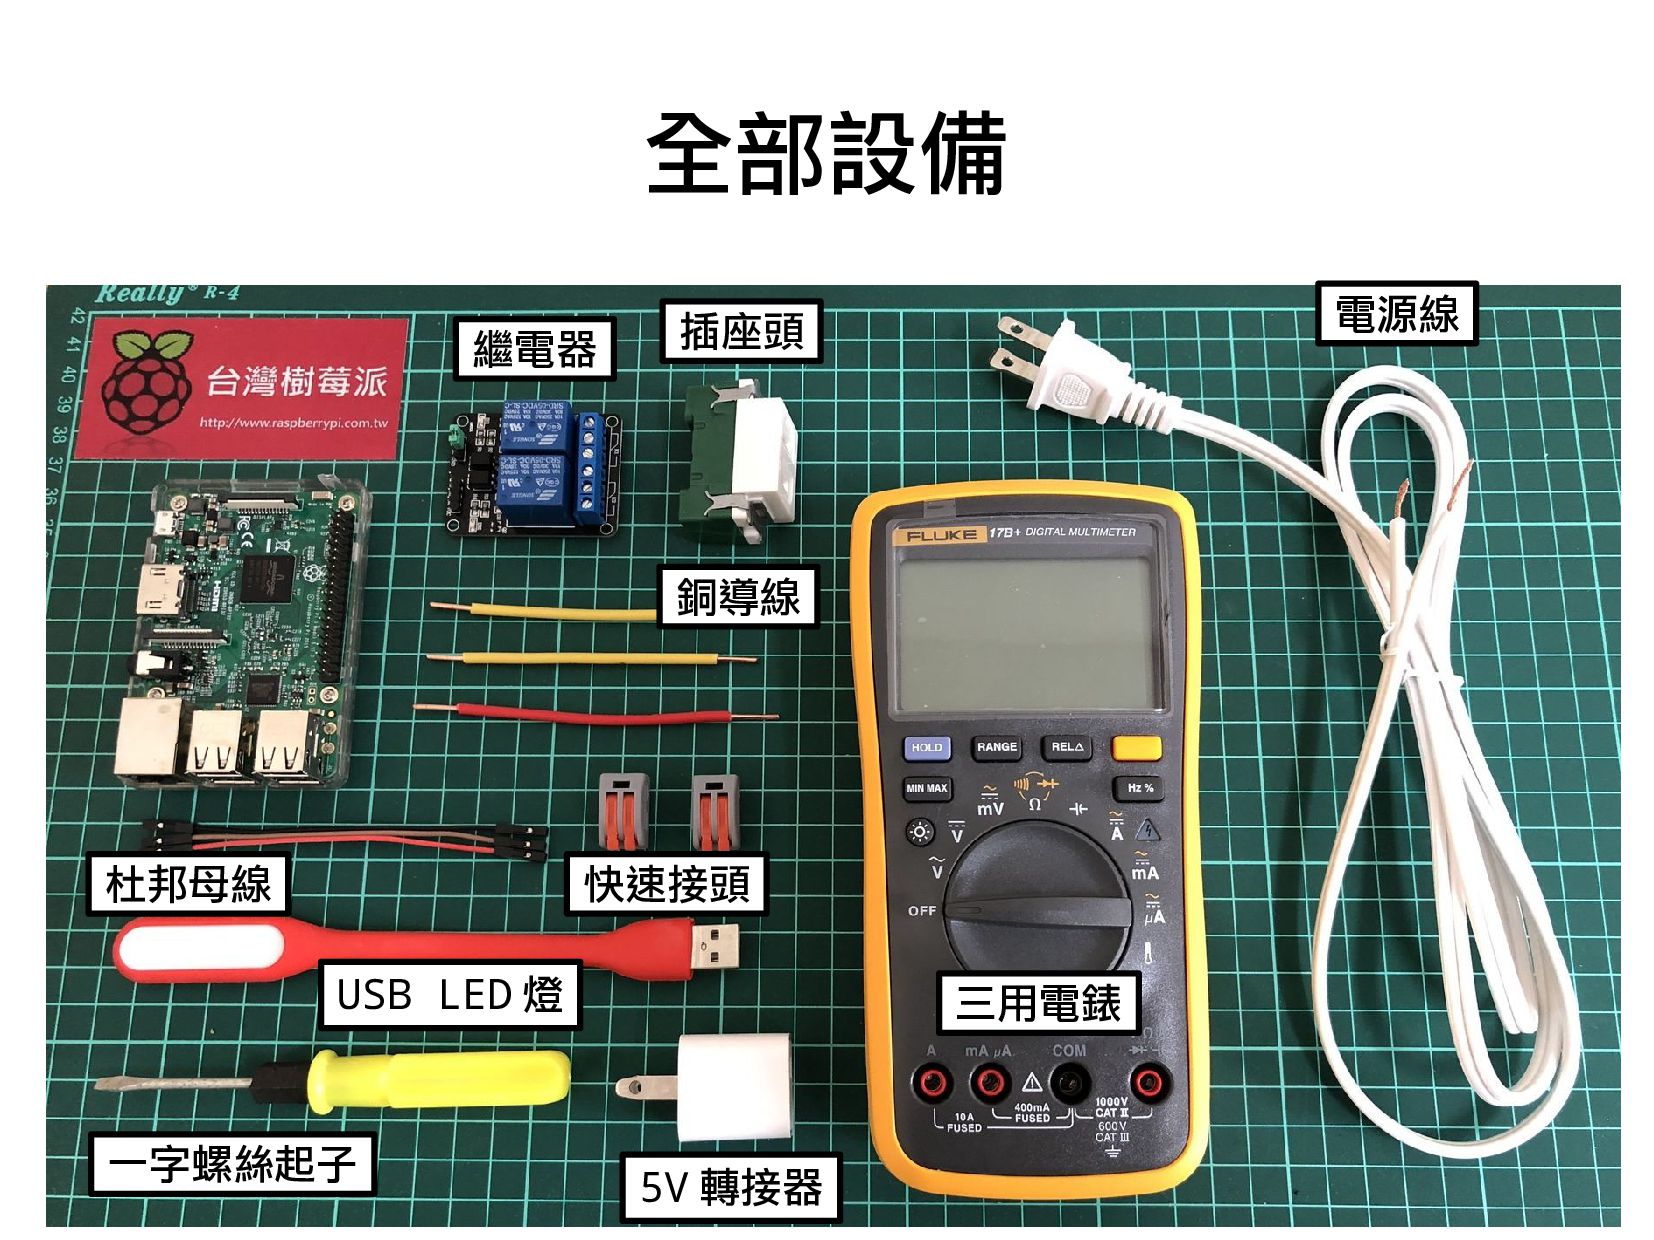
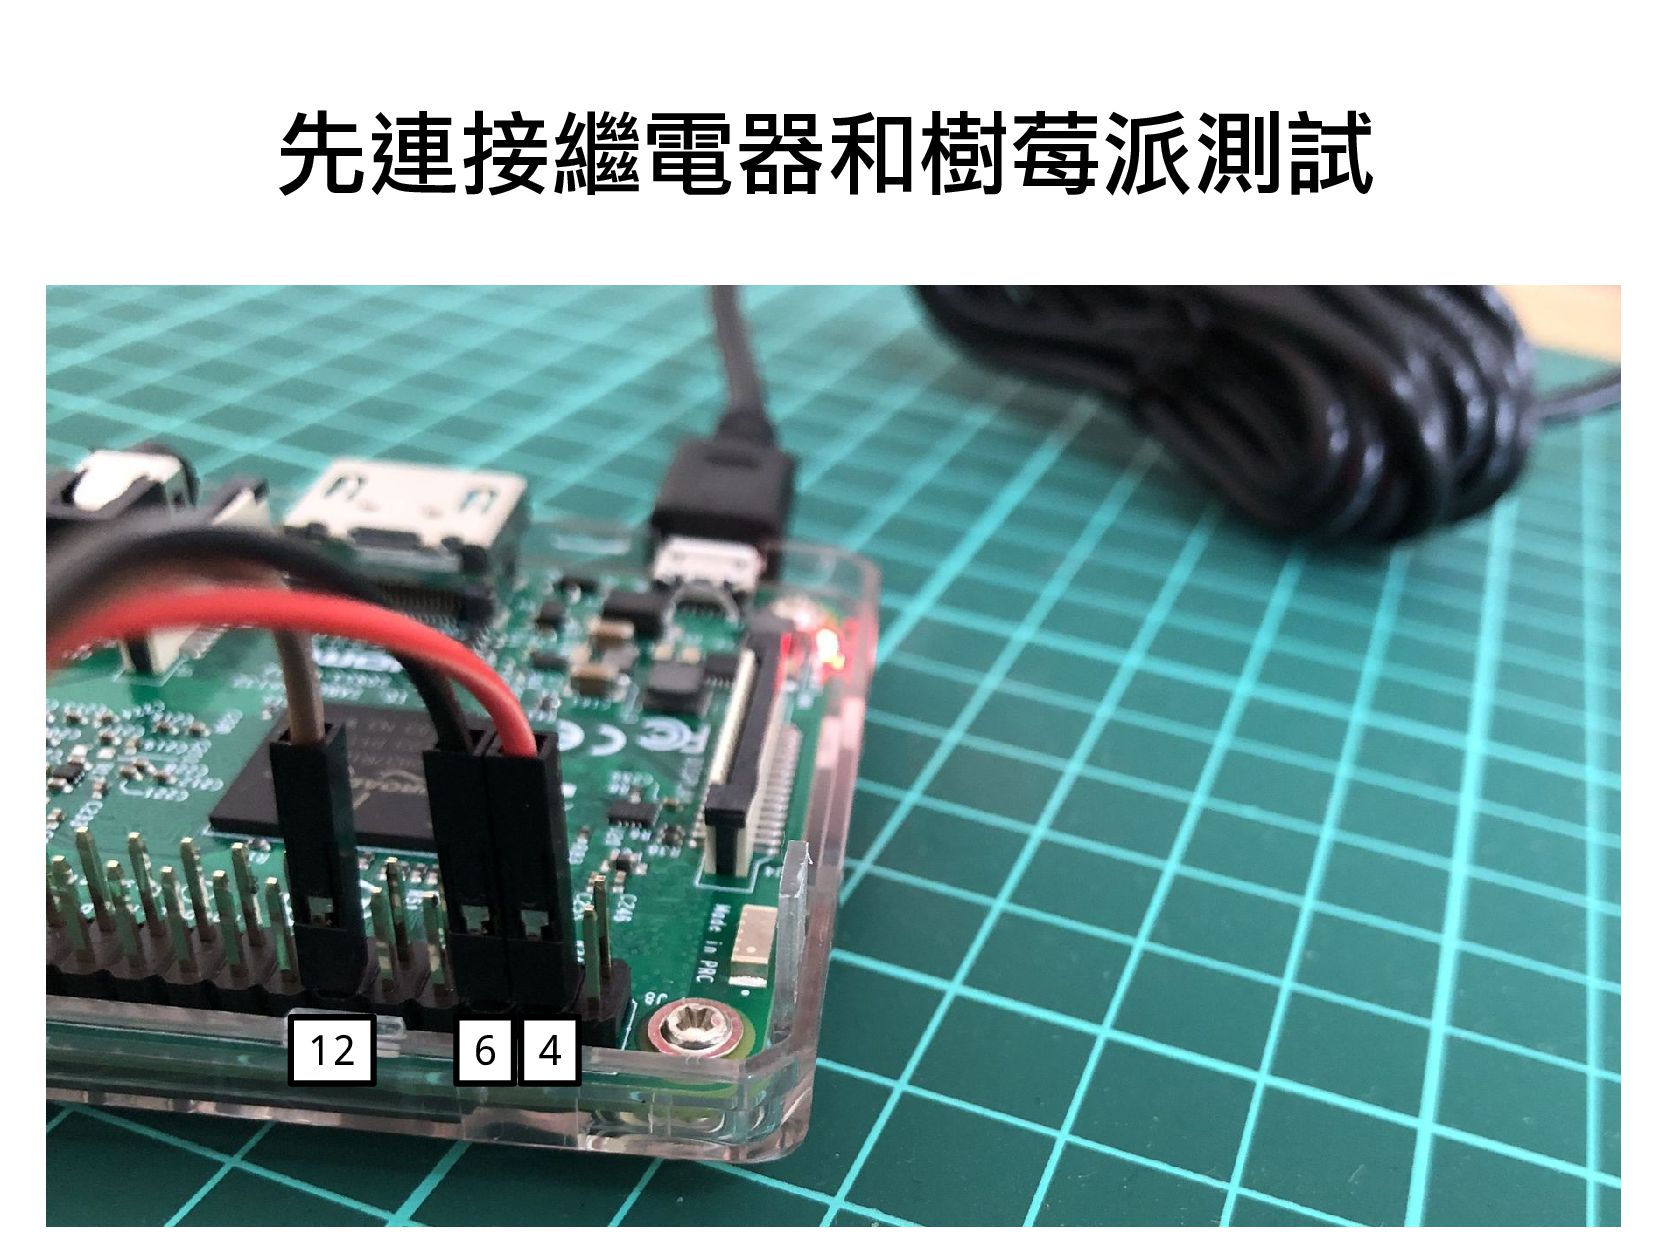
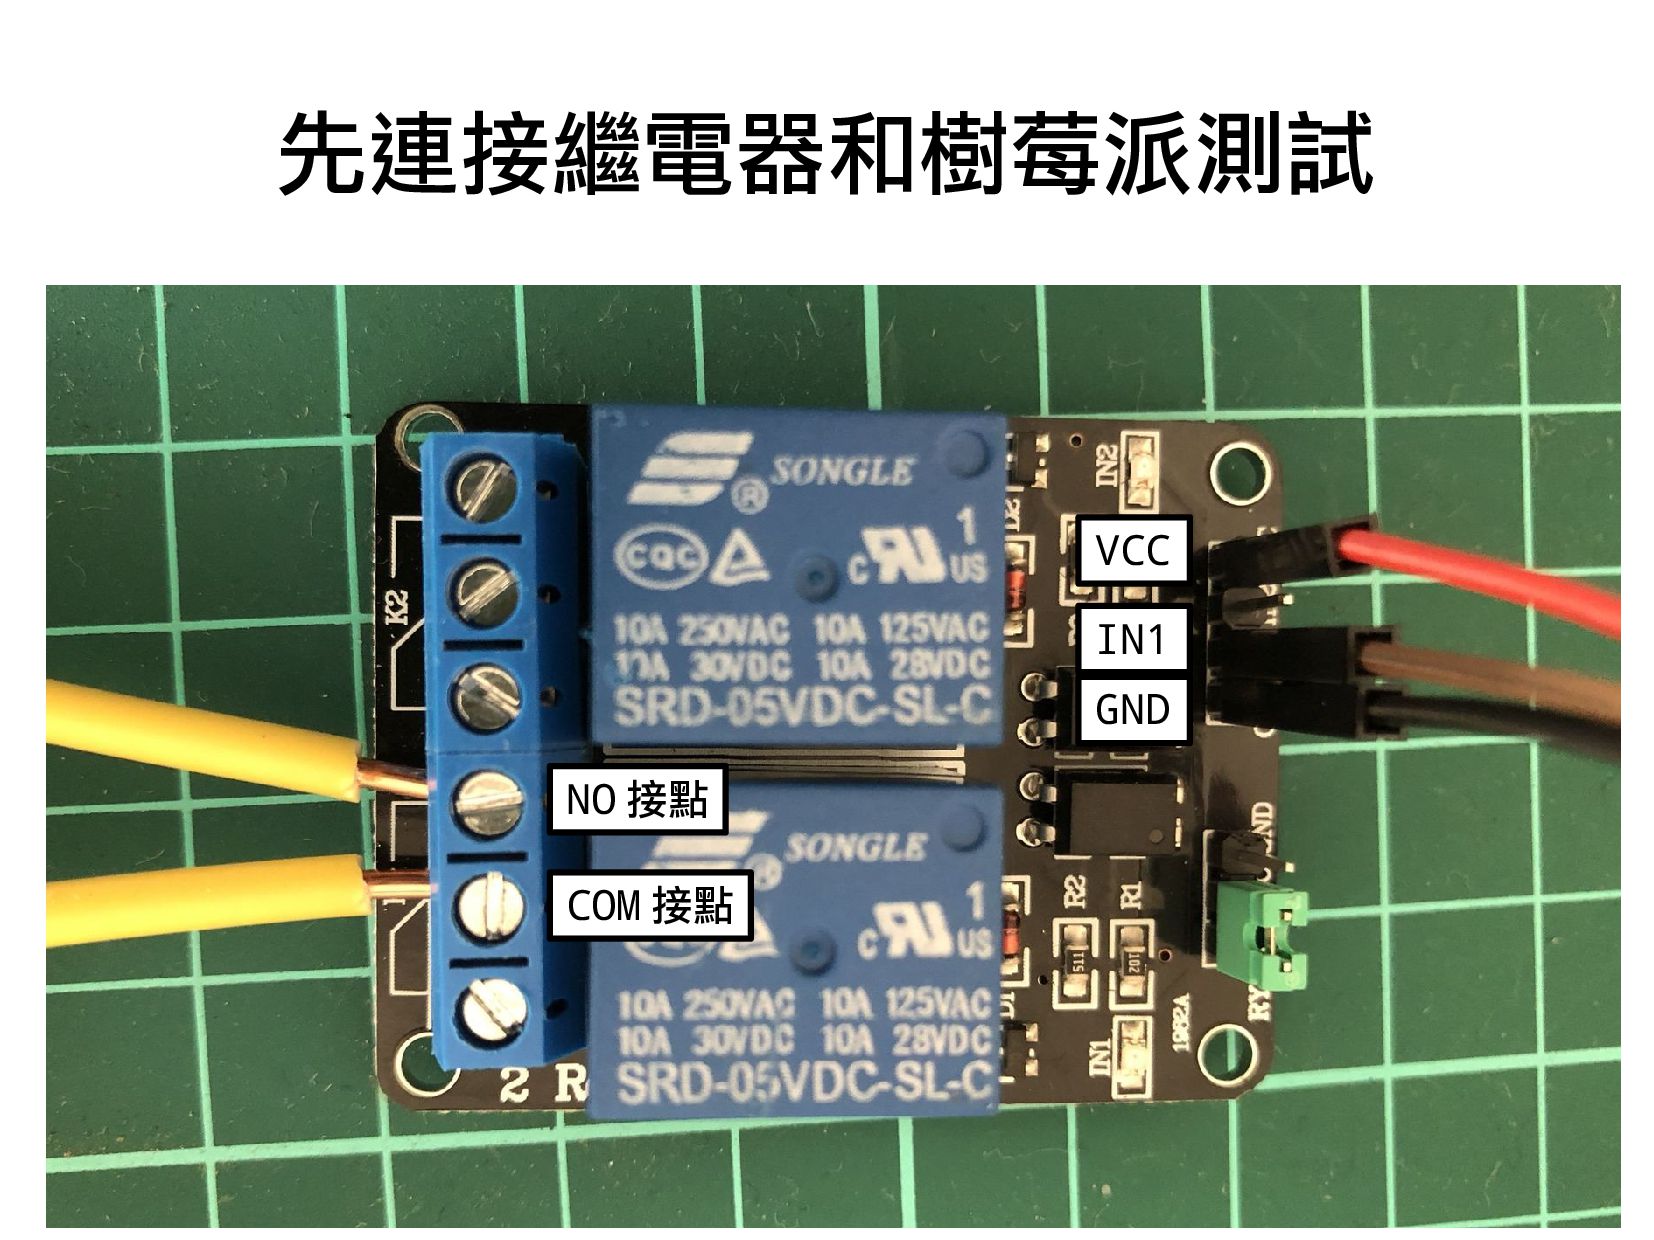
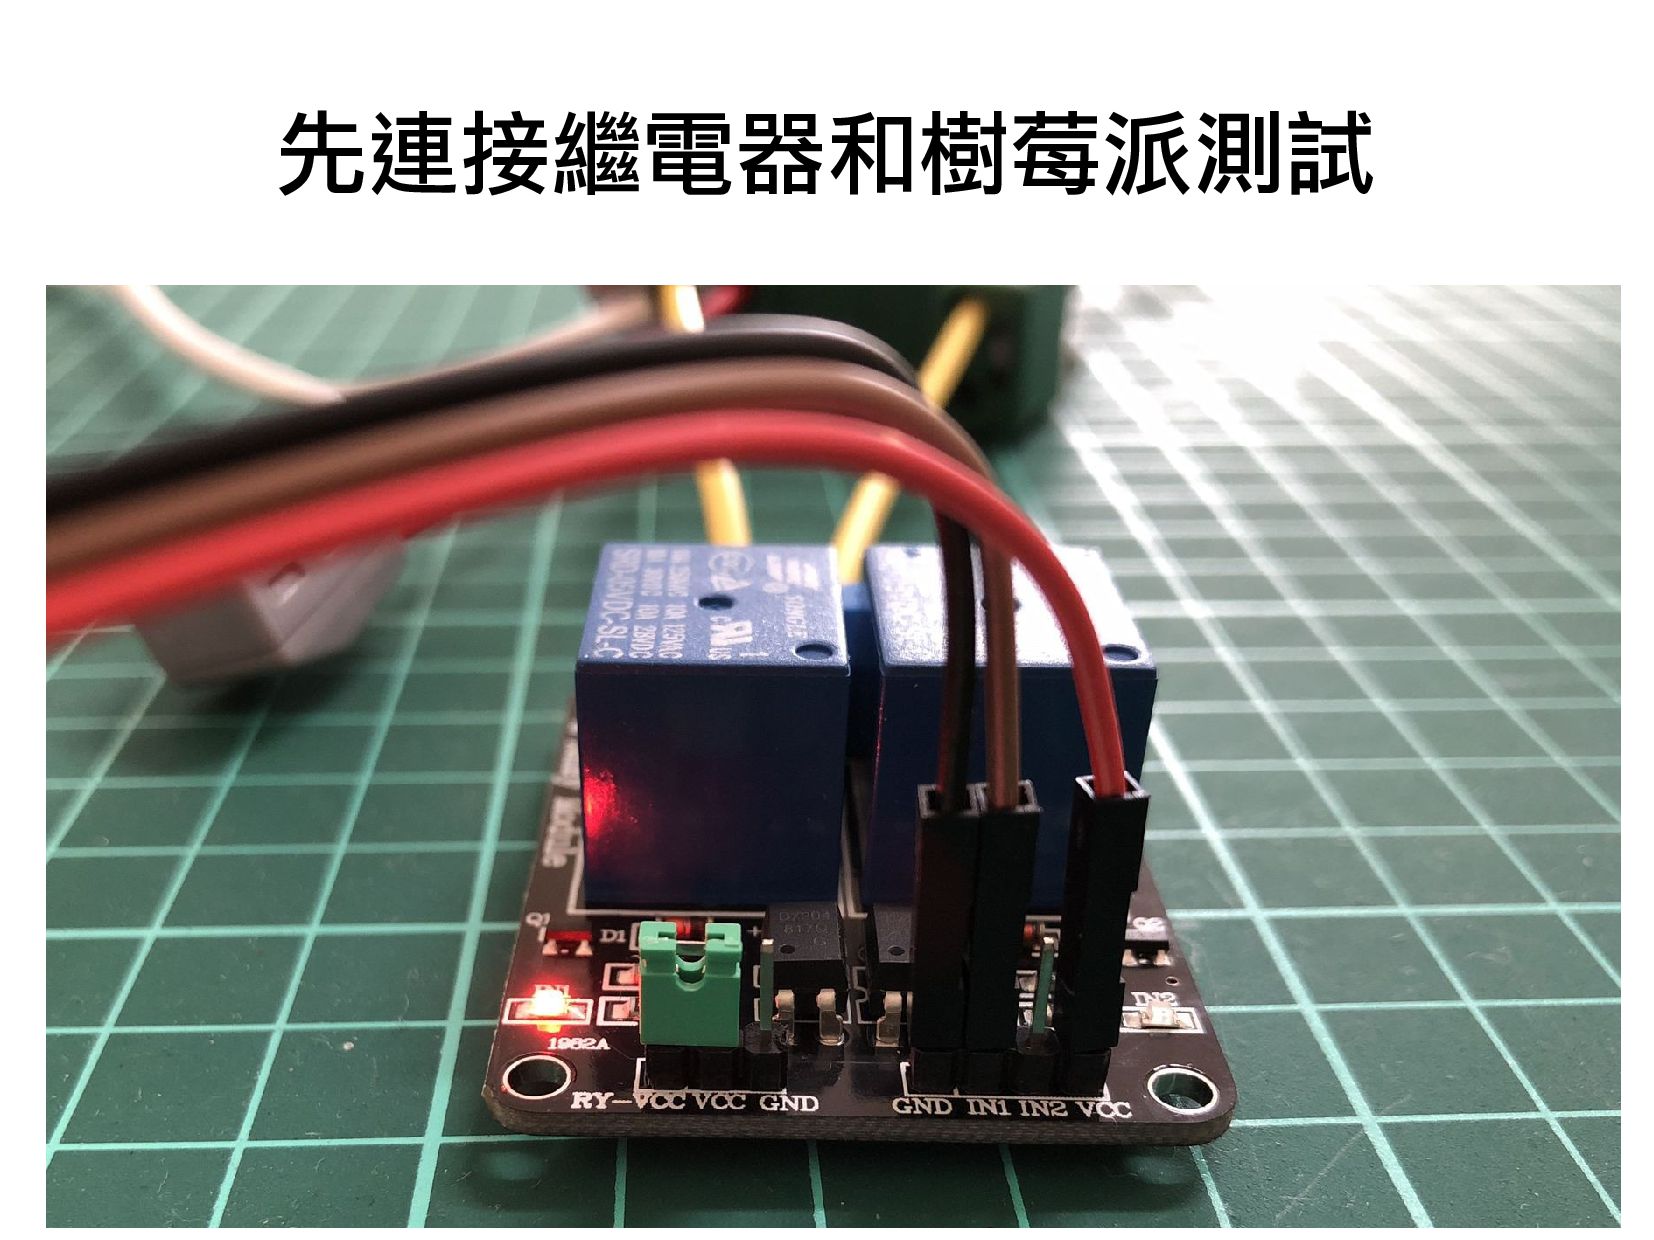
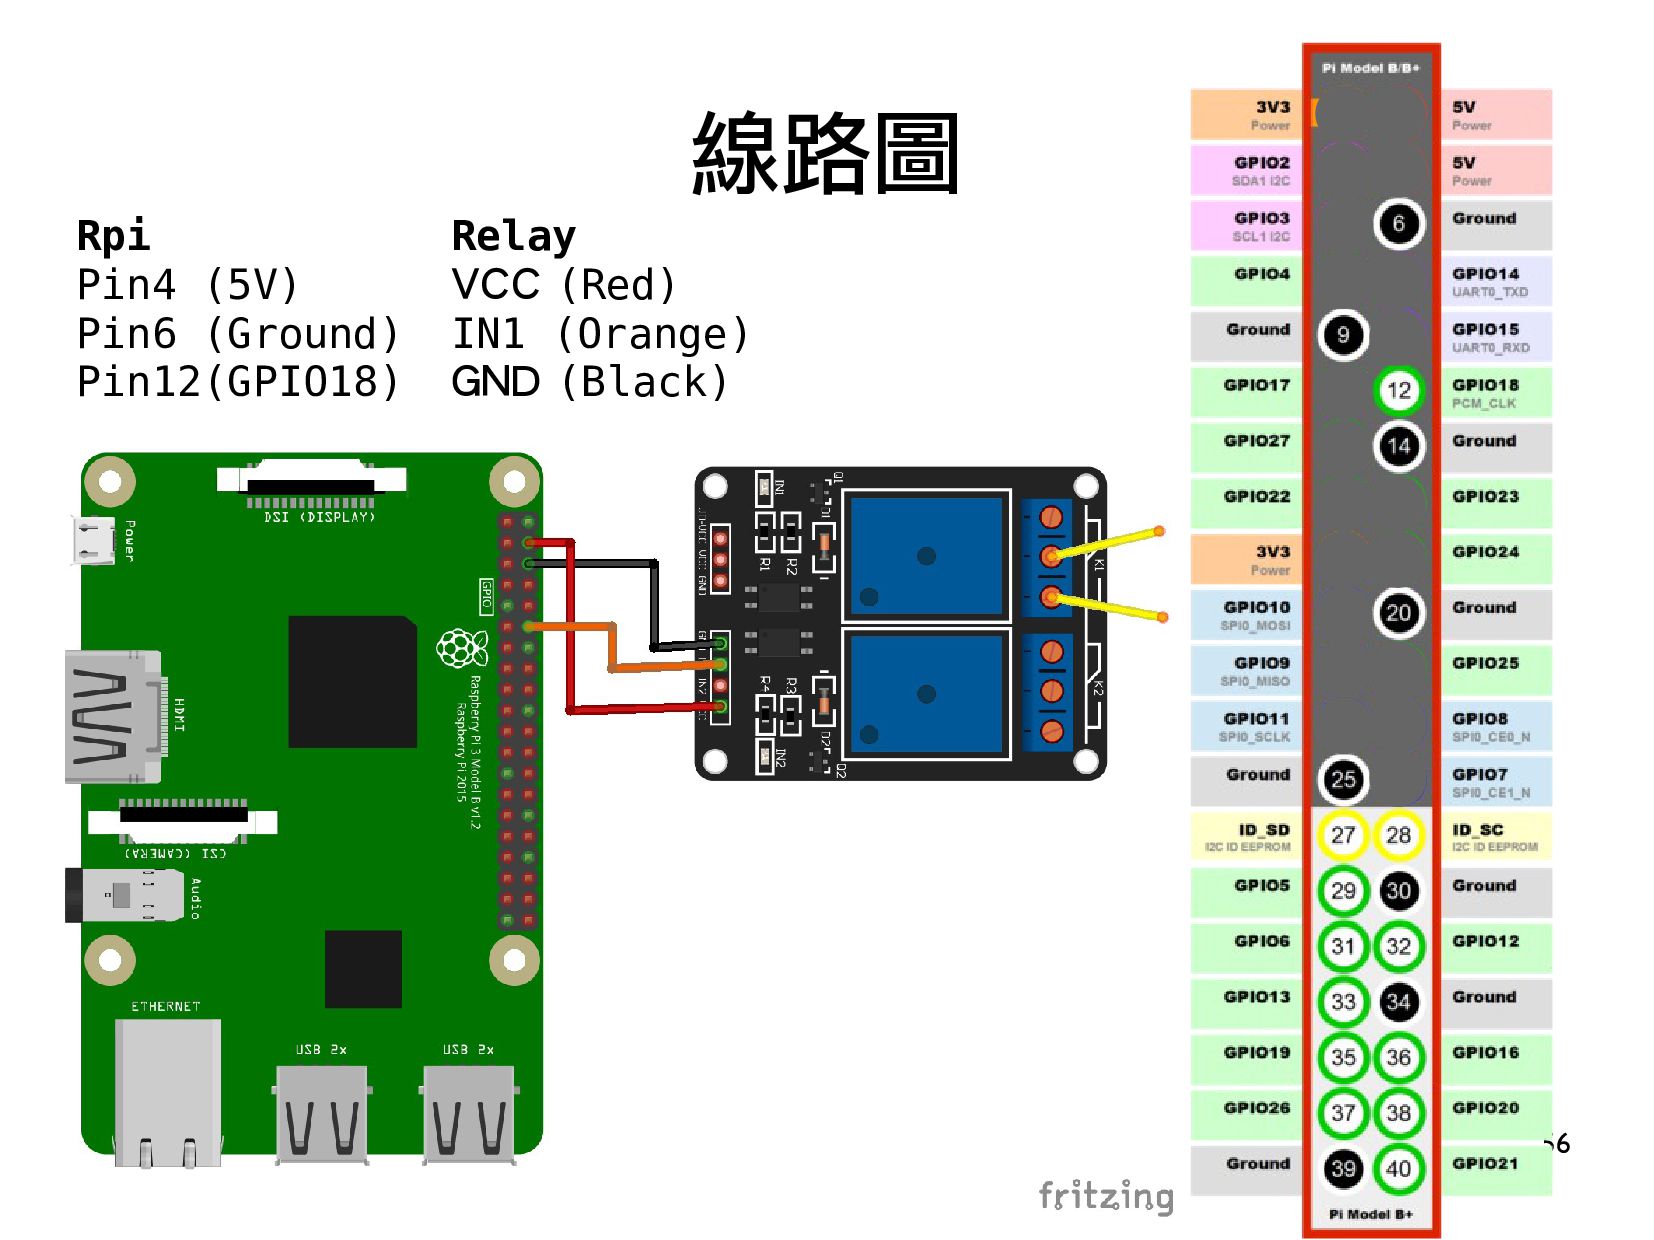
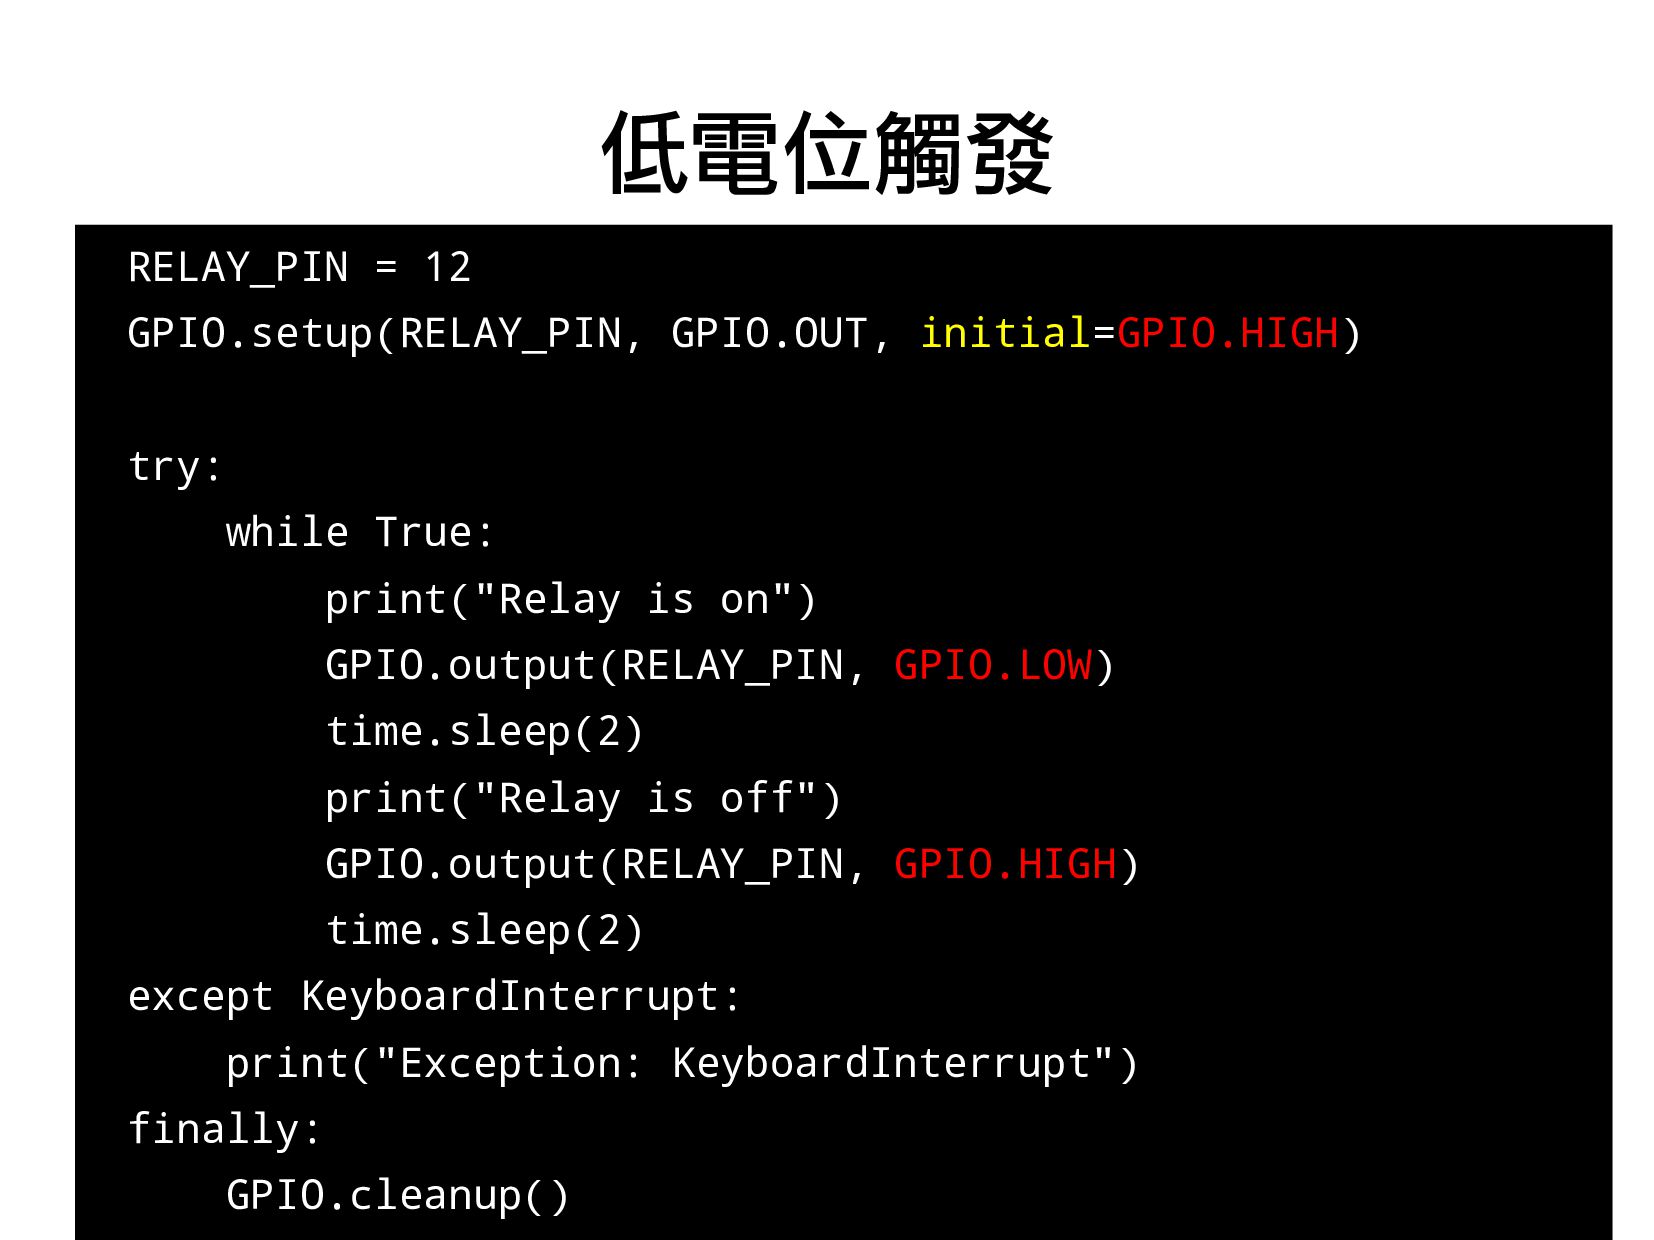
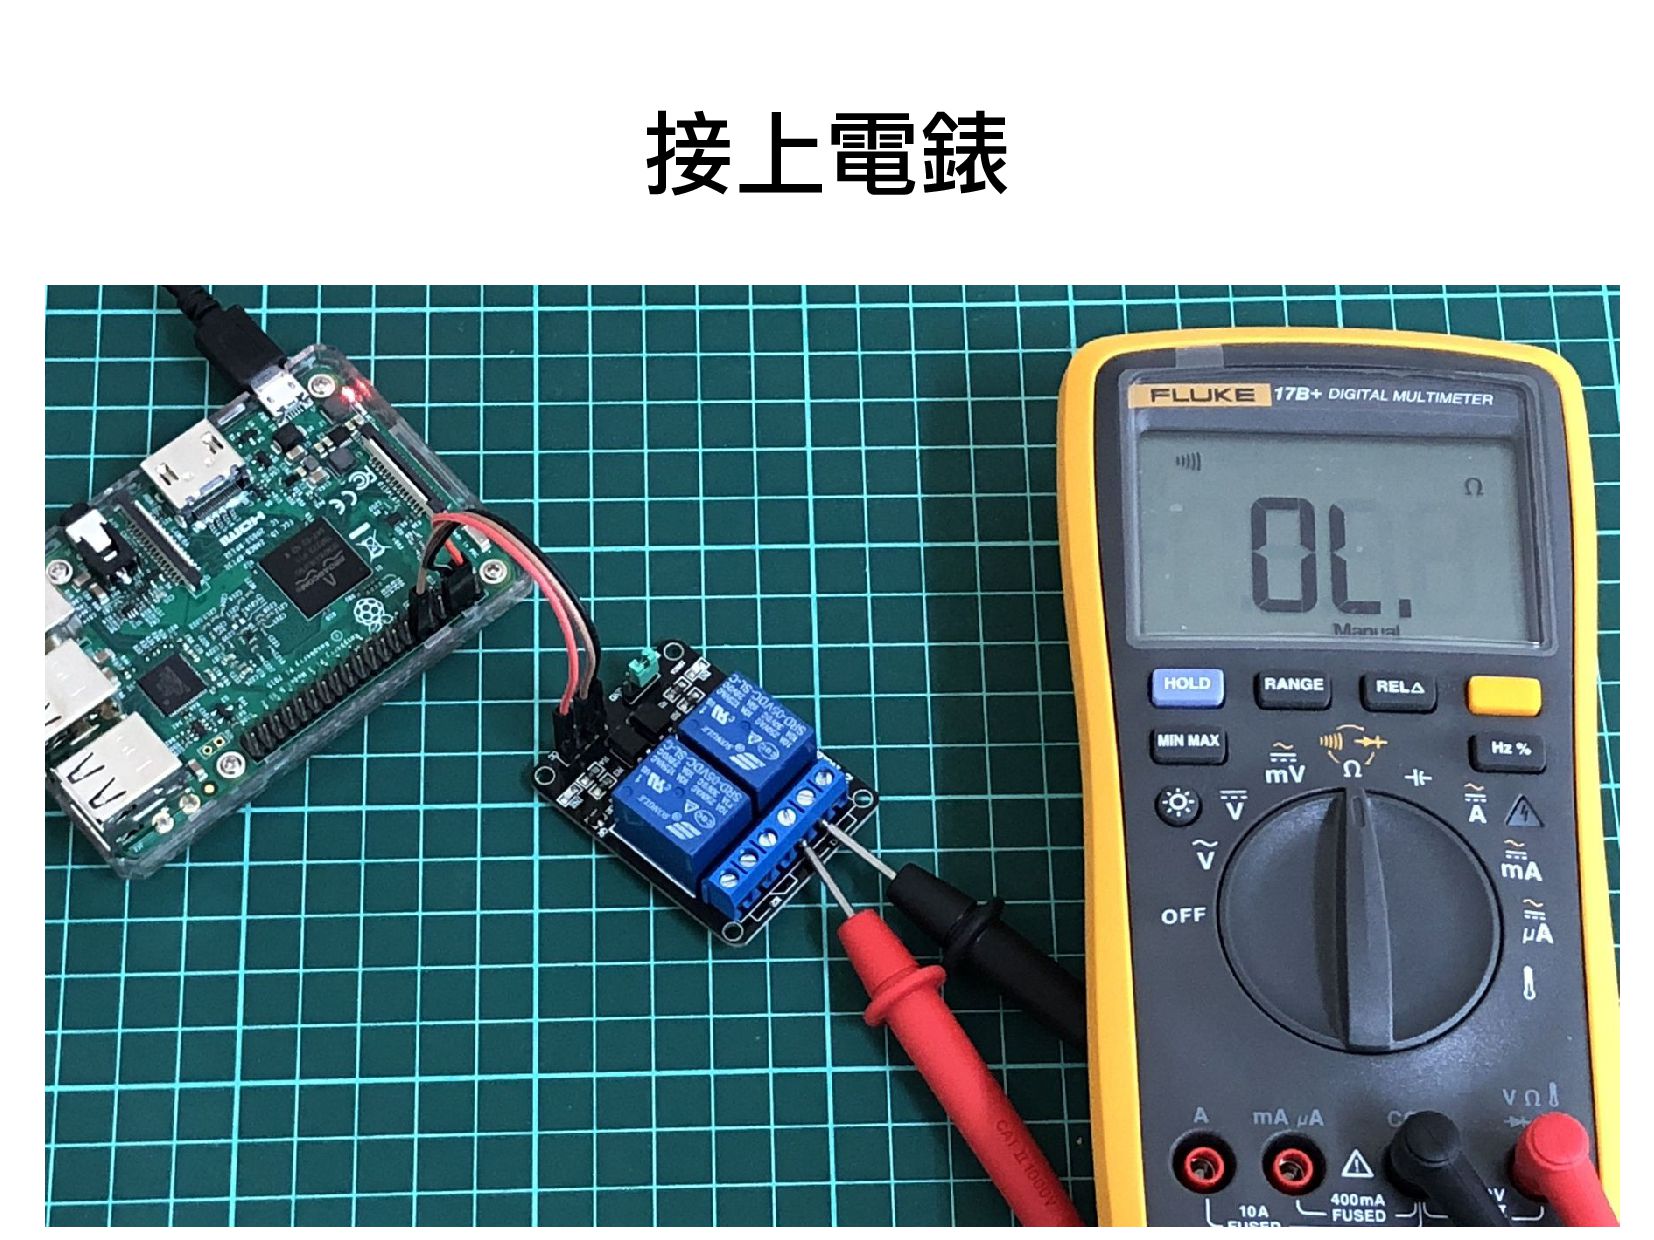
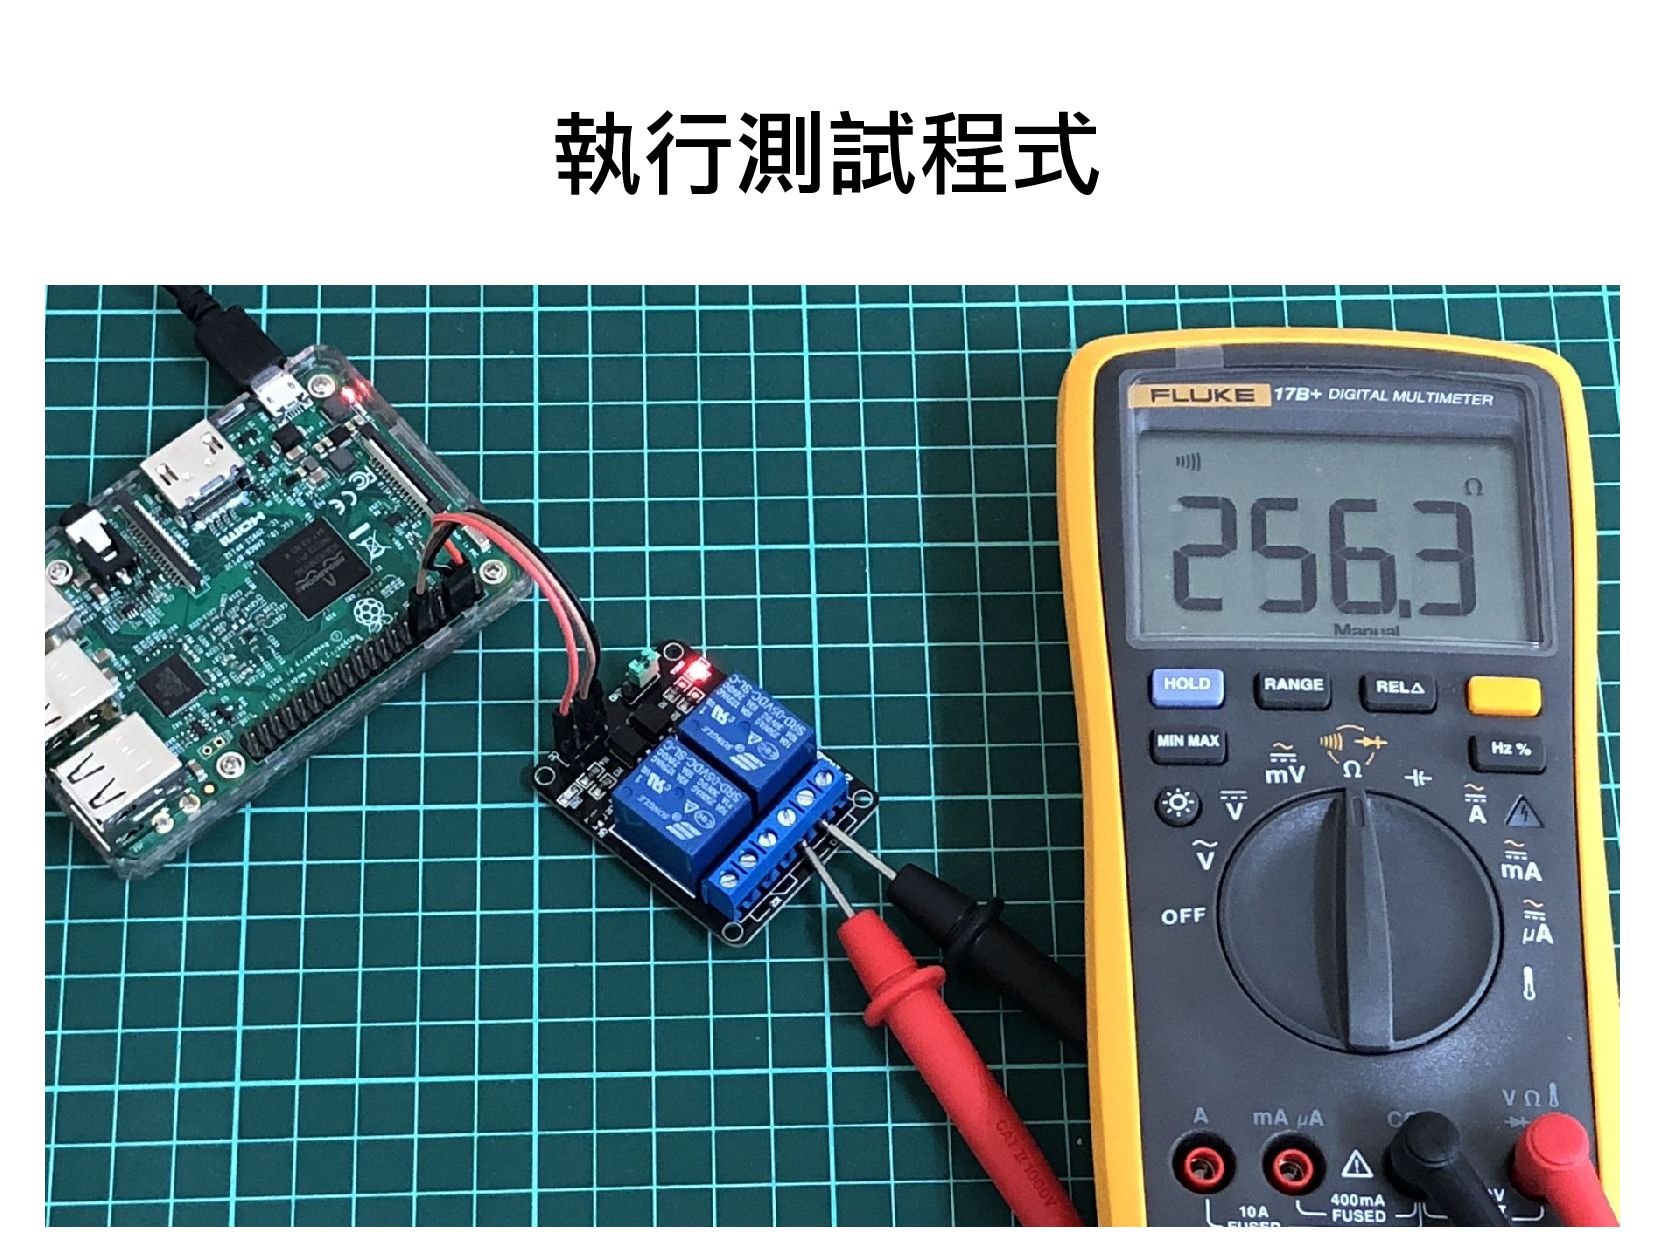
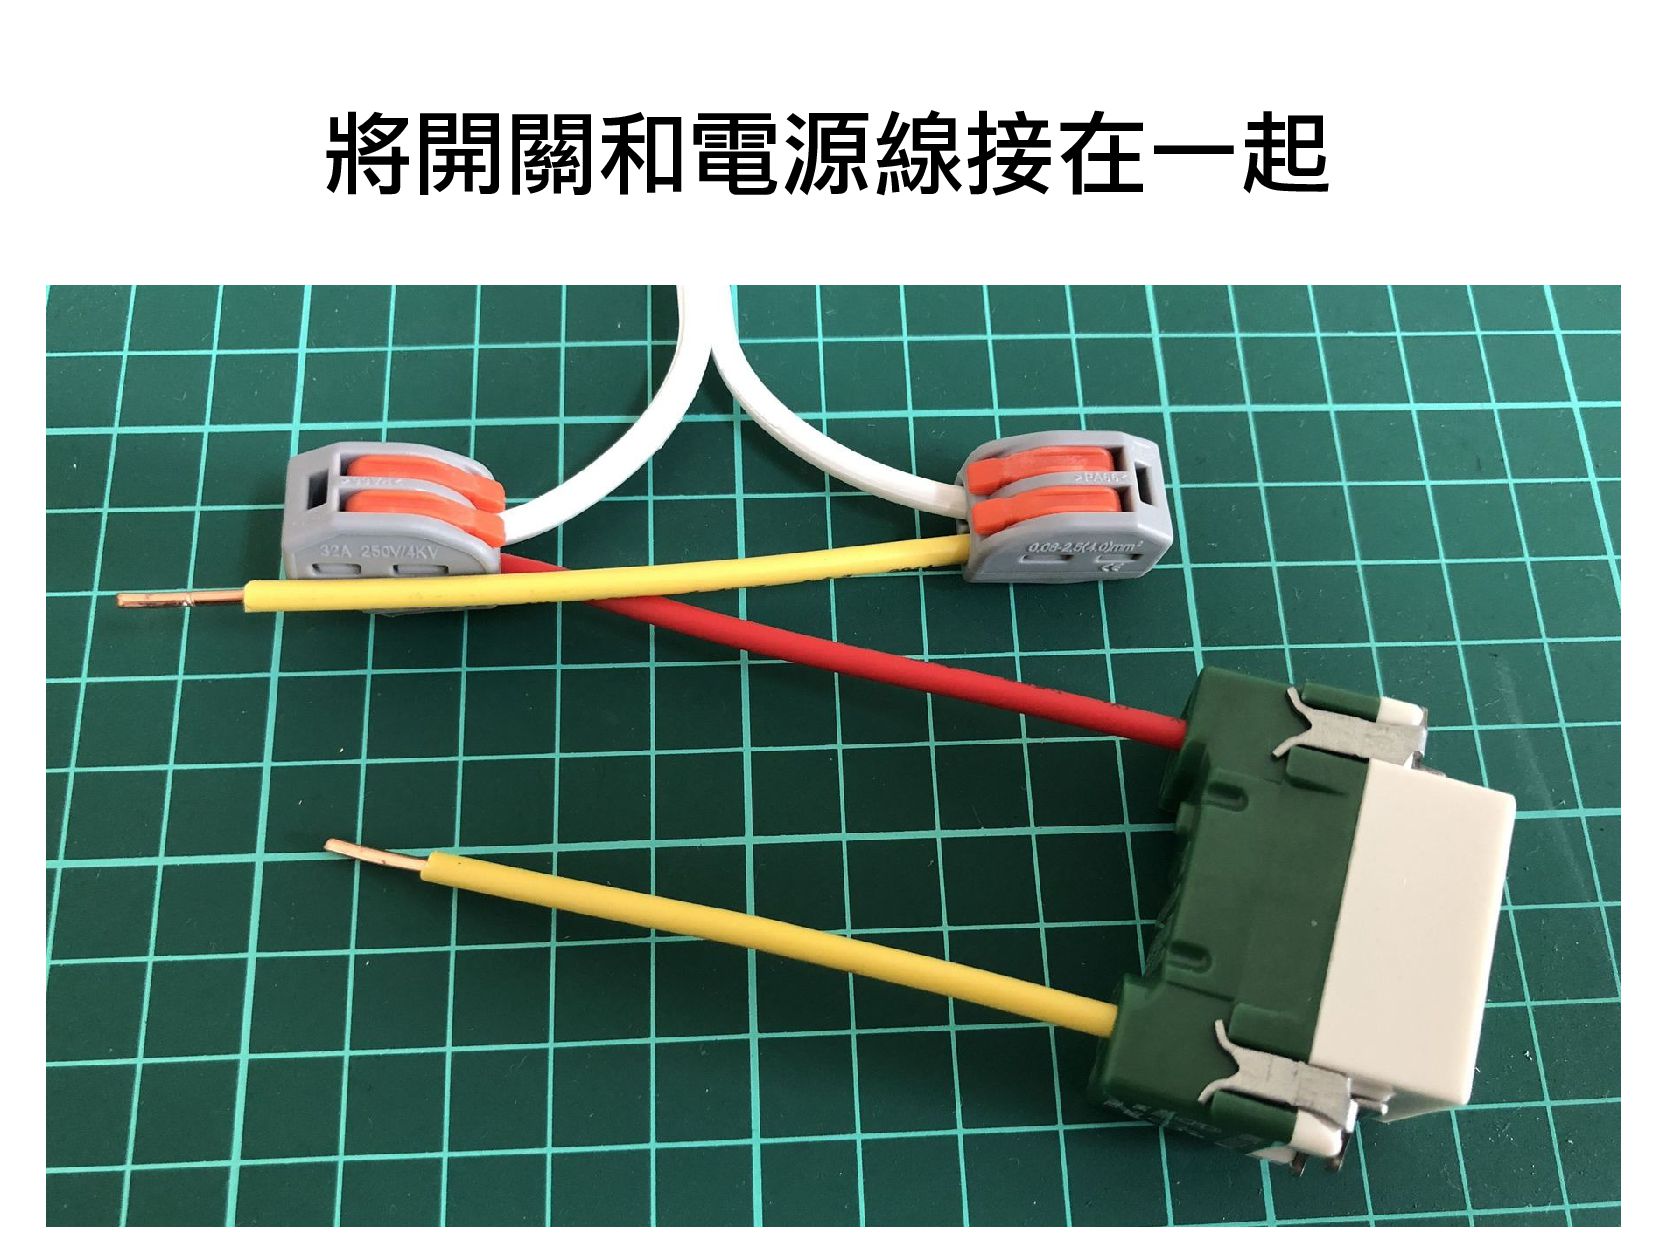
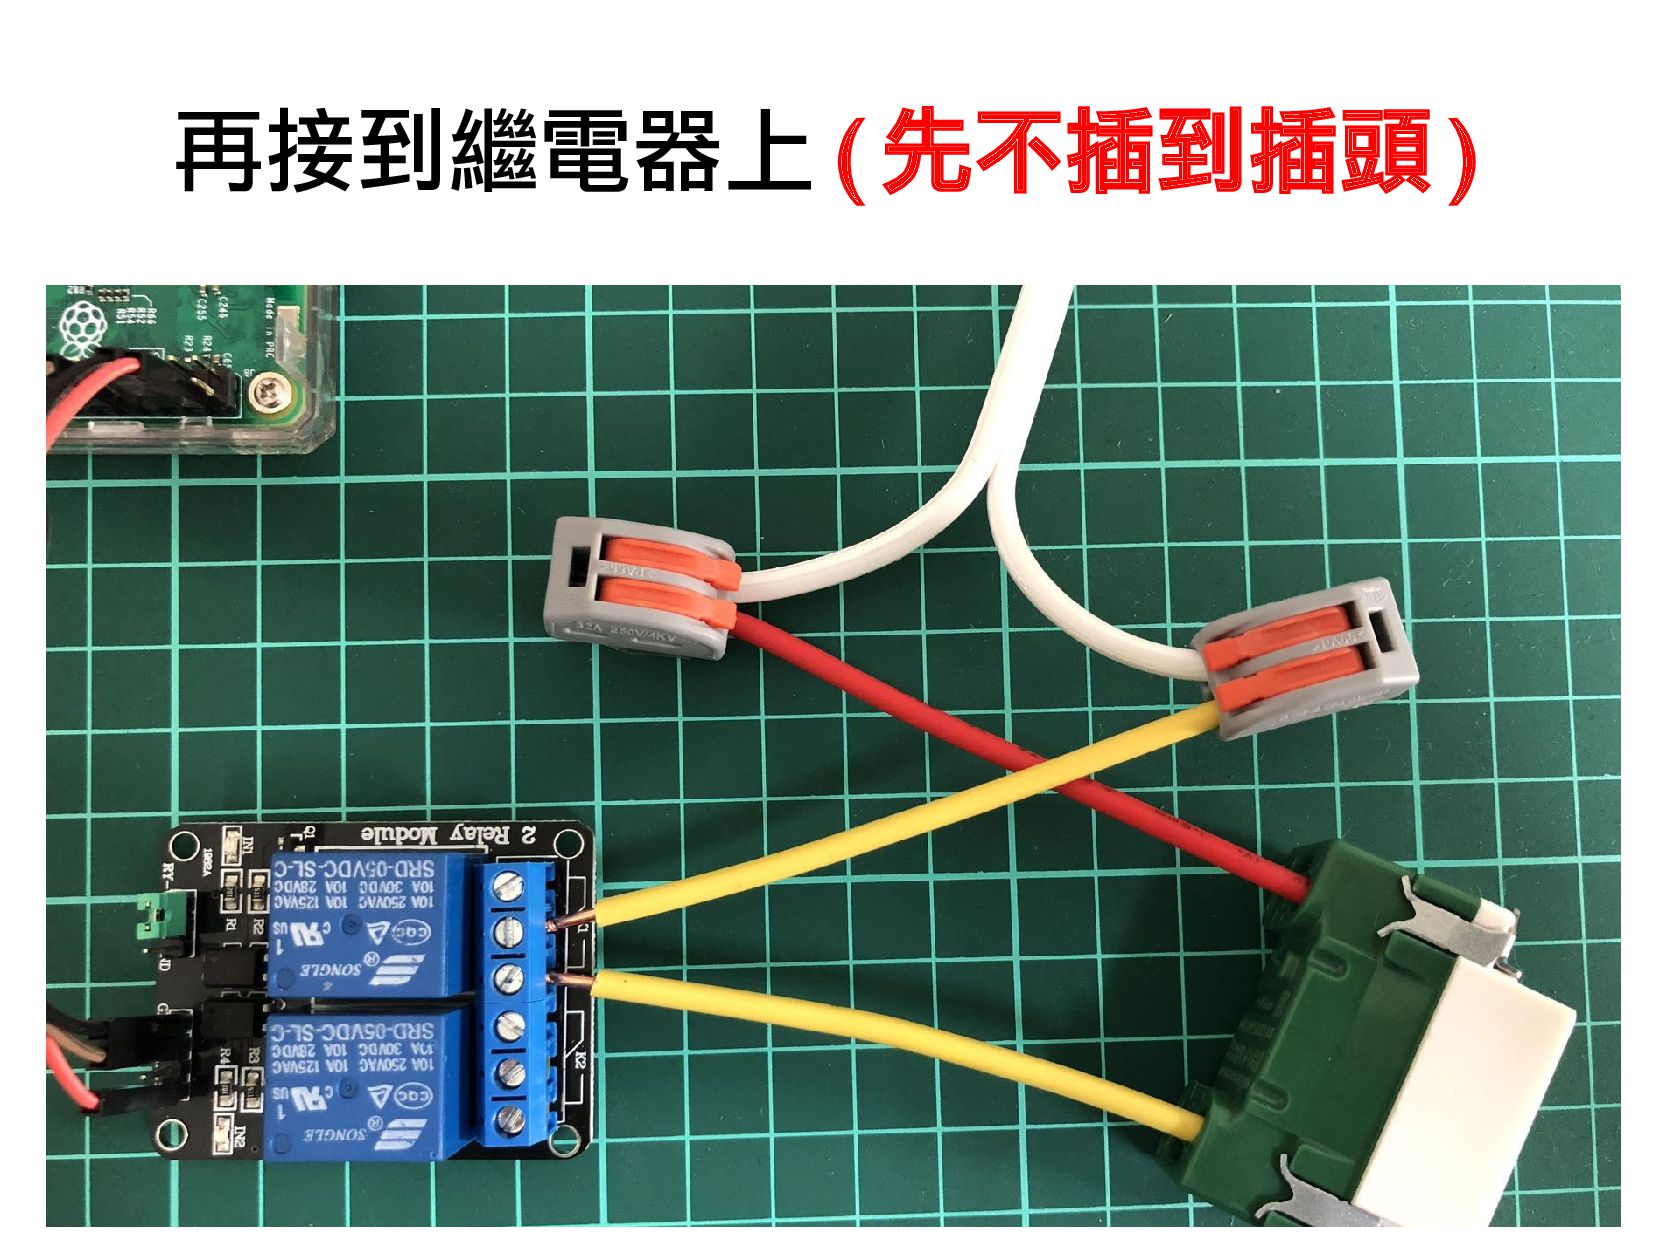
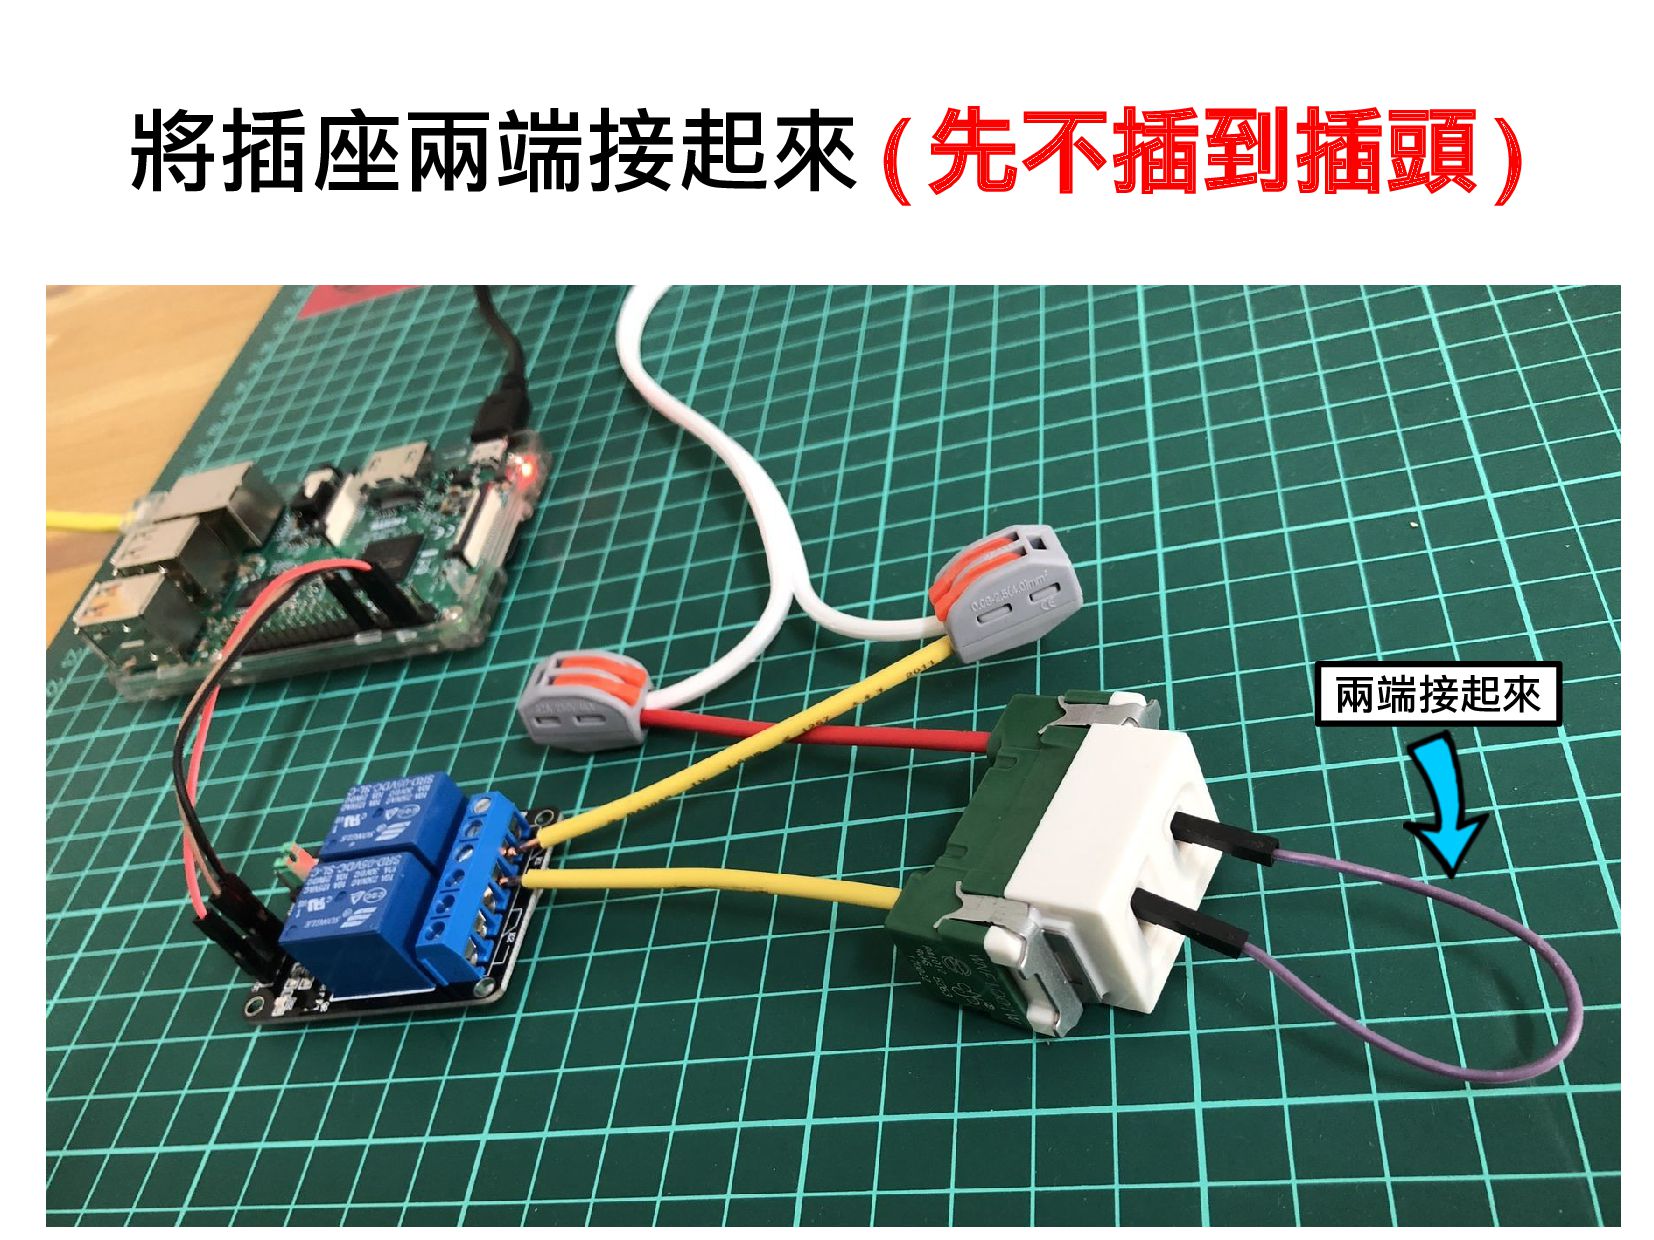
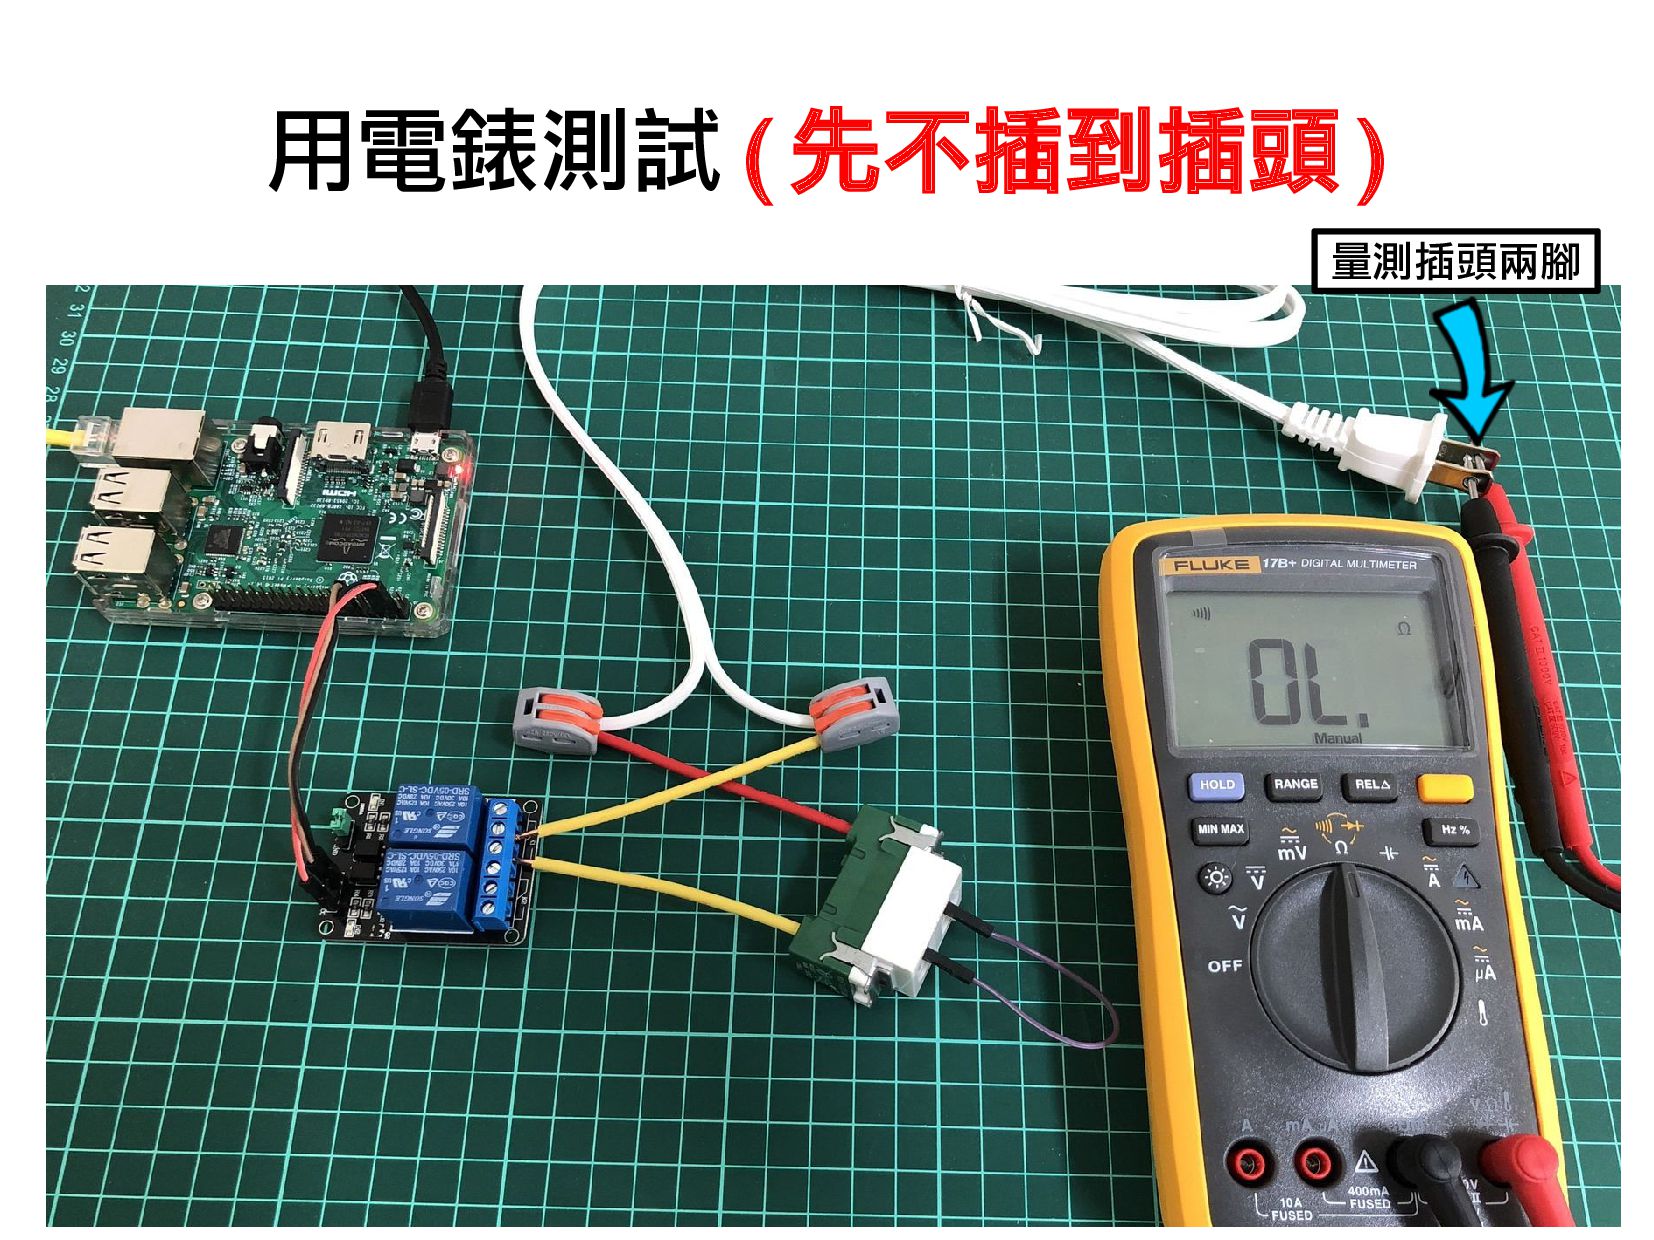
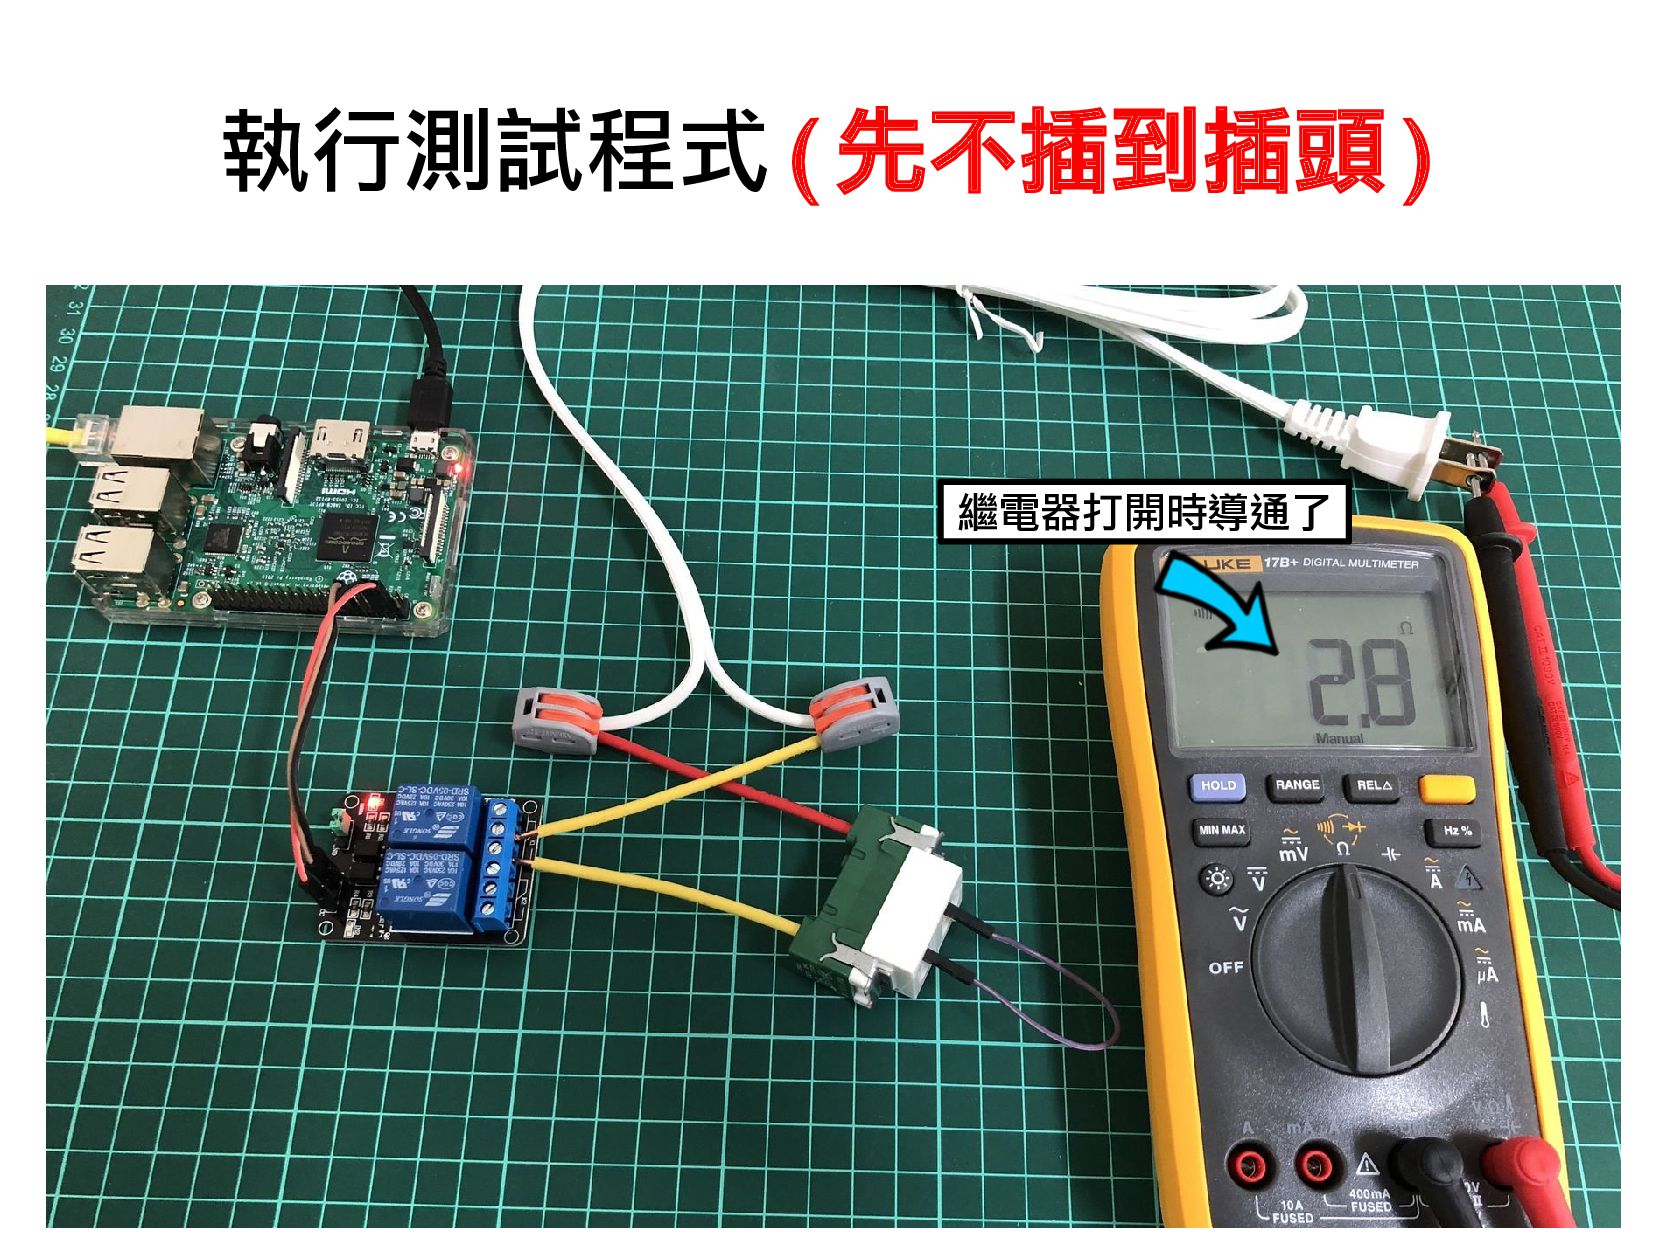
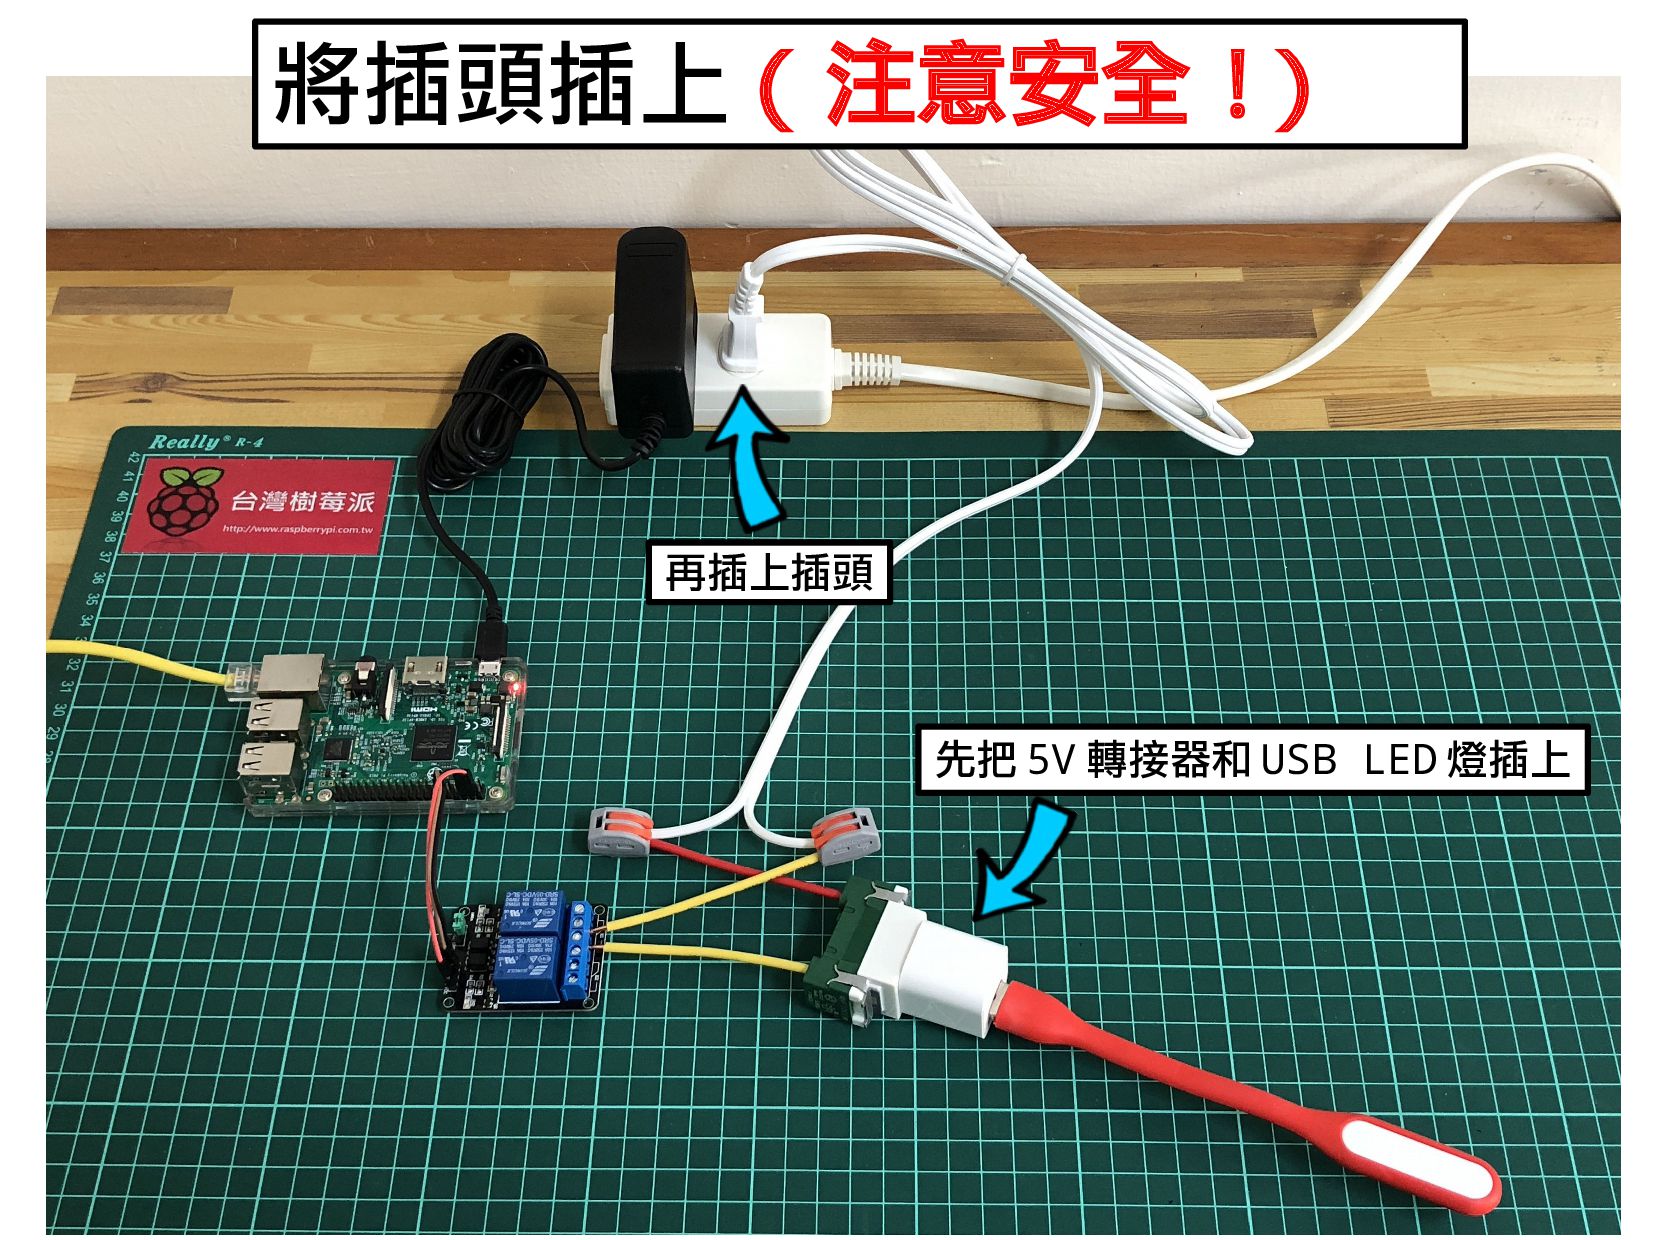
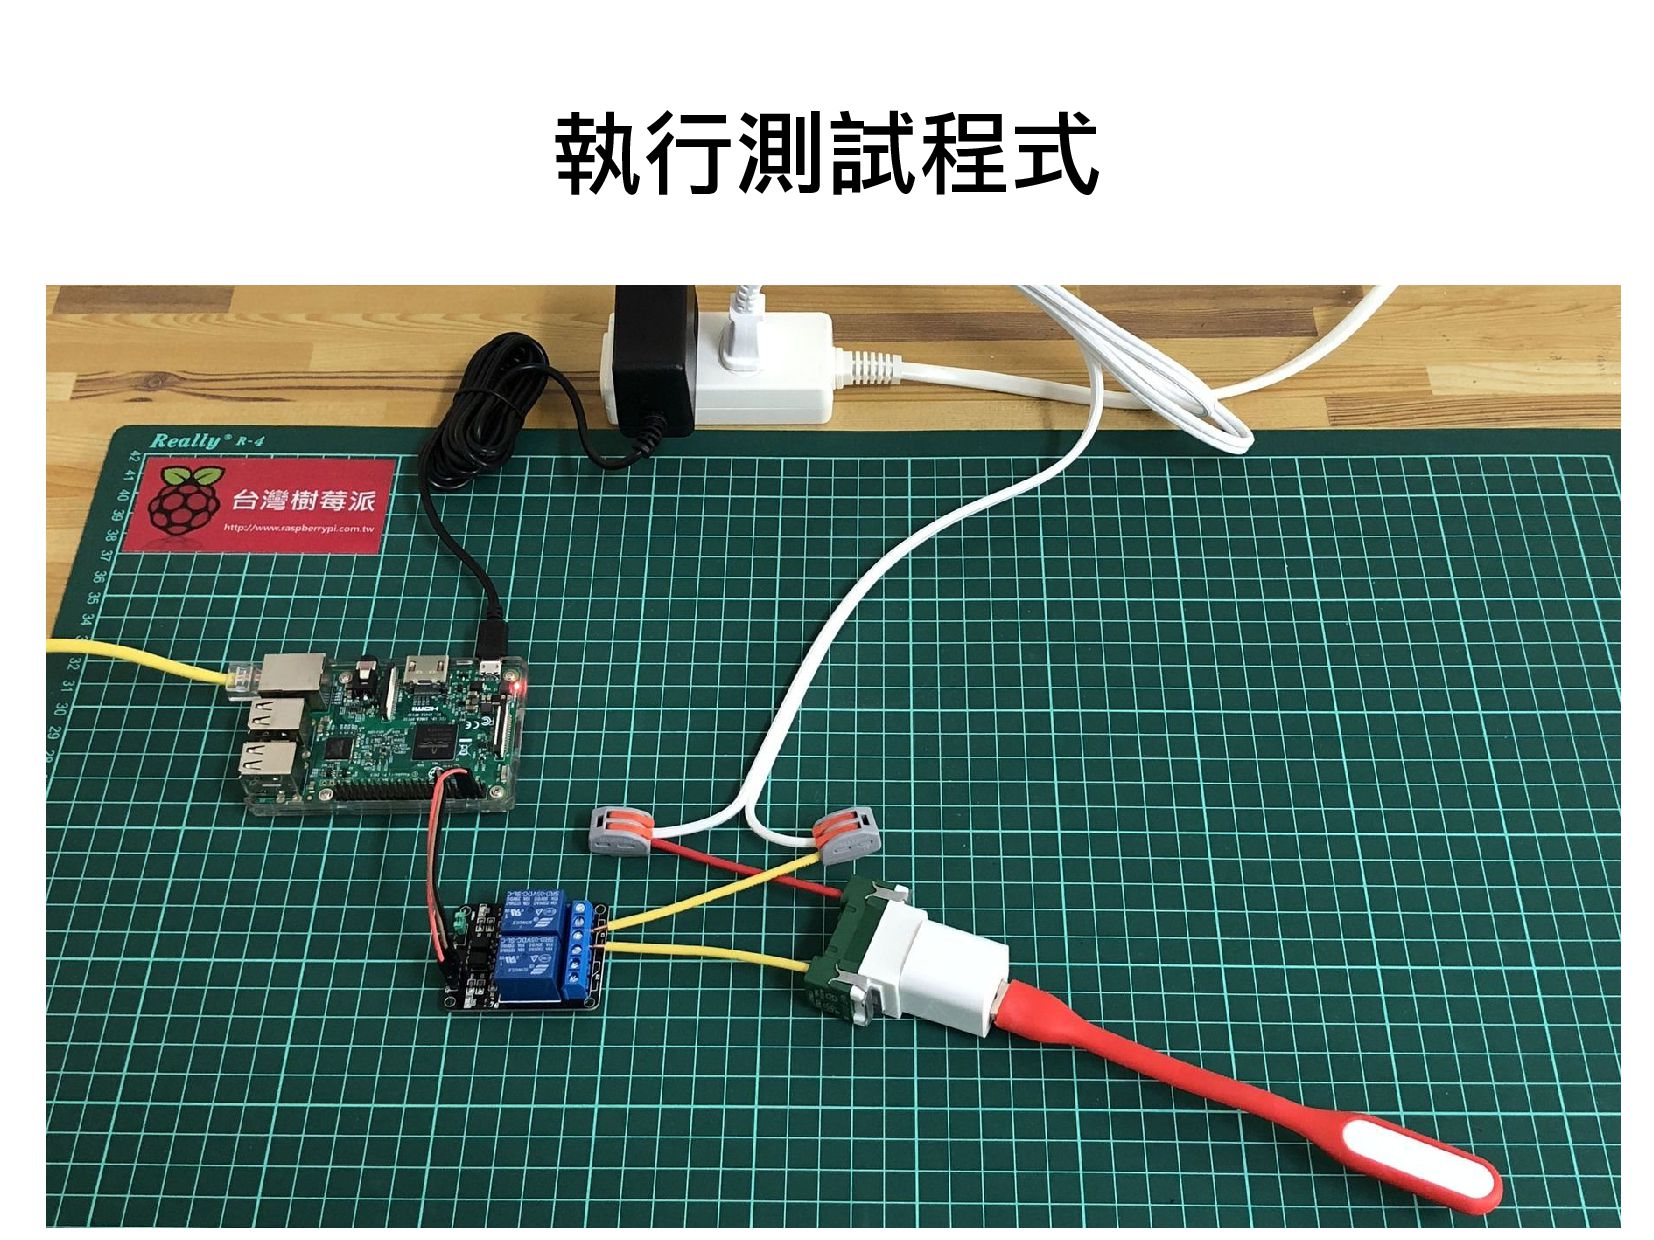
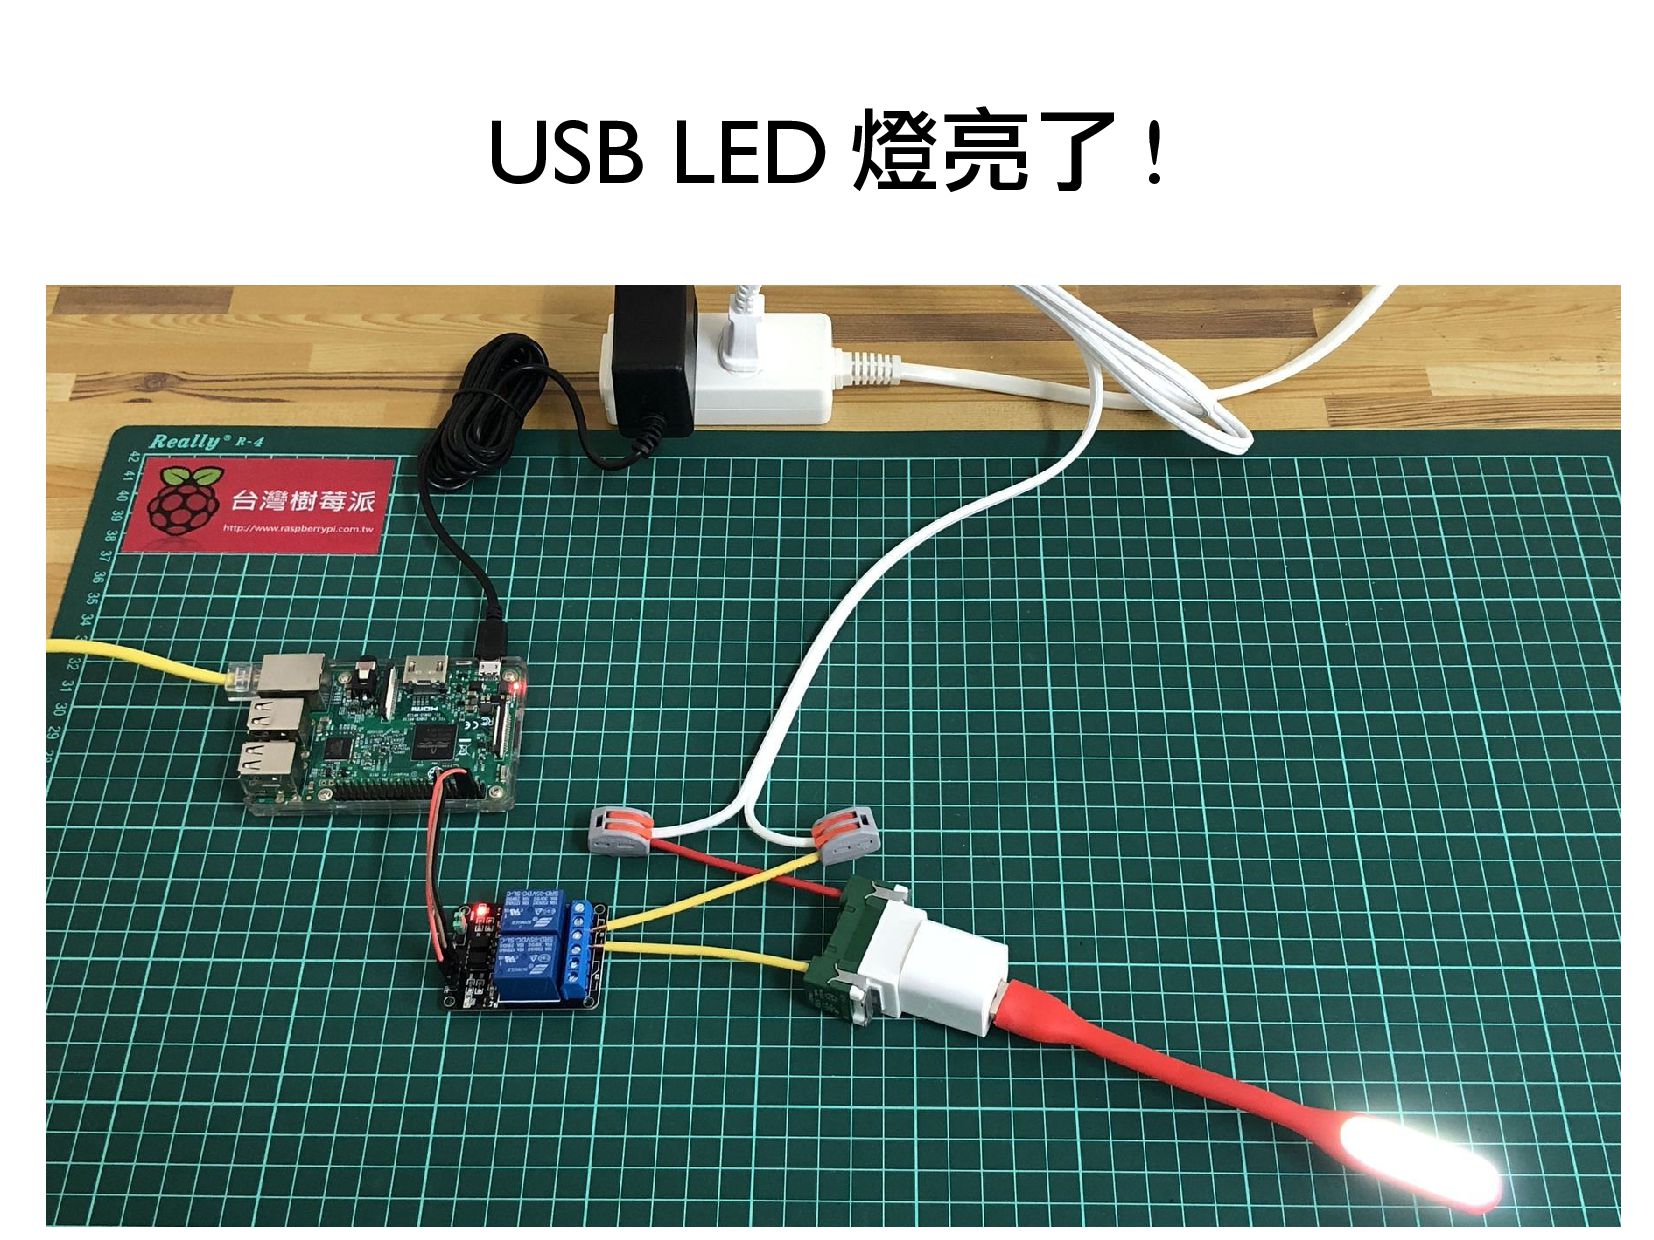
3.繼電器介紹,控制家用插座,讓 USB LED 亮和暗(2 小時)
《範例程式》
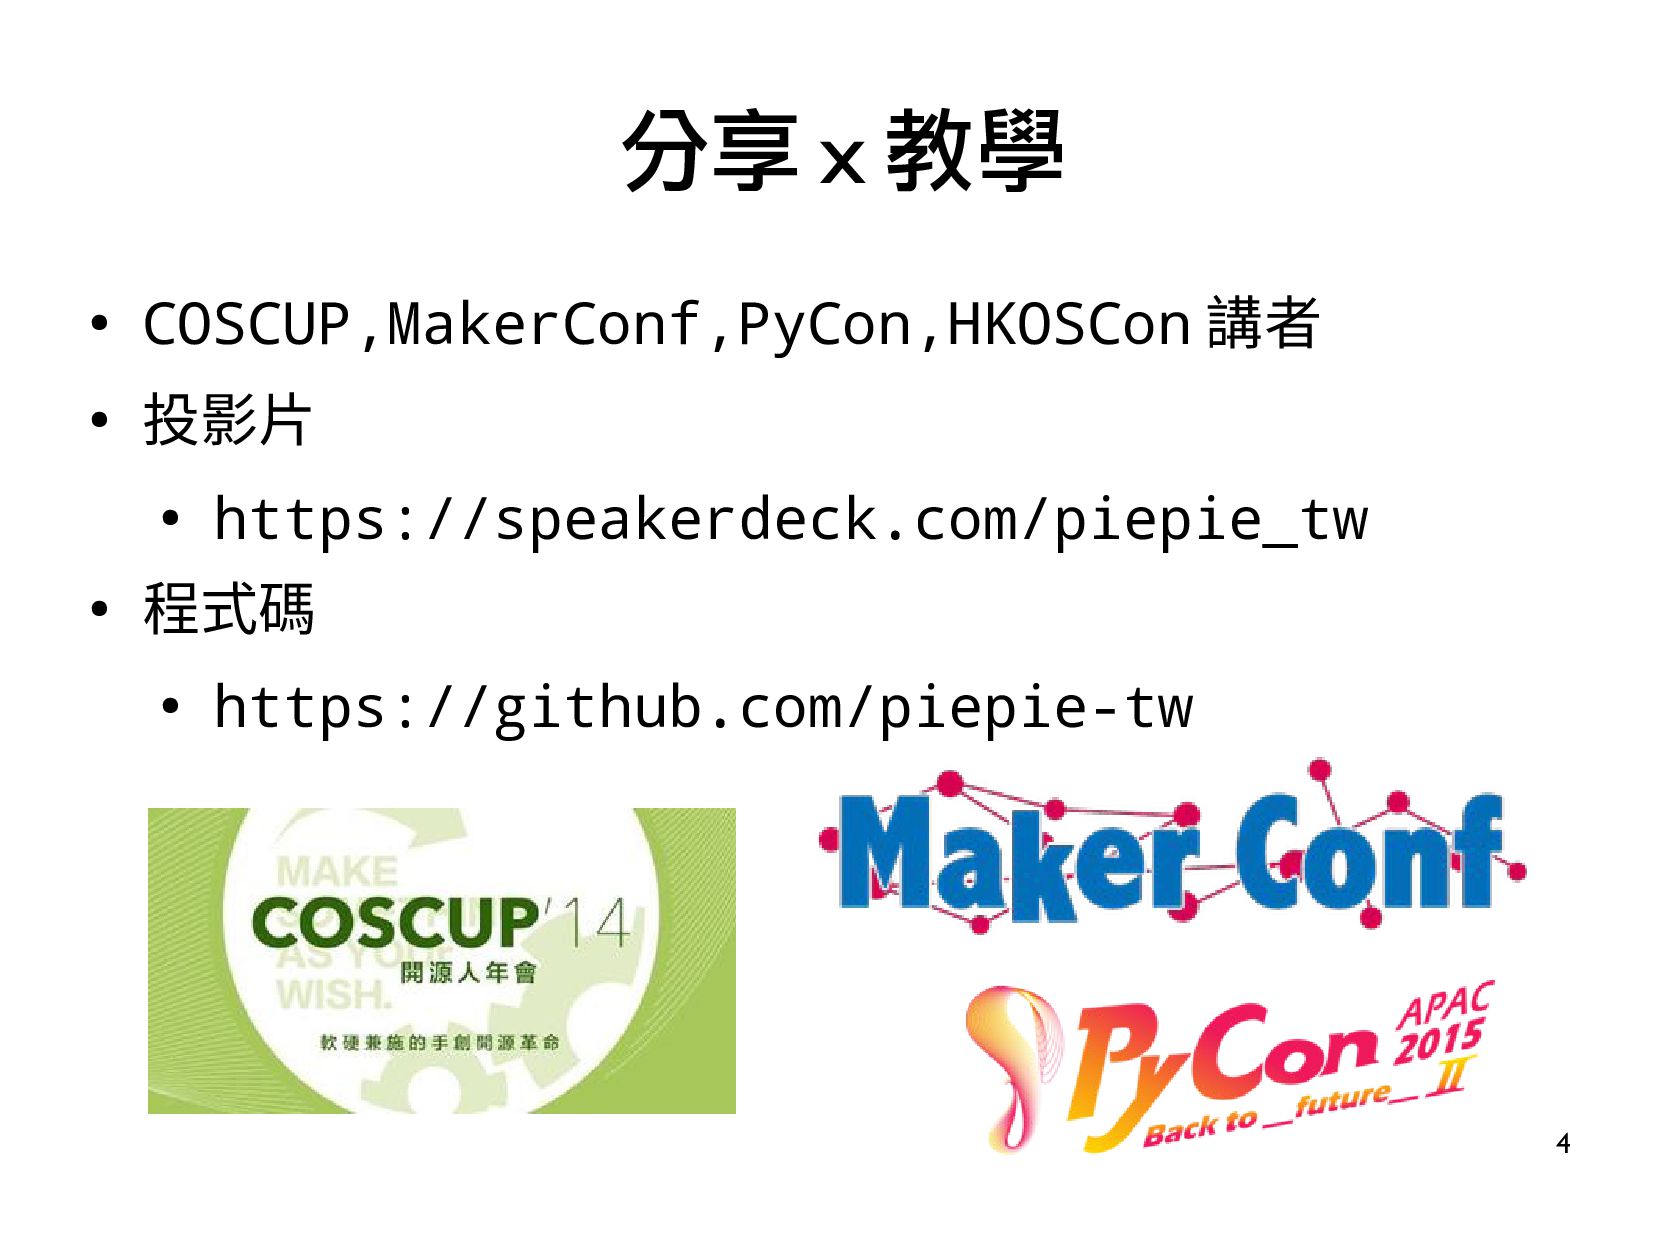
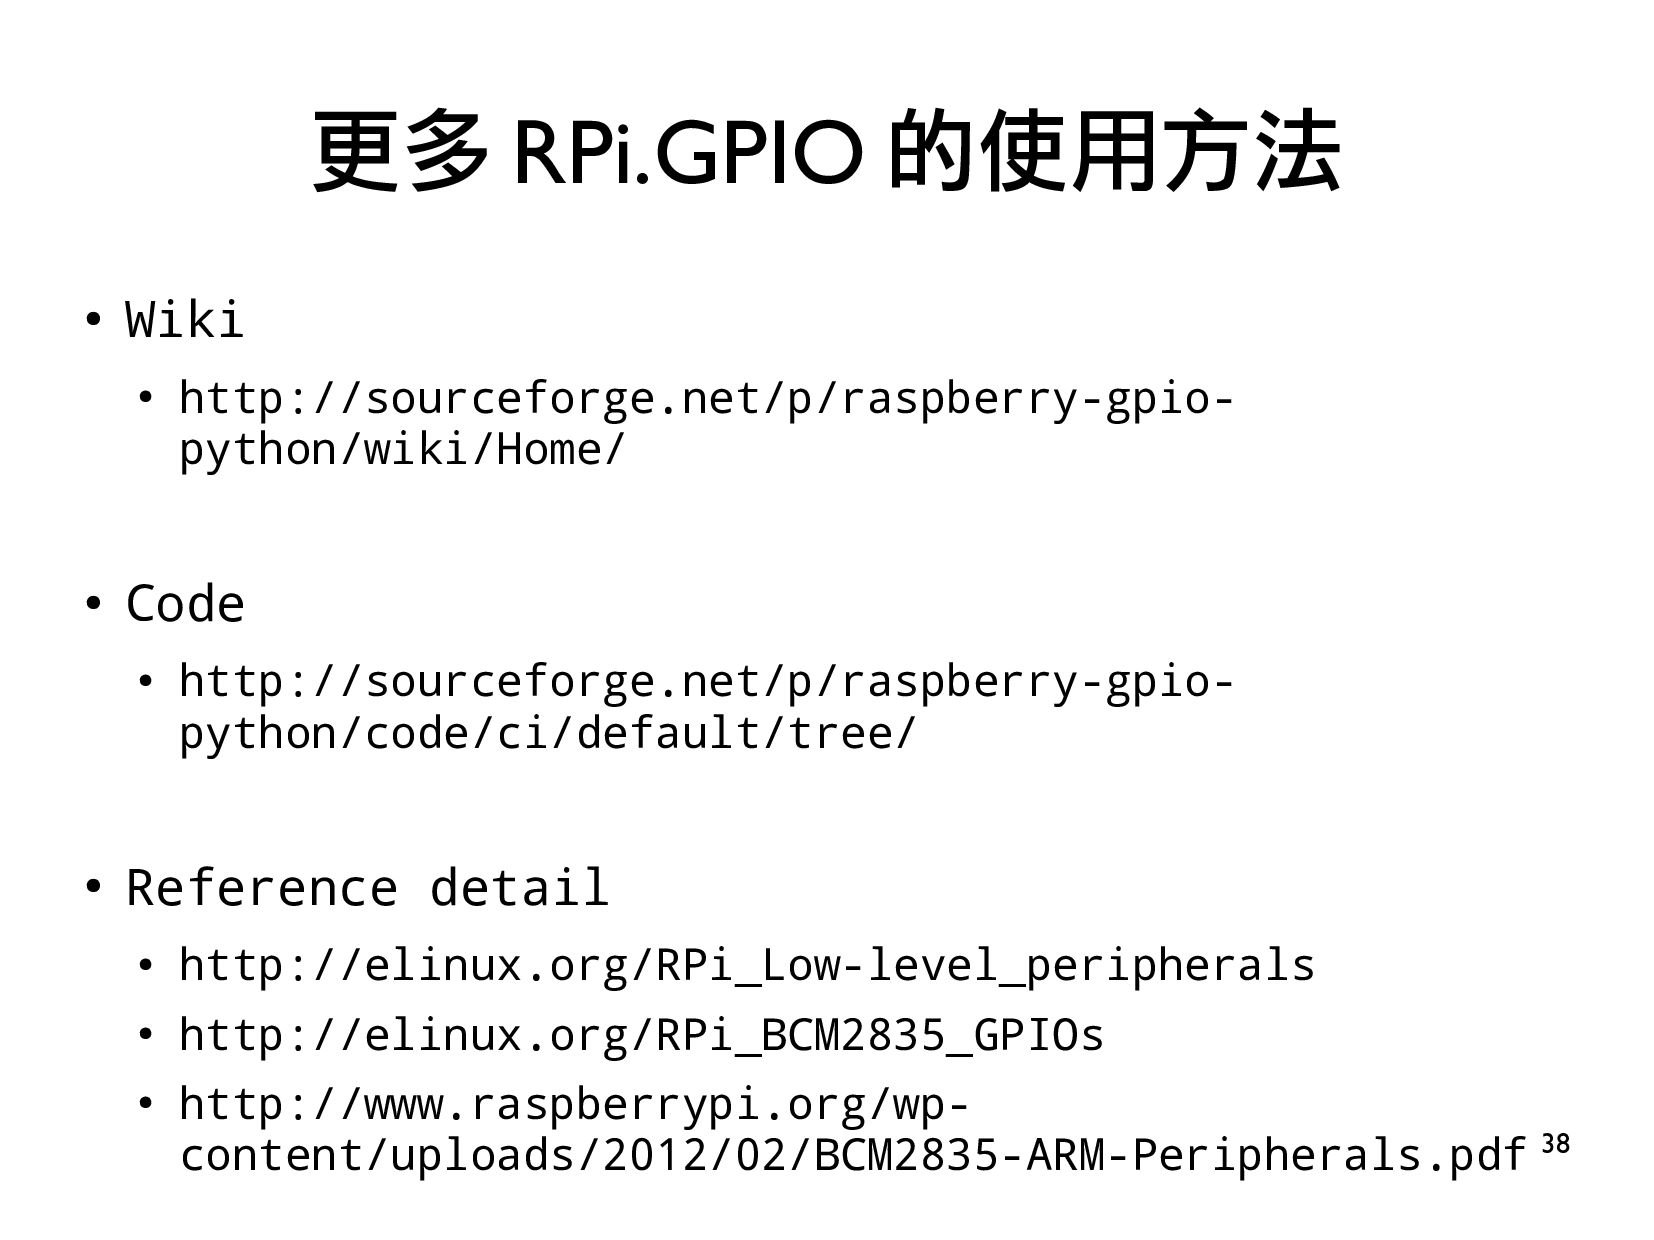
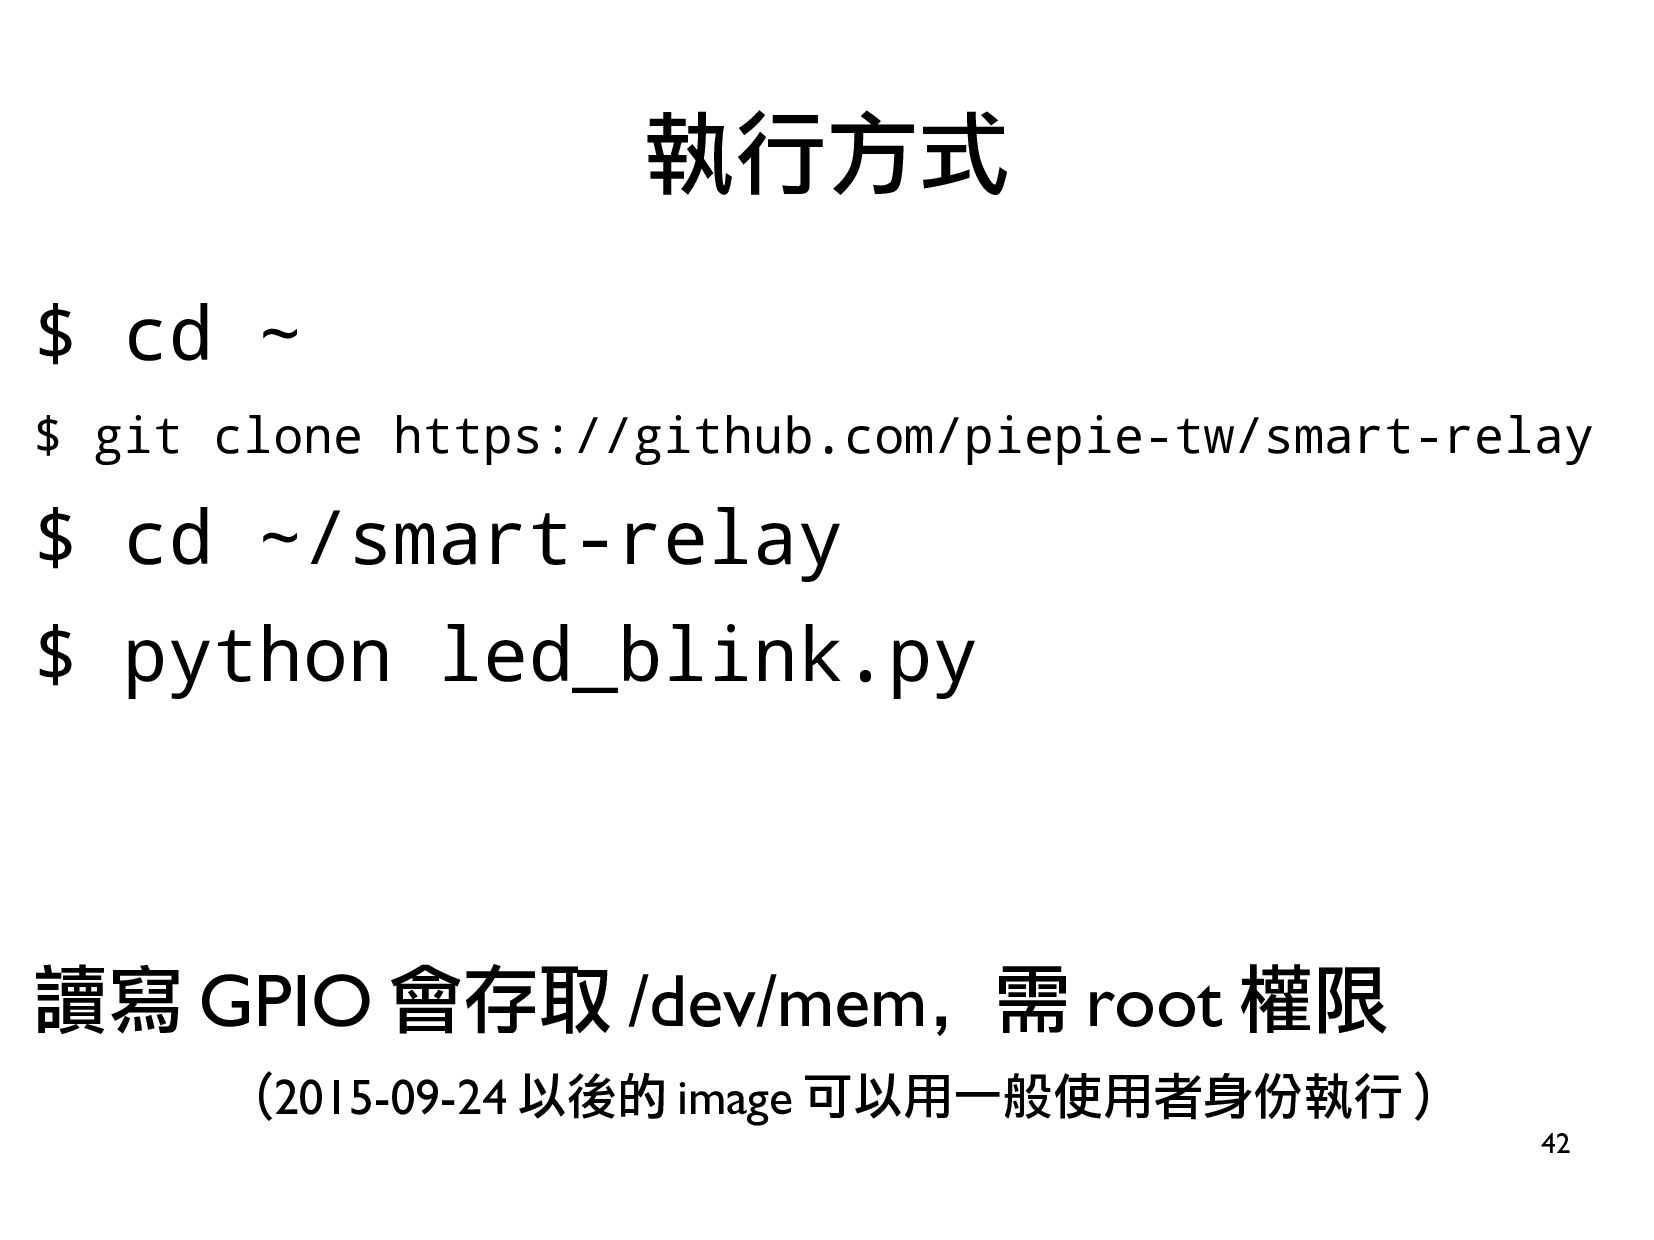
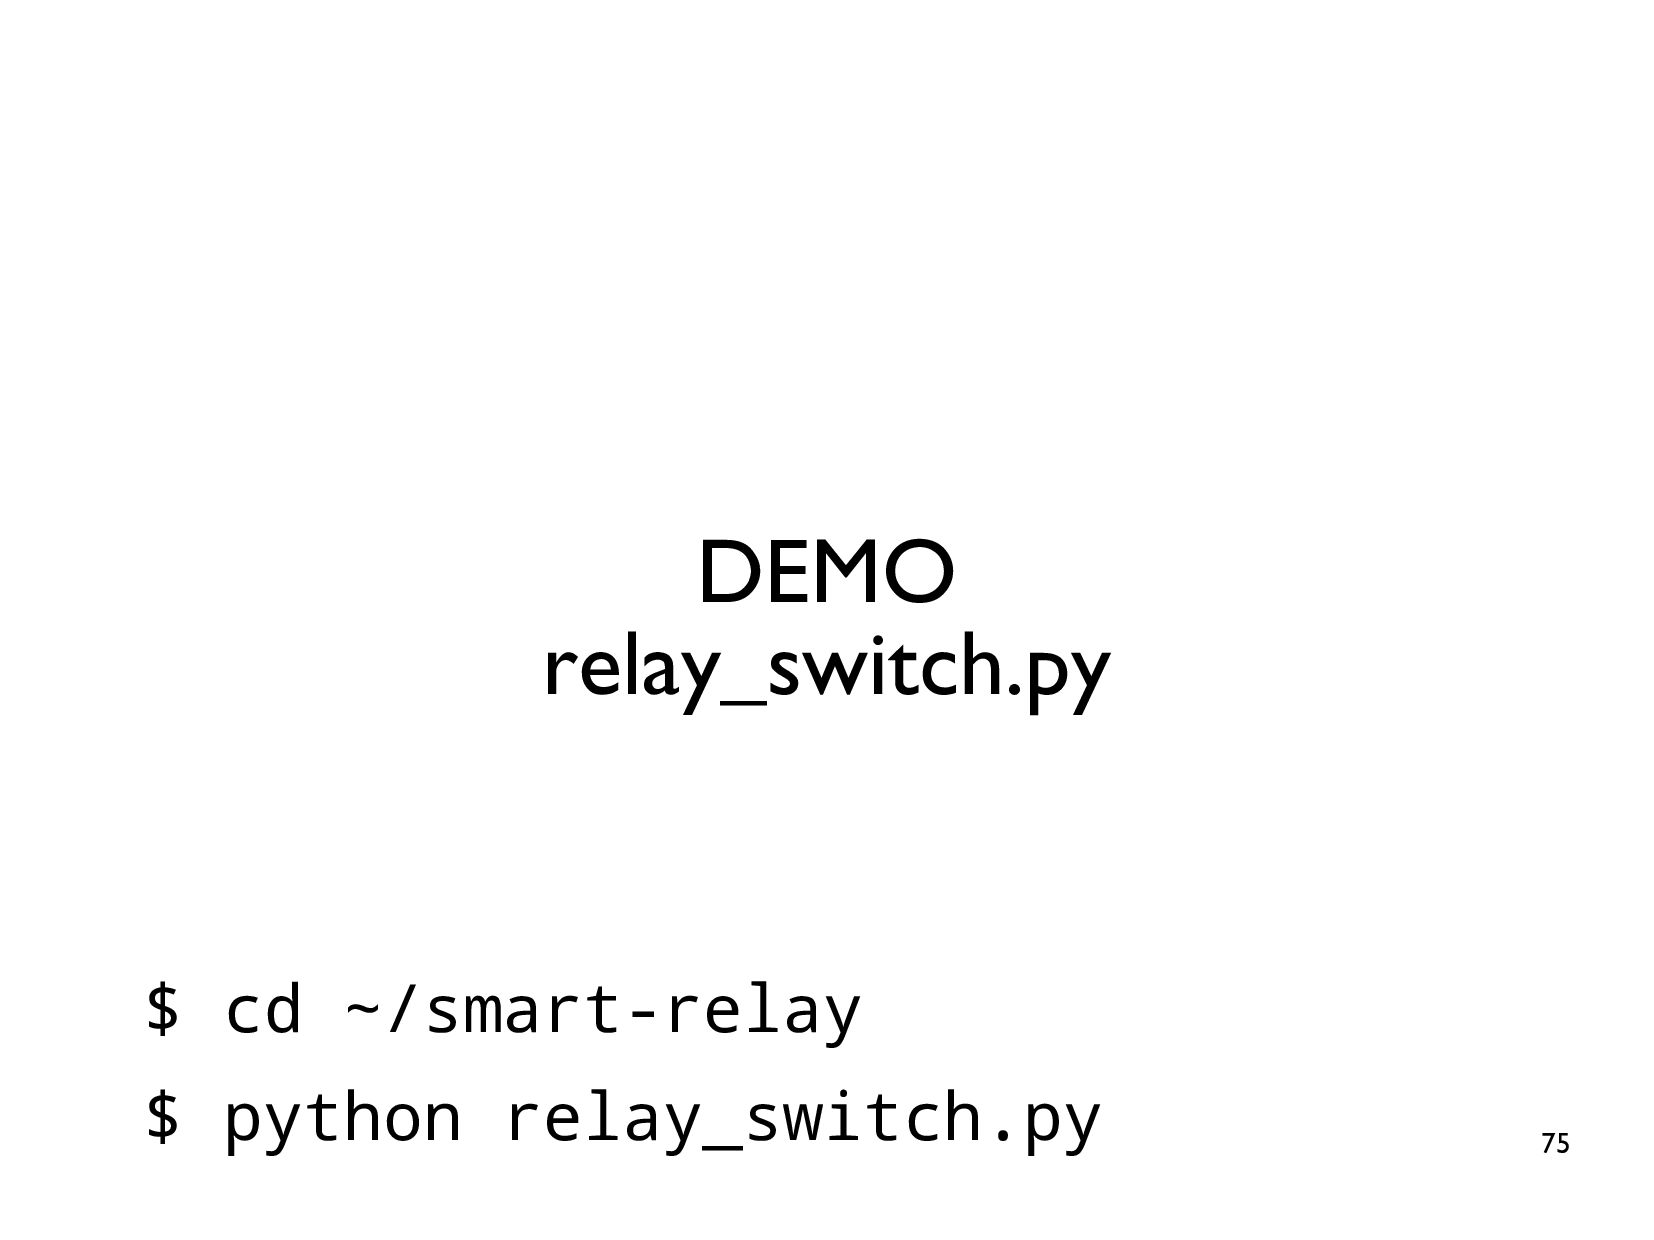
https://github.com/piepie-tw/smart-relay
《購買套件》
https://www.piepie.com.tw/19657/smart-relay-kit
![智慧插座 : 從 GPIO 到繼電器 台灣樹莓派 <[email protected]> 2019/05/01@TKU](https://files.speakerdeck.com/presentations/433ed1fb93d943778089090e4f25ceed/slide_0.jpg)
![20 • 自動迭代 (iterator) for i in xrange(start, stop[, step]):](https://files.speakerdeck.com/presentations/433ed1fb93d943778089090e4f25ceed/slide_19.jpg)
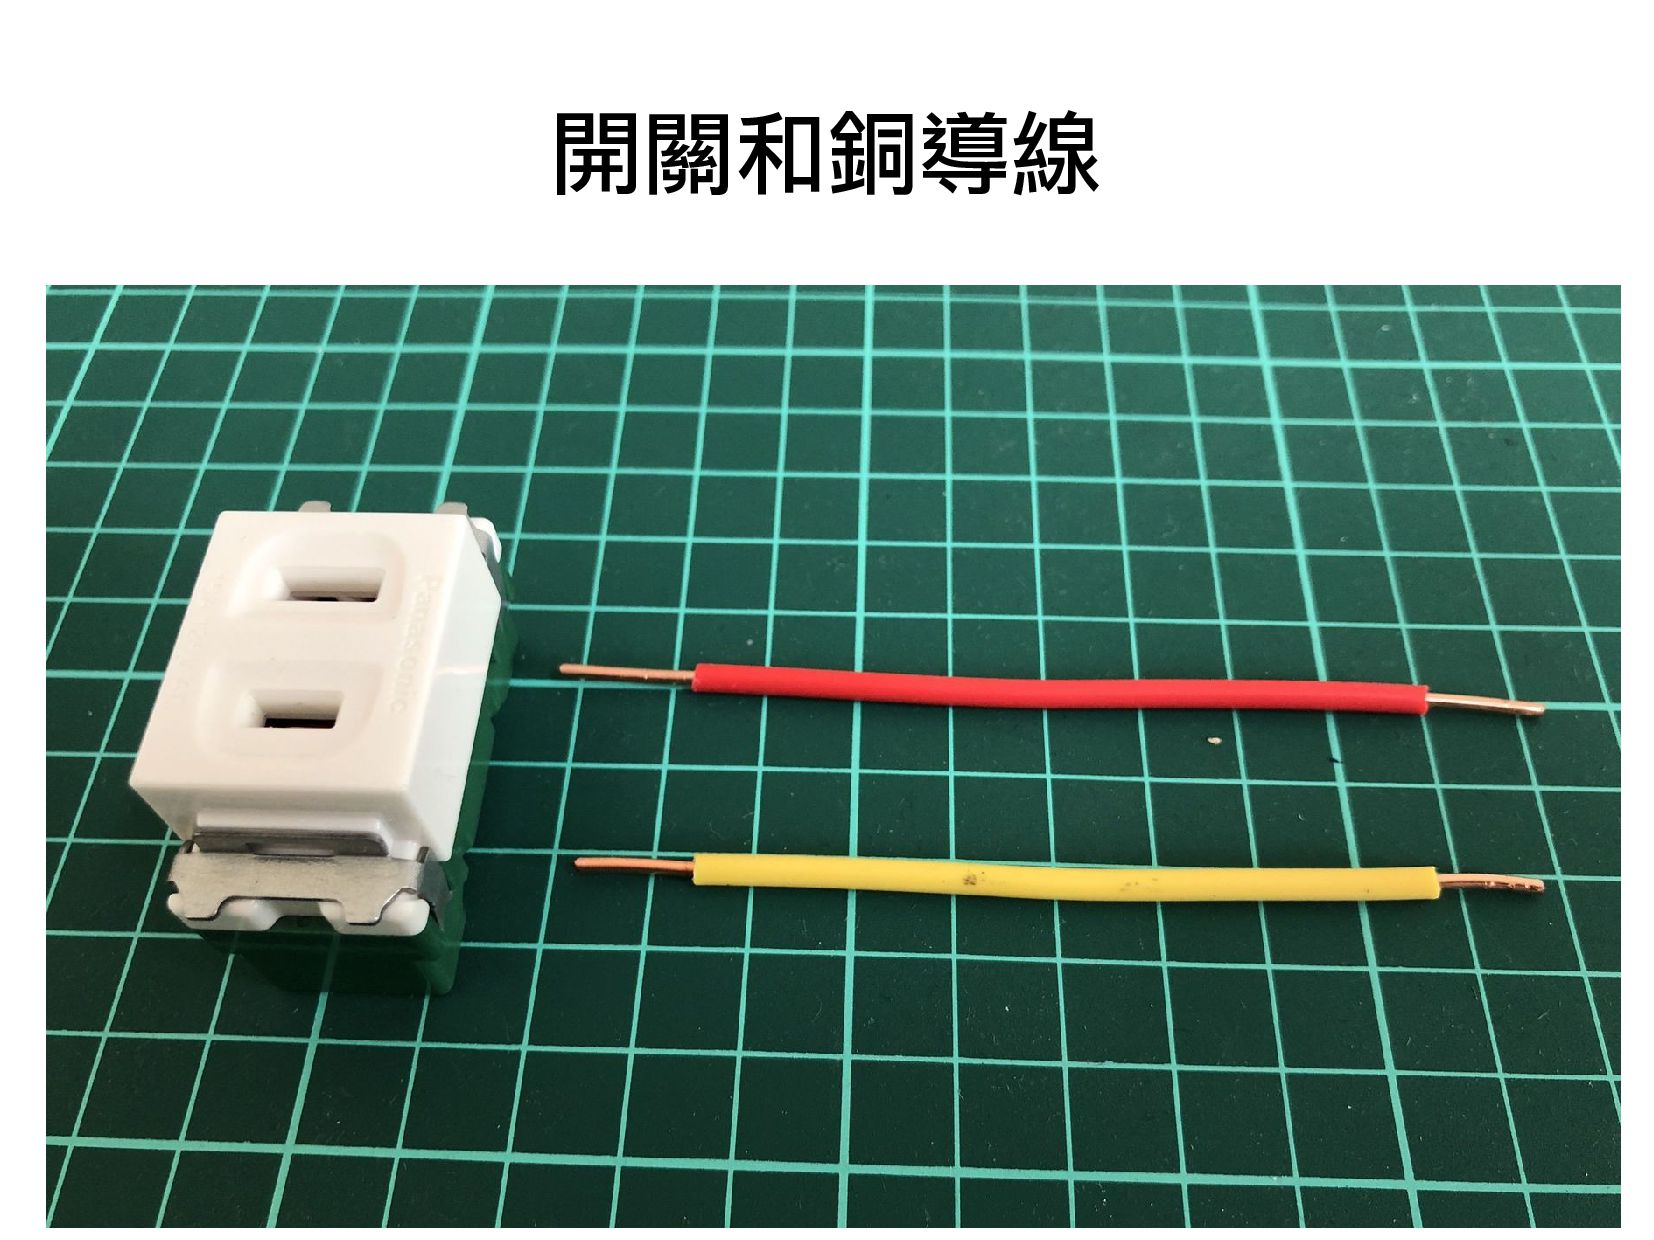
![將銅導線 [ 直接 ] 插到開關裡](https://files.speakerdeck.com/presentations/433ed1fb93d943778089090e4f25ceed/slide_64.jpg)