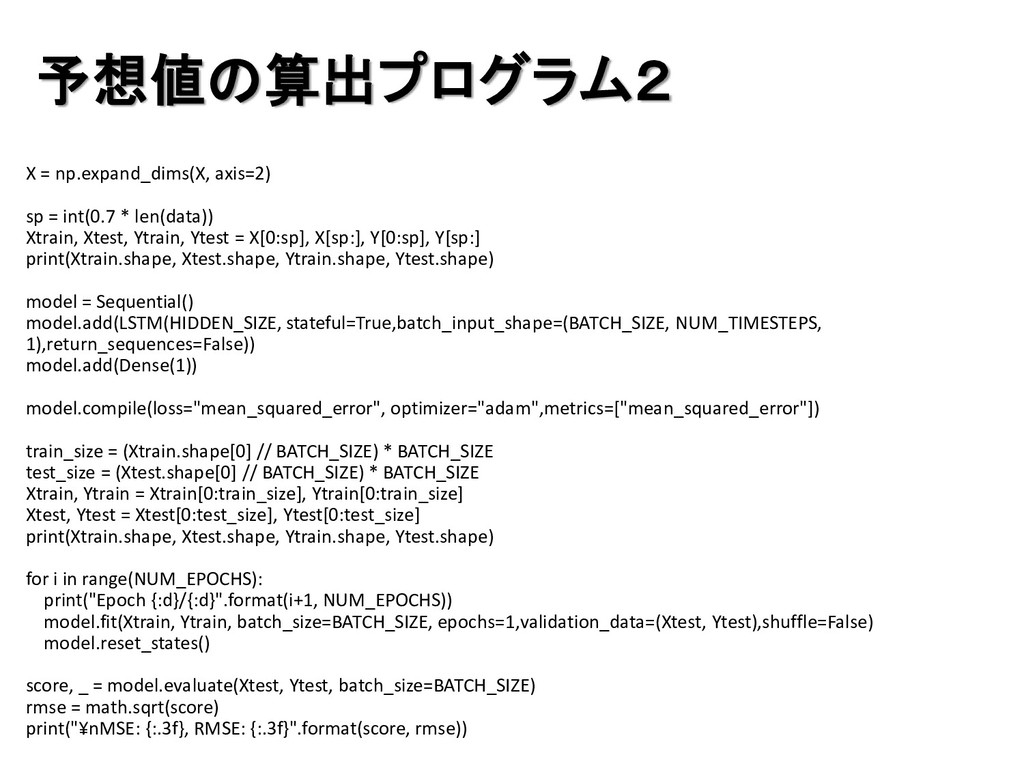
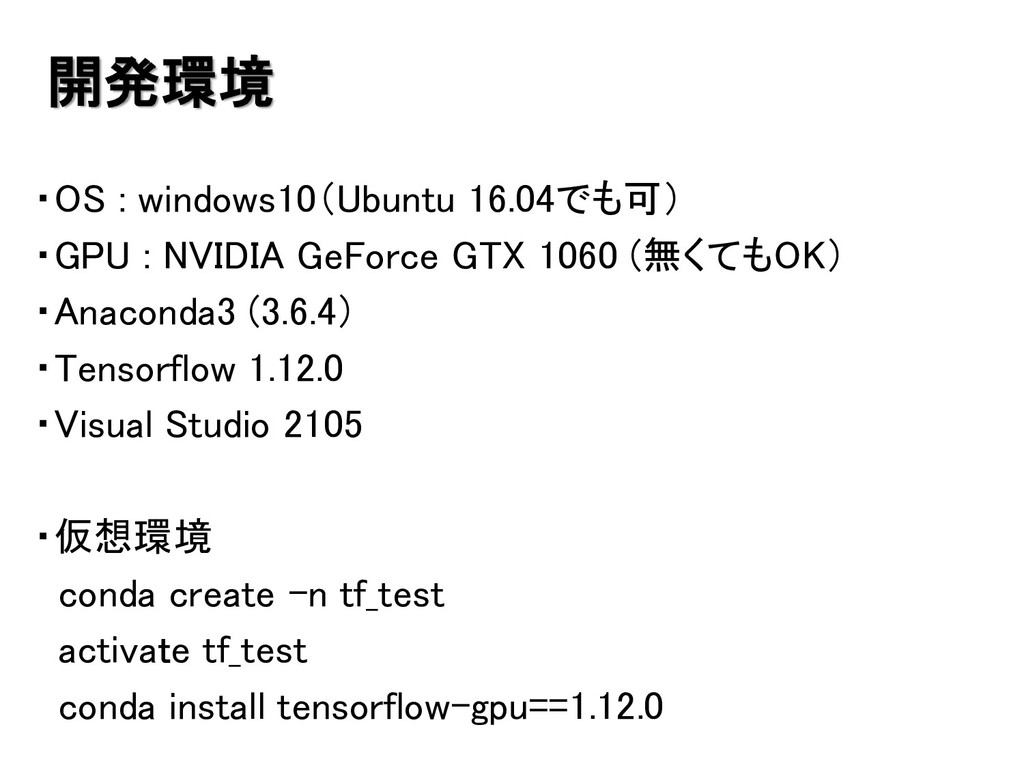
Xtest, Ytrain, Ytest = X[0:sp], X[sp:], Y[0:sp], Y[sp:] print(Xtrain.shape, Xtest.shape, Ytrain.shape, Ytest.shape) model = Sequential() model.add(LSTM(HIDDEN_SIZE, stateful=True,batch_input_shape=(BATCH_SIZE, NUM_TIMESTEPS, 1),return_sequences=False)) model.add(Dense(1)) model.compile(loss="mean_squared_error", optimizer="adam",metrics=["mean_squared_error"]) train_size = (Xtrain.shape[0] // BATCH_SIZE) * BATCH_SIZE test_size = (Xtest.shape[0] // BATCH_SIZE) * BATCH_SIZE Xtrain, Ytrain = Xtrain[0:train_size], Ytrain[0:train_size] Xtest, Ytest = Xtest[0:test_size], Ytest[0:test_size] print(Xtrain.shape, Xtest.shape, Ytrain.shape, Ytest.shape) for i in range(NUM_EPOCHS): print("Epoch {:d}/{:d}".format(i+1, NUM_EPOCHS)) model.fit(Xtrain, Ytrain, batch_size=BATCH_SIZE, epochs=1,validation_data=(Xtest, Ytest),shuffle=False) model.reset_states() score, _ = model.evaluate(Xtest, Ytest, batch_size=BATCH_SIZE) rmse = math.sqrt(score) print("¥nMSE: {:.3f}, RMSE: {:.3f}".format(score, rmse)) 予想値の算出プログラム2
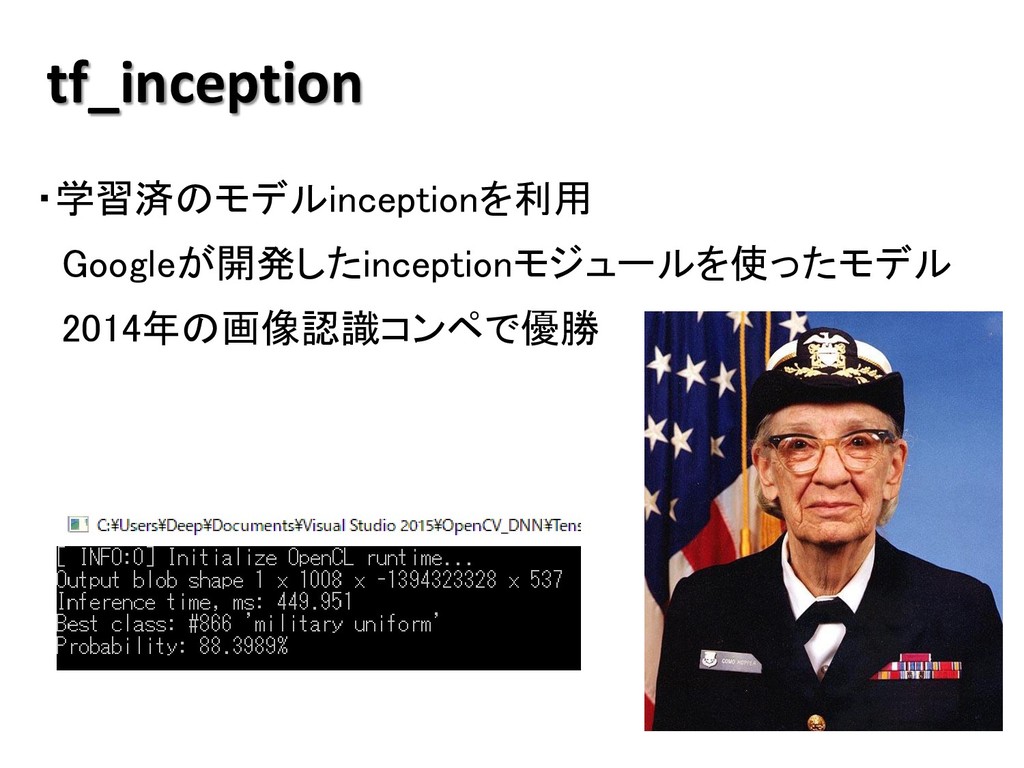
![・例えばドリルを使った加工機の異常を調べる ① 振動を周波数に変換(FFT)し、正常時と違う周波数 パターンが発生した時を異常とする ② 正常時の振動を多数測定しておき値を予測 実測値と予測値を比較し、大幅に違う時を異常とする ・例題は電力消費量からRNNで値を予測し、実測値と比較 して大幅に違う時を異常とする [出典]直感Deep](https://files.speakerdeck.com/presentations/b9d4f5bf71a4480fb196f90987d6c6af/slide_2.jpg)
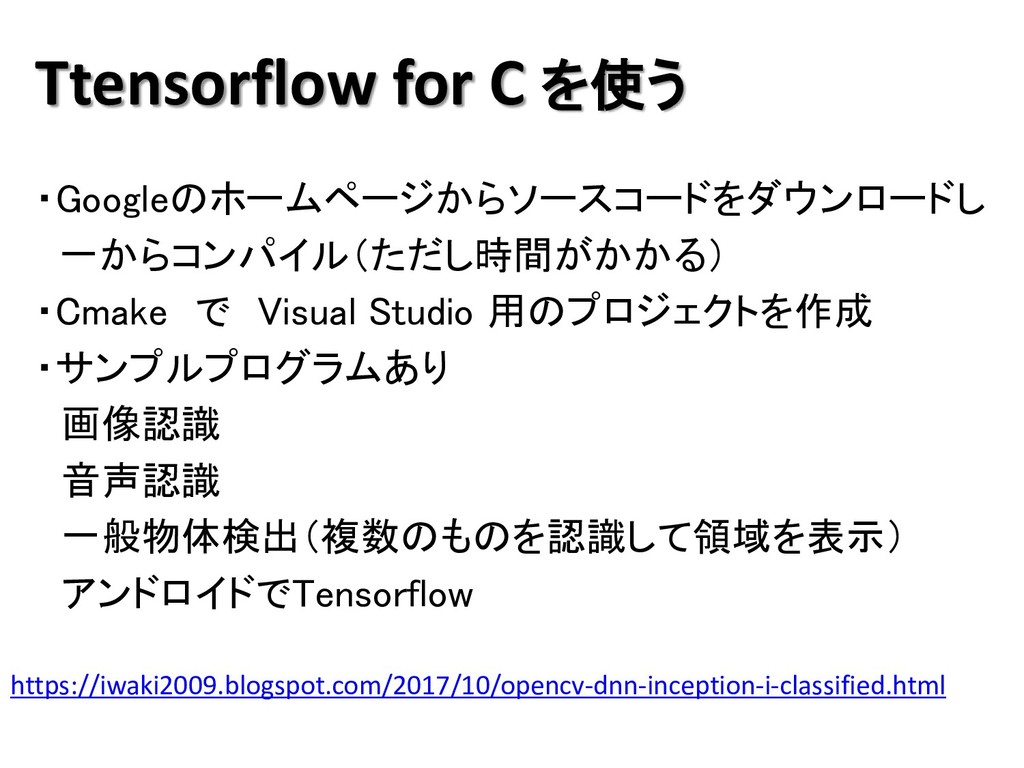
![Kerasで学習しモデルを保存 ・KerasでMNISTを学習し、モデルを作成して保存する [ConvMnist.pyの一部を抜粋] input = Input(shape=(28,28,1)) conv1 = Conv2D(filters=8,kernel_size=(3,3),strides=(1,1),padding='same', activation='relu')(input)](https://files.speakerdeck.com/presentations/b9d4f5bf71a4480fb196f90987d6c6af/slide_21.jpg)
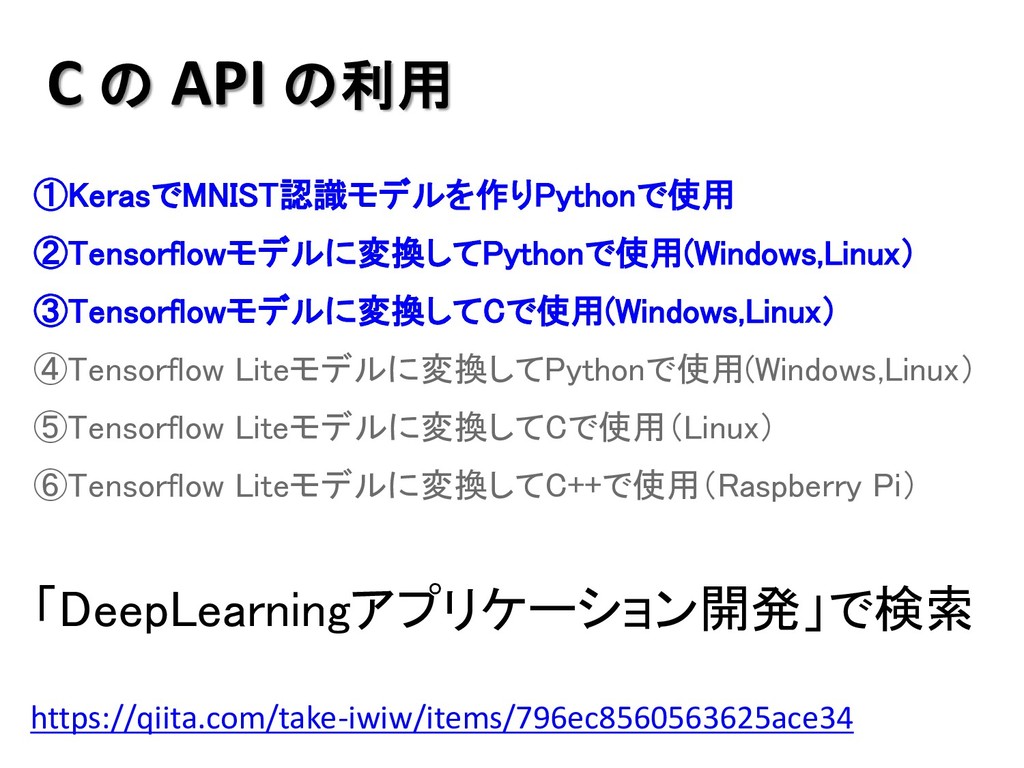
![Kerasで学習したモデルで認識 ・Kerasのモデルで数字の認識 [Number_detector.pyの一部を抜粋] import cv2 from ConvMnist import ConvMnist if](https://files.speakerdeck.com/presentations/b9d4f5bf71a4480fb196f90987d6c6af/slide_22.jpg)