Upgrade to Pro — share decks privately, control downloads, hide ads and more …

Laboratory Glassware and Equipment - Classifica...

Laboratory Glassware and Equipment - Classification, Uses & Sterilization | For DMLT & D.Pharma

By Annu Maurya | B.Tech Biotechnology, DMLT, D.Pharma, M.Sc Plant PathologyComplete Presentation on Laboratory Glassware and Equipment used in Medical Lab, Pharmacy and Biotechnology Lab.Topics Covered in this PPT:A) Laboratory Glassware -Classification - Borosilicate (heat resistant) vs Soda-lime glassVolumetric Glassware - Pipette, Burette, Volumetric Flask, Measuring Cylinder - accurate measurementGeneral Use Glassware - Beaker, Conical Flask, Test Tube, Petri Dish, Watch GlassSpecial Glassware - Desiccator, Funnel, Glass SlidesB) Laboratory Equipment / Instruments -Microscope - Compound & ElectronAutoclave - 121°C, 15 psi, 15-20 min for sterilizationHot Air Oven - 160-180°C for glassware sterilizationCentrifuge - Serum separationIncubator, Water Bath, Colorimeter, pH MeterCleaning & Care - Acid wash, rinsing with distilled waterC) Safety & CalibrationUseful for: DMLT, BMLT, D.Pharma, B.Pharma, B.Tech Biotechnology, Microbiology Practical Viva.Download this PPT for your Lab Practical Exam and OT/ Lab Technician interview preparation.#LaboratoryGlassware #LabEquipment #DMLT #DPharma #Autoclave #Microscope #BiotechnologyLab #MedicalLa

Avatar for Er. Annu maurya

Er. Annu maurya

September 18, 2026

More Decks by Er. Annu maurya

Other Decks in Education

Transcript

  1. Classification of glassware  Laboratory glassware includes containers, measuring tools,

    and specialized apparatus designed for mixing, heating, and analyzing chemical and biological samples
  2. Common Containers & Flasks  Beakers: Cylindrical containers with a

    flat bottom and a spout, used for general mixing, stirring, and heating.  Erlenmeyer Flasks (Conical Flasks): Triangular, sloped-side flasks that allow safe swirling of liquids without splashing.  Volumetric Flasks: Pear-shaped flasks with a narrow neck and a single calibration mark for preparing precise solution volumes.  Round Bottom Flasks: Spherical vessels designed to distribute heat evenly during reactions and distillation.  Test Tubes: Small, cylindrical tubes with rounded bottoms used to hold, heat, or mix small sample quantities
  3. Measuring & Transfer Tools  Graduated Cylinders: Tall, marked cylinders

    used to measure liquid volumes with moderate accuracy.  Pipettes: Slender tubes used to precisely measure and transfer small liquid volumes.  Burettes: Long, graduated glass tubes with a bottom stopcock, essential for precise titration
  4. Specialized Apparatus  Condensers: Cooling attachments used in distillation and

    reflux setups to turn vapors back into liquids.  Funnels: Tapered tools used to pour liquids or support filter paper during gravity filtration.  Petri Dishes: Shallow, flat circular dishes used for growing cell and bacterial cultures
  5. calibration and care of lab glassware  Proper calibration and

    care of laboratory glassware ensure measurement accuracy, safety, and long-term reliability
  6. Calibration of Lab Glassware  Calibration checks the actual volume

    contained or delivered by volumetric glassware (like volumetric flasks, pipettes, and burettes) against expected standards. Most labs use Gravimetric Calibration, which measures the mass of pure water the glassware holds or delivers
  7. General Gravimetric Steps  Clean and Dry: Clean the glassware

    thoroughly and ensure it is dry (or rinsed with the test liquid). [1, 2]  Weigh Empty: Weigh the clean, dry vessel or a receiving weighing flask on an analytical balance and record the initial mass (W₁)
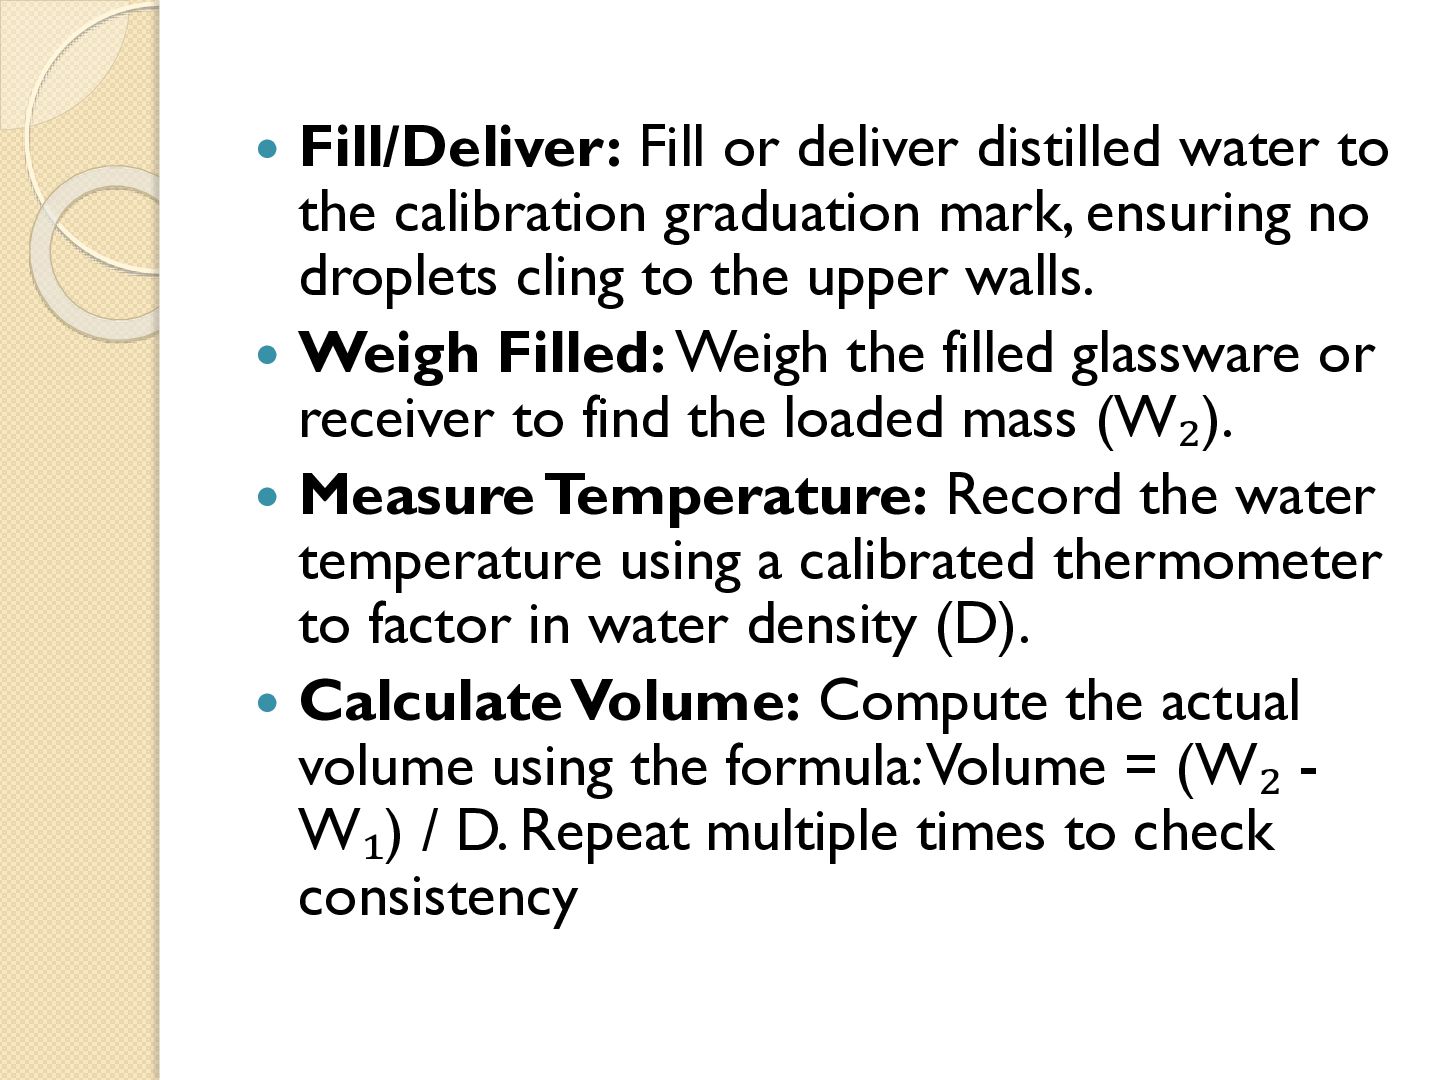
  8.  Fill/Deliver: Fill or deliver distilled water to the calibration

    graduation mark, ensuring no droplets cling to the upper walls.  Weigh Filled: Weigh the filled glassware or receiver to find the loaded mass (W₂).  Measure Temperature: Record the water temperature using a calibrated thermometer to factor in water density (D).  Calculate Volume: Compute the actual volume using the formula: Volume = (W₂ W₁) / D. Repeat multiple times to check consistency
  9. Care and Maintenance of Lab Glassware-Cleaning Rules  Wash Promptly:

    Clean apparatus immediately after use before chemical residues dry and harden.  Use Mild Detergents: Wash with warm water and lab-grade neutral or mild alkaline detergents (like Alconox). Avoid harsh abrasives that scratch glass.  Rinse Thoroughly: Rinse first with tap water, then finish with deionized or distilled water to remove soap films. A clean glass surface shows an even film of water rather than separate droplets
  10. Inspection and Disposal  Inspect Regularly: Check for star fractures,

    chips, or cloudiness (caused by strong alkalis or hydrofluoric acid) before every use.  Discard Damaged Glass: Retire and safely dispose of cracked or failedcalibration glassware in designated sharps containers to prevent accidents and systematic errors
  11. Drying and Storage  Air Dry: Invert clean glassware on

    a peg rack at room temperature.  Avoid Heat on Volumetric Items: Never dry volumetric flasks, pipettes, or burettes in a hot oven; high heat causes thermal expansion and ruins calibration.  Safe Storage: Store items in dry, dust-free cabinets using padding or separators to prevent scratching and chipping. Keep ground-glass stoppers slightly ajar or greased with a thin film of silicone to stop them from seizing
  12. Centrifuge  A centrifuge is a mechanical device that uses

    centrifugal force to separate substances of different densities within a liquid mixture
  13. How It Works  High-Speed Rotation: The machine spins a

    container (like test tubes or a drum) at very high speeds around a central axis.  Artificial Gravity: The rapid spinning creates a strong outward force that acts like a powerful form of gravity.  Sedimentation: Denser particles move outward (to the bottom of a tube) while lighter components stay near the center
  14. Common Uses  Medical Labs: Separating whole blood into red

    blood cells, platelets, and clear plasma.  Biology and Chemistry: Isolating cells, proteins, viruses, and nucleic acids.  Industry and Daily Life: Extracting excess water from wet clothes in a washing machine spin cycle, or separating cream from milk
  15. Autoclave  An autoclave is a machine that uses high-pressure

    saturated steam to sterilize equipment, tools, and laboratory waste by killing bacteria, viruses, fungi, and resistant spore
  16. How an Autoclave Works  Moist Heat & Pressure: Water

    turns to steam inside a sealed vessel. Pressure raises the boiling point of water, allowing steam temperatures to reach 121°C to 134°C (250°F to 273°F).  Protein Denaturation: The high-temperature moisture transfers heat efficiently, destroying critical cellular structures and microbial proteins.  Core Factors: Success depends on three precise elements—temperature, pressure (typically 15–30 psi), and time (usually 15– 60 minutes)
  17. Common Uses  Healthcare & Dentistry: Sterilizing surgical instruments, medical

    devices, and reusable clinic packs.  Laboratories: Decontaminating biohazardous waste, culture media, glassware, and pipette tips.  Industrial & Pharma: Curing composite materials, vulcanizing rubber, and sterilizing pharmaceutical vials
  18. Incubator  An incubator is a controlled device that regulates

    conditions like temperature, humidity, and oxygen to support biological growth, hatching, or newborn care
  19. Main Types of Incubators  Poultry Incubators: Warm fertilized bird

    eggs to hatch chicks, ducks, or quail without a mother hen.  Medical Infant Incubators: Provide a warm, sterile, and monitored environment for premature or ill newborn babies in neonatal care units.  Laboratory/Microbiological Incubators: Maintain exact thermal and atmospheric conditions to grow bacterial, tissue, or cell cultures.  Business Incubators: Organizations or programs designed to help startup companies grow through workspace, mentorship, and funding
  20. Water bath  A laboratory water bath is a heated

    container filled with water used to incubate samples at steady, controlled temperatures
  21. What It Does  Heats samples safely: It avoids open

    flames, making it ideal for warming flammable chemicals.  Controls temperature: Most units maintain a range from slightly above ambient room temperature up to 99°C.  Provides uniform warmth: Water transfers heat evenly across flasks, tubes, or beakers.
  22. Common Types  General-purpose: Standard baths for basic warming and

    thawing.  Circulating: Moves water around to keep temperatures extremely precise.  Shaking: Agitates samples while heating, often used in microbiology
  23. Common Uses  Incubating bacterial cultures  Thawing frozen samples

    or reagents  Running enzymatic and chemical reactions  Melting substrates
  24. Hot air oven  A laboratory hot air oven is

    an electrical device that uses dry heat to sterilize and dry items like glassware and metal instruments
  25. Features  Temperature Range: Usually operates from 50°C up to

    250°C (or 300°C on request).  Control System: Uses a digital PID controller and PT100 sensor for precise heat regulation.  Air Circulation: Available in forced convection (with a motorized fan for uniform heat) or natural convection.  Construction: Double or triple-walled with mineral wool or glass wool insulation and a stainless steel (SS 304) inner chamber
  26. Common Sterilization Standards  60°C for 60 minutes  170°C

    for 30 minutes  180°C for 15 minutes to 30 minutes
  27. Uses and Limitations  Best Used For: Glassware (petri dishes,

    flasks), metal surgical tools, powders, and oils that resist dry heat.  Not Suitable For: Rubber items, plastic ware, or liquid culture media, as high dry heat will melt or damage them
  28. Microscope  A microscope is a laboratory instrument used to

    see tiny objects and structures that are too small for the human eye
  29. Main Types  Optical (Light) Microscope: Uses visible light and

    glass lenses to bend light and create a magnified image.  Electron Microscope: Uses beams of electrons instead of light to view extremely small details like viruses and atoms with high resolution.  Digital Microscope: Uses a built-in camera sensor to show the magnified view on a screen instead of an eye piece
  30. Structural Parts  Base: The heavy bottom that supports the

    microscope and houses the light source.  Arm: The vertical backbone connected to the base; use it to safely carry the microscope.  Head (Body Tube): The upper cylinder that connects the eyepiece to the objective lenses
  31. Optical Parts  Eyepiece (Ocular Lens): The top lens you

    look through, usually offering 10x magnification.  Objective Lenses: The lower lenses closest to the slide (commonly 4x, 10x, 40x, and 100x powers).  Revolving Nosepiece: A rotating disk that holds the objective lenses so you can switch magnification levels
  32. Specimen and Adjustment Parts  The flat platform where you

    place the microscope slide.  Stage Clips / Mechanical Stage: Metal clips or mechanical knobs that hold and move the slide precisely on the stage.  Coarse Adjustment Knob: The larger knob used for quick initial focusing.  Fine Adjustment Knob: The smaller knob used for sharp, precise final focusing. [1, 2, 3, 4, 5]
  33. Illuminating Parts  Illuminator (Light Source): A built-in electric bulb

    or mirror at the base that sends light upward.  Condenser: A lens beneath the stage that focuses the light beam onto the specimen.  Diaphragm (Iris): A rotating dial or lever that controls the exact amount of light reaching the sample
  34. Use of a Microscope  Starting Out: Place the microscope

    on a flat, clean surface. Plug in the power cord.  Focusing: Always start with the lowest power objective lens. Adjust the coarse focus knob slowly.  Slide Placement: Clip the glass slide gently onto the mechanical stage. Do not let the stage clip snap down hard.  Avoiding Damage: Never let an objective lens touch or crash into the glass slide. Watch from the side when lowering the lens closer to the slide.  Oil Immersion: Use immersion oil strictly with the 100x objective lens. Keep oil away from all other lower-power lenses.
  35. Care and Maintenance  Carrying and Moving: Never drag or

    slide the microscope across a table. Always lift it fully using two hands.  Cleaning Optics: Clean the glass lenses using only dedicated lens paper and optical cleaning solution. Never use paper towels, tissues, or your fingers, as they scratch the glass.  Wiping Oil: Wipe away any immersion oil immediately after use from the 100x lens and stage.  Storage: Turn off the light source and let the bulb cool down. Rotate the nosepiece back to the lowest power lens. Put a vinyl or plastic dust cover over the instrument.