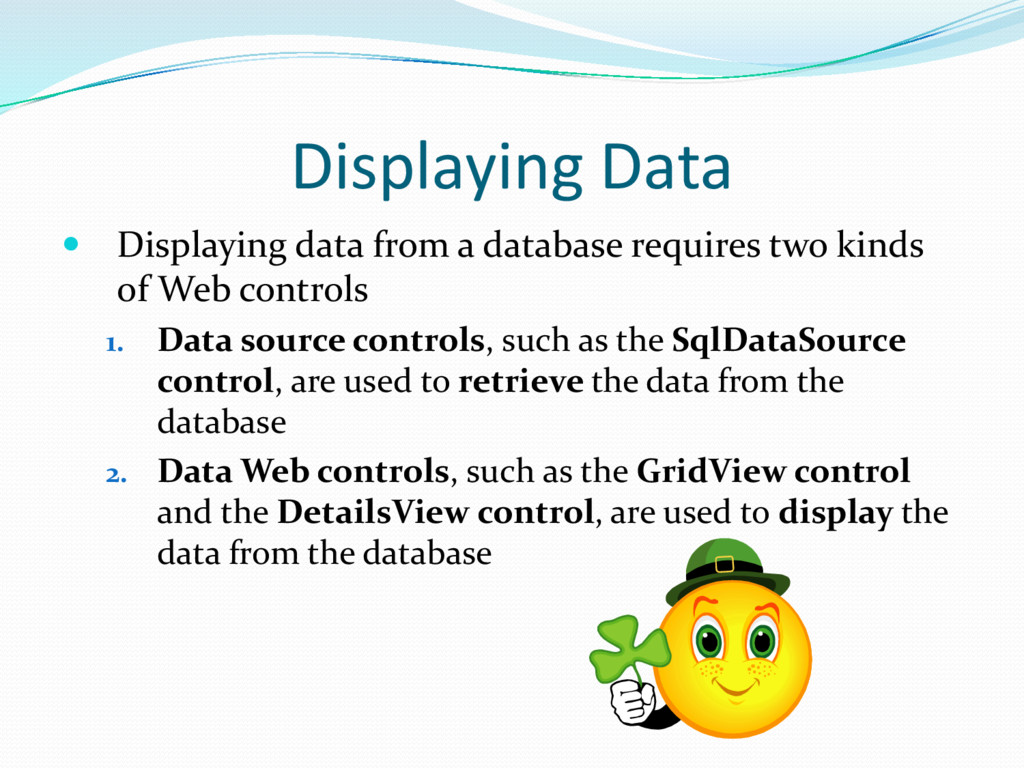
kinds of Web controls 1. Data source controls, such as the SqlDataSource control, are used to retrieve the data from the database 2. Data Web controls, such as the GridView control and the DetailsView control, are used to display the data from the database
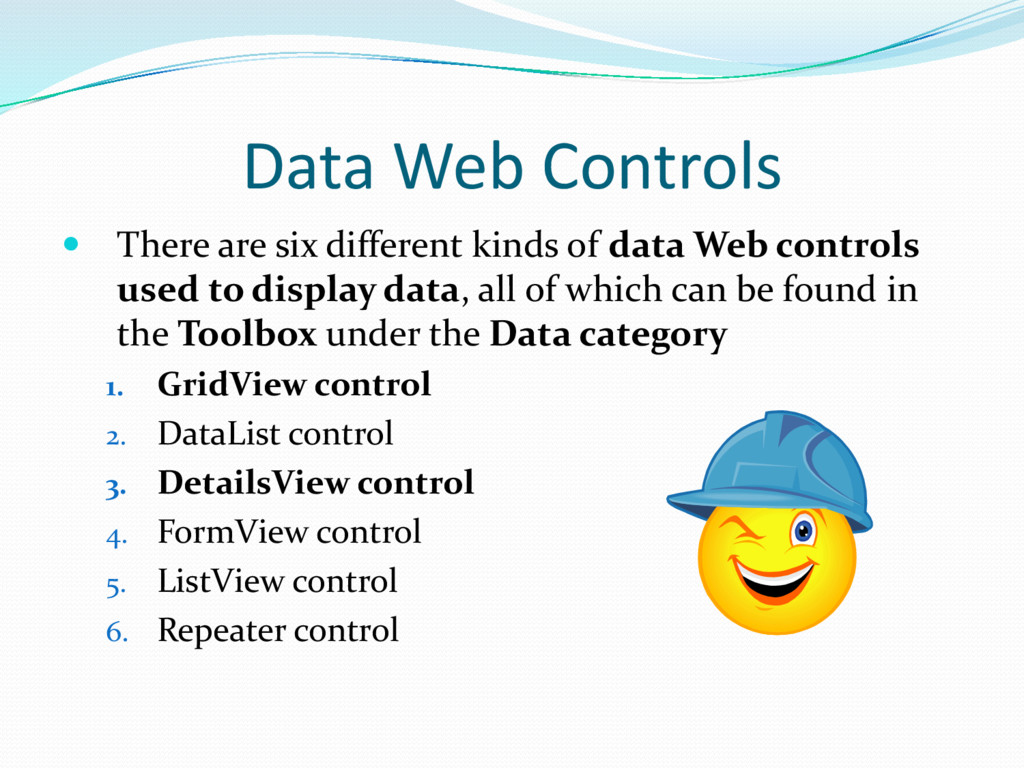
data Web controls used to display data, all of which can be found in the Toolbox under the Data category 1. GridView control 2. DataList control 3. DetailsView control 4. FormView control 5. ListView control 6. Repeater control
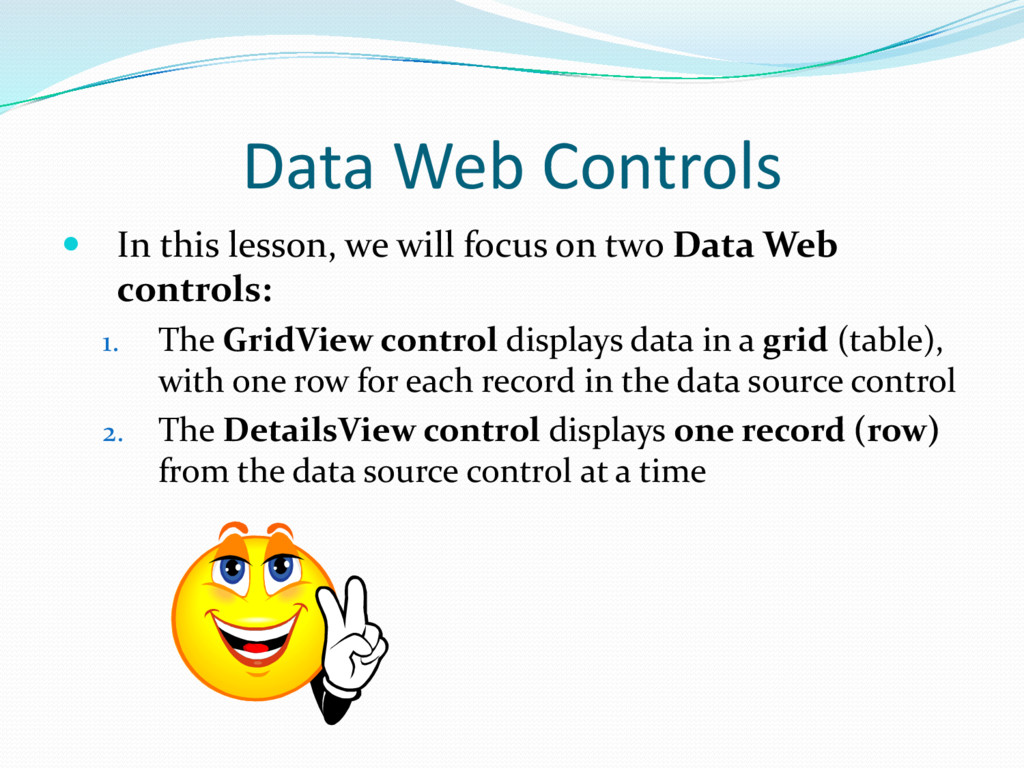
on two Data Web controls: 1. The GridView control displays data in a grid (table), with one row for each record in the data source control 2. The DetailsView control displays one record (row) from the data source control at a time
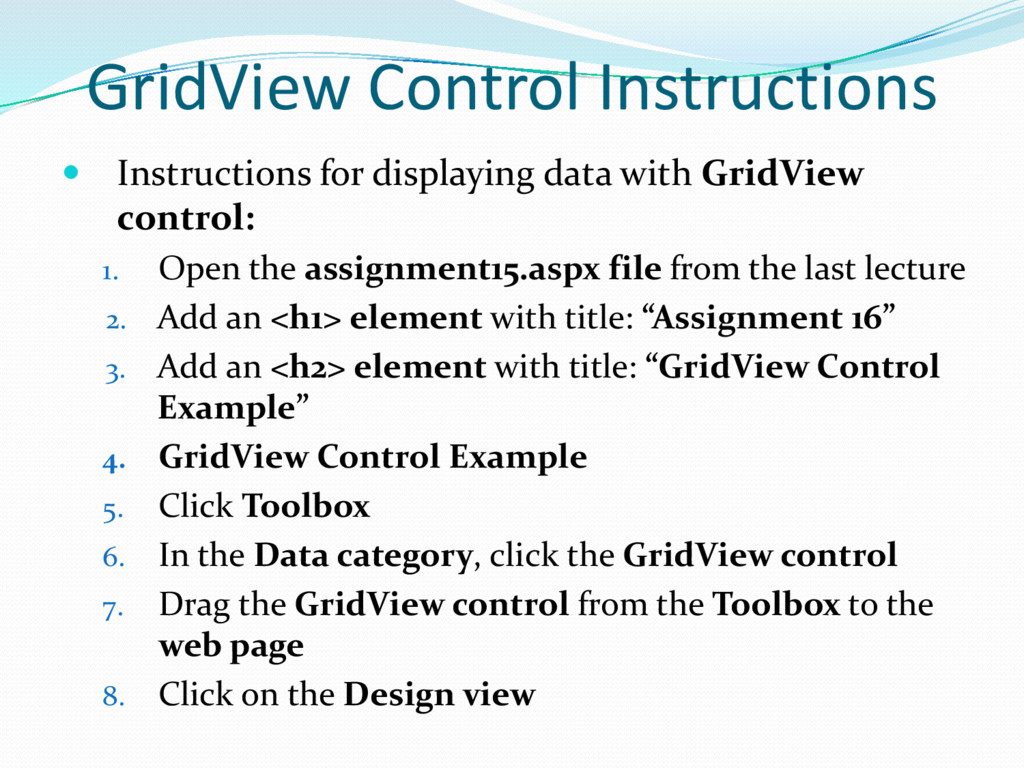
control: 1. Open the assignment15.aspx file from the last lecture 2. Add an <h1> element with title: “Assignment 16” 3. Add an <h2> element with title: “GridView Control Example” 4. GridView Control Example 5. Click Toolbox 6. In the Data category, click the GridView control 7. Drag the GridView control from the Toolbox to the web page 8. Click on the Design view
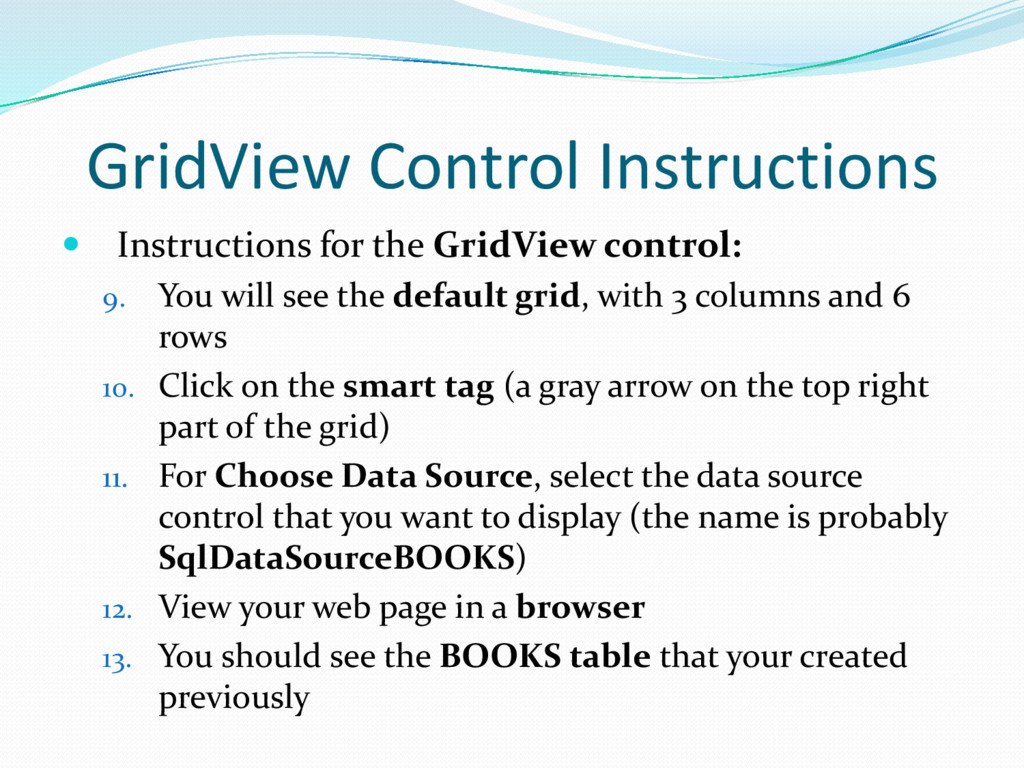
You will see the default grid, with 3 columns and 6 rows 10. Click on the smart tag (a gray arrow on the top right part of the grid) 11. For Choose Data Source, select the data source control that you want to display (the name is probably SqlDataSourceBOOKS) 12. View your web page in a browser 13. You should see the BOOKS table that your created previously
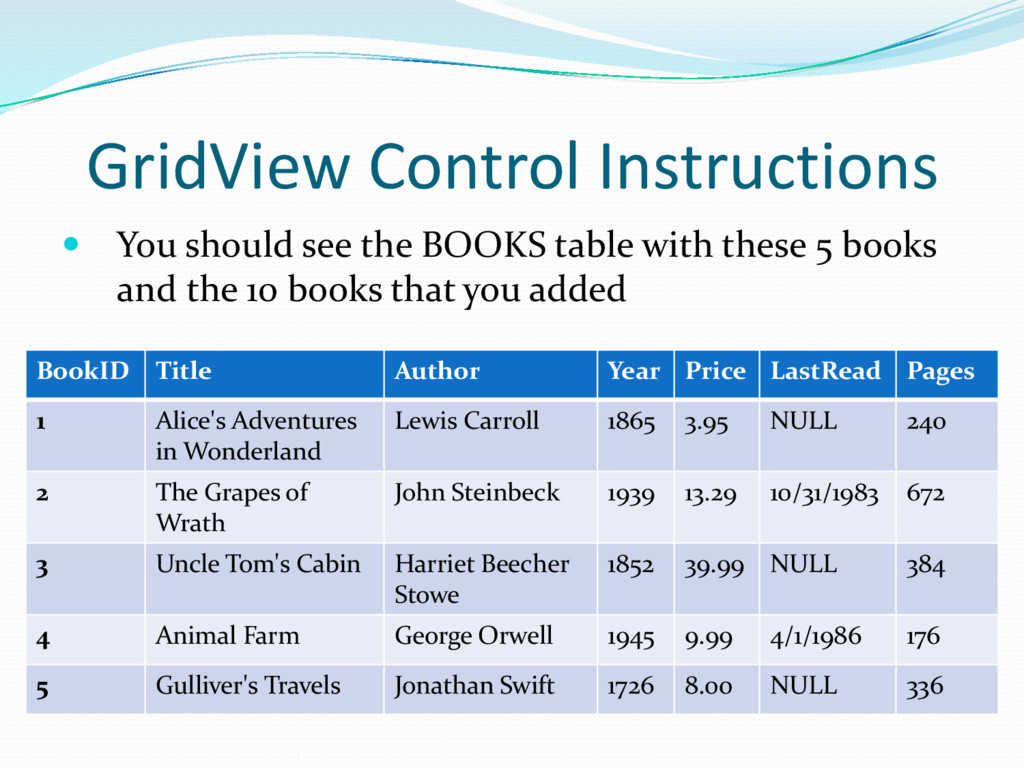
with these 5 books and the 10 books that you added BookID Title Author Year Price LastRead Pages 1 Alice's Adventures in Wonderland Lewis Carroll 1865 3.95 NULL 240 2 The Grapes of Wrath John Steinbeck 1939 13.29 10/31/1983 672 3 Uncle Tom's Cabin Harriet Beecher Stowe 1852 39.99 NULL 384 4 Animal Farm George Orwell 1945 9.99 4/1/1986 176 5 Gulliver's Travels Jonathan Swift 1726 8.00 NULL 336
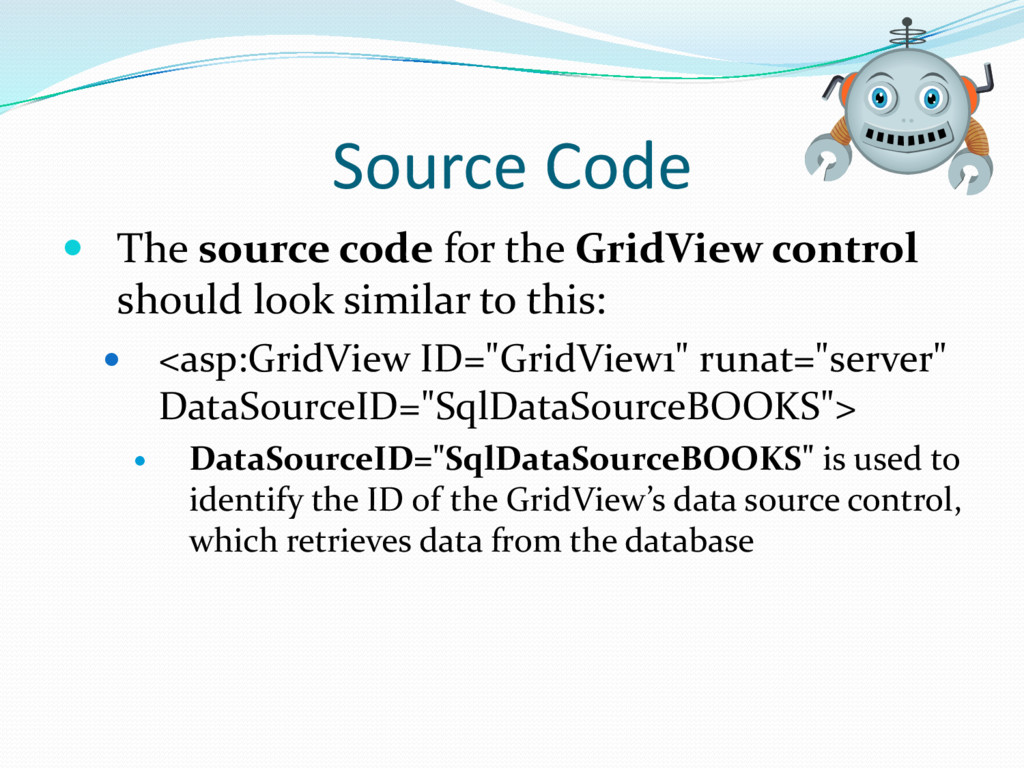
should look similar to this: <asp:GridView ID="GridView1" runat="server" DataSourceID="SqlDataSourceBOOKS"> DataSourceID="SqlDataSourceBOOKS" is used to identify the ID of the GridView’s data source control, which retrieves data from the database
data displayed in the grid at once 1. Click on the GridView control on the web page 2. In the bottom right, see the Properties window 3. Scroll to the Appearance section 4. You have 13 properties that you can adjust as you wish, such as border color, border style, border width, fonts, text colors, etc. 5. Take a few minutes to adjust some of these properties at the GridView-level
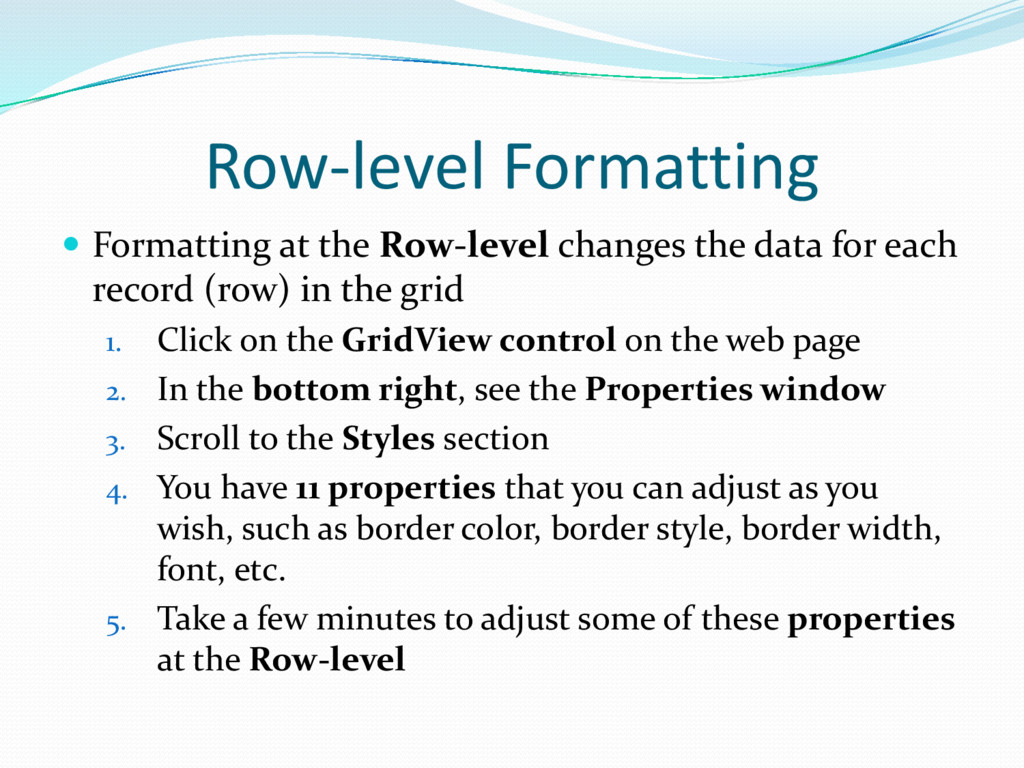
for each record (row) in the grid 1. Click on the GridView control on the web page 2. In the bottom right, see the Properties window 3. Scroll to the Styles section 4. You have 11 properties that you can adjust as you wish, such as border color, border style, border width, font, etc. 5. Take a few minutes to adjust some of these properties at the Row-level
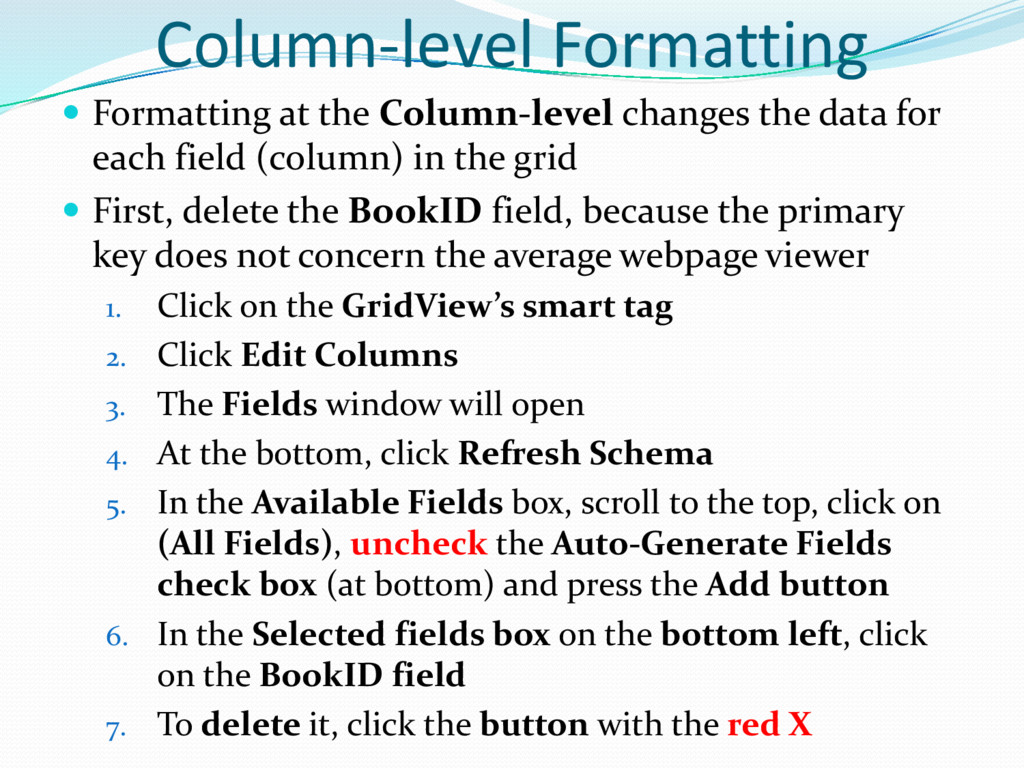
for each field (column) in the grid First, delete the BookID field, because the primary key does not concern the average webpage viewer 1. Click on the GridView’s smart tag 2. Click Edit Columns 3. The Fields window will open 4. At the bottom, click Refresh Schema 5. In the Available Fields box, scroll to the top, click on (All Fields), uncheck the Auto-Generate Fields check box (at bottom) and press the Add button 6. In the Selected fields box on the bottom left, click on the BookID field 7. To delete it, click the button with the red X
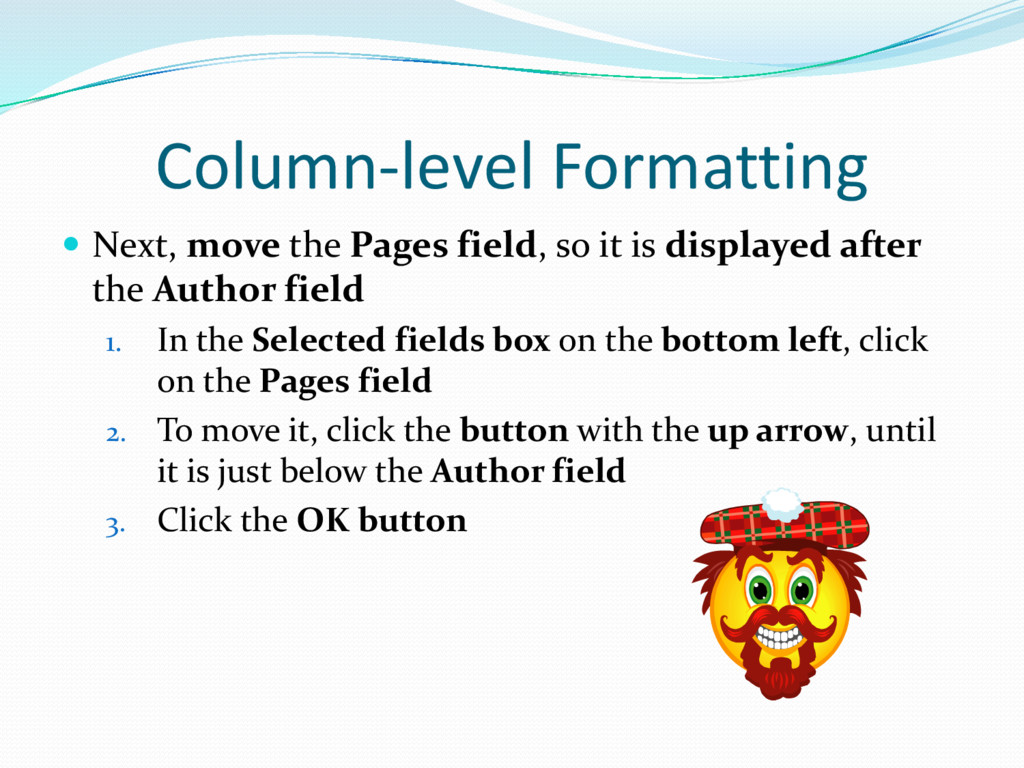
is displayed after the Author field 1. In the Selected fields box on the bottom left, click on the Pages field 2. To move it, click the button with the up arrow, until it is just below the Author field 3. Click the OK button
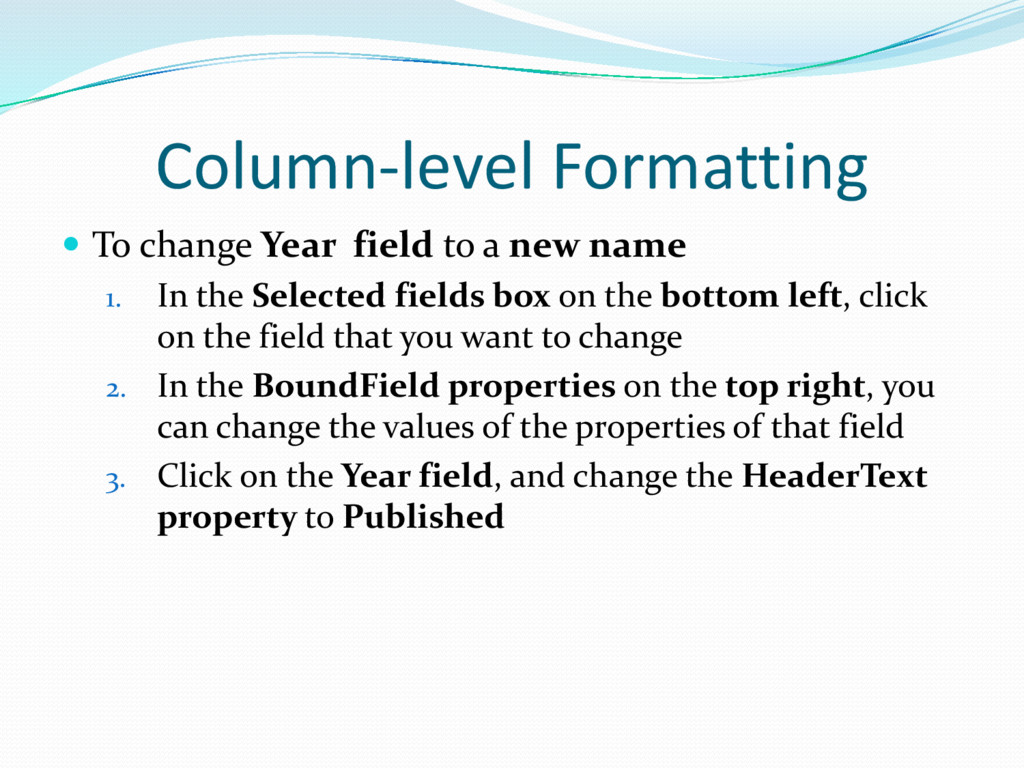
name 1. In the Selected fields box on the bottom left, click on the field that you want to change 2. In the BoundField properties on the top right, you can change the values of the properties of that field 3. Click on the Year field, and change the HeaderText property to Published
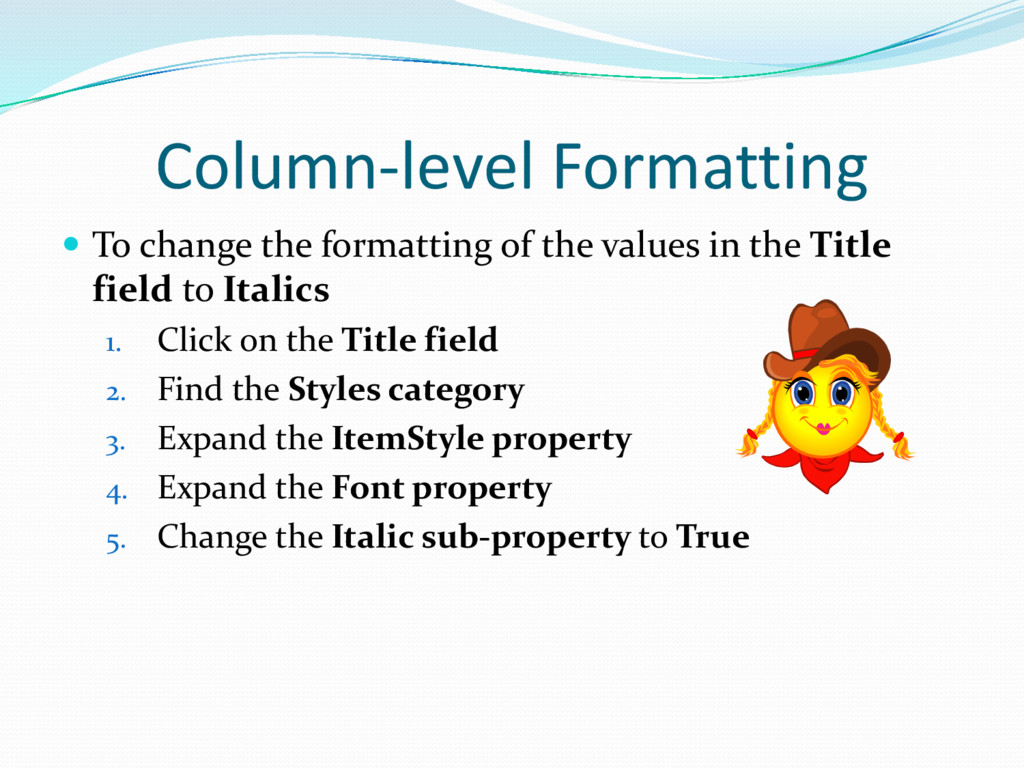
in the Title field to Italics 1. Click on the Title field 2. Find the Styles category 3. Expand the ItemStyle property 4. Expand the Font property 5. Change the Italic sub-property to True
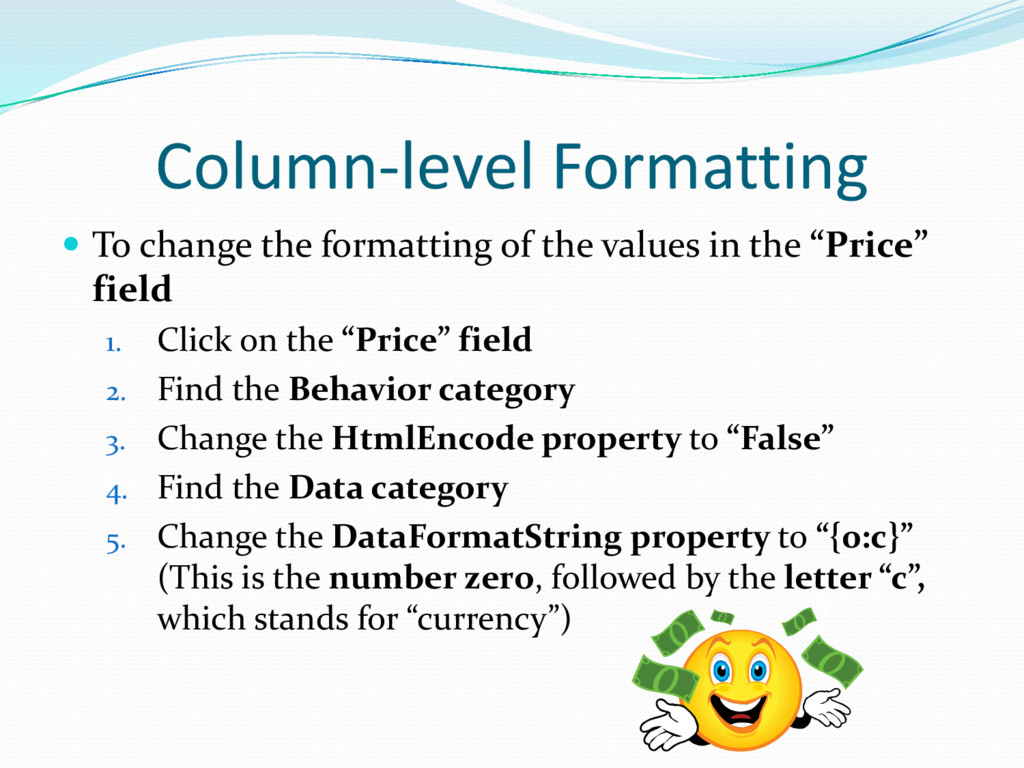
in the “Price” field 1. Click on the “Price” field 2. Find the Behavior category 3. Change the HtmlEncode property to “False” 4. Find the Data category 5. Change the DataFormatString property to “{0:c}” (This is the number zero, followed by the letter “c”, which stands for “currency”)
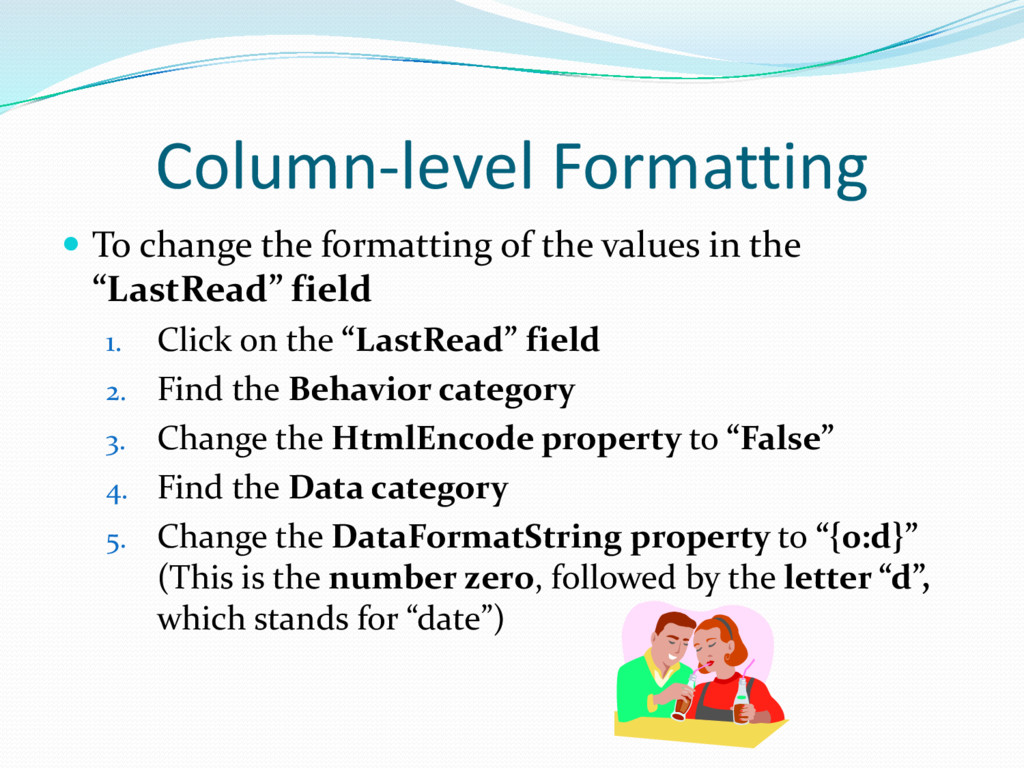
in the “LastRead” field 1. Click on the “LastRead” field 2. Find the Behavior category 3. Change the HtmlEncode property to “False” 4. Find the Data category 5. Change the DataFormatString property to “{0:d}” (This is the number zero, followed by the letter “d”, which stands for “date”)
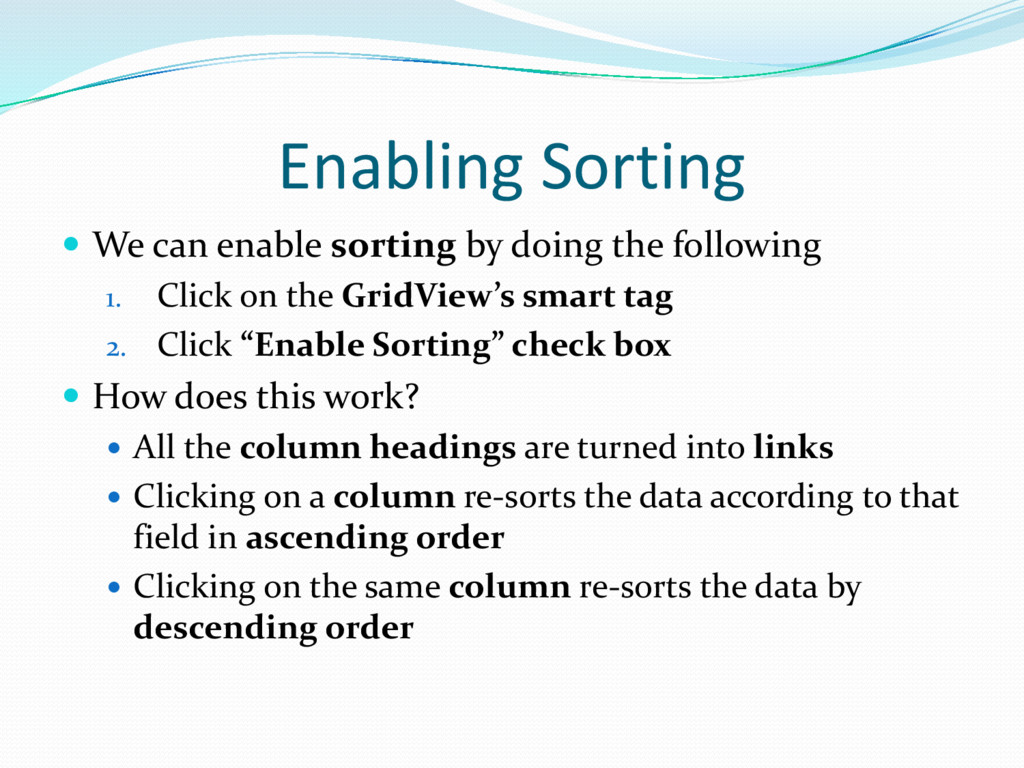
following 1. Click on the GridView’s smart tag 2. Click “Enable Sorting” check box How does this work? All the column headings are turned into links Clicking on a column re-sorts the data according to that field in ascending order Clicking on the same column re-sorts the data by descending order
there is also some automatic formatting your can do for your the grid: 1. Click on the smart button 2. Click “Auto Format” 3. Select a nice, pretty format for your grid
one record at a time Add the following elements and controls to the webpage: 1. Add an <h2> element with the title: “DetailsView Control Example” 2. Below the <h2> element, add a DetailsView control from the Data section in the Toolbox
1. Click on the Design view 2. Click on the smart tag 3. For “Choose Data Source”, choose SqlDataSourcePrice (the second data source), which displays books under $10 & BookID greater than or equal to 3
record at a time, we need to change it, so it provides links to the other records: 1. Click on the Design view 2. Click on the smart tag 3. Click the “Enable Paging” check box
change the formatting of the DetailsView control 1. To add your own formatting, you can use the Properties window 2. To add automatic formatting, click the smart tag and select “Auto Format”
to change this formatting of the DetailsView control 1. Delete the BookID field 2. Change Title field to italics 3. Move the Pages field to come after the Authors field 4. Change the name of the Year field to Published 5. Format the Price field as currency 6. Format the LastRead field as a date
for the DetailsView control, so reset the width to a more appropriate value 1. Go to the Properties window 2. Find the Layout category 3. Change the width property to at least 300px
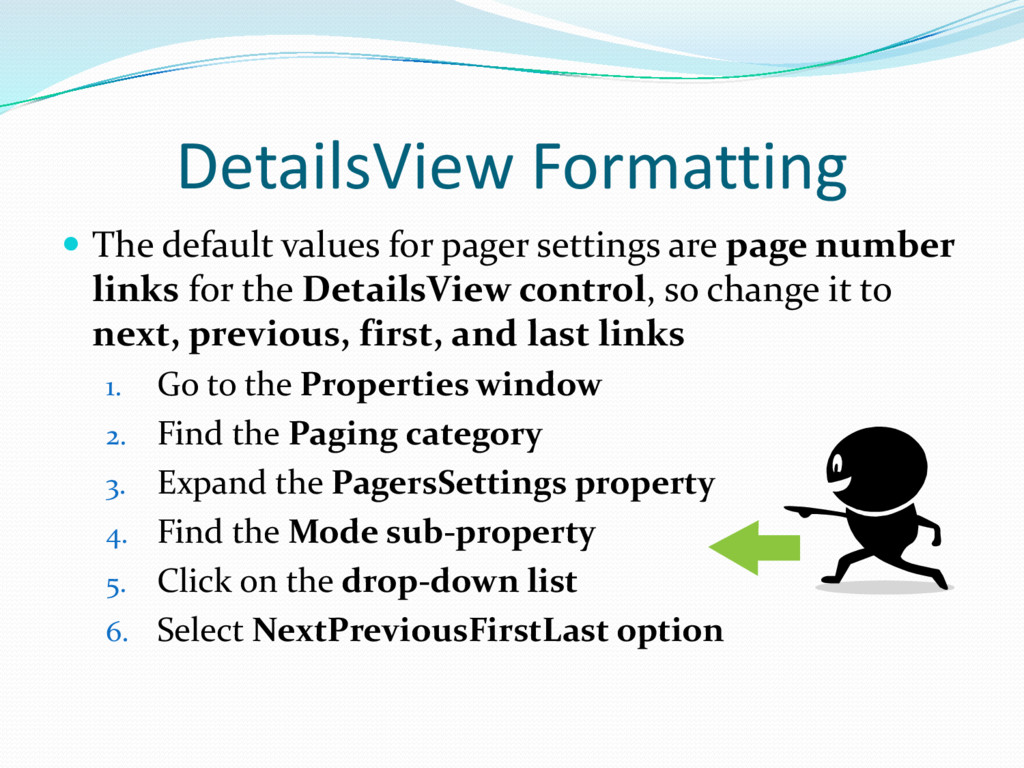
page number links for the DetailsView control, so change it to next, previous, first, and last links 1. Go to the Properties window 2. Find the Paging category 3. Expand the PagersSettings property 4. Find the Mode sub-property 5. Click on the drop-down list 6. Select NextPreviousFirstLast option